Deciding to drop your boat's fuel tank is a big step. Let's be honest, it's a major project, but sometimes it's the only real fix for problems that just won't go away. We're talking about that nagging fuel smell you can't trace, recurring engine stalls from dirty fuel, or a fuel gauge that has a mind of its own.
This isn't just about fixing a nuisance. It's about moving from constantly patching problems to getting ahead of them, ensuring your boat is safe and reliable every time you leave the dock.
Knowing When It’s Time to Drop the Tank
Nobody wants to pull a fuel tank, but certain red flags are too serious to ignore. Kicking this can down the road doesn't just hurt your boat's performance—it's a genuine safety hazard. Learning to spot the warning signs will tell you when it’s time to roll up your sleeves.
Often, the first clue comes from your own senses. If you have a persistent fuel odor that isn't coming from a simple spill, a loose line, or a bad filter gasket, you need to investigate further. That smell could be a tiny pinhole leak, a cracked weld, or a deteriorating gasket on the tank itself—issues that a quick fix just can't solve.
Common Triggers for Tank Removal
Beyond what you can smell, your engine's behavior is a huge tell. Are you constantly fighting with clogged fuel filters? Finding water in your separator bowl again and again? Does the engine sputter or die at the worst possible moments? The culprit is often lurking inside the tank. Over the years, sludge, sediment, and water can build up, creating a nasty cocktail that no engine can run on. The only way to truly fix it is to get the tank out and give it a thorough cleaning.
Here are a few other common reasons you might need to pull it:
- A Busted Fuel Sending Unit: When your fuel gauge is totally untrustworthy, you have to replace the sending unit. On a lot of boats, especially those with built-in tanks, the only way to get to it is by dropping the tank.
- Visible Damage or Corrosion: During a good inspection, you might find serious corrosion (a common killer of older aluminum tanks) or physical damage like dents or cracks that compromise the tank's structural integrity.
- Engine Upgrades: Swapping out an engine or repowering your boat often means you need a different tank capacity, shape, or material. This makes removal and replacement part of the overall project.
Putting these jobs off is just asking for trouble. It's a known fact that poor maintenance is a huge contributor to fuel system failures. In fact, an analysis of over 242 tank-related incidents found that 30% were directly caused by a lack of proper maintenance. Things like human error and mechanical failure also played a big part in fuel spills and overfills. Knowing the top boat fuel tank problems helps you spot the signs before they become a catastrophe.
Before you start unbolting anything, it’s a good idea to get familiar with the type of tank you're dealing with. This comprehensive guide on outboard fuel tanks is a great place to build some foundational knowledge.
Getting Your Boat and Gear Ready for the Job
Before you lay a wrench on a single bolt, the very first thing you need to do is set up your work area. This isn't just about keeping things tidy; it's about preventing a fire or explosion. Gasoline fumes are sneaky—they're heavier than air and will pool in the bilge or any low-lying area, creating a highly flammable, invisible cloud.
Your number one priority is ventilation. Seriously. If you’re not working outside on a breezy day, you have to get air moving. Throw open every hatch, port, and companionway. Get a couple of fans running to create a strong cross-breeze. Ideally, use marine-grade, spark-proof blowers designed for this kind of work. The goal is to constantly pull fresh air in and push those dangerous fumes out. Never, ever do this job in a closed-up boat or a stuffy garage.
Hunt Down and Eliminate Every Ignition Source
Once you have air moving, it's time to play detective and get rid of anything that could possibly create a spark. We're talking about more than just a "no smoking" sign. A tiny bit of static electricity, the spark from a standard power tool, or even your automatic bilge pump kicking on can be enough to ignite fuel vapors in an instant.
Here’s your non-negotiable pre-flight checklist:
- Kill the Power: Your first move is to completely disconnect the boat's batteries. Disconnect the positive and negative terminals on all battery banks. This is the single most important step to prevent an accidental electrical spark.
- Remove All Electronics: Get your cell phone, Bluetooth speaker, or any other battery-powered gadget far away from the boat.
- Ban Spark-Producing Tools: Put away the power drill and the angle grinder. Any tool you use near the fuel tank must be a hand tool or one that is specifically rated as explosion-proof.
My Two Cents: Keep a marine-rated (Type B:C) fire extinguisher literally within arm's reach. Not just nearby, but right next to you where you're working. If something goes wrong, you have about two seconds to react, and you can't waste them fumbling around for an extinguisher.
The Right Tools and Safety Gear for the Task
Trying to find the right wrench or a pair of gloves mid-job isn't just annoying, it's a safety hazard. Get everything you need laid out and ready to go before you start.
Before we even talk about tools, let's cover the gear that protects you. This isn't optional.
Essential Safety Checklist Before You Begin
This quick table covers the bare minimum safety actions and gear you'll need. Don't even think about starting without ticking every one of these boxes.
| Safety Action | Reason | Required PPE |
|---|---|---|
| Ensure Maximum Ventilation | Prevents the buildup of explosive gasoline fumes in low areas like the bilge. | Vapor-Rated Respirator |
| Disconnect All Batteries | Eliminates the primary source of accidental electrical sparks from boat systems. | Safety Goggles |
| Remove All Ignition Sources | Prevents sparks from tools, static, or electronics from igniting fuel vapors. | Nitrile Gloves |
Having this gear on and your safety checks done is the only way to begin this project with peace of mind.
Now for the hardware. You’ll need a good set of hand tools. If you can get your hands on non-sparking wrenches, which are typically made of a beryllium copper alloy, they're the best choice for any fittings directly on the fuel tank itself. You'll also want a quality socket set, various screwdrivers, and a good pair of pliers for those stubborn hose clamps.
Lastly, figure out your fuel situation. You'll need an approved siphoning system to drain the tank and plenty of certified, sealed fuel containers to store the gasoline safely while you work.
Time to Get Hands-On: Removing the Fuel Tank
Alright, with your workspace prepped and your tools laid out, we can get down to the business of actually removing the fuel tank. This isn't a job you want to rush. Patience and a methodical approach are your best friends here, because a hurried job can easily lead to broken parts, a dangerous fuel spill, or worse.
First thing's first: that tank needs to be empty. A full tank is unbelievably heavy and unwieldy. Remember, gasoline weighs about 6.3 pounds per gallon, so trying to wrestle a full or even half-full tank out of a tight bilge is a recipe for disaster. If you haven't already, you'll need to learn about safely draining a fuel tank.
Get yourself a proper, anti-static siphon pump and transfer the fuel into certified containers. Whatever you do, don't use a simple hose and try to siphon it with your mouth—that’s an old-school trick that carries massive health and fire risks.
Getting the Lines and Wires Disconnected
With the tank as empty as you can get it, you can start the delicate work of disconnecting everything attached to it. This is where a little bit of organization now will save you a massive headache when it's time to put everything back together.
- Label Everything: Seriously, don't skip this. Grab a roll of masking tape and a permanent marker. As you take off each hose—the main fuel fill, the vent line, the supply line to the engine—label both the hose itself and the fitting it came from. Snapping a quick photo on your phone before you disconnect each one is also a fantastic visual backup.
- Fuel Lines: The big one is your fuel fill hose, usually held on by beefy hose clamps. Loosen those up and gently twist the hose back and forth to break the seal. The smaller vent and engine lines might have different fittings. Keep a bunch of rags handy to soak up any fuel that will inevitably drip out.
- Electrical Connections: Your fuel sending unit, which talks to your fuel gauge, will have a couple of wires. These are often held on by small nuts or spade connectors. Be gentle here; you don't want to bend or snap the terminals on the sending unit. Label these wires so you know exactly where they go.
This diagram lays out the essential safety flow before you even think about loosening a single bolt. It's all about getting the area safe first.
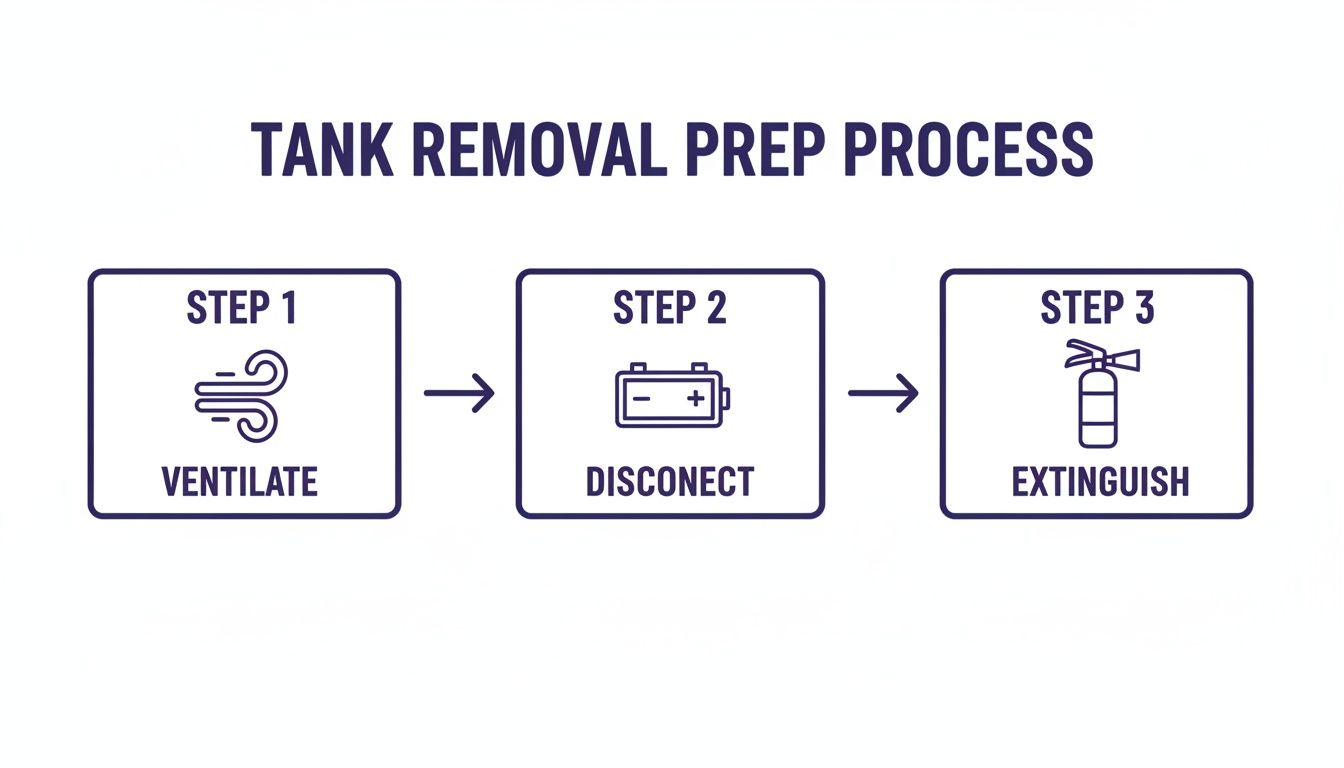
As you can see, proper ventilation, disconnecting the battery, and having a fire extinguisher at the ready are non-negotiable first steps.
Supporting and Lowering the Tank
Now for the heavy lifting. Even an empty tank can be awkward and surprisingly heavy, especially when you're contorted in the tight space of a bilge. The absolute key here is to support the tank's weight before you undo the straps holding it in place.
Get a floor jack and slide it under the center of the tank. Don't just put the jack head directly on the tank—you'll risk denting or even puncturing it. Instead, place a piece of plywood or a couple of 2x4s on the jack to spread the load out. Gently raise the jack until it’s just taking the full weight of the tank. You’ll see the mounting straps go just a little bit slack.
With the jack holding the weight, you can now start loosening the nuts or bolts on the mounting straps. Go slowly, working back and forth between the sides. Loosen each one a little at a time to keep the tank from tipping. Never fully remove one side while the other is still tight.
Once the straps are off, slowly and steadily lower the jack. It's incredibly helpful to have a buddy here to help guide the tank down, keeping an eye out for any wires or hoses you might have missed. You'll likely have to tilt and angle the tank to maneuver it around the boat's stringers or other structural parts. Just take your time.
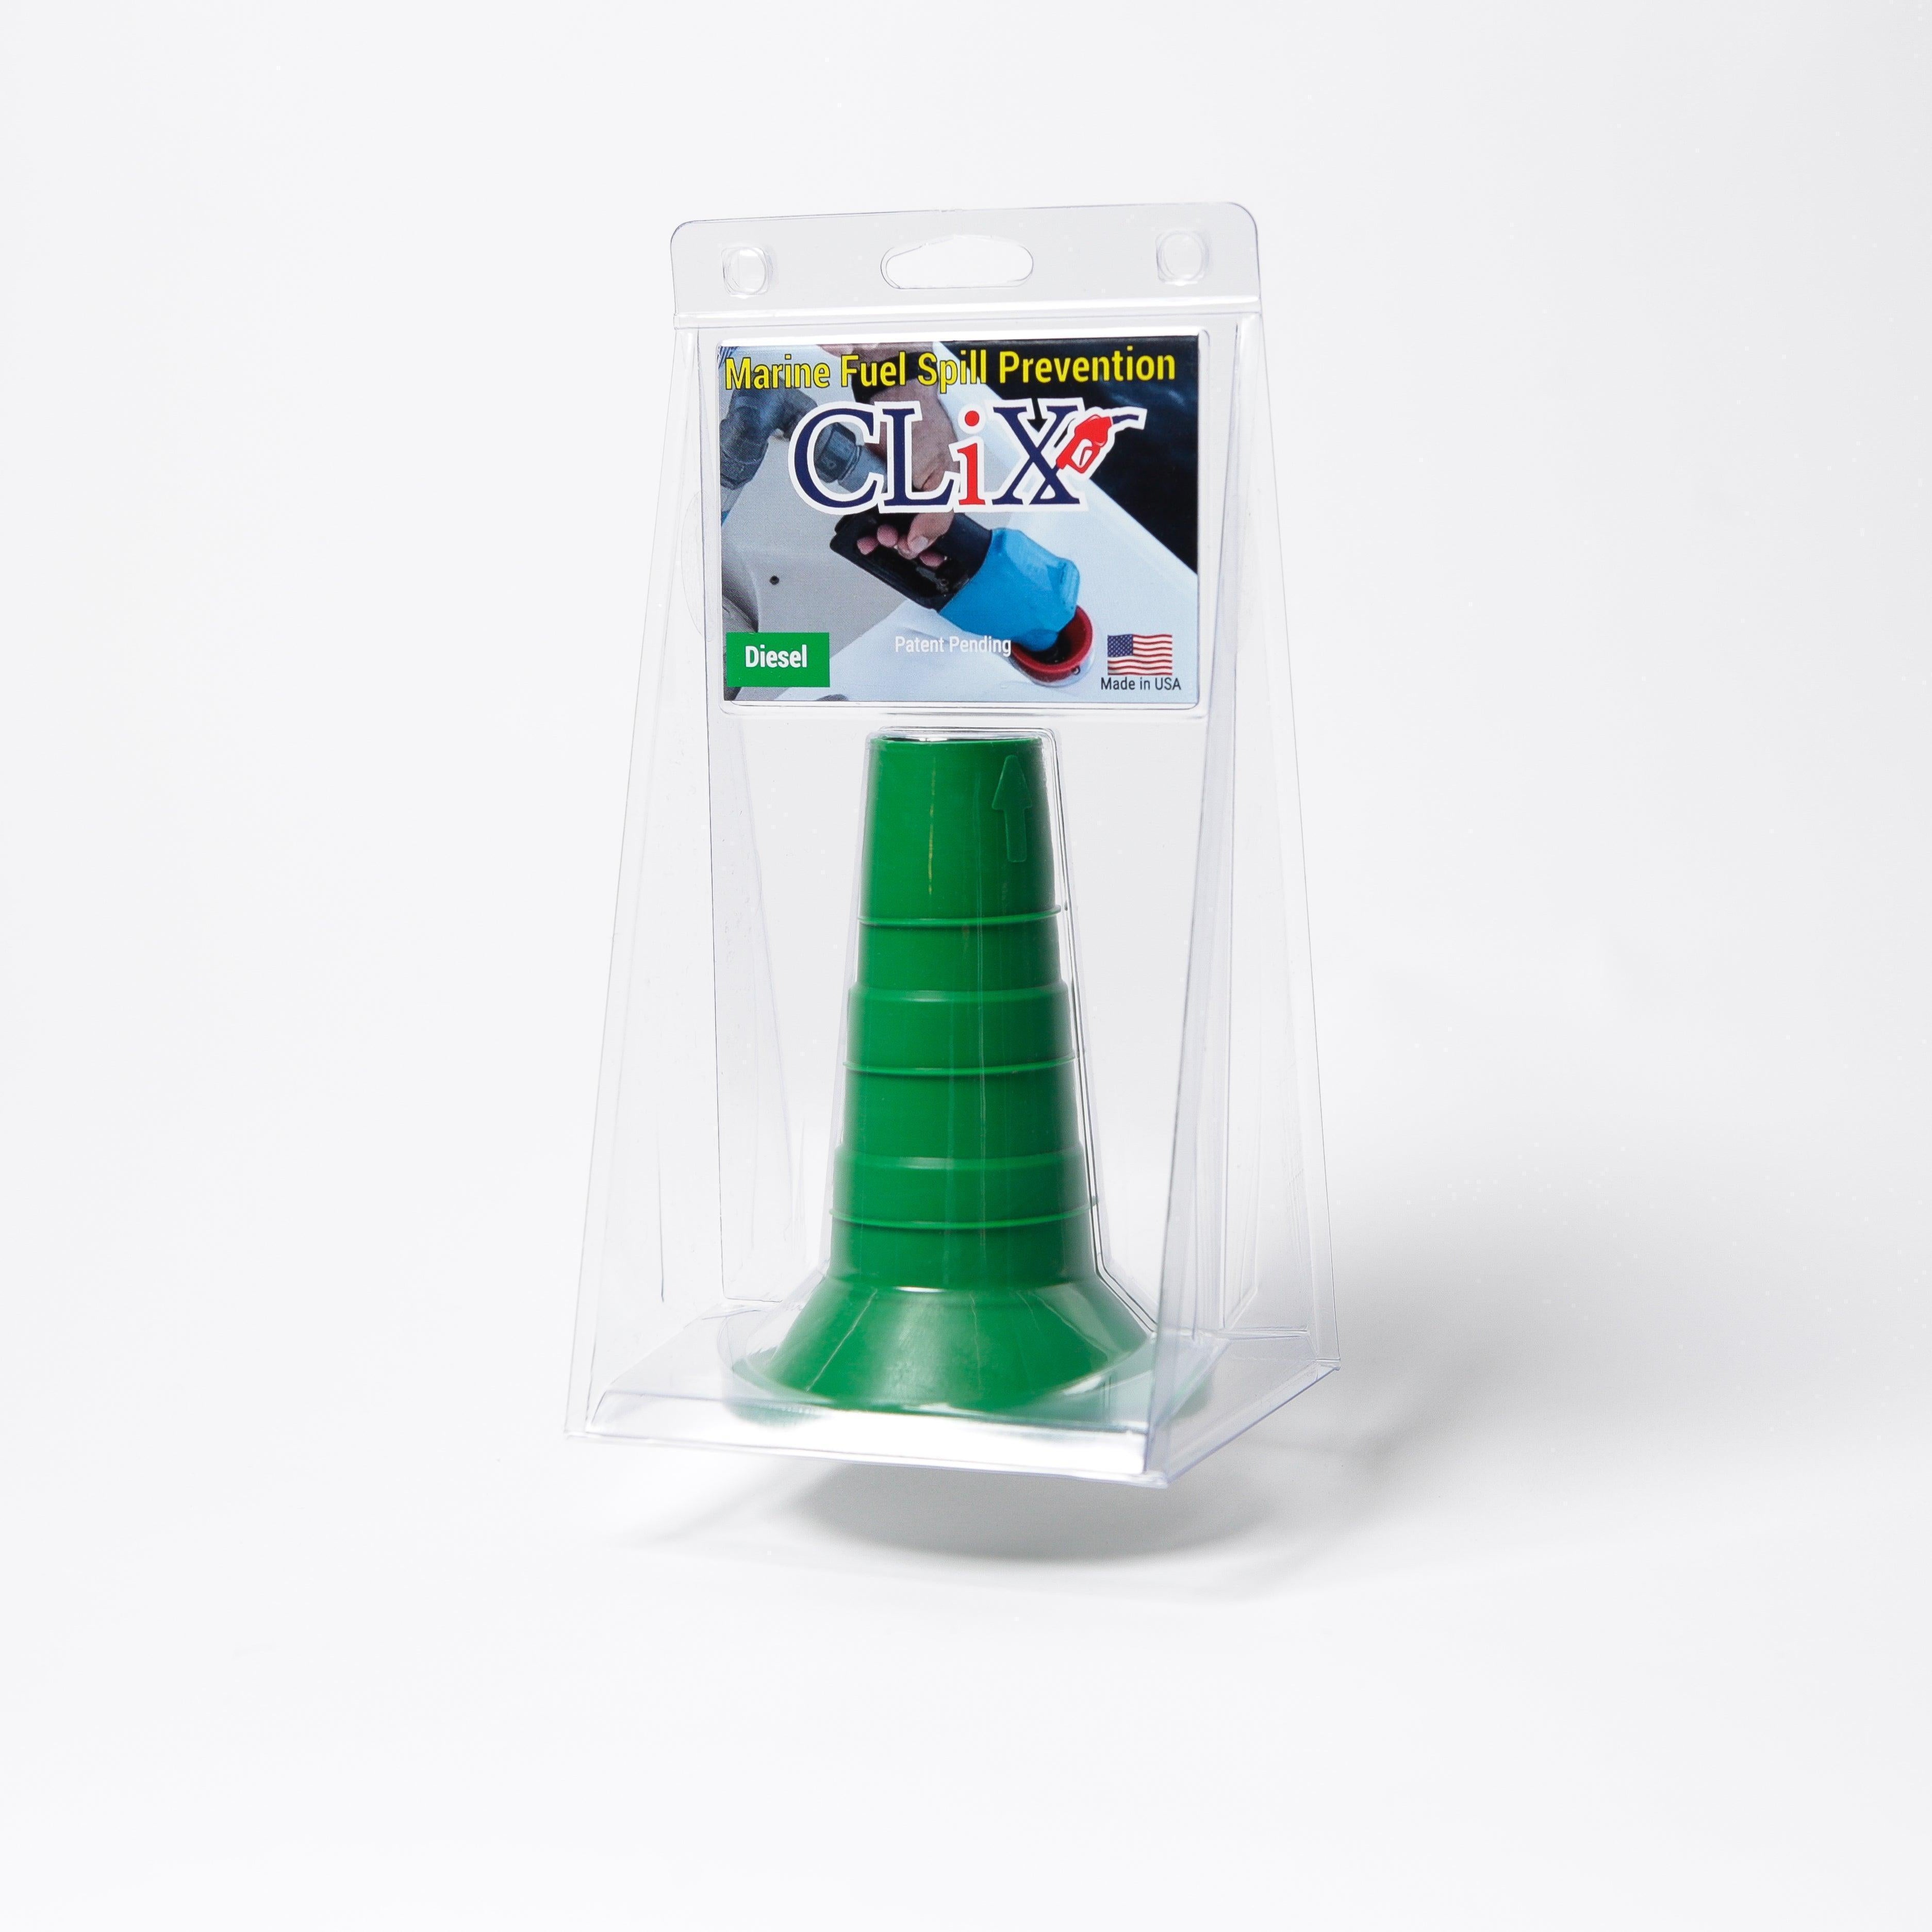
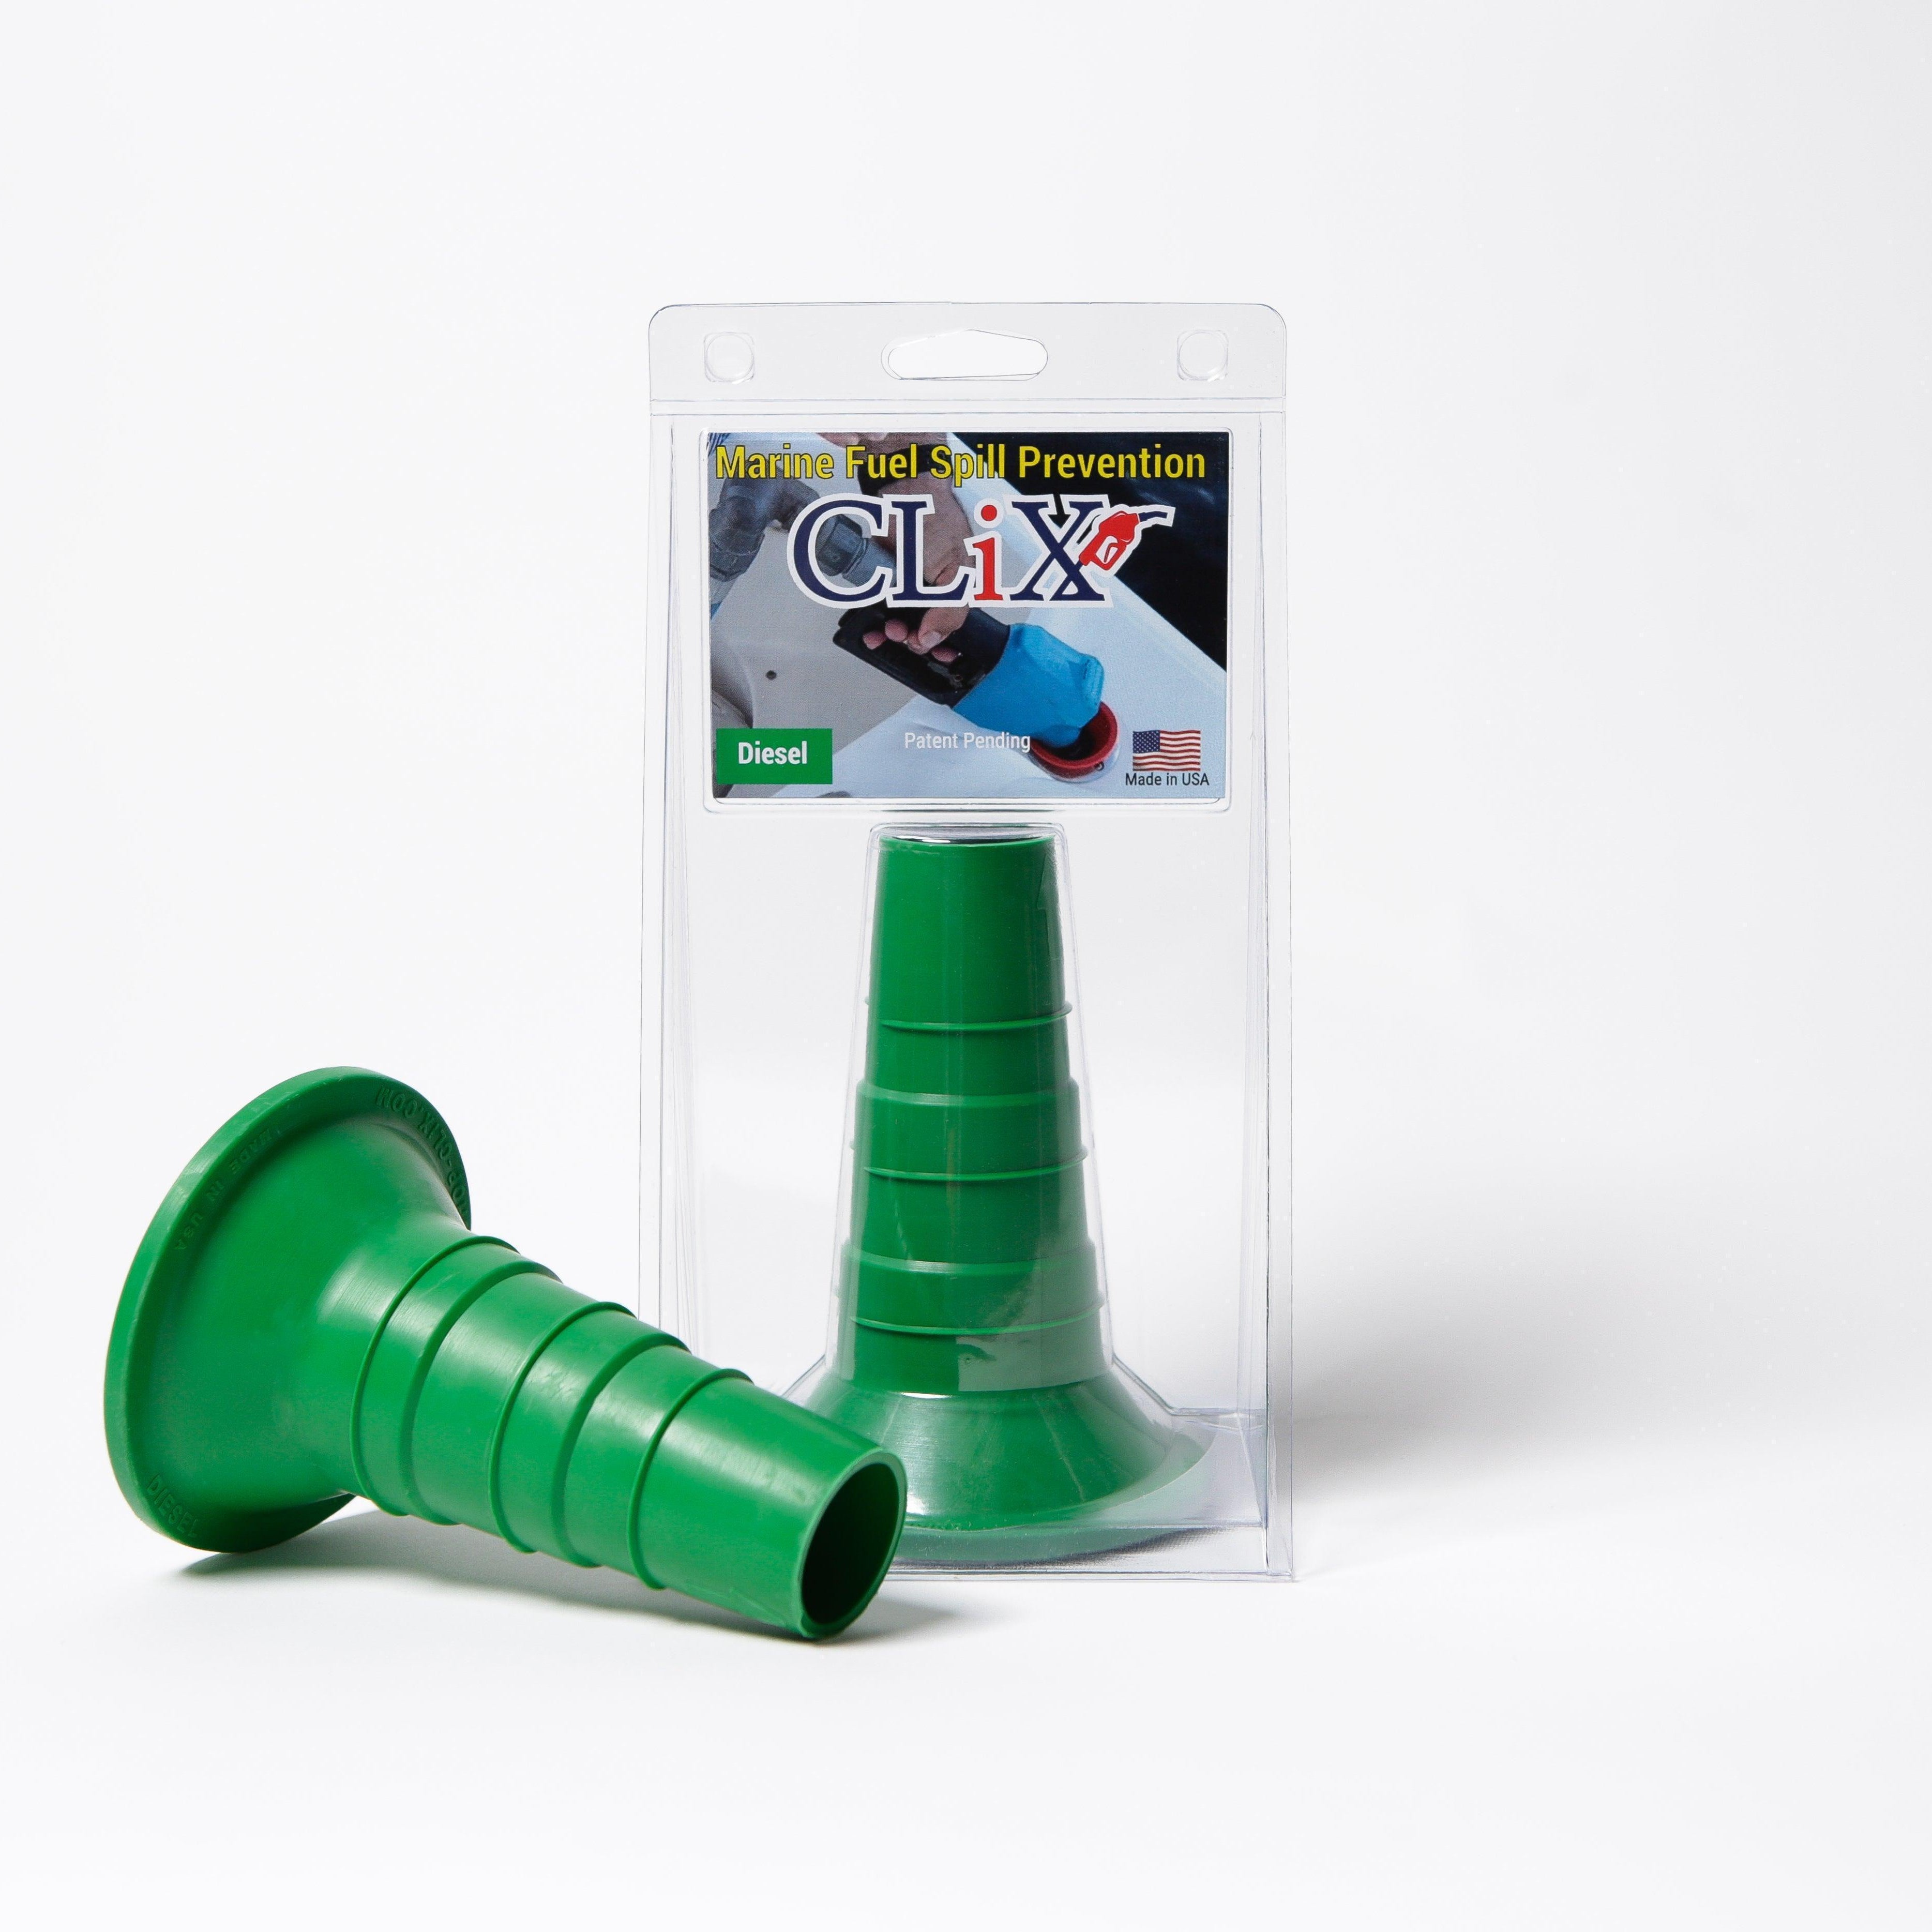
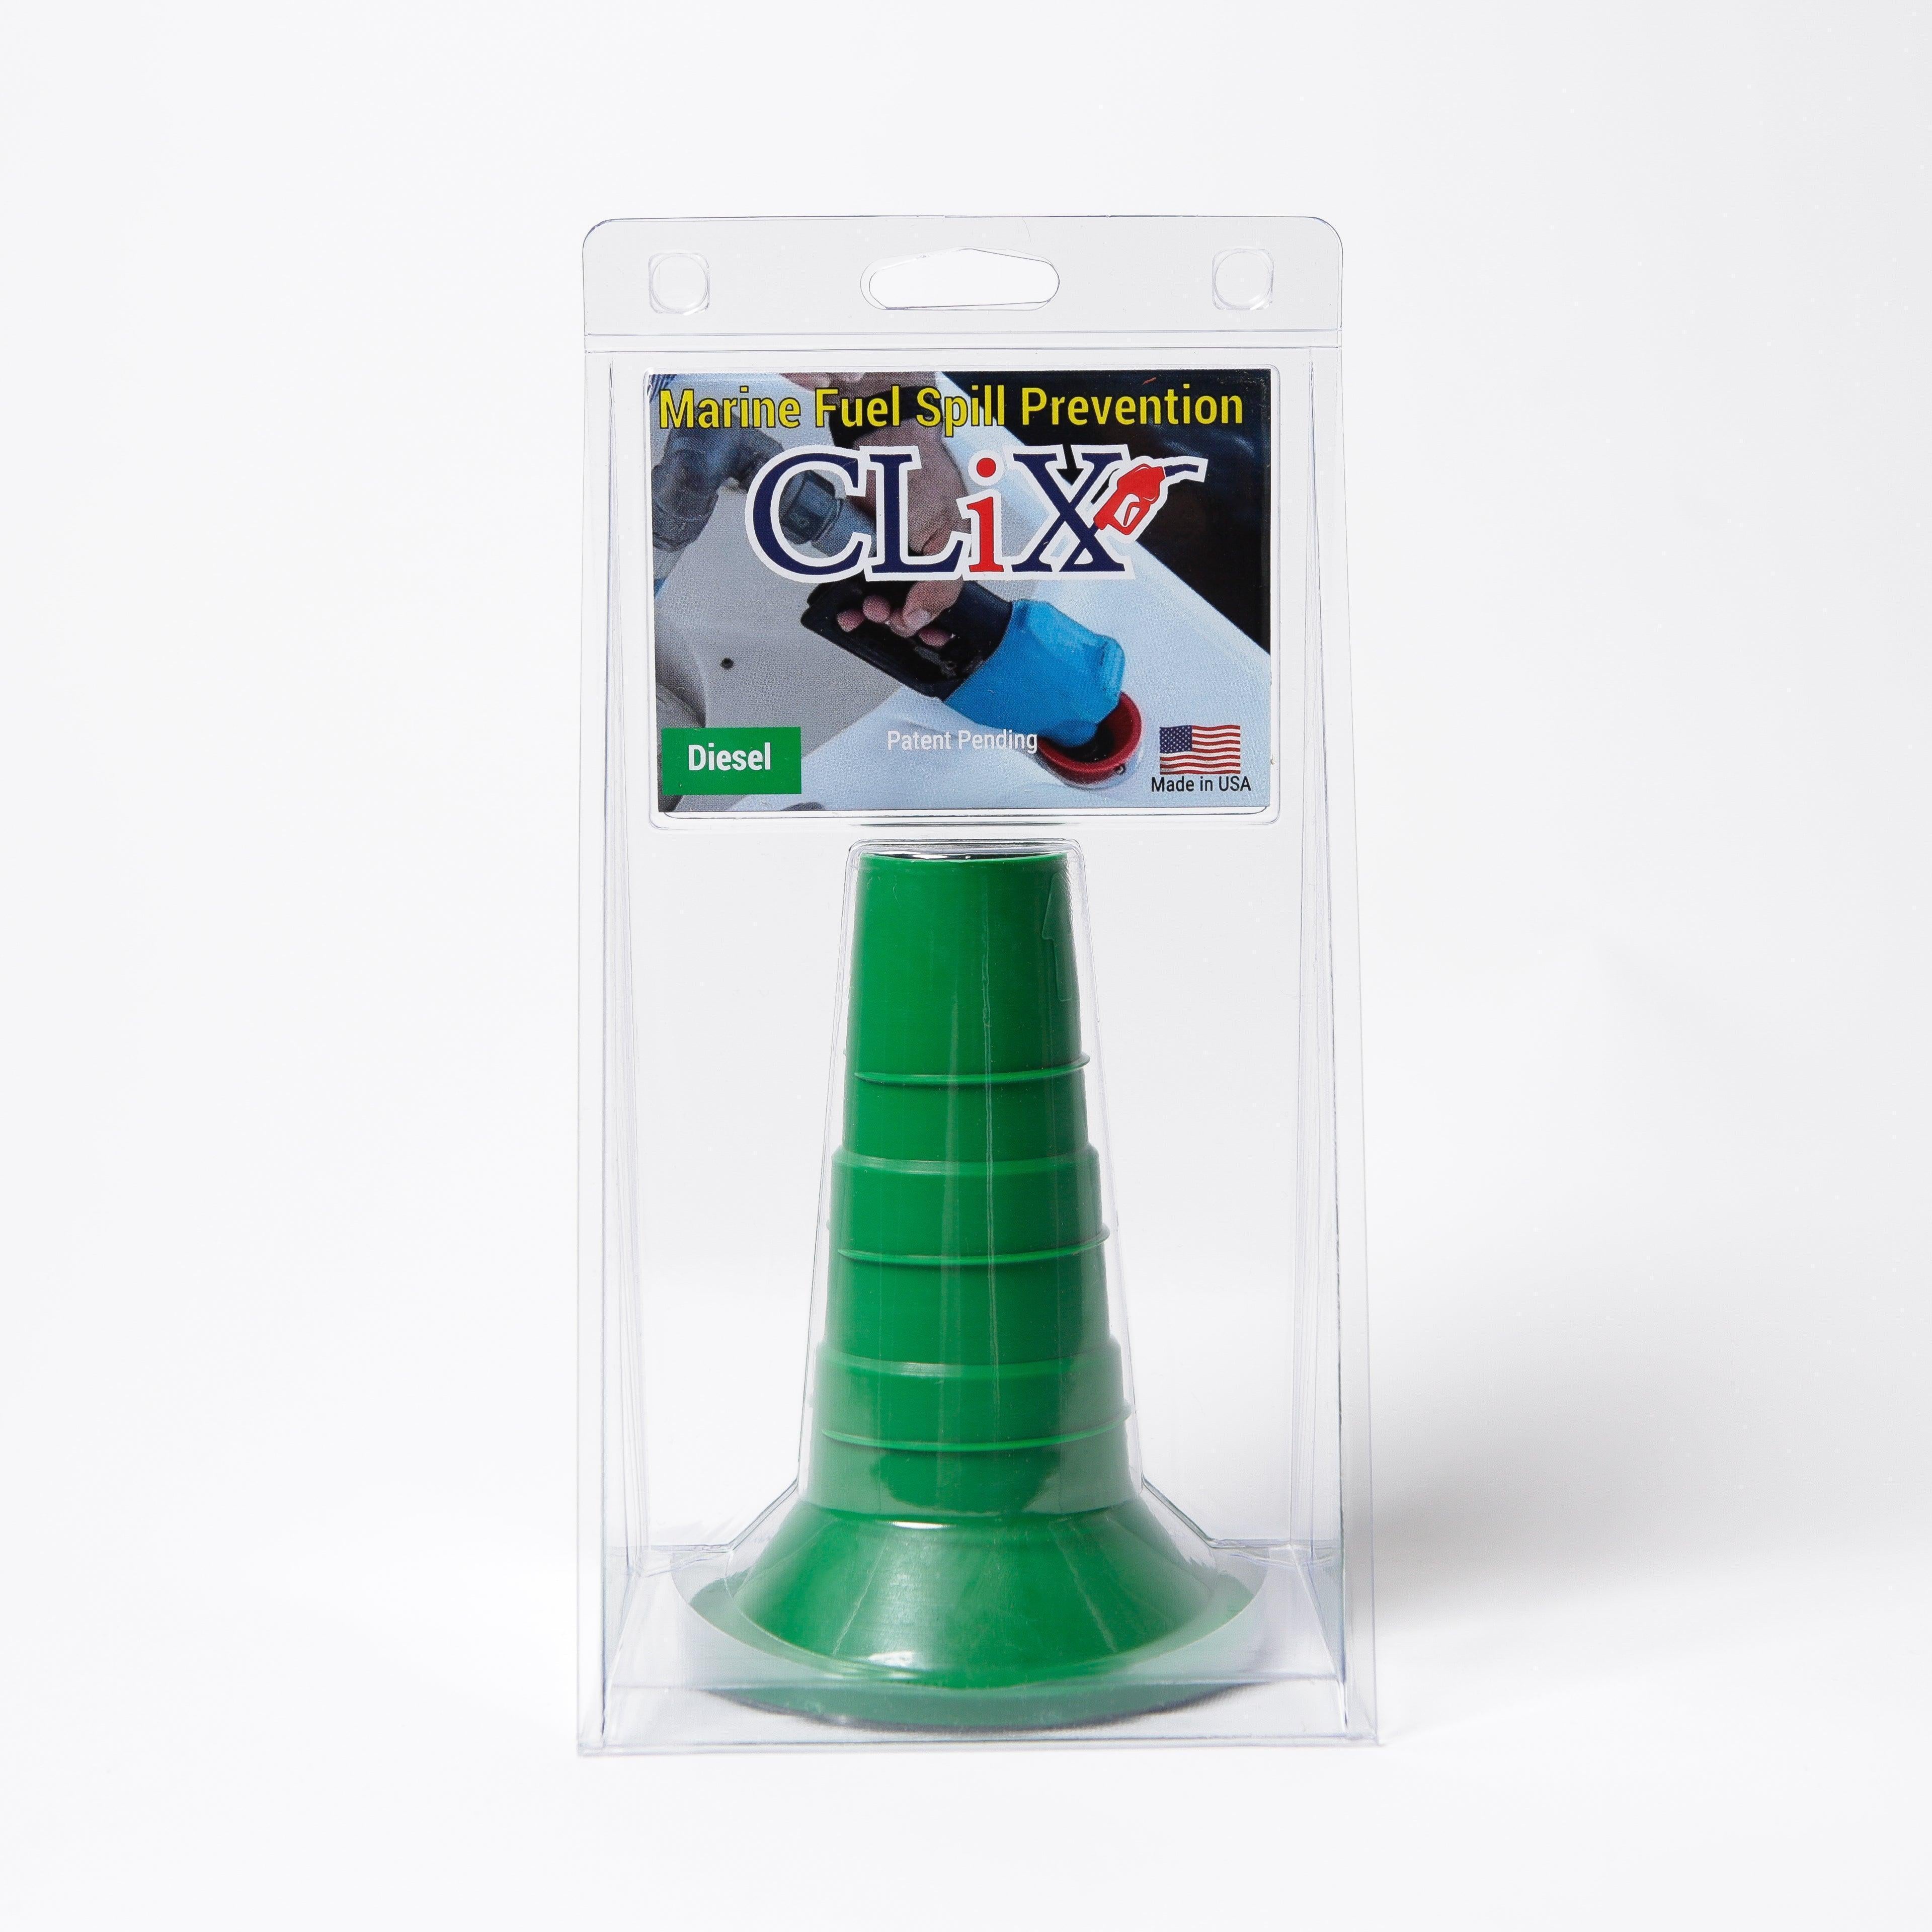
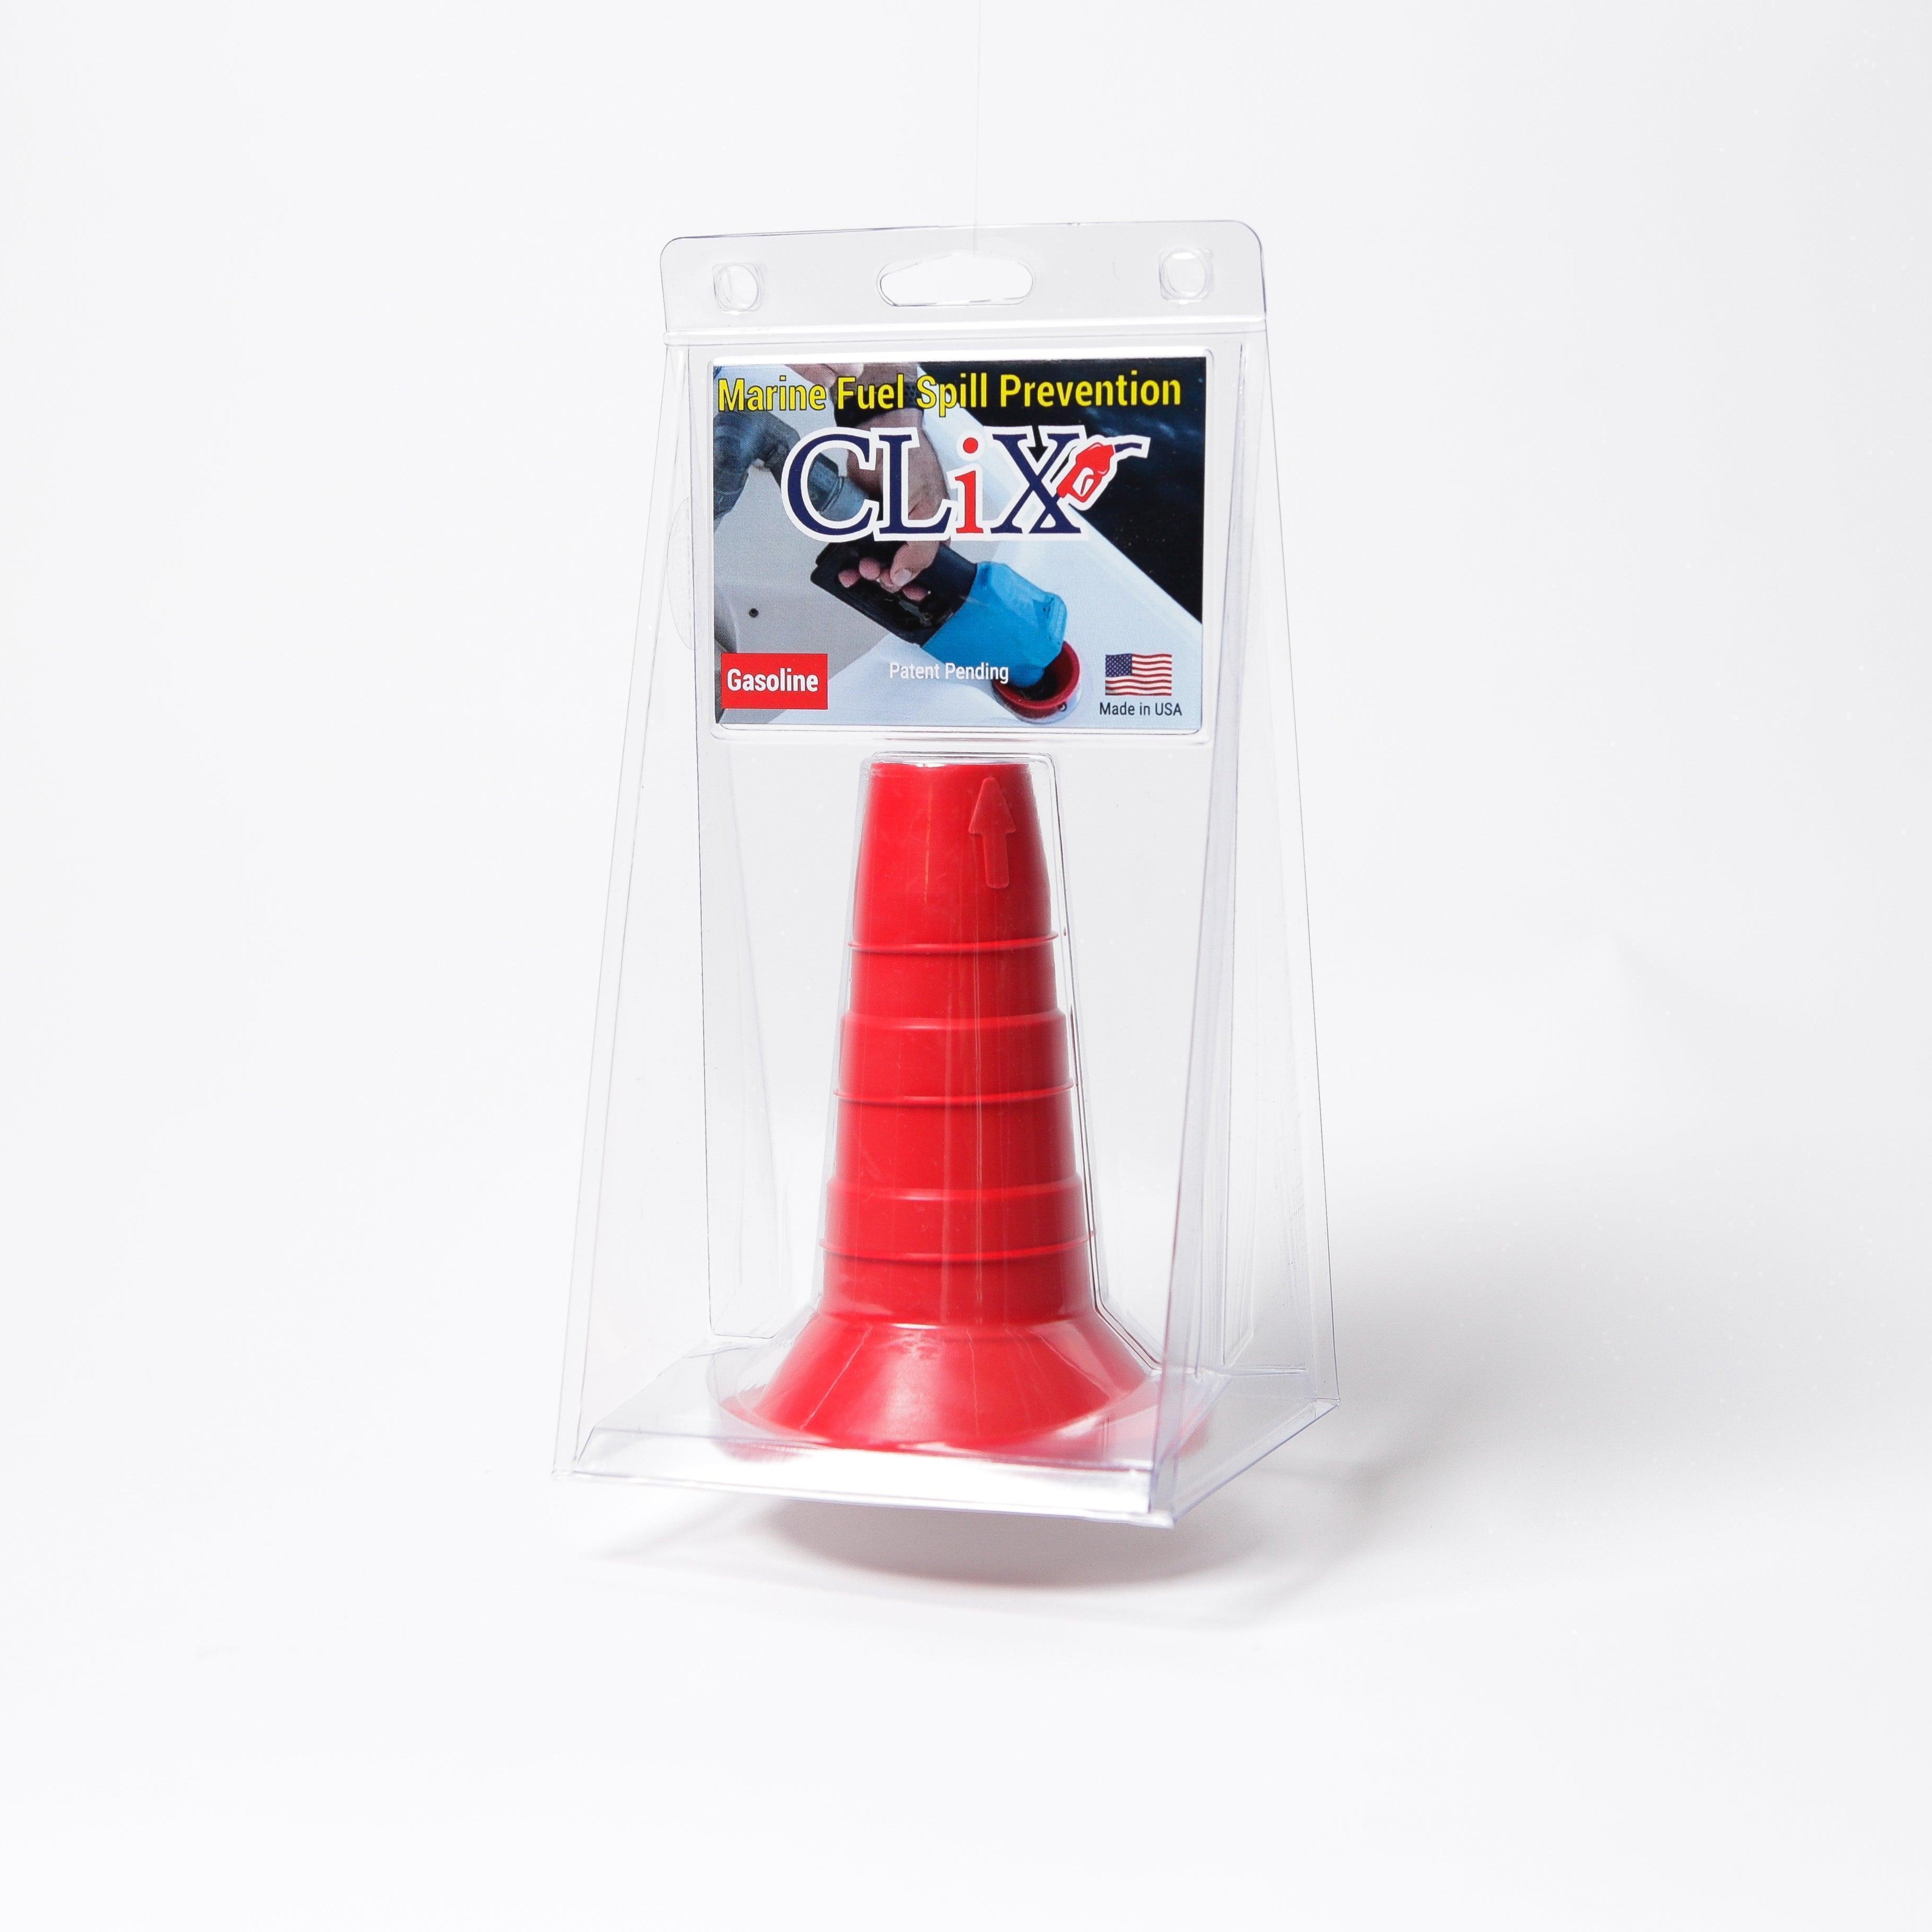
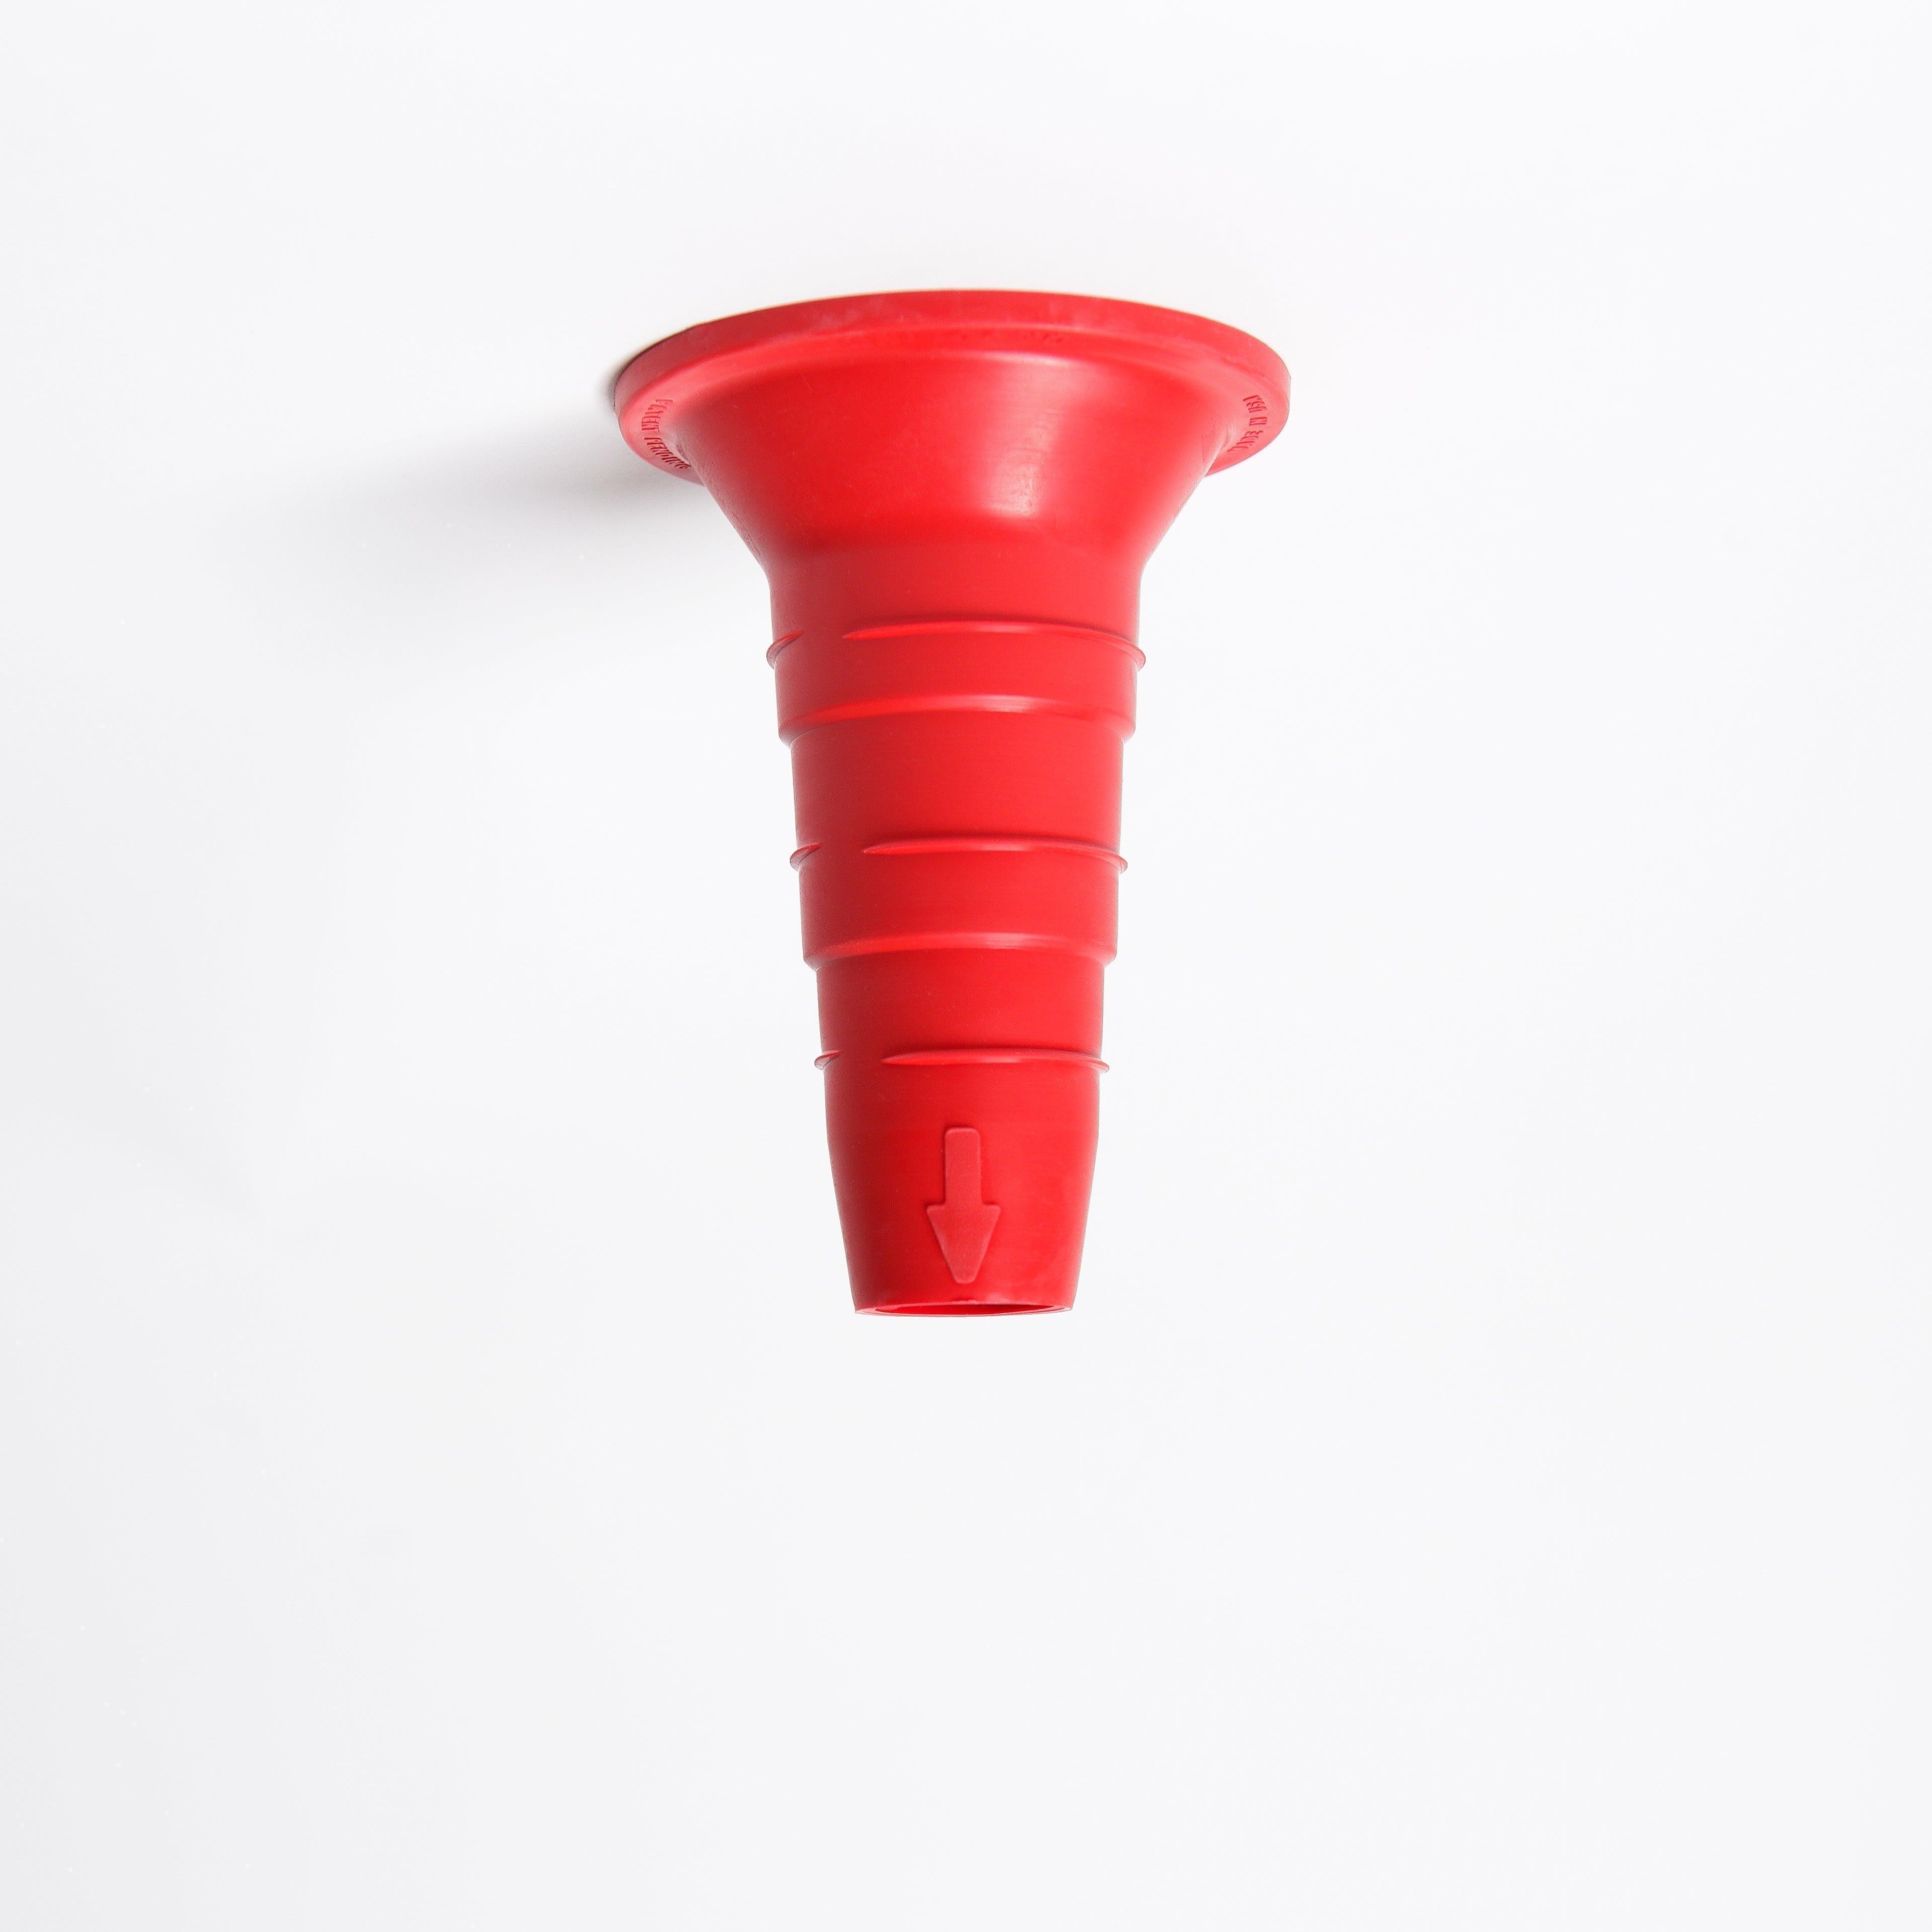
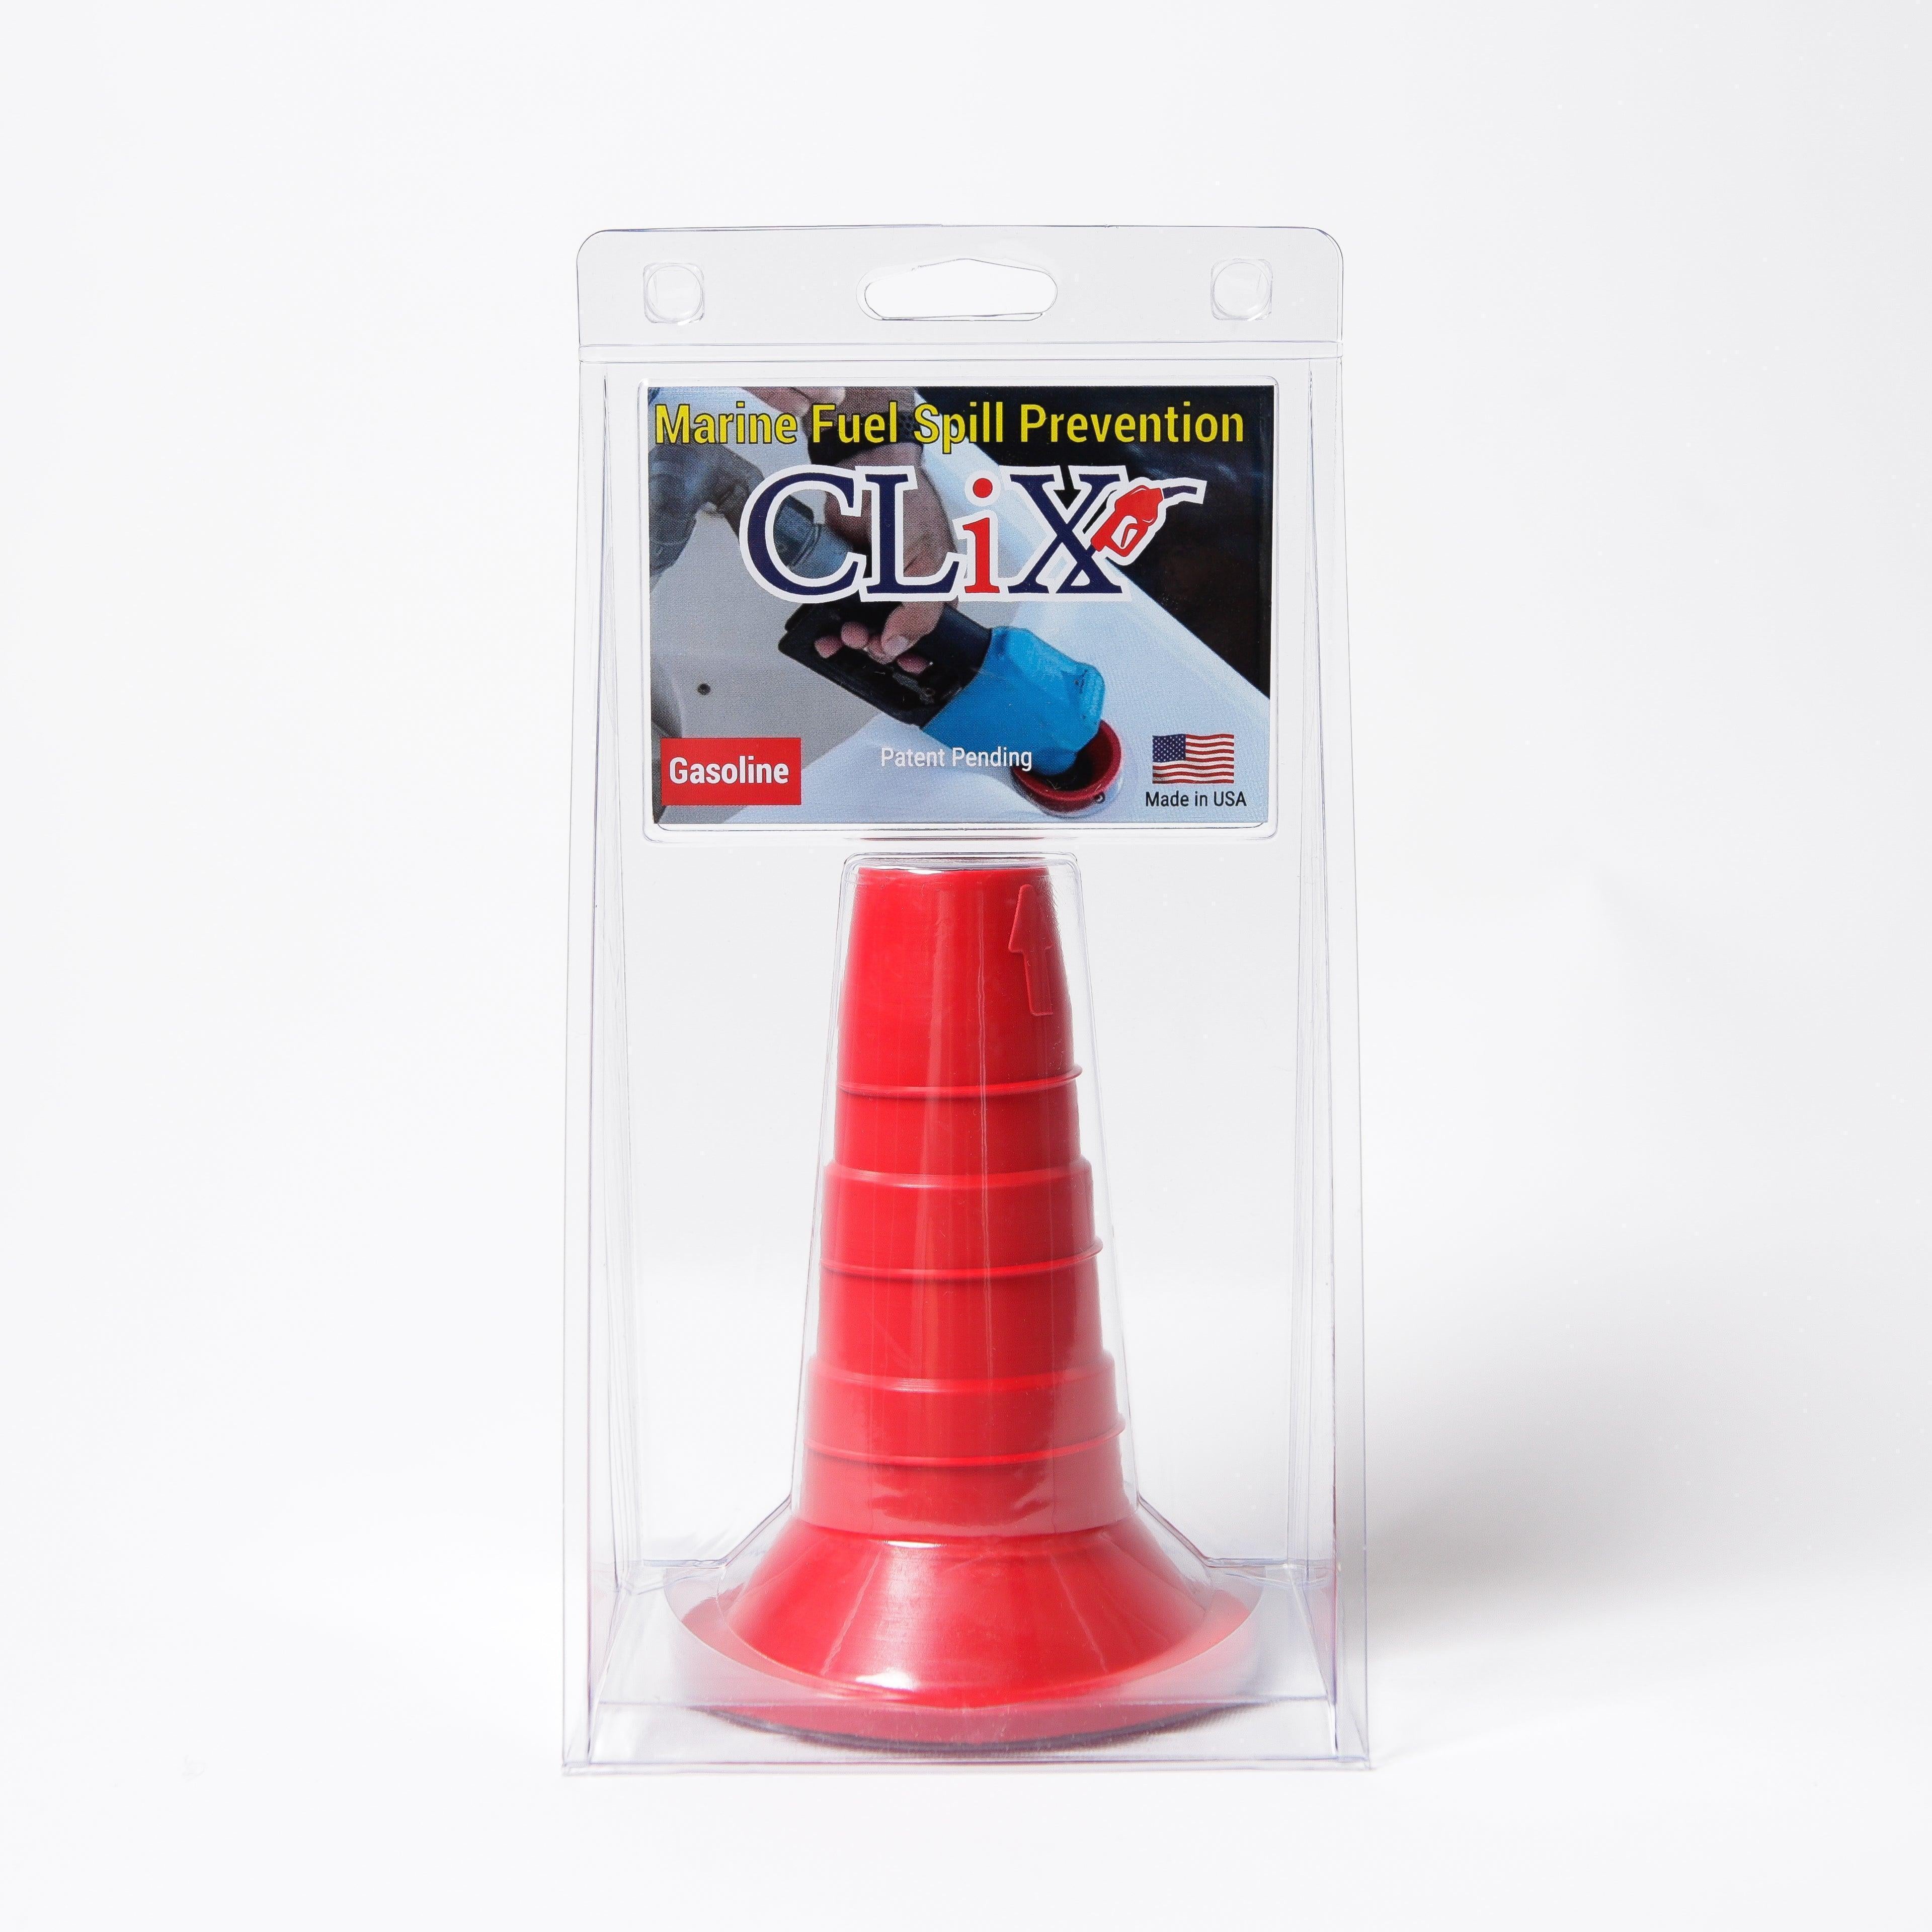
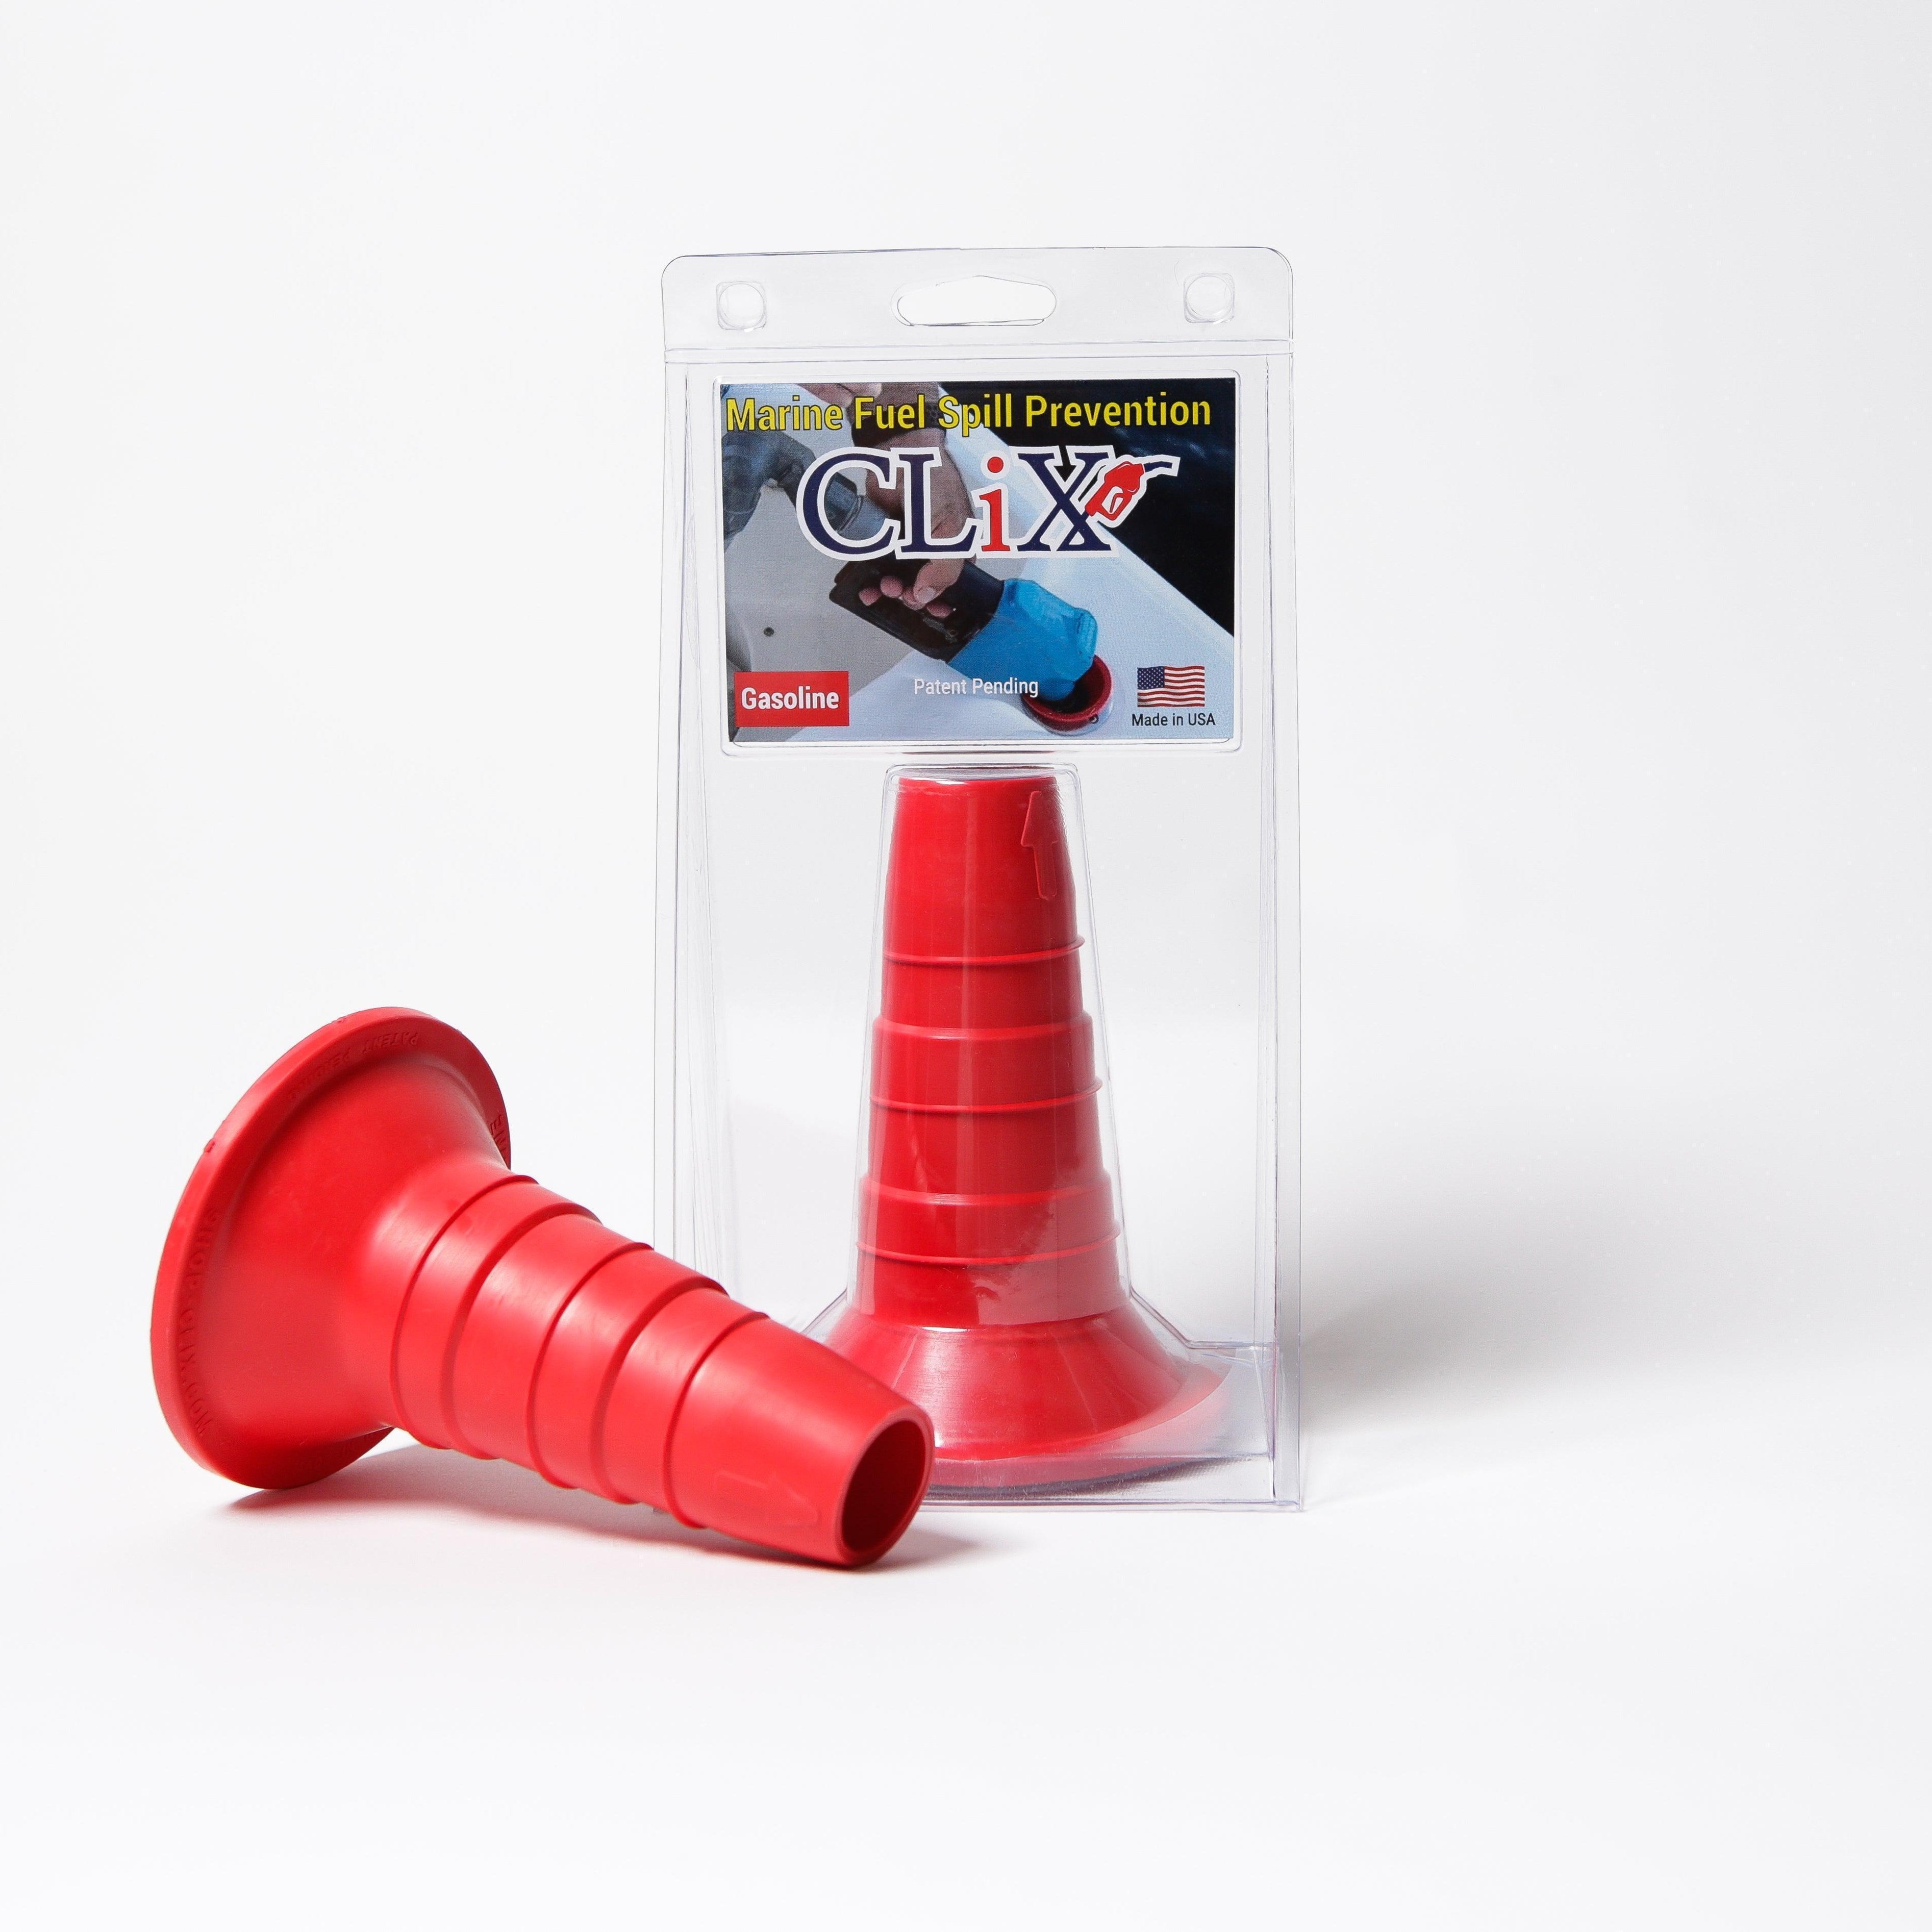
This whole process is a lesson in why reliable systems are so critical. The catastrophic CAPECO incident back in 2009, where a 5-million-gallon tank overflowed because of a failed gauge and human error, is a stark reminder of what’s at stake. While your boat is on a much smaller scale, the risks of faulty gauges and overfills are the same. It’s why products like CLiX Fueling Solutions exist—to provide a reliable, automatic shutoff that prevents spills, removing the guesswork from potentially inaccurate gauges. You can get more information about this at how to drain a boat gas tank.
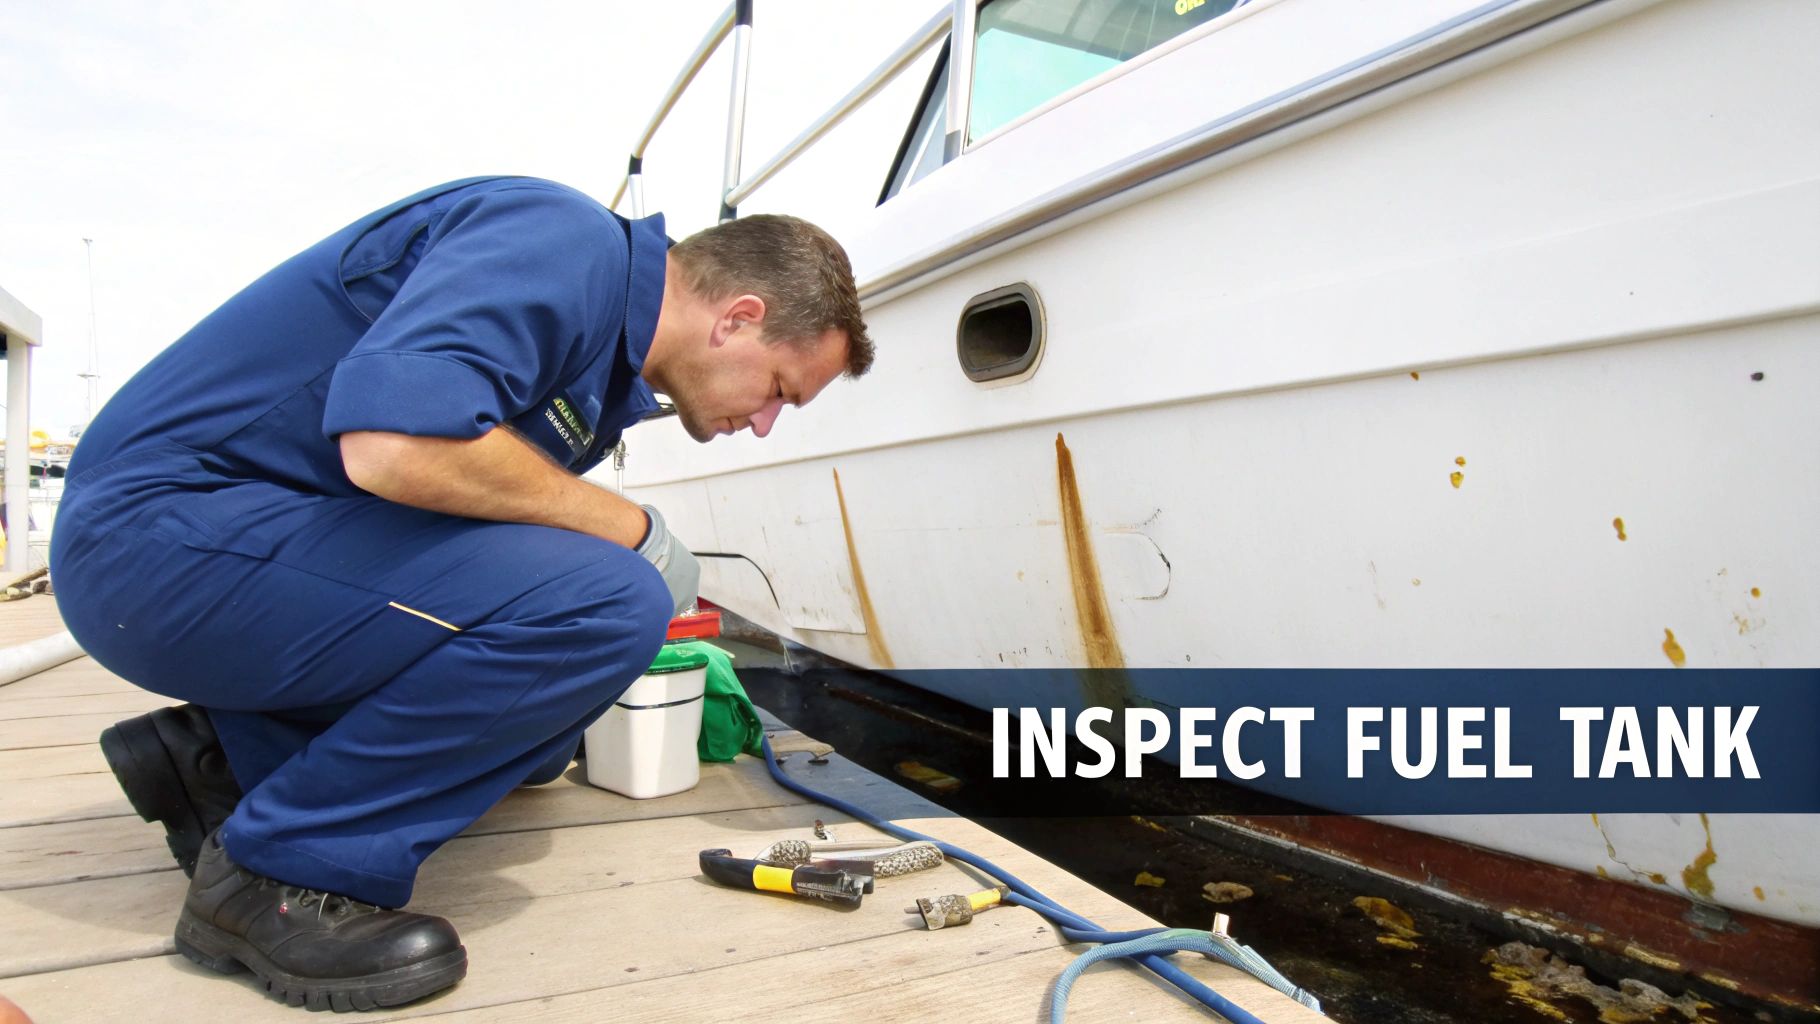
Giving the Tank a Thorough Once-Over
Okay, the tank is out. Now the real work begins. This is your chance to play detective and figure out what’s really been going on in your fuel system. Don’t rush it. A careful inspection at this stage can save you from tearing everything apart again next season.
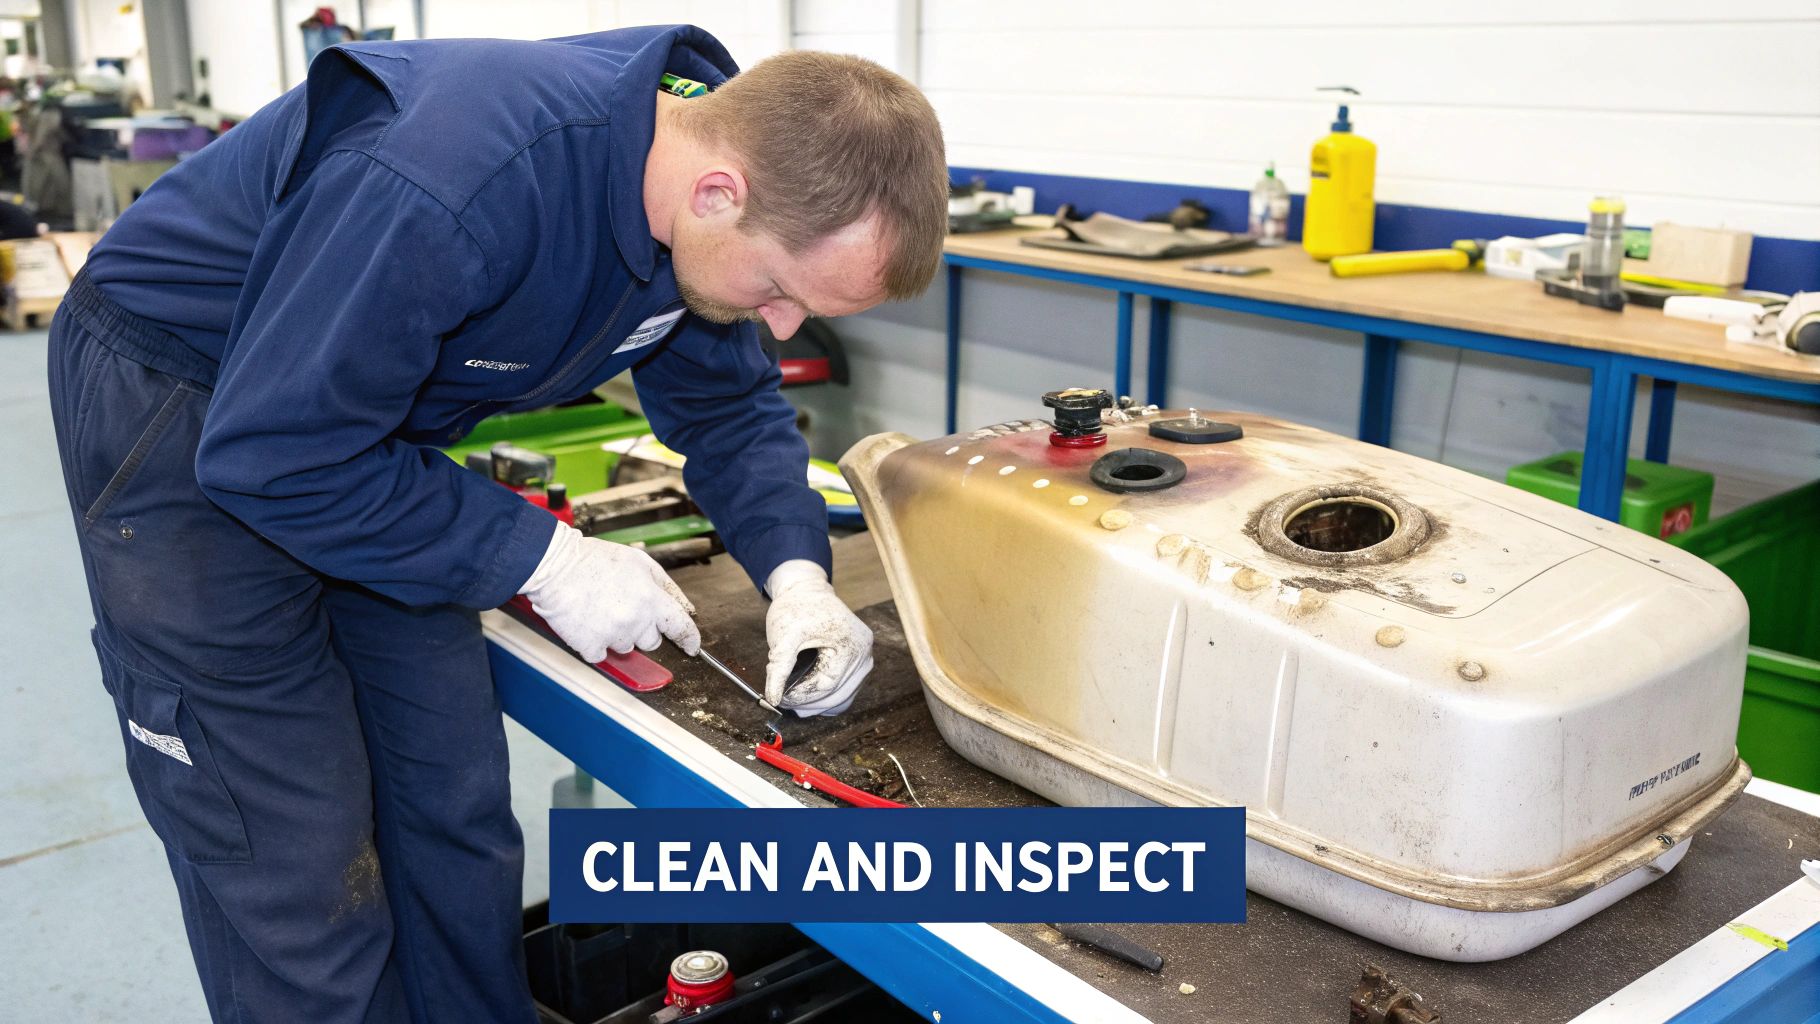
First things first, give the outside of the tank a good cleaning. You’re looking for problems you couldn’t see when it was buried in the hull.
- Pitting Corrosion: Check aluminum tanks for tiny, deep pits. This is classic crevice corrosion, often found where water gets trapped under mounting straps or against the hull.
- Stress Cracks: Look very closely at the welds, corners, and bends. Years of bouncing around on the water can cause fine cracks to form—often the culprit behind those faint, hard-to-trace fuel smells.
- Failing Fittings: Examine every threaded fitting. Are the threads stripped? Do you see any signs of weeping or stains? Also, give the fuel pickup tube a wiggle to make sure it’s solid and not clogged up.
Dealing With the Sludge Inside
Time to peer inside. A good, bright flashlight aimed through the sending unit hole will tell you a lot. Don't be surprised if you find a nasty cocktail of sludge, sediment, and maybe even some water pooled at the bottom. This is the stuff that kills fuel filters and makes engines quit at the worst possible times.
To get it clean, pour a little fresh gas or a dedicated tank cleaner inside and slosh it around. Pour the contaminated fuel into a separate, clearly labeled container for disposal—never back into your main fuel supply. Keep repeating this rinse-and-dump cycle until the liquid comes out looking clean. For really stubborn gunk, a long-handled, soft-bristle brush can help, but be careful not to gouge the inside of the tank.
A critical pro-tip: Never use water or soap to clean the inside of a fuel tank. Water is your absolute enemy here; it causes corrosion and lets microbes grow. Stick with solvents designed for fuel systems that will evaporate completely without leaving any residue.
For a really deep dive on this, our expert guide on marine fuel tank cleaning covers more advanced techniques and safety measures you’ll want to know.
The Big Question: Repair or Replace?
After a solid inspection and cleaning, you have to make the call. Is this tank good enough to go back in, or is it time to bite the bullet and buy a new one?
When to Consider a Repair:
- A certified welder who specializes in fuel tanks might be able to fix a minor pinhole leak in an aluminum tank. This is absolutely not a DIY welding job.
- Sometimes you can replace a bad fitting, but only if the threads in the tank itself are still in perfect condition.
When It’s Time for a New Tank:
- If you see widespread pitting or corrosion, the tank is structurally compromised. It's done.
- Multiple stress cracks, especially around the welds, are a huge red flag. The metal is fatigued and will just keep cracking.
- If a professional repair is going to cost 50% or more of what a new tank costs, just get the new one. It's a much smarter long-term investment in your boat's safety and reliability.
While the tank is out, don’t forget to check all the related parts. Now is the absolute best time to replace old fuel lines that have gone stiff, any corroded hose clamps, and the fuel sending unit if it looks sketchy. Testing the sender with a multimeter is a quick check. Upgrading these small-ticket items is one of the wisest moves you can make while figuring out how to drop a fuel tank.
Putting It All Back Together: Reinstallation and Final Checks
Alright, your tank is clean, inspected, and ready to go back where it belongs. This is the home stretch, but don't rush it. Getting everything reinstalled properly is just as critical as taking it apart. The best way to tackle this is to simply work backward. All those photos you took and labels you made? That's your treasure map now.
Get your floor jack and wood block setup ready again and gently hoist the tank back into its bay. Go slow. You need to make sure it seats perfectly without crushing a wire or kinking a hose. This is a game of millimeters, and a little patience here will save you a massive headache later.
Getting the Tank and Connections Right
With the tank sitting pretty, it's time to reattach the mounting straps. Snug them down, tightening the bolts a little at a time on each side. The goal is to get it secure, but do not overtighten them. Cranking down too hard can easily warp an aluminum tank or crack a plastic one, and you’ll be right back where you started with a brand-new leak.
Now, turn your attention to the fuel system's lifelines—all the hoses and wires. Reconnect the fuel fill, vent line, and the main supply line going to the engine. Double-check your labels to make sure everything goes back to its original spot.
Here’s a piece of advice I can't stress enough: use brand-new, marine-grade hose clamps on every single connection. Seriously. Old clamps stretch, corrode, and lose their grip. For the few bucks it costs, new clamps are the best and cheapest insurance policy you can buy against a catastrophic fuel leak.
Once the hoses are on tight, reconnect the wires for the fuel sending unit. Make sure the connections are clean and solid—that's the only way you'll get a reliable reading on your fuel gauge.
The Make-or-Break Leak Test
Before you pat yourself on the back, you have to do a leak test. Don't even think about filling the tank all the way up. Just add a gallon or two of fuel. That’s just enough to get the bottom fittings and connections wet without creating a huge mess if something is wrong.
Grab a good flashlight and a clean, dry rag. It's time to get up close and personal with every single connection you touched:
- The sending unit gasket
- All the hose fittings for the fill, vent, and supply lines
- The base of the fuel pickup tube
Wipe down each area and then inspect it closely for any dampness. Use your nose, too—the smell of raw fuel is a dead giveaway. Even the smallest weep is a total failure. If you find anything, you'll need to drain that small amount of fuel and fix the problem before going any further.
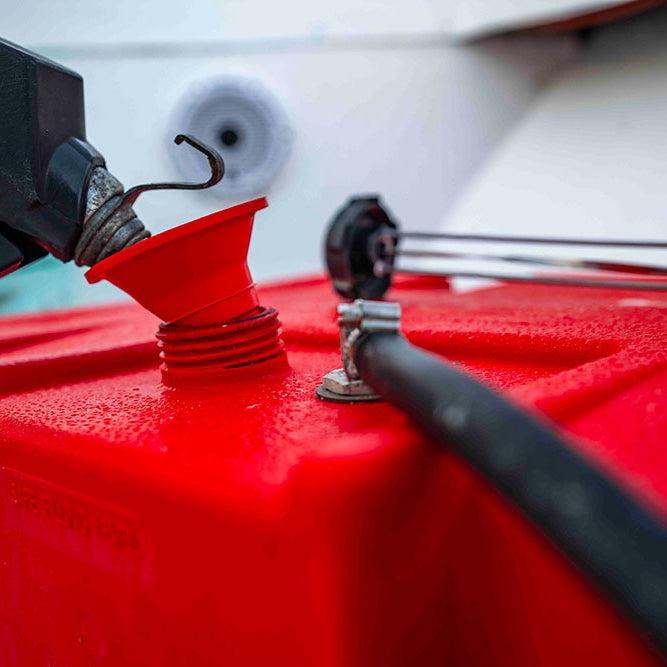
This final check is about more than just your boat; it’s about protecting the water we all enjoy. According to the Coast Guard, a staggering 64% of material-related oil spills come from fuel systems, often because of simple mistakes during fueling or maintenance. A spill can destroy your boat’s finish and electronics, which is why preventative systems like CLiX Fueling Solutions are so valuable. They automatically shut off fuel flow to prevent overfills, safeguarding both your investment and the environment. You can dig into the full report to learn more about preventing operational oil spills.
Once you’re 100% certain there are no leaks, you can fill the tank, fire up the engine, and give everything one last look while it’s running.
Still Have Questions About Dropping a Fuel Tank?
Even with a good guide, pulling a fuel tank for the first time can feel a little daunting. You know the steps, but what about the little things that pop up along the way? Let's tackle some of the most common questions boat owners run into with this project.
How Do I Know if My Boat's Fuel Tank Really Needs to Come Out?
The signs are often subtle at first, but they have a way of getting your attention. That persistent smell of gas in the bilge that you can't pin down? That’s a classic, and it’s a huge red flag.
Here are a few other tell-tale signs that your tank needs a closer look:
- Visible Corrosion: Look for ugly stains, pitting, or rust on the tank body. Pay close attention to the spots where it touches the hull or where the mounting straps hold it down.
- Constant Fuel Problems: If you feel like you're always draining water from your fuel separator or changing clogged filters, the problem is likely starting inside the tank itself.
- A Broken Fuel Gauge: When your fuel gauge gives up the ghost, the sending unit is the usual suspect. On a lot of boats, getting to it is impossible without at least partially dropping the tank.
If you're nodding along to any of these, it’s time to plan for an inspection, and that almost always means the tank has to come out.
What’s the Right Way to Get Rid of Old Gasoline?
This is a big one, both for your safety and for the environment. Whatever you do, never dump old fuel overboard, on the ground, or down a storm drain. It’s considered hazardous waste, and you have to treat it that way.
The best thing to do is call your local marina, a trusted auto repair shop, or your town’s hazardous waste facility. They’ll tell you exactly where to take it. Make sure you transport the fuel in a sealed, government-approved container. The same goes for any gnarly chemical cleaners or sludge you get out of the tank.
A quick heads-up: local rules for hazardous waste can be surprisingly different from place to place. Your best bet is to call your local fire department or public works office. They'll give you the exact procedure for your area so you can stay safe and on the right side of the law.
Should I Bother Repairing My Old Aluminum Tank, or Just Replace It?
This really comes down to what you find once the tank is out. You might find a certified welder who’s comfortable patching a couple of tiny pinhole leaks, but honestly, that’s usually just a temporary fix.
You should absolutely replace the tank if you see:
- Widespread pitting corrosion (looks like the surface of the moon)
- Significant rust and decay
- Stress cracks, especially around the welds or fittings
Think about it this way: the cost of a professional weld repair isn't cheap. When you compare that to the peace of mind and long-term reliability of a brand-new tank, replacement is almost always the smarter call. Plus, today's polyethylene tanks are a fantastic, corrosion-proof upgrade.
At CLiX Fueling Solutions, we're all about smart maintenance and safer boating. Our automatic shutoff system is designed to prevent those dangerous and messy fuel spills, protecting your boat and the water we all love. Ready for a better fueling experience? Check out the system at https://clixfueling.com.