Draining your boat's gas tank isn't just another chore to tick off your winterization list—it’s one of the most important pieces of preventative maintenance you can do. The goal is to safely get old or contaminated fuel out of there, usually with an electric pump or a siphon, before it can wreak havoc on your engine.
It’s Not Just a Winter Chore
Before you even think about grabbing your tools, let’s talk about why this is so critical. A lot of boat owners only drain their tanks before putting the boat away for the season, but that's a narrow view. Honestly, thinking ahead and getting that fuel out is a smart move that protects your investment and keeps your boat reliable all year long.
You’re really fighting against two main culprits: fuel degradation and water contamination.
When gas just sits around, especially the ethanol-blended stuff most of us use, it starts to go bad. The fuel oxidizes and breaks down, leaving behind gummy deposits and a nasty varnish. Think of it like molasses thickening up in your fuel lines. This gunk clogs everything—lines, injectors, carburetors—leading to a rough-running engine and, eventually, some seriously expensive repair bills.
The Silent Killer: Water in Your Fuel
Water is the absolute nemesis of a boat's fuel system. It’s sneaky, too. It can get in from condensation as the temperature swings, from a fuel cap that isn’t sealed tight, or even from small leaks you’d never notice.
What makes it worse is the ethanol in our fuel. Ethanol is hygroscopic, which is a fancy way of saying it loves to absorb water right out of the air.
Once the ethanol has soaked up enough water, you get something called phase separation. This is where the ethanol-water mixture separates from the gasoline and, because it's heavier, sinks straight to the bottom of your tank. This corrosive, watery sludge is the first thing your engine will try to suck up, causing it to sputter, stall, and do some real damage to your fuel system's internal parts.
Believe it or not, water contamination is a massive headache for boaters. I've seen older boats with as much as 20 gallons of water sloshing around in the fuel tank or the surrounding cavity from leaks or hull design flaws.
Getting that water out is non-negotiable if you want to avoid serious engine trouble. It’s such a common problem that most modern boats come with fuel-water separators, and there are plenty of additives you can use to help fight it. If you want to dive deeper, you can learn more about how to remove water from a boat's fuel tank and keep your engine safe.
Once you understand these risks, you start to see that draining the tank is less of a chore and more of a cornerstone of smart boat ownership.
Getting Your Gear Together: The Right Tools for a Safe Fuel Drain
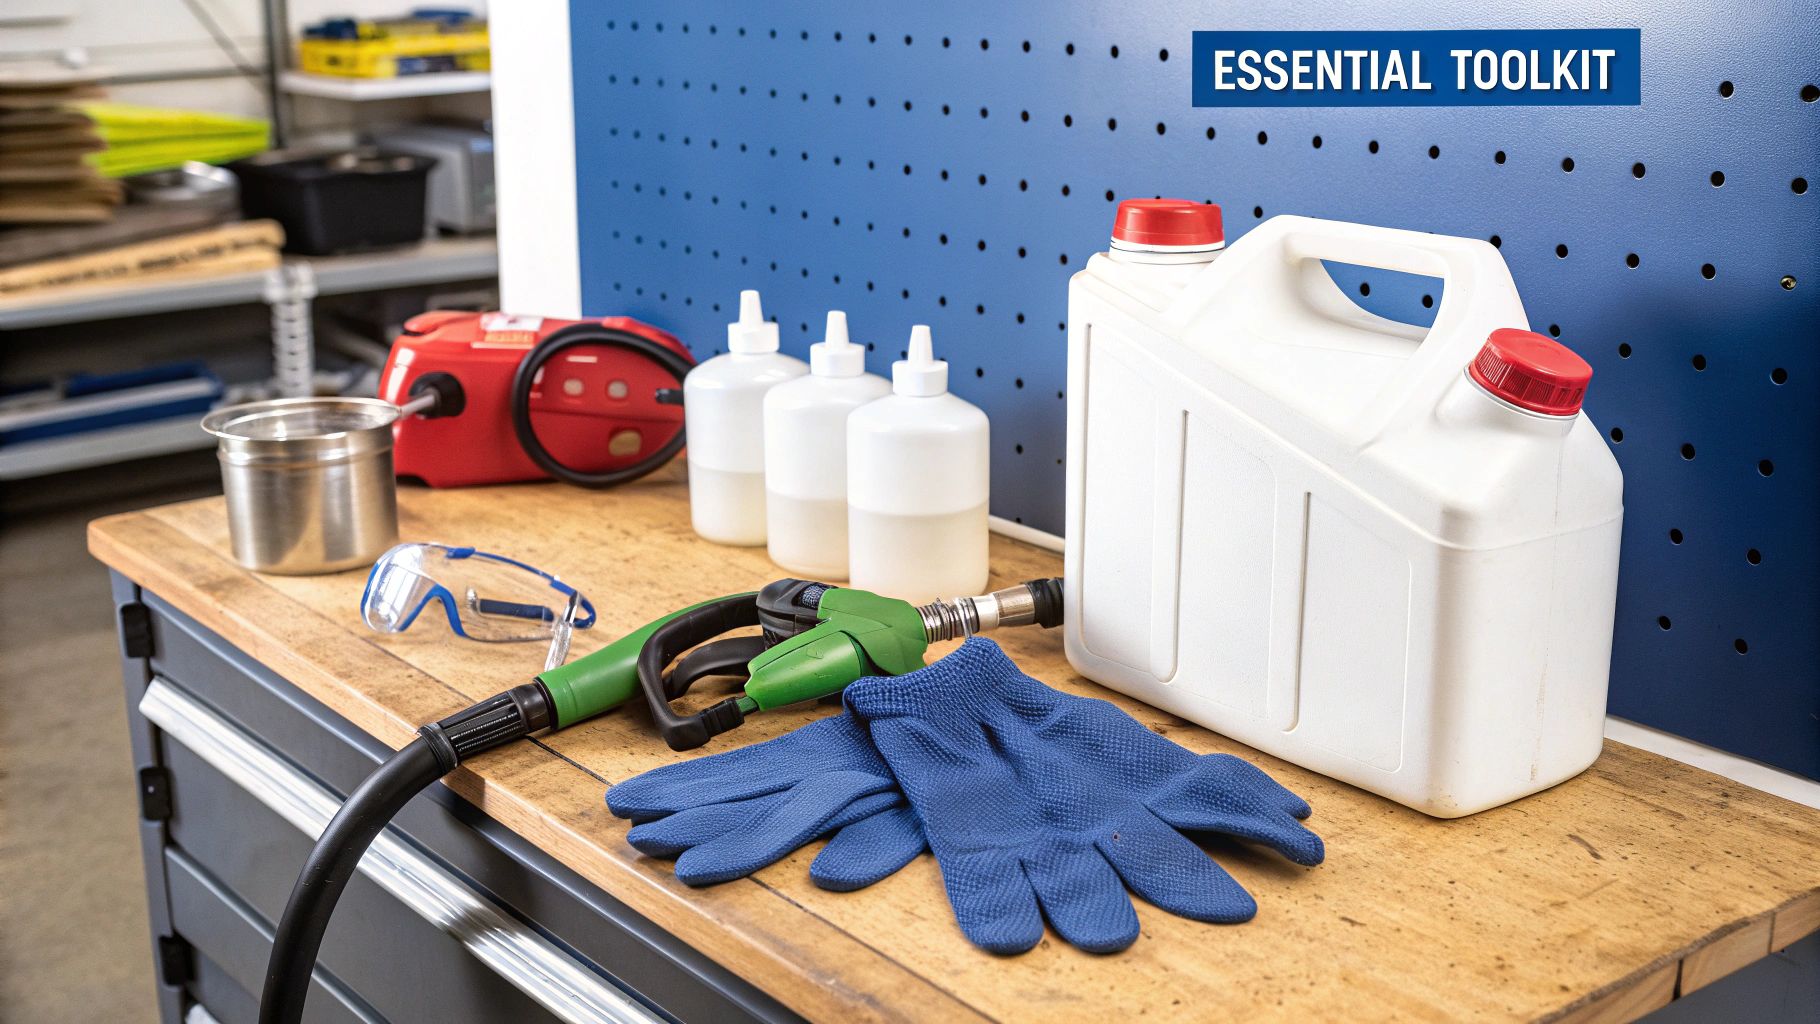
Before you even think about touching the fuel lines, let's talk about getting prepared. Working with gasoline is no joke—it demands respect. Taking the time to gather the right tools and safety gear isn't just a suggestion; it’s the most critical part of the job. Having everything laid out and ready to go makes the process smoother, faster, and, most importantly, safer.
You might already have a comprehensive essential toolkit for general boat maintenance, but this task requires some very specific items. Let's break down exactly what you'll need.
To make it easy, here’s a quick checklist of everything you should have on hand before you start.
Essential Safety Gear and Tools Checklist
| Category | Item | Key Consideration |
|---|---|---|
| Personal Safety | Safety Glasses/Goggles | Essential for protecting your eyes from accidental splashes. |
| Personal Safety | Nitrile Gloves | Must be chemical-resistant; gasoline will eat through standard latex gloves. |
| Fire Safety | Class B Fire Extinguisher | Specifically for flammable liquids. Keep it within arm's reach. |
| Cleanup | Absorbent Pads | For instantly soaking up any drips or small spills. Don't use regular rags. |
| Fuel Transfer | Ignition-Protected Fuel Pump | Non-negotiable. This is a marine-specific pump designed to prevent sparks. |
| Fuel Transfer | Fuel-Rated Hoses | Ensure they are long enough to reach from the tank to your containers without kinking. |
| Fuel Storage | Approved Fuel Containers | Use proper red gasoline jugs. You'll need enough to hold all the fuel from your tank. |
Having these items ready will ensure you're prepared for every step, from personal protection to cleanup.
Don't Cut Corners on These Key Items
When it comes to the gear, a couple of things are absolutely critical. First, your personal protection. Gasoline fumes are nasty, and getting fuel on your skin is a recipe for irritation. Always wear your safety glasses and nitrile gloves. If you're working in a less-than-open space like a garage, make sure you have plenty of ventilation—open doors, get a fan going, and keep the air moving.
Now for the main event: the pump. I can't stress this enough—you need a marine-grade, ignition-protected fuel pump. Do not, under any circumstances, grab a cheap automotive pump from the local parts store. Boats trap fumes in a way cars don't, and a standard pump can create a spark. That's a risk you never want to take.
A Lesson from Experience: Never mix and match automotive and marine fuel system parts. The U.S. Coast Guard has strict standards for marine components for a reason. The enclosed spaces on a boat turn gasoline vapors into an explosive hazard, and a single spark from the wrong equipment can have devastating consequences.
Finally, make sure your fuel containers are specifically designed for gasoline. Those red plastic jugs are built for the job. Have more capacity than you think you’ll need—it’s always better to have an extra empty container than to run out of space halfway through. And keep a Class B fire extinguisher right next to you. You'll probably never need it, but you'll be glad it's there if you do.
Getting Full Control With a DIY Electric Pump
If you want a clean, controlled, and truly effective way to drain your boat’s gas tank, building your own electric pump kit is the way to go. This is the method that seasoned boat mechanics and serious DIYers swear by. Why? Because it puts you in the driver's seat, making the whole process safer and more thorough than any other option.
Don't let the "DIY" part intimidate you. It's surprisingly straightforward, and piecing it together yourself ensures every single component is marine-grade and built for the job. That’s the real secret to doing this safely and ending up with a reliable tool you can count on for years.
Here's a look at the essential parts you'll need to pull this off.
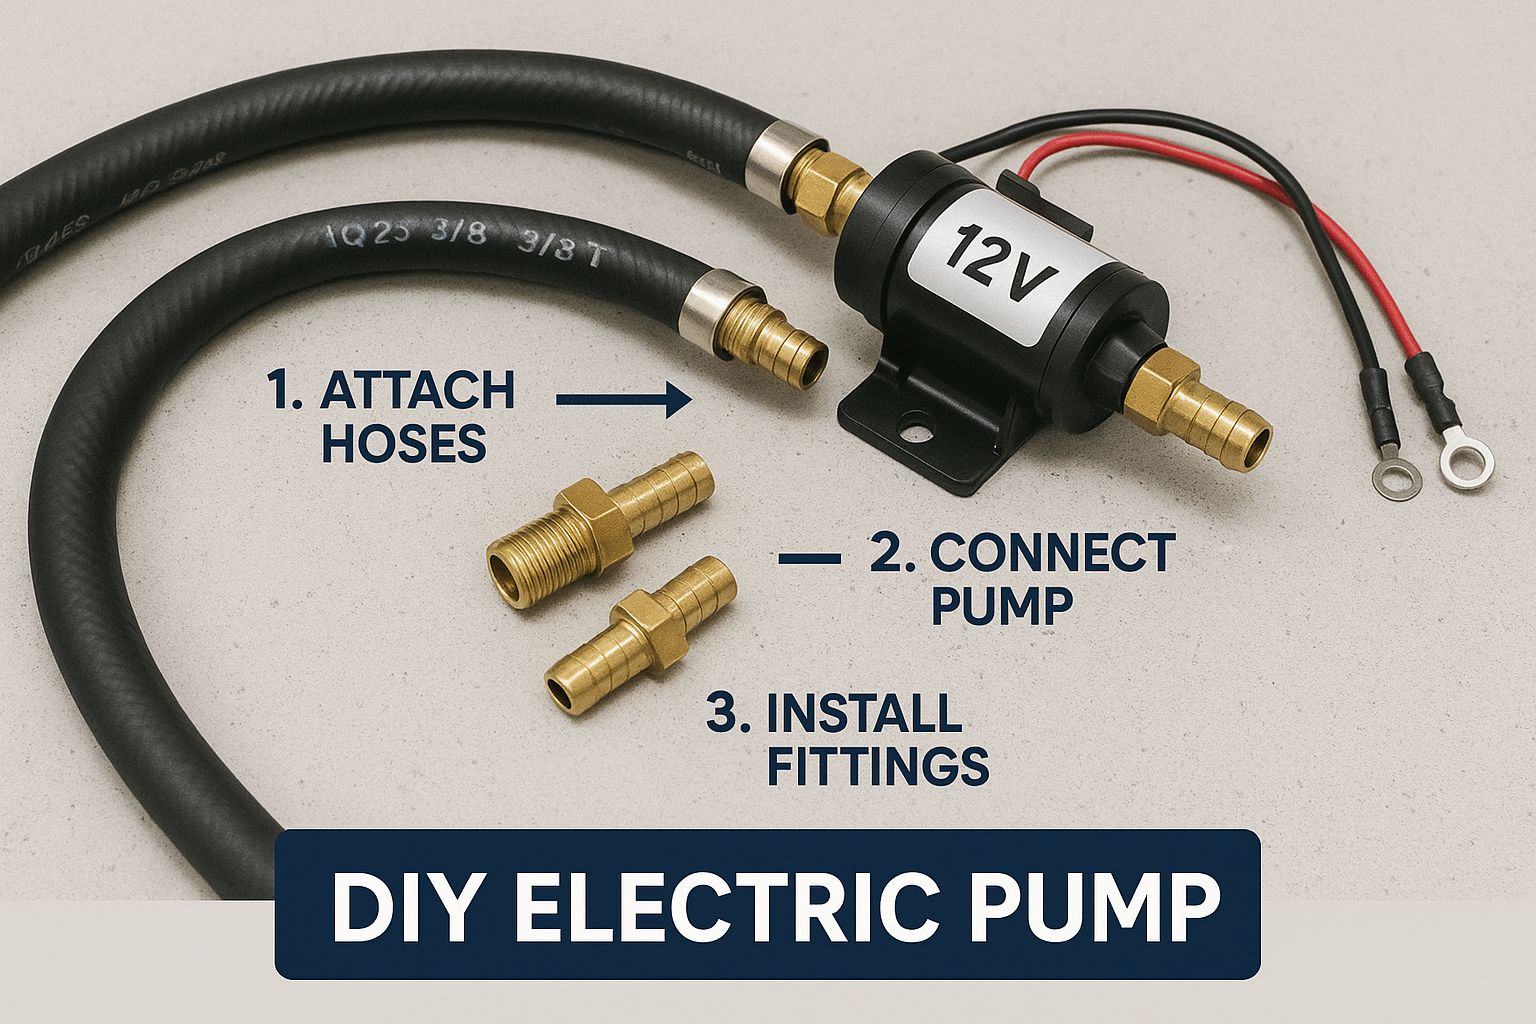
Seeing how everything connects really helps make sense of the setup before you start.
Putting Your Kit Together
Assembling your own pump system is a common-sense approach that gives you professional-grade results. A popular and reliable core for this setup is a Seachoice Dura-Lift electronic fuel pump. You're looking for one rated at 11 PSI and 12 volts, which usually runs a little over $100.
To complete the kit, you'll need:
- Brass fuel hose barbs that fit your pump and hose
- High-quality hose clamps
- About ten feet of 3/8-inch fuel line
- Sufficient electrical duplex wire for your power leads
This combination gives you a rock-solid, safe way to transfer fuel. You can find more specific details on building this exact DIY fuel-tank draining kit to get a head start.
The absolute most important piece of this puzzle is safety. Your power source—a spare 12-volt battery—needs to be positioned well away from the boat’s engine compartment or anywhere fumes could possibly collect. This means you need to make your power leads long enough to keep sparks far from the action. It's a simple step, but a critical one.
Pro Tip: I always add an in-line on/off switch to the positive wire. It’s a small detail, but it gives you instant control to kill the flow without fumbling with battery connections. This is a lifesaver if you need to quickly swap containers or deal with a spill.
The Draining Process: A Safe Execution
Once your pump is assembled, you're ready to get to work. Start by disconnecting the fuel line right at your engine's fuel filter or primer bulb—this is your access point. You'll attach the intake hose from your new pump right there.
Before you flip the switch, run through a quick safety checklist:
- Containers at the Ready: Have your approved gasoline cans open and sitting on a stable surface. Make sure they are lower than the boat's tank to let gravity help you out.
- Spill Prep: Tuck absorbent pads under all your connection points and around the containers. A few drips are inevitable, so be ready for them.
- Fire Extinguisher on Standby: Your Class B fire extinguisher should be right next to you, not back in the garage.
Now, connect the pump leads to your remote battery, hit the switch, and the fuel will start moving. Keep a sharp eye on the fuel cans to prevent overfilling—it happens faster than you think. Be ready to quickly move the hose to the next empty can.
The beauty of this method is the steady, manageable flow rate. It’s far easier to handle than a runaway siphon. When the tank is finally empty, you’re all set for the final cleanup before filling up with fresh fuel.
Navigating the Siphon Method Like a Pro
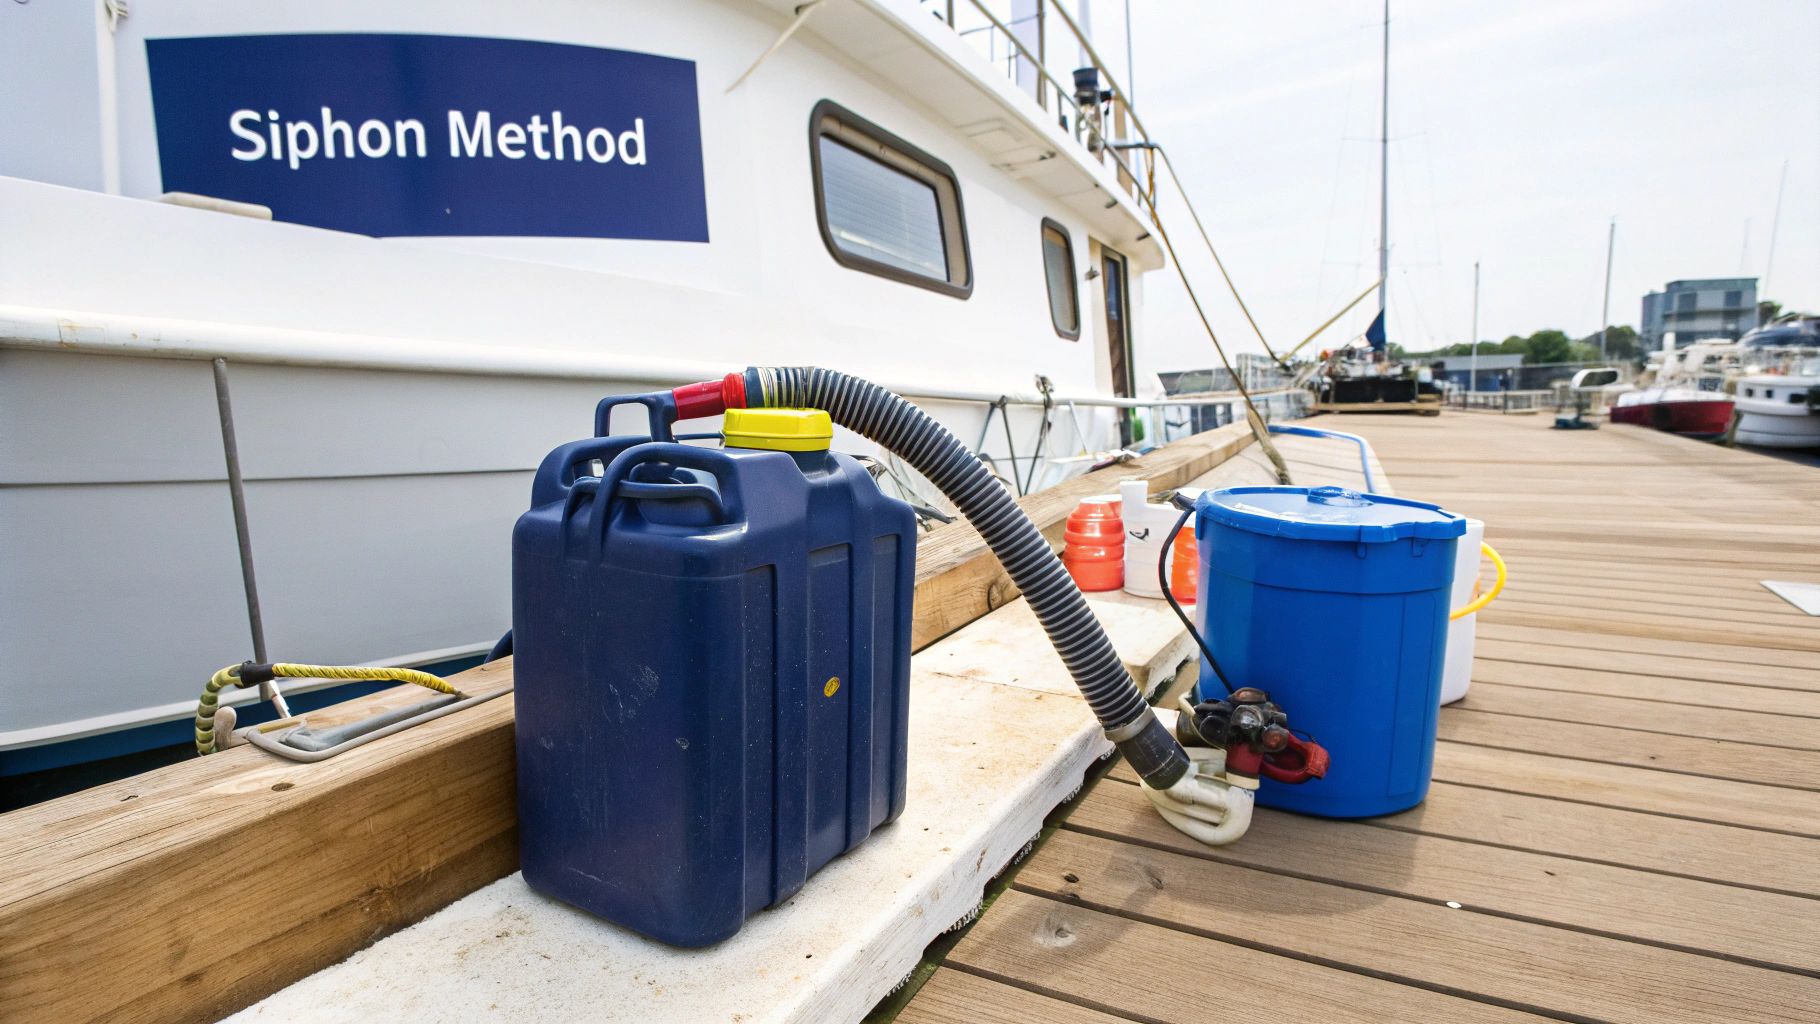
Siphoning is the classic, no-frills way to get fuel out of a boat tank. Sometimes, it’s the only realistic choice you’ve got. While it seems simple enough—let gravity do its thing—most modern boats have a little safety feature that loves to throw a wrench in the works: the anti-siphon valve.
This small part can be a real headache if you don't know what you're up against. It’s basically a check valve with a spring-loaded ball right where the fuel line exits the tank. Its job is to stop fuel from gushing out if a line ever gets cut. Knowing it's there is half the battle.
The Anti-Siphon Challenge
That little valve creates just enough resistance to stop a simple gravity-fed siphon. It needs a solid bit of suction to get it to open, which brings us to a critical safety rule: never, ever use your mouth to start a siphon with gasoline. The fumes are toxic, and getting a mouthful is downright dangerous. It’s also completely unnecessary with the right gear.
What you need is a real siphoning tool. A simple hand transfer pump or even the primer bulb from your outboard’s fuel line will give you the pulling power to pop that valve open and get things flowing. If you're looking for the right tool, we have a helpful guide on picking the best fuel hand transfer pump for the job.
My Two Cents: Your success with siphoning really boils down to two things: generating enough initial suction to beat that anti-siphon valve, and getting your gas can significantly lower than the boat's tank. Gravity is your best friend here.
Before you start, make sure your boat is sitting higher than the spot where you'll place your fuel cans. The more vertical drop you can create, the faster and more reliably the fuel will flow.
How to Pull Off a Safe Siphon
Alright, you've got your tools and containers ready. Let's get this done. One of the cleanest ways to do this is to use the boat's own fuel line.
A lot of boaters have luck disconnecting the fuel line right at the engine. With the receiving can placed on the ground, just pump the primer bulb a few times to get the fuel moving. It's often enough to start the siphon, and you're not trying to thread a new hose down the filler neck.
Here's a straightforward game plan:
- Let It Breathe: First thing, loosen the fuel filler cap. This is non-negotiable. It lets air into the tank to replace the fuel coming out, preventing a vacuum that will stop the flow in its tracks.
- Set Your Hose: If you're using a separate siphon hose, carefully work it down the filler neck until the end is well submerged in the fuel. You want it sitting on the bottom of the tank.
- Get It Flowing: Put the other end of the hose deep into your approved gas can. Now, give your hand pump or primer bulb several good squeezes until you see fuel moving steadily. Once the flow is established, gravity handles the rest.
Keep a sharp eye on your gas cans—they can fill up faster than you think. Siphoning isn't the quickest method, but with a little patience and the right setup, it’s a perfectly good way to empty your tank.
Finishing the Job and Prepping for Fresh Fuel
https://www.youtube.com/embed/ikIFnkNZMzk
Getting the bulk of the old gas out feels like a huge win, but you're not quite at the finish line yet. These final touches are what really set your fuel system up for a fresh start, making sure the new gasoline isn't immediately spoiled by whatever gunk was left behind.
Even with the best pump you can find, there's always going to be a little bit of fuel left at the bottom of the tank. It’s nearly impossible to get every last drop. That last bit is where the trouble starts, especially if your boat is going into long-term storage.
Don't ignore the dregs. That last bit of old fuel can still break down, turning into the kind of gum and varnish that will instantly contaminate your fresh gas. Dealing with it isn't optional—it's essential for a truly clean system.
Dealing With Leftover Fuel and Debris
First things first, grab a flashlight and get a good look inside the tank. You're hunting for any obvious signs of sediment, rust flakes, or that milky-looking water that often settles at the bottom. Finding these problems now will save you from a world of engine trouble later.
If you spot a lot of nasty buildup, a simple drain might not be enough. You may need to do a more intensive cleaning. You can learn more by reading an expert guide for marine fuel tank cleaning to see if that bigger job is in your future.
For that small amount of fuel you couldn't get out, the fix is thankfully pretty easy: treat it with a high-quality marine fuel stabilizer. Just make sure you add enough stabilizer to treat the entire tank's volume, not just the little bit of gas left. This over-treatment ensures the old fuel remains stable and won’t cause any issues when you finally refill.
The Final Fuel System Checkup
With the tank itself handled, now is the perfect time to give your fuel-water separator some attention. Think of this little filter as your engine's last line of defense.
- Inspect the Bowl: Take a close look at the clear bowl at the bottom. See any water or sediment?
- Replace the Element: If it’s been a season or so, or if you drained the tank because of contamination in the first place, just go ahead and replace the filter element. It's a cheap part that provides priceless protection for your engine.
Nailing these final steps is what separates a quick fix from a job well done. You haven't just learned how to drain a boat gas tank; you've learned how to prep the entire system for reliable, headache-free adventures on the water. Now you can fill up with fresh fuel, confident that your engine is getting nothing but the good stuff.
Answering Your Top Questions About Draining Boat Fuel
Even with the best instructions, you're bound to have a few questions when you tackle a job like draining your boat’s fuel tank for the first time. Let's walk through some of the most common ones I hear from other boaters so you can move forward with confidence.
How Often Should I Really Be Draining the Tank?
Generally, a good benchmark is to drain the tank if your boat is going to be laid up for more than six months. If you’re using ethanol-blended fuel (which most of us are), this becomes a non-negotiable step in your winterization routine.
That said, there are times when you need to act immediately. If you even suspect water got in there, or if the fuel has that nasty, sour varnish smell, drain it right away. A little proactive work now can save you from a world of hurt and expensive engine repairs down the road.
Can I Just Use a Regular Car Fuel Pump?
Let me be crystal clear on this one: absolutely not. This is one of the most dangerous shortcuts you can take.
Here's why: your typical automotive fuel pump is not ignition protected. It can, and often does, create small sparks while it's running. In the enclosed space of a boat's engine compartment, where gasoline fumes are heavy and settle low, a single spark is all it takes to trigger a catastrophic fire or explosion. Always, always use a proper marine-grade pump built for this job.
Think of it this way: using the wrong pump isn't just a simple mistake, it's a gamble with your safety. Marine gear is built to strict U.S. Coast Guard standards for a reason—to prevent disasters on the water.
What’s the Right Way to Get Rid of Old Gas?
Old fuel is nasty stuff and officially classified as hazardous waste. That means you can't just dump it down a storm drain, pour it on the ground, or sneak it into your household trash. It's terrible for the environment and illegal.
The proper way to dispose of it is to take it to your local hazardous waste collection site or a designated recycling center. Some marinas and auto repair shops might also take it off your hands, but you should definitely call them first to check their policy and find out when they accept drop-offs.
What if I Can't Get Every Last Drop Out of the Tank?
Don't sweat it. It's almost impossible to get every single drop out, and trying to is usually a waste of time and energy. A small amount of residual fuel at the bottom of the tank is perfectly normal.
The best way to handle what's left is to treat it with a high-quality marine fuel stabilizer. Here's the key tip: add enough stabilizer to treat the entire capacity of your tank, not just the little bit that's left. This "over-treatment" ensures the remaining old gas won't gum up or cause problems when you fill up with fresh fuel next season. It just gives you a clean slate to start with.
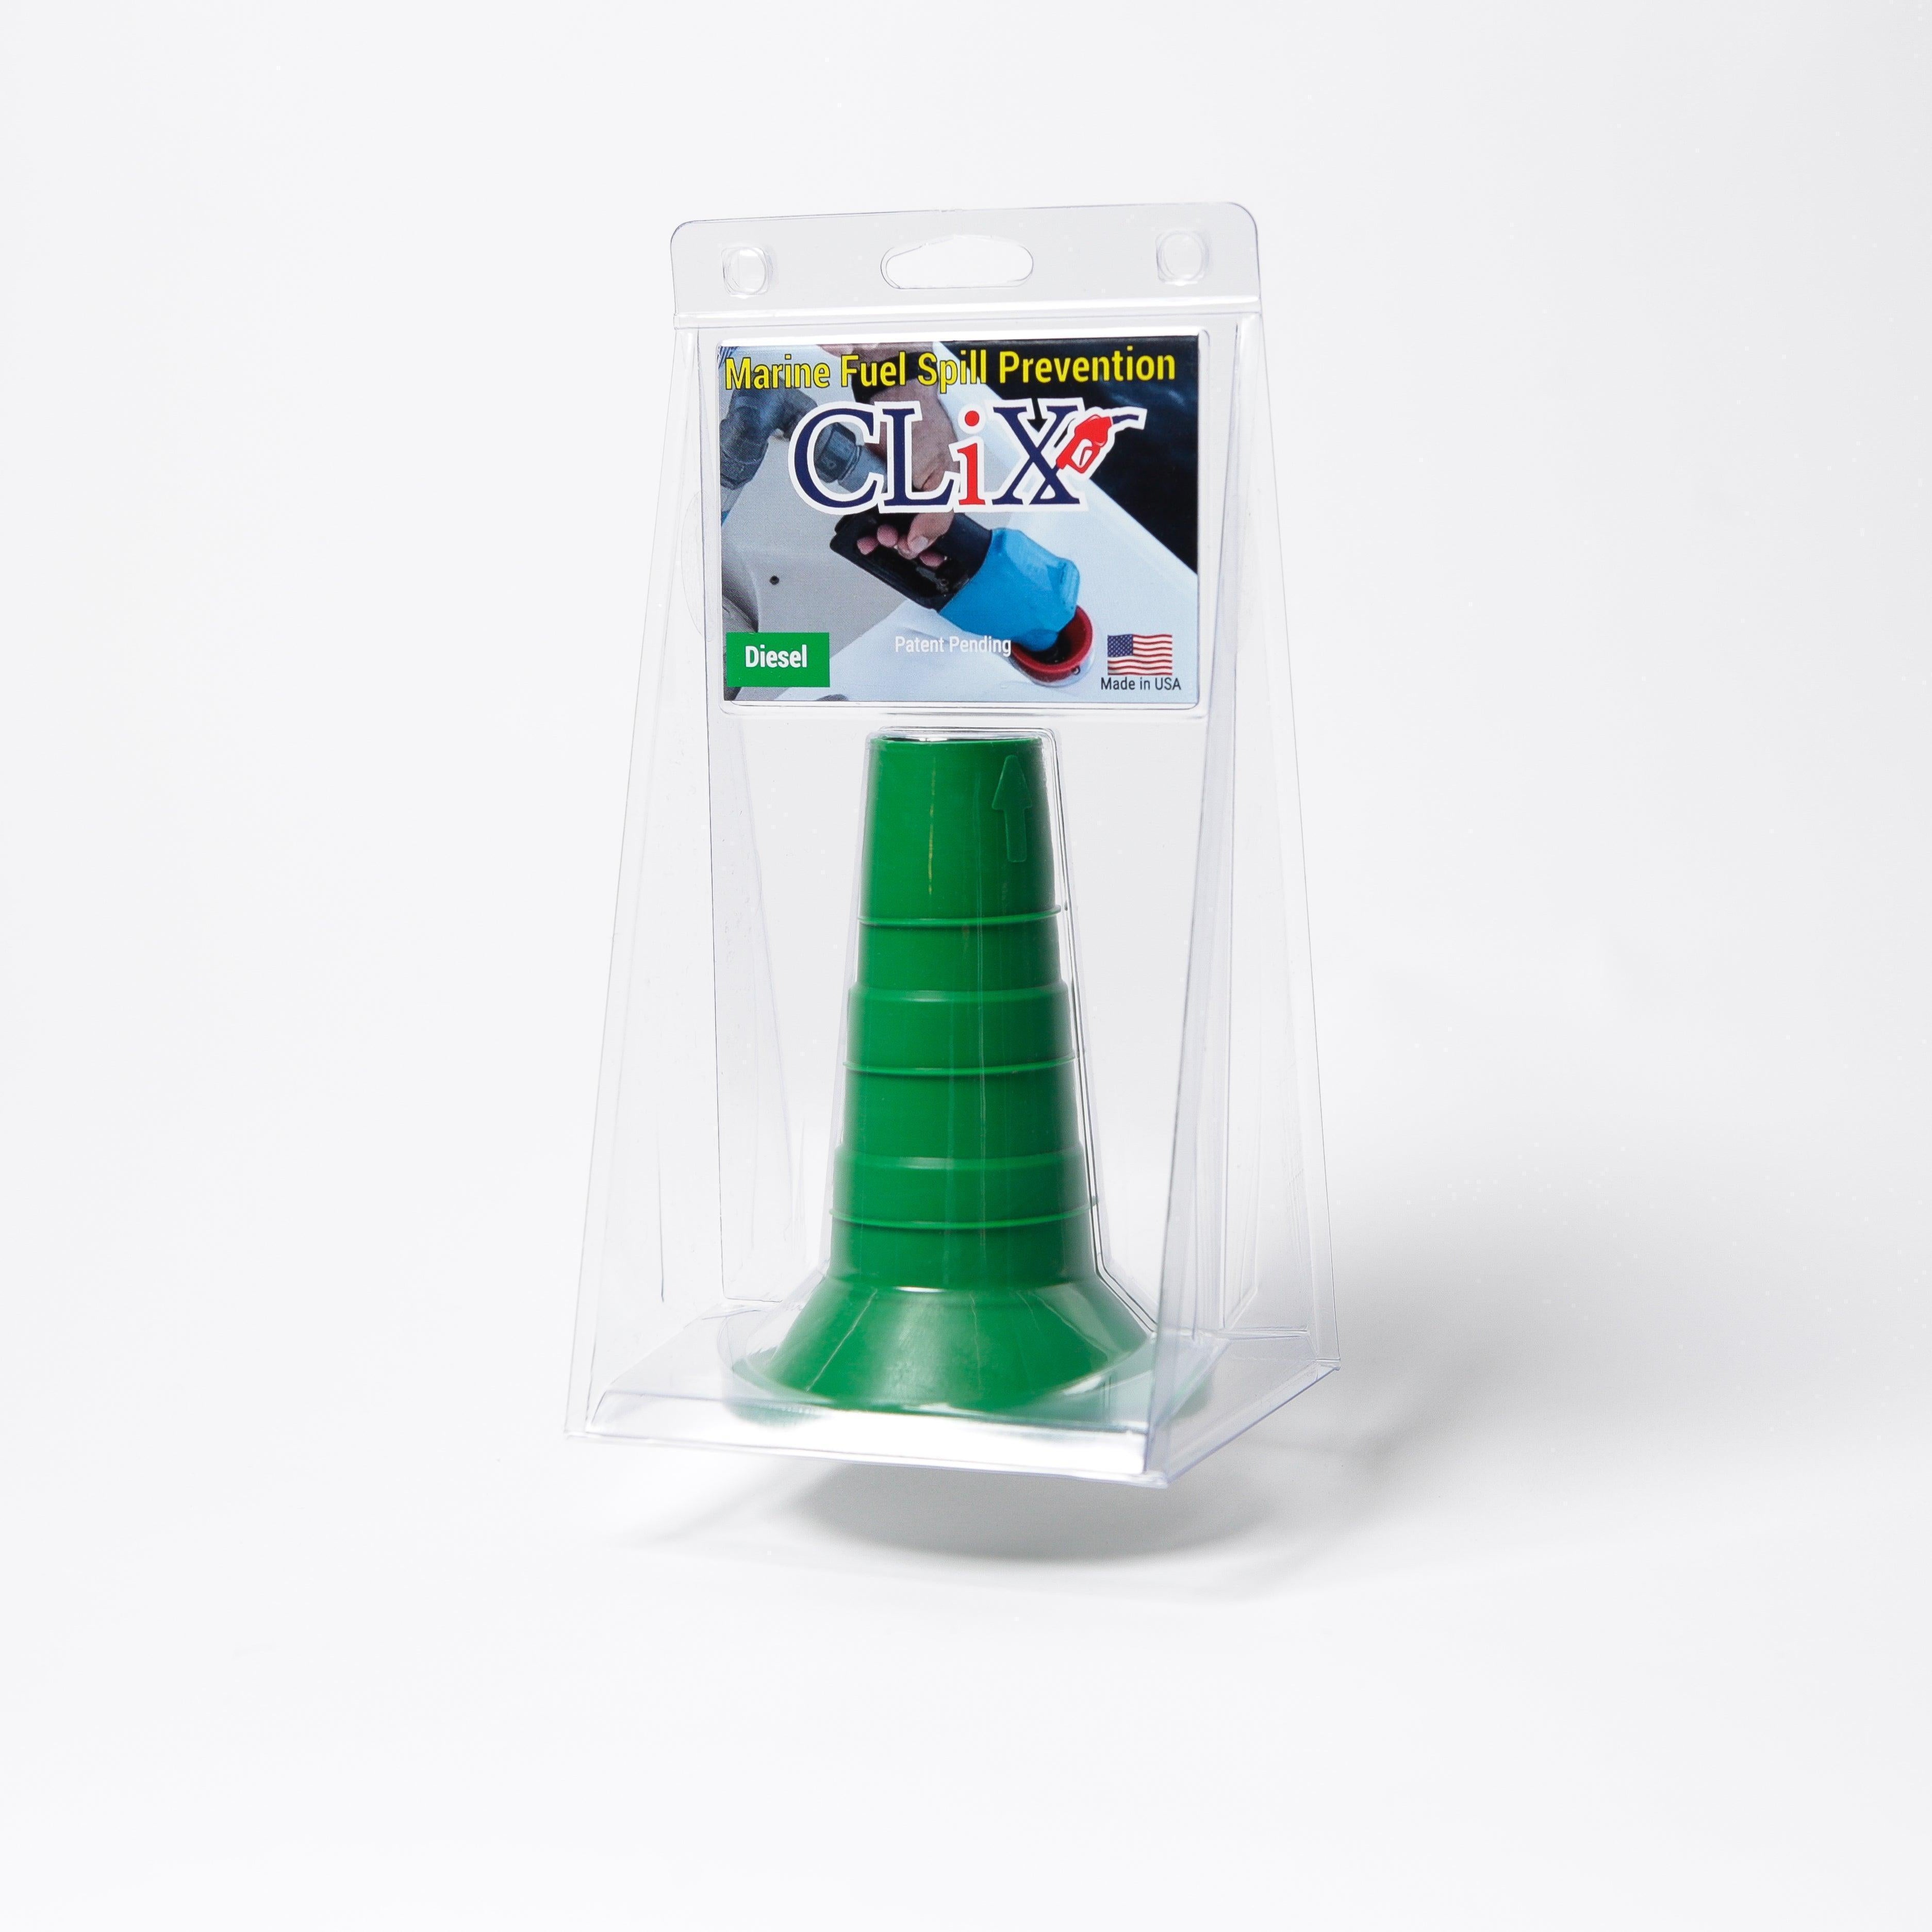
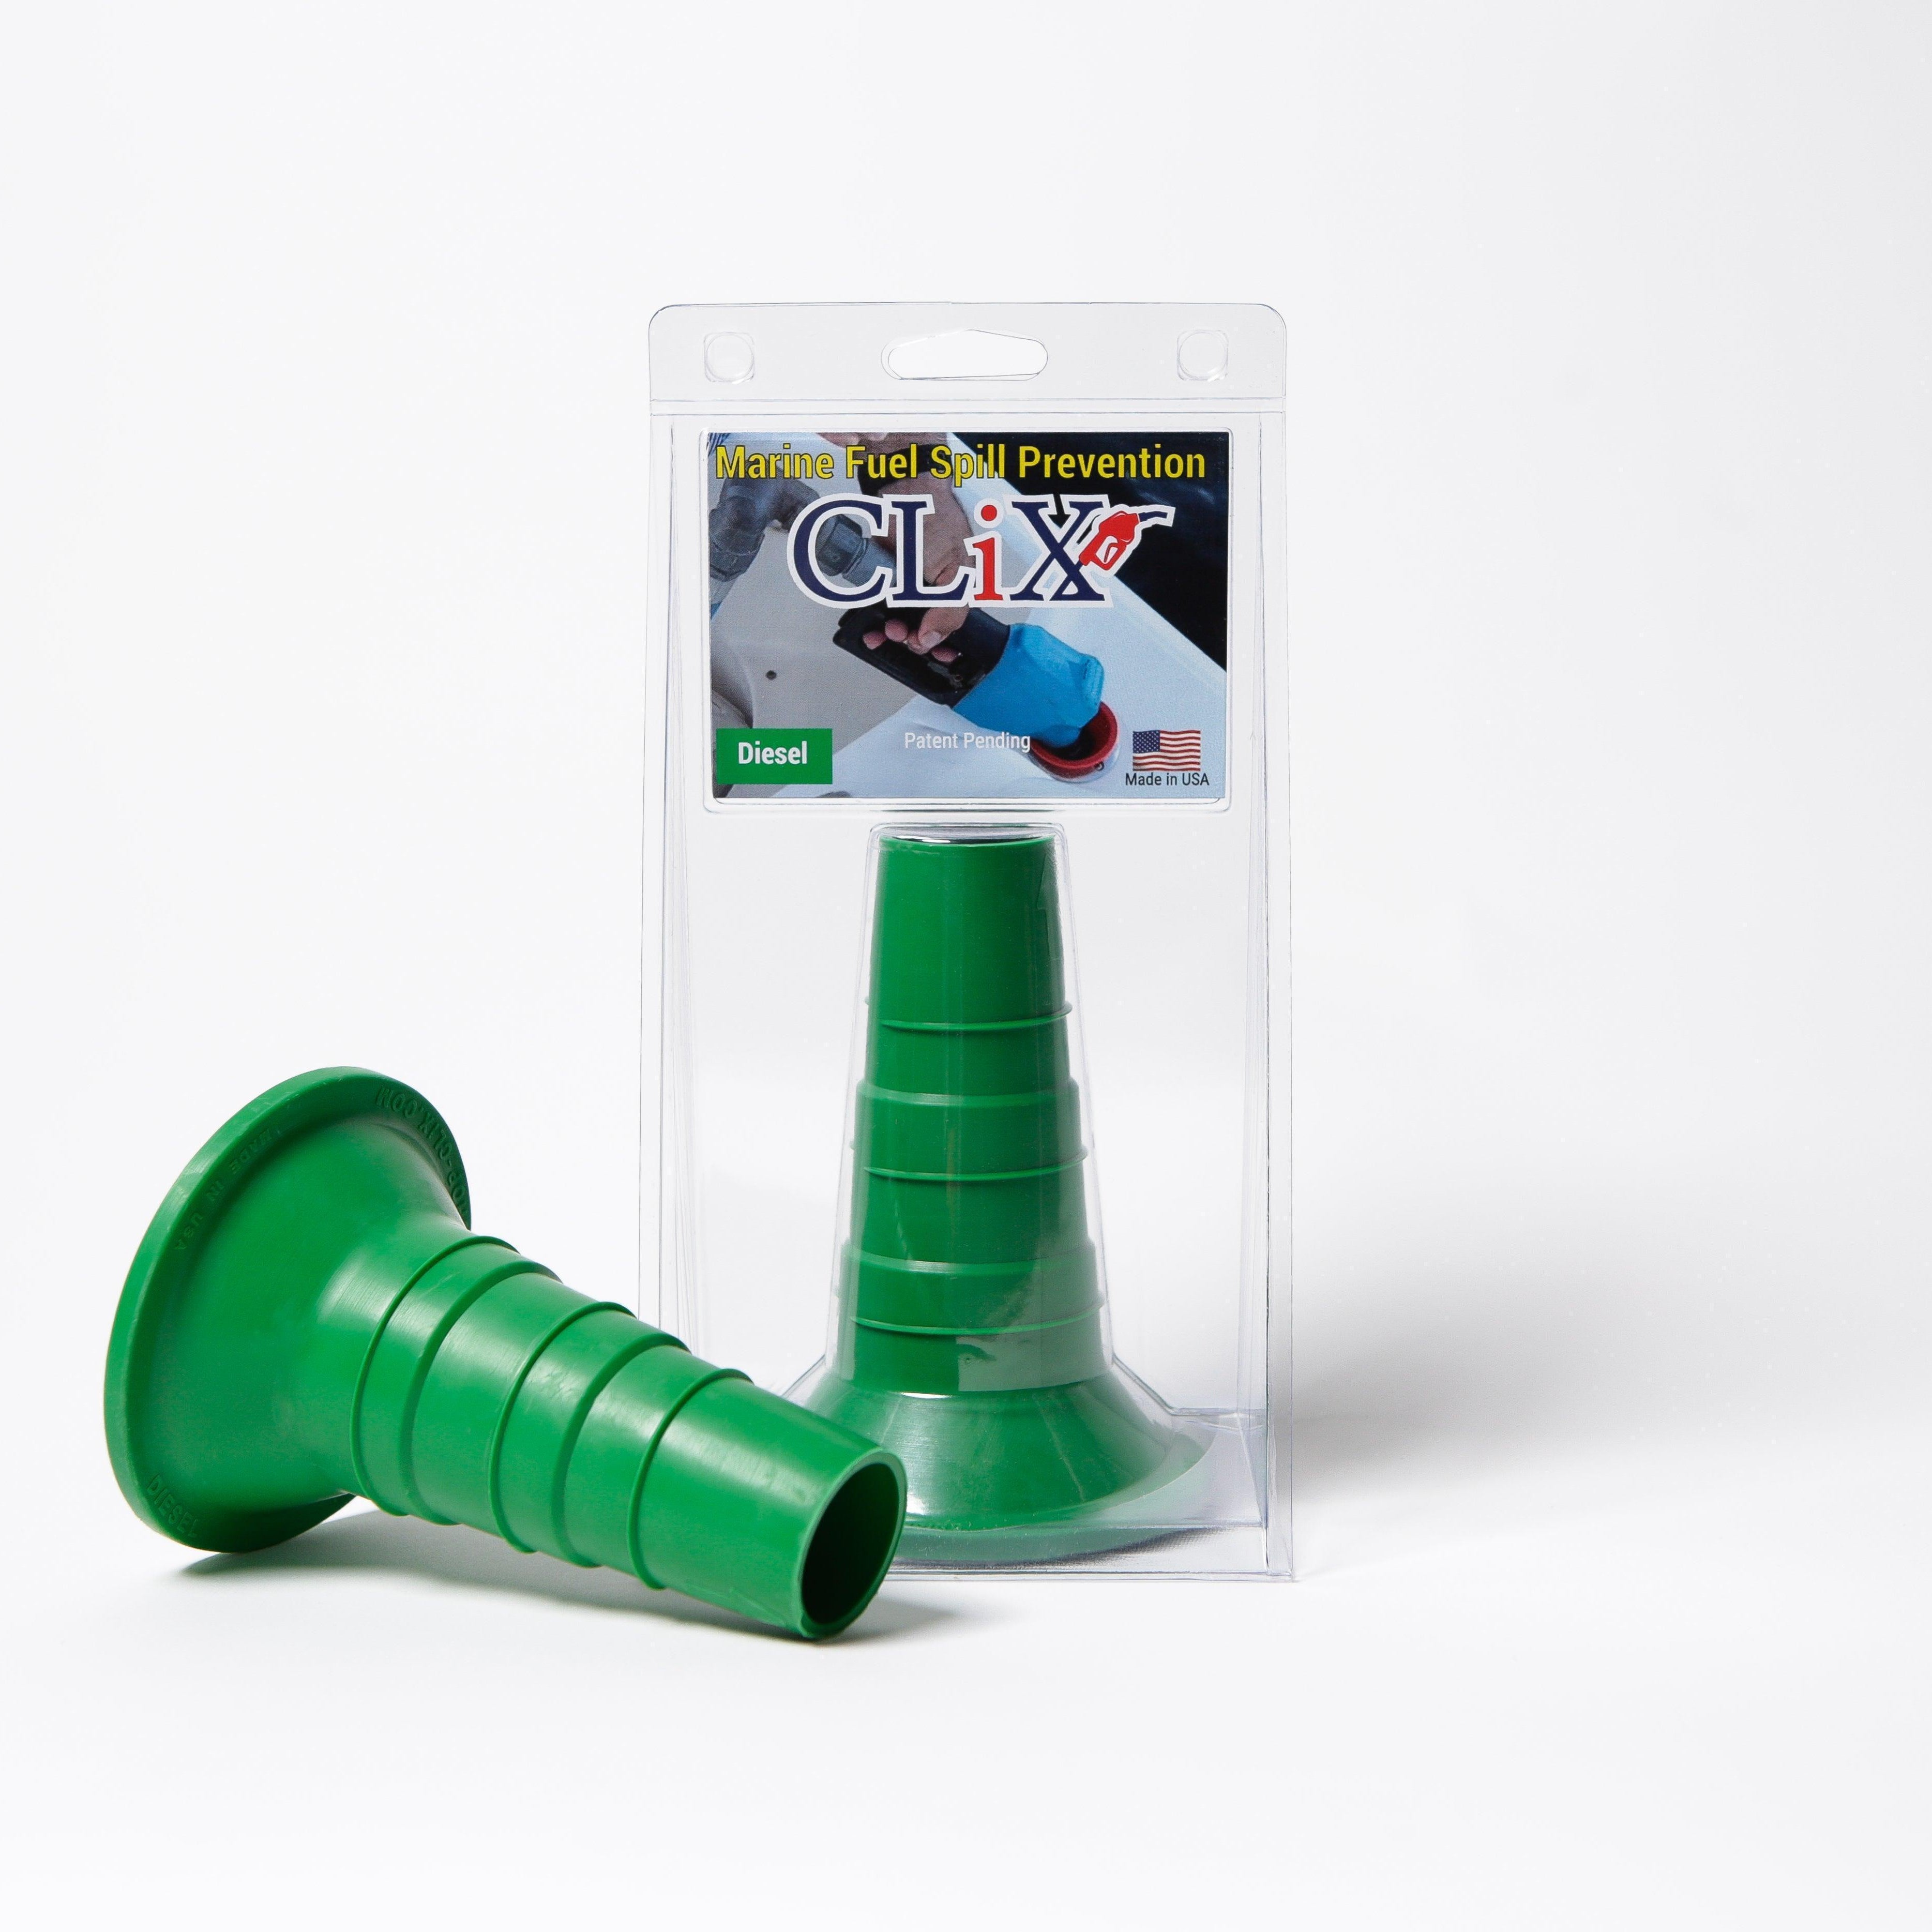
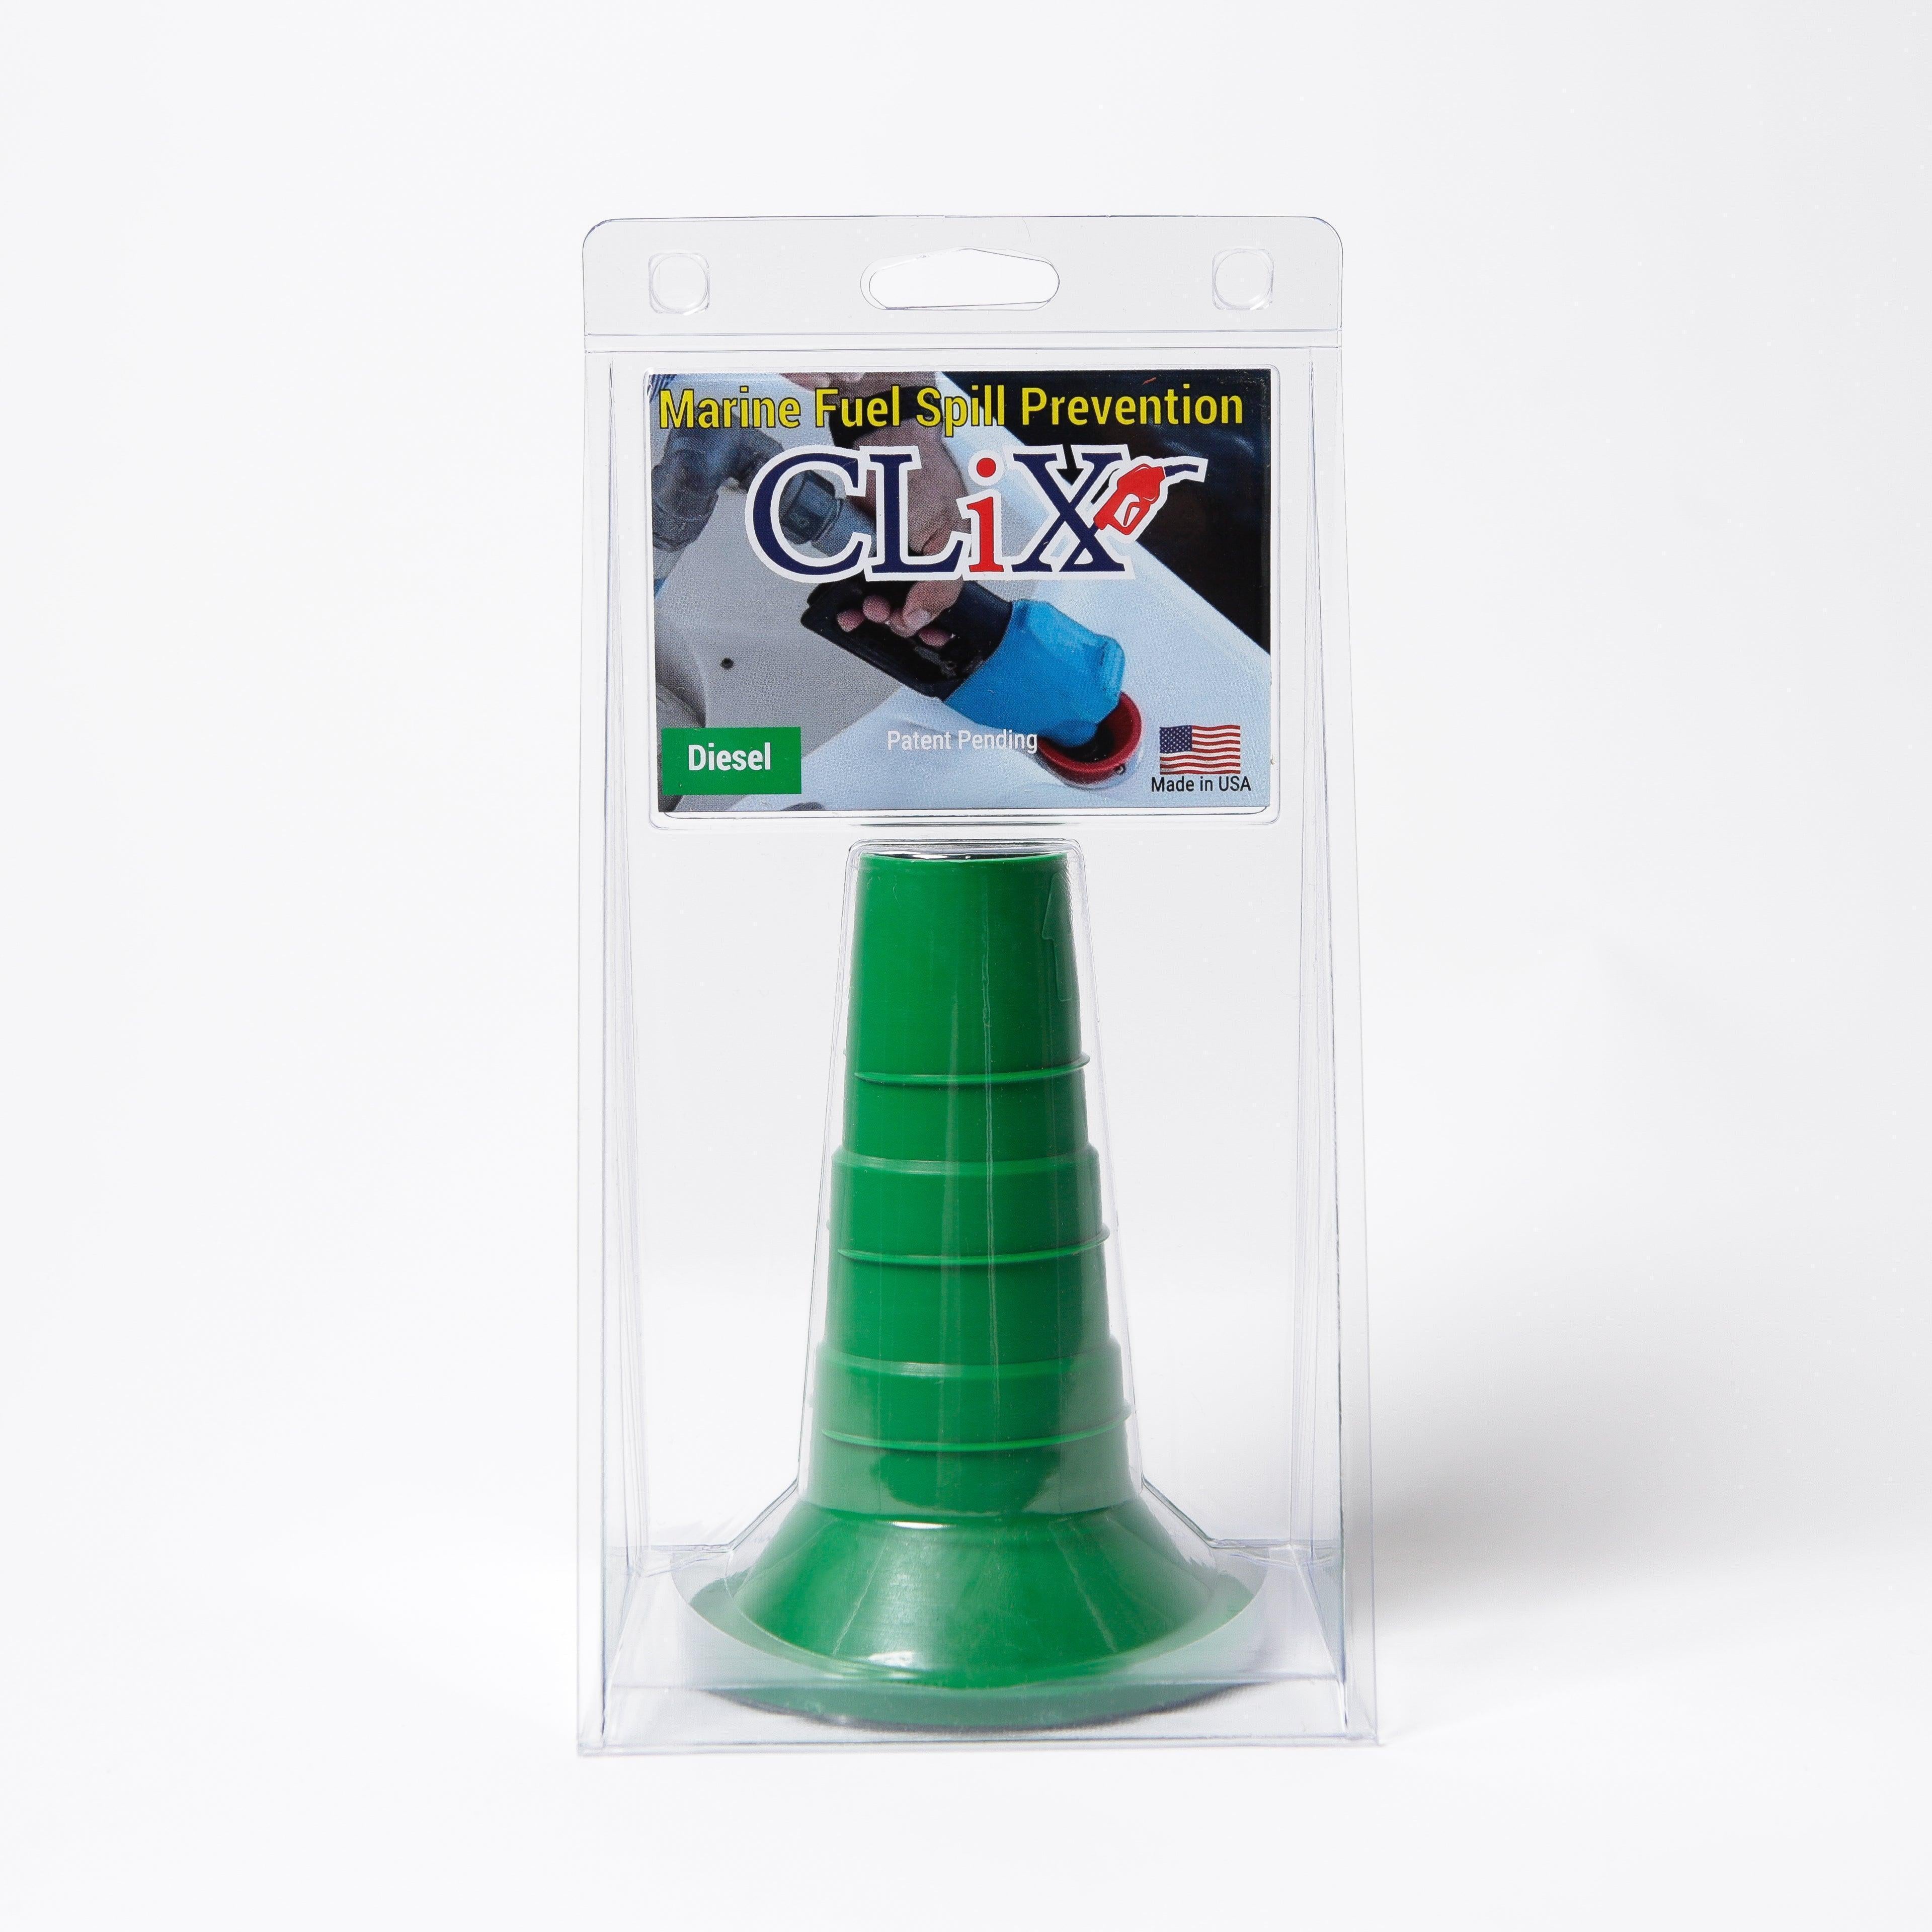
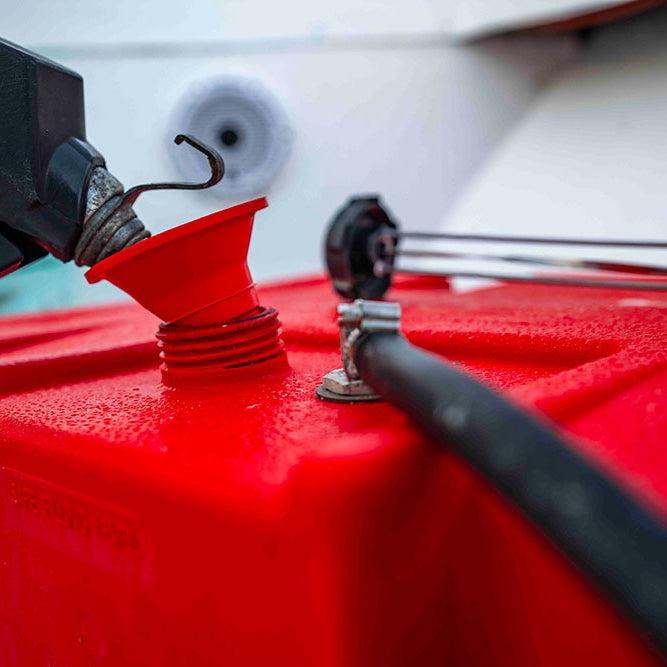
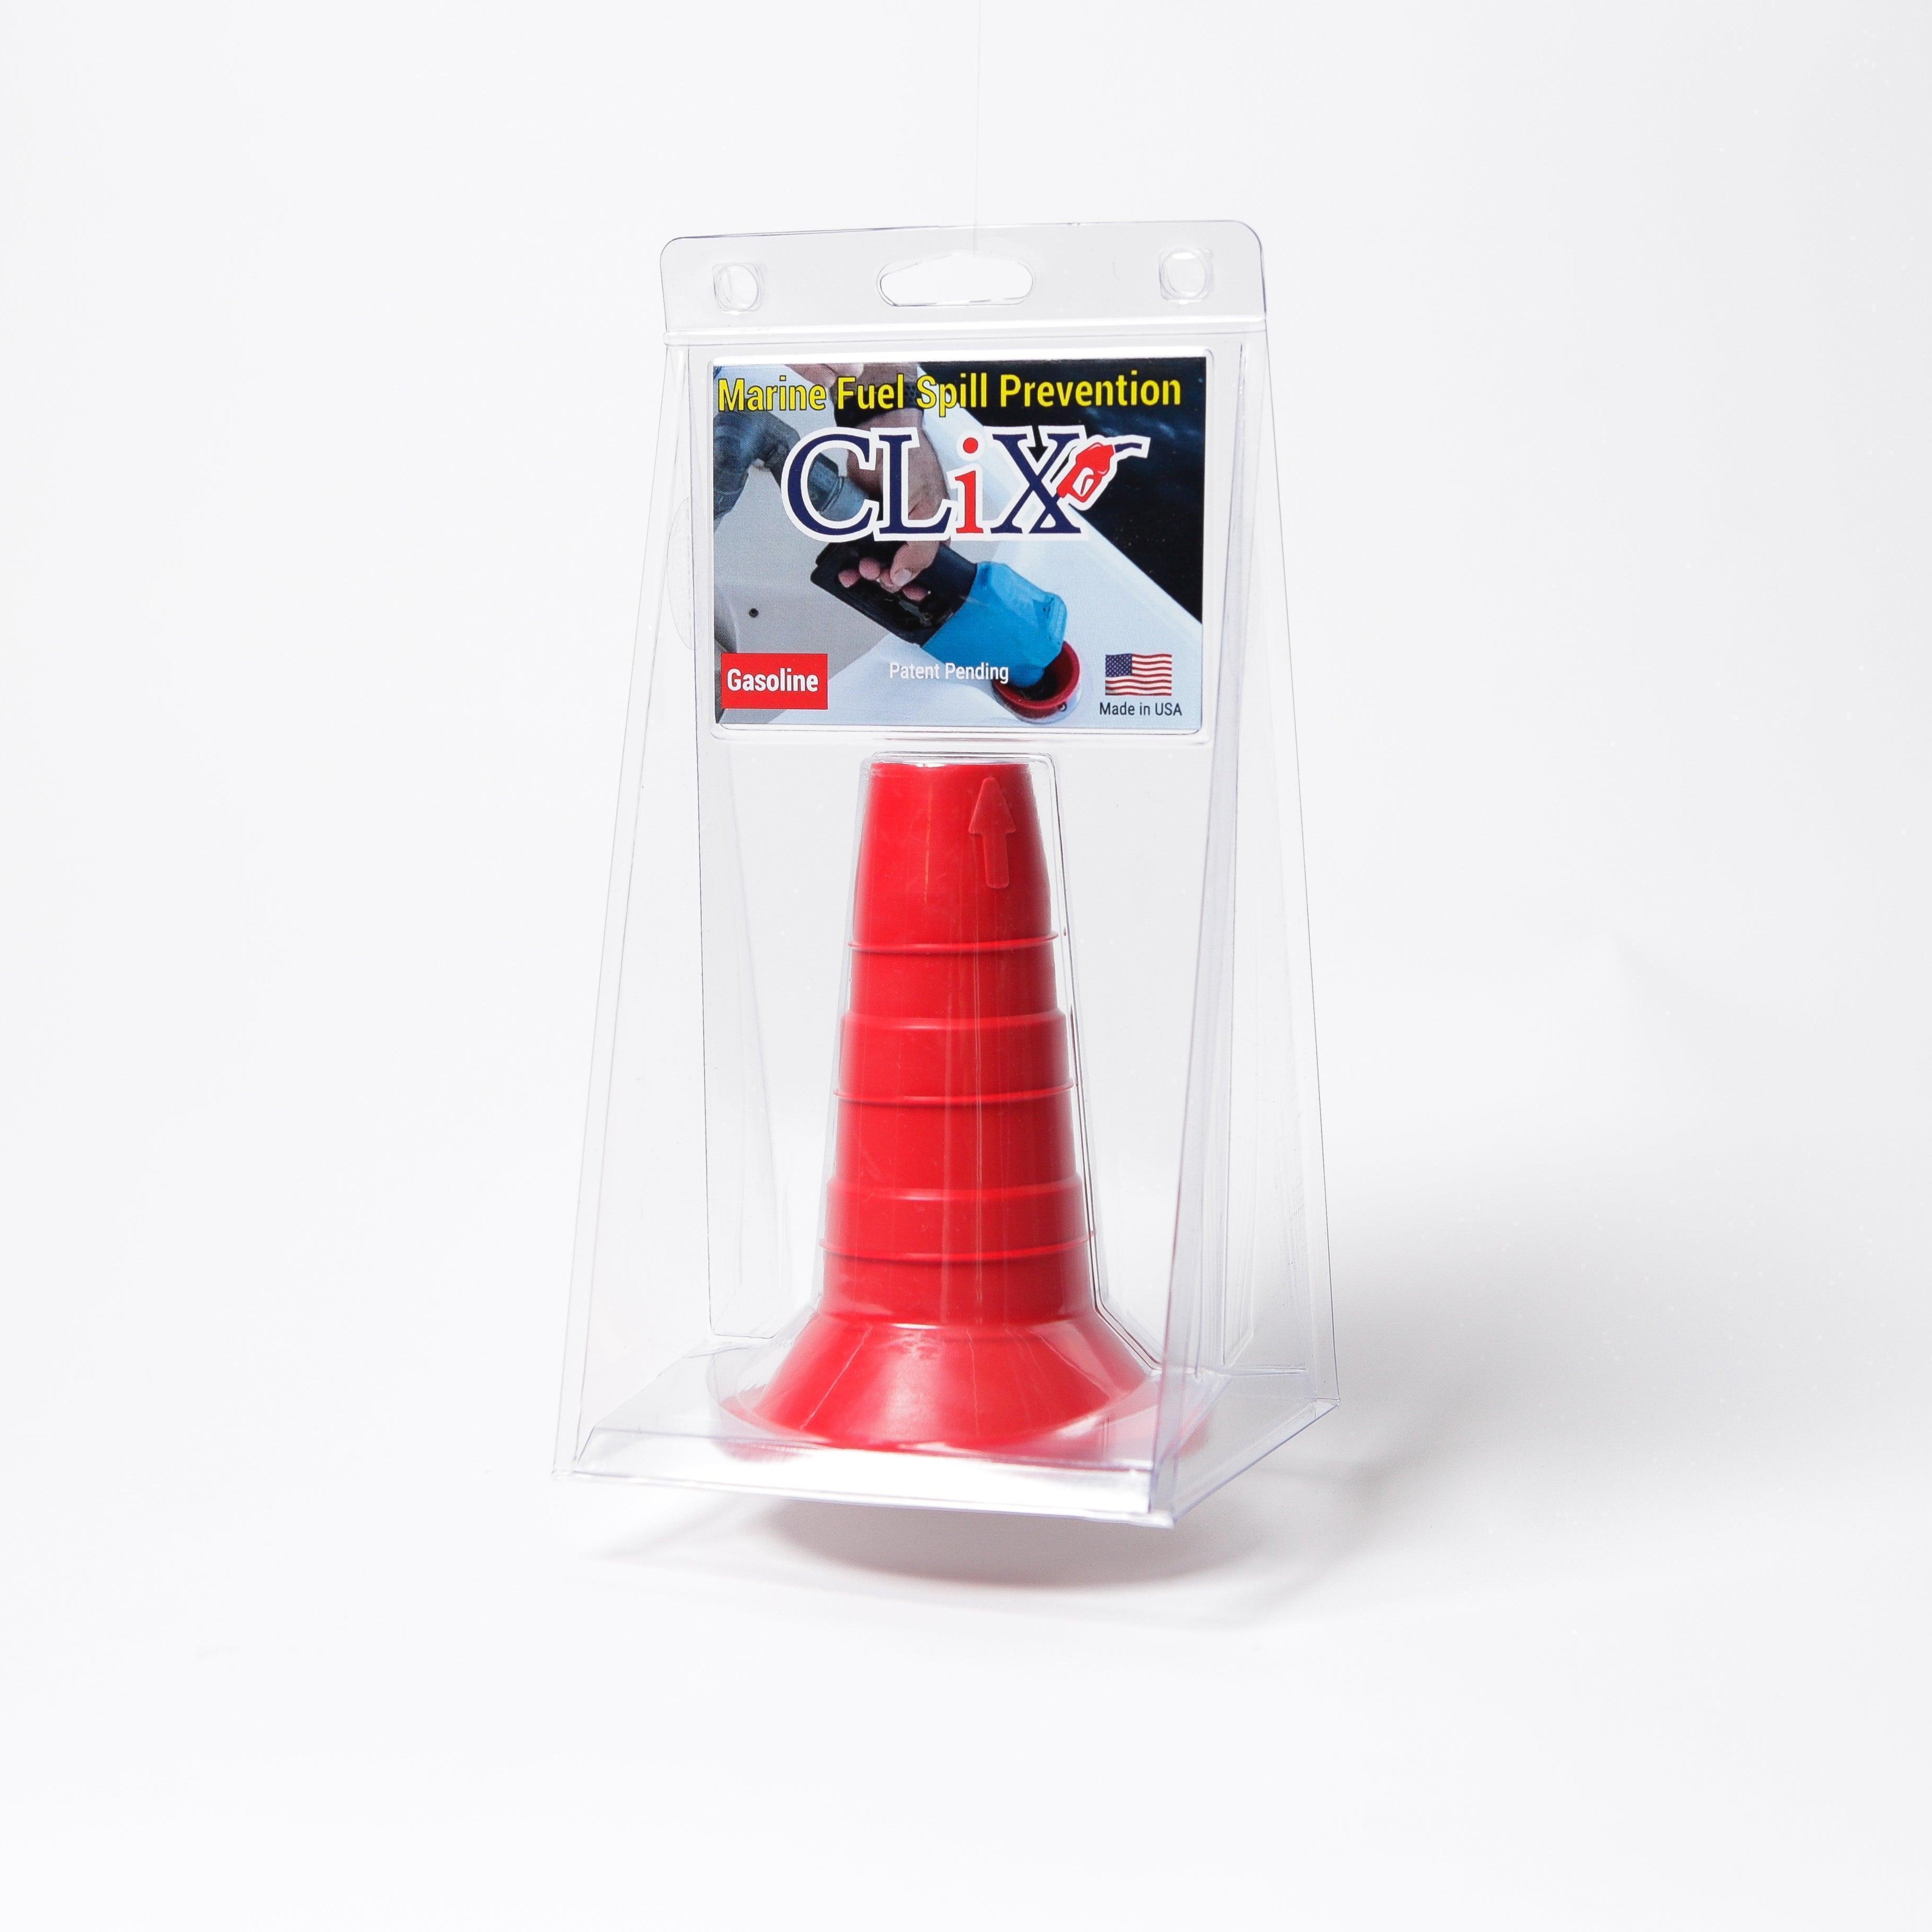
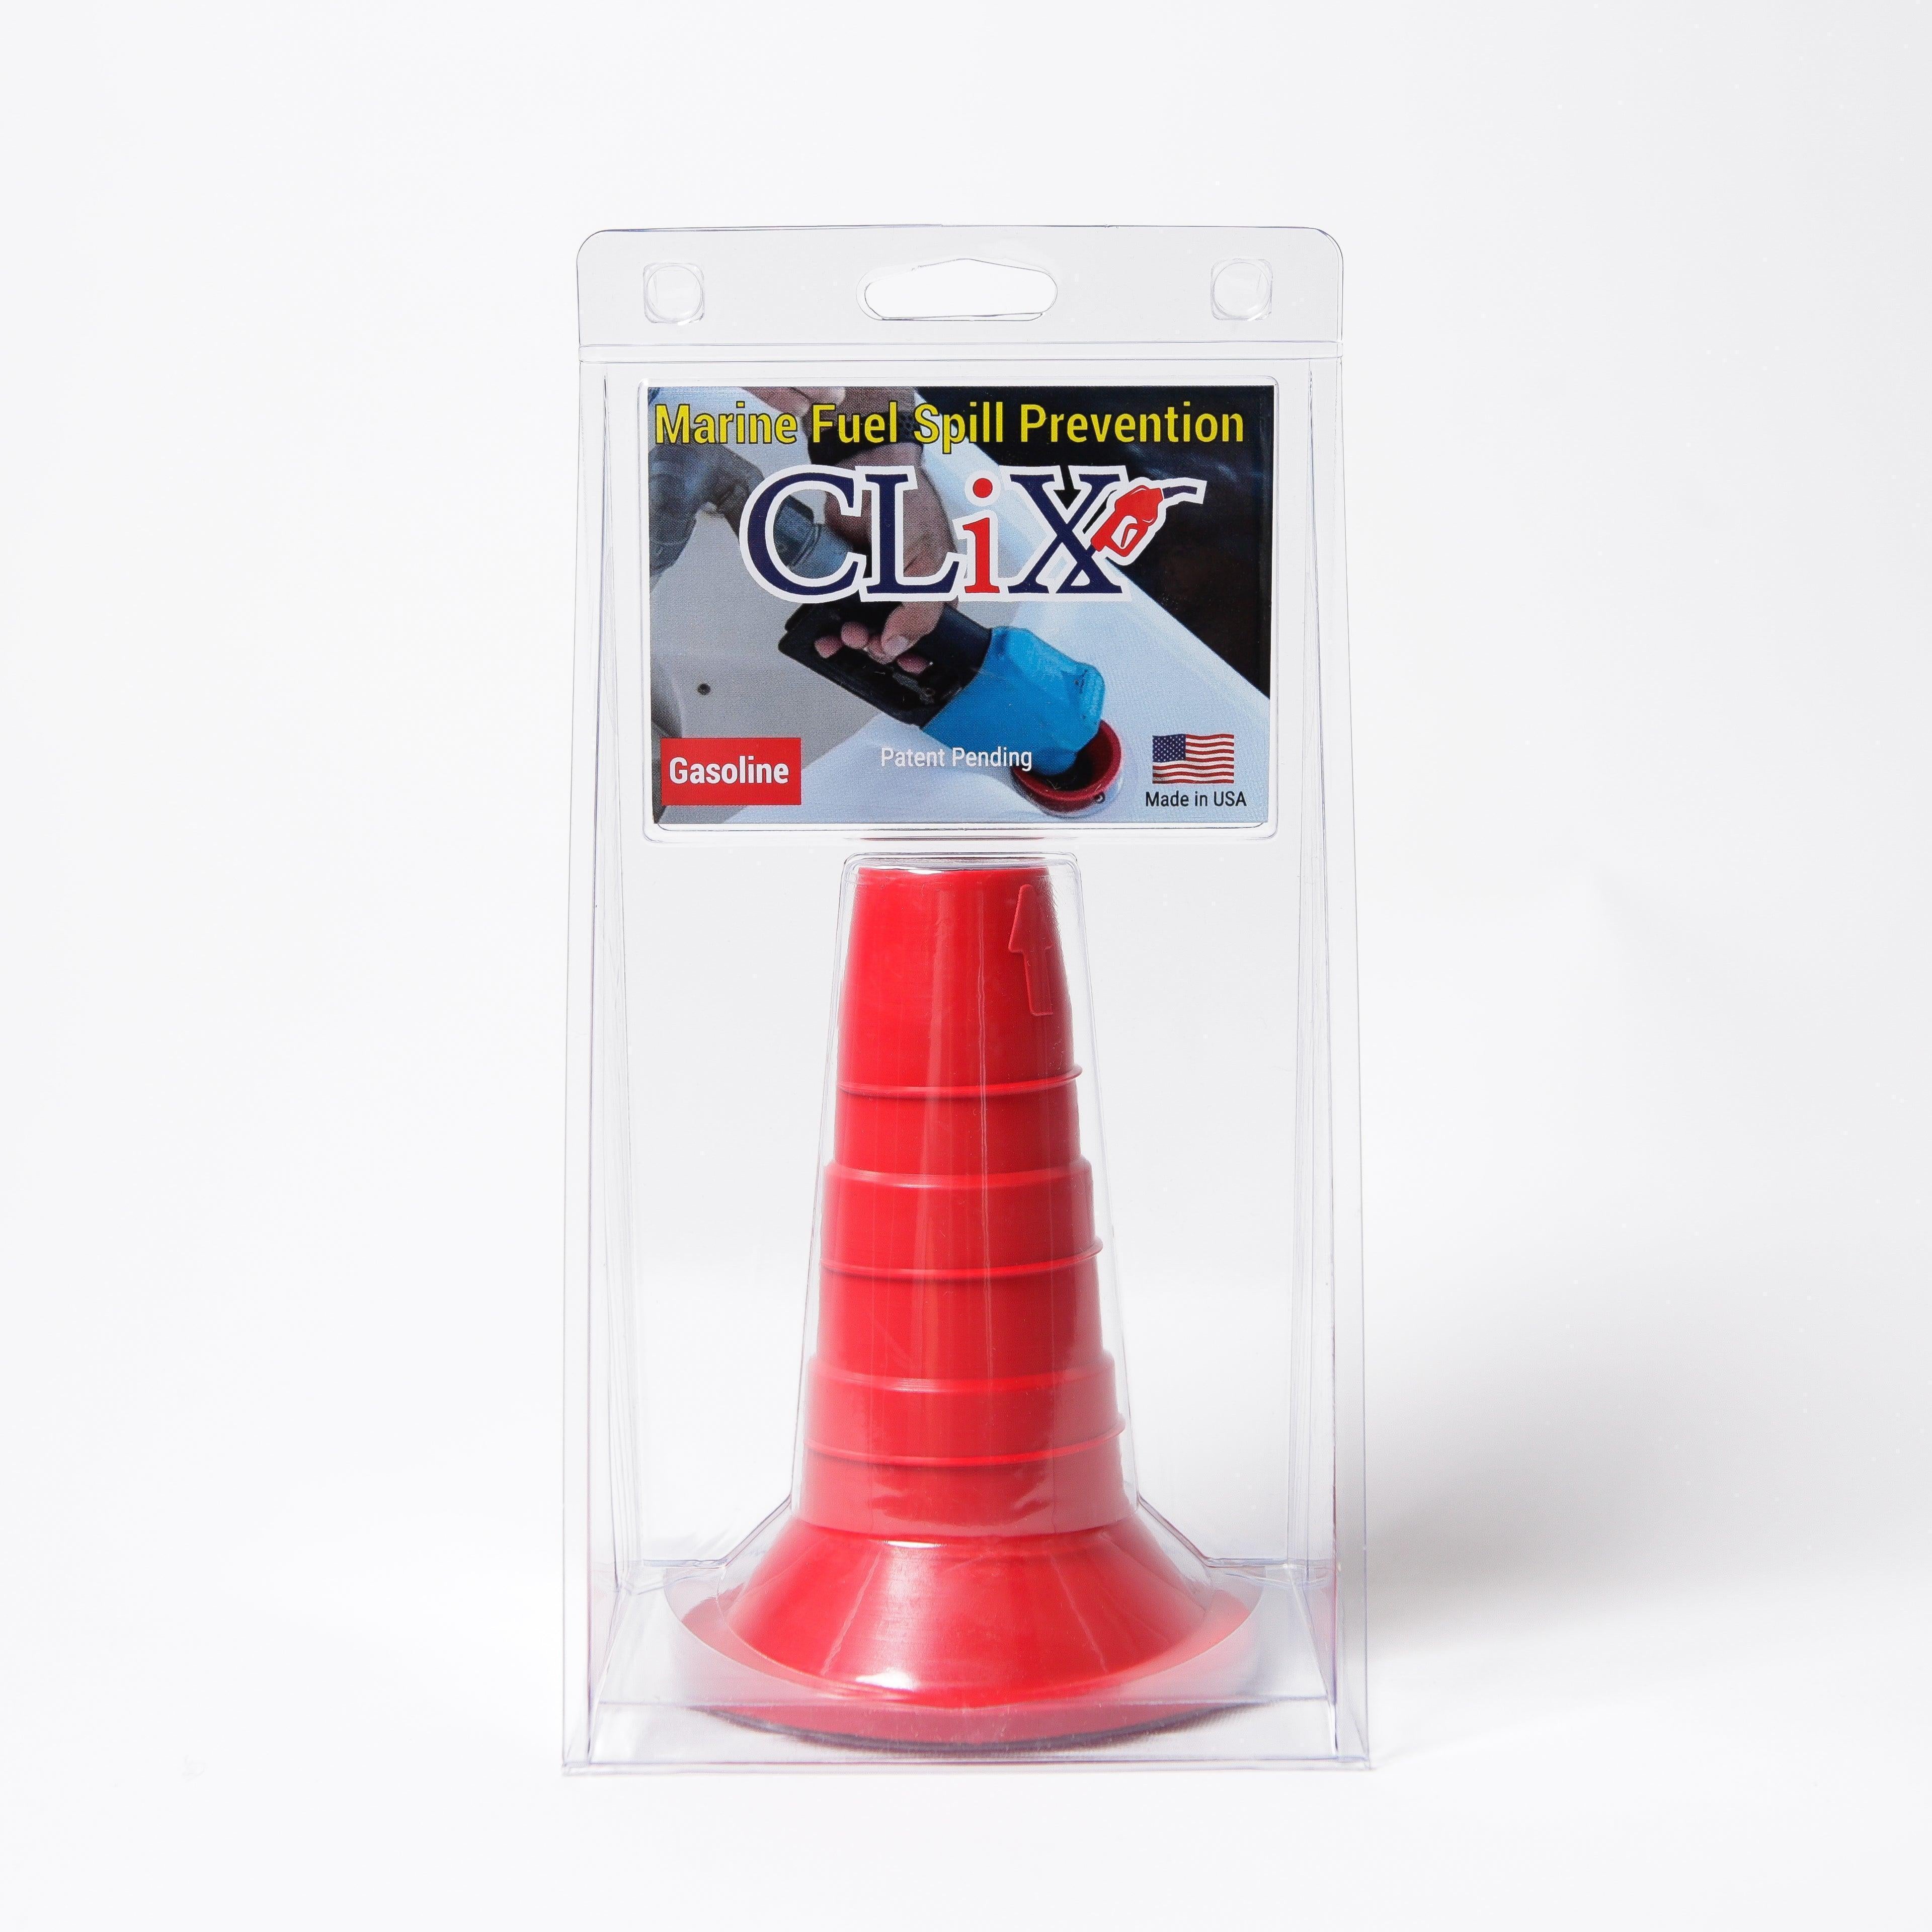
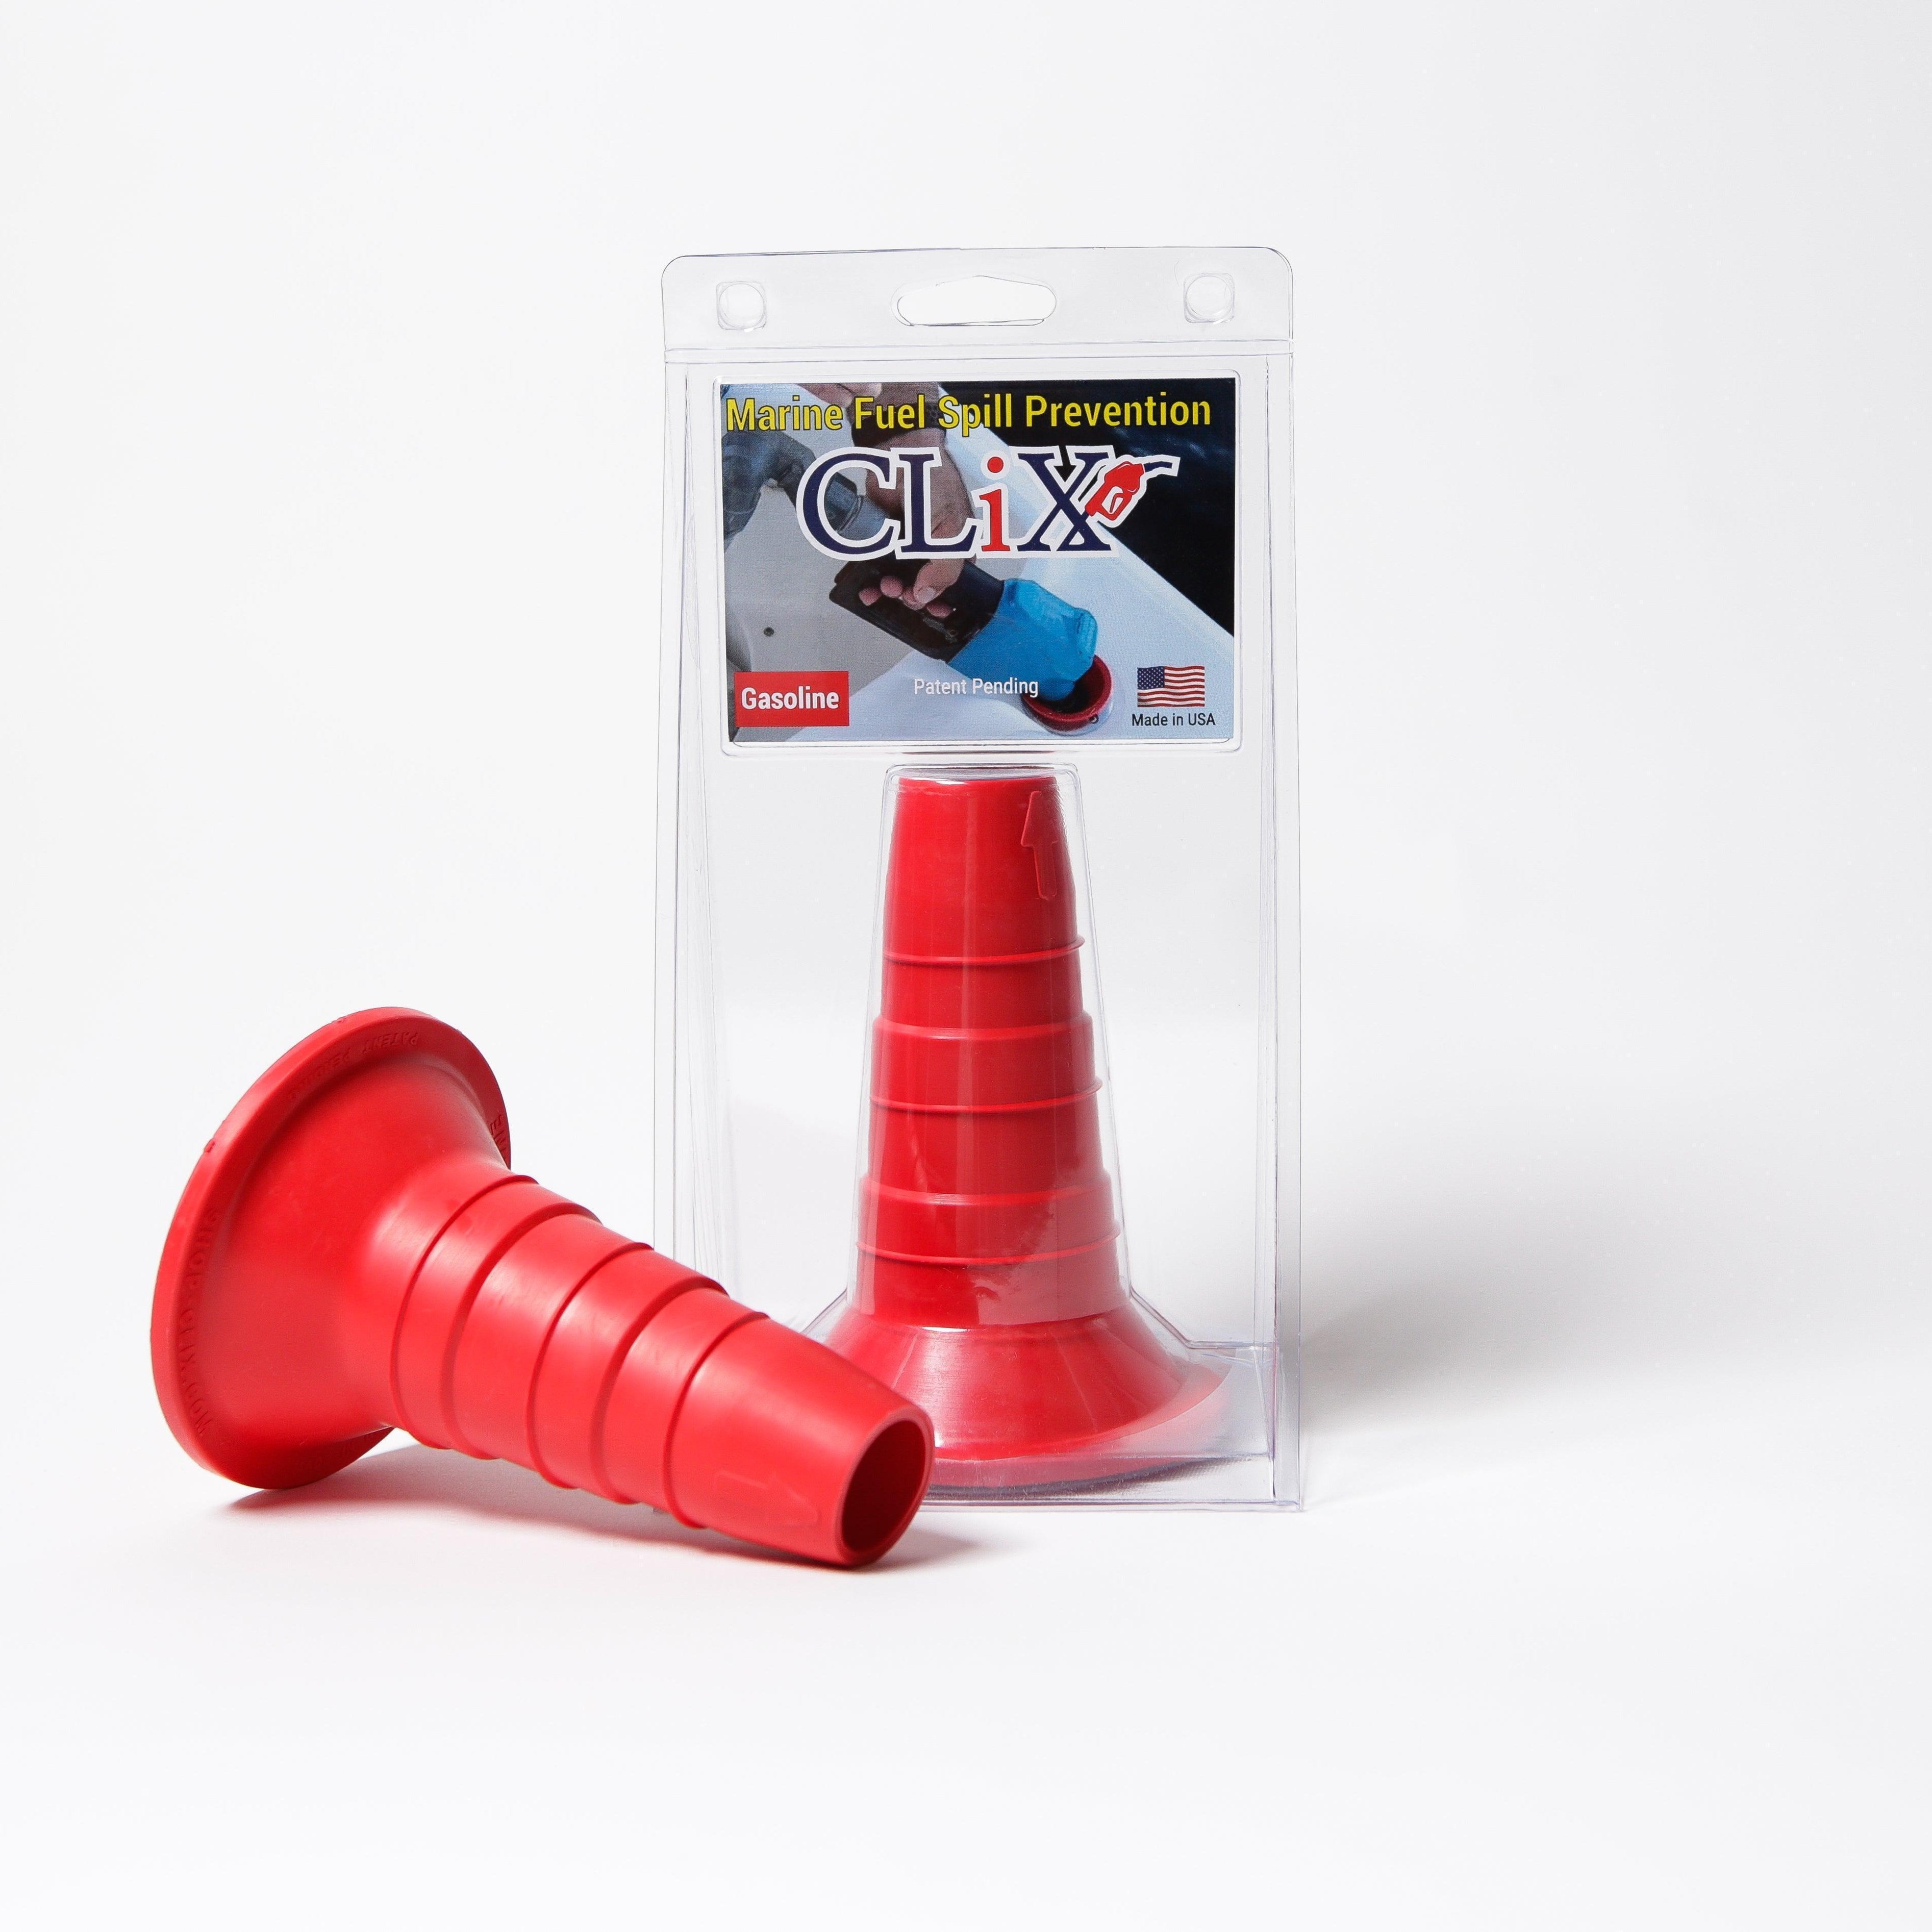
Are you tired of worrying about messy, wasteful, and environmentally harmful fuel spills every time you're at the pump? CLiX Fueling Solutions offers a spill-free, stress-free fueling experience that automatically stops the flow when your tank is full. Protect your boat, the environment, and your peace of mind by visiting https://clixfueling.com to see how our American-made system can change the way you fuel up.