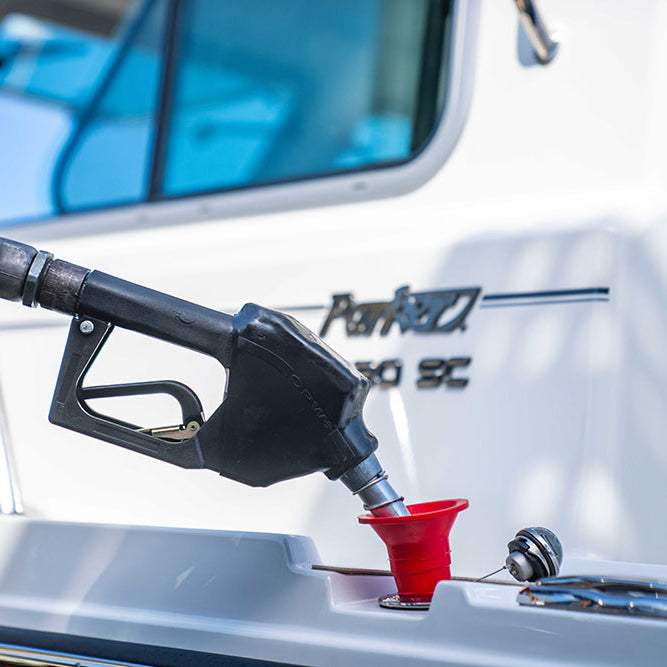
Ever been out on the water, glanced at your fuel gauge, and had that sinking feeling that it’s lying to you? One minute it’s full, the next it’s on empty. That’s not just a random glitch; it’s usually a problem with the fuel gauge sending unit. This little sensor sits inside your fuel tank, and its entire job is to tell your dashboard gauge how much fuel you've actually got.
When it goes bad, you're left guessing, and that’s a risky game to play on the water.
Why Your Boat's Fuel Gauge Is Lying To You
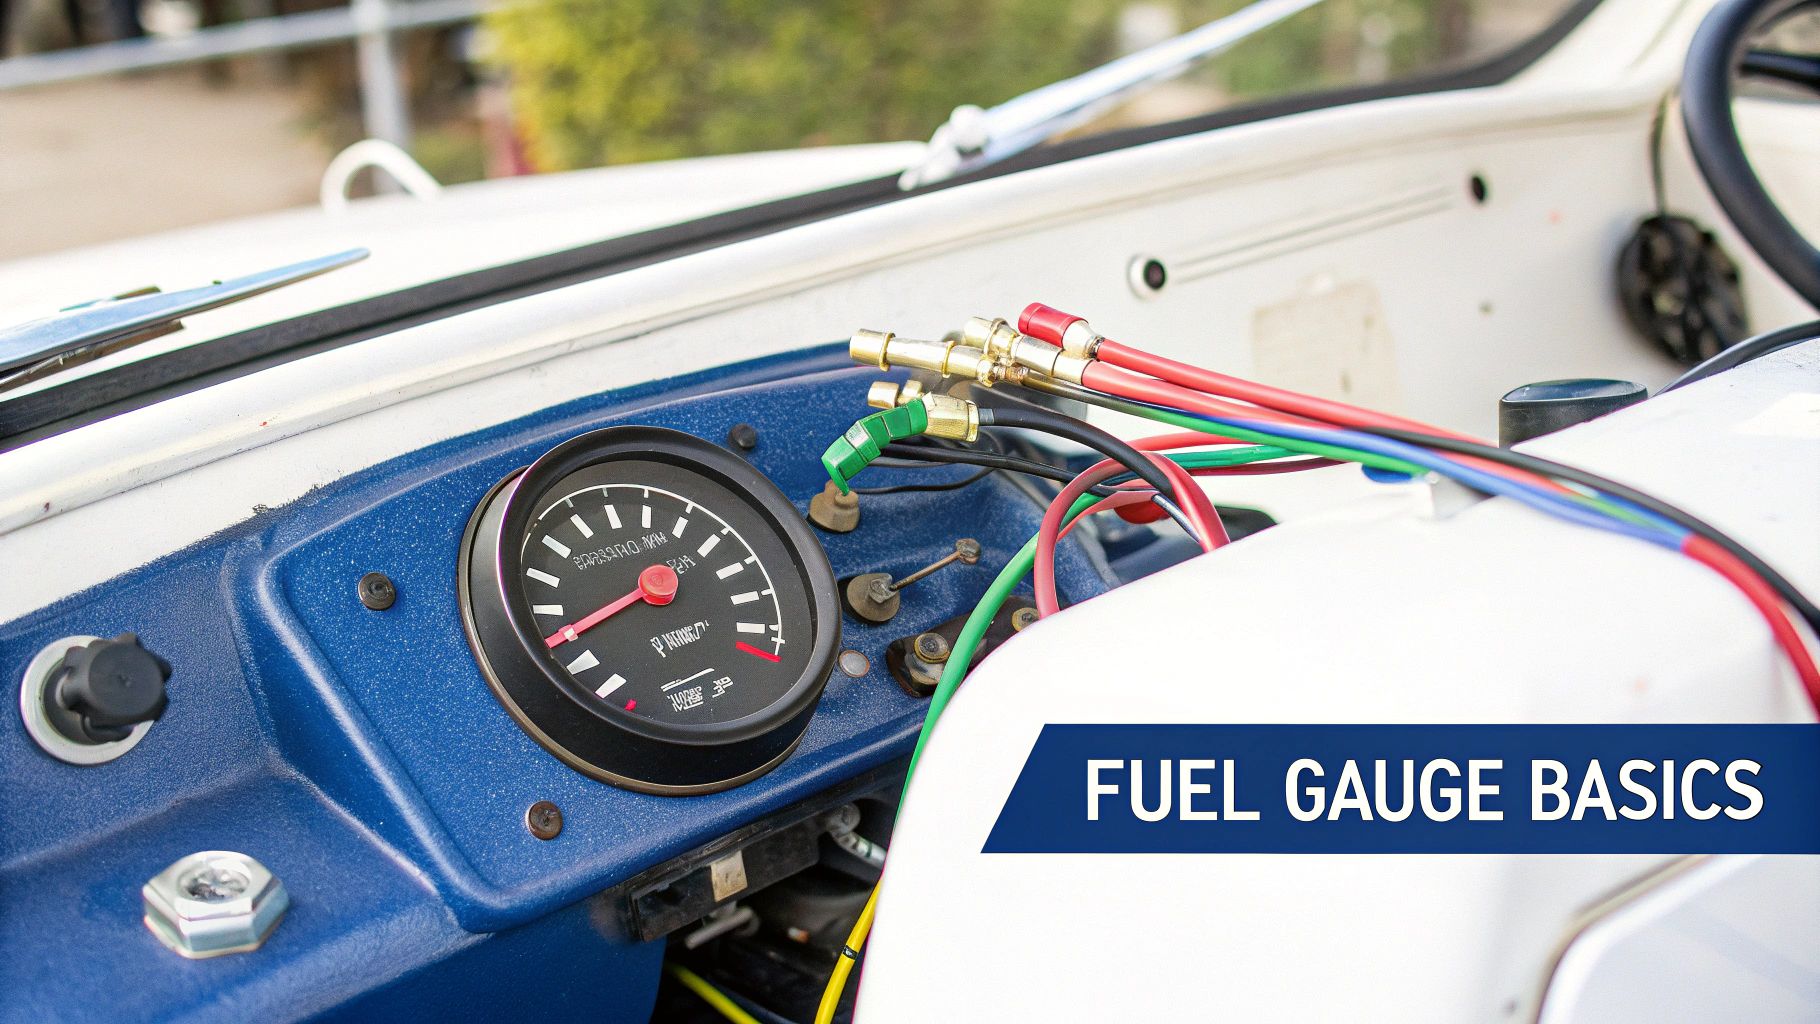
That heart-stopping moment when a "full" tank suddenly reads "empty" isn't magic. It's a failure of a small but vital part of your fuel system. The sending unit is the unsung hero here, but it’s also a common weak spot, especially given the constant motion and corrosive nature of a marine environment. Getting a handle on how it works is the first step to fixing it for good.
At its most basic level, the sender translates the physical height of the fuel into an electrical signal. This signal is measured in Ohms of resistance. It travels up a wire to the gauge at your helm, which interprets that resistance and moves the needle accordingly. Simple in theory, but there are a few different ways to get it done, each with its own pros and cons.
Comparing Common Marine Fuel Sender Types
Not all fuel senders are created equal. The technology has evolved over the years, and the type in your tank will dictate its performance and potential failure points. Let's break down the most common ones you'll encounter.
| Sender Type | How It Works | Common Pros | Common Cons |
|---|---|---|---|
| Float-Arm Sender | A float on a swinging arm moves a contact across a variable resistor. As the fuel level changes, so does the resistance. | Simple design, widely available, and inexpensive. | Prone to damage from fuel sloshing; moving parts can wear out or corrode. Readings can be erratic in rough water. |
| Reed Switch Sender | A sealed tube contains a series of reed switches. A float with a magnet moves up and down, activating different switches. | No exposed electrical contacts, making it more durable. More resistant to sloshing than float-arm types. | More expensive than float-arm models; can have "dead spots" between switches, causing the needle to jump. |
| Capacitive Sender | Two concentric tubes act as a capacitor. Fuel and air have different dielectric properties, so the sender measures the fuel level based on capacitance. | No moving parts, highly durable, and very accurate. Unaffected by fuel sloshing. | The most expensive option. Can be sensitive to fuel additives or water contamination. |
Understanding these differences is key. If you're constantly dealing with a swinging fuel gauge needle in choppy seas, a float-arm sender is likely the culprit, and upgrading to a reed switch or capacitive model could be a smart move.
My Experience: One of the most common issues I see is a mismatch. Someone replaces their sender but doesn't check if its resistance range (e.g., 33-240 Ohms for American standards, 10-180 Ohms for European) matches what their gauge expects. The result? The gauge will never read correctly, showing full when it's half-empty or vice-versa. Always match your sender to your gauge!
The demand for better fuel monitoring is pushing the industry forward. The global automotive fuel gauge sending unit market is projected to hit about USD 5.2 billion by 2035, a significant jump from USD 3.6 billion in 2025. You can dig into a full analysis of fuel monitoring technology trends to see how this innovation is trickling down. For us boaters, this means more reliable and accurate options are hitting the market all the time.
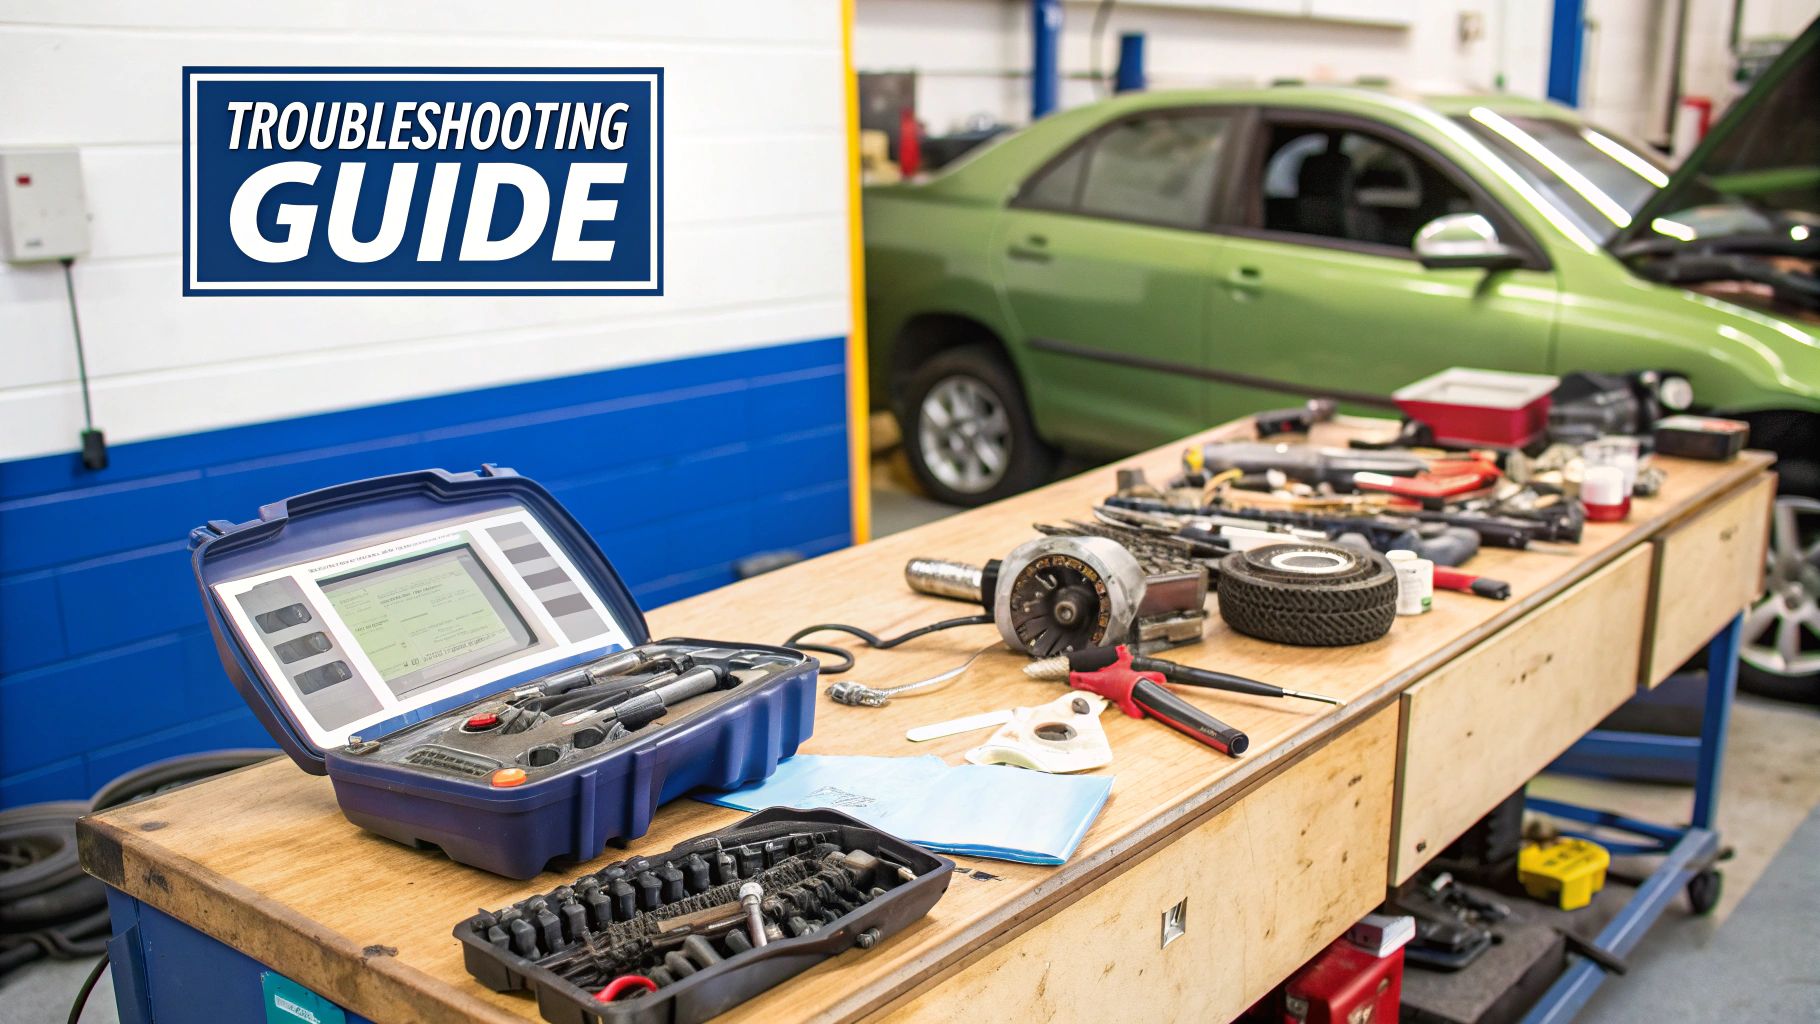
Pinpointing The Problem Before You Buy Parts
There's nothing worse than not being able to trust your fuel gauge. It's a real pain, but more than that, it's a gap in critical information you need on the water. Before you jump online and order a new fuel gauge sending unit, let's make sure that's actually the problem. A lot of the time, the real issue is the gauge on your dash or the wiring in between.
A few quick diagnostic checks can save you a bunch of money and the headache of replacing a part that was working just fine.
First things first, do a quick visual check. Follow the wiring from the gauge at the helm all the way back to the sending unit on top of your fuel tank. You're looking for the obvious stuff: corroded terminals, frayed wires, or connections that have worked themselves loose. A bad ground wire is an incredibly common reason for a gauge to go haywire.
Is It The Gauge Or The Sender?
If the wiring looks good, we need to figure out which component is lying to you: the gauge or the sender. There's a simple test for this that works like a charm.
Turn your ignition key to the "on" position, but don't start the engine. Now, go to your fuel tank and carefully disconnect the wire from the center post of the sending unit (it's usually a pink or tan wire).
- With this wire disconnected and not touching anything metal, your fuel gauge should drop all the way to "Empty".
- Next, take a small piece of wire and touch one end to that same sender wire you just disconnected, and the other end to a solid ground—like the negative post on your battery or a ground screw on the tank flange. When you do this, the gauge should swing all the way to "Full".
If your gauge passes this test—going from empty to full like it should—then congratulations, your gauge is working perfectly. This almost always means the problem is either the sending unit itself or the wire connecting it to the gauge.
Key Takeaway: If the gauge swings from empty to full during this test, the sender is almost certainly your problem. If the gauge doesn't move at all or acts weird, the gauge itself is likely toast.
Using A Multimeter To Confirm Failure
To be 100% sure before you spend any money, a multimeter will give you a definitive answer. Most boats in the U.S. use a standard resistance range of 240 Ohms when empty and 33 Ohms when full. It's important to know this, as European systems are often different (0-180 Ohms).
Grab your multimeter and set it to read Ohms (Ω). Touch one probe to the center terminal post on the sender and the other probe to the sender's ground terminal or the metal flange it's mounted on.
With a full tank of fuel, you should see a reading right around 33 Ohms. If the tank is empty, it should be up near 240 Ohms. If you want to dive deeper into this, we cover it in our boat fuel sending unit installation and troubleshooting guide.
A reading that’s way off—like an open circuit ("OL" on the multimeter screen) or zero resistance no matter how much fuel is in the tank—is the final nail in the coffin. That confirms the sender has failed, and you can now confidently order a replacement.
Gearing Up and Putting Safety First
Let's be blunt: working on your boat's fuel system is serious business. Gasoline fumes are incredibly flammable, and one tiny spark is all it takes for a very bad day. So, before you grab a single tool, your absolute first priority is to make your workspace safe. This isn't just a friendly tip—it's the most critical part of this whole job.
The first, non-negotiable step is to kill all power to the boat. Disconnect the battery completely. I always take off the negative cable first, then the positive, and make sure those terminals are tucked away where they can't possibly touch anything. This removes the biggest risk for stray electrical sparks.
Next, get some air moving. Open up every hatch, porthole, and piece of canvas you have. If you’re down in a tight bilge, you need to run your blowers for at least five minutes before you even start. Keep them running periodically while you work, too. Your goal is to keep fuel fumes from building up in one place.
The Right Tools for the Job
Having your tools laid out and ready to go makes everything smoother and safer. Scrambling to find the right socket while leaning over an open fuel tank is a recipe for mistakes. You don't need a giant toolbox, but a few key items are essential for swapping out a fuel gauge sending unit.
- Wrenches & Sockets: A basic set is all you need for the mounting screws on the sender.
- Multimeter: This is your best friend for diagnosing the old unit and confirming the new one works before you seal everything up.
- Plastic Gasket Scraper: It must be plastic. A metal scraper can easily create a spark if you hit the tank—don't take that risk.
- New Gasket & Sealant: Always use a fresh one. Old gaskets are a common source of leaks. Make sure both the gasket and sealant are marine-grade and fuel-resistant.
- Fire Extinguisher: Have a B-1 rated extinguisher (the kind for fuel fires) right next to you. Not in a locker, but within arm's reach.
My Two Cents on Safety: If you plan on doing a lot of work on your boat, think about investing in a set of non-sparking tools made from brass or bronze. They're pricier, but the peace of mind you get from knowing you won't cause a spark by dropping a wrench near the fuel tank is worth every penny.
Why "Marine-Grade" Is a Must
When you're buying your replacement sender, screws, or sealant, you have to see the words "marine-grade" on the package. This isn't just a marketing gimmick. Parts designed for cars aren't ignition-protected and will rust away in a saltwater environment in no time. Using an automotive part is a huge safety risk and guarantees you'll be doing this job again soon.
Seriously, take your time with this. Double-check your safety steps and never, ever cut corners when fuel is involved. Your boat, and everyone on it, is counting on you to do it right.
Replacing The Fuel Gauge Sending Unit
Alright, you've confirmed the sender is the culprit and you have your tools ready. Now it's time to get your hands dirty. Replacing a fuel gauge sending unit isn't rocket science, but taking your time and doing it right will save you from major headaches down the road.
First things first, let's get that old unit out. Make sure you've got plenty of ventilation and have disconnected the boat's power. Then, carefully start removing the mounting screws. Here’s a little trick I’ve learned: lay a clean rag around the tank opening. It’s a simple step that can save you from the absolute nightmare of dropping a screw into your fuel tank.
With the screws out, you can gently lift the old sender from the tank. Be careful here—the float arm can easily get snagged on its way out. Once it's free, give it a good look. Is it corroded? Does the float seem damaged or full of fuel? This visual check usually confirms what your multimeter already told you.
This visual shows the whole process from start to finish. It's a great way to picture the job before you even start.
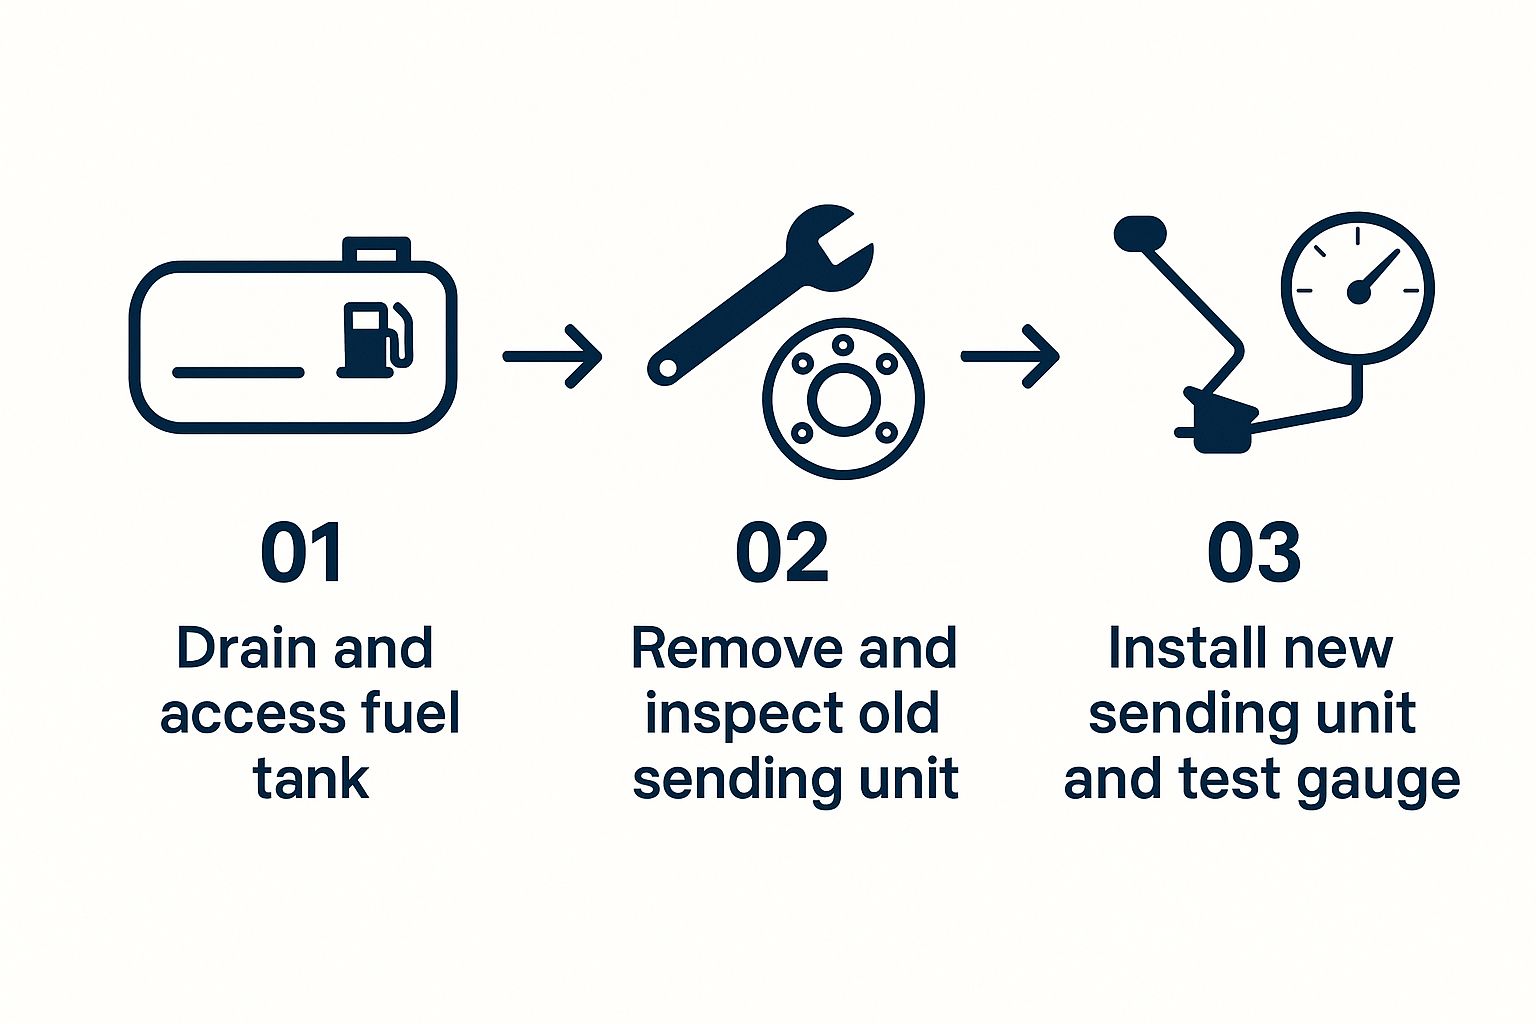 Seeing it broken down like this makes the replacement feel a lot less intimidating.
Preparing The New Sender for Installation
Before you can install the new sending unit, you'll likely need to do a bit of prep work. Most aftermarket senders are designed to be universal, which means you’ll probably have to cut the float arm to fit your specific tank.
Start by measuring the depth of your fuel tank from the mounting surface right down to the bottom. The instructions that came with your new sender will have a chart or guide telling you the exact length to cut the arm based on your tank's depth. A small hacksaw or a pair of heavy-duty wire cutters does the job perfectly.
Don't rush this step. If the arm is too long, it'll hit the bottom of the tank and your gauge will never read "Empty." If it's too short, your gauge will read "Empty" while you've still got fuel sloshing around. Getting this measurement right is crucial for an accurate fuel gauge.
My Two Cents: Always, and I mean always, use a new gasket. I know it's tempting to reuse the old one if it looks okay, but don't do it. A fresh, fuel-resistant gasket is your only defense against a dangerous fuel leak. It's a tiny part that plays a huge role in safety.
Creating a Perfect Leak-Proof Seal
Now we're ready for the final install. Grab your plastic scraper and a clean rag and get the mounting surface on the tank completely clean. Any leftover gunk or bits of the old gasket will prevent a good seal. Once it's spotless, position the new gasket over the opening, making sure the screw holes line up perfectly.
Next, carefully lower the new fuel gauge sending unit into the tank. Guide it in so the float arm doesn’t get caught on any internal baffles or the tank walls. Align the screw holes on the sender with the gasket and the tank.
Here comes the most critical part of putting it all back together: tighten the screws in a star pattern.
- Start by lightly tightening one screw.
- Move to the screw directly across from it and tighten it.
- Go to the next screw in the circle and then tighten its opposite.
- Keep this crisscross pattern going until all screws are snug.
This method ensures you get even pressure all the way around the gasket, creating that perfect, leak-proof seal. Don't go crazy and overtighten—you could strip the threads or damage the gasket. Just get them nice and firm.
If you're looking for more tips, we have a comprehensive guide on choosing and maintaining your boat's fuel tank that covers even more ground. With the sender in place, all that’s left is to reconnect the wires and get ready to test your work.
Testing And Verifying Your New Installation
Alright, your new fuel gauge sending unit is installed. It's tempting to button everything up and call it a day, but hold on. Taking a few extra minutes to verify your work now can save you a world of headaches later, especially when you're far from the dock.
This is your last chance to make sure it's all working perfectly before you find out there’s a problem the hard way.
Before sealing up that access panel, there's one simple check you absolutely must do. With the sender installed but still accessible, reconnect your battery and turn the ignition key to the "ON" position (don't start the engine). Now, reach in and gently lift the float arm all the way up. Your fuel gauge at the helm should swing to "Full."
Next, slowly guide the arm back down to its lowest position. The needle should follow suit, landing right on "Empty." This quick test confirms the sender and gauge are talking to each other and, just as importantly, that the float has a clear range of motion inside the tank.
Calibrating Your Gauge For True Accuracy
Now for the real-world test. This part takes a little patience, but it’s the only way to be completely sure you can trust your gauge. The idea is to see if the gauge reads correctly at key fuel levels. It's best to start this process with a nearly empty tank.
- Confirm Empty: With just the unusable dregs left in the tank, your gauge should read at or very close to "E."
- Verify Half Tank: This is the key step. Add a specific amount of fuel that equals exactly half your tank's capacity. If you have a 40-gallon tank, pump in 20 gallons. The needle should point right at the halfway mark.
- Check Full Reading: Now, go ahead and top off the tank. The gauge needle should settle firmly on the "F" line.
If your readings are a bit off, don't worry just yet. Some minor discrepancies can be adjusted on the gauge itself. However, if the needle is way off, it usually points to a snag in the installation.
Pro Tip: From my experience, the number one reason a new installation fails is a poor ground connection. Double-check that the ground wire has a solid, clean, metal-to-metal connection at both the sender's mounting flange and the boat's main ground bus. A weak ground will give you faulty resistance readings every single time.
Troubleshooting Lingering Problems
What if the gauge is still on the fritz? If it’s stuck on "Full" or "Empty," your first stop should be the wiring. A wire that's accidentally shorting to a ground will peg the gauge at "Full," while a loose or broken wire in the circuit will make it read "Empty."
For trickier issues, our guide on common solutions for boat fuel gauge problems can walk you through more advanced troubleshooting.
Getting this right is more important than ever. The global market for fuel level sensors, which includes your sending unit, was valued at USD 739.3 million in 2022 and is projected to hit over USD 1 billion by 2029. This shows just how critical accurate fuel data is becoming for boaters everywhere.
By taking the time to test and verify, you're not just finishing a job—you're buying yourself confidence and peace of mind for every future trip.
Got Questions About Your Fuel Sender? We've Got Answers.
Even after you've tightened the last screw, some nagging questions about your new fuel sender can stick around. Getting these cleared up is key to feeling confident in your work and understanding your boat's fuel system. I've heard just about every question in the book, so let's tackle some of the most common ones I hear from fellow boaters.
A big one that comes up all the time is about saving a few bucks by using a part from a car.
Can I Just Use a Car Sending Unit in My Boat?
Let me be crystal clear on this one: absolutely not. It's a tempting shortcut, but using an automotive fuel sender in a boat is a serious mistake. Car parts simply aren't designed for the harsh marine world.
Marine-grade senders are ignition-protected, which is a non-negotiable safety feature. This design prevents any internal electrical sparks from igniting fuel vapors trapped in your bilge—a catastrophic scenario. Beyond that, they’re built with corrosion-resistant materials like stainless steel to withstand constant moisture. A car part will not only fail quickly, but it’s a major safety risk that could void your boat's insurance. Don't do it.
Why Does My New Sender Still Read Empty?
This is incredibly frustrating, I know. You go through all the trouble of replacing the unit, and the needle on your dash doesn't budge off "E." In my experience, this is almost always a bad ground.
Your sender needs a clean, complete electrical circuit to send its signal to the gauge. Start with the ground wire (usually black). Check that it's making solid, metal-to-metal contact at both the sender's mounting flange and the boat's ground bus. A little corrosion, a coat of paint, or a loose screw is all it takes to break the circuit and give you a false reading.
My Two Cents: Seriously, check the ground first. I'd bet that over 90% of electrical problems after a new sender install are due to a poor ground connection. A quick cleaning with a wire brush can save you a huge headache.
What's This "Ohm Range" Thing All About?
Think of the Ohm range as the language your sender and gauge use to communicate. It’s a measure of electrical resistance (in Ohms, Ω) that changes as your fuel level goes from empty to full. If your sender and gauge aren't speaking the same language, you'll get gibberish at the helm.
You'll typically run into two "languages" on the water:
- American Standard: This is the most common in the US. It reads roughly 240 Ohms when empty and 33 Ohms when full.
- European Standard: This one is essentially the reverse, reading about 0-10 Ohms when empty and 180 Ohms when full.
Before you buy anything, you have to know which standard your gauge is built for. Mismatching them—say, hooking a 240-33 Ohm sender to a 0-180 Ohm gauge—will give you readings that are backward or just plain wrong. Always match the sender to the gauge.
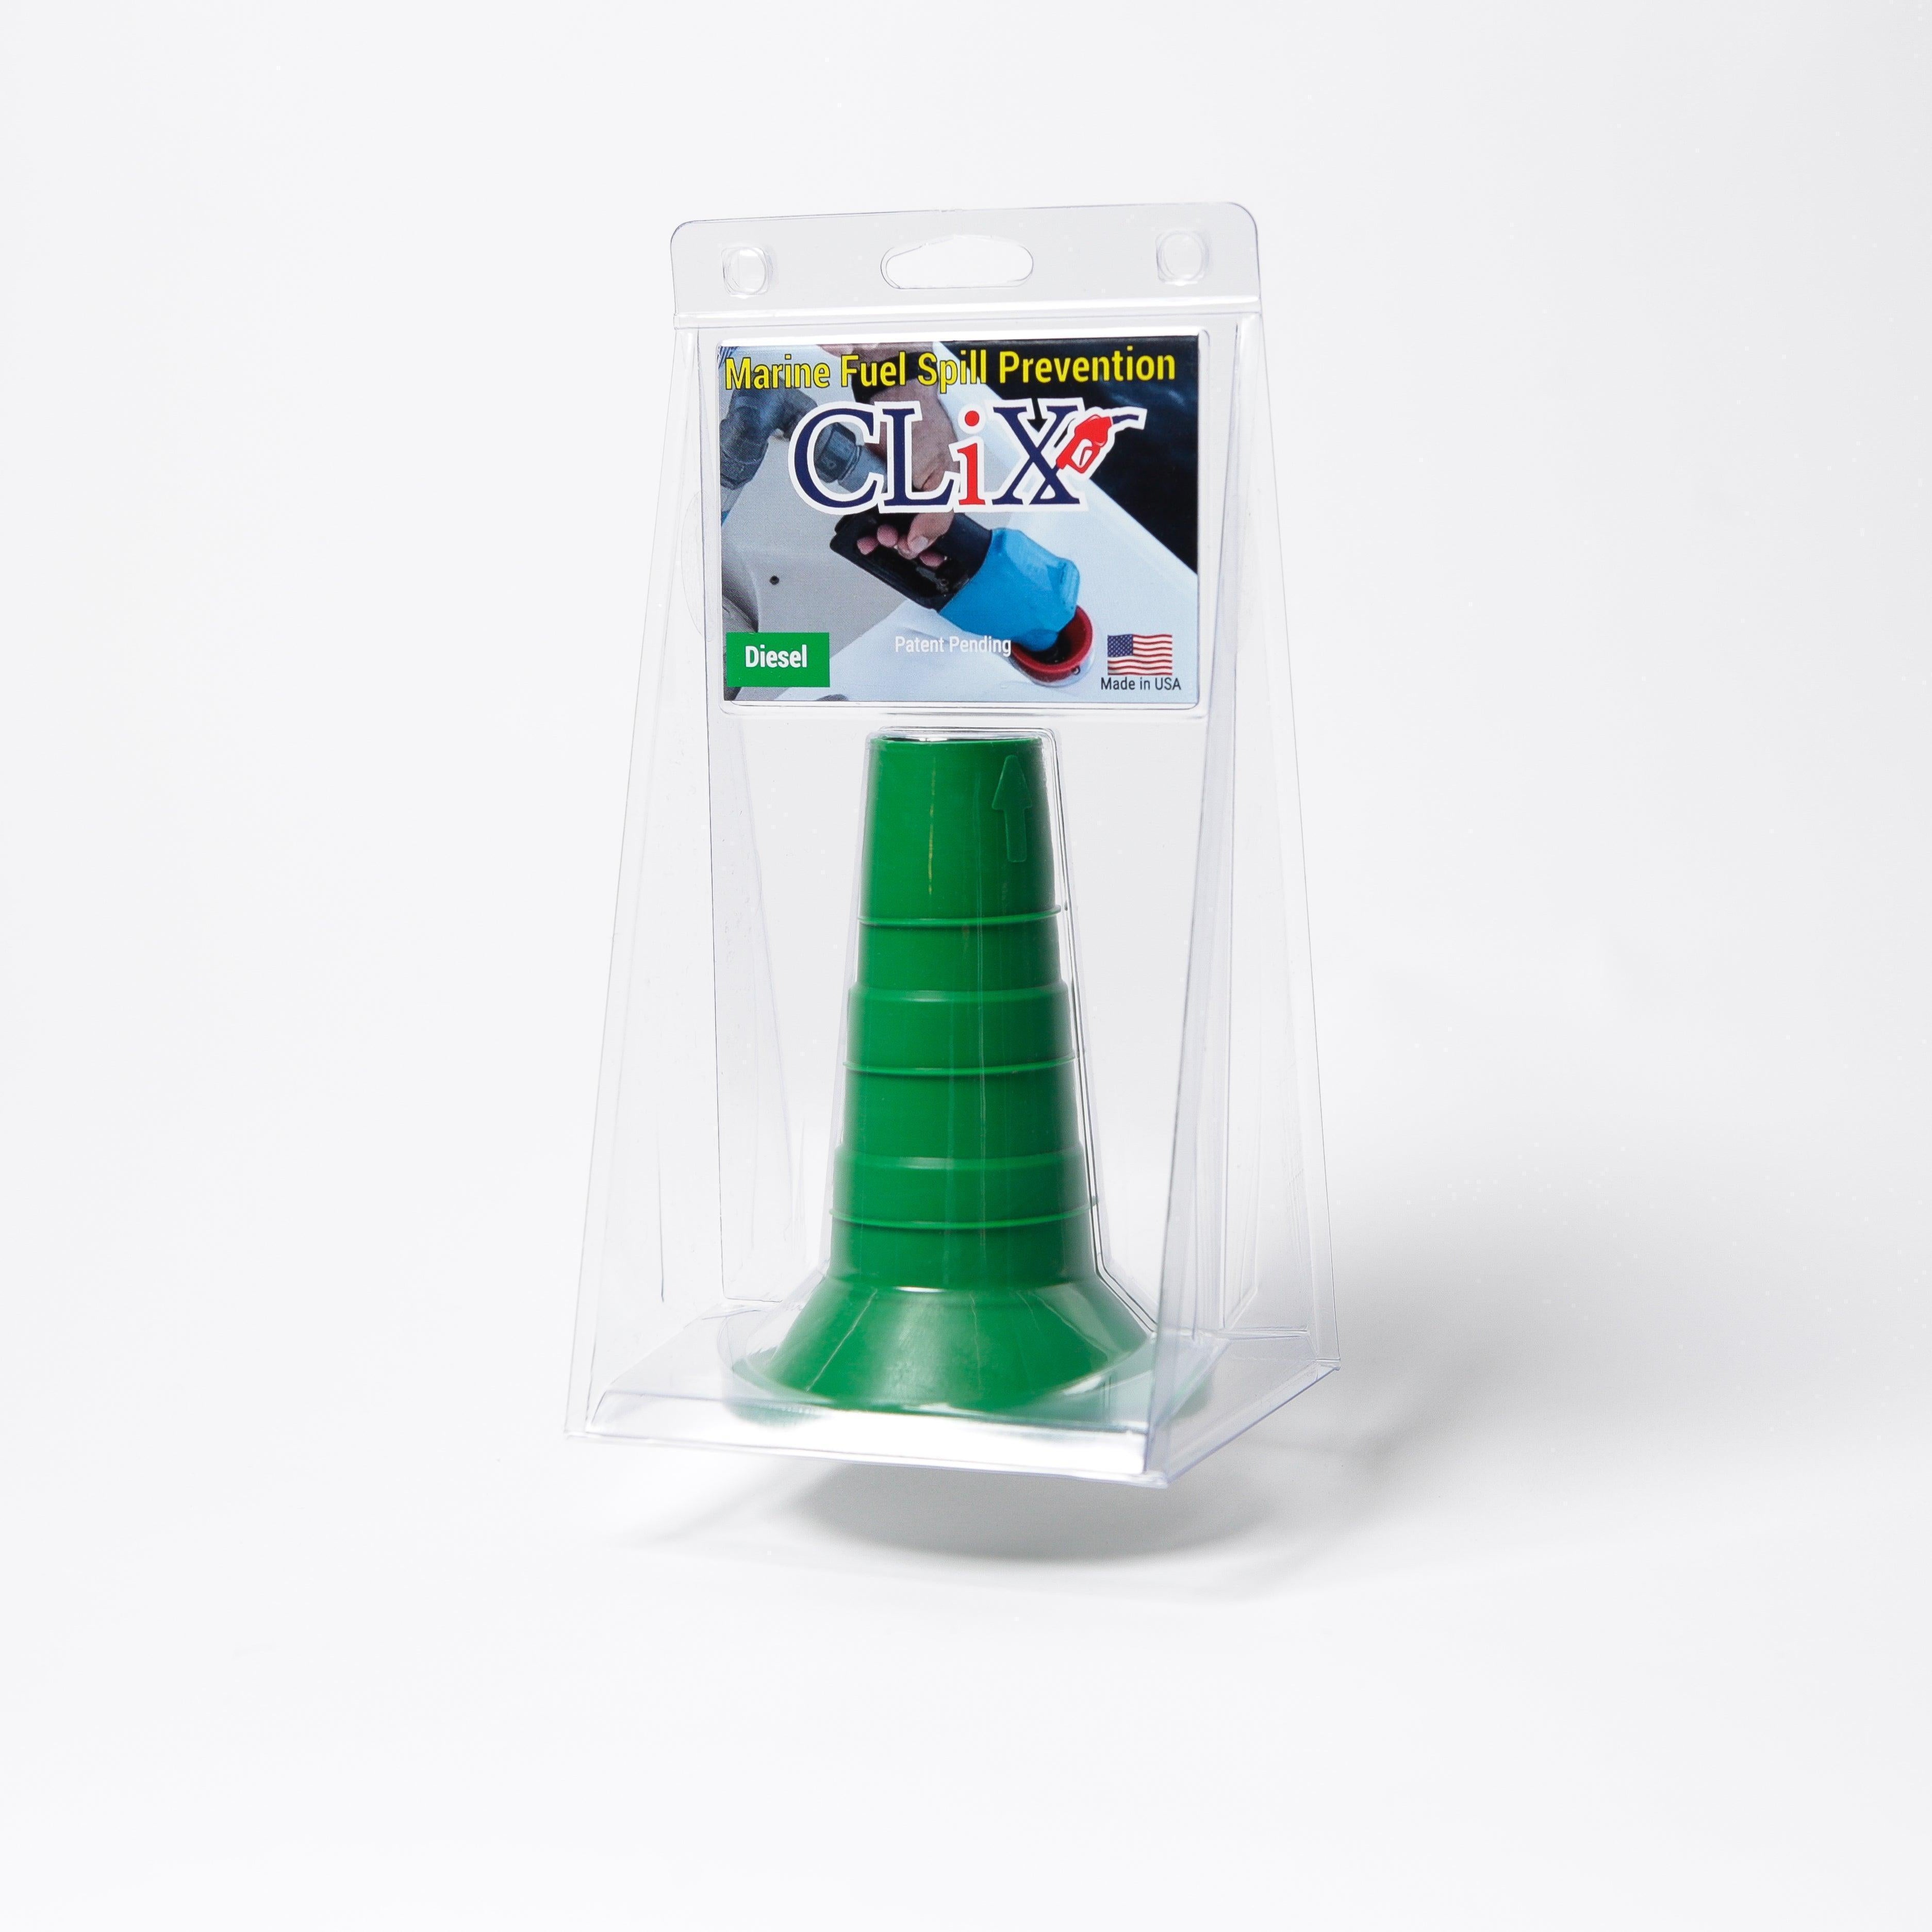
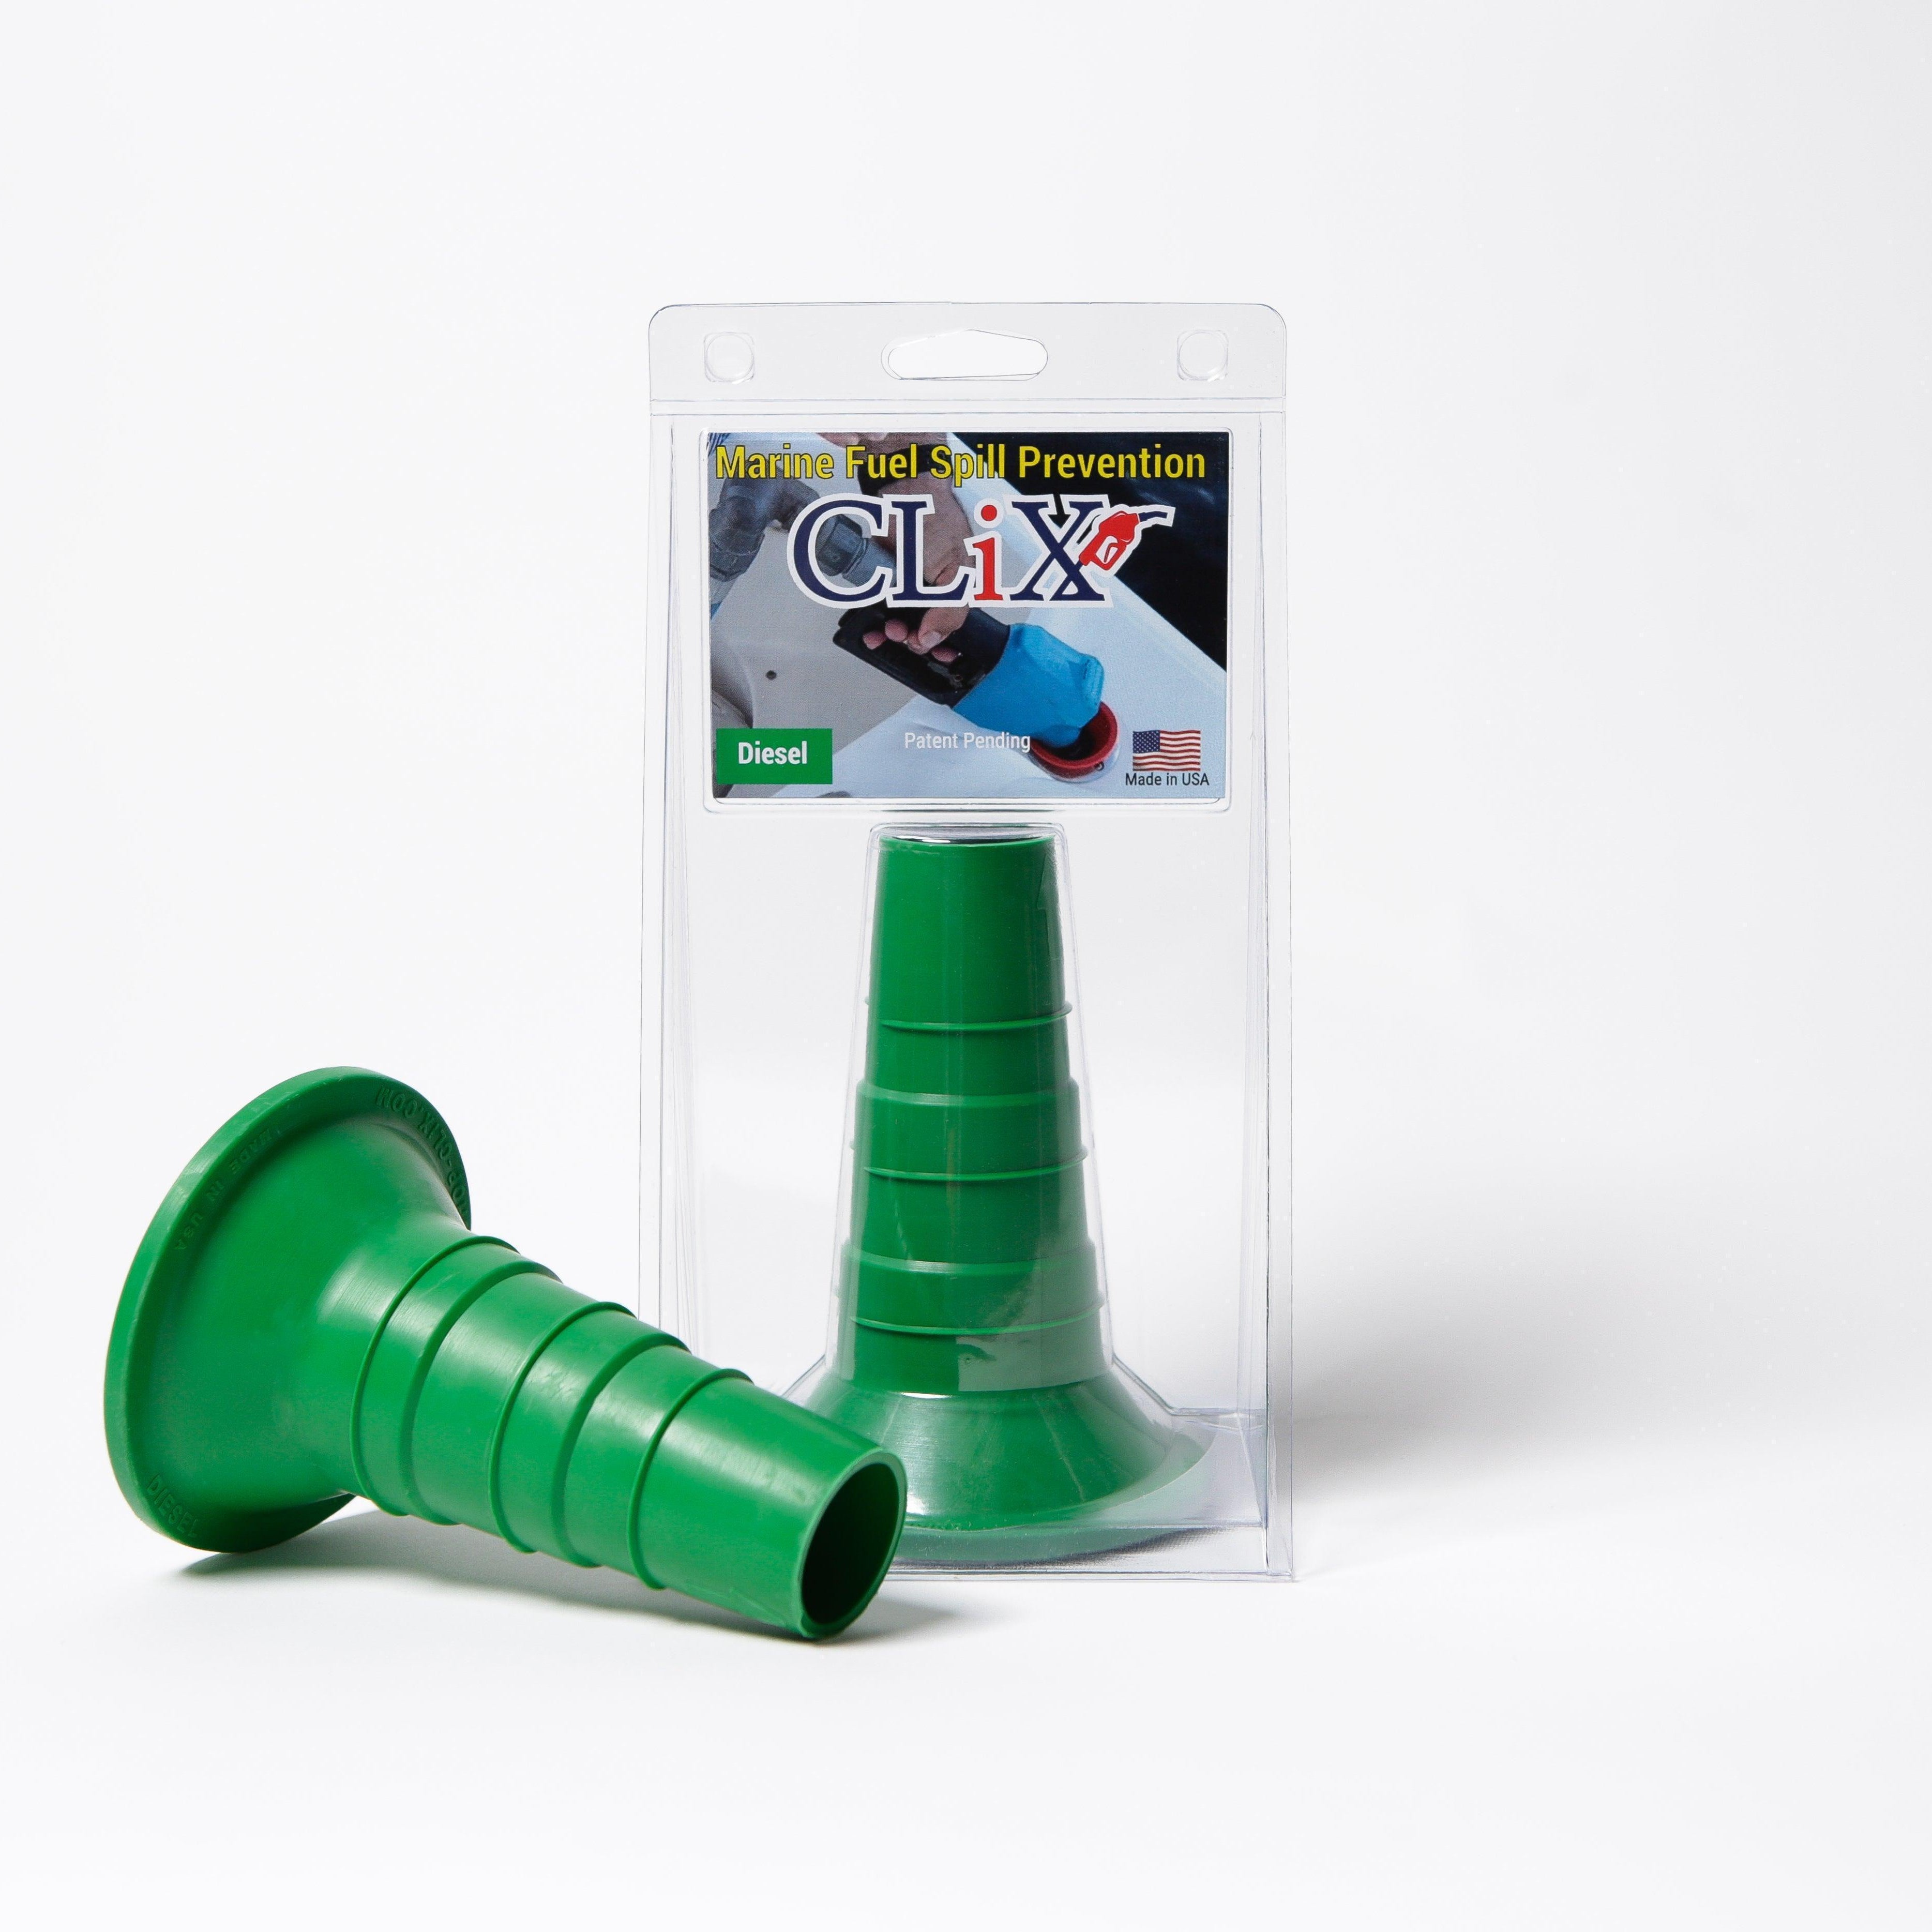
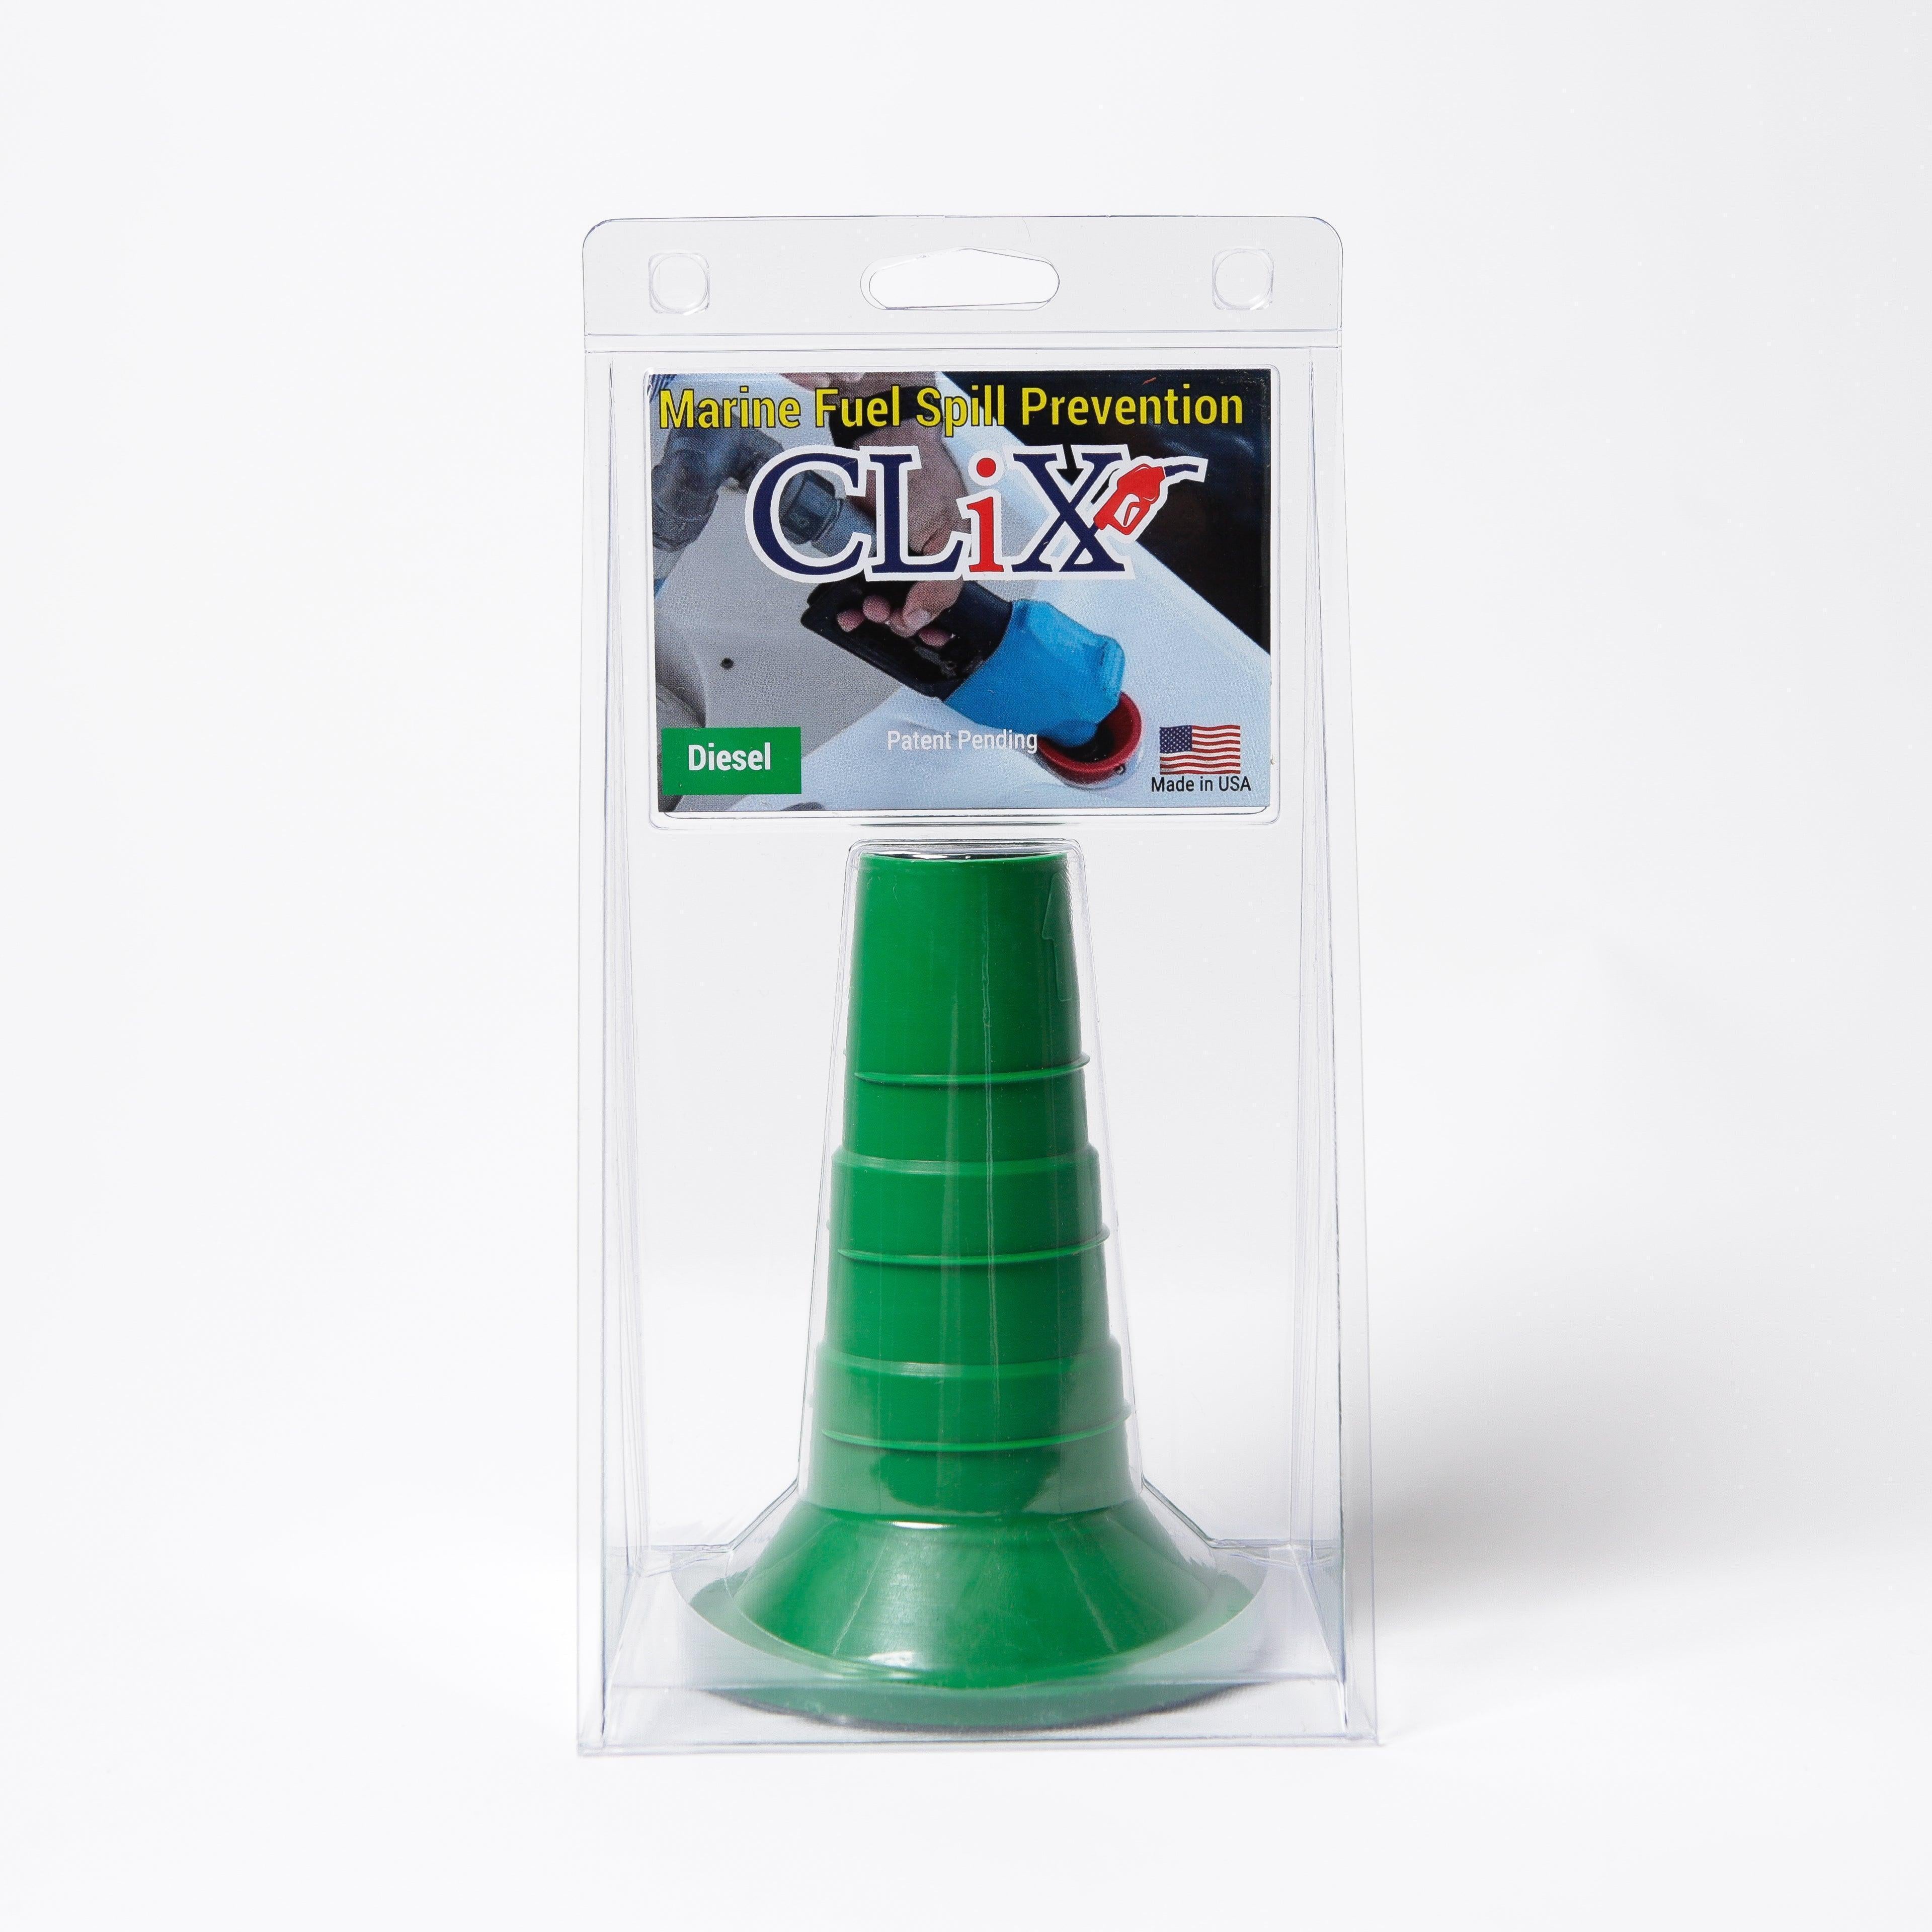
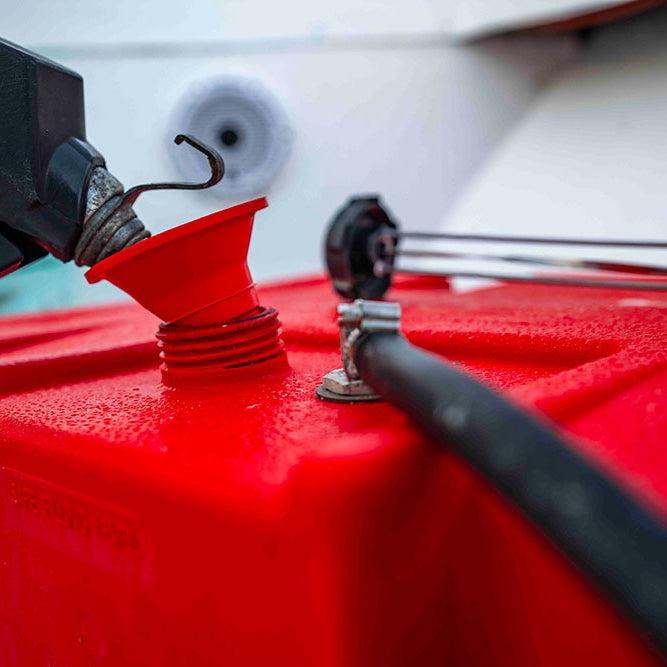
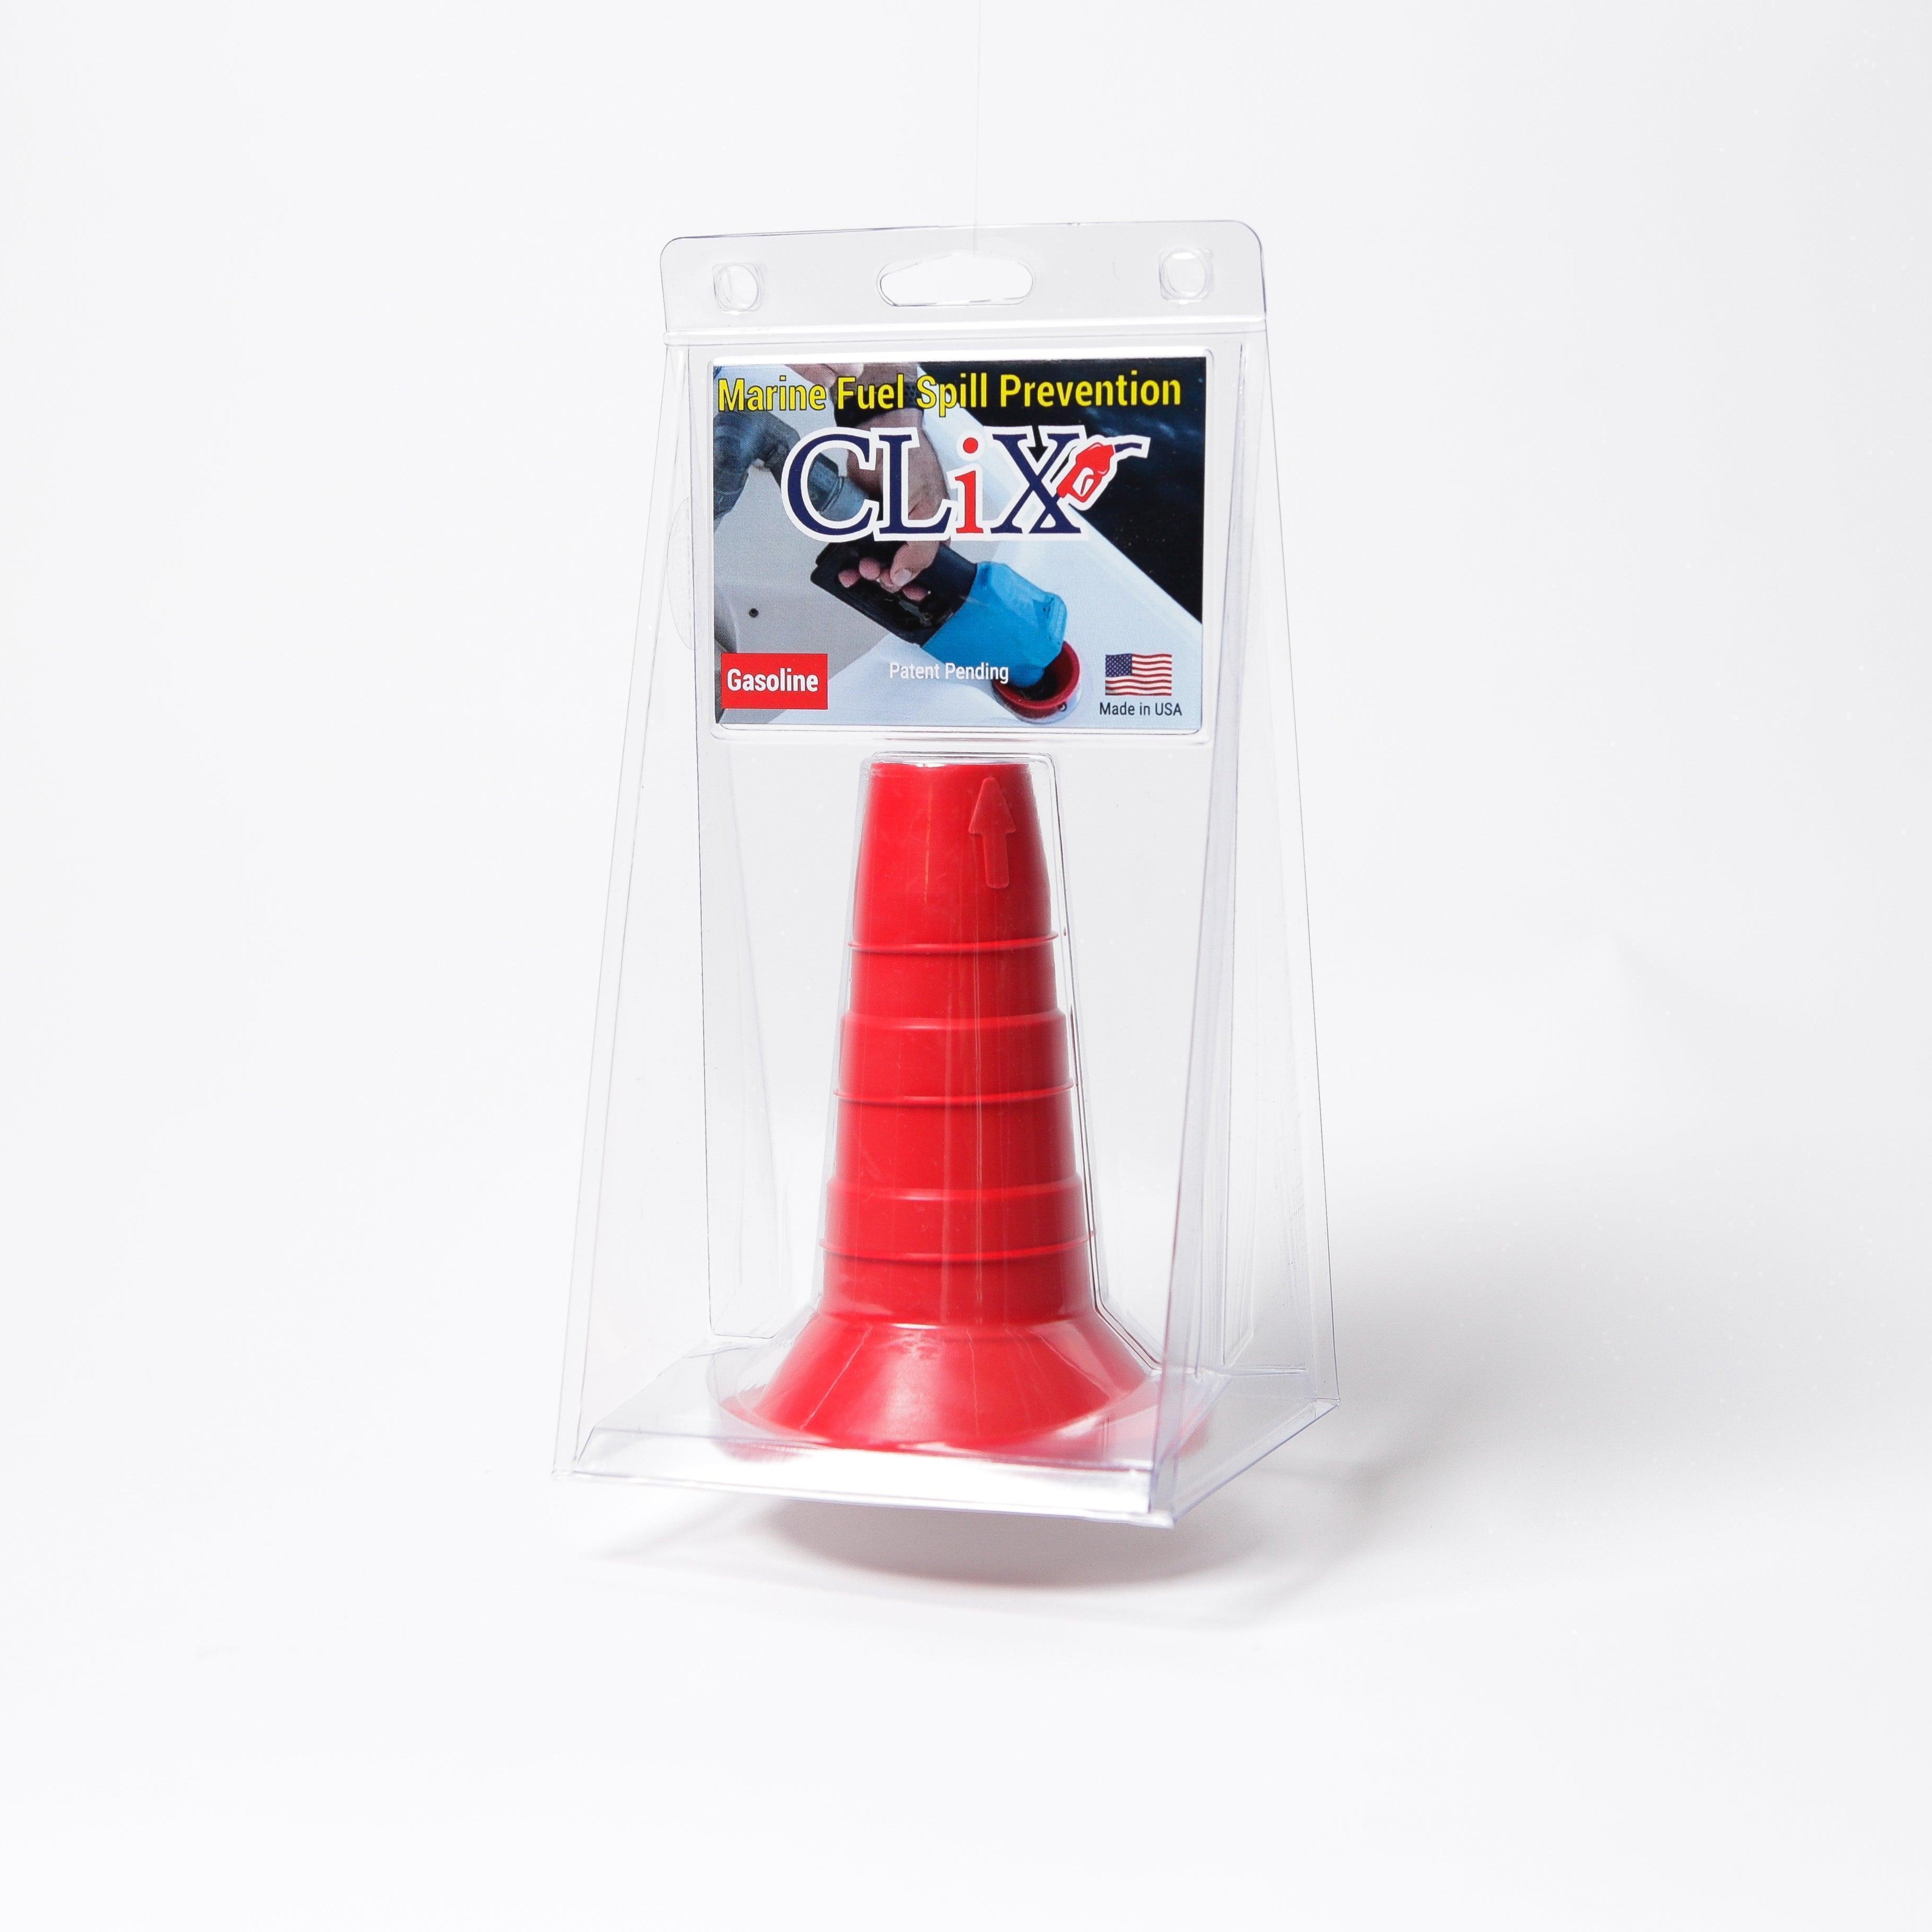
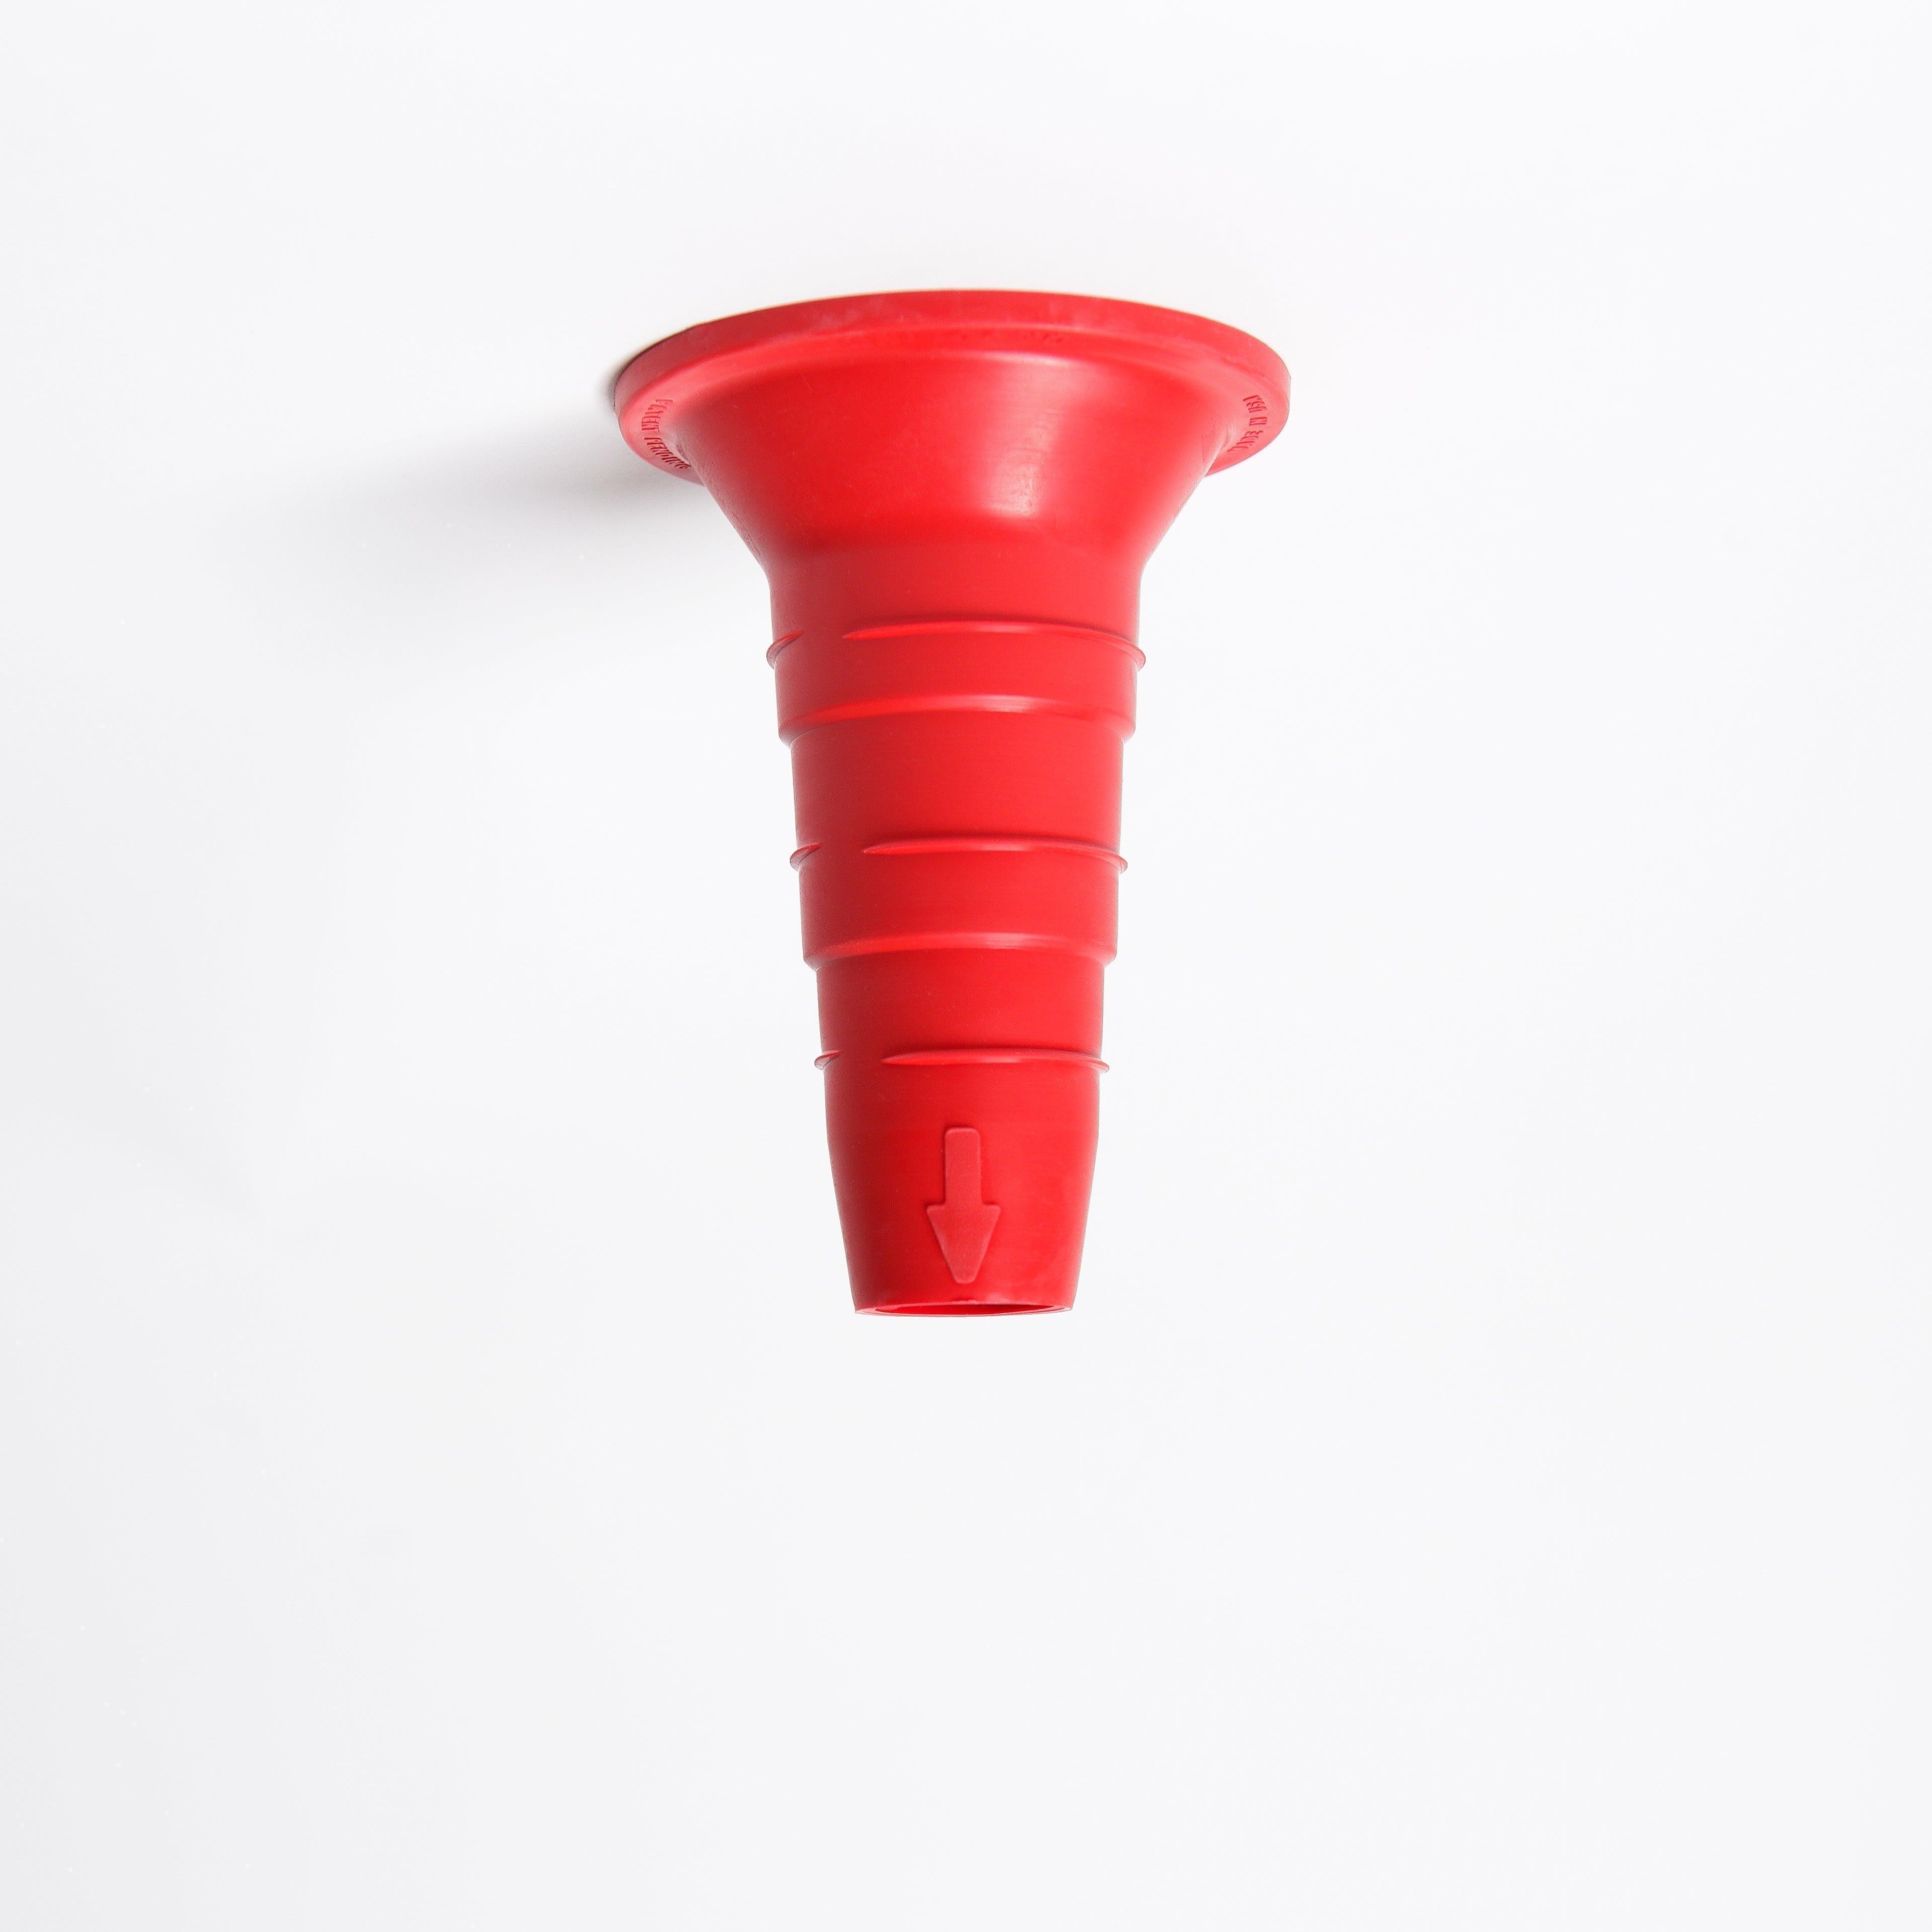
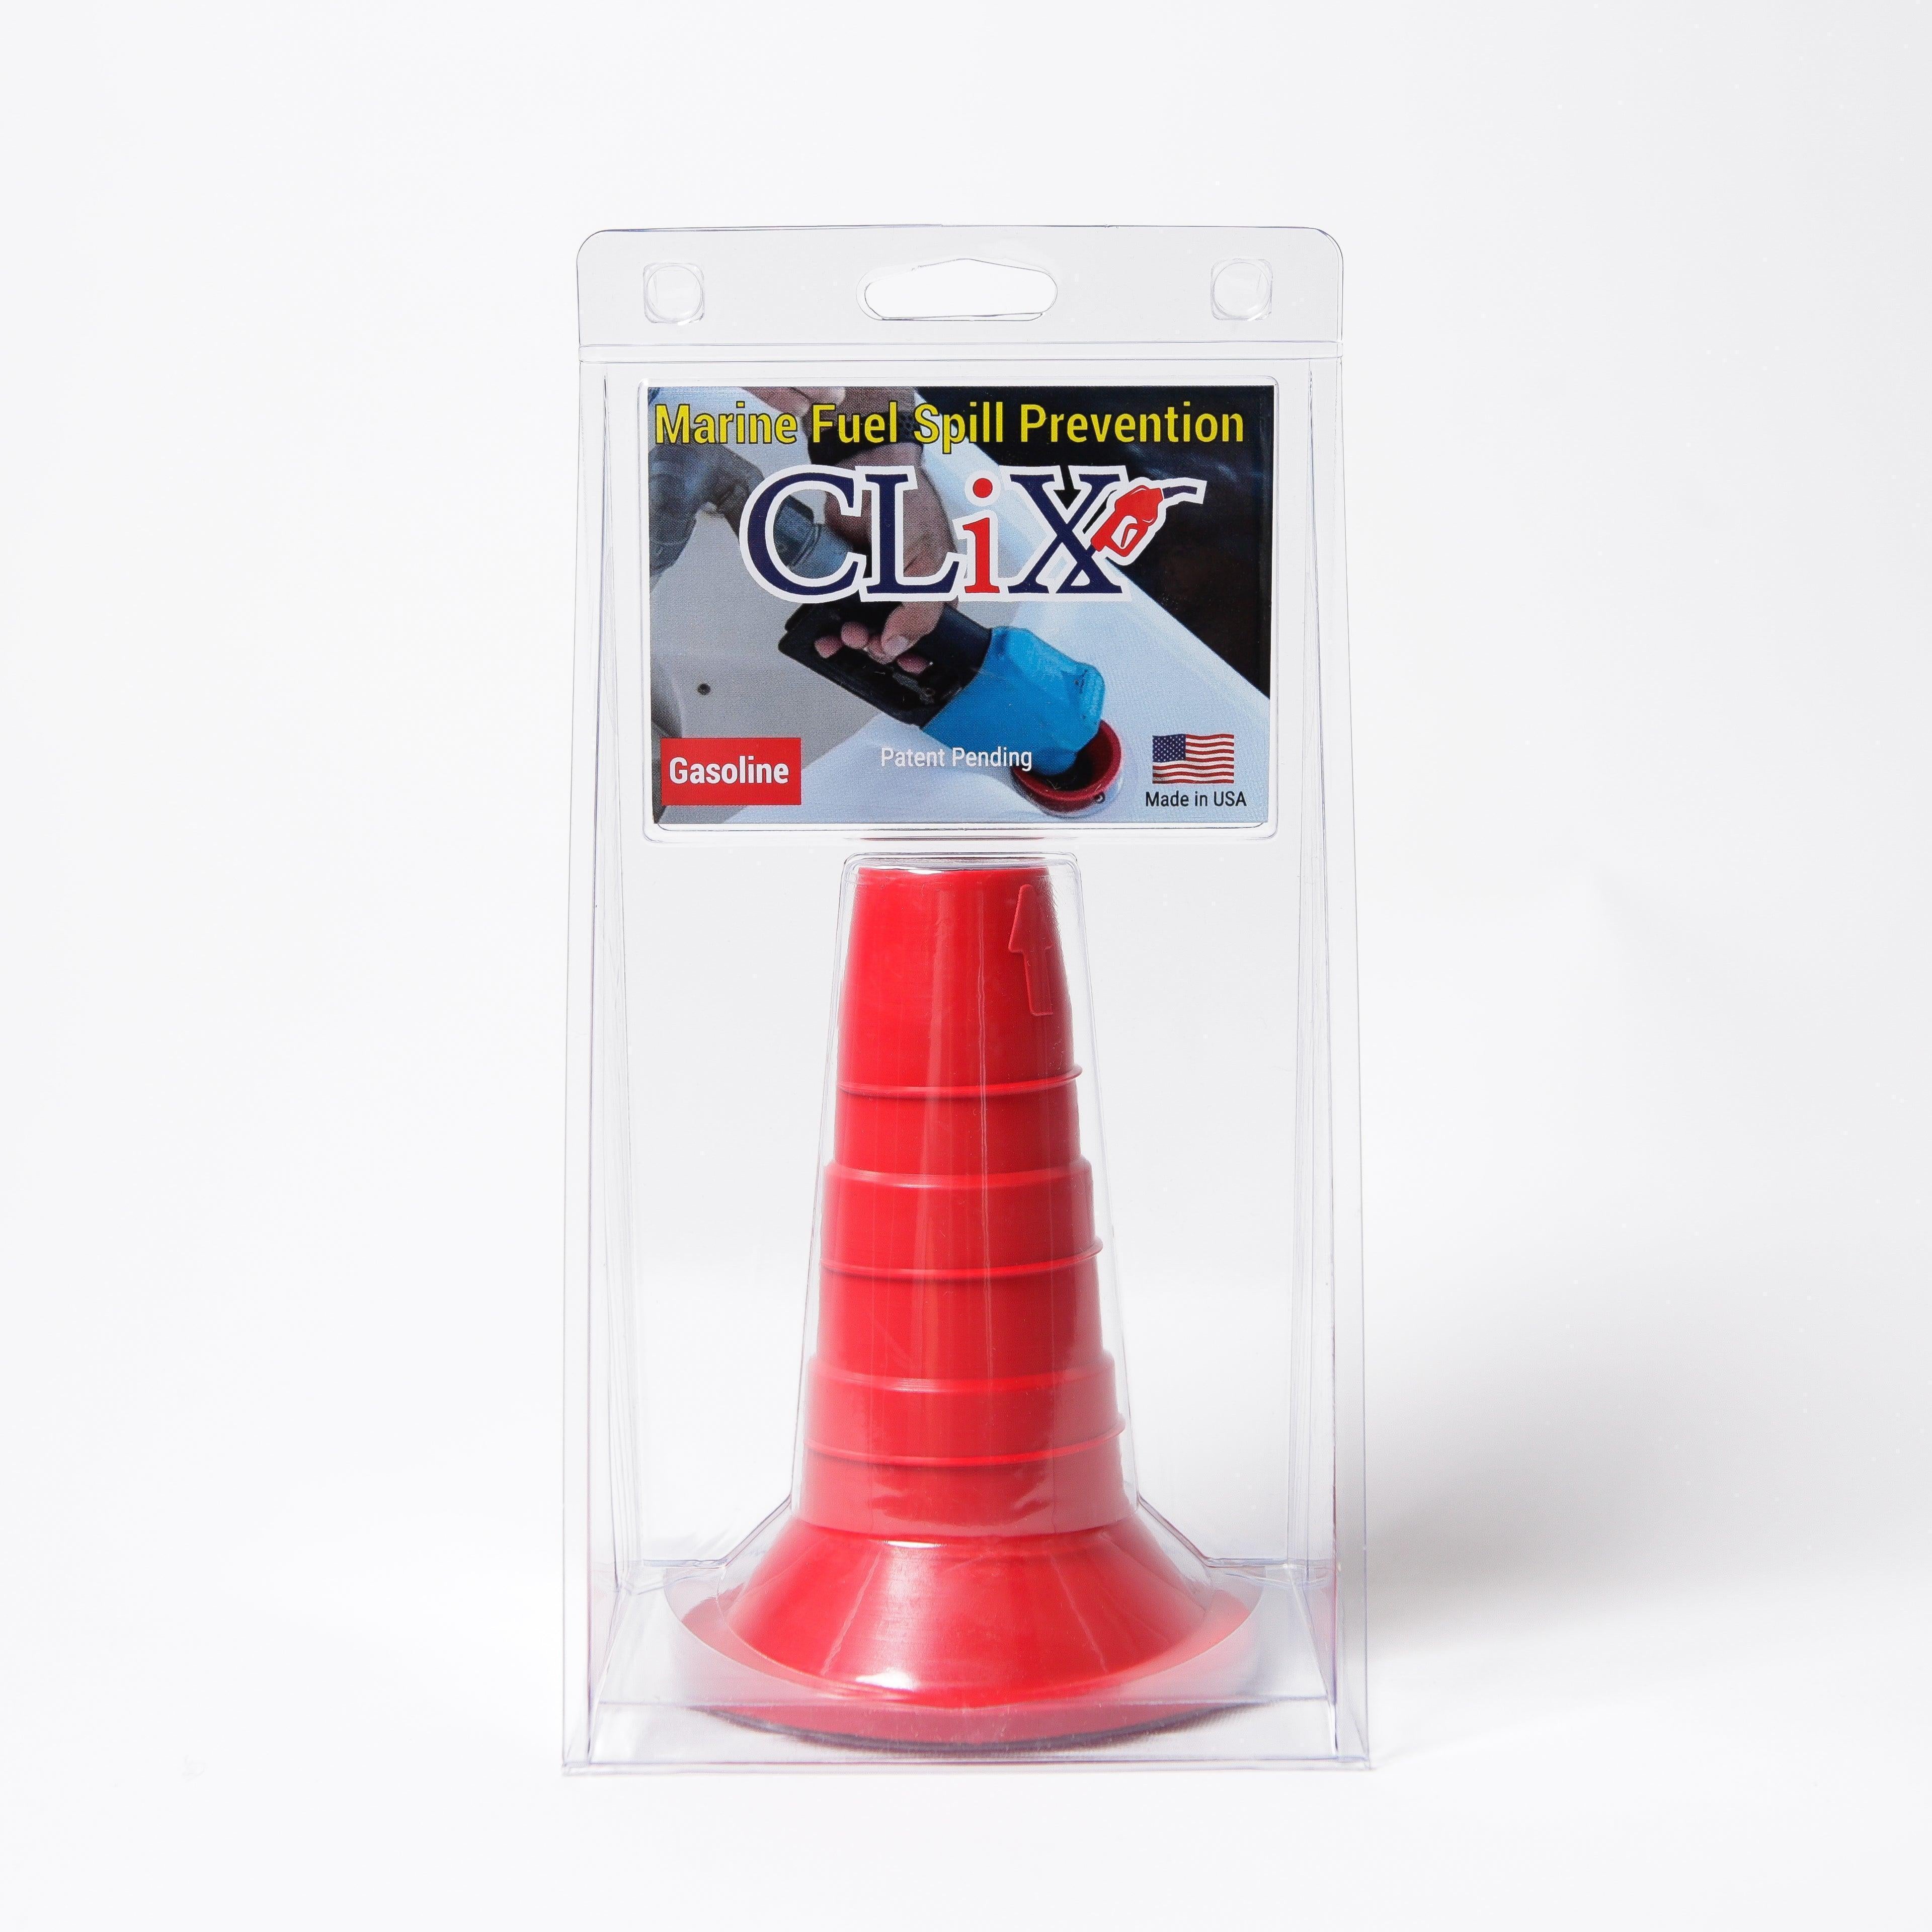
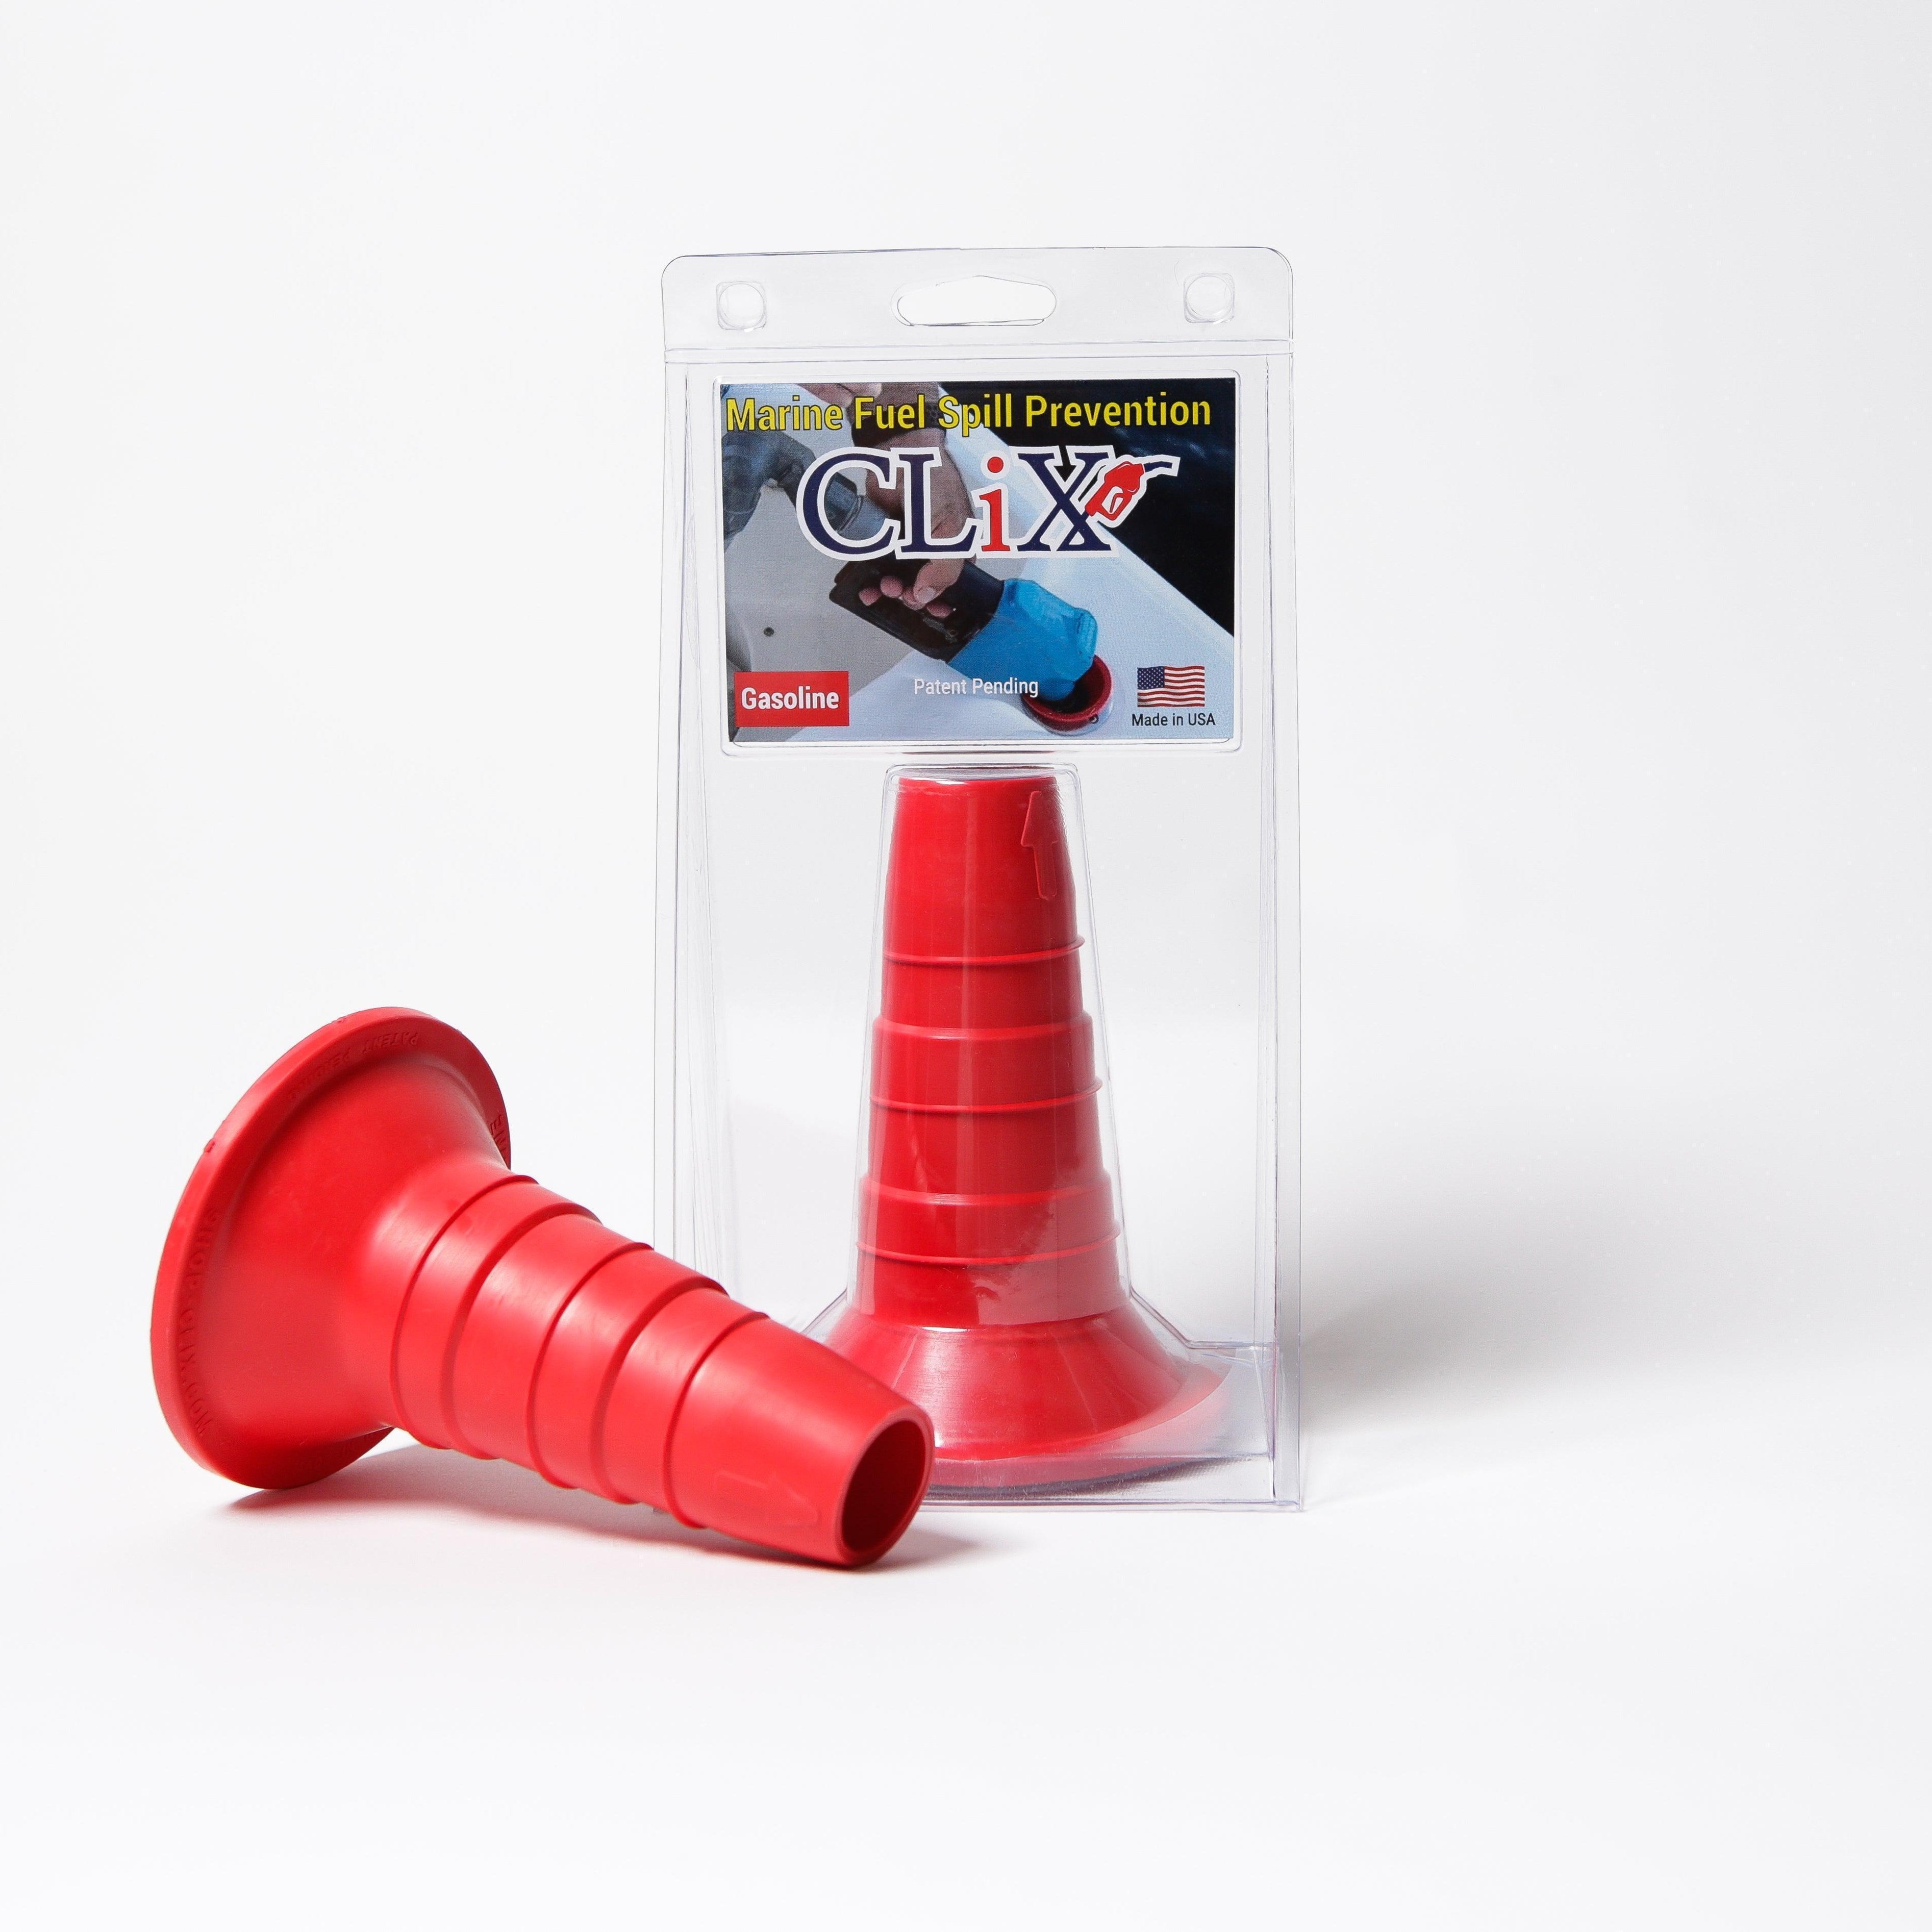
Tired of the guesswork and the risk of spills every time you refuel? The team at CLiX Fueling Solutions has created the perfect device to prevent dangerous and costly overfills automatically. Learn more about how you can achieve a stress-free, spill-free fueling experience.