Understanding Your Boat's Fuel Gauge
A reliable fuel gauge is essential for a safe and enjoyable boating experience. Inaccurate readings can lead to running out of fuel and being stranded. This listicle covers seven common boat fuel gauge problems, helping you diagnose and fix them. From faulty sending units and electrical issues to calibration inaccuracies and fuel contamination, we'll explore the causes, symptoms, and solutions. Understanding these common boat fuel gauge problems will help you avoid unexpected issues on the water. We'll also touch on how modern fuel management systems can prevent problems and improve accuracy.
1. Faulty Sending Unit
One of the most common boat fuel gauge problems is a faulty sending unit. This crucial component acts as the messenger between your fuel tank and the gauge on your dashboard. The sending unit measures the fuel level in the tank and relays that information to the gauge. It typically employs a float-arm mechanism connected to a variable resistor. As the fuel level changes, the float moves up and down, altering the resistance and causing the gauge to display the corresponding fuel level. When this unit malfunctions, it can lead to a variety of frustrating and potentially dangerous situations, including erratic readings, a gauge stuck at one level, or a complete gauge failure.
This relatively simple mechanical design includes a float-arm, a variable resistor, and wiring that connects to the dashboard gauge. While this simplicity is a benefit, making replacement relatively straightforward and parts widely available, the marine environment can take its toll. Corrosion is a common culprit in sending unit failures, and the moving parts are susceptible to wear and tear or becoming stuck. Accessing the sending unit can also be challenging, often requiring fuel tank removal or maneuvering through tight access panels.
Boaters frequently report issues like the gauge reading full when the tank is empty, or the needle sticking at one reading regardless of the actual fuel level. Major manufacturers like Mercury Marine have even issued service bulletins regarding sending unit failures, highlighting the prevalence of this boat fuel gauge problem. For instance, a common scenario is a boat owner filling their tank, only to see the gauge remain stubbornly at half full. This inaccurate reading can lead to unexpected fuel shortages on the water, a situation no boater wants to experience.
Here are some actionable tips for dealing with a suspected faulty sending unit:
- Test with a multimeter: Use a multimeter to test the resistance values of the sending unit. This will help confirm whether it is indeed the source of your boat fuel gauge problems.
- Ensure proper grounding: When installing a new sending unit, make sure it's properly grounded to prevent further issues.
- Consider an upgrade: Opt for a marine-grade sending unit with enhanced corrosion resistance for greater longevity in harsh marine environments.
- Clean contacts: Thoroughly clean all contact points during installation to ensure a good electrical connection.
The faulty sending unit deserves its place on this list due to its frequent involvement in boat fuel gauge problems. Understanding its function, common failure points, and troubleshooting methods is crucial for any boat owner, from recreational anglers to professional fleet captains. Learn more about Faulty Sending Unit Companies like Teleflex Marine Instruments, Faria Instruments, and VDO Marine Gauges have popularized various sending unit designs and continue to innovate in this area. Addressing this potential issue proactively can prevent headaches and ensure smooth sailing on the water.
2. Electrical Connection Issues
One of the most common culprits behind boat fuel gauge problems is electrical connection issues. The harsh marine environment, with its constant exposure to water, humidity, and vibration, takes a toll on electrical systems. This can compromise the connections between your fuel gauge, the sending unit in the tank, and the power source, leading to erratic readings, complete gauge failure, or intermittent operation. These issues often stem from corroded terminals, loose wires, or damaged insulation within the wiring harness.
The electrical system involved in your fuel gauge includes the wiring harness connecting the gauge to the sending unit and the power source, the ground connections that complete the electrical circuits, and the terminal connections. Over time, these terminals can oxidize or loosen due to vibration and exposure to the elements. For example, Boston Whaler owners frequently report fuel gauge issues after their boats are exposed to saltwater, and members of Chaparral forums often document corroded ground wires as a primary cause of gauge failure. This underscores why electrical connection issues deserve a prominent place on this list of boat fuel gauge problems.
A significant advantage of electrical connection problems is that they are often fixable without replacing major components like the gauge or sending unit. Diagnosis is often possible with basic electrical testing equipment like a multimeter. Moreover, preventative maintenance can significantly extend the lifespan of your fuel system.
However, tracing these issues can be challenging, especially in complex wiring harnesses. The intermittent nature of some electrical problems can also make diagnosis tricky. The marine environment itself accelerates the corrosion of connections, requiring ongoing vigilance.
Tips for Addressing Electrical Connection Issues:
- Apply dielectric grease to connections: This helps prevent corrosion by creating a barrier against moisture and saltwater.
- Use marine-grade heat shrink connectors for repairs: These connectors provide a waterproof seal and are more resistant to the harsh marine environment than standard electrical tape.
- Test continuity of wires using a multimeter: This allows you to pinpoint breaks or shorts in the wiring.
- Inspect ground connections first: These are common failure points and relatively easy to check.
- Consider upgrading to tinned marine wire: Tinned wire offers superior corrosion resistance compared to standard copper wire.
Products from reputable marine electrical brands like Ancor Marine Grade, Blue Sea Systems, and Marinco can help ensure reliable and long-lasting connections. Learn more about Electrical Connection Issues.
Whether you're a recreational boat owner, a professional fleet captain, a marina operator, or simply a boating enthusiast, understanding and addressing electrical connection issues is crucial for maintaining a reliable fuel gauge and ensuring a safe and enjoyable boating experience. By taking proactive steps and utilizing the right tools and techniques, you can minimize the frustration and potential danger associated with boat fuel gauge problems.
3. Gauge Instrument Failure
One of the most common boat fuel gauge problems is the failure of the gauge instrument itself. This means the problem isn't with the sending unit in the tank or the wiring, but with the display unit you see on your dashboard. Understanding how these gauges work and how they can fail will help you diagnose and fix this frustrating issue.
Boat fuel gauges operate by receiving a signal from a sending unit located in the fuel tank. This sending unit measures the fuel level and transmits a corresponding electrical signal to the gauge. The gauge then interprets this signal and displays the fuel level, either through a traditional needle on an analog dial or digitally on an LCD or LED screen. Both analog and digital gauges can experience failures.
How Gauge Failure Manifests: Unlike a faulty sending unit which might give inaccurate readings, a failing gauge often results in a completely non-functional display. You might see a perpetually empty reading, a perpetually full reading, a fluctuating needle with no relation to the actual fuel level, or a blank digital display.
Features of Boat Fuel Gauges:
- Analog Gauges: Traditional analog gauges utilize a needle moving across a calibrated dial. These are common in older boats and still found in many newer models.
- Digital Gauges: Modern boats increasingly feature digital LCD or LED displays, often integrated into larger instrument panels. These can provide more precise readings and often integrate with other onboard systems.
- Internal Circuitry: Both analog and digital gauges contain internal circuitry that receives and interprets the signal from the sending unit. Failures in this circuitry are a common cause of gauge problems.
Pros of Replacing a Faulty Gauge:
- Standalone Replacement: Replacing the gauge is often a simpler fix than troubleshooting complex wiring issues or dropping the fuel tank to access the sending unit.
- Upgrade Opportunity: A faulty gauge presents an opportunity to upgrade to a more modern, reliable, and feature-rich model. Digital gauges often offer additional functionalities like fuel consumption calculations and low-fuel alarms.
- Modern Features: Newer gauges from manufacturers like Garmin offer network capabilities, allowing integration with chartplotters and other onboard electronics.
Cons of Replacing a Faulty Gauge:
- Cost: Replacement gauges can be expensive, particularly for integrated instrument panels or high-end models.
- Dashboard Modification: Replacing a gauge may require modifications to your existing dashboard, particularly if you're switching from analog to digital or changing gauge sizes.
- Compatibility: Ensure compatibility with your existing sending unit and wiring system before purchasing a new gauge.
Examples of Gauge Failures:
- Yamaha outboard gauges are known to sometimes fail after 5-7 years of service.
- Older Faria Beede Marine Instruments can be susceptible to internal component failure due to age and environmental exposure.
Tips for Troubleshooting and Replacing Boat Fuel Gauges:
- Test the Gauge: Disconnect the sender wire from the back of the gauge and touch it to a known resistance (consult your gauge's manual for the appropriate value). Movement in the needle or a change in the digital reading indicates the gauge is functional.
- Weatherproof Replacements: Opt for weatherproof and marine-rated gauges to withstand the harsh marine environment.
- Document Wiring: Before removing the old gauge, carefully document the wire colors and connections. Take photos to aid in reinstallation.
- Compatibility Charts: Check manufacturer compatibility charts to ensure the new gauge will work with your existing sending unit and boat's electrical system.
- Professional Installation: For complex integrated instrument panels, consider professional installation.
Popular Gauge Manufacturers:
- Faria Beede Marine Instruments
- Veethree Electronics
- Livorsi Marine Gauges
- GAFFRIG Performance Instruments
- Garmin
Gauge instrument failure deserves a place on this list of boat fuel gauge problems because it's a relatively common occurrence and, in many cases, the easiest of the potential problems to fix. While the cost of replacement can sometimes be a deterrent, the improved reliability and potential for upgraded features can make it a worthwhile investment for boaters experiencing boat fuel gauge problems.
4. Calibration Inaccuracies
One of the most common boat fuel gauge problems, even when all components appear functional, is calibration inaccuracies. This issue often arises after replacing sending units or gauges, or modifying fuel tanks. Instead of erratic readings, calibration problems result in consistently incorrect measurements. You might see a gauge that stubbornly refuses to read above 3/4 full, even after a fill-up, or one that never dips below 1/4 tank, even when running low. This can lead to frustrating and potentially dangerous situations out on the water.
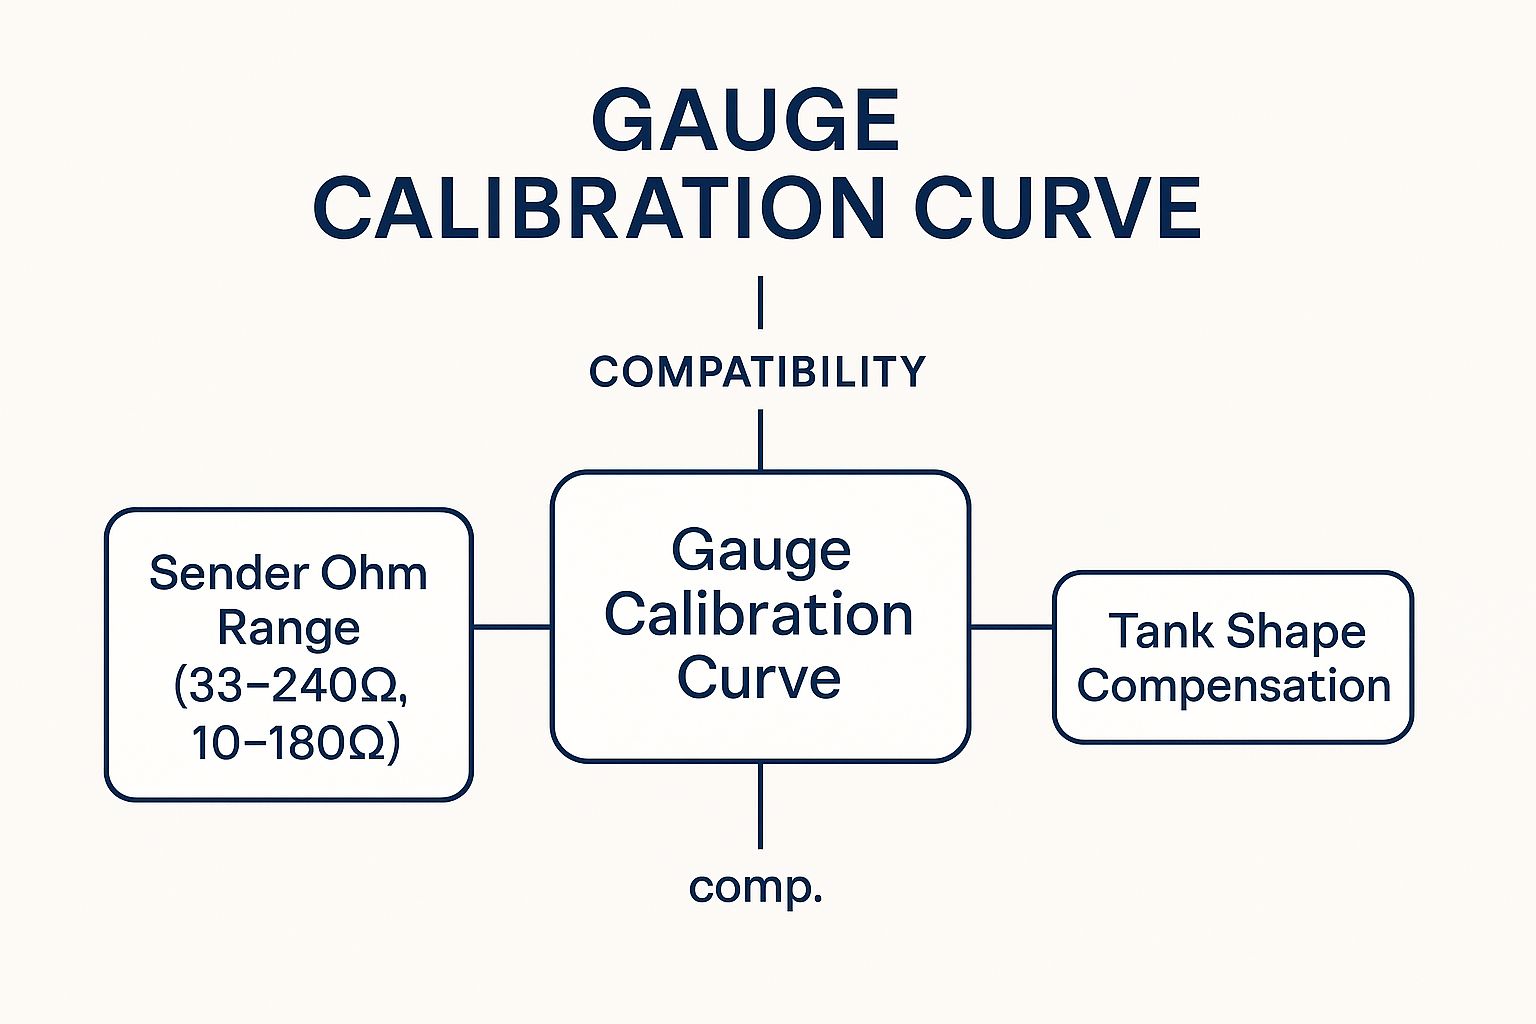
The infographic illustrates the central concept of calibration, showing how the fuel level sending unit translates the actual fuel level into a resistance value. This resistance is then interpreted by the gauge, which displays the corresponding fuel level. The key relationships highlighted are the importance of matching the ohm range between the sender and gauge, the influence of tank shape on accurate readings, and the potential for calibration adjustments to correct discrepancies. It emphasizes how mismatches or incorrect calibration curves can lead to inaccurate readings, even if the individual components are functioning correctly. The visualization clarifies that achieving accurate fuel level readings hinges on the proper interplay between these components and their calibration.
The core of this problem lies in the communication between the sending unit in the fuel tank and the gauge itself. The sending unit measures the fuel level and translates it into a resistance value, typically using a 33, 240, or 10-180 ohm scale. The gauge then interprets this resistance and displays the corresponding fuel level. However, if the ohm ratings of the sender and gauge don’t match, or if the calibration curve programmed into the gauge doesn't align with the tank's shape, the readings will be off. More advanced systems incorporate tank shape compensation to improve accuracy, but even these can require calibration.
For example, Sea Ray boats with aftermarket gauge replacements often exhibit systematic errors due to calibration mismatches. Similarly, custom boat builds with non-standard tank shapes necessitate careful calibration to ensure accurate readings. Imagine a sailor relying on a faulty gauge, believing they have ample fuel, only to find themselves stranded miles offshore – a clear illustration of why accurate fuel readings are paramount.
Pros of addressing calibration inaccuracies:
- Often fixable without replacing components, saving time and money.
- Diagnosable with systematic testing using measured fuel amounts.
- Some digital systems offer user-friendly calibration options.
Cons of addressing calibration inaccuracies:
- May require specialized knowledge for proper calibration.
- Difficult to accurately calibrate irregular-shaped tanks.
- Some systems lack user calibration options, requiring professional assistance.
Tips for resolving calibration issues:
- Verify compatibility: Double-check the ohm range compatibility between your sending unit and gauge. This is the first and most crucial step.
- Create a calibration chart: Add known amounts of fuel to the tank and record the corresponding gauge reading. This creates a calibration chart you can use to interpret actual fuel levels.
- Mark your tank: Physically mark the actual fuel levels on the inside or outside of the tank (if accessible) for reference during calibration.
- Consider programmable gauges: For non-standard tank shapes, programmable gauges offer greater flexibility for accurate calibration.
- Document values: Record the empty and full resistance values for future reference and troubleshooting.
Systems like KUS USA gauge calibration systems, Lowrance fuel management displays, and NMEA 2000 network compatible gauges offer advanced calibration features. While these systems can simplify the process, understanding the underlying principles remains essential for effective troubleshooting and calibration. Addressing calibration inaccuracies deserves its place on this list because it’s a frequently encountered problem that's often overlooked, yet relatively simple to diagnose and fix in many cases, contributing significantly to boating safety and peace of mind.
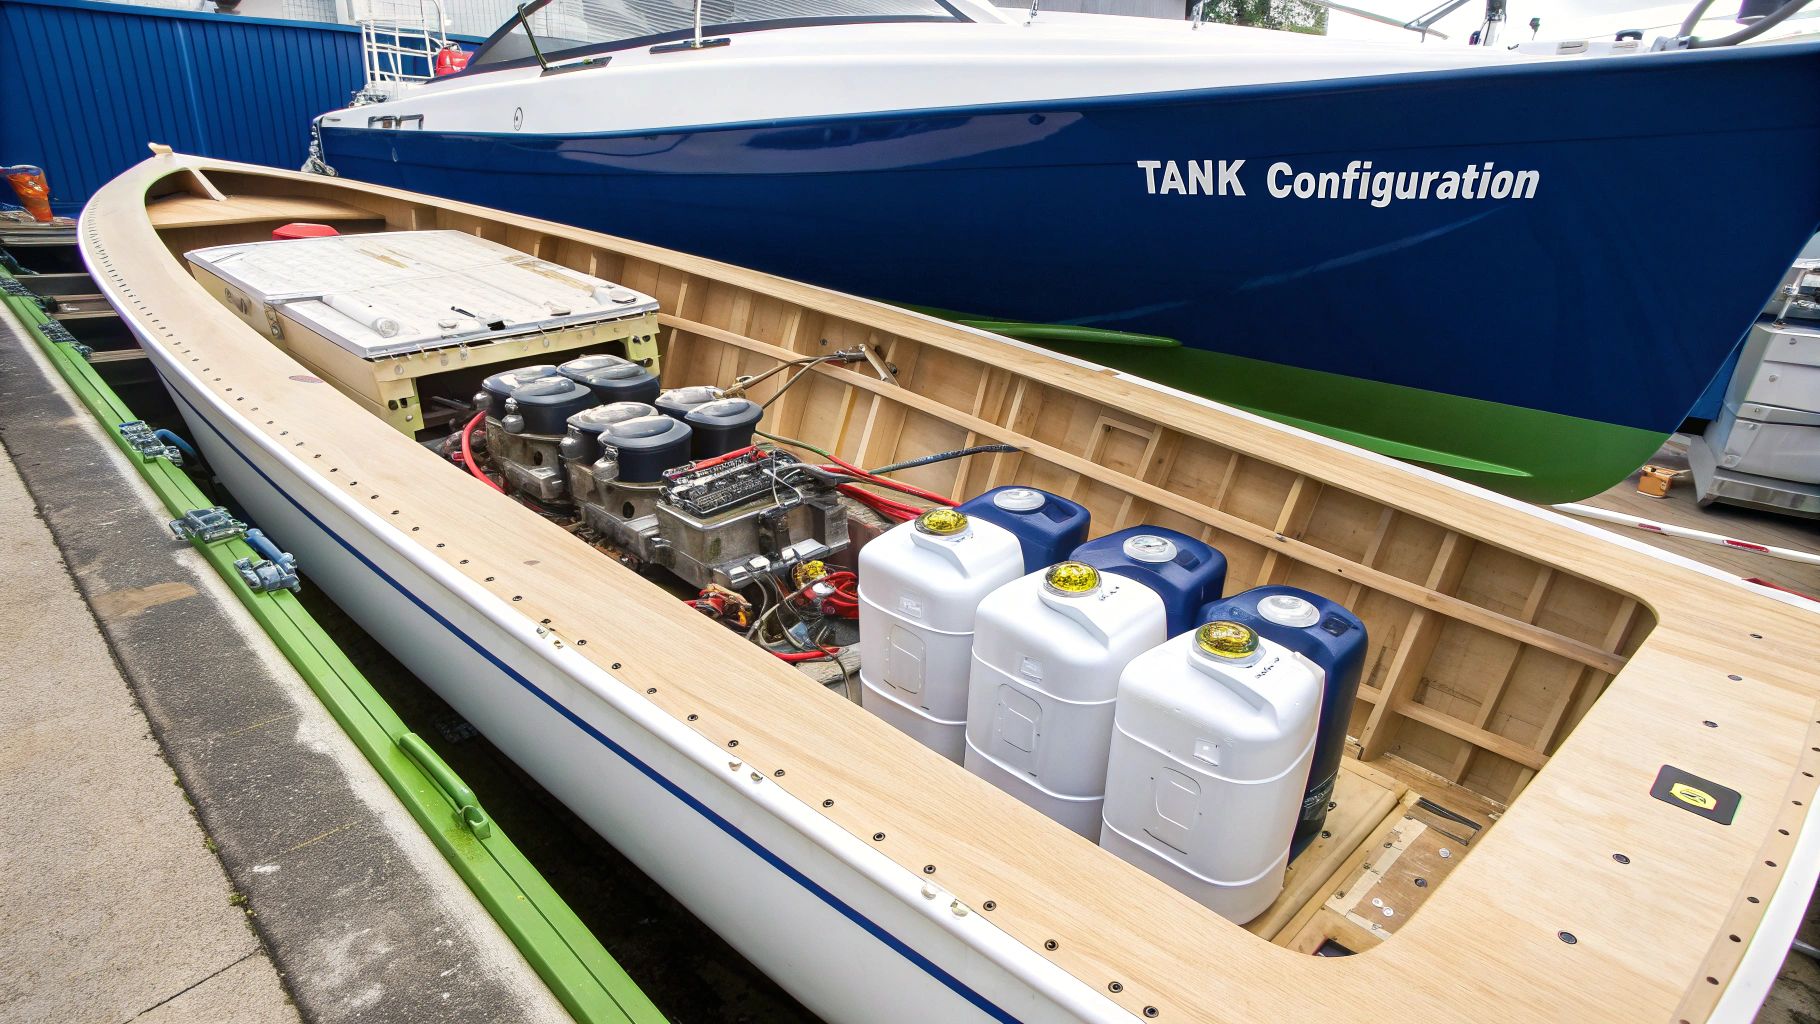
5. Tank Configuration Issues
One of the most common boat fuel gauge problems isn't a faulty gauge at all, but rather the complexities of the fuel tank itself. Many boats, especially older models or those with unique designs, have fuel tanks that are anything but simple. These can include multiple interconnected tanks feeding a single gauge, baffled compartments within a tank to prevent fuel slosh, or irregularly shaped tanks designed to conform to the hull's contours. The placement of the sending unit (the component that measures fuel level) might not accurately represent the overall fuel level in these complex scenarios, leading to frustratingly inaccurate readings. This often results in readings that change dramatically during operation, even when fuel consumption is minimal, due to fuel sloshing or the boat's changing attitude (trim and heel). Such fluctuations can make it difficult to accurately estimate remaining fuel and increase the risk of running out unexpectedly.
For example, some Bertram sportfishing boats are known for their "saddle" tanks that flank the engine compartment, requiring dual sending units for accurate measurement. Sailboats, with their narrow and deep keels, often experience significant fuel gauge variations as the boat heels during sailing. These configuration-related boat fuel gauge problems can be particularly challenging to diagnose because the gauge itself might be functioning perfectly; it's the information it's receiving that's flawed.
Understanding your boat's specific tank configuration is the first step towards interpreting your fuel gauge readings accurately. While this might not solve the problem entirely, it allows you to anticipate and compensate for inaccuracies. Fortunately, there are solutions available, ranging from simple adjustments to more complex upgrades.
Pros:
- Understanding your tank configuration helps you interpret readings more accurately.
- Advanced multi-sender systems are available for complex tank configurations.
- Some newer systems include compensation for boat attitude (pitch and roll).
Cons:
- Retrofitting solutions for tank configuration issues can be expensive and invasive.
- Finding a balance between accuracy and practicality might require compromise.
- Differing fuel levels in interconnected tanks can lead to fuel starvation issues, a problem that goes beyond simple gauge inaccuracy.
Tips for Managing Tank Configuration Issues:
- Multiple Sending Units: Consider adding multiple sending units for large or irregularly shaped tanks. This allows for a more comprehensive measurement of the fuel level.
- Fuel Flow Meters: Install a fuel flow meter to supplement your fuel gauge readings. These meters measure fuel consumed, providing a more accurate picture of remaining fuel.
- Manual Checks: Mark physical inspection points on your tanks and periodically check the fuel level manually using a dipstick or similar tool.
- Interpreting Readings: Learn to interpret your fuel gauge readings based on your boat's attitude and operation. This takes practice but can significantly improve your fuel management.
- Tank Selector Systems: For boats with multiple tanks, consider installing a tank selector system to manage fuel draw and monitor individual tank levels.
Companies like Moeller Marine Products, known for their specialized tank configurations, and Wema, which produces multi-tank monitoring systems, offer solutions for complex fuel tank setups. FlowScan Instrument Company provides fuel management systems, including flow meters, that can help supplement and verify fuel gauge readings. By understanding the limitations imposed by tank configuration and employing the right strategies, boaters can mitigate the frustration and potential dangers associated with inaccurate fuel gauges. This ultimately leads to safer and more enjoyable time on the water.
6. Fuel Quality and Contamination: A Hidden Culprit Behind Boat Fuel Gauge Problems
One of the most common yet often overlooked causes of boat fuel gauge problems lies in the quality and contamination of the fuel itself. This issue deserves a prominent place on this list because contaminated fuel can not only cause inaccurate readings but also lead to significant engine problems and costly repairs. Understanding how fuel contamination affects your boat's fuel gauge is crucial for any boat owner.
Fuel contamination occurs when foreign substances like water, debris, or biological growth (algae) mix with your fuel. These contaminants can interfere with the operation of the sending unit, the component responsible for measuring the fuel level and relaying that information to your gauge. Several mechanisms are at play:
- Coating the sender mechanism: Contaminants can coat the float or other moving parts of the sending unit, hindering its movement and leading to inaccurate or stuck readings.
- Creating false readings: Debris can physically obstruct the sender, causing it to register a lower fuel level than is actually present.
- Damaging components: Water and biological growth can corrode the sender unit, leading to malfunction and eventual failure.
Ethanol-blended fuels (E10), frequently used in boats, can exacerbate these problems. Ethanol has a tendency to absorb water from the atmosphere. This absorbed water can lead to phase separation, where the ethanol/water mixture separates from the gasoline and sinks to the bottom of the tank, creating a breeding ground for biological growth and further accelerating corrosion of the sending unit. Sediment and debris also tend to accumulate around the sending unit, compounding the issue.
Examples of Fuel Contamination Causing Gauge Problems:
- During hurricane season in Florida, marina fuel storage can be compromised, leading to widespread water contamination and subsequent fuel gauge issues for many boaters.
- Boats improperly winterized can experience fuel degradation and biological growth during storage, resulting in sender failure when the boating season resumes.
Pros of Addressing Fuel Contamination:
- Preventable: Fuel contamination is largely preventable through proper fuel management practices.
- Improved Engine Performance: Clean fuel benefits the entire fuel system, leading to improved engine performance, fuel efficiency, and reduced risk of engine damage.
- Diagnosable: Fuel contamination can be diagnosed through relatively simple methods like fuel sampling and visual inspection.
Cons of Dealing with Fuel Contamination:
- System Cleaning: Addressing severe contamination may require a complete fuel system cleaning, which can be time-consuming and expensive.
- Recurring Problems: If the root causes of contamination aren't addressed, the problems can recur.
- Permanent Damage: Severe contamination can cause permanent damage to sending units and other fuel system components.
Actionable Tips for Preventing and Addressing Fuel Contamination:
- Use Fuel Stabilizers: Especially important during storage periods, fuel stabilizers help prevent fuel degradation and phase separation.
- Install Water-Separating Fuel Filters: These filters remove water from the fuel and should be monitored and replaced regularly.
- Treat Tanks with Biocide: Periodically treating your fuel tank with a biocide product helps prevent biological growth.
- Keep Tanks Full During Storage: A full tank minimizes the airspace available for condensation, reducing the risk of water contamination.
- Consider Fuel Polishing: For heavily contaminated systems, professional fuel polishing services can remove water, debris, and microbial growth, restoring fuel quality.
Popular Products for Fuel Management:
- Star Tron Enzyme Fuel Treatment: A popular fuel additive that helps stabilize fuel, prevent phase separation, and remove water.
- ValvTect Marine Fuel Additives: Offer a range of fuel additives for various purposes, including stabilization, biocide treatment, and phase separation prevention.
- Racor Fuel Filtering Systems: High-quality fuel filters designed to remove water and particulate matter from fuel.
- CRC Phase Guard 4 Ethanol Fuel Treatment: Specifically formulated to address the challenges of ethanol-blended fuels, preventing phase separation and corrosion.
By proactively managing your fuel and addressing contamination issues, you can ensure accurate fuel gauge readings, protect your engine, and enjoy trouble-free boating.
7. Electronic Interference and NMEA Integration Problems
One of the more complex boat fuel gauge problems facing modern boat owners stems from electronic interference and NMEA integration issues. Your boat's fuel gauge might be perfectly functional, but the way it communicates with other onboard systems can cause inaccurate or inconsistent readings. This is particularly true for boats with sophisticated electronics integrated through an NMEA 0183 or NMEA 2000 network. These networks act as a central nervous system, connecting everything from chartplotters and fishfinders to engine management systems and, crucially, fuel gauges. Understanding how these networks function is key to diagnosing and fixing fuel gauge discrepancies.
Here's how it works: Your fuel sending unit in the tank measures the fuel level and transmits this data as an electrical signal. This signal is then converted, often through an analog-to-digital converter, and transmitted onto the NMEA network. The data is then interpreted by software and displayed on various devices like your multifunction display (MFD) or engine management system. This complex chain of events introduces several points where errors can occur.
For example, systems like Garmin marine networks rely on proper calibration across all displays for accurate fuel readings. If one display is miscalibrated, it could show a different fuel level than another display on the same network. Similarly, Raymarine SeaTalk integration with engine management systems can sometimes display data inconsistencies if the data translation between the systems isn't perfect.
The benefits of such integrated systems are numerous. They allow for advanced fuel management features like tracking fuel consumption trends, enabling remote monitoring via mobile apps, and offering redundant display options. Imagine checking your boat's fuel level from your smartphone before you even leave the house! However, these advanced systems introduce new complexities when troubleshooting. A failure in one component, be it a faulty cable, a software glitch, or electronic interference, can affect the entire system. Proprietary systems can also limit replacement options, and software updates can sometimes inadvertently introduce new problems.
Pros:
- Integrated systems allow for advanced fuel management features.
- Data logging capabilities for tracking consumption trends.
- Remote monitoring possibilities via mobile apps.
- Redundant display options.
Cons:
- More complex troubleshooting required.
- Failures in one component can affect the entire system.
- Proprietary systems may limit replacement options.
- Software updates can introduce new issues.
Tips for Avoiding and Troubleshooting NMEA Integration Problems:
- Minimize Interference: Keep the network backbone (the main cable of the NMEA network) away from potential interference sources like powerful electrical cables, radios, and radar equipment.
- Stay Updated: Regularly update all networked device firmware to ensure compatibility and bug fixes.
- Use Quality Components: Use manufacturer-approved cables and connectors to maintain signal integrity and prevent corrosion.
- Document Everything: Document your network topology (a diagram of how everything is connected) for easier troubleshooting. This will be invaluable if you need to trace a problem.
- Consider Professional Help: For complex integrated systems, consider professional calibration and troubleshooting.
Learn more about Electronic Interference and NMEA Integration Problems
Popular systems using this technology include Garmin Marine Network, Raymarine SeaTalk/SeaTalkNG, Lowrance/Simrad NMEA 2000 networks, and Mercury VesselView Link. These integrated systems offer powerful features, but understanding their complexities is essential for preventing and addressing boat fuel gauge problems. This issue deserves a place on this list because, as boats become increasingly reliant on interconnected electronics, the potential for NMEA-related fuel gauge problems grows. For recreational boat owners, professional fleet captains, marina operators, and boating enthusiasts alike, a clear understanding of these systems can save time, money, and frustration on the water.
7 Key Boat Fuel Gauge Issues Comparison
| Issue / Problem | Implementation Complexity 🔄 | Resource Requirements ⚡ | Expected Outcomes 📊 | Ideal Use Cases 💡 | Key Advantages ⭐ |
|---|---|---|---|---|---|
| Faulty Sending Unit | Medium - mechanical parts, tank access needed | Moderate - replacement units, tools | Restores accurate fuel level readings | Boats with erratic or stuck fuel gauge readings | Simple mechanical design, readily replaceable parts |
| Electrical Connection Issues | Medium to High - tracing wiring, corrosion check | Low to Moderate - electrical tools and materials | Fixes intermittent or failed gauge operation | Diagnosing vague or intermittent gauge behavior | Often fixable without component replacement |
| Gauge Instrument Failure | Medium - may require dashboard removal | Moderate to High - replacement gauges | Fully functional or upgraded gauge display | Complete gauge failures or upgrades on instrument panel | Easy replacement; potential upgrade to modern features |
| Calibration Inaccuracies | Medium to High - testing and adjustments | Low to Moderate - testing equipment, calibration tools | Consistent and accurate fuel readings | After component replacement or modified fuel tanks | Can fix errors without parts replacement; user calibration |
| Tank Configuration Issues | High - complex multi-tank setups, potential retrofitting | High - multiple senders, meters, control systems | Improved accuracy in complex or baffled tanks | Boats with multiple or irregular-shaped tanks | Enables interpretation of complex fuel level data |
| Fuel Quality and Contamination | Medium - diagnostic sampling, cleaning | Moderate - fuel treatment products, filters | Prevents false readings, improves engine function | Boats exposed to ethanol-blended fuels or storage issues | Preventable via maintenance; improves overall engine health |
| Electronic Interference & NMEA Issues | High - network setup and troubleshooting | High - specialized cables, software updates | Reliable data integration and advanced features | Modern boats with integrated electronic fuel systems | Advanced monitoring, data logging, remote monitoring |
Keeping Your Fuel Gauge Accurate
Dealing with boat fuel gauge problems can be frustrating, but understanding the common culprits—from a faulty sending unit to fuel contamination or even NMEA integration issues—empowers you to take control. We've covered the key issues affecting fuel gauge accuracy, including electrical connections, gauge calibration, tank configuration, and the impact of fuel quality. By addressing these potential problems proactively, you can ensure accurate fuel readings, preventing the inconvenience of unexpected fuel shortages and the potential dangers of being stranded on the water. Mastering these concepts translates to greater peace of mind, enhanced safety, and more enjoyable time on the water, whether you're a recreational boater, professional captain, or simply passionate about boating.
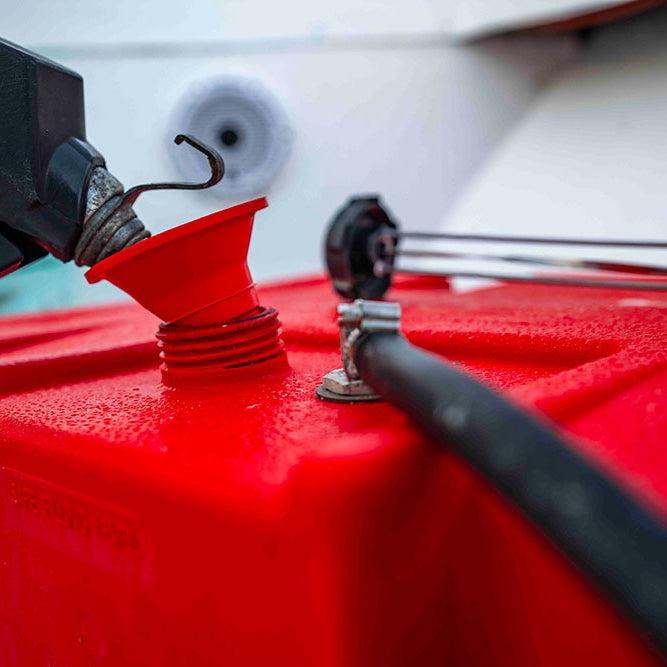
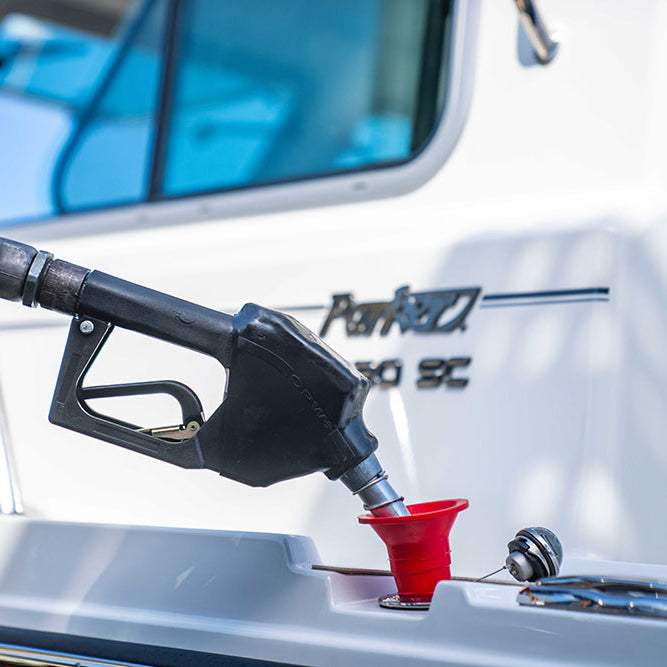
Accurate fuel readings are just one piece of the puzzle. For a truly worry-free fueling experience, explore CLiX Fueling Solutions, which offer advanced fuel management and spill-prevention technology, eliminating the guesswork and mess associated with traditional fueling methods. Visit CLiX Fueling Solutions today to learn how CLiX can enhance your boating experience and provide precise control over your fuel, complementing a properly functioning fuel gauge.