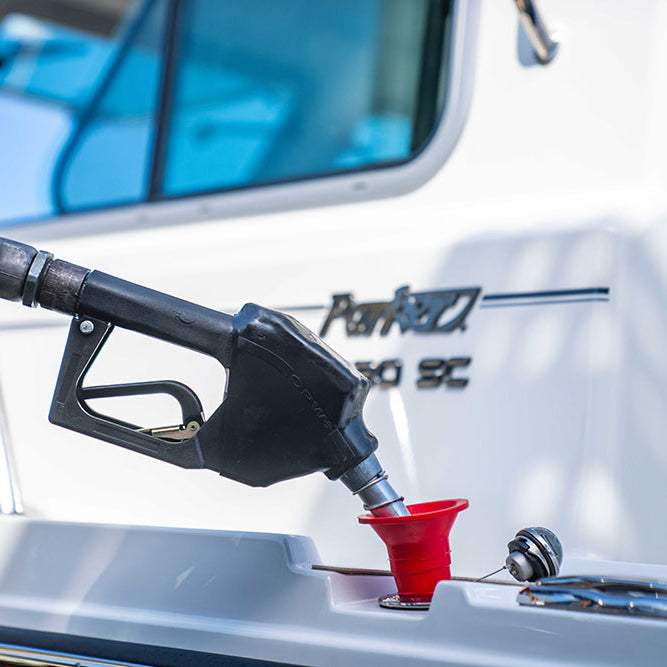
That maddening drip from your CLiX unit? Nine times out of ten, it’s all down to a single, tiny, worn-out seal. I know it’s tempting to just run to the hardware store and find something that looks close enough, but trust me, getting the replacement o ring exactly right is the key to a lasting fix.
This isn't just about stopping a leak; it's about protecting your equipment and ensuring everything runs safely.
Why Finding the Perfect Replacement O Ring Matters So Much
Think of an O-ring as the silent guardian of your fueling system. This little rubber circle has one job: create a perfect, leak-proof seal between two surfaces, holding back fuel under pressure. When it's doing its job, you completely forget it exists. But the moment it fails, you've got a problem that can escalate from a simple mess to a serious hazard.
The "good enough" approach just doesn't work here. Even a tiny difference in size or material is a recipe for failure. If an O-ring is just a fraction of a millimeter too small, it won’t compress enough to create a tight seal. Go too big, and it’s likely to get pinched or twisted during installation, creating a weak spot that’s guaranteed to leak sooner rather than later.
The Real Cost of a Bad Seal
A persistent drip is just the beginning. Using the wrong replacement O ring can cause a cascade of other issues, costing you a lot more time and money in the long run.
- Leaks That Won't Quit: The most common result is that your original leak never really goes away, or a new one pops up right after you thought you fixed it.
- Damage to Your Gear: Constant fuel exposure can eat away at paint, degrade plastic components, and even damage the CLiX unit's housing over time.
- Serious Safety Risks: Let's be clear: fuel spills are a major fire hazard and an environmental headache. A proper seal is an absolute must for safe operation.
You might be surprised how critical these small parts are. The global market for O-rings hit about USD 14.5 billion in 2023 and is still growing. That's a huge number, and it shows just how many industries rely on these simple seals to keep things running smoothly. You can see more on the O-rings market trends over at Cognitive Market Research.
At the end of the day, choosing the correct, OEM-spec replacement O ring isn't just a repair. It's an investment in doing the job right the first time, giving you reliability and peace of mind.
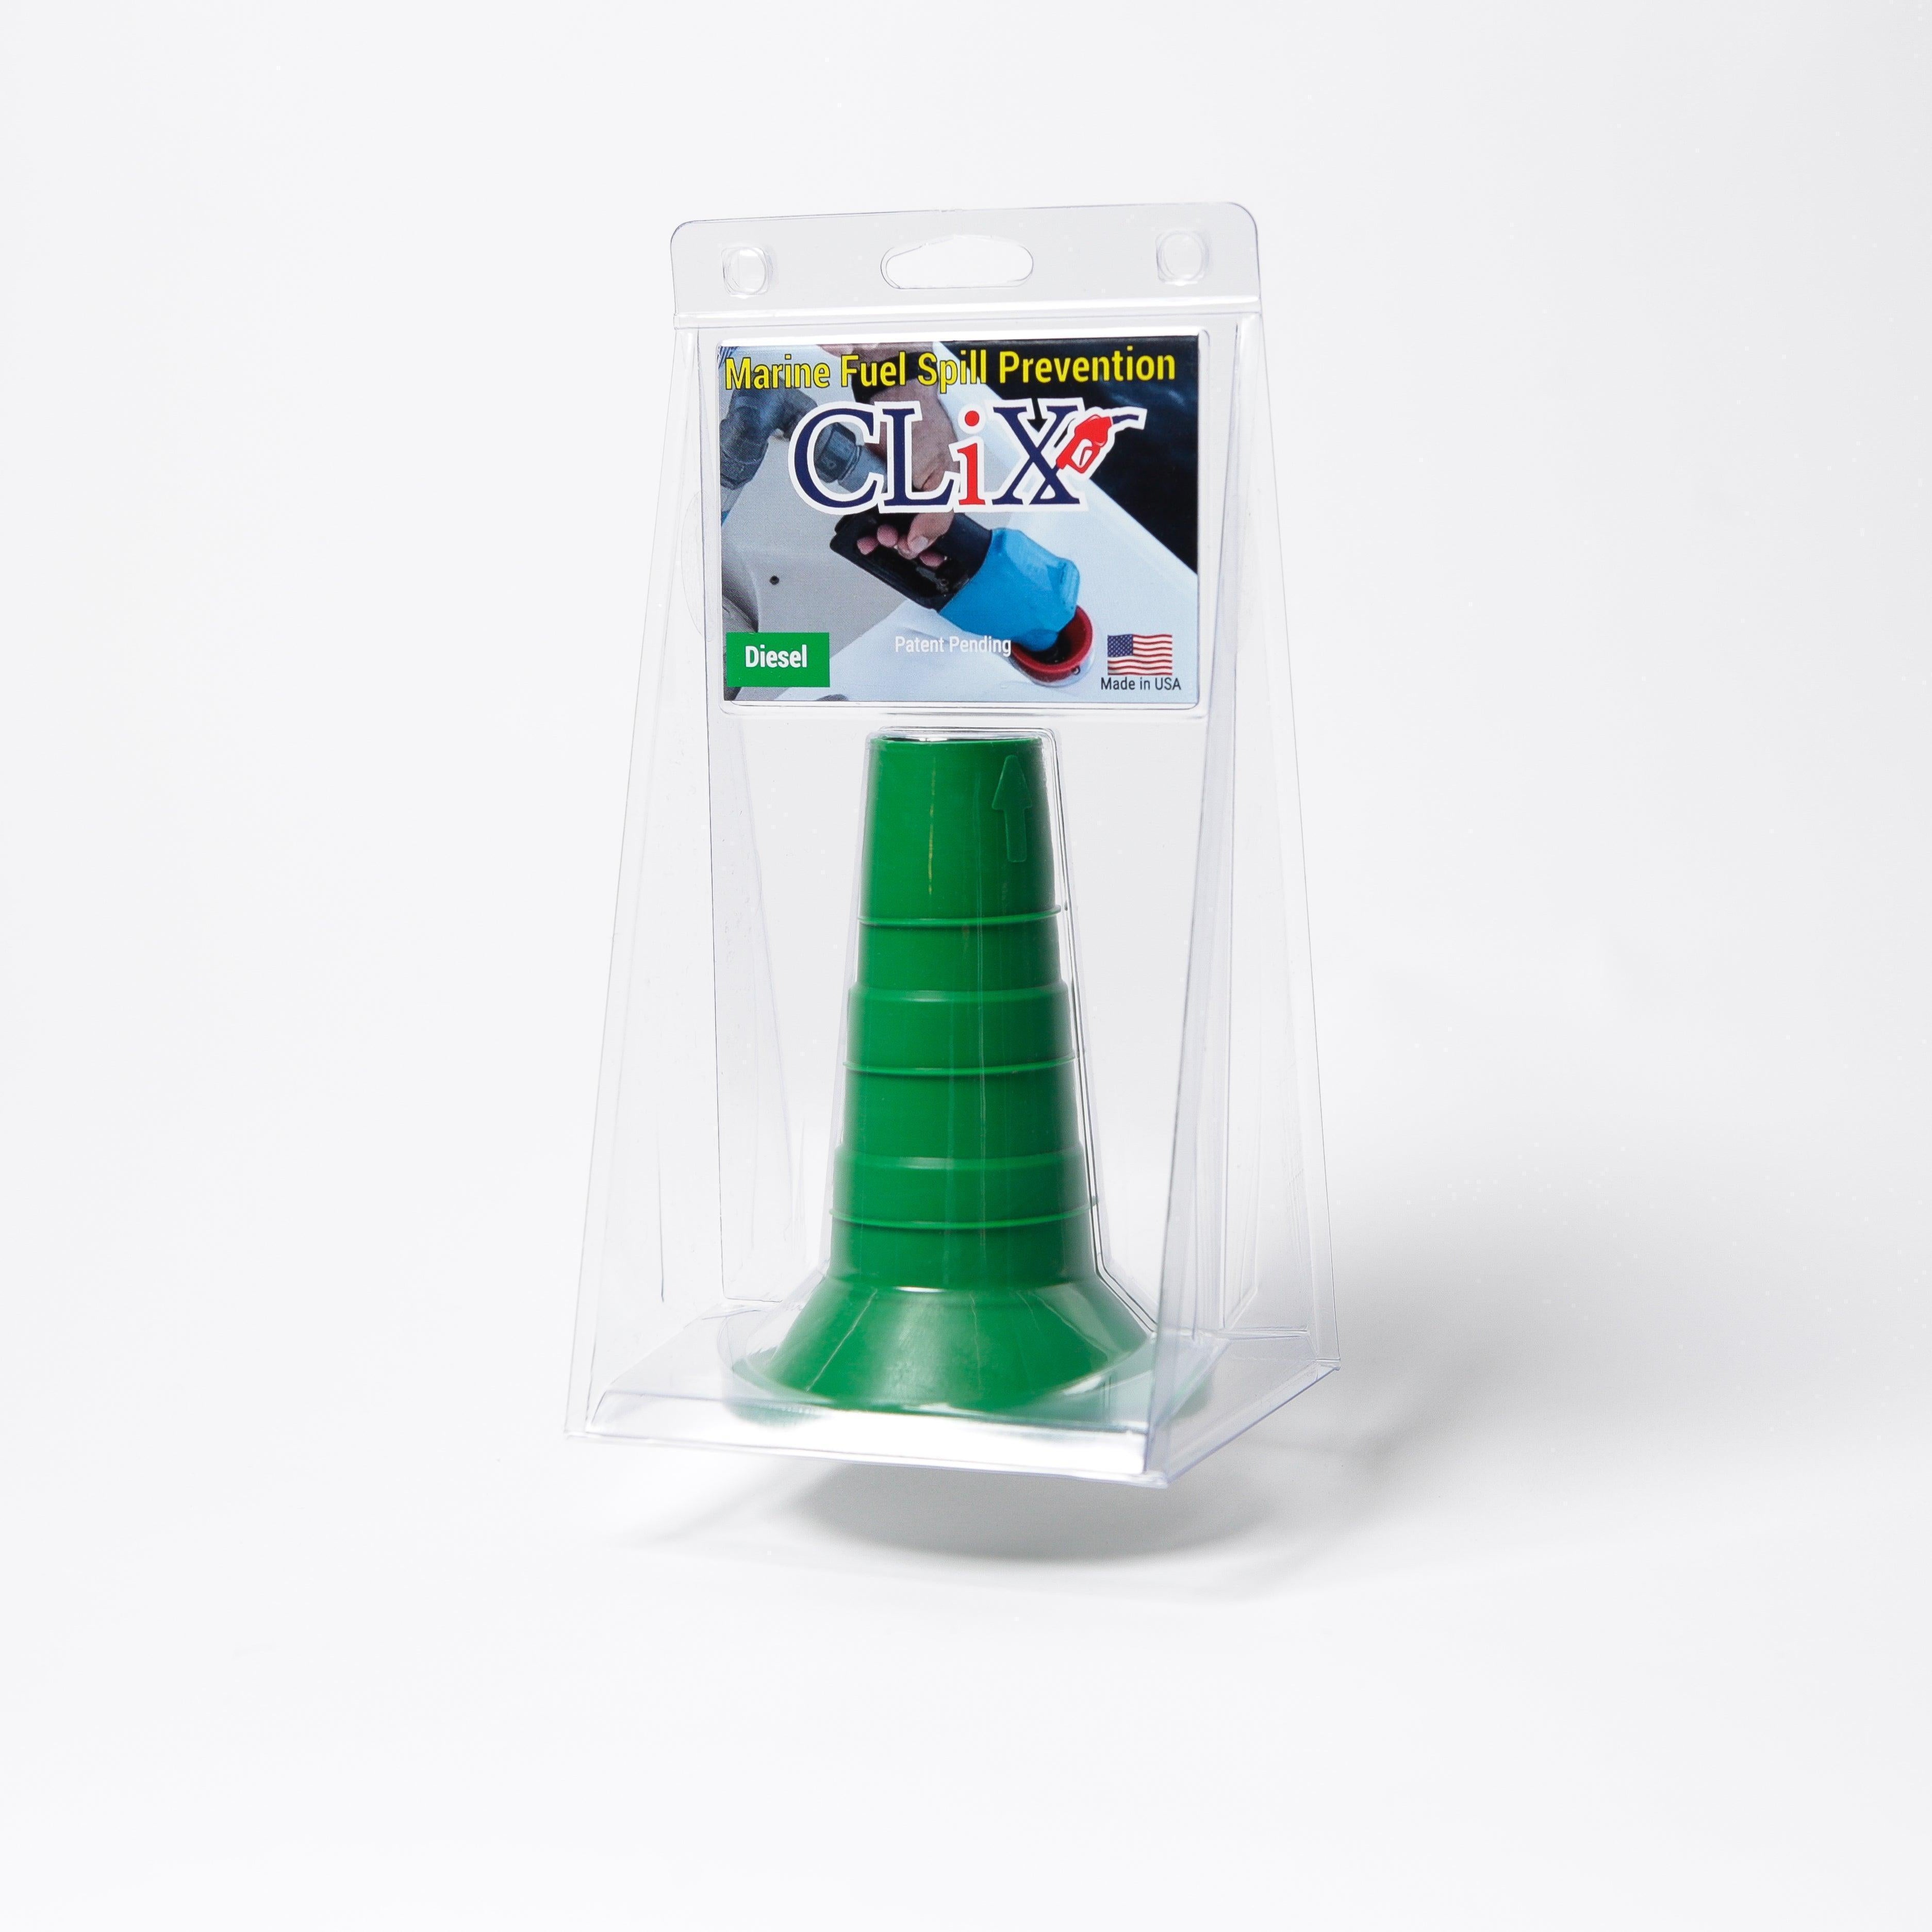
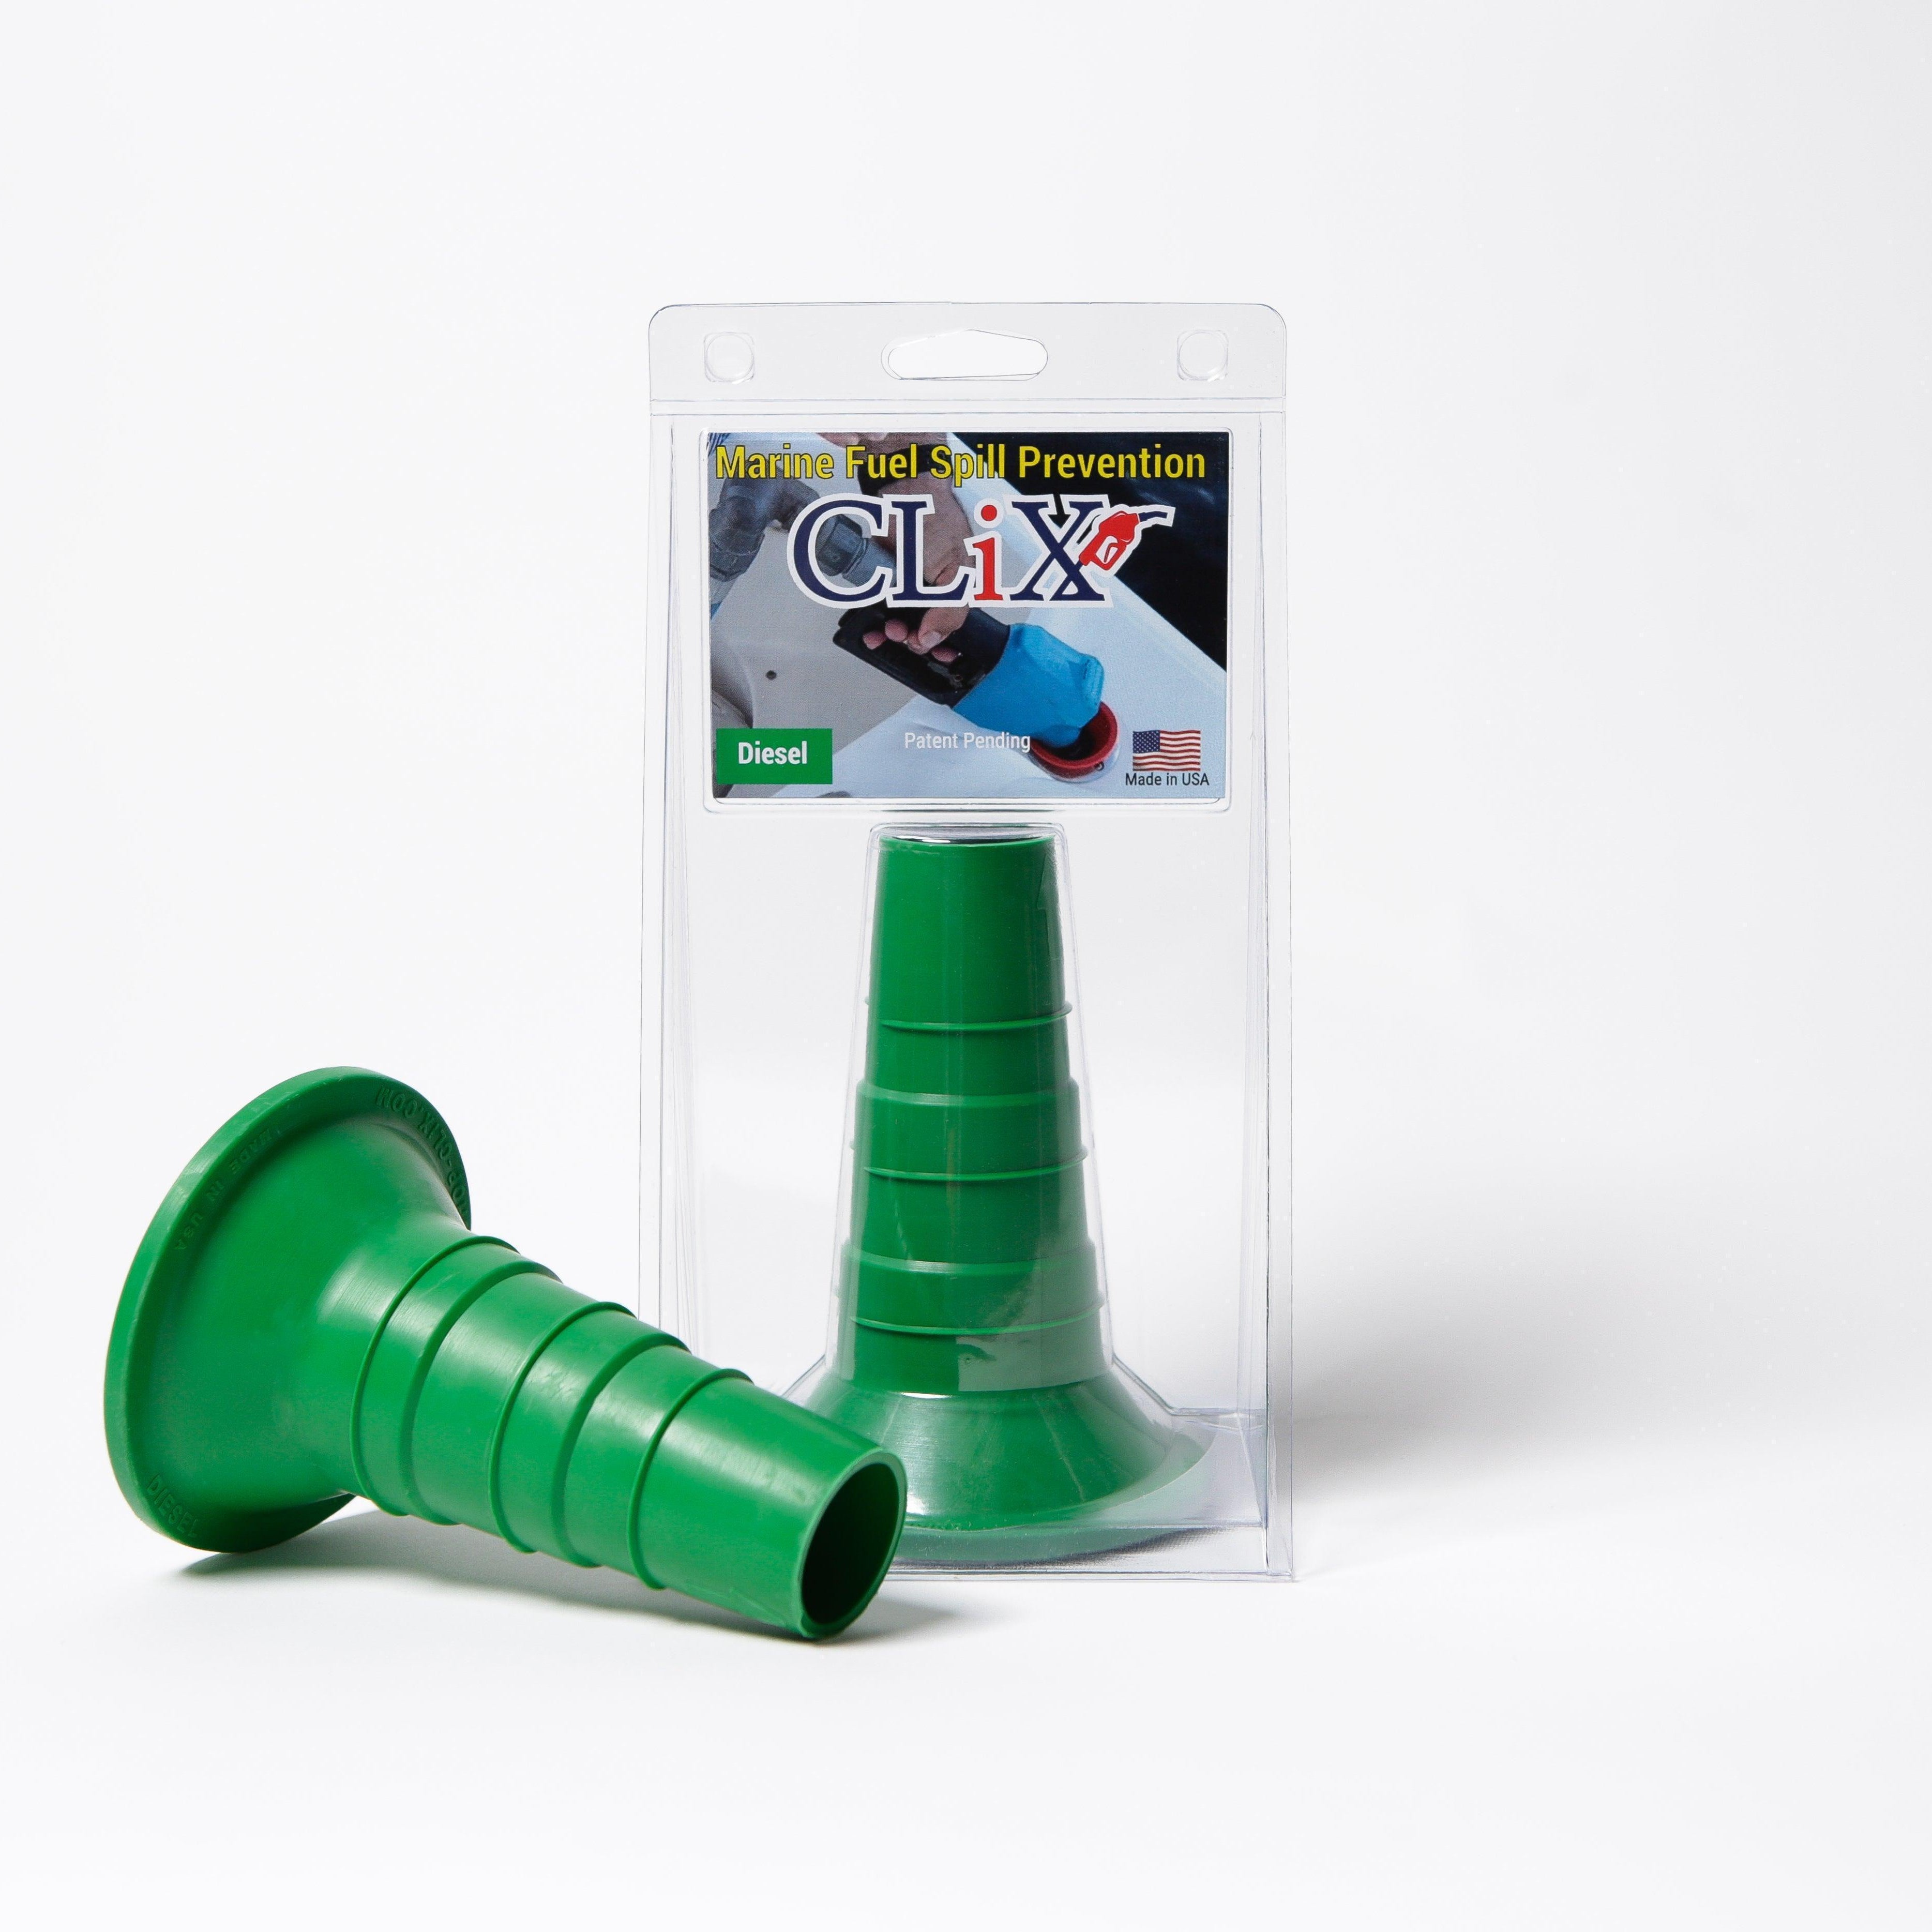
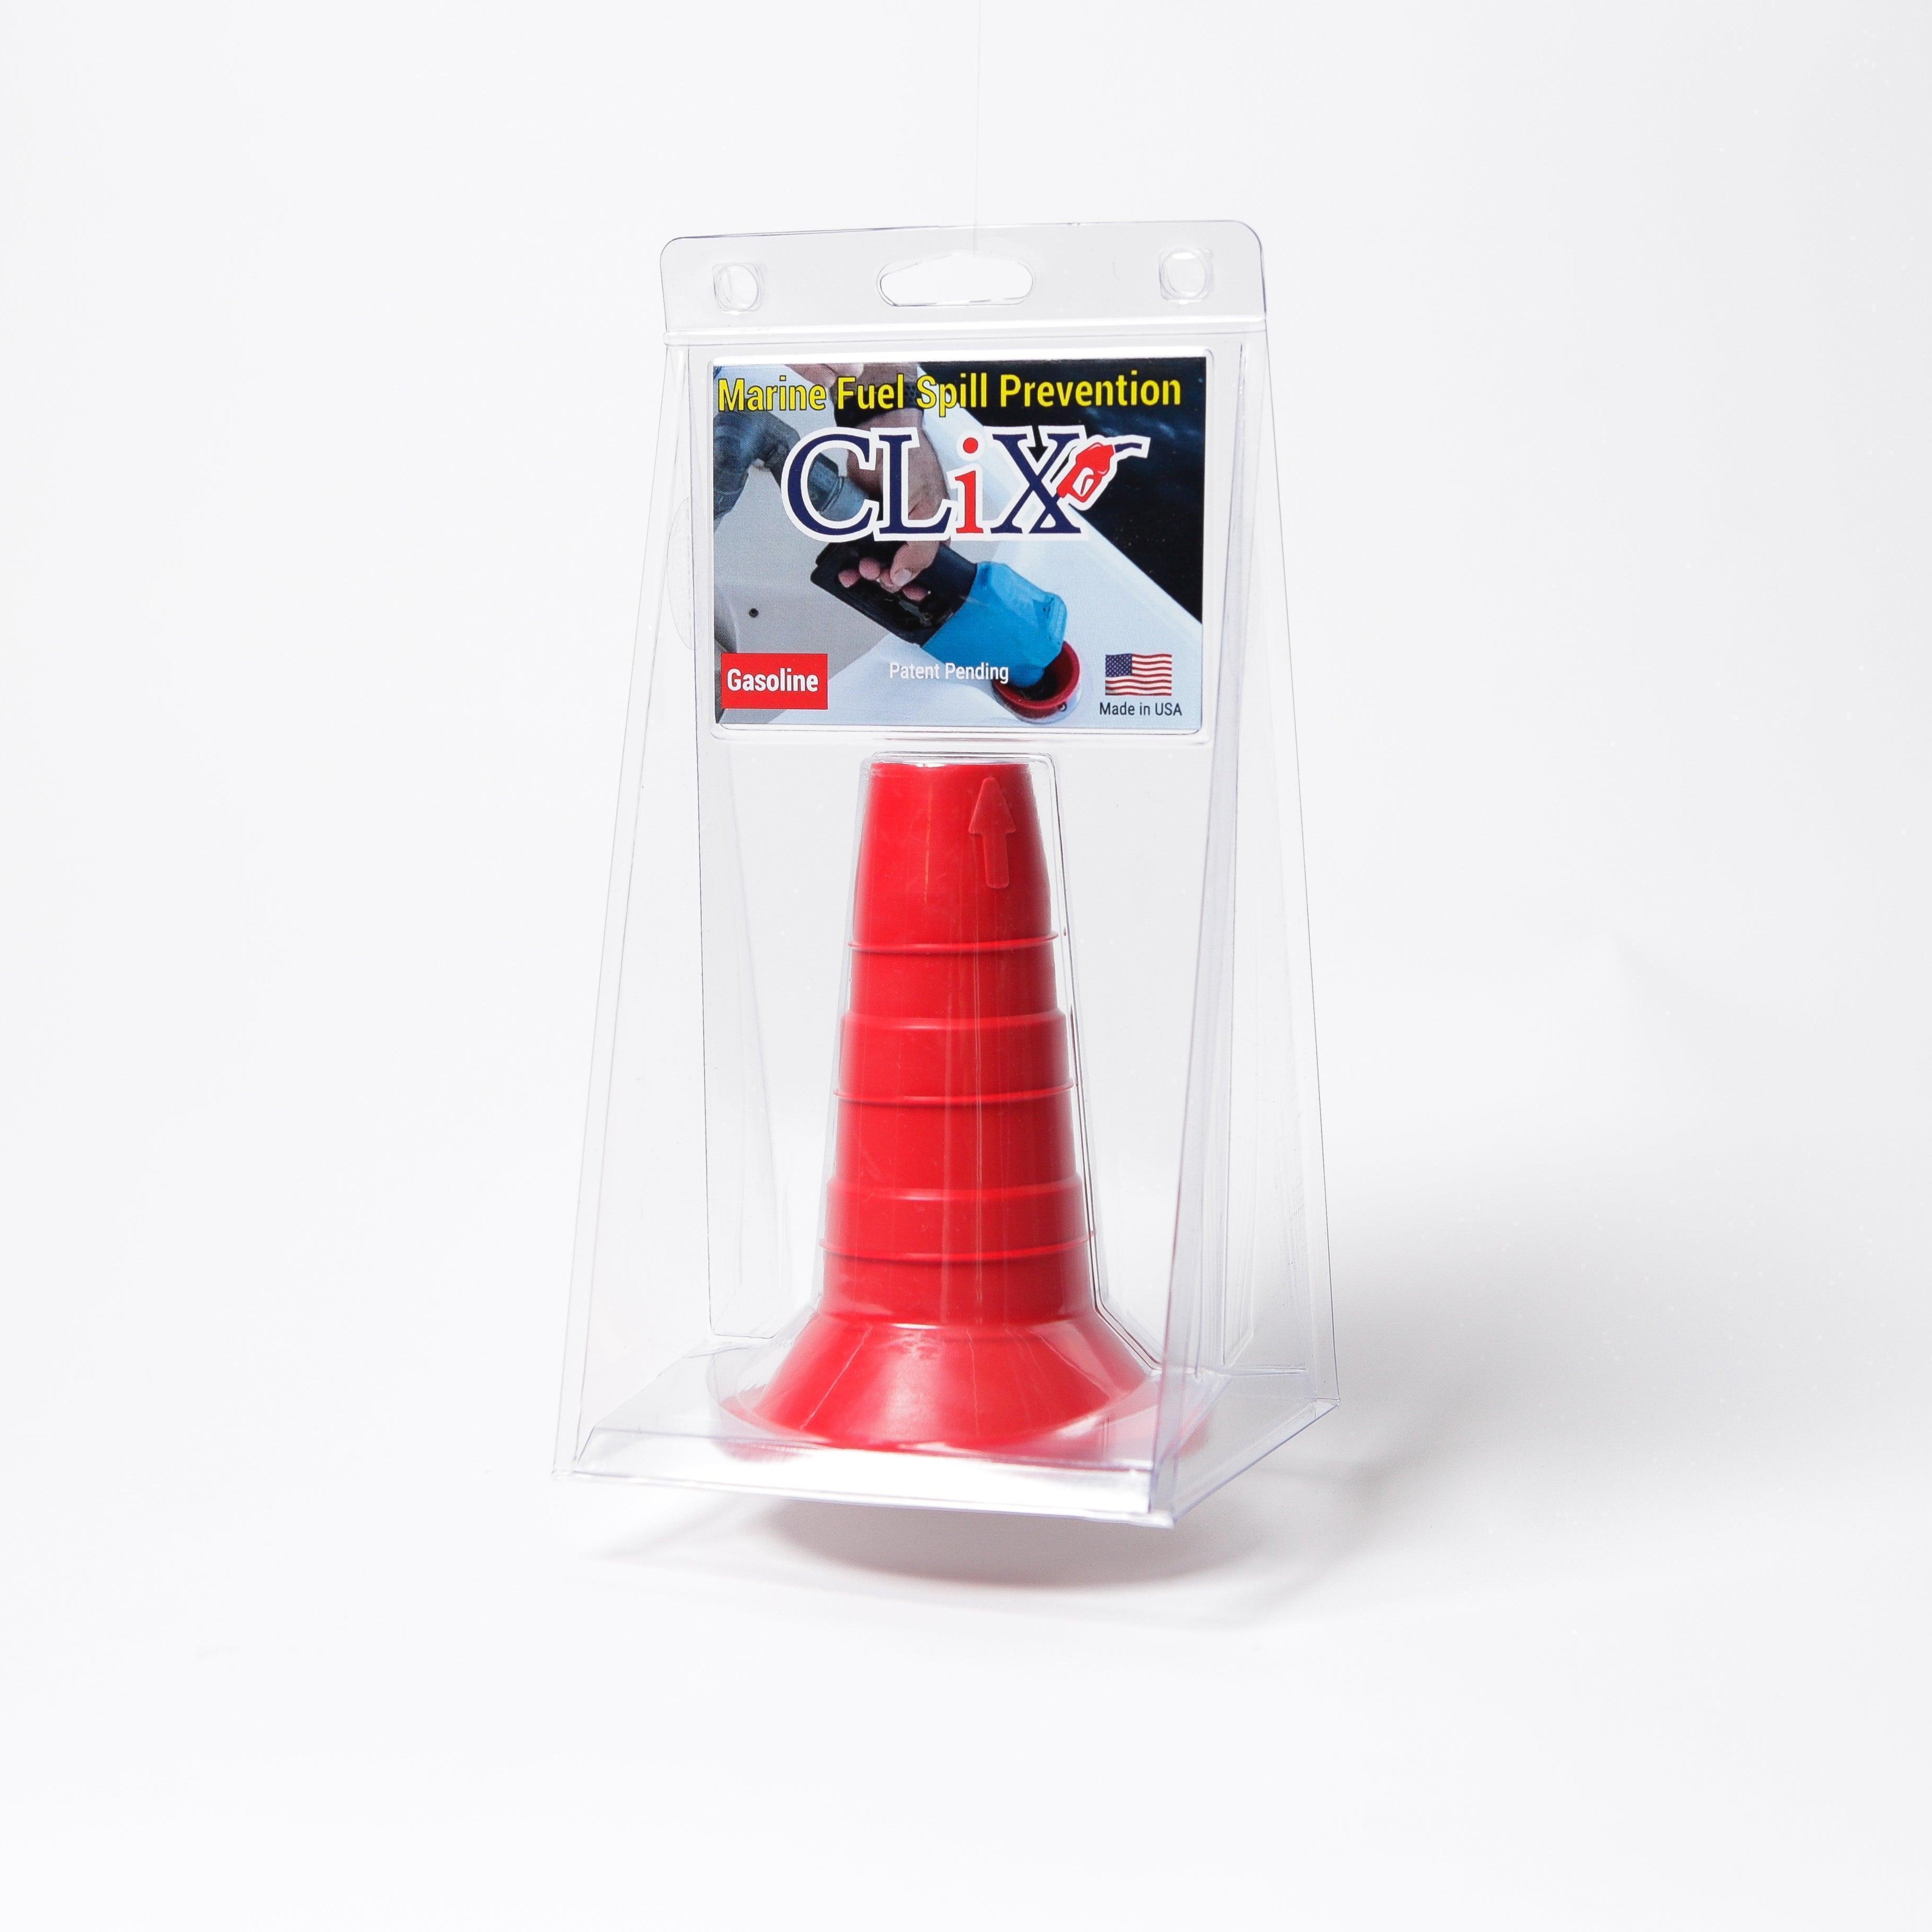
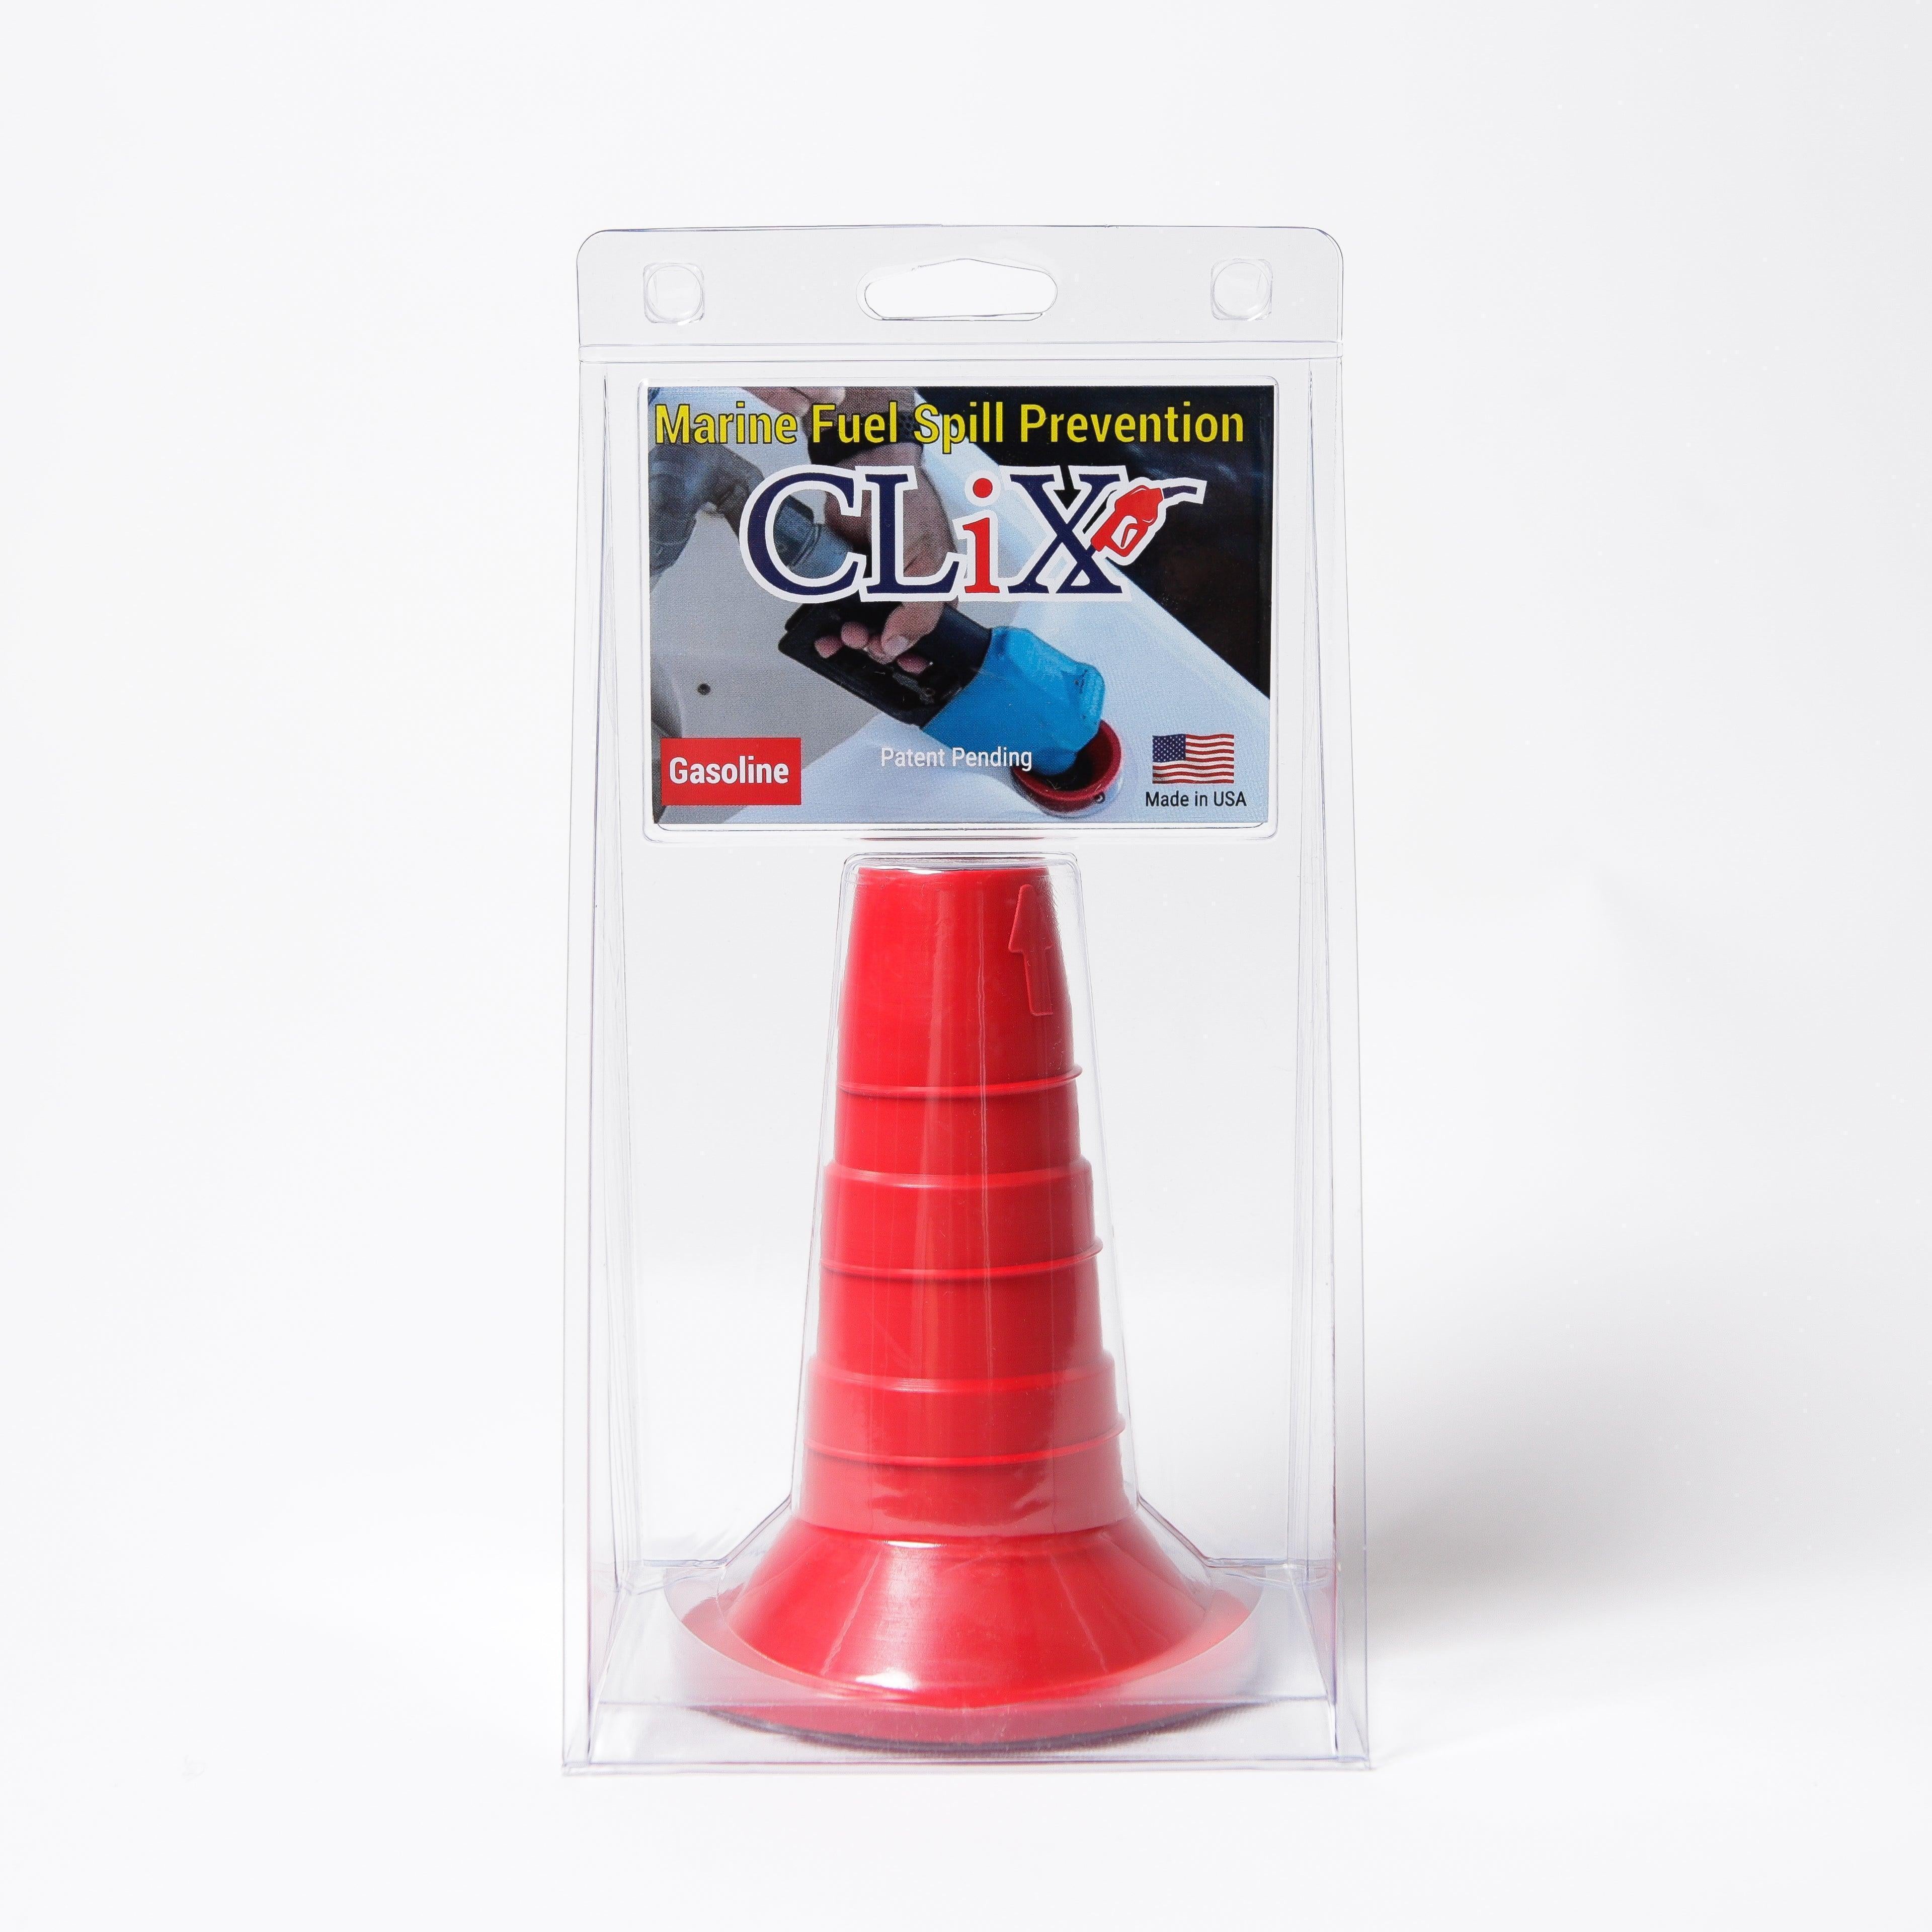
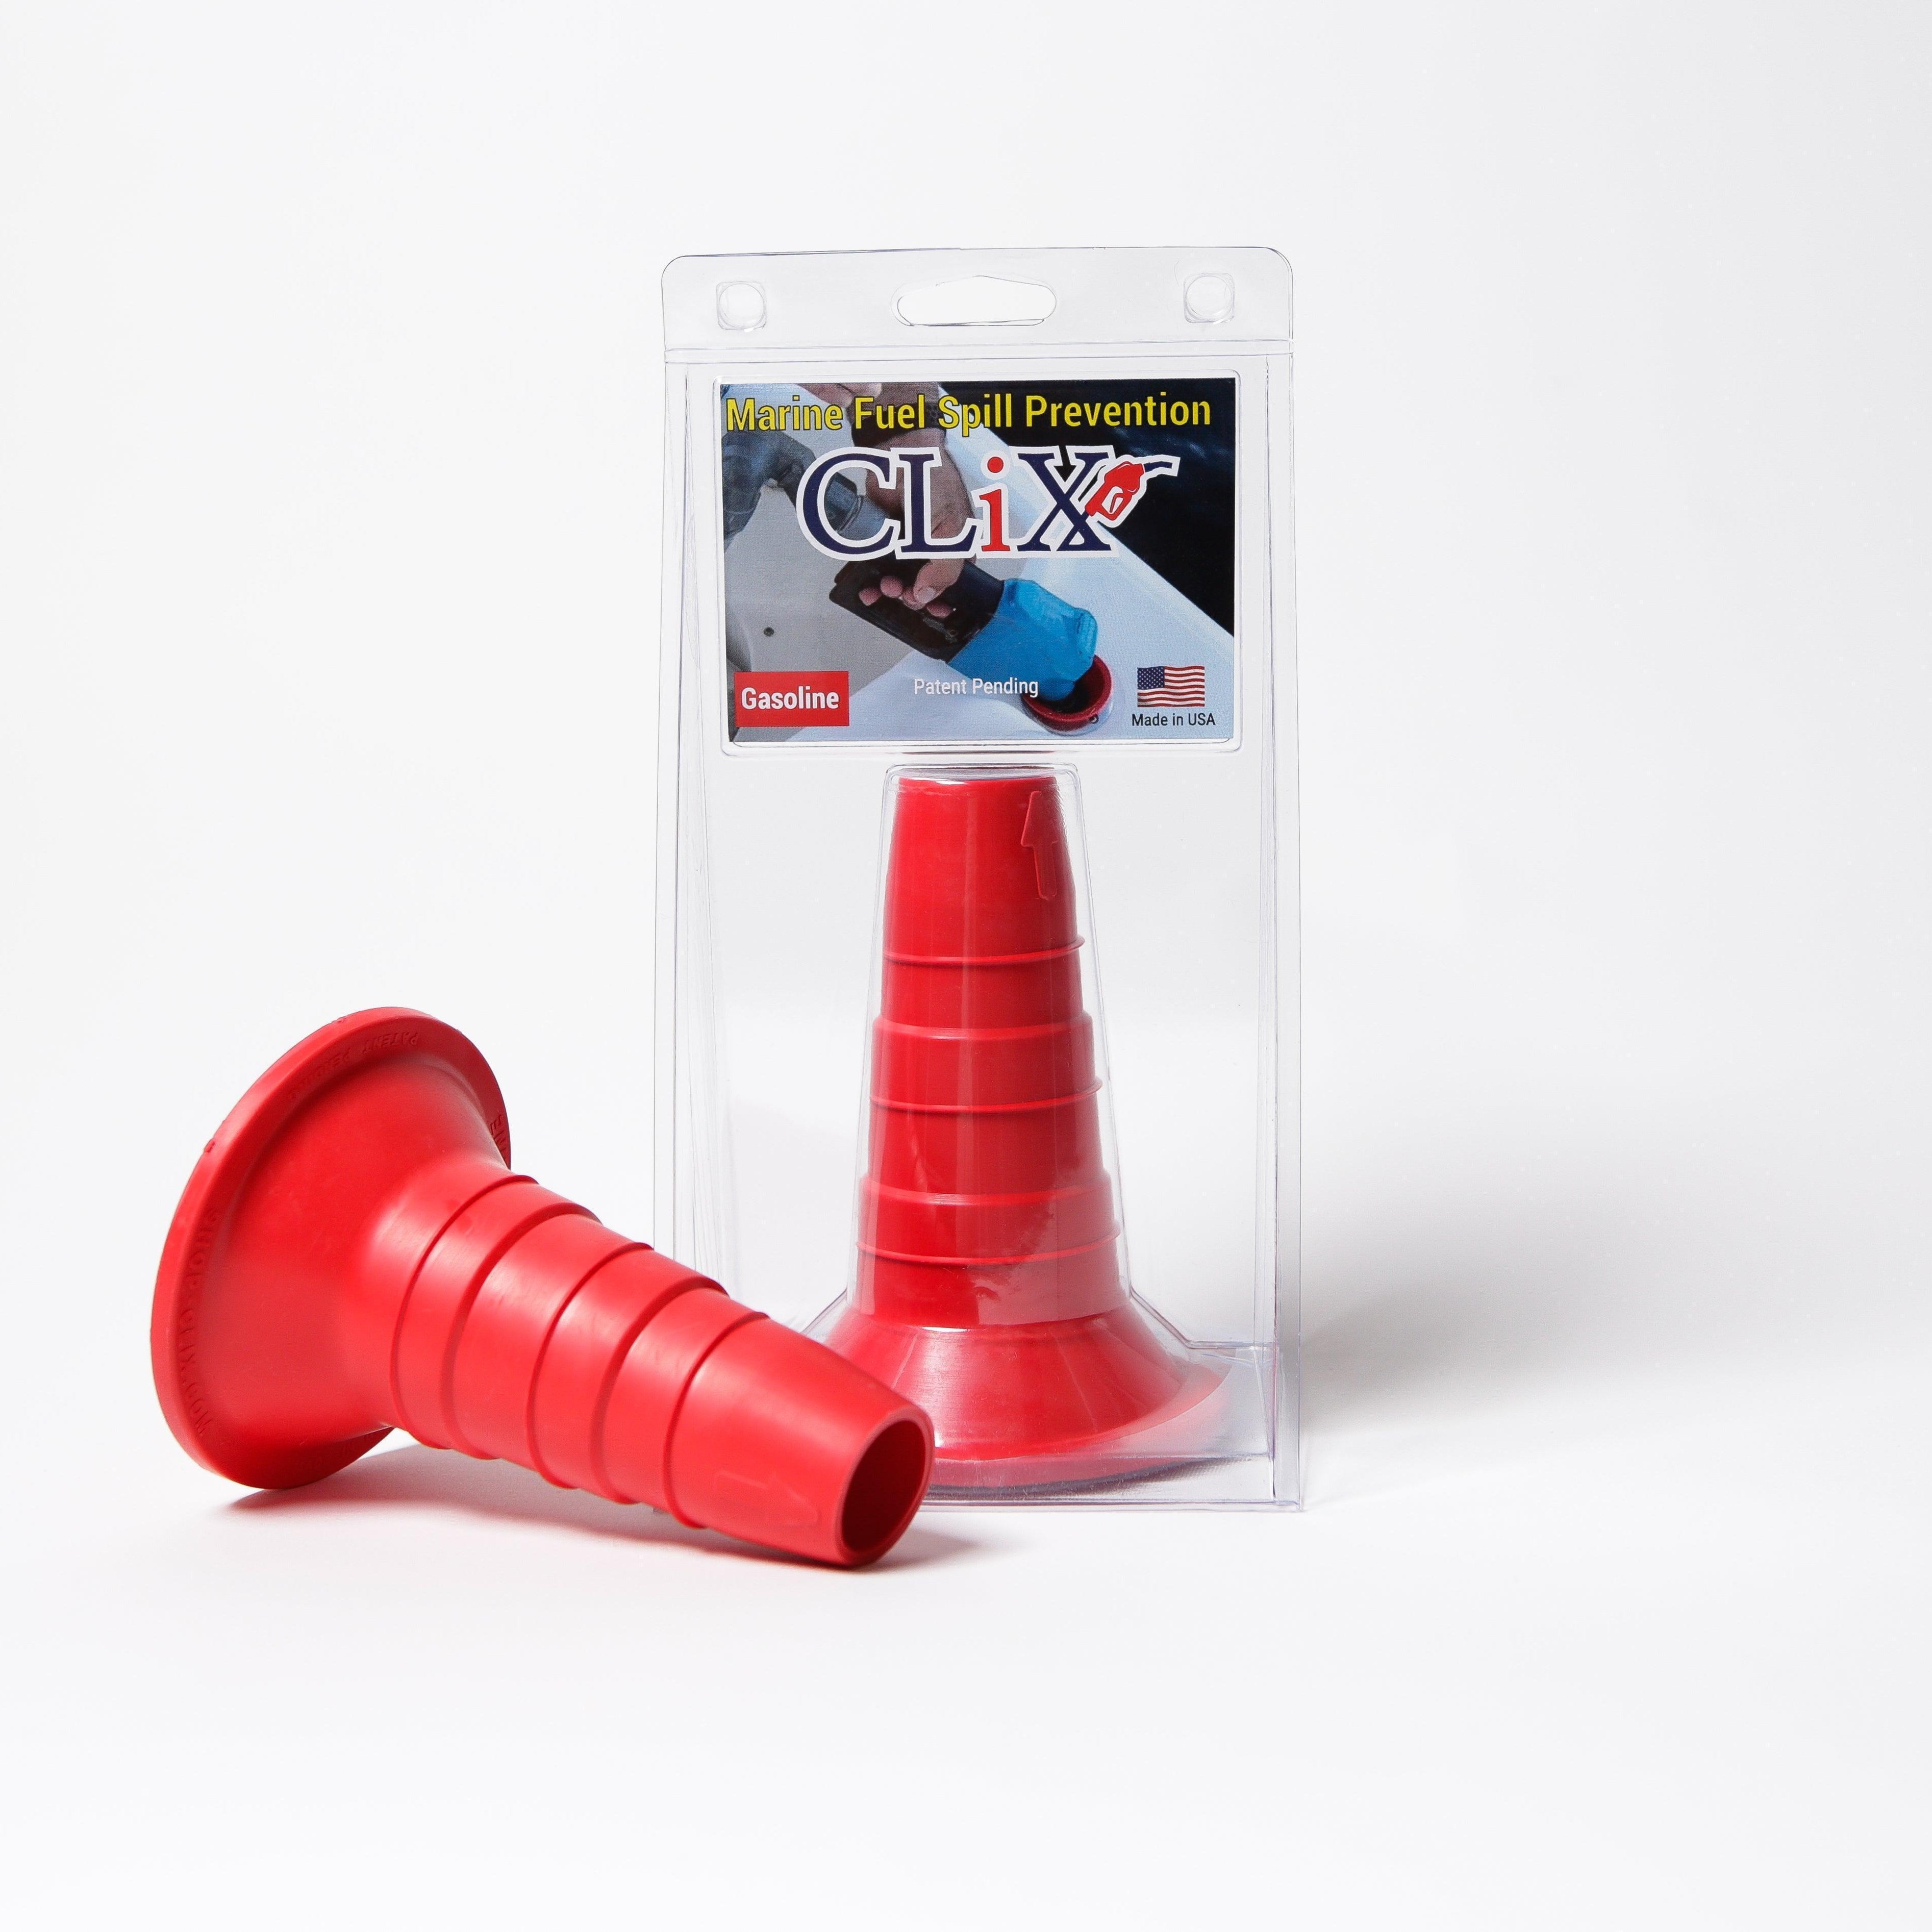
How To Find The Perfect O-Ring For Your CLiX Unit
Getting the right replacement O-ring for your CLiX unit is the single most important part of getting a solid, leak-free seal that lasts. It might seem a little daunting, but if you're methodical about it, you can take all the guesswork out of the equation and nail it on the first try. The whole game is about matching the original seal's specs.
The quickest and easiest way to find the right part is to look for your CLiX unit's model number. You’ll usually find it stamped or printed on the unit’s housing. This number is your golden ticket—it corresponds directly to a specific part number in our catalog, so there's no mystery involved.
What’s The Right O-Ring Material?
Picking the right material is just as critical as getting the size right, especially when you're working with fuel. The type of fuel you’re handling—whether it's gasoline or diesel—is the deciding factor. If you use the wrong material, it’s going to swell up, crack, or even start to dissolve, and you'll be dealing with another leak in no time.
Here's a breakdown of the materials you'll encounter:
- Nitrile (Buna-N): Think of this as the go-to, all-purpose material for many O-rings. It's a fantastic choice for gasoline applications because of its excellent resistance to petroleum-based fuels and oils.
- Viton (FKM): This is a step up, offering even better chemical resistance. That makes it the clear winner for diesel fuel and more aggressive modern fuel blends. It also stands up to higher temperatures much better than Nitrile.
- Silicone: You'll see silicone O-rings used for sealing against water or in extreme temperatures, but they are absolutely not suitable for fuel. Gasoline or diesel will cause them to swell and break down very quickly.
A leaky seal isn't just a minor annoyance. It's often the first domino to fall in a chain reaction that can lead to much bigger headaches.
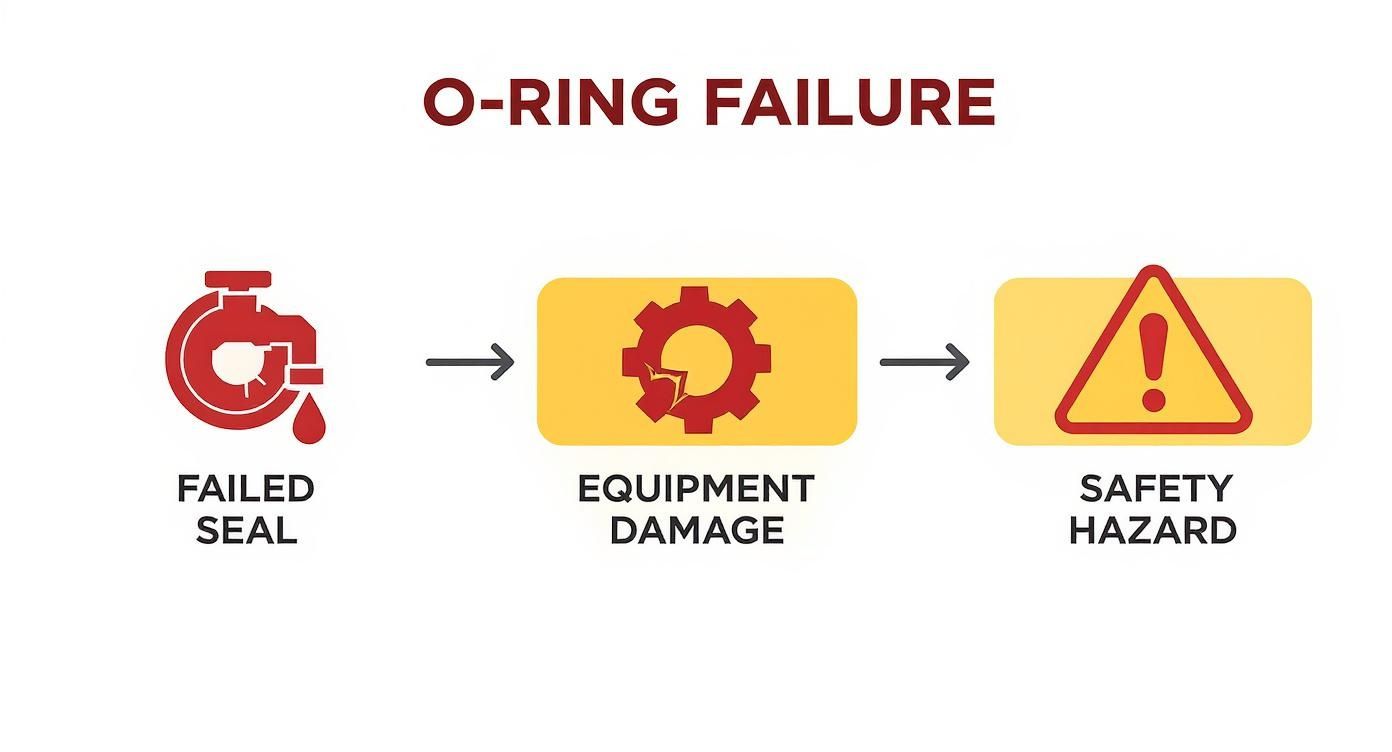
As you can see, what starts as a simple failed seal can escalate into serious equipment damage and even create a real safety hazard on your boat.
To make it even clearer, here’s a quick reference table to help you choose the right material for your specific CLiX unit.
CLiX O-Ring Material Selection Guide
| Material | Common Name | Best for Gasoline Units | Best for Diesel Units | Temperature Range |
|---|---|---|---|---|
| Nitrile | Buna-N | Yes | No | -40°F to 250°F |
| Viton | FKM | Yes | Yes | -15°F to 400°F |
| Silicone | VMQ | No | No | -65°F to 450°F |
This guide makes it simple: for diesel, Viton (FKM) is the only way to go. For gasoline, both Nitrile and Viton are great options, but Viton offers a wider temperature range and superior chemical resistance for a little extra peace of mind.
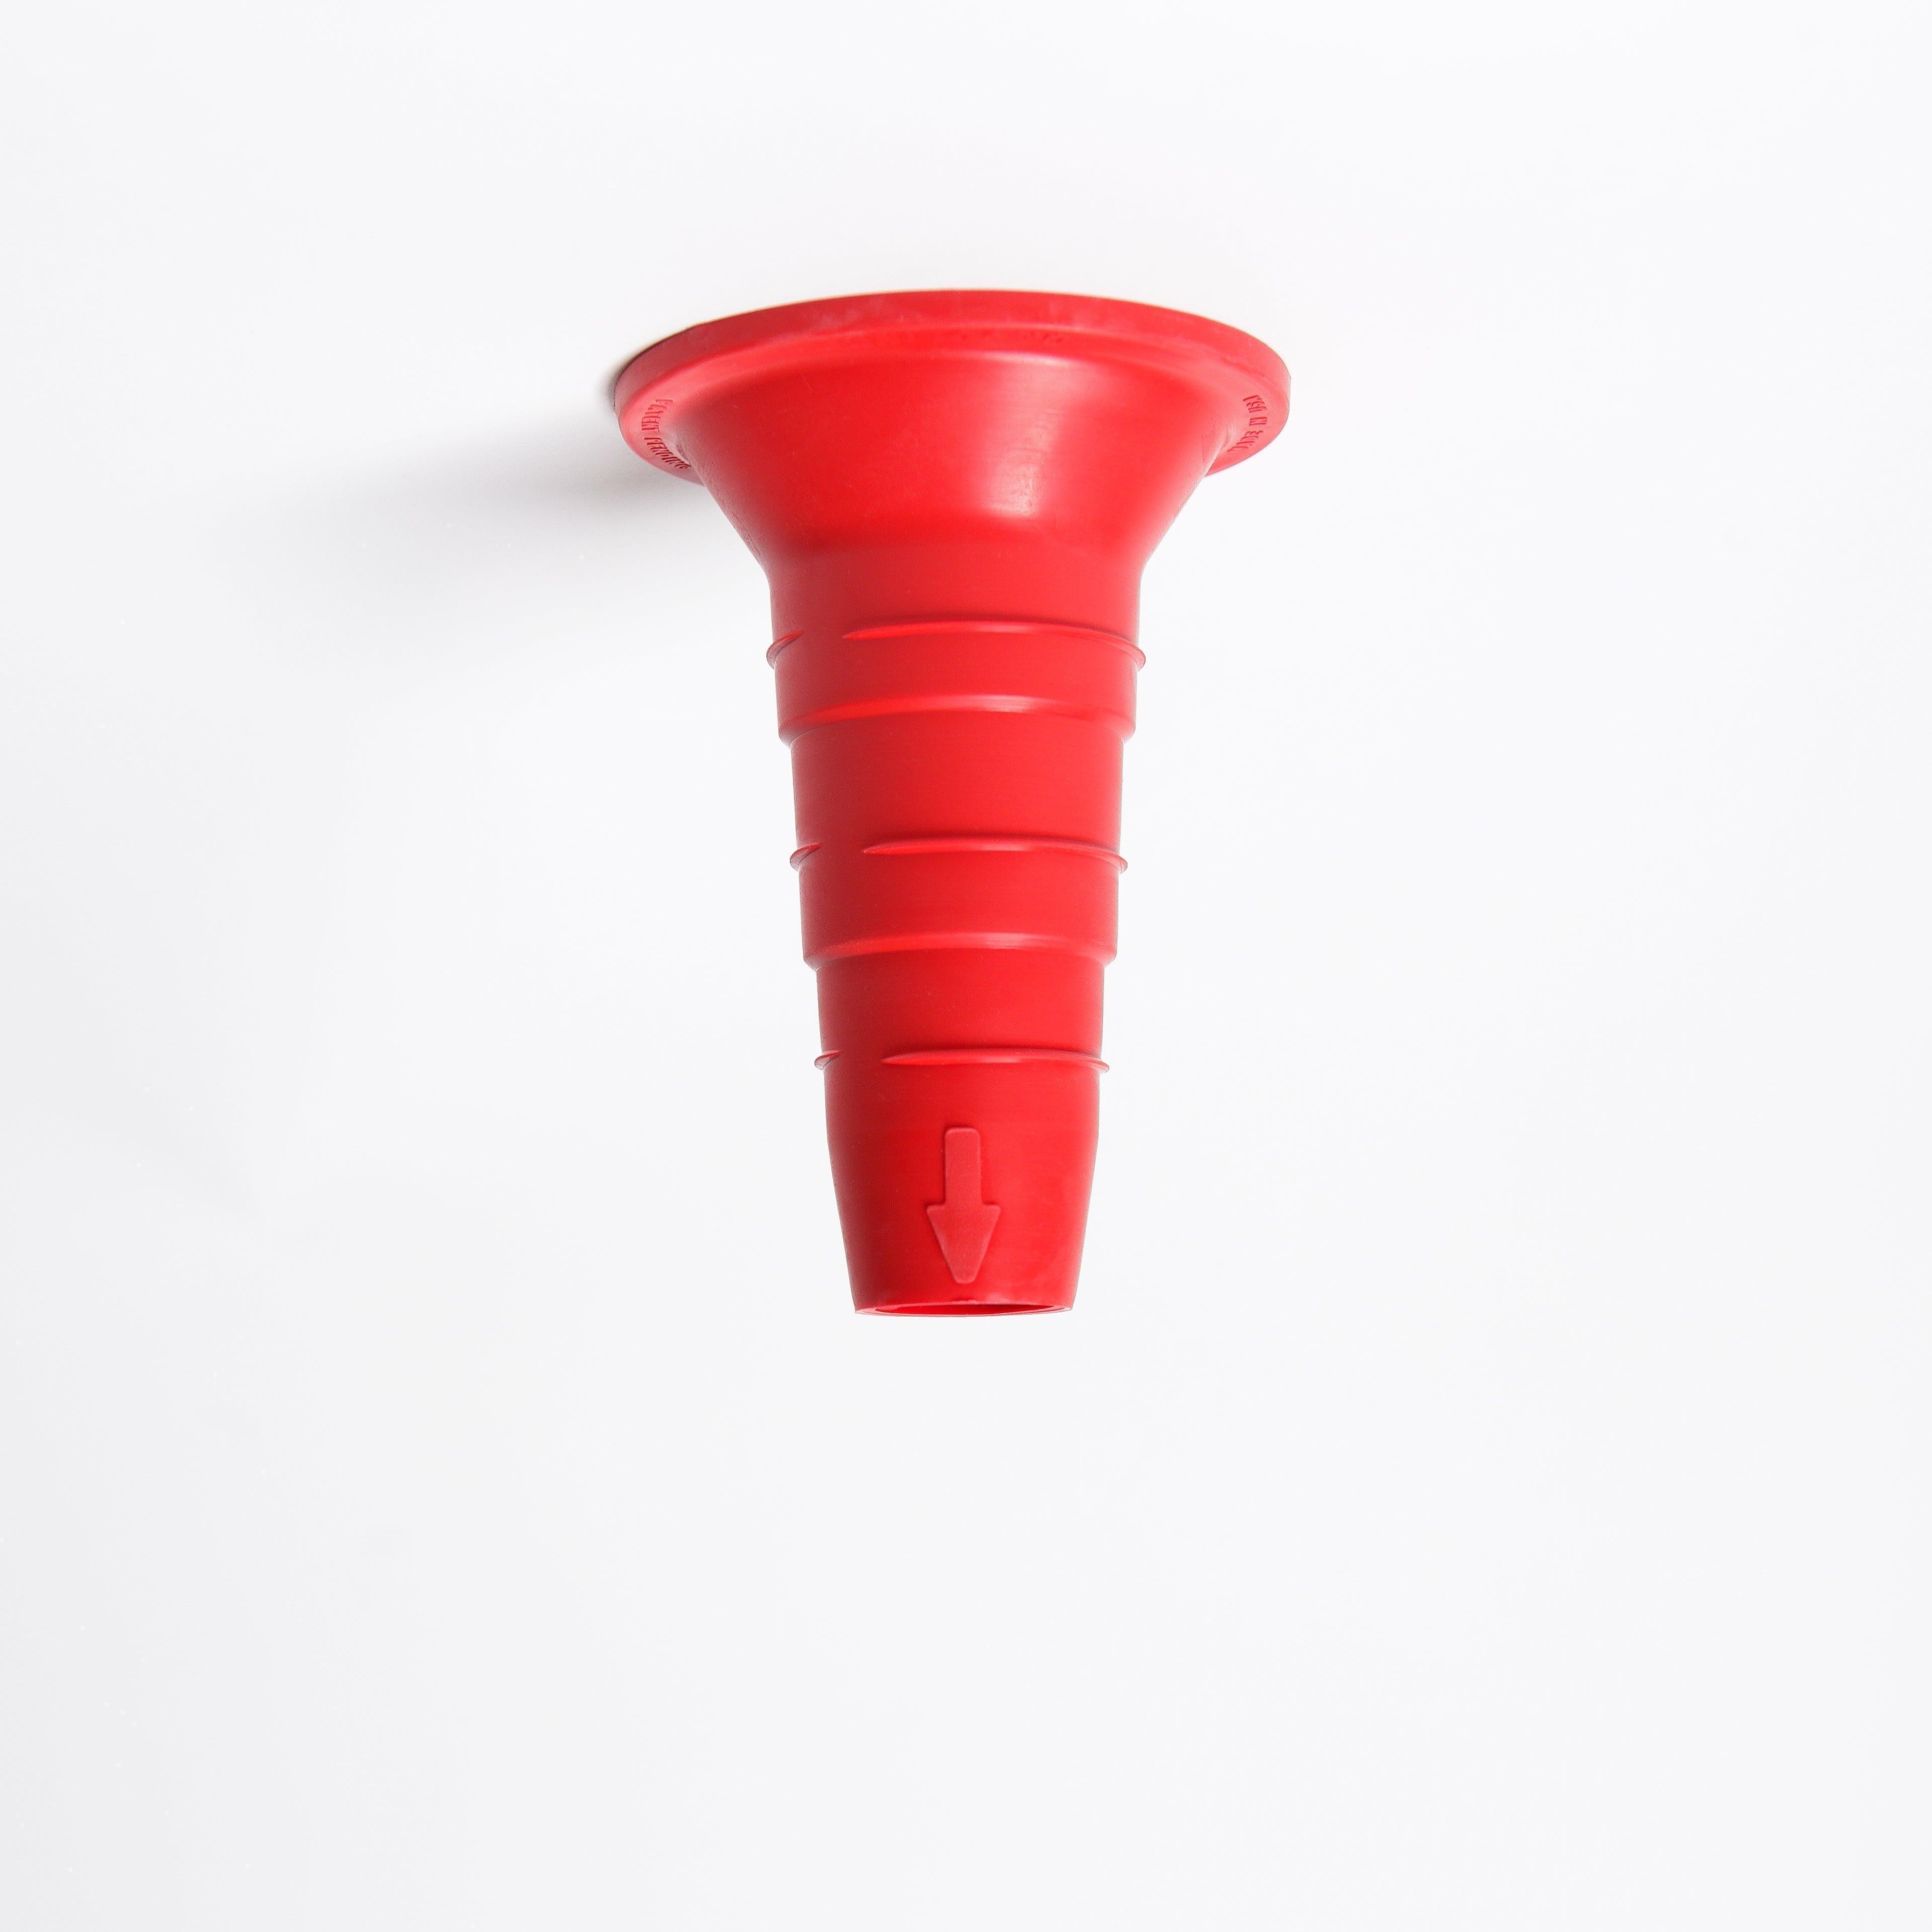
Taking Measurements Yourself
What if the model number on your unit is long gone, worn off from years of use? Don't worry. You can simply measure the old O-ring to find its replacement. For this job, you'll need a digital caliper. Trying to eyeball it or using a tape measure just won't give you the precision you need.
You're after two key measurements:
- Cross-Section (CS): This is just the thickness of the O-ring material itself. Gently clamp the caliper on the ring to measure its width. Your old seal might be a bit worn or compressed, so take measurements in three or four different spots around the ring and use the largest number you get.
- Inner Diameter (ID): This is the distance across the hole in the middle. Lay the O-ring flat and measure from one inner edge straight across to the opposite inner edge.
With those two measurements in hand, you can easily match them to a standard O-ring sizing chart. For a deeper dive into how seals work in general, this comprehensive guide to seals for containers is a great resource.
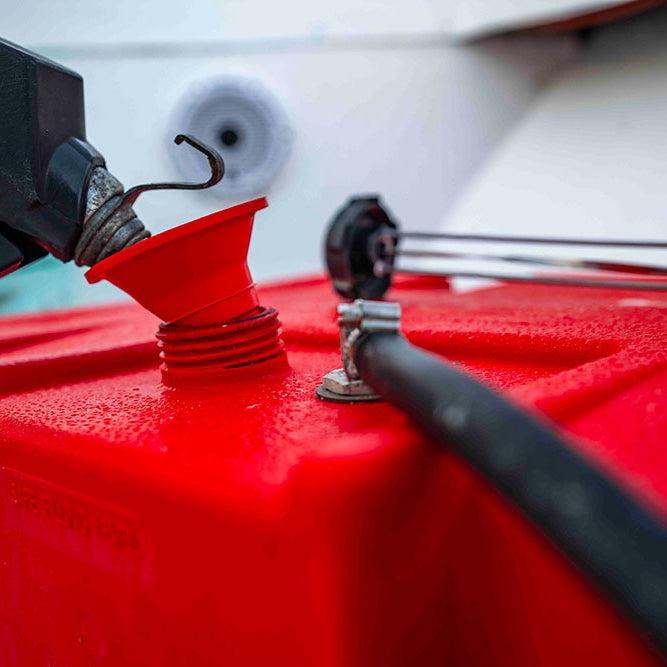
Pro Tip: Whenever you order a replacement, do yourself a favor and buy a spare. Having an extra OEM-spec O-ring stashed away means you're already prepared for the next time. For CLiX gasoline units, you can find the exact part you need right here: https://clixfueling.com/products/gas-clix-single-pack.
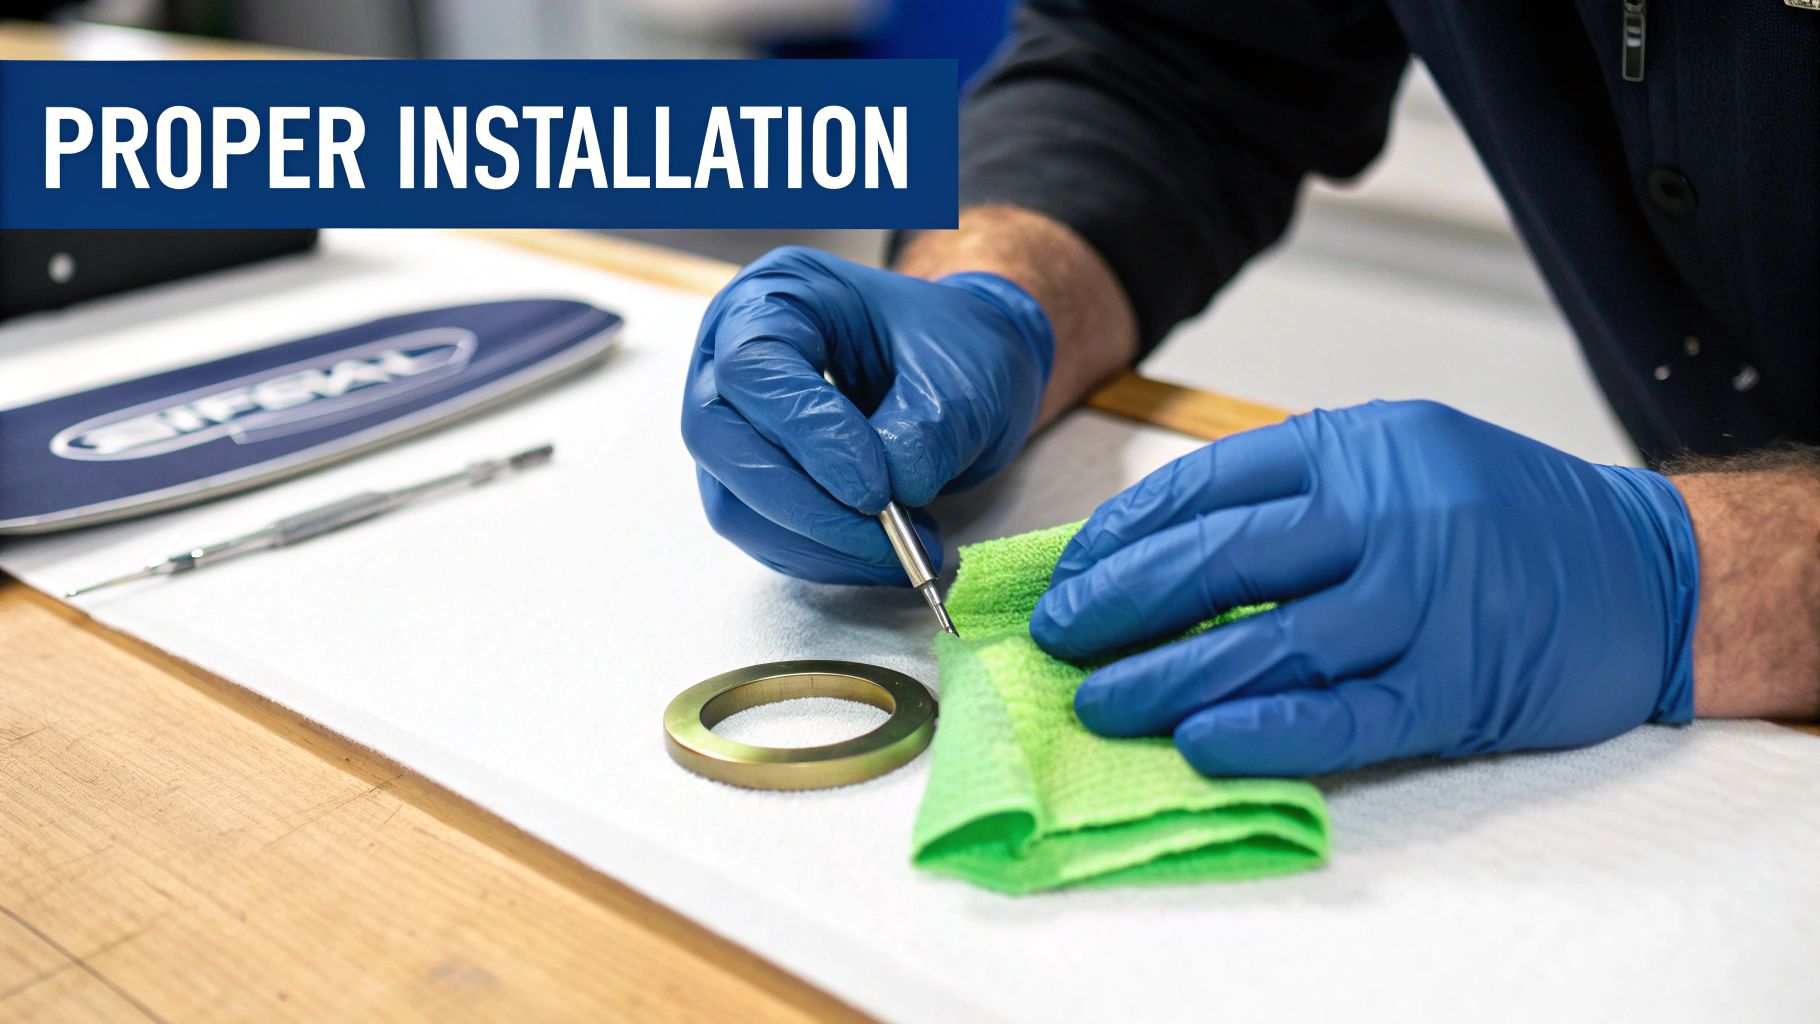
A Practical Guide to O-Ring Removal and Installation
Alright, let's get our hands dirty. Swapping out the O-ring on your CLiX unit is a pretty simple job, but as any seasoned mechanic will tell you, the little details are what separate a permanent fix from a leak that keeps coming back. Do it right, and you’ll have a rock-solid seal you can trust.
First thing's first: grab your tools. An O-ring pick is the real MVP for this task. Its hook is designed specifically to get under the seal without gouging the metal groove it sits in. Whatever you do, don't be tempted to use a flathead screwdriver or a knife—it’s shockingly easy to scratch the seating surface, and that’s a guaranteed path to a new leak. You’ll also want a few clean, lint-free cloths and the right lubricant for the new O-ring.
Removing the Old O-Ring Safely
The secret to getting the old O-ring out is to be gentle. Your only goal here is to remove the old seal without leaving a single nick or scratch in the groove where it sits. Even a tiny, hairline scratch can create a pathway for fuel to escape under pressure.
Slide the hooked tip of your O-ring pick under the seal and carefully lift one section up and out of the channel. From there, just work your way around the rest of the ring until it comes free. This is no time to rush; patience now saves you a headache later.
Once it's out, give the old O-ring a quick look. Is it hard, cracked, or flattened out? A healthy O-ring is round, but a worn-out one often gets squashed into a square shape. Seeing this kind of wear just confirms you made the right call to replace it.
The Most Important Step: Cleaning the Groove
Pay close attention here, because this is the step people skip, and it's the number-one reason for a leaky "fix." The seating groove has to be spotless before the new O-ring goes in. Any little bit of old rubber, grit, or gunk left behind will prevent the new seal from seating properly.
Take a clean, lint-free cloth and wipe the groove out thoroughly. You need to get rid of any residue from the old seal. If you run into some stubborn grime, you can dampen the cloth with a bit of appropriate cleaner, but make sure the groove is bone dry before you continue.
A clean seating surface is non-negotiable. Think of it like this: you wouldn't try to put a new sticker on a dirty, greasy surface, right? The same logic applies here. A clean groove lets the new O-ring compress evenly and create a perfect, leak-proof barrier.
If you're working on a boat, you know that fueling issues can sometimes run deeper than a single seal. For anyone tackling more complex problems, our guide on troubleshooting your boat fuel sending unit can give you a much bigger picture of the whole system.
Installing Your New Replacement O-Ring
With a clean and dry groove, you're ready for the new O-ring. This part is all about finesse, not force. The single biggest mistake you can make is accidentally twisting the O-ring during installation. A twisted seal creates an uneven pressure point that’s practically guaranteed to fail.
Start by applying a light coat of a compatible lubricant to the new O-ring. This small step makes a huge difference, helping it glide into the groove without snagging or twisting.
- Place one side of the O-ring into the groove and hold it down with your thumb.
- Gently stretch the O-ring just enough to work it around the channel with your other hand.
- Press it down into the groove as you go.
Once it’s all the way in, run your fingertip around the entire O-ring. It should feel smooth and perfectly seated, with no weird lumps, bumps, or twists.
Your replacement O-ring should now be sitting snugly in its channel, ready to provide a perfect seal when you put everything back together.
The Role of Lubrication and Post-Installation Testing
I've seen it happen more times than I can count: someone installs a new O-ring without lubricant, and a few days later, they're dealing with a leak that's even worse than the one they started with. Skipping lubrication is one of the most common DIY mistakes, and it turns a simple fix into a real headache.
Think of it this way: that lubricant isn't just to make things slippery. A thin, even coat does two incredibly important jobs. First, it protects the soft O-ring from getting nicked or torn as it slides into the tight metal groove. Second, and just as crucial, it helps the ring settle perfectly into place without twisting or getting pinched, ensuring an even, leak-proof seal once you tighten everything down.

Choosing The Right Lubricant
Using the wrong lubricant is just as bad as using none at all—in fact, it can actively destroy your new seal. A classic mistake is grabbing something like Vaseline, a petroleum-based product. This will cause common O-ring materials like Nitrile (Buna-N) and EPDM to swell up, soften, and fail prematurely.
The rule is simple: always match the lubricant to the O-ring material.
- For Nitrile (Buna-N) O-rings: Petroleum-based grease is perfectly fine to use.
- For Viton (FKM) and EPDM O-rings: You absolutely must use a silicone-based grease.
When you apply it, you're just looking for a light, glossy sheen. A little truly goes a long way here. Piling it on can actually attract dirt and gunk, which is the last thing you want in a clean fuel connection.
These small seals are part of a massive global industry. Market forecasts show the Asia Pacific region is on track to dominate the O-ring market by 2035, holding about 42% of the market share. The industrial demand is staggering—single shipments can include as many as 237,700 units, like one recent batch from China to India. If you're interested in the logistics, you can learn more about the global O-ring market on Research Nester.
Final Checks and Leak Testing
Once you've put the CLiX unit back together, you're on the home stretch, but don't pack up your tools just yet. You have to test your work. Trusting that you got it right without a final check is just asking for trouble, especially when fuel is involved. For more on the bigger picture, take a look at our guide on maintaining your complete boat fuel system.
The best way to test for leaks is the old-school "soapy water" method. It's simple, but it's foolproof. Once you've carefully repressurized the system, grab a spray bottle and mix up some dish soap and water.
Lightly spray the soapy solution all around the O-ring and the connection points you just worked on. Now, watch it closely for a minute. If you see any bubbles forming or growing, you’ve got a leak that needs to be addressed.
If you don't see any bubbles, you're golden. That simple test gives you the peace of mind that your repair is solid and the leak is gone for good.
Troubleshooting Common O Ring Installation Problems
You’ve carefully installed the new O-ring, put your CLiX unit back together, and… drip. It’s a frustrating moment, for sure. Before you get too annoyed, know that most post-installation leaks are caused by a few simple, common issues that are usually easy to fix.
If the leak is still there or seems even worse than before, you're almost certainly looking at a compromised seal. The usual suspects are an O-ring that got pinched during installation, twisted in its groove, or just isn't seated quite right. Even a tiny nick in the rubber or a small scratch on the metal surface can be the source of your headache.
Diagnosing the Drip
Okay, before we start taking things apart again, let's try to figure out what's going on. Is it a slow, persistent weep? That often points to a problem with the seating or a very minor imperfection. A more obvious, steady drip usually means the seal is pinched or twisted, creating a clear path for fuel to get out.
Time to carefully disassemble the connection and take a close look at the new O-ring you just put in.
- Look for a Twist: Does the O-ring have a spiral or figure-eight shape in the groove? A twisted seal can't create the even pressure needed to do its job.
- Check for Pinches or Nicks: Get a good look at the surface of the O-ring. A small flattened spot or a tiny cut is all it takes to ruin the seal. This can easily happen if the ring catches on a sharp edge as you're pushing it into place.
- Inspect the Seating Groove: Run your fingertip (gently!) inside the groove where the O-ring sits. Feel anything? Any leftover crud from the old seal, grit, or a scratch in the metal will prevent the new O-ring from sealing properly.
These principles apply to many sealing jobs. For instance, understanding how to fix a dripping tap often comes down to diagnosing a worn-out O-ring, which is a very frequent cause.
Finding a Lasting Solution
Once you’ve figured out what’s wrong, the fix is usually pretty direct. If the O-ring itself is damaged in any way—pinched, nicked, or stretched out of shape—the only real solution is to start over with a brand new one. It's just not worth the risk of a persistent leak to try and reuse a compromised seal.
Key Takeaway: Never reuse a replacement O-ring that has been installed and then removed, especially if it was part of a leaking connection. The slight compression from the first installation means it will never seal as well the second time around.
What if the O-ring looks fine but you found a minor scratch in the groove? You might be able to very gently polish it out with an ultra-fine abrasive. But if you're dealing with a deeper gouge, the part itself might need professional repair or replacement.
This need for a perfect fit is exactly why O-rings are so trusted. In 2024, it's estimated that over 18 billion O-rings were used worldwide, making up about 42% of the entire rubber seals market. Their incredible effectiveness all comes down to a flawless installation. As detailed in this report on the rubber seals market, the simplest path to a leak-free repair is always starting with a clean groove and a fresh, properly lubricated O-ring.
Frequently Asked Questions About O-Ring Replacement
Even with the best instructions, a few questions always seem to pop up during a repair. Let's tackle some of the most common things people ask when swapping out an O-ring on their CLiX unit.
Can I Just Reuse My Old O-Ring?
I get this question all the time. It's a tempting shortcut, but the answer is a hard no. Once an O-ring has been seated, compressed, and exposed to fuel, it takes a "set." It flattens out and hardens, losing the pliability that made it seal perfectly in the first place.
Trying to reuse it is a recipe for a frustrating leak you’ll just have to fix again. A new O-ring is soft, perfectly round, and ready to conform to the groove. For the small cost of a new one, you get peace of mind that the job is done right.
What Really Happens If I Use the Wrong Size?
Using an O-ring that's even a hair off in size is asking for trouble. If it’s too small, it will stretch thin and won't have enough "squish" to fill the gap, creating an immediate leak path.
If it’s too big, it’ll bunch up, twist, or get pinched as you tighten things down. This creates a weak spot in the seal that's guaranteed to fail under pressure.
The bottom line is this: an incorrect size means the seal is compromised from the get-go. It might hold for a minute, but it will leak, and you'll be doing the entire job over.
How Often Should I Check My O-Rings for Wear?
A little proactive maintenance goes a long way. I recommend giving your CLiX O-rings a quick visual check at the start of every season or whenever you're doing other fuel system work.
You're looking for any tell-tale signs of trouble:
- Cracking or brittleness—a clear sign of age and exposure.
- Flattened or squared-off spots where the ring has lost its elasticity.
- Swelling or mushiness, which usually means it's reacting badly to the fuel.
If you see any of that, swap it out. Don't wait for a leak to tell you it's time.
Where Can I Order Genuine CLiX O-Rings?
To get a perfect fit and the right material, your best bet is to go straight to the source. Using genuine OEM (Original Equipment Manufacturer) parts takes all the guesswork out of the equation. You know you're getting the exact O-ring that was designed and tested for your CLiX unit, which means a durable, leak-free seal every time.
For a perfect fit and lasting performance, trust CLiX Fueling Solutions for all your replacement parts. Find the exact OEM-spec O-rings you need and fuel with confidence by visiting us at https://clixfueling.com.