When you're out on the water, the last thing you want is engine trouble. Think of your marine gas filter as the unsung hero that keeps your boat's engine running smoothly. It's a simple, yet crucial, part that stands guard, intercepting tiny troublemakers in your fuel before they can do any real damage.
The Unseen Guardian of Your Marine Engine
It’s easy to forget about this small canister tucked away in the engine compartment, but its job is enormous. A modern marine engine is a precision instrument. The injectors and fuel pumps have incredibly tight tolerances, and it doesn't take much to throw them off. Just a few microscopic bits of dirt, a fleck of rust, or a single drop of water can be enough to clog a fuel line, stall an engine, or even cause expensive, long-term damage.
This guide will walk you through everything you need to know about this essential part. We'll break down why clean fuel isn't just a suggestion—it's an absolute must for staying safe and getting the best performance from your boat. By the time we're done, you'll see your fuel filter as more than just a maintenance item; it's your ticket to reliability and peace of mind on the water.
Why Good Filtration Is More Critical Than Ever
These days, keeping your fuel clean is a bigger challenge than it used to be. Today's ethanol-blended gasoline can actually absorb water right out of the air, and you never know exactly what you're getting from the marina fuel dock. A high-quality marine gas filter isn't a luxury; it's a necessity.
A clean fuel supply is the lifeblood of your marine engine. Contaminants are the number one cause of fuel system-related engine failures, which are not only inconvenient but can be dangerous in open water.
You don't just have to take my word for it—the market tells the same story. The Gasoline Marine Fuel Filter Market was valued at USD 1.5 billion in 2024 and is expected to climb to USD 2.3 billion by 2033. That growth is happening for a reason: more people are getting into recreational boating and realizing just how vital it is to prevent engine problems caused by bad fuel. You can discover more about the rising importance of these filters and market trends for a deeper dive.
What We'll Cover in This Guide
I've put this guide together to walk you through the essentials, step-by-step. No mechanic-speak, just practical knowledge you can actually use.
We’re going to cover:
- The Enemies in Your Fuel: We'll identify the usual suspects—water, dirt, and even sludge—that can ruin your day on the water.
- Choosing the Right Filter: I'll give you a straightforward buyer's guide to picking the best filter based on things like micron ratings and the needs of your specific engine.
- Installation and Maintenance: You'll get clear instructions for putting in a new filter and keeping it in top shape, so it can do its job for years to come.
My goal here is to give you the confidence that comes from really knowing your equipment. Let's get started.
Identifying the Enemies in Your Fuel Tank
https://www.youtube.com/embed/WxvAF_dh6-s
Your boat's fuel tank might seem like a safe, sealed container, but it's more like a battleground for your engine's health. Unseen enemies are constantly trying to invade, and I'm not talking about pirates. These are microscopic contaminants that can turn a perfect day on the water into a costly tow back to shore.
Knowing what you're up against is the first step. Think of your fuel system as a fortress. If you don't know the enemy's tactics, you can't build the right defenses.
The Problem with Water
Water is, without a doubt, the most common and destructive contaminant you'll find in your fuel. It's a constant threat in any marine environment.
So, how does it get in? The main culprit is condensation. Your fuel tank heats up during the day and cools down at night. This temperature swing causes moisture from the air to condense on the inside walls of the tank, where it then drips down into your fuel. High humidity makes this problem even worse. The material of your tank matters, too; different materials like polyethylene storage tanks can have different properties when it comes to managing condensation.
Ethanol-blended fuels, which are everywhere these days, add another layer to the problem. Ethanol naturally absorbs moisture from the air. Once it absorbs too much, phase separation occurs. This is when the ethanol and water mixture separates from the gasoline and sinks to the bottom, creating a corrosive cocktail that your fuel pump will happily send straight to your engine.
Solid Invaders: Dirt, Rust, and Debris
Next up are the solid particles—the grit and grime that can wreak havoc on the sensitive parts of your engine.
These tiny invaders can come from a few different places:
- Dirty fuel from the marina's own storage tanks.
- Flakes of rust or deteriorating material from inside your own fuel tank, especially if it's older.
- Debris like dust, sand, or even tiny fibers that get blown in while you're refueling.
It doesn’t take much. A single speck of dirt is all it takes to clog a fuel injector. It's like trying to suck a thick smoothie through a tiny coffee stirrer—it just won't work. For more on keeping your tank clean, check out our guide on how to choose and maintain your marine gas tank with confidence.
The Sludge Monster: Biological Growth
The last enemy is a living one. Often called "diesel bug" or algae, these microbes can thrive in gasoline, too, especially when water is present.
The interface where water and fuel meet is the perfect breeding ground. These organisms multiply rapidly, forming a thick, slimy sludge that can clog a fuel filter in a heartbeat, starving your engine right when you need it most.
This table breaks down these common fuel system invaders and the trouble they can cause.
Common Fuel Contaminants and Their Effects
| Contaminant Type | Common Sources | Potential Engine Damage |
|---|---|---|
| Water | Condensation in the tank, contaminated fuel docks, ethanol-blended fuel absorption. | Corrosion of fuel system components, phase separation, poor engine performance, engine stalling. |
| Solid Particles | Rust from old tanks, dirt from refueling, sediment from marina storage. | Clogged fuel injectors, damaged fuel pumps, increased engine wear, complete fuel starvation. |
| Biological Growth | Microbes growing at the fuel/water interface. | Clogged fuel filters and lines, fuel starvation, injector fouling, corrosive byproducts. |
As you can see, the threats are real and varied. This is precisely why a high-quality marine gas filter isn't just a good idea—it's absolutely essential. It’s your last, and best, line of defense between clean fuel and a very bad day.
How to Choose the Right Marine Gas Filter
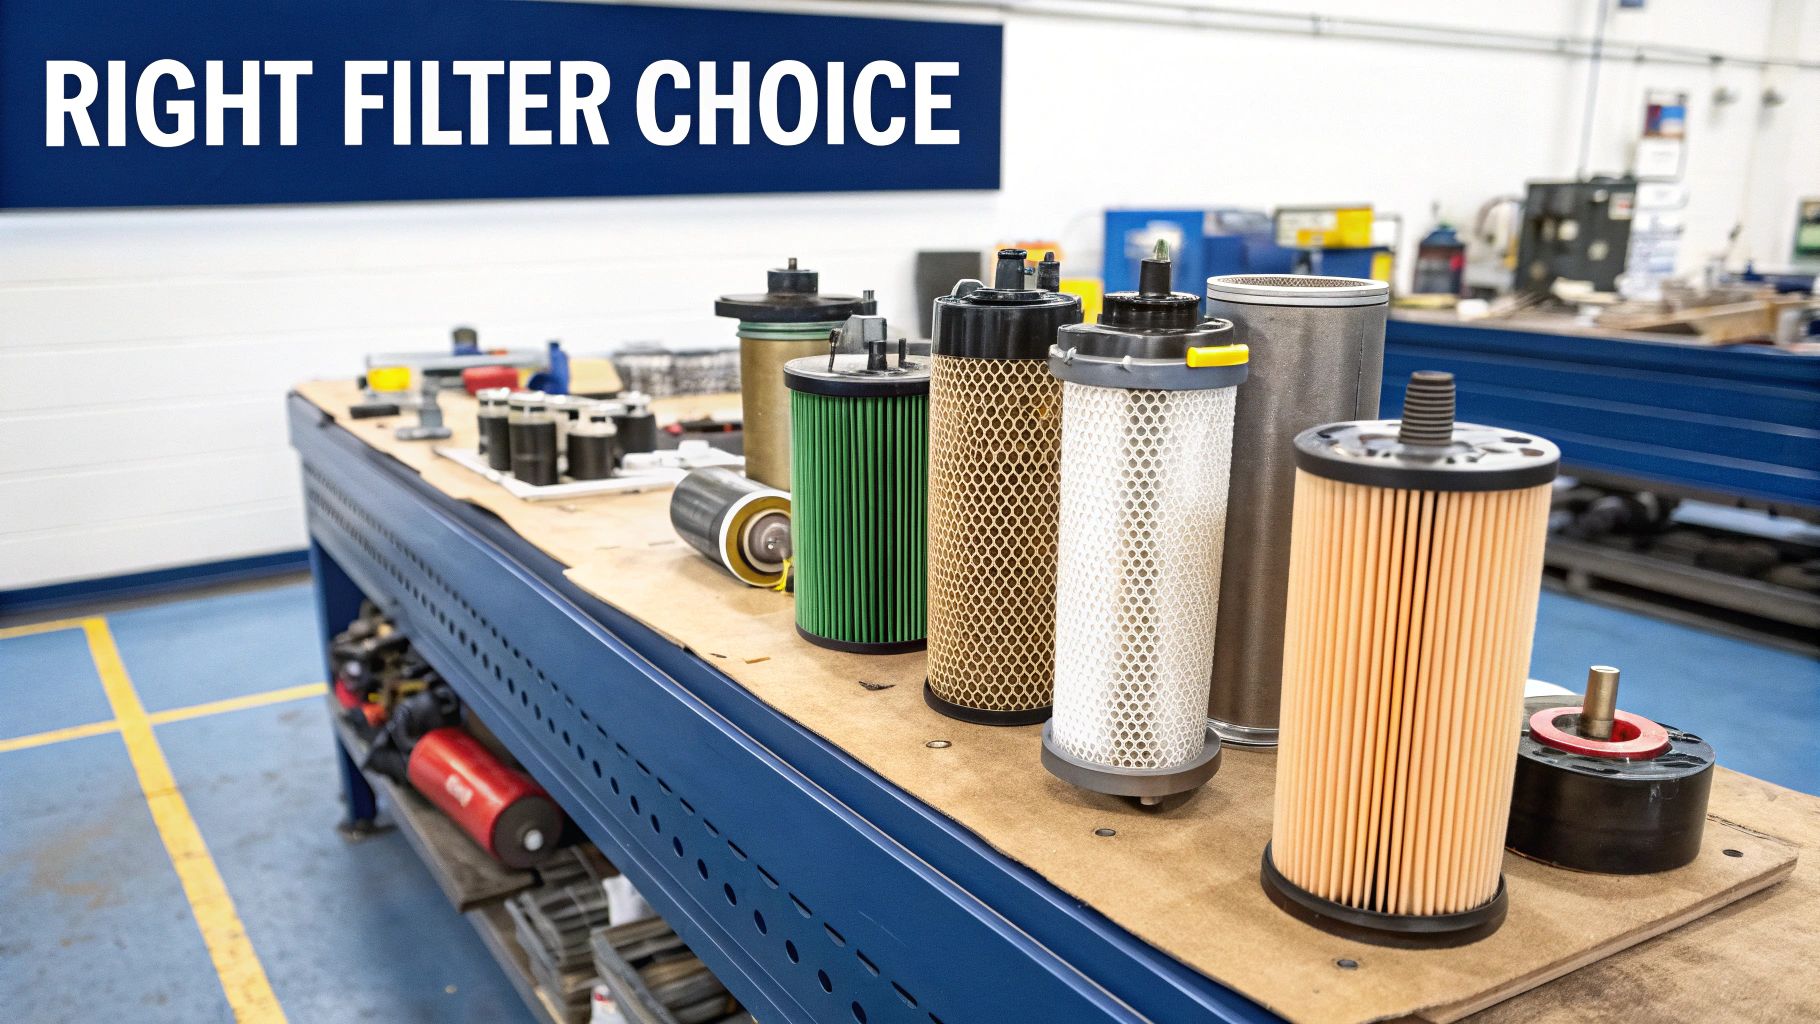
So, you know why you need a good marine gas filter. Now comes the tricky part: picking the right one. Staring at a wall of filters with different specs like micron ratings and flow rates can make your eyes glaze over. But don't get bogged down in the technical jargon.
Think of it like this: you're hiring a bodyguard for your engine. You need one that's tough enough for the job, quick on its feet, and has the specific skills to protect your particular engine. Let's walk through what really matters so you can choose with confidence.
Decoding Micron Ratings
The first thing you'll see on any filter is its micron rating. It’s just a number that tells you how small of a particle the filter can catch. A micron is tiny—one-millionth of a meter. To give you some perspective, a single human hair is about 70 microns thick.
So, what’s the real-world difference between a 2, 10, or 30-micron filter?
- 10-Micron Filters: This is the workhorse for most recreational boaters. For the majority of gasoline outboards and inboard engines, a 10-micron filter is the sweet spot. It strikes a perfect balance, catching almost all the gunk and water that could cause damage without choking off the fuel supply.
- 2-Micron Filters: These filters offer the most protection, screening out incredibly fine particles. You'll typically find them as a secondary, final-stage filter on high-performance, modern fuel-injected engines with super-tight tolerances. Using a 2-micron as your main filter is usually overkill and can lead to it clogging up fast if your fuel isn't pristine.
- 30-Micron Filters: Think of this as the bouncer at the front door. A 30-micron filter is great as a primary filter, especially on diesel engines or if you know you’re getting fuel from a questionable source. It grabs the big stuff—the "boulders"—letting a finer secondary filter downstream handle the smaller sediment.
Your first move should always be to check the engine manufacturer's recommendation. They built the engine, so they know exactly what it needs to run right. Picking the wrong micron rating can starve your engine for fuel or, just as bad, let harmful debris slip through.
This cutaway view gives you a great look at what’s happening inside the filter.
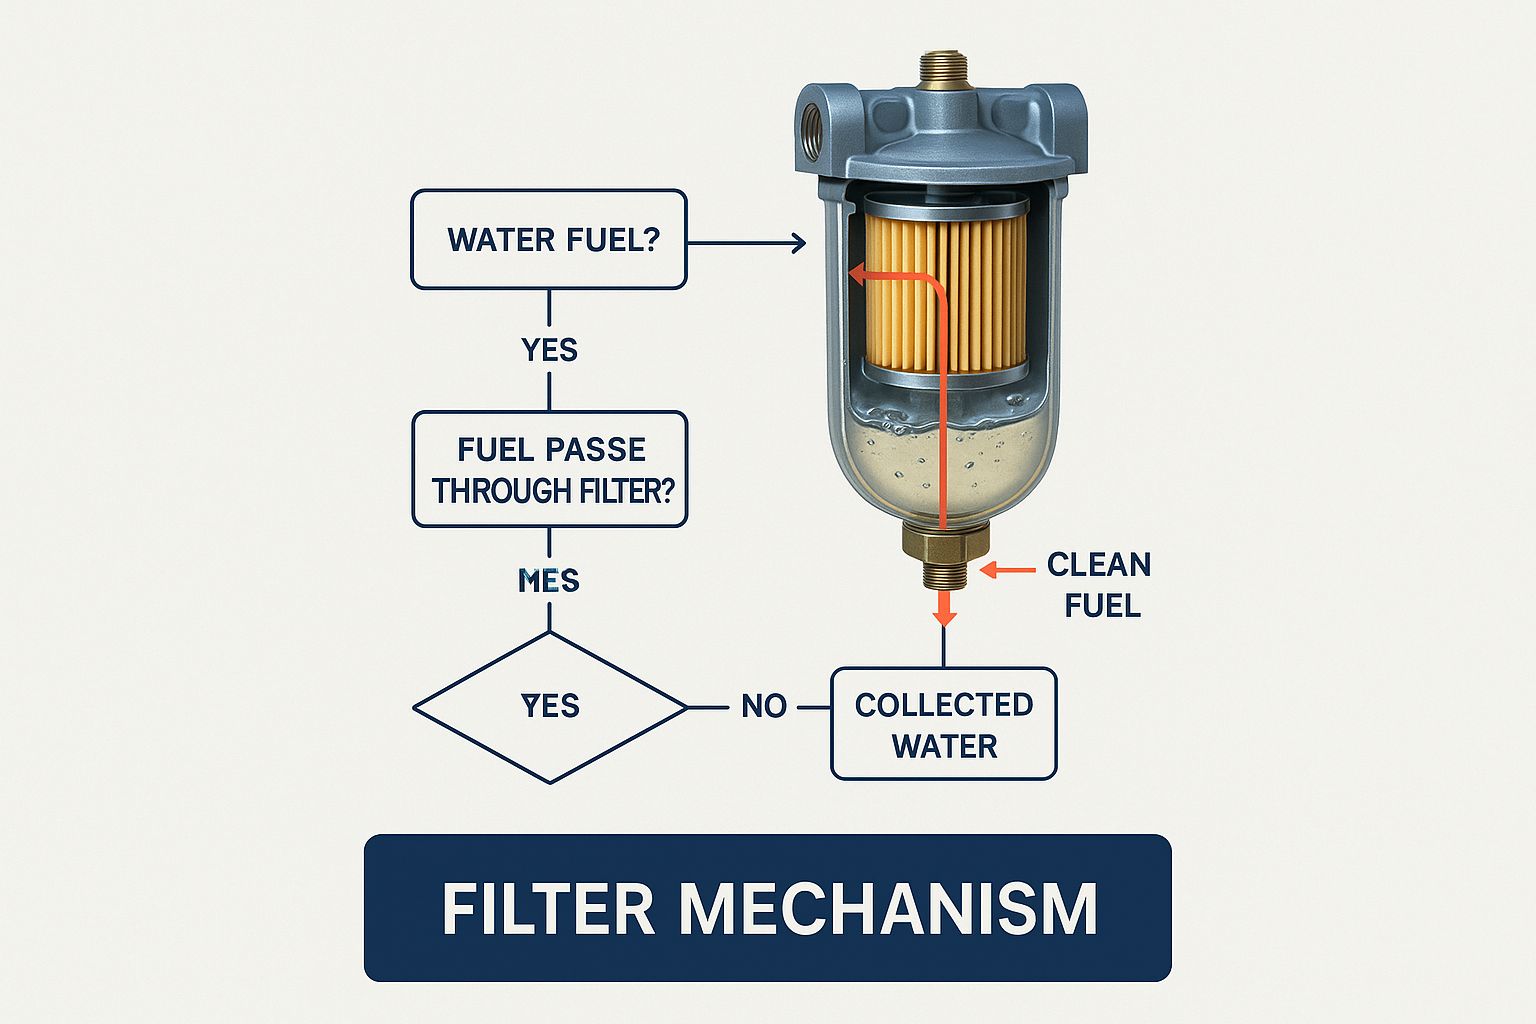
You can see how the fuel is forced through the filter media, which is engineered to trap both solid grit and water droplets while letting only clean fuel get to your engine.
Matching Flow Rate to Your Engine
Next up is the flow rate, which is measured in gallons per hour (GPH). This one is simple: your filter has to be able to pass more fuel than your engine could ever use, even at wide-open throttle. If the filter’s GPH is too low, it will literally starve your engine for fuel right when you’re demanding the most power.
Crack open your engine’s manual and find its maximum fuel consumption rate. A good rule of thumb is to pick a filter with a GPH rating that's at least double what your engine needs. This gives you a nice safety cushion, ensuring great performance even when the filter starts to get a little dirty. To see how the filter fits into the bigger picture, check out our complete guide to the boat fuel system.
Insist on Marine-Grade Construction
This is non-negotiable: never, ever use a regular car filter on your boat. They simply aren’t built for the job. A true marine filter is designed to do two things a car filter can’t handle: aggressively separate water from fuel and survive a corrosive saltwater environment.
There’s a reason this is a big market. The marine fuel filter industry was valued at around USD 1.2 billion in 2024 and is expected to climb to USD 1.8 billion by 2033. That growth tells you just how vital engine reliability is on the water, where a breakdown is a serious problem, not just a hassle.
When you're shopping, make sure the filter has these key features:
- A Metal Canister: Plastic bowls can get brittle and crack from sun exposure over time. A metal canister offers far better durability and, crucially, the fire resistance required by the US Coast Guard.
- Corrosion-Resistant Coating: The filter's body should have a tough, electrostatic powder coating to fend off rust and corrosion from salt spray.
- A Clear Collection Bowl (if applicable): While the main body should be metal, a see-through, impact-resistant bowl at the bottom is a huge plus. It lets you visually inspect for water at a glance and drain it out before it ever reaches your engine.
Your Step-by-Step Installation Guide
Alright, you've got the perfect new marine gas filter picked out for your boat. Now for the satisfying part: installing it yourself. This is a totally manageable job for most boaters, and doing it yourself not only saves a few bucks on labor but gives you a fantastic hands-on understanding of your boat's fuel system.
We'll walk through this step-by-step, starting with the absolute most important thing—safety—and finishing with the confidence of firing up your engine knowing the job's done right.
Preparation and Safety First
Before you even think about picking up a wrench, you have to make the workspace safe. We’re dealing with gasoline, so there are no shortcuts here.
Here’s your pre-flight checklist:
- Ventilate, Ventilate, Ventilate: Get some air moving. Open every hatch, port, and piece of canvas you can. If you're crammed into an engine compartment, get a blower running to pull any potential fumes out.
- Disconnect the Battery: This is a critical safety step. Seriously, do this first. Pulling the negative terminal off your battery kills any chance of a stray spark igniting fuel vapors.
- Get Your Tools Ready: Lay everything out so it's within easy reach. You'll want the new filter assembly, good hose clamps, the right thread sealant, a sharp hose cutter, wrenches, and a bunch of rags for the inevitable drip or two.
Step 1: Locate and Mount the Filter
Finding the right home for your new filter is key. You're looking for a spot that's easy to get to for future filter changes, isn't right next to a hot exhaust manifold, and is safe from being knocked around.
The filter needs to go between your fuel tank and the engine's primer bulb or fuel pump. Make sure it's mounted upright, with the arrows on the filter head pointing in the direction of fuel flow—that's from the tank to the engine. Go ahead and fasten the mounting bracket securely to a solid surface like a bulkhead or stringer.
Step 2: Cut the Fuel Line and Attach Fittings
This is where the real work starts. Don't worry, it's simpler than it looks.
- Cut the Line: Grab a sharp hose cutter and make one clean, square cut in the fuel line right where you plan to install the filter. Using a dull blade can crush the hose, which is a surefire way to get a bad seal later.
- Apply Sealant: Put a little bit of gasoline-resistant thread sealant on the male threads of your hose barb fittings. A word of caution: never use Teflon tape. Little pieces can shred off and end up clogging your carburetor or injectors.
- Install Fittings: Thread the fittings into the "IN" and "OUT" ports on the filter head. Here's a pro move: use two wrenches. One holds the filter head steady while the other tightens the fitting. This keeps you from accidentally cracking the housing.
Pro Tip: It's easy to go overboard and crack the filter head by over-tightening the fittings. Just snug them down firmly. The thread sealant is what really creates the leak-proof seal, not brute force.
Step 3: Connect Hoses and Prime the System
You're in the home stretch now. Slide your fuel hoses onto the matching "IN" and "OUT" barbs. For peace of mind, use two high-quality stainless steel hose clamps on each connection. This gives you redundancy and a solid, vibration-proof seal.
Before firing up the engine, you have to prime the system. A great trick is to pre-fill the new filter with clean gas before you spin it on. This makes priming way faster and saves your fuel pump from running dry.
Once the filter is screwed on hand-tight, start squeezing the primer bulb until it feels firm. This is pushing fuel through the filter and purging all the air out. Now, carefully check every single connection for leaks. If everything is dry, reconnect the battery, start the engine, and let it idle for a few minutes while you give all your connections one final leak check.
A Simple Maintenance and Replacement Routine
Putting in a new marine gas filter is a great move for protecting your engine, but it’s definitely not a "set it and forget it" kind of deal. A filter only works as long as you keep an eye on it. It’s a lot like changing the oil in your car—if you ignore it, you’re just asking for poor performance and, eventually, a serious breakdown.
A little proactive care goes a long way. Spending a few minutes on an inspection before each trip and sticking to a replacement schedule can be the difference between a great day on the water and a stalled engine that needs a costly tow.
The Pre-Trip Inspection Habit
Before you even think about casting off, make a quick visual check of your filter a non-negotiable part of your routine. It honestly takes less than a minute. If you have a filter with a clear collection bowl on the bottom, you’re looking for two main culprits:
- Water: Since water is heavier than gasoline, you'll see it as a distinct, separate layer right at the bottom of the bowl.
- Debris: Keep an eye out for any dark specks, rust flakes, or that slimy, gunky stuff that settles out from bad fuel.
Seeing a tiny bit of water or a few flecks of dirt is actually a good sign—it means the filter is doing its job! But if you see a noticeable amount of either, you’ll want to drain that bowl before firing up the engine.
Draining the bowl is simple. Make sure the engine is off, place a small container under the filter, and then open the drain plug (or petcock) at the very bottom. Let all the water and gunk drain out, then snug the plug back up securely.
Knowing When to Replace the Filter Element
Even if you’re great about draining the bowl, the filter media inside will eventually get clogged with all the microscopic junk you can't see. The trick is to replace it before it gets so plugged up that it starts choking off the fuel supply.
A classic sign of a clogged filter is an engine that just doesn't run right, especially when you push the throttle. If your engine starts to sputter, hesitate, or feels like it's losing power when you try to get on plane, a clogged marine fuel filter is one of the very first things you should check.
But don’t wait for performance problems to show up. The best approach is to replace your filter element once a year or after every 100 hours of use, whichever comes first. Just make it a standard part of your end-of-season winterization or your spring commissioning checklist.
A Step-by-Step Guide to Changing the Filter
When it's time for a fresh filter, following these steps will help you get it done cleanly and without any leaks.
- Prepare for Spills: Stuff plenty of absorbent rags or a proper oil pad under the old filter. A little fuel is bound to drip out.
- Remove the Old Filter: Use a filter wrench to get the old canister or bowl moving. Turn it counter-clockwise, then lower it down carefully, trying to keep it upright to avoid a bigger mess.
- Clean the Mounting Surface: Wipe down the sealing surface on the filter head. Critically, make sure the old gasket didn't get left behind and stuck to the head.
- Lubricate the New Gasket: This is a step you can't skip. Dip a finger in some clean engine oil or grease and run a thin film over the rubber gasket on the new filter. This helps it seat perfectly and keeps the gasket from bunching up or tearing.
- Install the New Filter: Spin the new filter on by hand until you feel the gasket make contact with the filter head. From there, tighten it another one-half to three-quarters of a turn with your hands. That's it. Don't be tempted to use a wrench to tighten it.
Once the new filter is on, squeeze the primer bulb until it's firm, then start the engine. The last thing to do is lean in and check carefully for any signs of fuel leaking around the new seal. To get the most out of your maintenance routine, it's a great idea to start maintaining detailed equipment logs to track when you change parts like this.
Common Questions About Marine Gas Filters
Even with the basics down, it’s completely normal to have some questions pop up. Boating is full of little details, and when it’s about something as critical as your fuel system, you want to get it right. Let’s tackle some of the most common questions boaters have about their gas filters.
Think of this as your go-to guide for those nagging "what if" scenarios. We've gathered the questions we hear all the time to give you clear, straightforward answers. The goal is to clear up any confusion so you can feel confident you’re protecting your engine the right way.
What Makes a Marine Gas Filter Different From a Car Filter?
This is probably the single most important question we get, and for good reason. From a distance, they might look alike, but putting a regular car fuel filter on your boat is a terrible idea. They are built for completely different environments.
A car's filter has one job: screen out solid junk like dirt and rust from the gasoline. And it does that job just fine. But your car’s fuel system is a closed loop, sheltered from the constant, aggressive moisture you find on a boat.
A marine gas filter, however, is a two-in-one protector. Its main job isn’t just filtering solids—it’s also a powerful fuel-water separator.
The real magic is in how it handles water. A marine filter uses special hydrophobic media that makes water molecules bead up and drop right out of the fuel. This water collects in a clear bowl at the bottom of the filter, where you can easily drain it away.
This is absolutely essential on a boat. Water is always trying to get into your fuel, whether from condensation building up inside the tank or from a dodgy pump at the fuel dock. Water in your fuel system leads to rough running, rust inside your engine, and can even cause a complete stall—which is a whole lot scarier on the water than on the highway.
On top of that, marine filters are built from corrosion-resistant materials to survive the salty air that would eat a standard automotive filter for lunch.
How Do I Pick the Right Micron Rating?
Choosing a micron rating sounds more complicated than it is. The rating simply tells you how big the particles are that the filter can catch. The right one for you comes down to what your engine manufacturer recommends.
Think of it like choosing the right net. You need one with holes small enough to catch what you’re after, but not so fine that it gets clogged with every little piece of seaweed.
For gasoline engines, it usually breaks down like this:
- 10-Micron Filter: This is the workhorse and the right choice for the vast majority of gasoline outboards and inboards. A 10-micron filter hits the sweet spot, stopping almost all harmful water droplets and particles without choking off fuel flow. For most recreational boats, this is the one you want.
- 2-Micron Filter: This offers the finest filtration possible. You’ll typically see 2-micron filters used as a secondary, final-stage filter on modern, high-performance engines with super-sensitive fuel injectors. Using one as your only filter on an older boat might cause it to clog up too quickly.
- 30-Micron Filter: This is more common as a primary filter on diesel engines, which often use a two-filter system. It acts as the first line of defense, grabbing the bigger stuff before the fuel moves on to a finer secondary filter.
When in doubt, always check your engine’s owner's manual. The people who built your engine know exactly what it needs to run well for a long, long time.
Can I Clean and Reuse a Filter Element?
Let me make this crystal clear: No. Never.
You should never, ever try to clean and reuse a spin-on or cartridge-style filter element. I know it seems like an easy way to save a few bucks, but it’s a huge gamble that could end up costing you an entire engine.
That filter material is a complex maze of fibers designed to trap tiny particles deep inside. Blasting it with compressed air or soaking it in solvents will just rip those fibers, creating tiny holes for gunk to get through. Even worse, you could dislodge a big chunk of trapped debris and send it directly into your fuel pump or injectors.
A new filter element usually costs between $15 and $75. It’s a tiny price to pay for peace of mind. Compare that to the thousands of dollars you could spend on engine repairs, and it's a no-brainer. Always toss the old element and spin on a fresh one.
What If I See a Lot of Water in the Filter Bowl?
Seeing a little bit of water in the collection bowl is a good thing! It means the filter is doing its job perfectly. But if you check the bowl and find it’s filling up fast between trips, that’s a red flag.
First, drain the bowl right away so the water doesn’t get pushed through to the engine. Next, you have to play detective to figure out where all that water is coming from.
The usual suspects are:
- Bad Fuel: You might have gotten a bad batch of fuel from the marina.
- Leaky Deck Fill: A cracked or worn-out O-ring on your fuel cap is a common way for rain and washdown water to sneak in.
- Major Condensation: Storing your boat for long periods with a half-empty tank gives water vapor plenty of room to condense on the tank walls.
If you drain the bowl and it quickly fills up again with water, your main fuel tank is likely heavily contaminated. The best move at that point is to have the tank professionally pumped out and cleaned. Ignoring a serious water problem is just asking for constant filter clogs and, eventually, major engine damage.
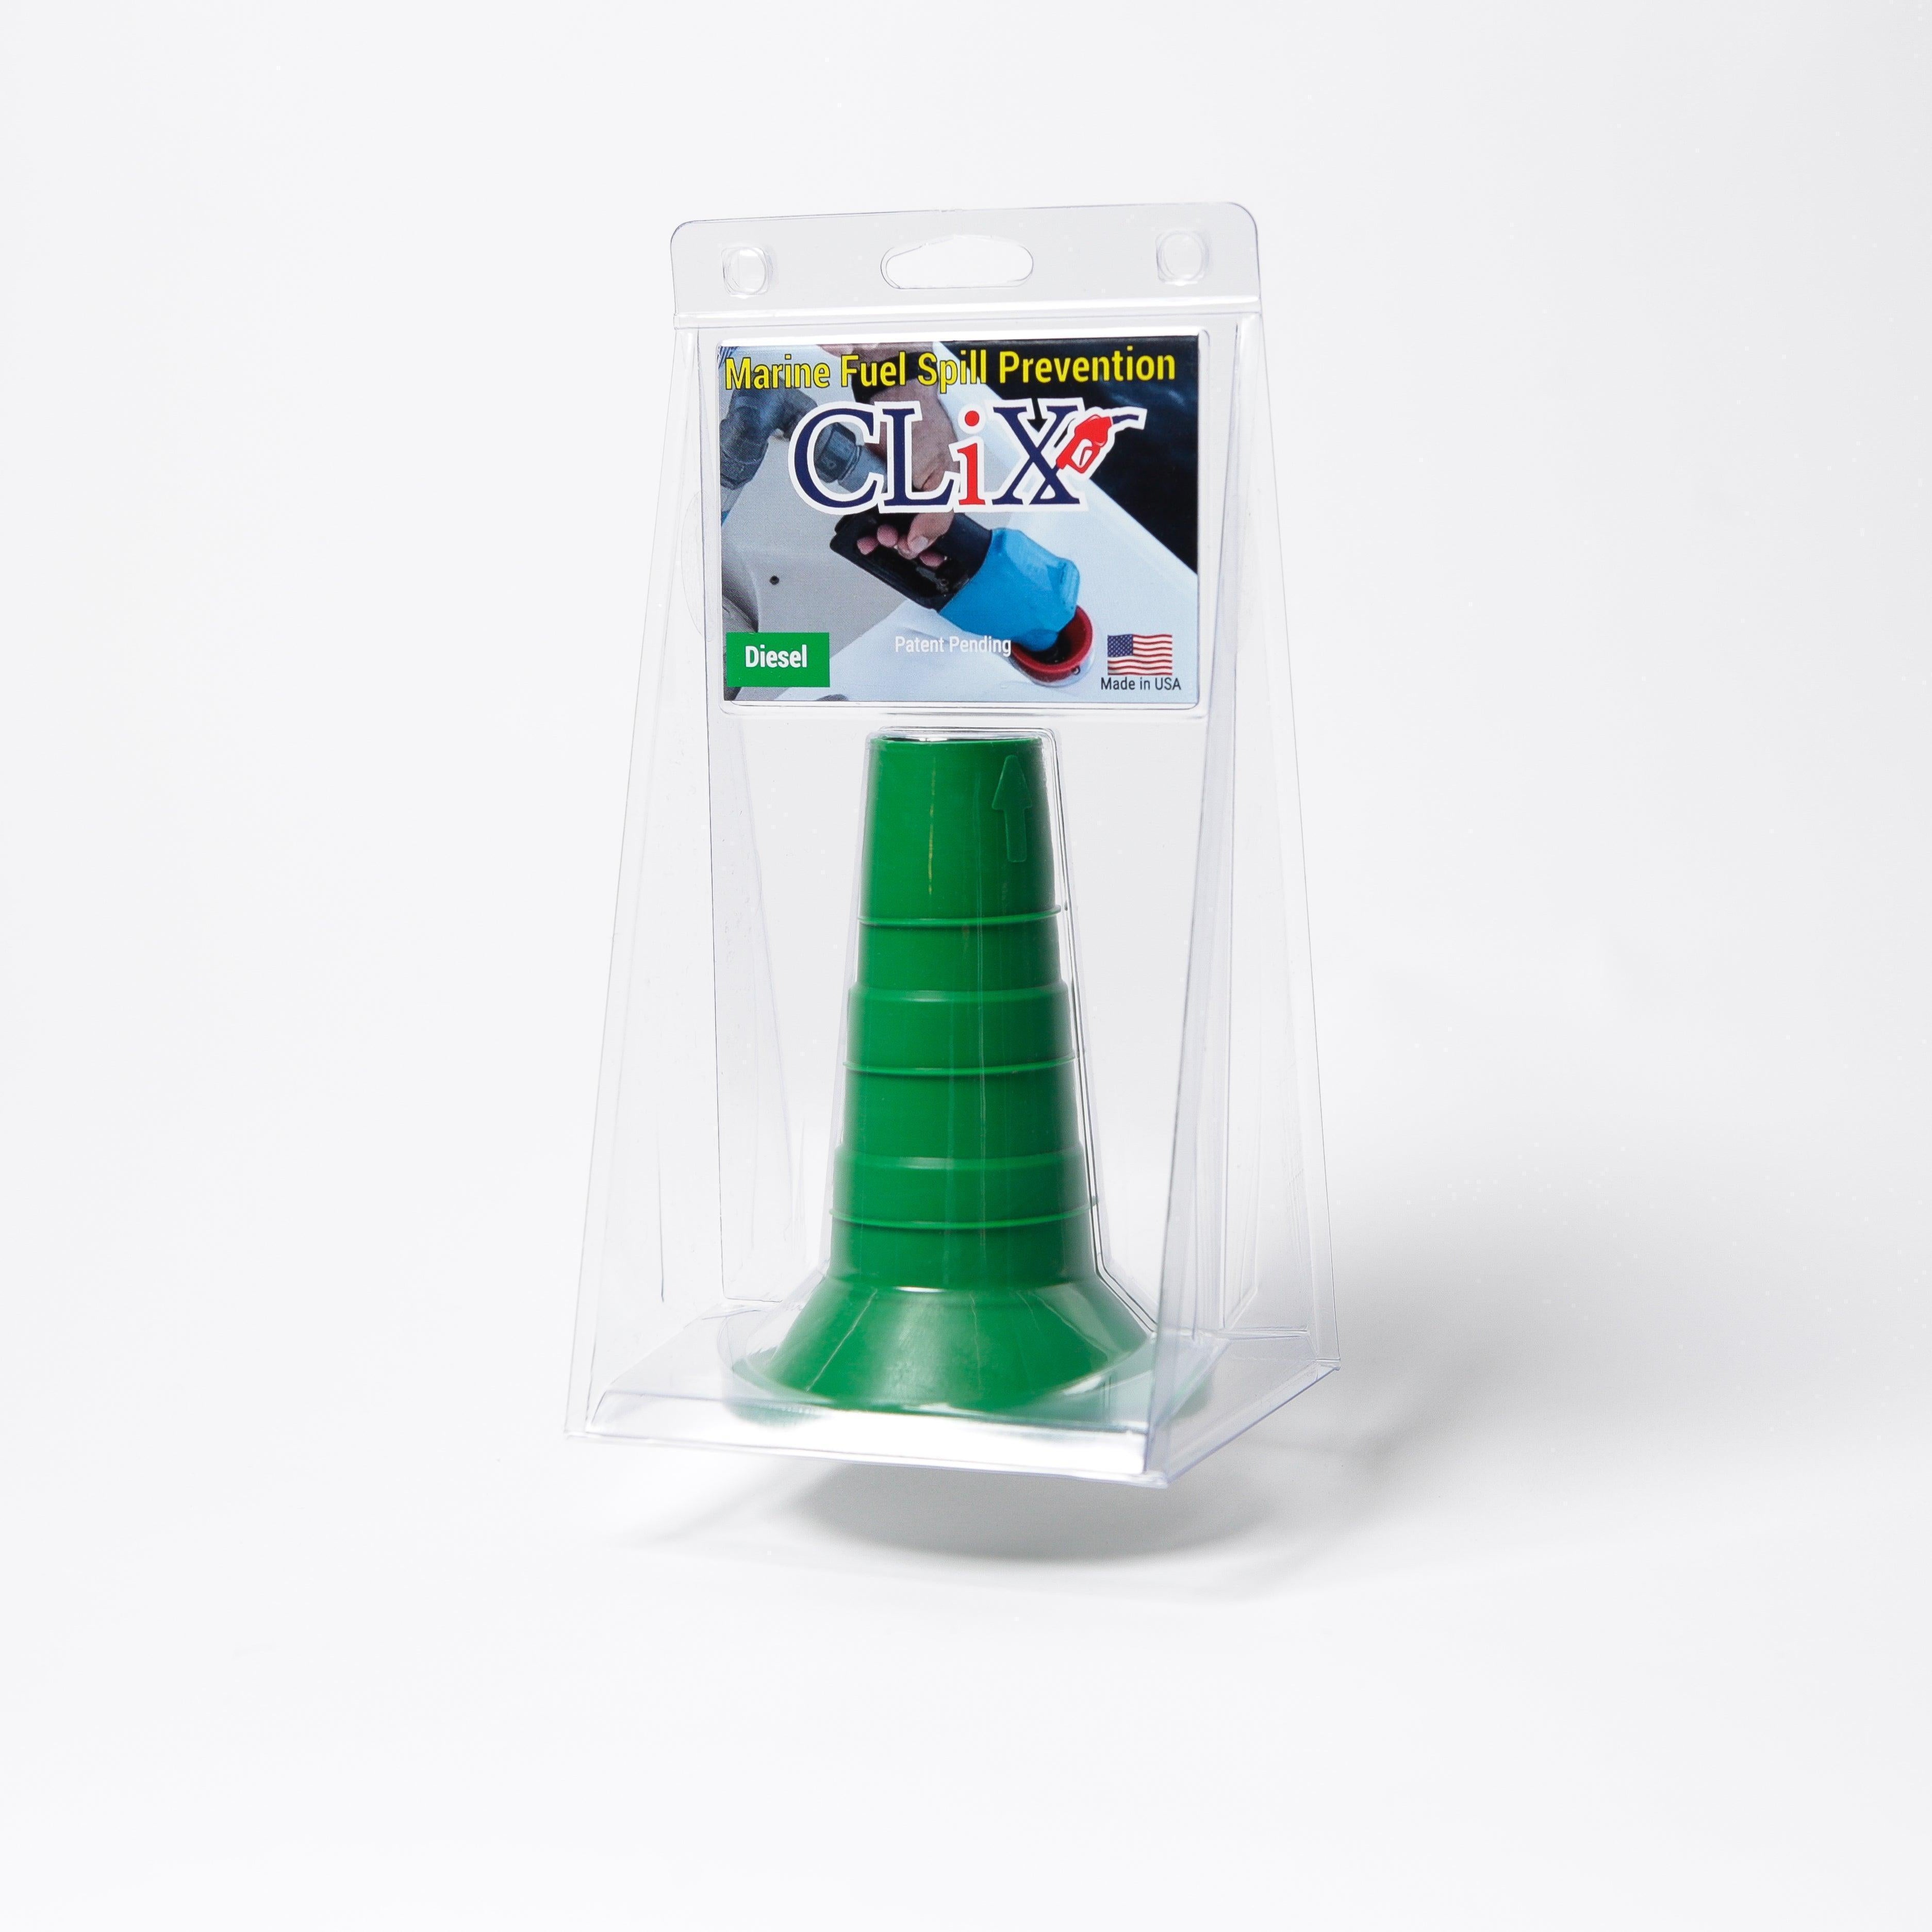
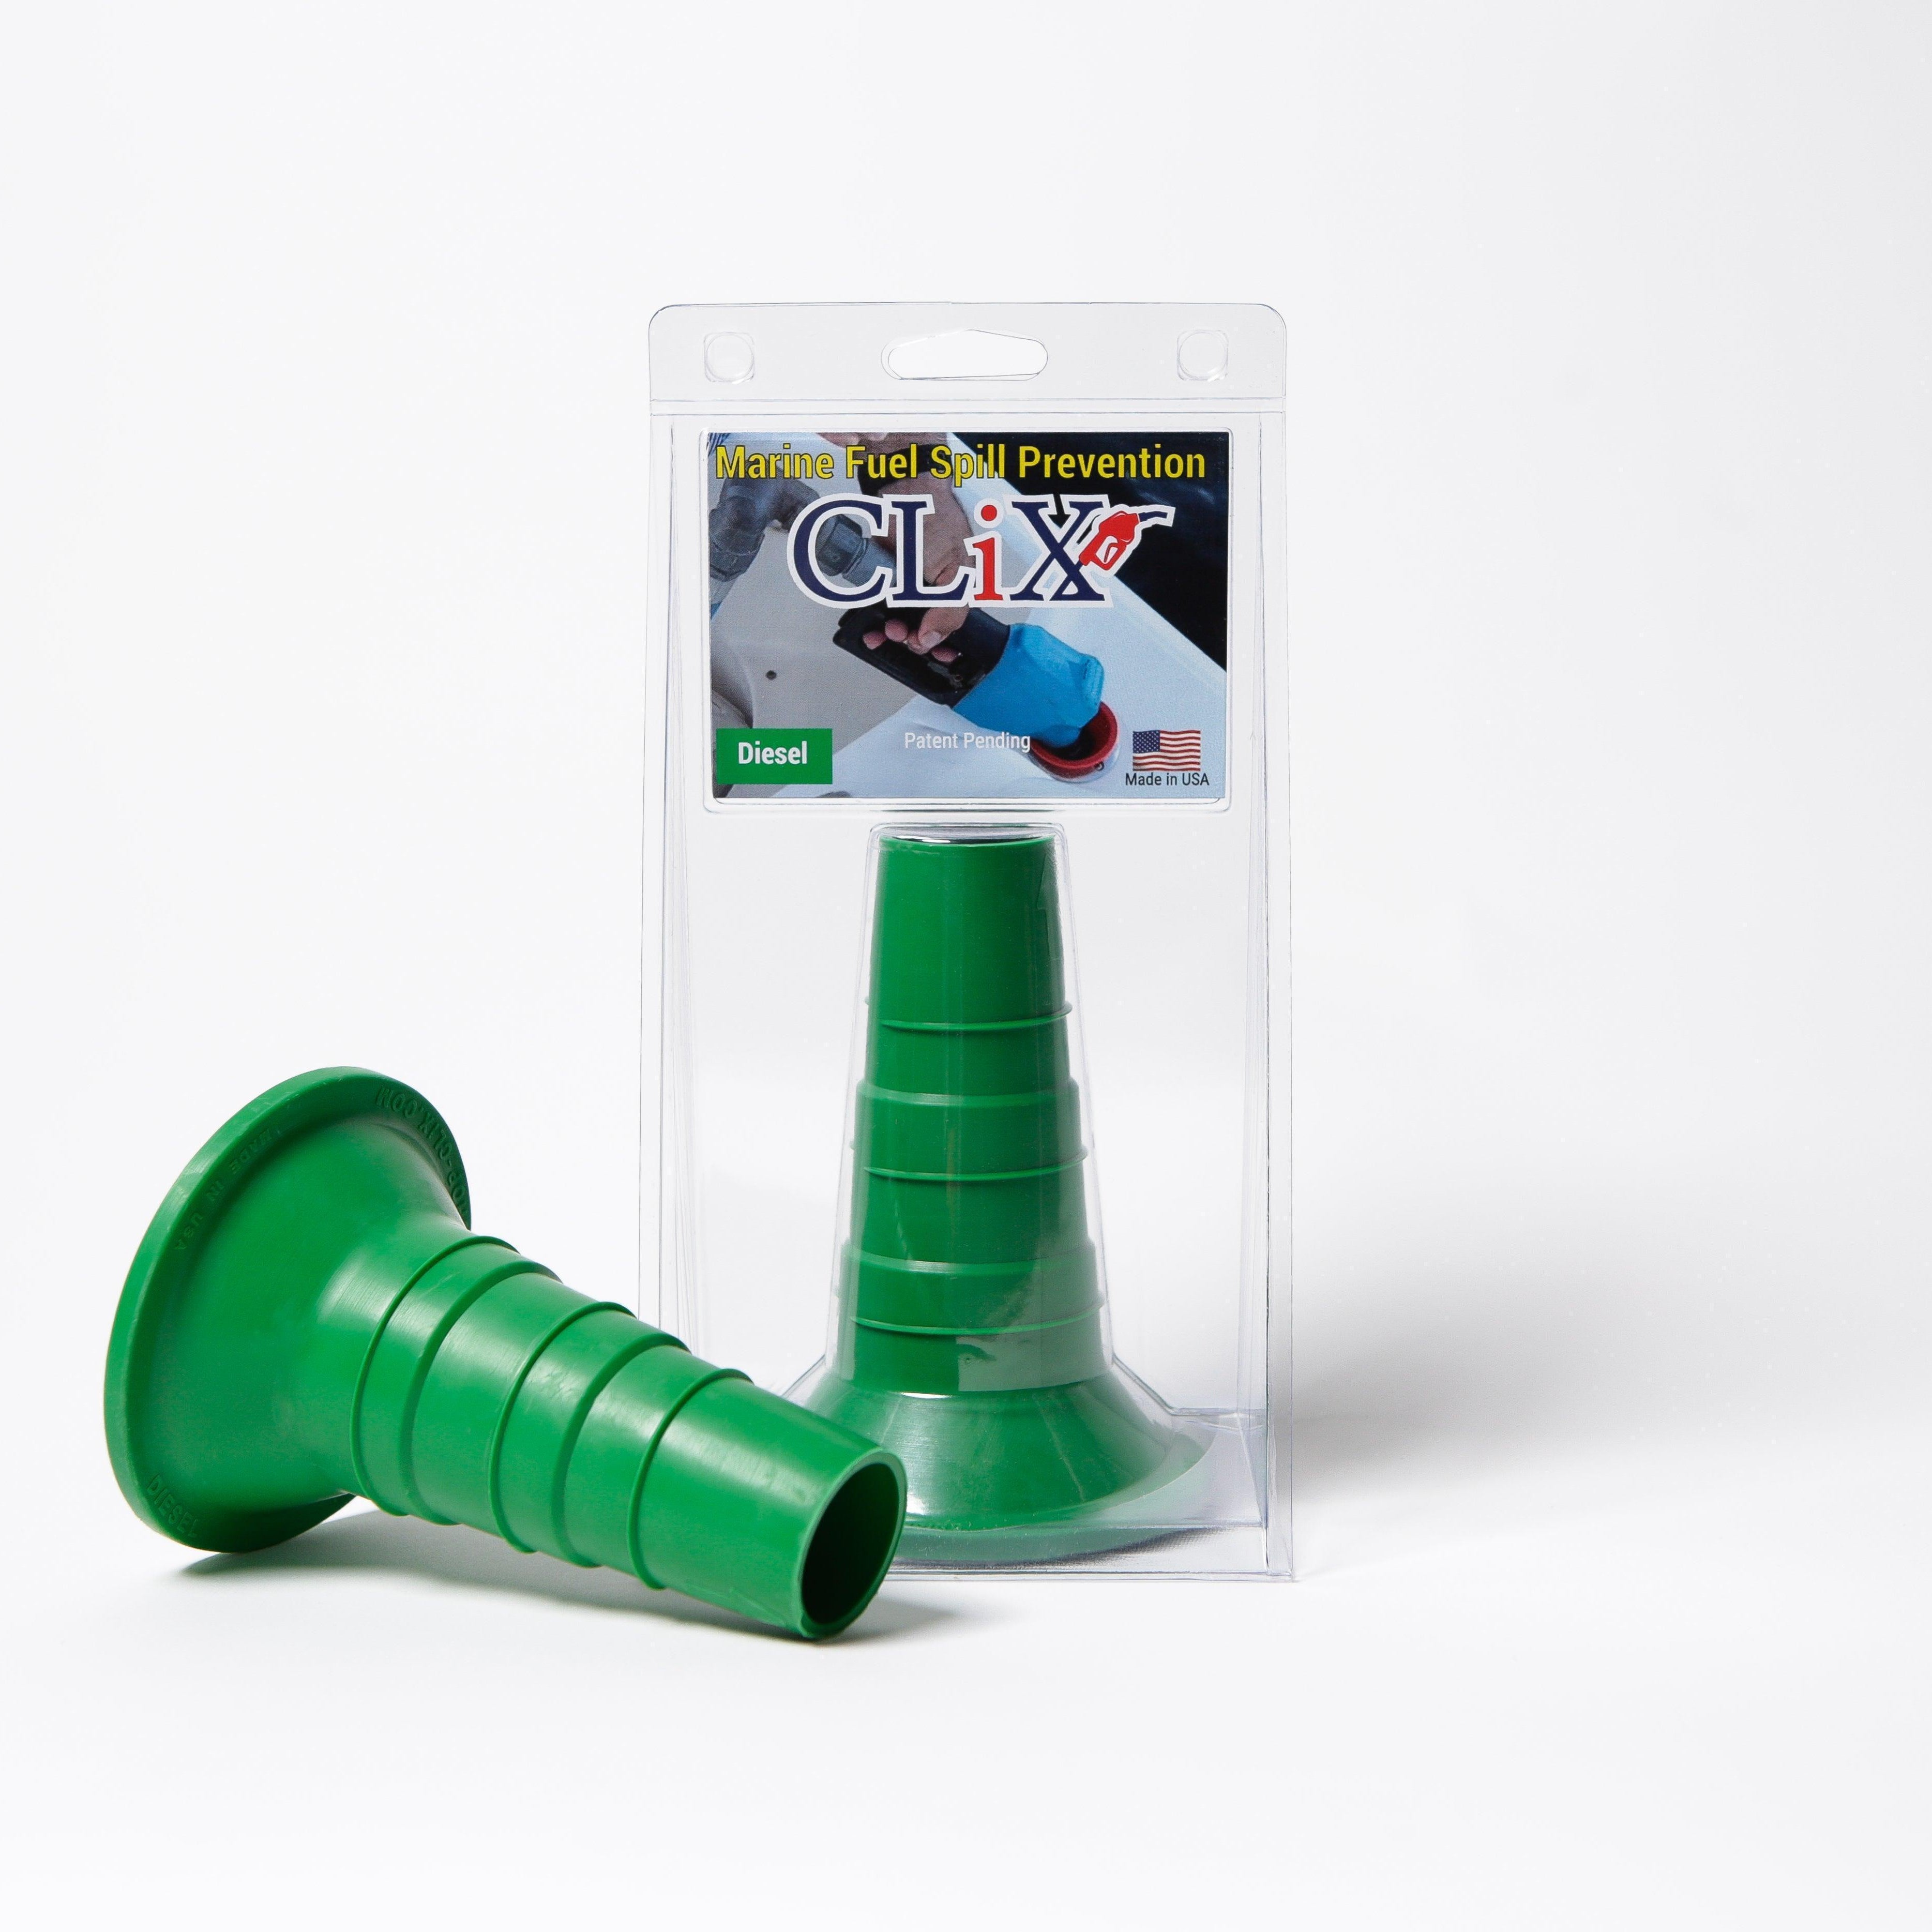
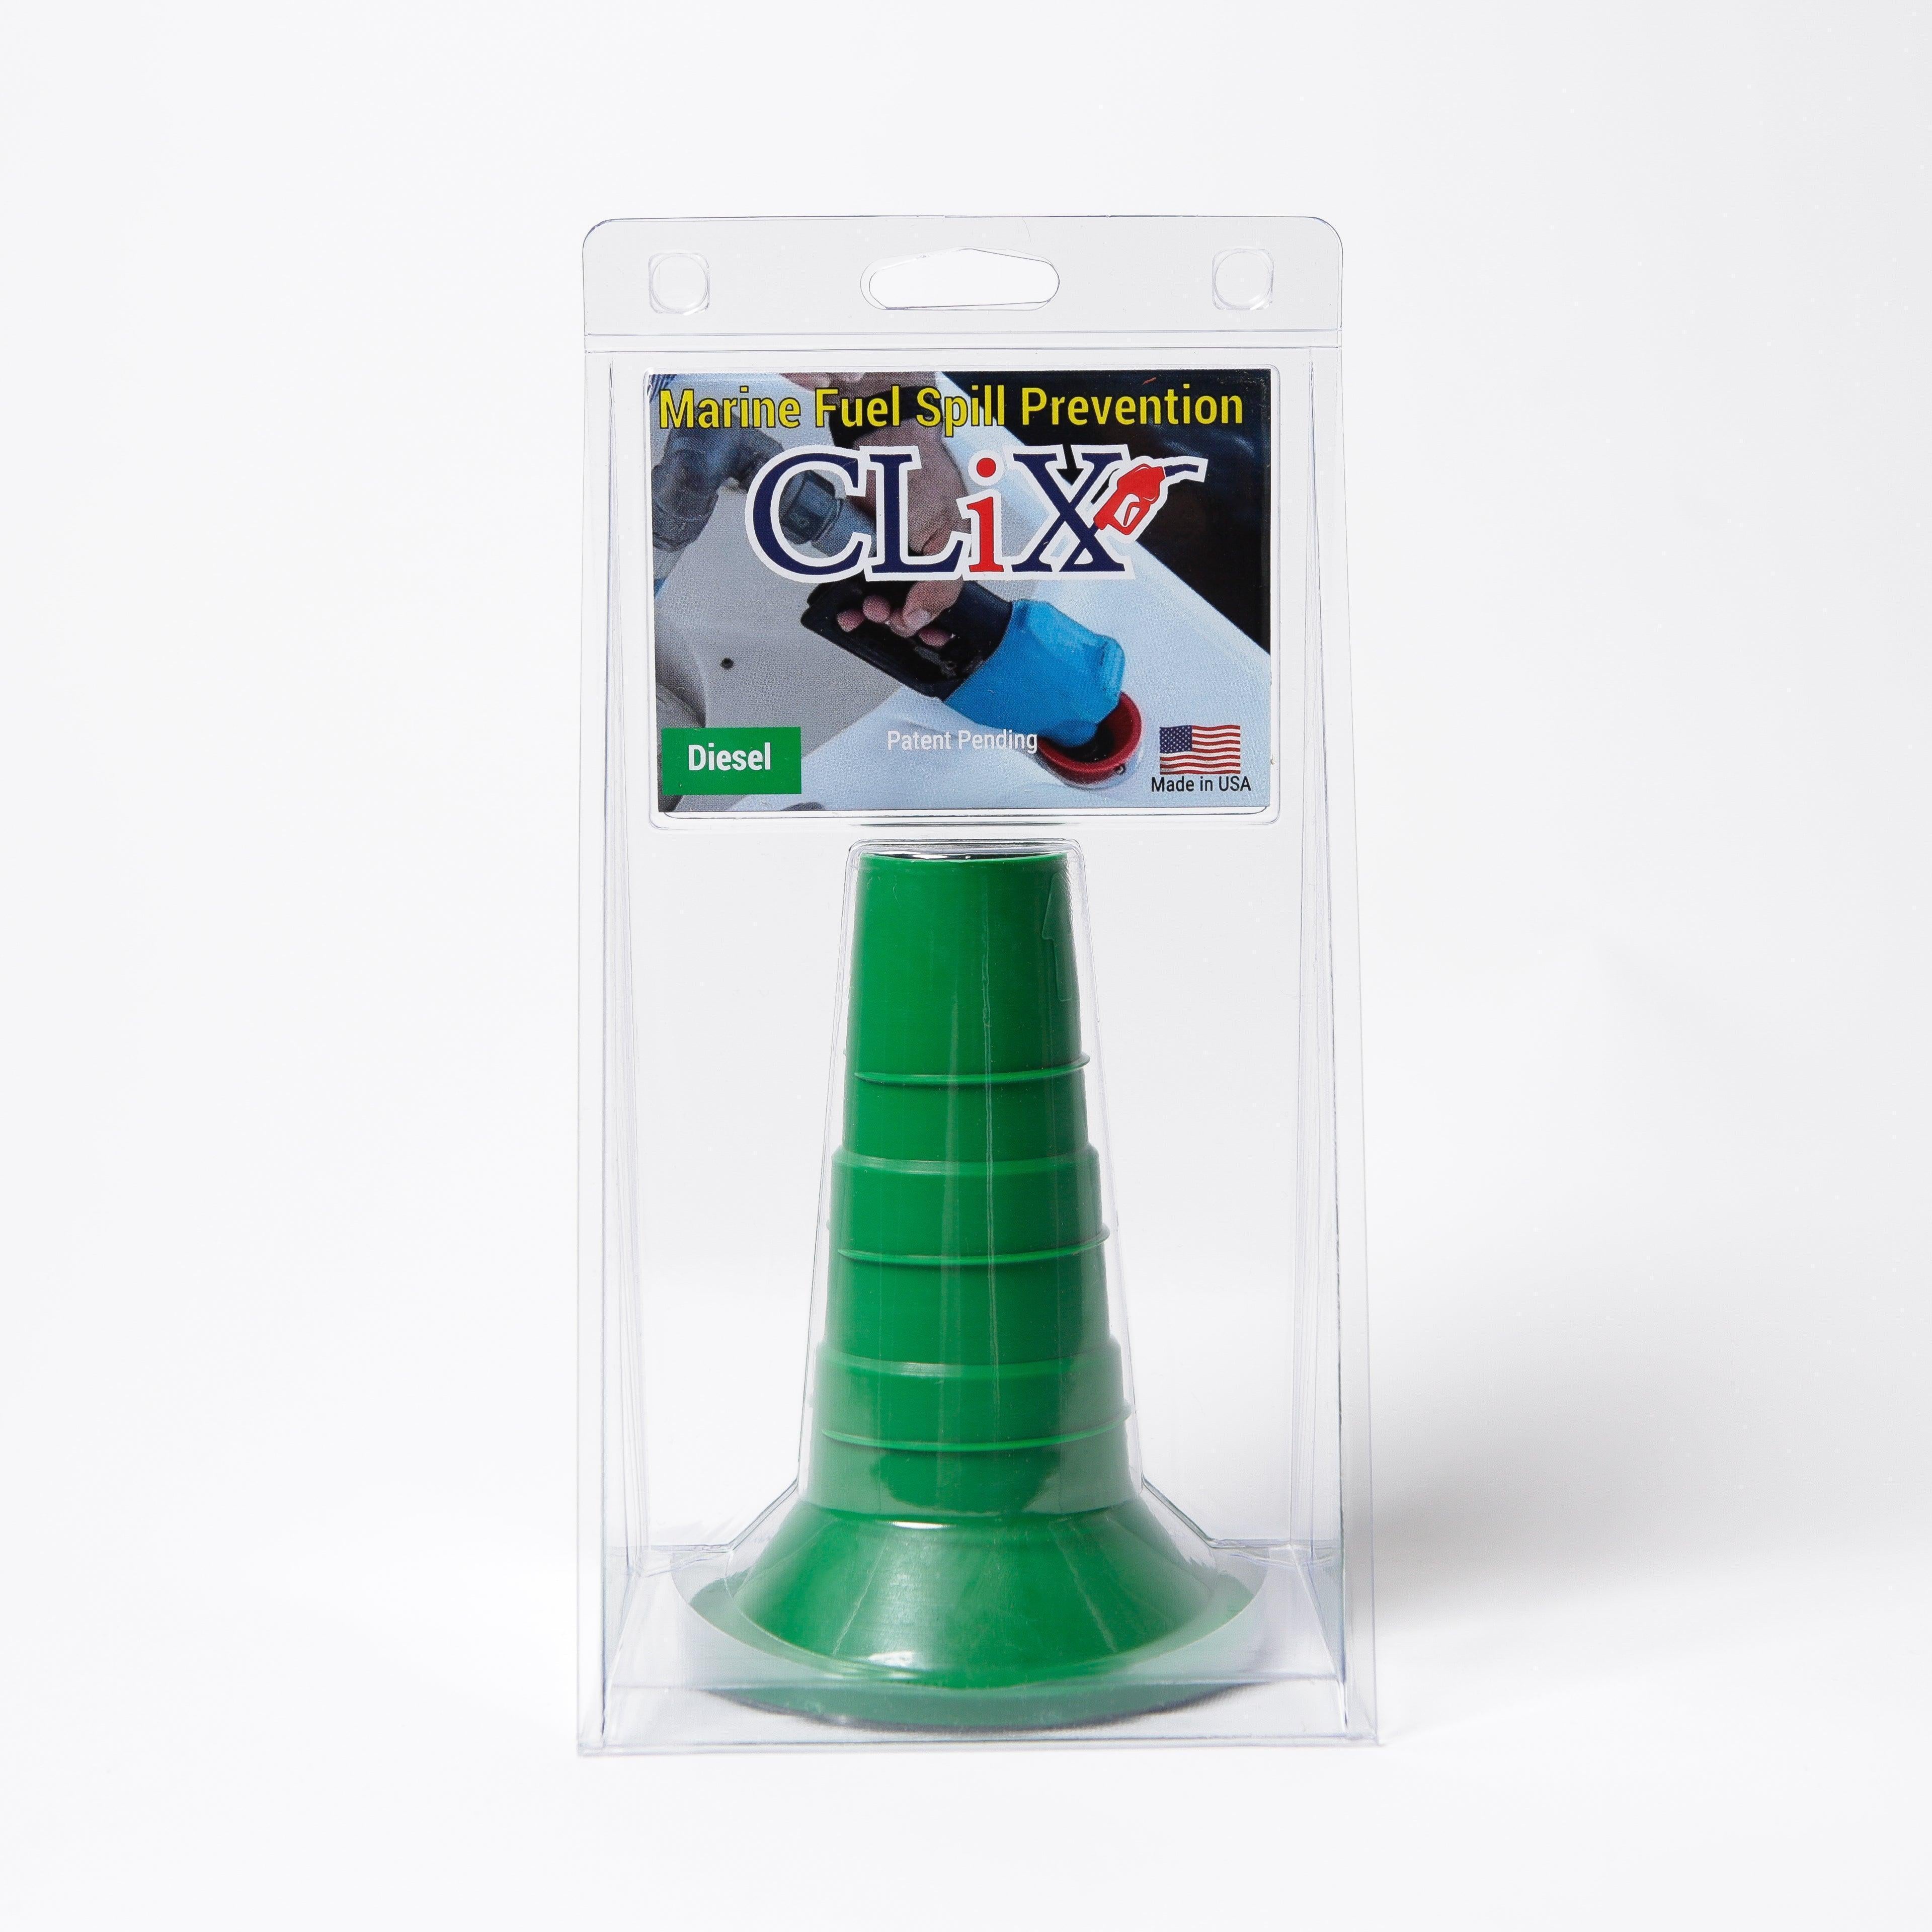
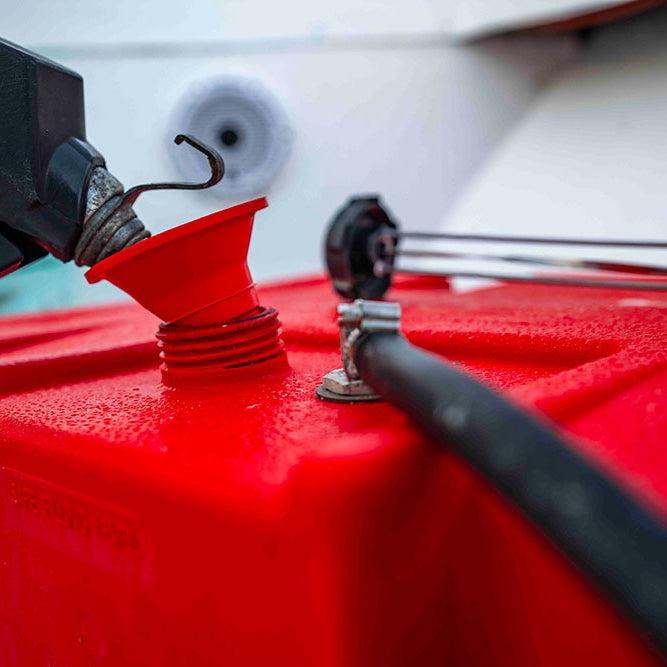
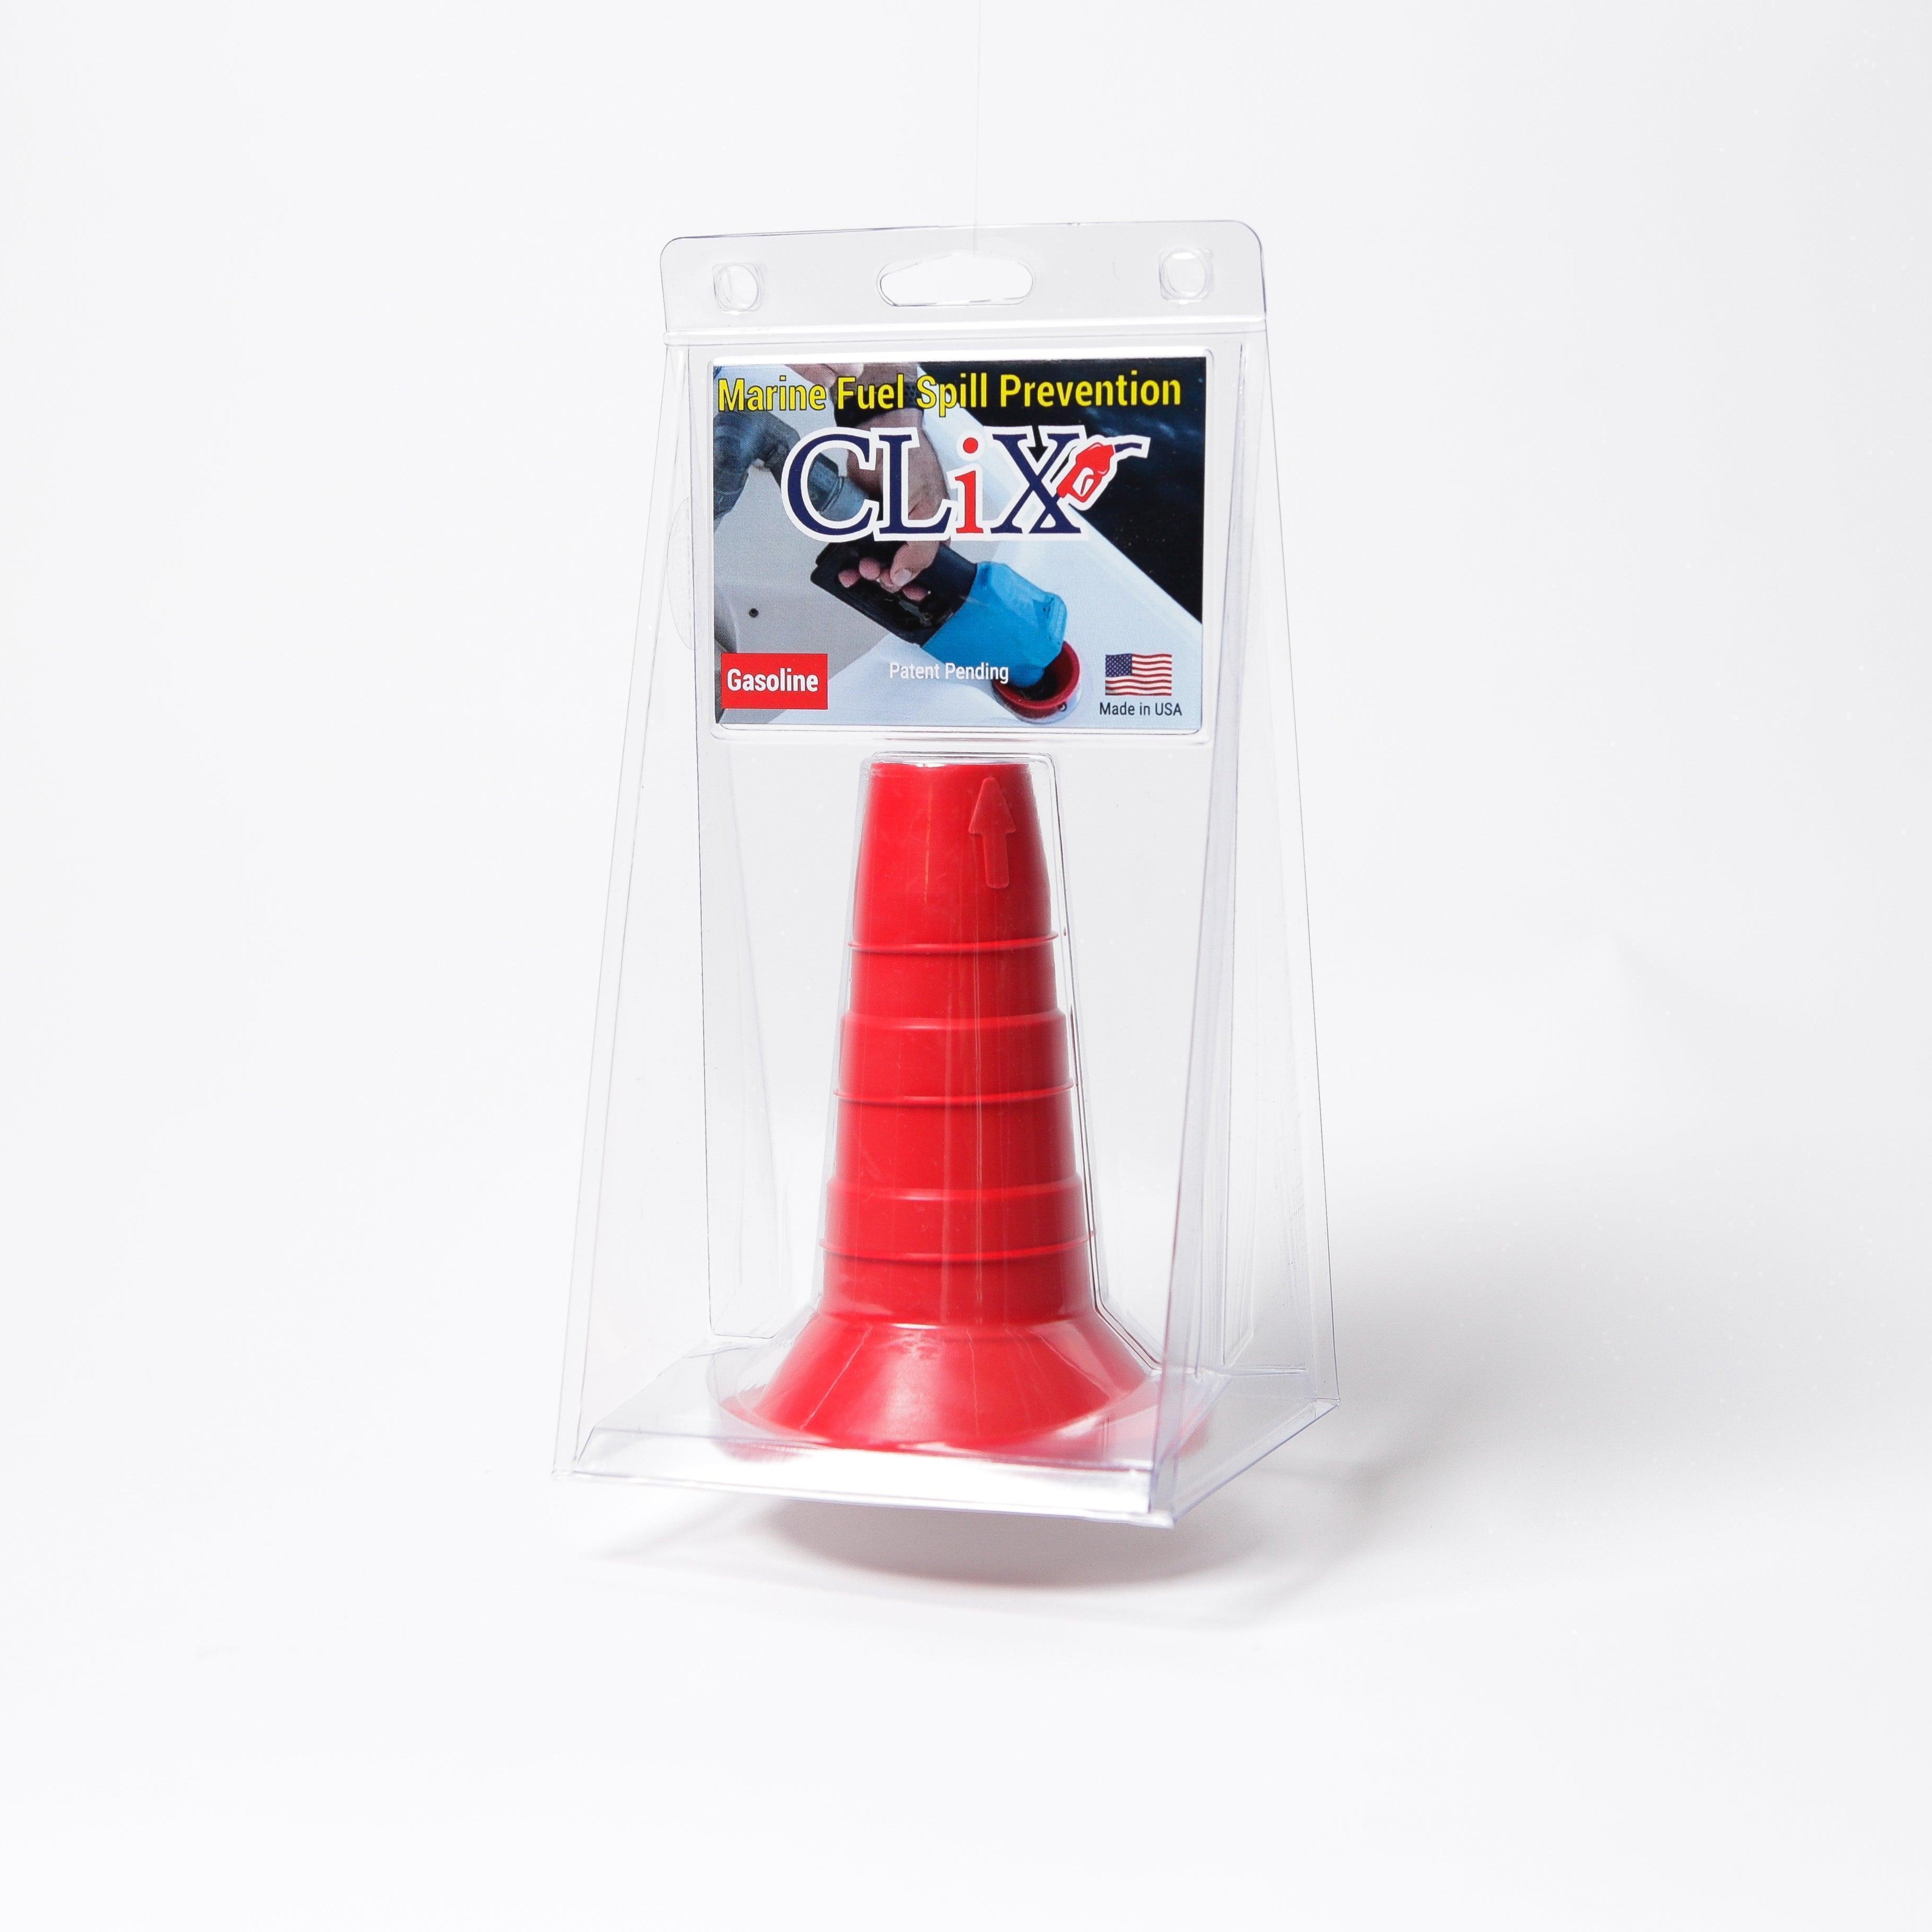
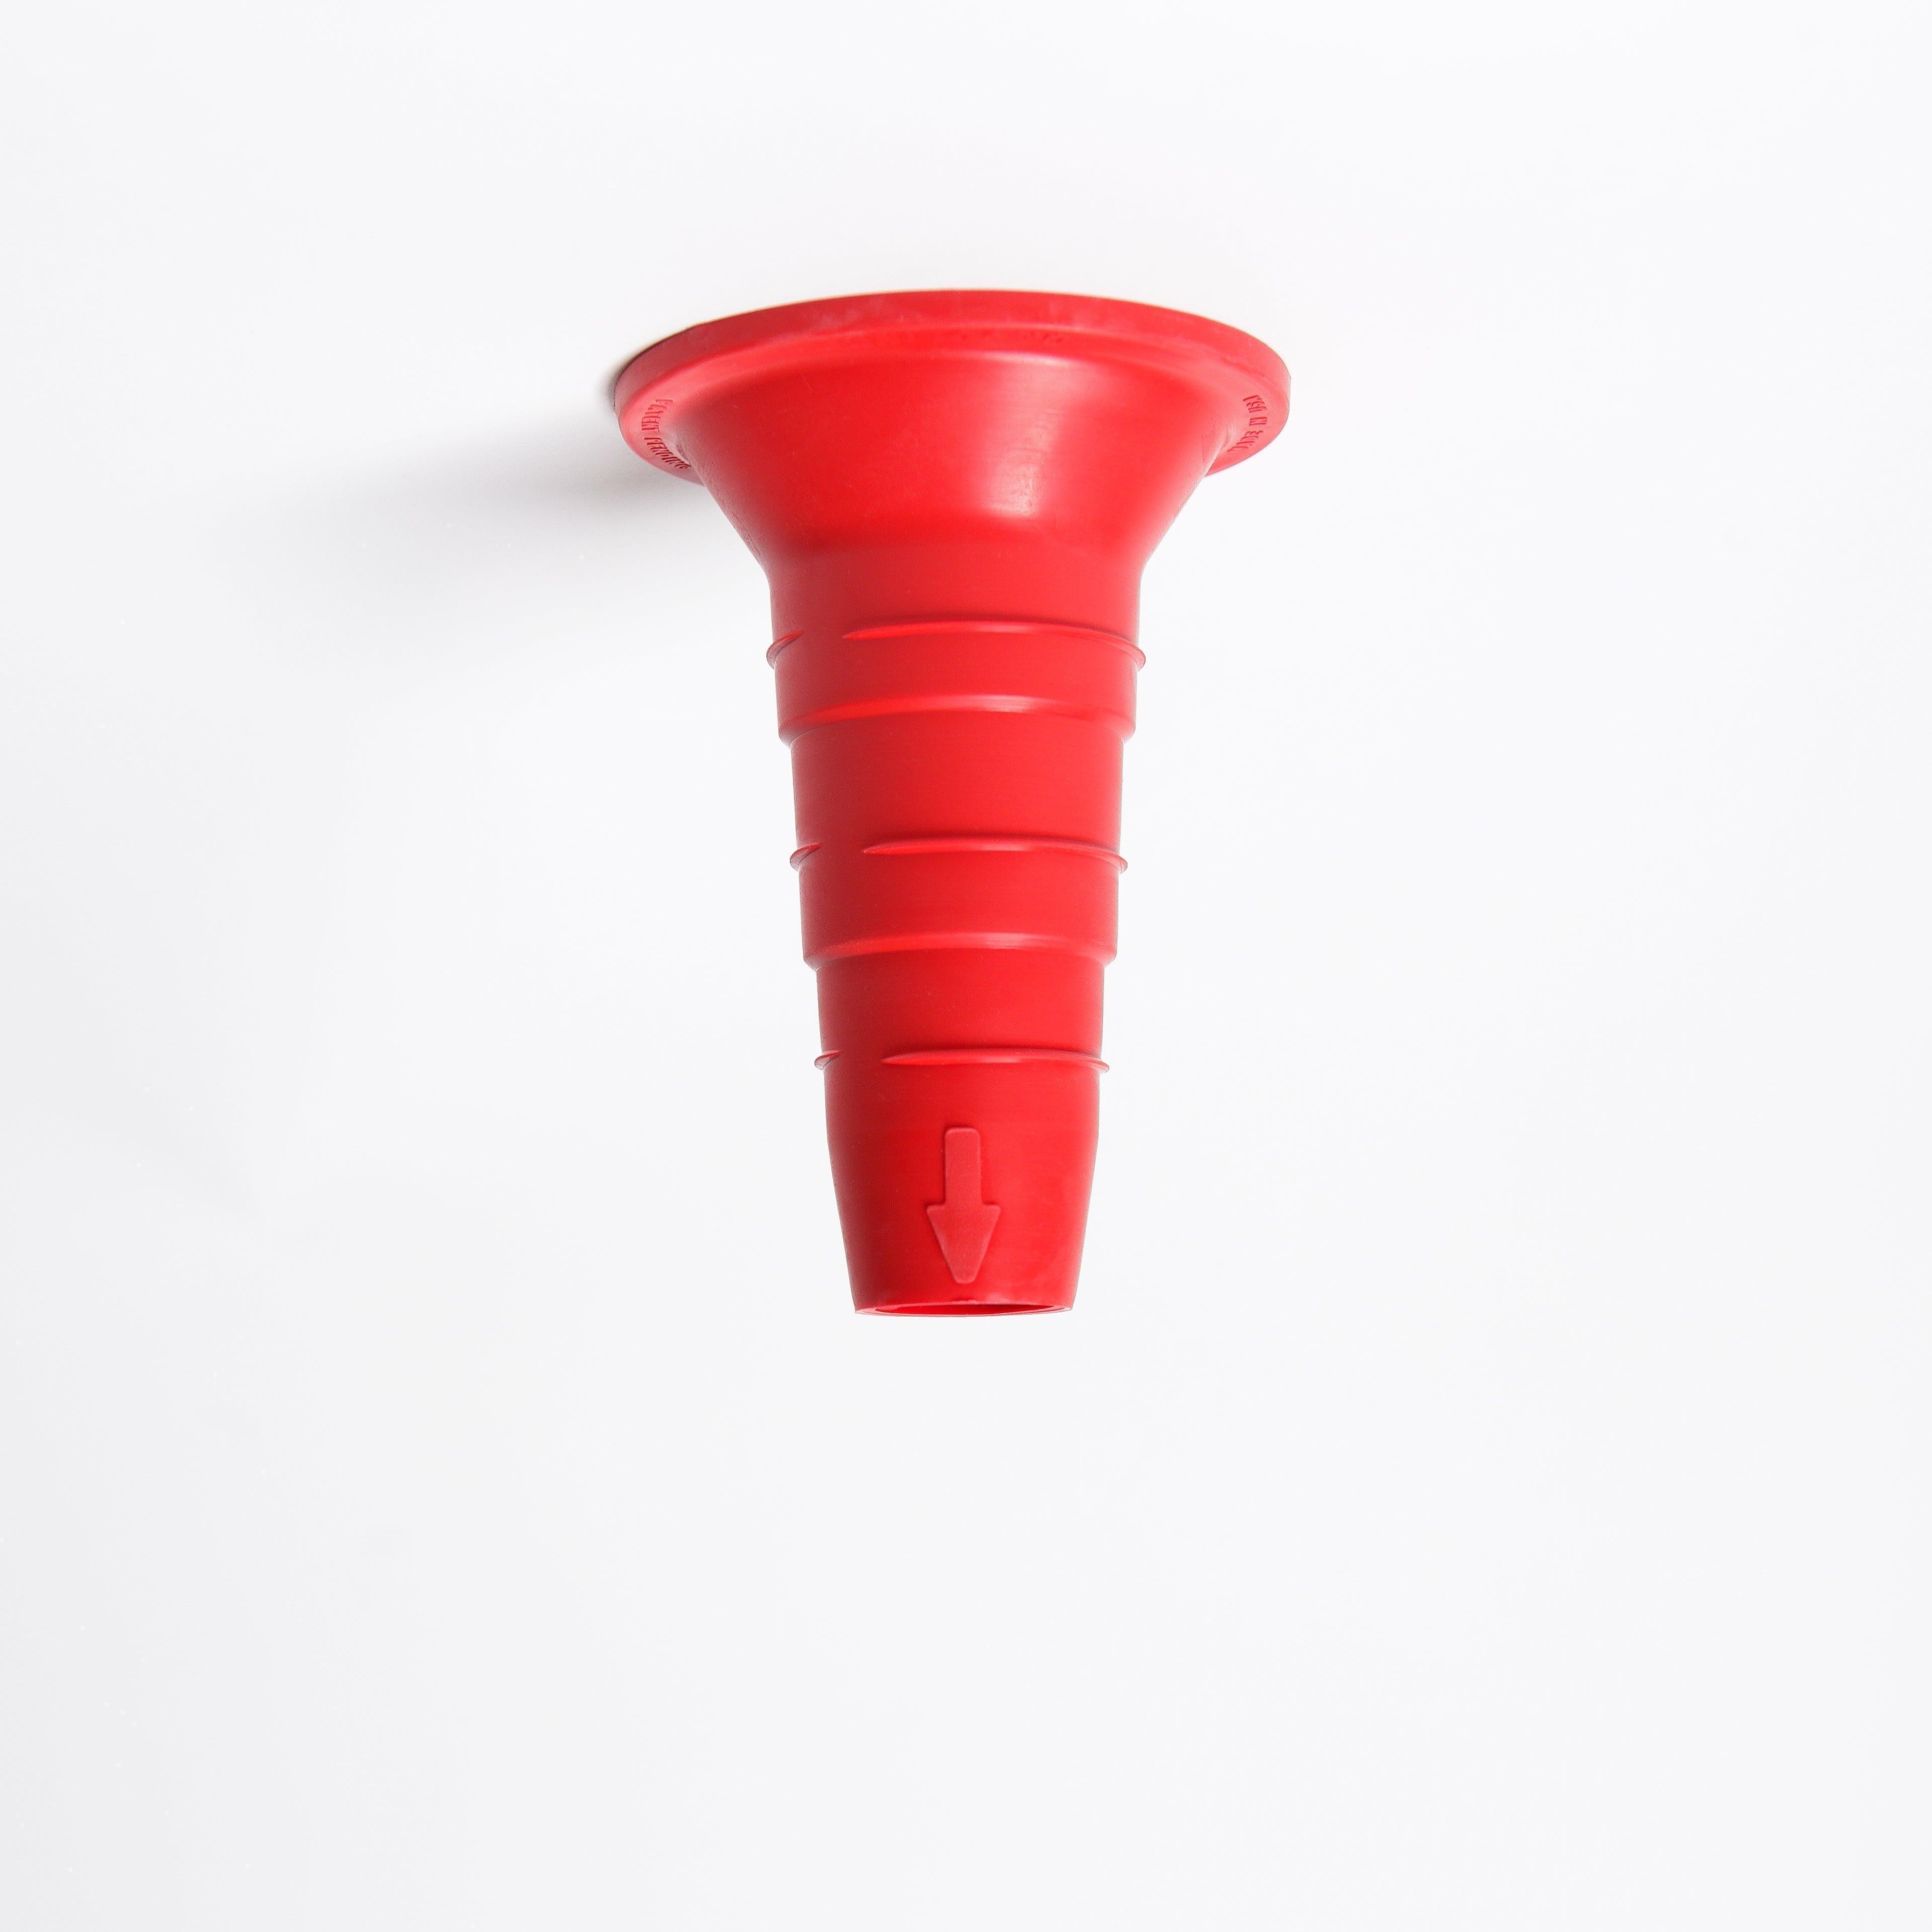
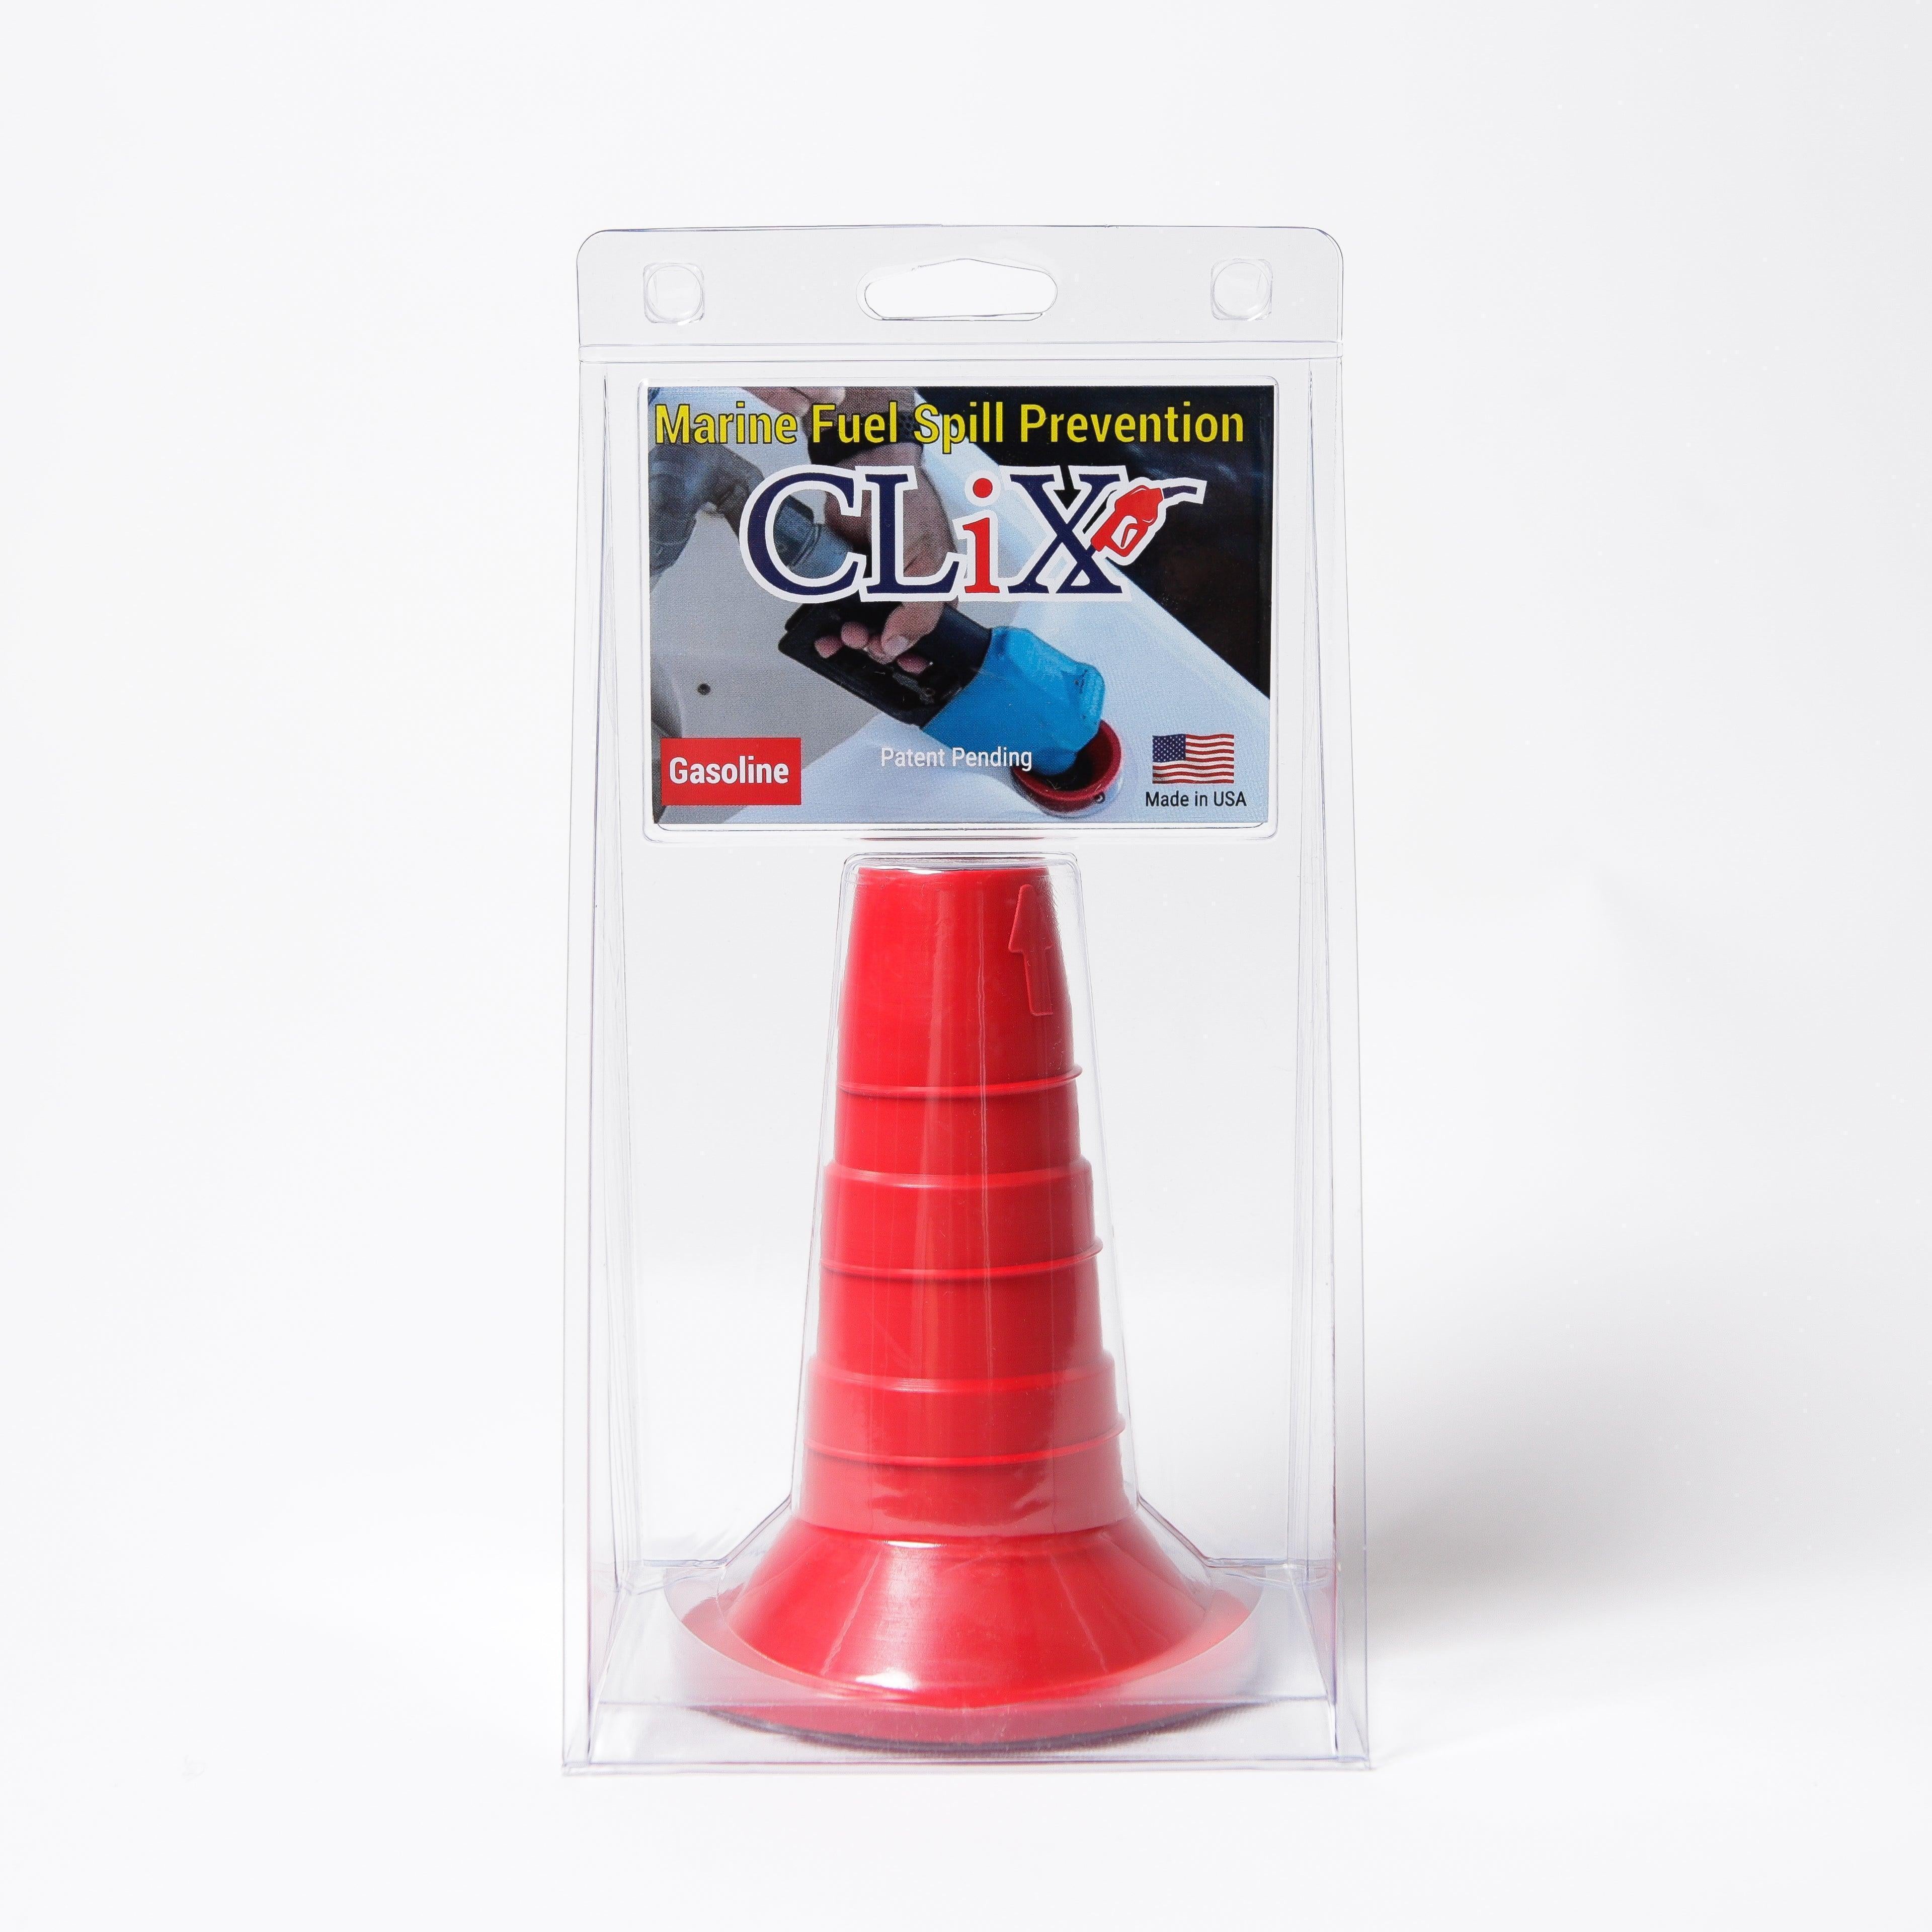
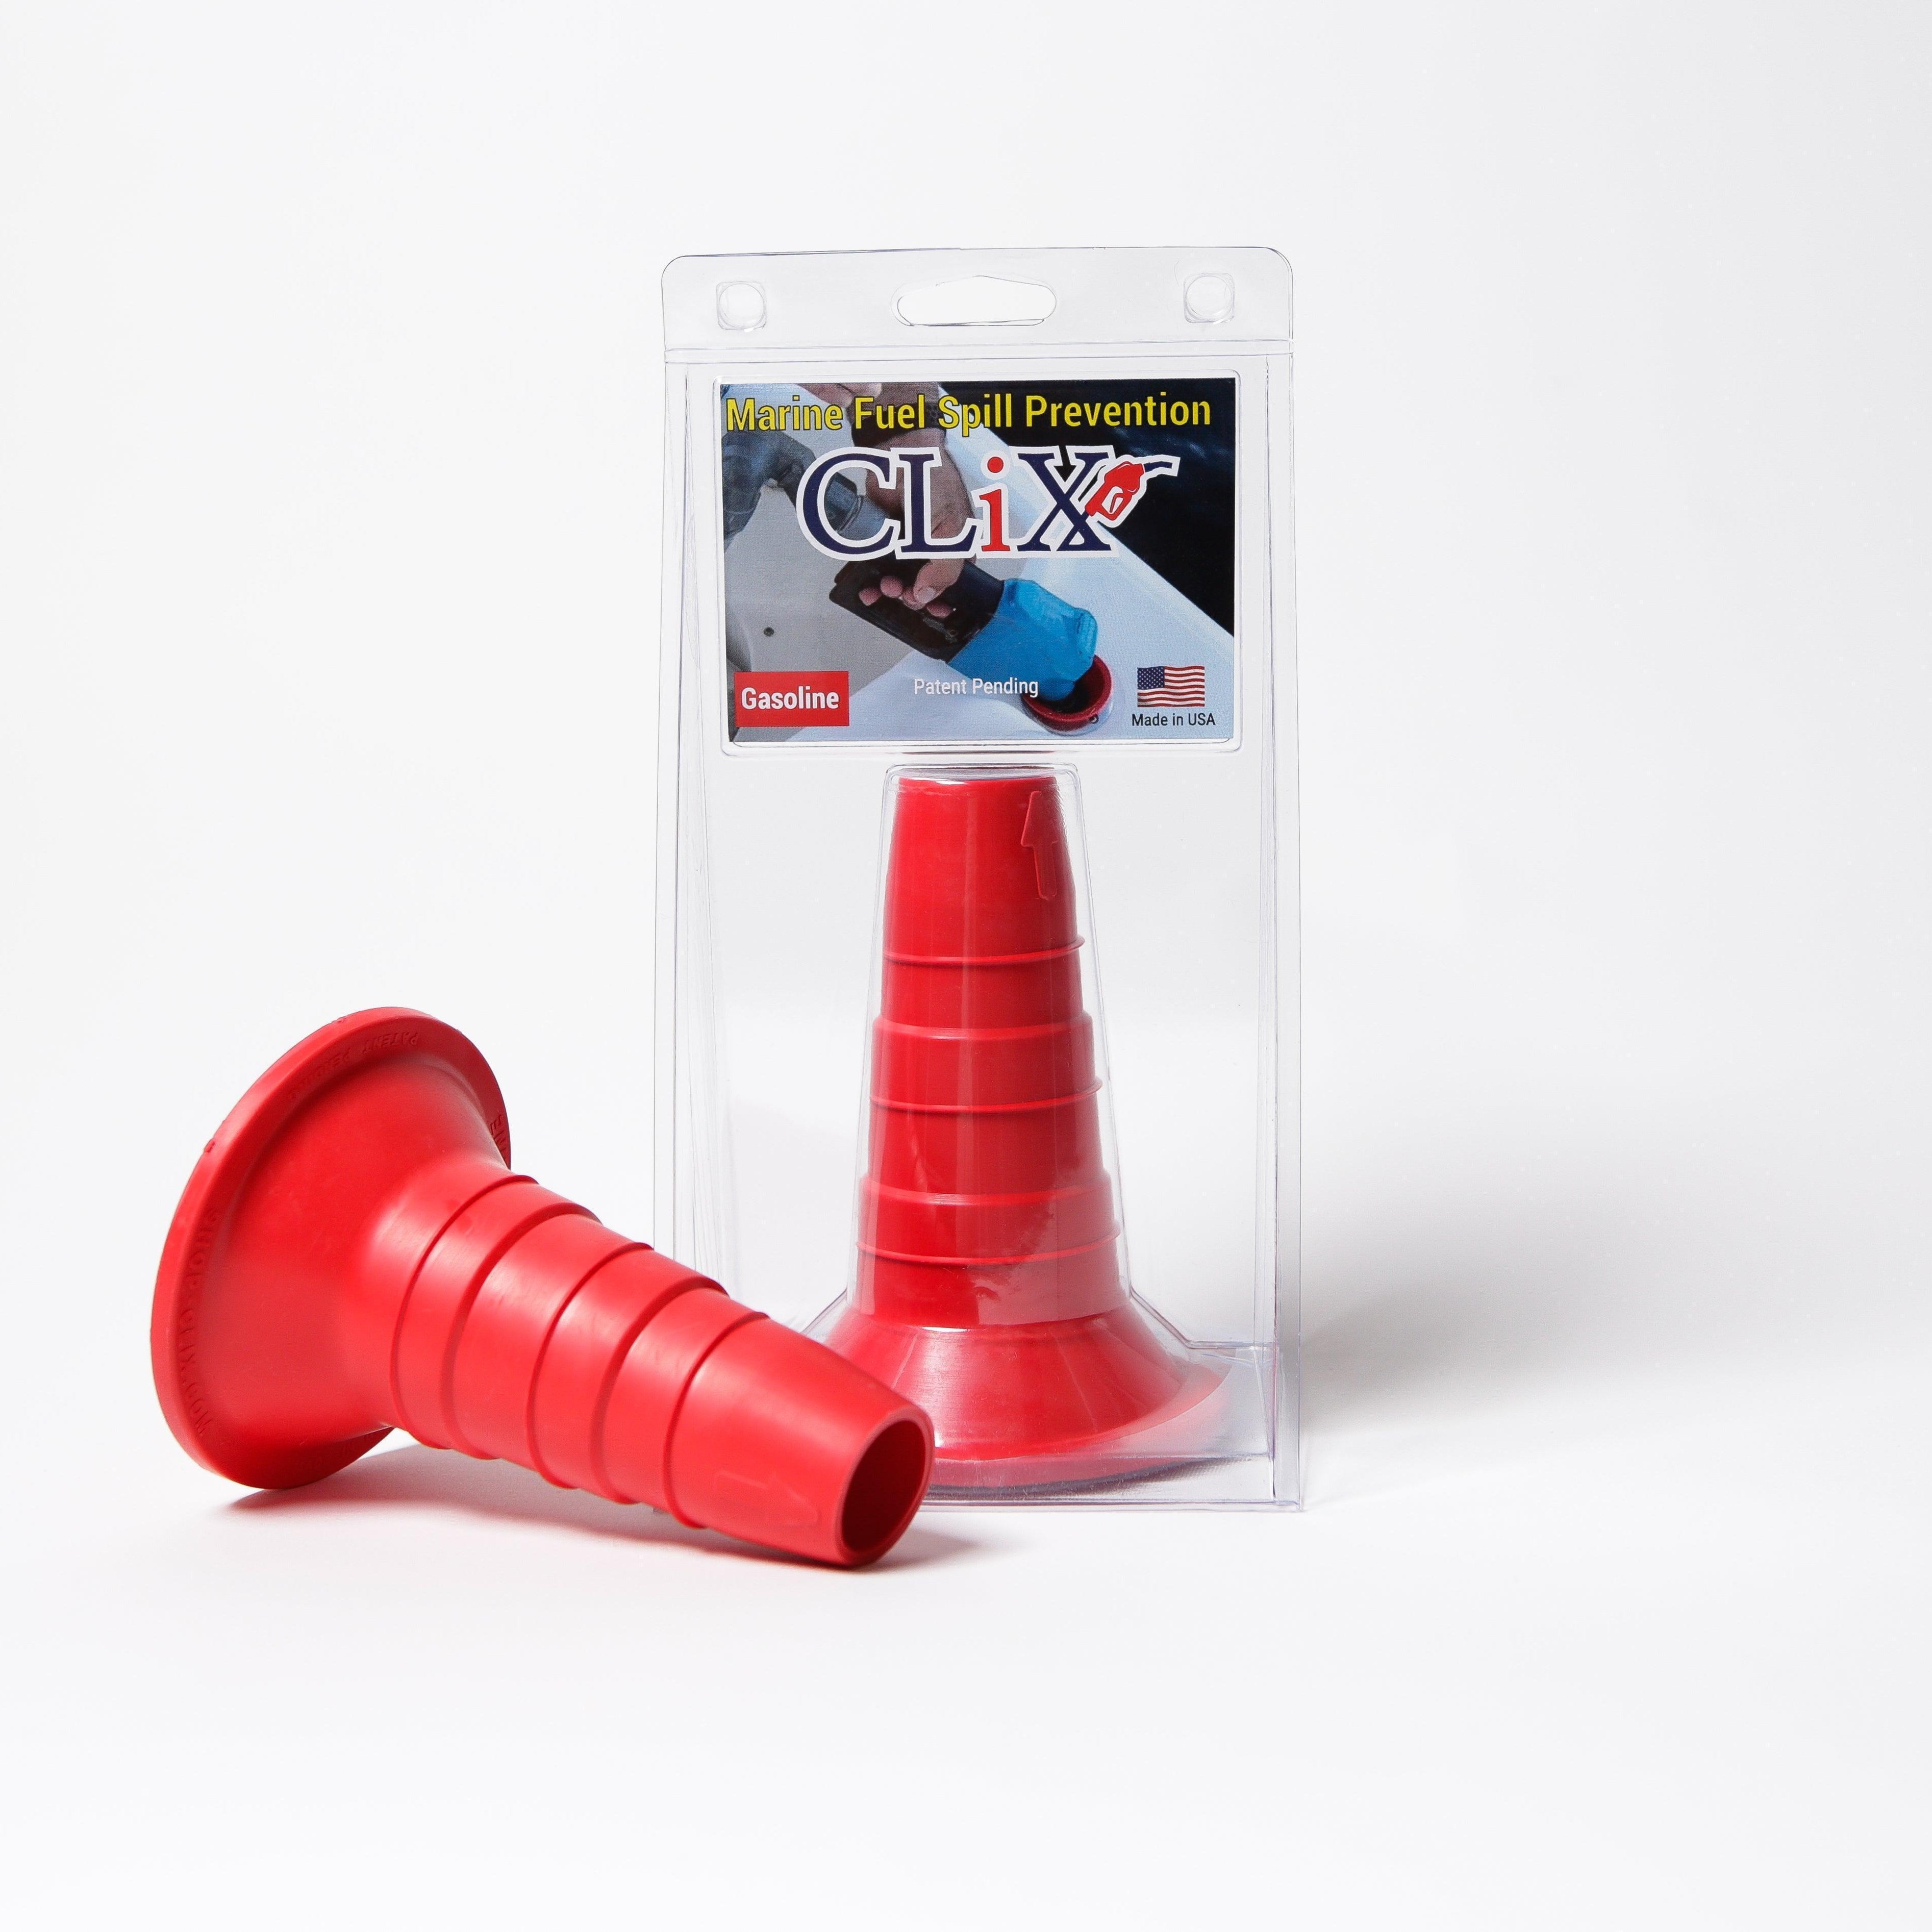
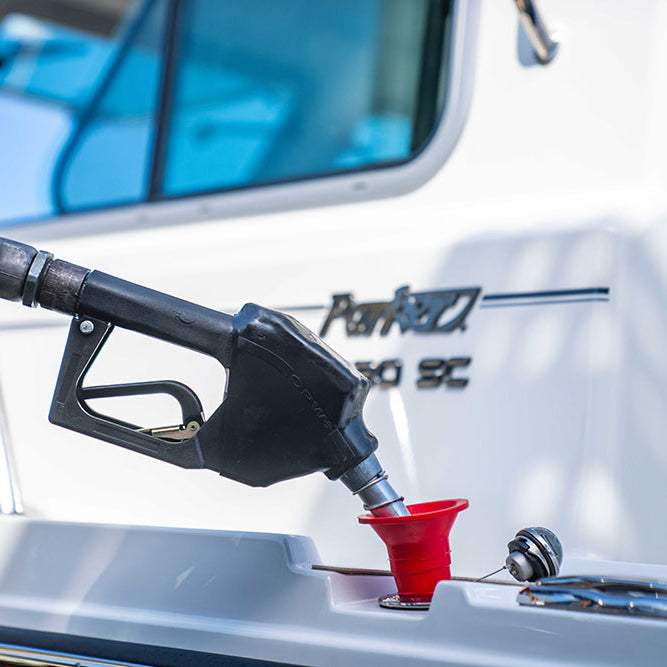
Protecting your engine starts with clean fuel, but true peace of mind comes from preventing spills at the source. The CLiX Fueling Solutions system ensures you never have to worry about a costly and messy fuel overflow again. Its automatic shut-off design makes every refueling safe, simple, and spill-free. Upgrade your boat and protect the environment with CLiX today!