When you're out on the water, the last thing you want is engine trouble. A marine fuel filter isn't just another part; it's the single most important line of defense for your engine's health and, frankly, your safety.
Its job is simple but critical: to catch all the nasty stuff like water, grit, and even microbial gunk from your fuel before it gets into your engine and causes a world of hurt. Think of it as a bodyguard for your engine, keeping it running smoothly when you're miles from shore.
Why Your Marine Fuel Filter Is Non-Negotiable
It’s easy to overlook that little canister tucked away in the engine bay, but its role is massive. Every time you fill up, you're rolling the dice. Marina fuel tanks, particularly older ones, can collect water from condensation and have a surprising amount of sediment settled at the bottom. Just one bad tank of fuel can be enough to wreck your day—or your entire season.
Modern ethanol-blended gasoline, like E10, adds another layer of complexity. Ethanol is hygroscopic, which is a fancy way of saying it loves to absorb water right out of the air. This moisture can then drop out of the fuel—a process called phase separation—leaving a nasty, corrosive water-ethanol cocktail at the bottom of your tank, just waiting to be sucked into your engine.
The Real-World Threats to Your Engine
Without a top-notch fuel filter, you're leaving your engine wide open to some well-known enemies. Each one can lead to expensive repairs and, worse, leave you stranded.
Let's break down the common culprits a good filter protects you from.
| Contaminant Type | Source | Engine Risk |
|---|---|---|
| Water | Condensation, contaminated fuel, phase separation | Rust on injectors, internal corrosion, microbial growth |
| Sediment & Debris | Rust flakes from tanks, dirt, tank-lining particles | Clogged fuel injectors and carburetors, fuel starvation |
| Microbial Growth | Bacteria and fungi at the fuel/water interface | Slimy biomass that clogs filters and lines, system-wide damage |
As you can see, the junk floating in fuel isn't just a minor annoyance; it’s a direct threat to your engine's most delicate and expensive components.
This isn't just a boater's intuition, either. The marine industry has taken notice. The global market for marine fuel filters jumped from USD 934.3 million in 2020 to a projected USD 1,189.7 million by 2025. According to research on FutureMarketInsights.com, this growth is largely due to boaters and manufacturers reacting to these risks and stricter emissions standards that require exceptionally clean fuel.
A clogged filter isn't a failure—it's a success story. It's proof that your filter did its job and captured gunk that was headed straight for your engine.
In the end, a reliable fuel filter system isn't an optional upgrade. It’s a core part of any safe and dependable boat. It’s the cheap insurance that prevents a multi-thousand-dollar repair bill and ensures you always make it back to the dock.
How to Select the Right Filter System
Choosing the right marine fuel filter isn't about grabbing the priciest one off the shelf or just using what your buddy has on his boat. It’s all about matching the filter's specs to your specific engine and how you use your vessel. Get this right, and you'll save yourself from a world of trouble out on the water.
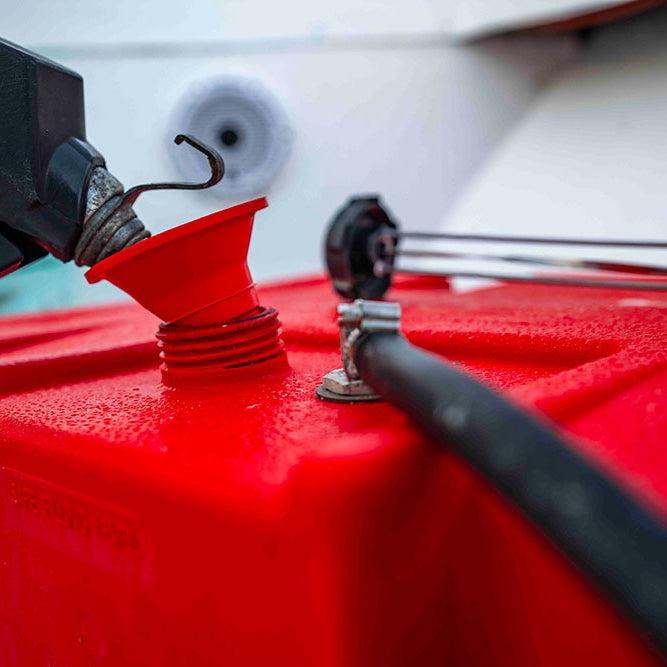
At the core of any solid setup is the fuel-water separator. For any modern boat, this isn't just a recommendation—it's an absolute necessity. These units are your first and best line of defense, doing exactly what the name says: separating damaging water from your fuel long before it ever has a chance to reach your engine.
Getting a Handle on Micron Ratings
You'll see the term micron rating tossed around a lot, but what does it actually mean for your boat? A micron is simply a unit of measurement—one-millionth of a meter, to be exact. A filter's micron rating tells you the size of the tiny particles it's designed to trap.
- A lower micron number means the filter material has finer pores, so it can catch much smaller bits of debris.
- A higher micron number means larger pores, which will let finer particles slip by but won't clog up as fast.
The gold standard in the marine world is a two-stage setup. Your primary filter, the fuel-water separator mounted between your tank and the engine, should be a 10-micron filter. This is your workhorse, catching the bigger gunk and any water. Then, the final filter on the engine itself is typically a much finer 2-micron filter that "polishes" the fuel, snagging any microscopic particles the first filter might have missed. This one-two punch gives you the best protection without constant clogging.
A classic mistake I see is boaters putting a super-fine filter, like a 2-micron, as their primary separator. It sounds safer, right? Wrong. That filter will clog up at the first sign of dirty fuel, and you could end up dead in the water. Stick with the 10-micron as your primary.
Matching Flow Rate to Your Engine's Thirst
Every fuel filter has a flow rate, which is measured in gallons per hour (GPH). This tells you how much fuel can move through the filter without restricting the supply to your engine. This is critical: your filter's GPH rating must be higher than your engine's maximum fuel demand.
So, how do you figure that out? For gasoline engines, a handy rule of thumb is to divide your engine’s horsepower by 10. If you have a 150 HP outboard, you'll need a filter rated for at least 15 GPH. But always, always check your engine’s manual for the manufacturer's exact spec. If you're ever in doubt, go bigger on the GPH rating. There's no such thing as too much flow, but starving your engine for fuel at high RPMs is a recipe for disaster.
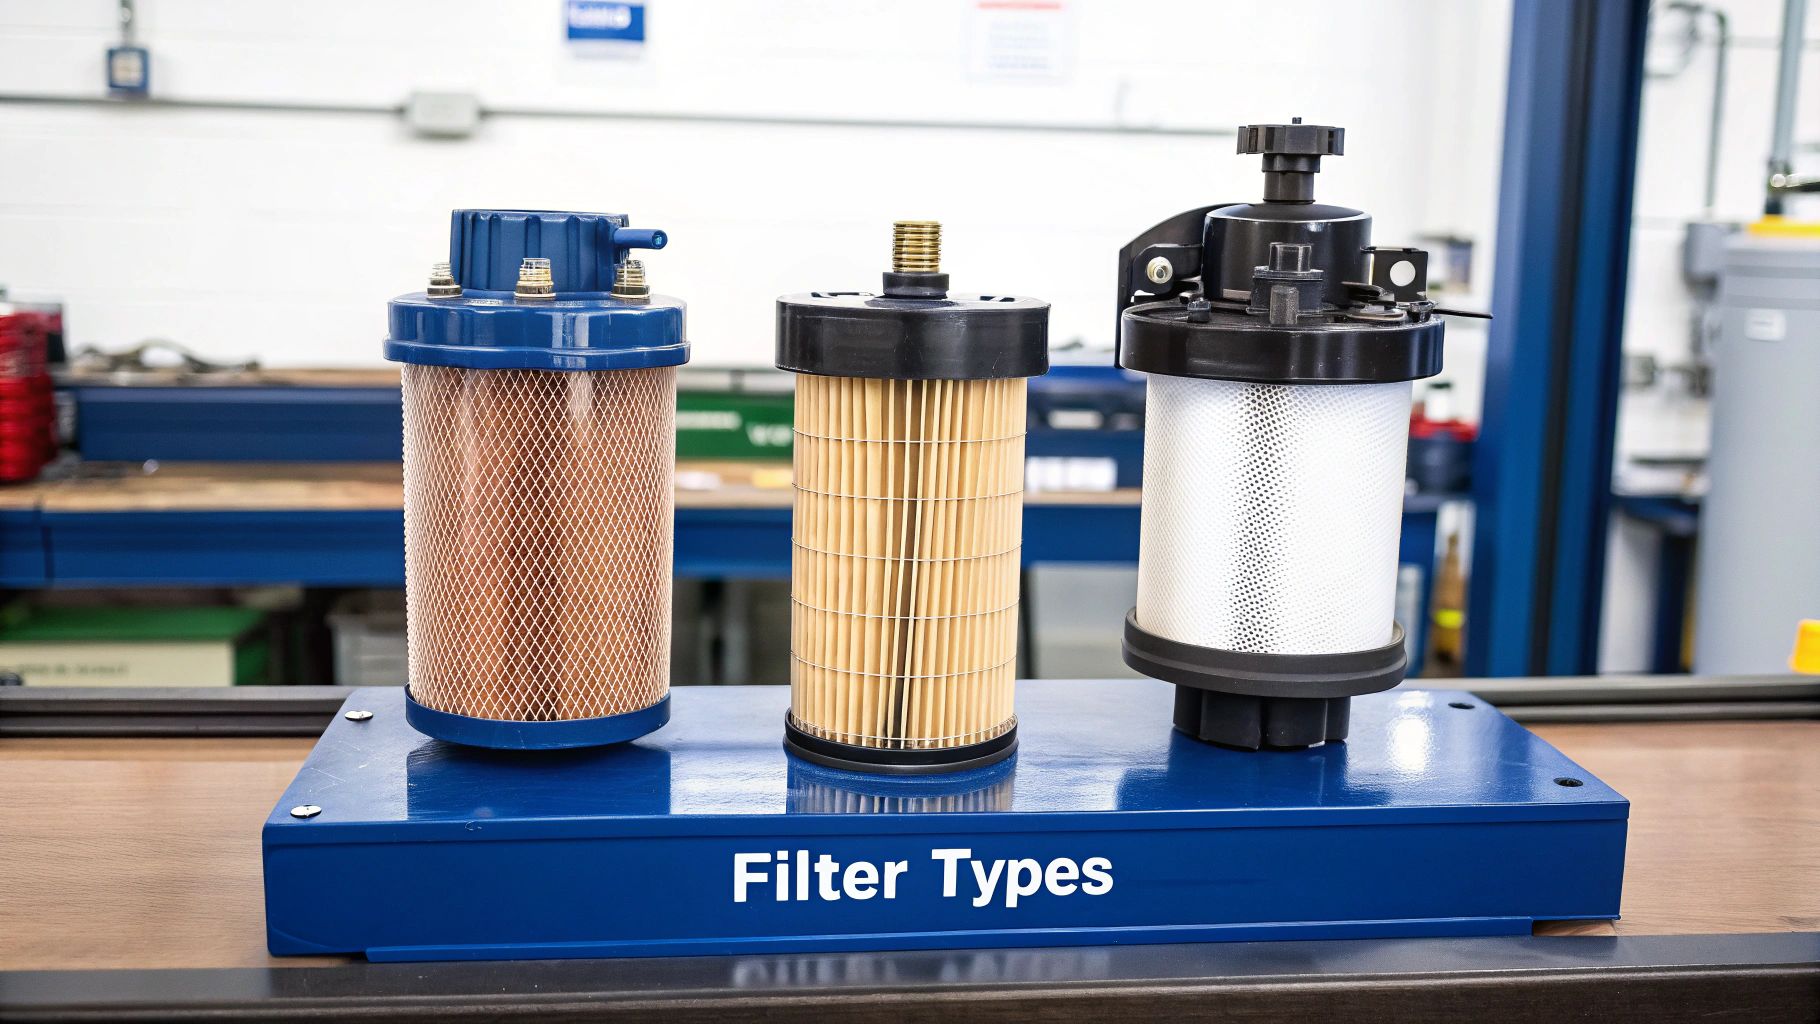
Canister vs. Spin-On: What's the Difference?
Your final choice is the style of filter. This usually boils down to how much space you have to work with and what you find easiest to service.
| Filter Style | Pros | Cons |
|---|---|---|
| Spin-On | Simple to replace, easy to find, generally more affordable. | Can be messy to change, the whole unit is disposable. |
| Canister | Reusable bowl for easy inspection, very durable housing. | Higher upfront cost, replacing the internal element can be more involved. |
Many boaters, myself included, find that a spin-on filter with a clear plastic collection bowl is the perfect compromise. It gives you the convenience of a spin-on with the ability to quickly see if you've got water in your fuel.
To truly master your boat's fuel health, it helps to understand the entire delivery path. For a deeper dive, check out our guide on the modern boat fuel system. It’s a great resource for seeing how all the pieces fit together.
A Practical Guide to Filter Installation
Alright, let's get our hands dirty. Installing a new fuel filter assembly on your boat can feel a little daunting, but trust me, it’s a job most boaters can tackle with a bit of patience and the right approach. Getting the installation right is just as critical as picking the best filter in the first place—a sloppy job can lead to dangerous fuel leaks or air getting into your fuel lines, which is a surefire way to kill an engine.
Before you even think about grabbing a wrench, let's talk safety. You're dealing with gasoline in a tight space. That means absolutely no open flames, no sparks, and definitely no smoking anywhere near your work area. Make sure you're in a well-ventilated spot; open up every hatch and port you can. If you have a bilge blower or a simple fan, get it running to keep the air moving. And always, always have a marine-rated fire extinguisher right there within arm's reach.
Finding the Right Mounting Spot
Where you decide to mount the new filter assembly is a huge deal for future you. You need a spot that’s easy to get to, even when the engine bay is hot. A good rule of thumb is to mount it above the fuel tank's level to help prevent fuel from siphoning out, but below your carburetor or fuel injectors if your setup allows.
Look for a solid bulkhead or a sturdy stringer to bolt the mounting bracket to. Whatever you do, avoid mounting it directly on the engine itself. The constant vibration is just asking for a fitting to work its way loose over time. Your goal is simple: find a home for it where checking the bowl and swapping the element is a five-minute job, not an hour-long ordeal that leaves your knuckles busted.
A filter you can't easily see is a filter that won't get checked. I've seen them tucked away in the most impossible-to-reach corners, completely forgotten until they clog up and cause a major engine failure. Make accessibility your number one rule.
This simple diagram breaks down the core process for replacing the filter assembly.
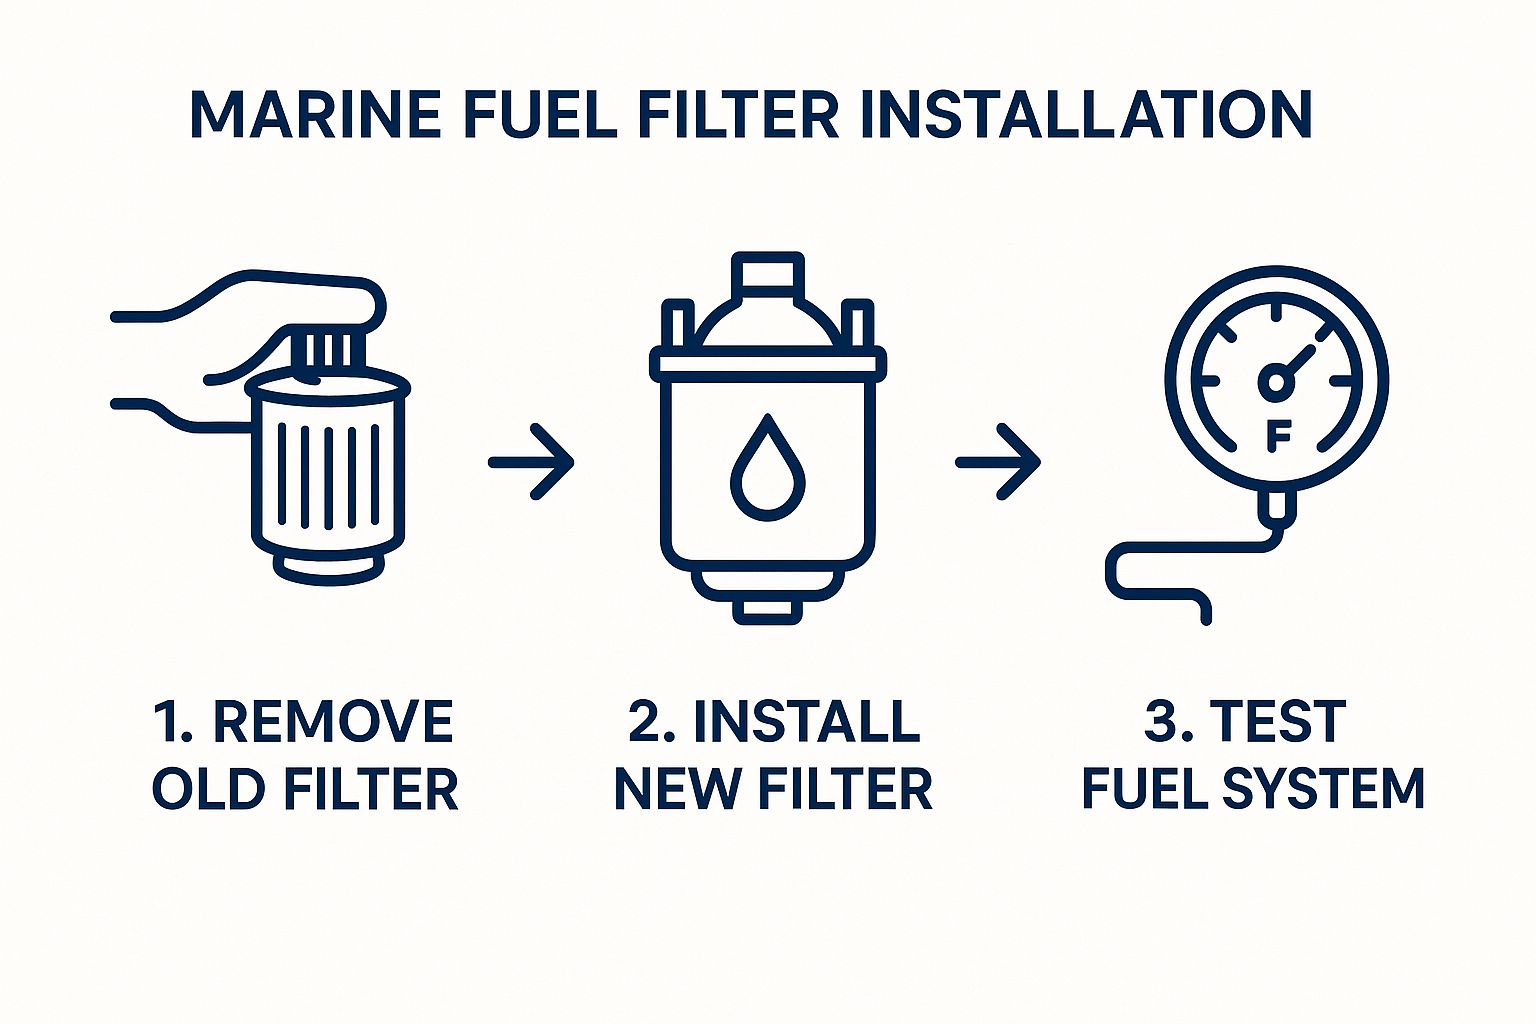
Thinking about it in these three distinct phases—Prep, Install, and Check—makes the whole project feel a lot more manageable.
Making the Connections
Once the old assembly is out and the new one is securely mounted, it's time to hook up the fuel lines. This is where you need to be precise. Get yourself a proper hose cutter, not just a utility knife, to get clean, square cuts. A frayed or angled cut is a leak waiting to happen.
When you're attaching the hoses to the filter's fittings, stick to these best practices:
- Use the Right Sealant: Forget about standard plumber's Teflon tape. Little pieces can shred off and travel downstream, clogging up your carburetor or injectors. Instead, reach for a gasoline-compatible liquid thread sealant and apply it sparingly only to the male threads.
- Double-Clamp Everything: The U.S. Coast Guard requires double-clamping on fuel lines for a reason. Use good quality, marine-grade stainless steel hose clamps. A pro tip is to orient them so their screws are on opposite sides of the hose (180 degrees apart) for a secure, even seal.
- Check the Hose Condition: While you're down there, give the fuel hose a good inspection. If it feels stiff, brittle, or you see any cracks, replace it now. A brand-new filter isn't going to do you much good if the hose feeding it is about to spring a leak.
After everything is connected and tight, here's one last tip that makes a world of difference: pre-fill the new filter with clean fuel. This simple step gets most of the air out of the system from the start, making it way easier to prime the engine. Just pour fresh fuel into the filter's center hole until it’s full, wipe a thin film of clean oil on the new gasket, and spin it on. Hand-tight is good, then give it another quarter to half turn with a wrench. Before you even think about turning the key, double-check your work for any leaks.
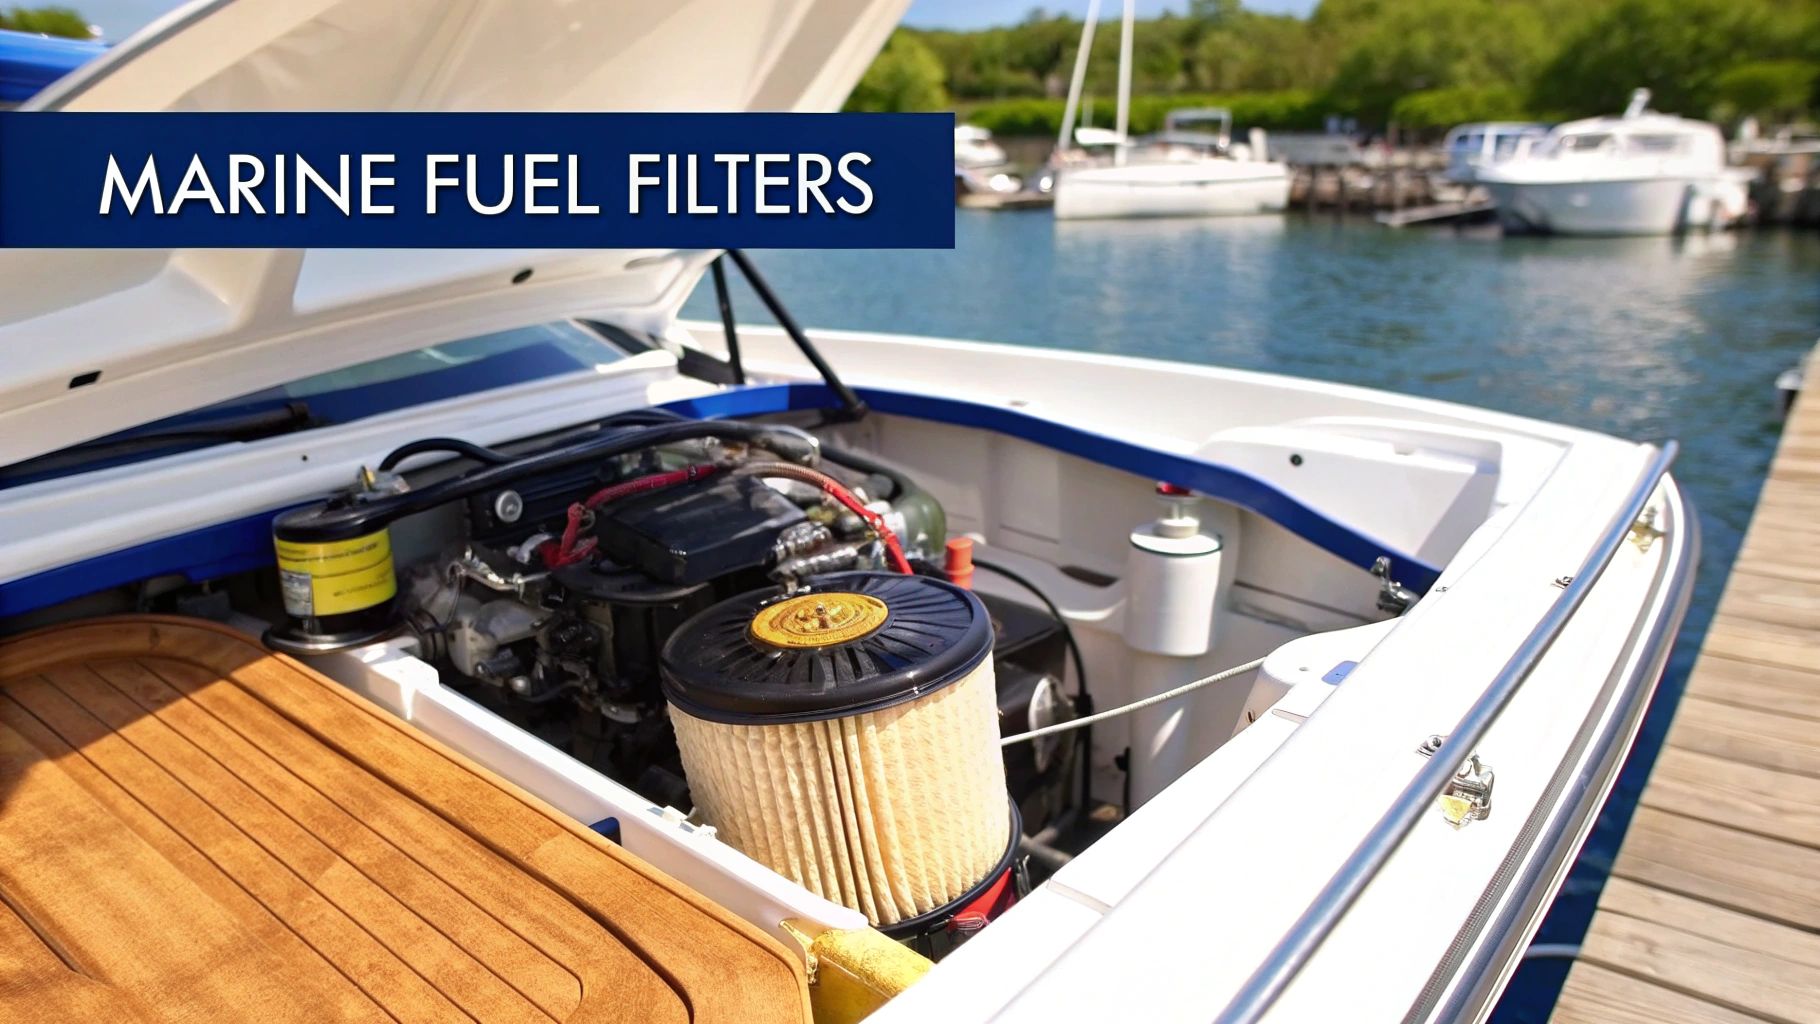
Keeping a Close Eye on Your Fuel Filter
Getting your new fuel filter installed is a great first step, but the real work starts now. Proper maintenance and regular checks are what will actually save your engine down the road. This is more than just swapping out the filter element once a season; it's about getting into the habit of looking for trouble before it finds you.
Think of your filter's clear collection bowl as a window into your boat's fuel system. A quick peek before you cast off is one of the best habits any boater can develop. Seriously, it takes five seconds.
What the Bowl is Telling You
The stuff you see in that bowl tells a story. If you learn to read the signs, a simple visual check becomes your best defense against fuel-related breakdowns.
- A little water? Seeing a few bubbles or a clear layer of water at the bottom means the filter is doing its job. It also means you've got water in your system, probably from condensation in the tank or a bad fill-up at the dock.
- A milky mess? This is a red flag. A cloudy, milky-looking mixture means ethanol-blended fuel has hit its saturation point with water and has phase-separated. This stuff is nasty and can do a real number on your engine's internal parts.
- Black gunk or slime? These dark particles are the classic sign of the "diesel bug" or other microbial growth. This biomass loves to grow where fuel and water meet, and it can quickly clog up your entire system if you ignore it.
If you spot a significant amount of water, or any milky emulsion or slimy growth, drain that bowl right away. It's also a clear signal that your fuel tank needs a closer look. For a deeper dive into that process, check out our expert guide to marine fuel tank cleaning.
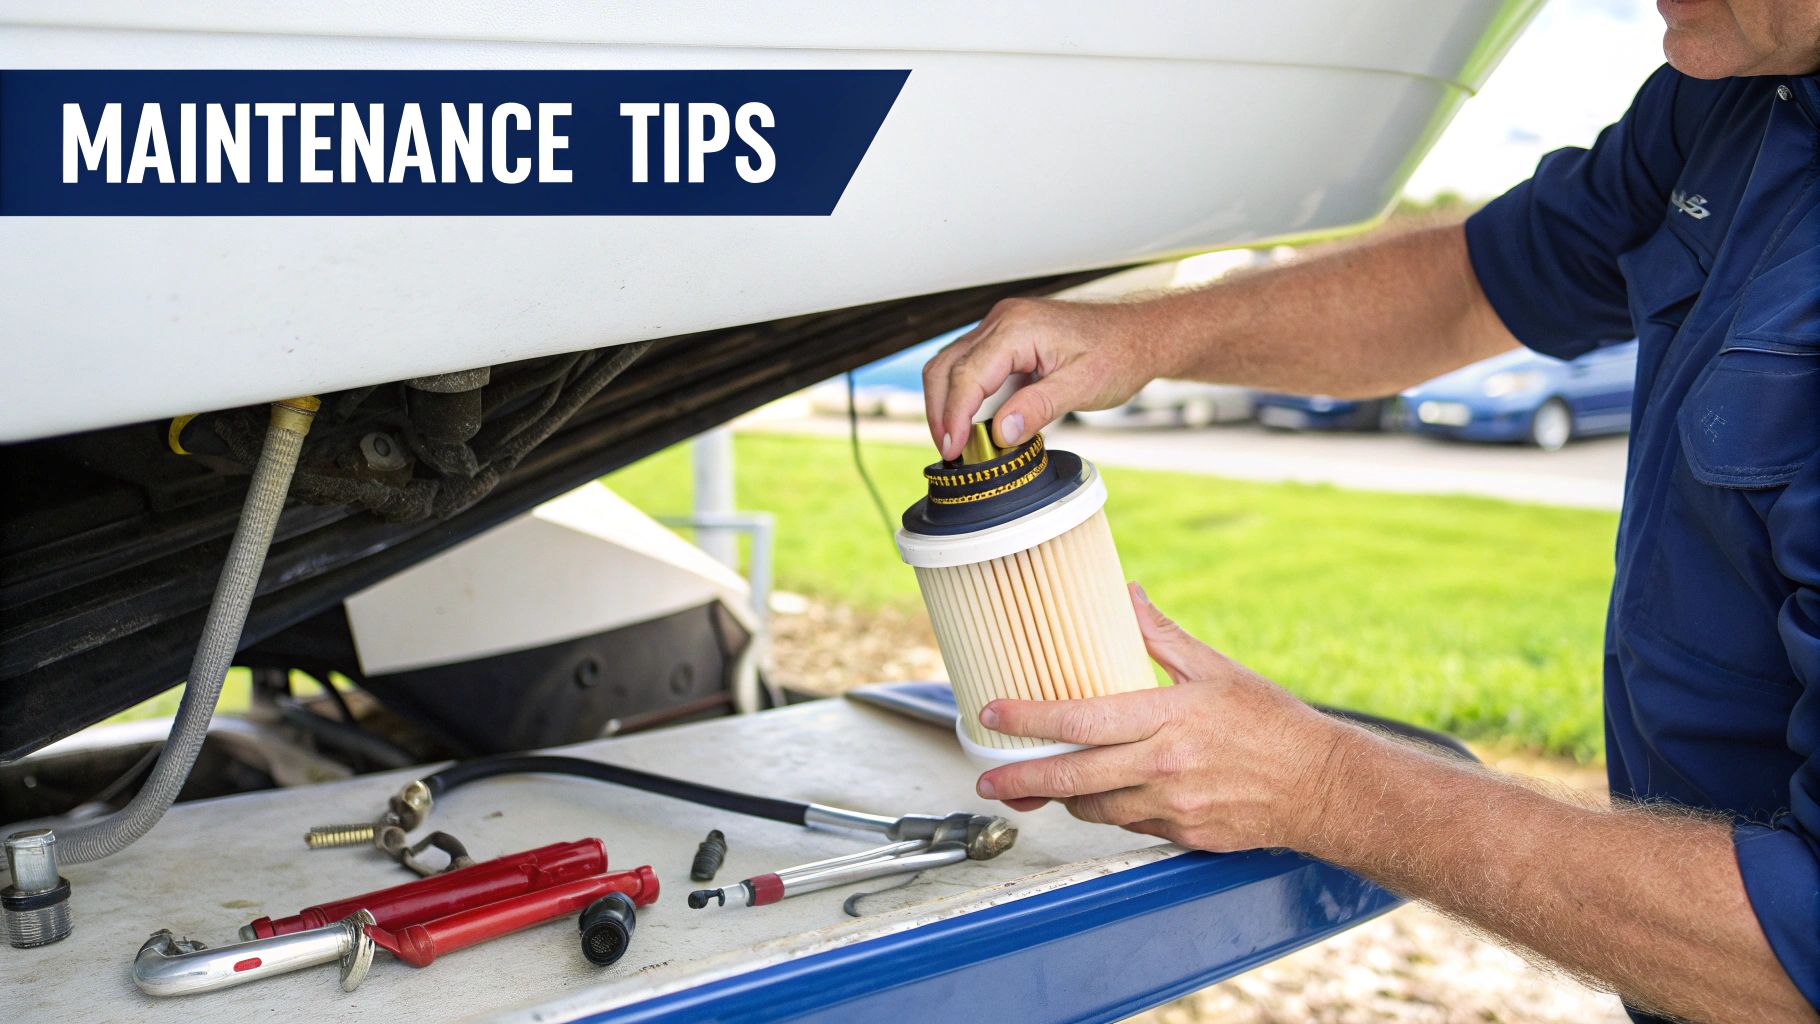
How to Change Your Filter Element the Right Way
When it's time for a new spin-on element—usually every 50-100 hours or at least once a year—doing it clean is key. Grab an oil-absorbent pad and a small bucket to keep the bilge clean.
Once you’ve spun the old filter off, take a moment before you screw the new one on. Dip a finger in some clean fuel or motor oil and smear a light film on the new gasket. This simple step is absolutely critical for getting a good seal and keeping the gasket from getting torn or bunched up.
Pro Tip: Never install a new gasket dry. A leaky filter is one of the most common—and frustrating—causes of air getting into the fuel lines, which can starve your engine and make it a nightmare to start.
Don't Forget the Surroundings
While you're down there, take a look at the components around the filter.
Give the fuel hoses a squeeze. Do they feel cracked, brittle, or mushy? Replace them. Wiggle the hose clamps and fittings to make sure they haven't vibrated loose. It's all part of a complete check-up.
This kind of attention to detail is why the marine fuel filter market is projected to jump from USD 1.2 billion in 2024 to nearly USD 1.9 billion by 2033. As you can see in the full market forecast, everyone from weekend boaters to commercial fleets understands how critical clean fuel is for a reliable vessel.
Troubleshooting Common Fuel System Issues
When your engine suddenly starts to sputter, lose power, or just won't run right, your mind might jump to the worst-case scenario. But before you panic, take a breath. From my experience, more often than not, the problem is simple: your fuel system is trying to tell you something.
The first and most common suspect is always the marine fuel filter. A rough-running or stalling engine is the classic sign of fuel starvation. It means the filter has done its job—it's captured water, sludge, or debris—but now it's so clogged that not enough fuel can get through to the engine. It’s a frustrating moment, but it’s also proof that your filter is protecting your engine from much bigger problems.
Another classic headache pops up right after you've changed a filter. If the engine won't start or dies immediately, you've almost certainly introduced air into the fuel lines. This usually comes down to a simple mistake, like forgetting to lubricate the new gasket or not getting a fitting perfectly tight.
A Practical Diagnostic Approach
Before you grab a wrench and start taking things apart, a little bit of detective work goes a long way. Start with the easiest checks first. Take a look at the clear collection bowl on your primary fuel-water separator. If you see a layer of water on the bottom or a collection of dark, sludgy gunk, you’ve found your culprit.
If the bowl looks clean, it’s time to hunt for air leaks.
- Check the Fittings: Go over every single hose clamp and threaded fitting on and around the filter. Even a slightly loose connection can be enough to suck in air and cause major performance issues. Give them a gentle snug-up.
- Inspect the Hoses: Squeeze the fuel lines. They should feel firm but still have some give. If they feel mushy, brittle, or rock-hard, they’re past their prime and need replacing. Look closely for any visible cracks or signs of chafing where they might be rubbing against something.
- Prime the System: Find your primer bulb and give it a few good squeezes. It should get firm after a few pumps. If it stays soft and never firms up, you definitely have an air leak somewhere between the fuel tank and the bulb.
Think of a spare filter element as more than just a spare part—it's your best diagnostic tool. If you suspect a clog is choking your engine, the fastest way to know for sure is to swap in a fresh element. If the problem disappears, you have your answer.
The Bad Fuel Emergency
Getting a tank of contaminated fuel is a scenario every boater dreads, especially when you're far from shore. If your filter suddenly clogs up completely and the engine dies, you need to be prepared. This is why having at least two spare filter elements and the right filter wrench on board is non-negotiable.
When the engine cuts out, you'll need to carefully and safely swap the clogged filter element for a new one. To make starting easier, pre-fill the new filter with clean fuel before you spin it on, and always remember to apply a light coat of fuel or oil to the new gasket for a good seal.
This emergency fix is designed to get you back to the dock, but don't ignore the warning. A filter that clogs that quickly means your main fuel tank is seriously contaminated and needs to be professionally cleaned as soon as you're tied up.
Answering Your Top Fuel Filter Questions
Let's clear up some of the common questions I hear down at the docks. When it comes to your boat's fuel system, getting the right information is key to staying safe and keeping your engine running smoothly.
So, how often should you really be changing that marine fuel filter? You'll often hear the standard "every 50-100 engine hours or once a season," but that's just a starting point. The real answer depends heavily on the fuel you're using.
If you’re often fueling up at marinas with older tanks or using ethanol-blended gas, you'll likely need to swap filters more frequently. The best advice I can give is to get in the habit of visually inspecting the filter bowl. If you see significant water or gunk building up, don't wait—change it.
Why You Can't Use a Car Filter
I get this one all the time, usually from boaters looking to save a few dollars. The answer is a hard no. A regular automotive fuel filter just isn't built for the marine world.
More importantly, car filters don't meet the strict U.S. Coast Guard fire safety standards. They aren't designed for an enclosed engine space where gas fumes can build up, making them a major fire hazard. On top of that, a car filter isn't a fuel-water separator, which is arguably the most important job of your primary marine fuel filter. It offers zero protection against water damage.
A lot of people think filtering fuel as it goes into the tank is enough. It's a great first step, but it won't stop water from condensation that builds up inside the tank over time. Your onboard filter is the only real line of defense against that.
Primary vs. Secondary Filters Explained
On many boats, especially those with diesel engines, you’ll find two filters working together. Each one has a very specific job.
- Primary Filter: This is your heavy lifter. It's a fuel-water separator, usually a 10-micron filter, that sits between your fuel tank and the engine. Its main purpose is to grab the bigger chunks of debris and separate out any water.
- Secondary Filter: This one is for fine-tuning. It's a much finer filter, often 2-microns, mounted right on the engine itself. It polishes the fuel, catching any microscopic particles the primary filter missed before they can clog up your injectors.
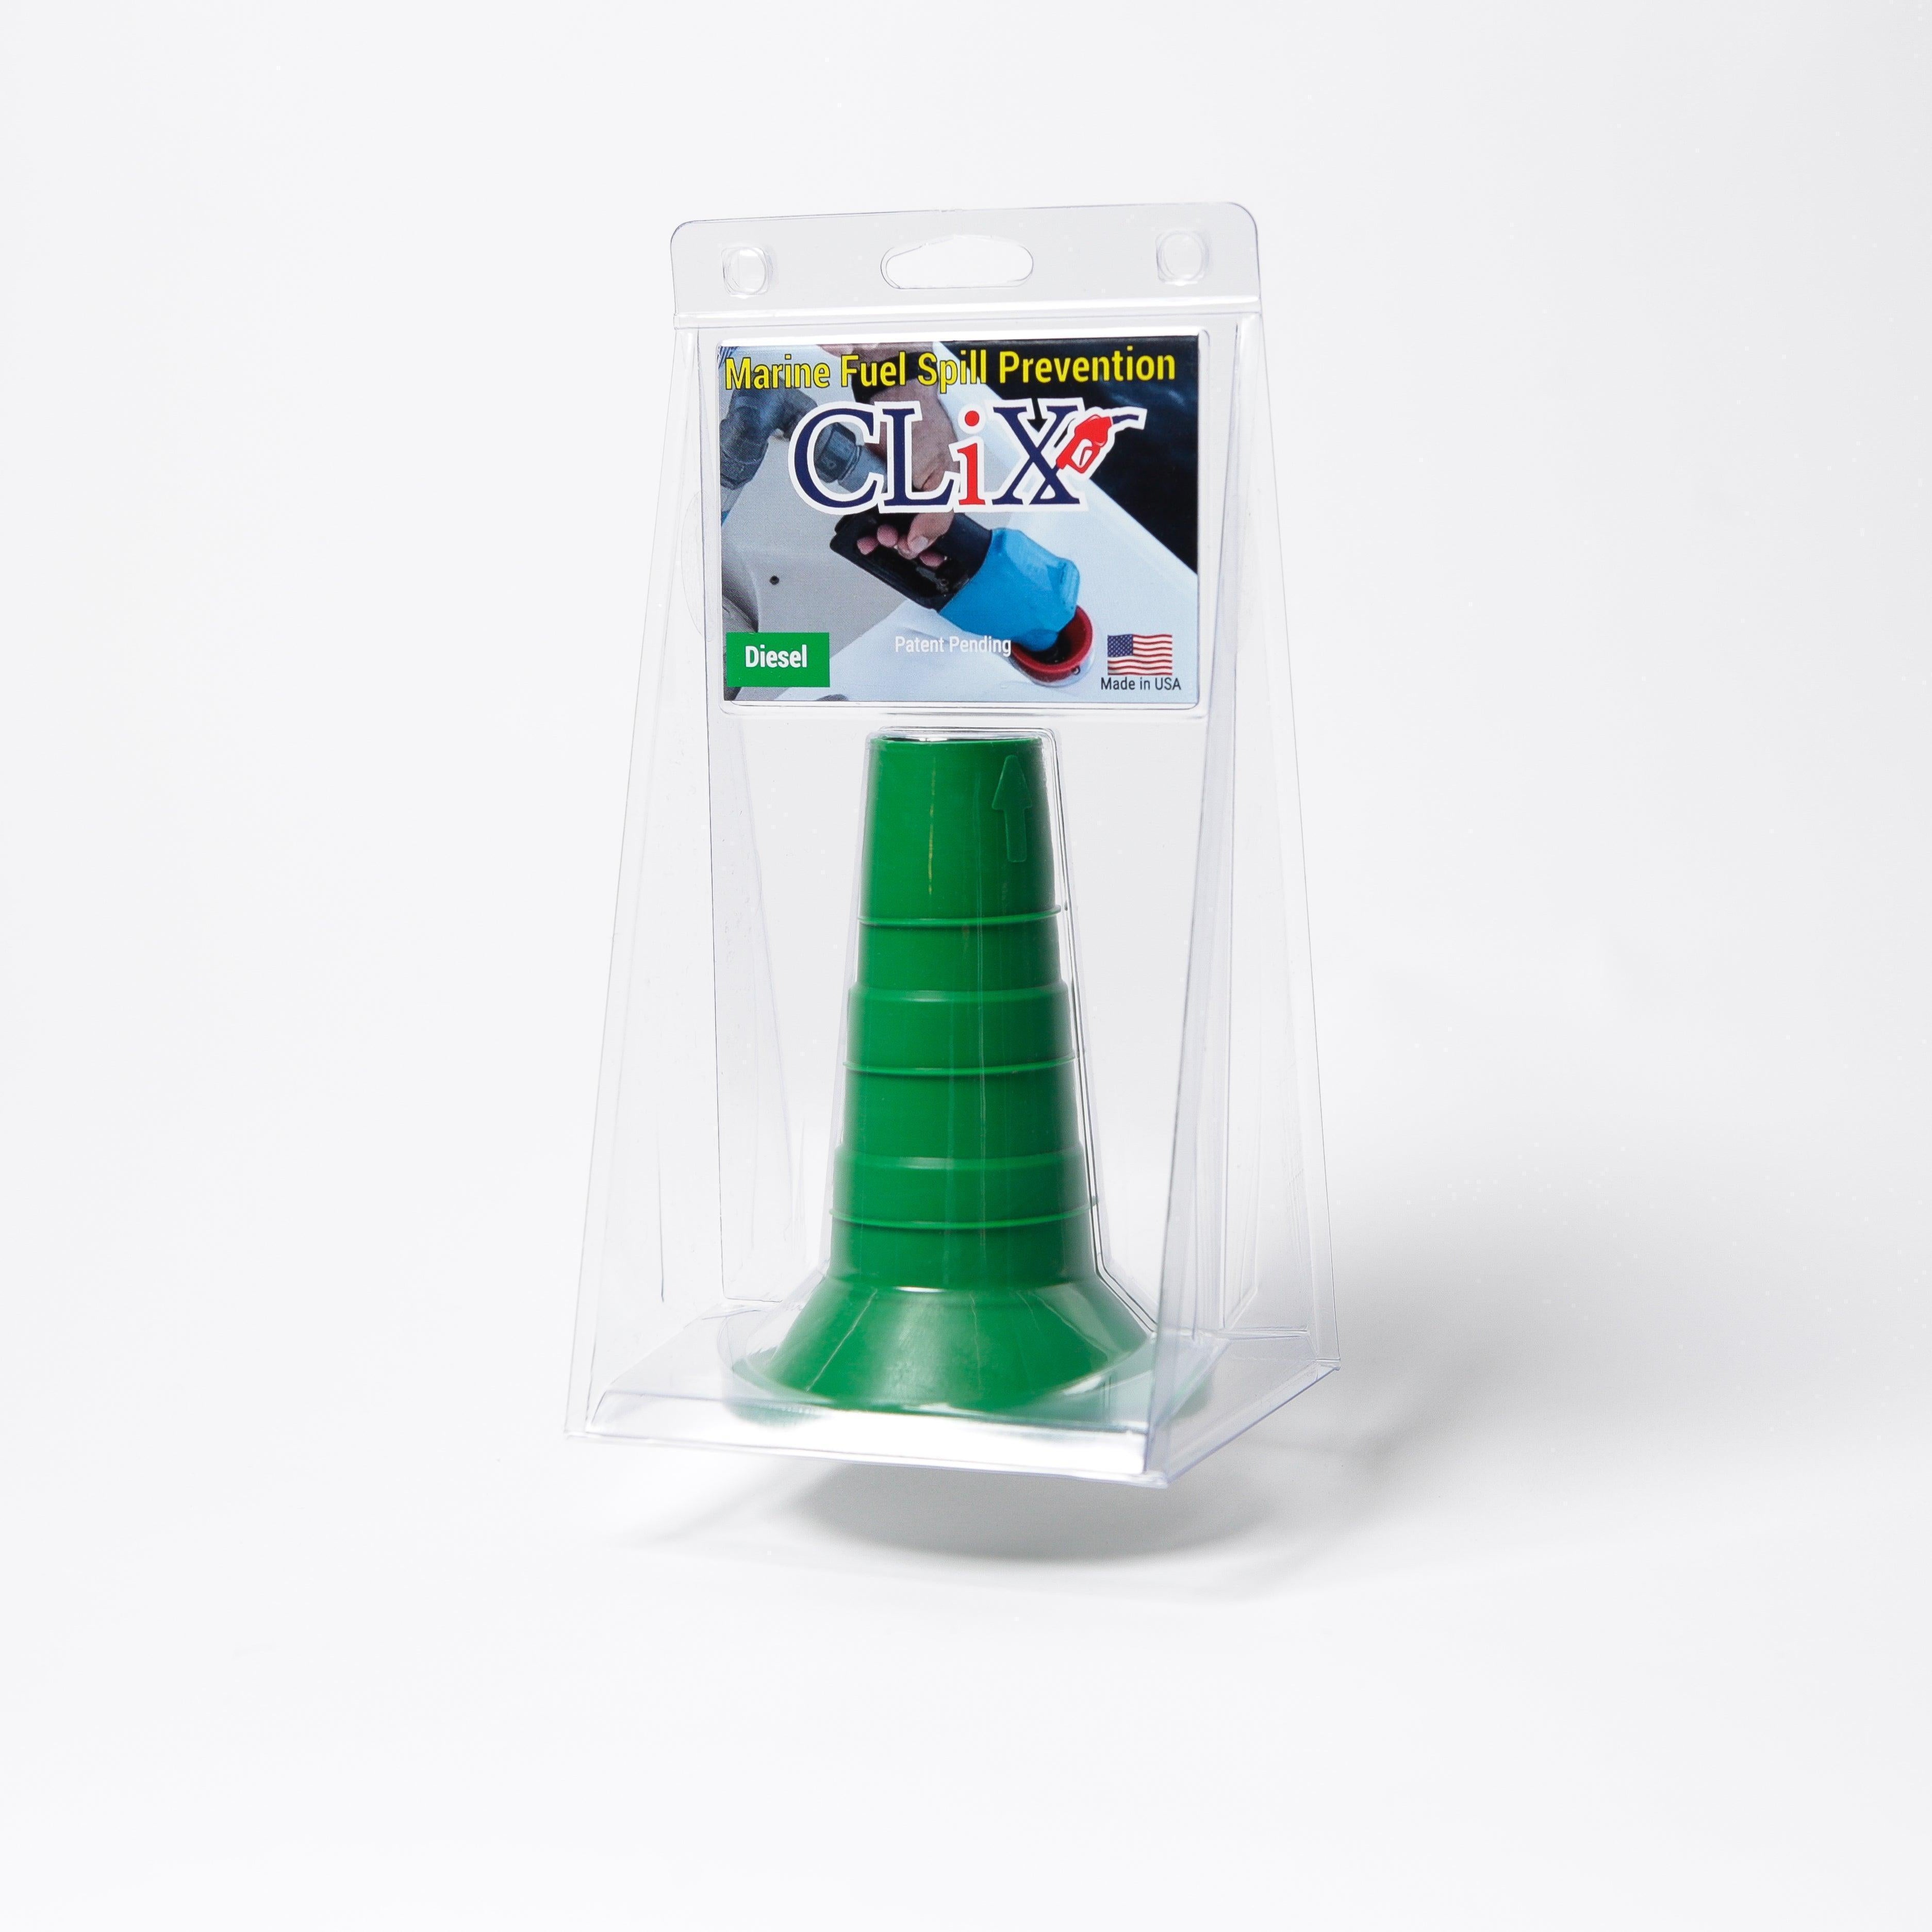
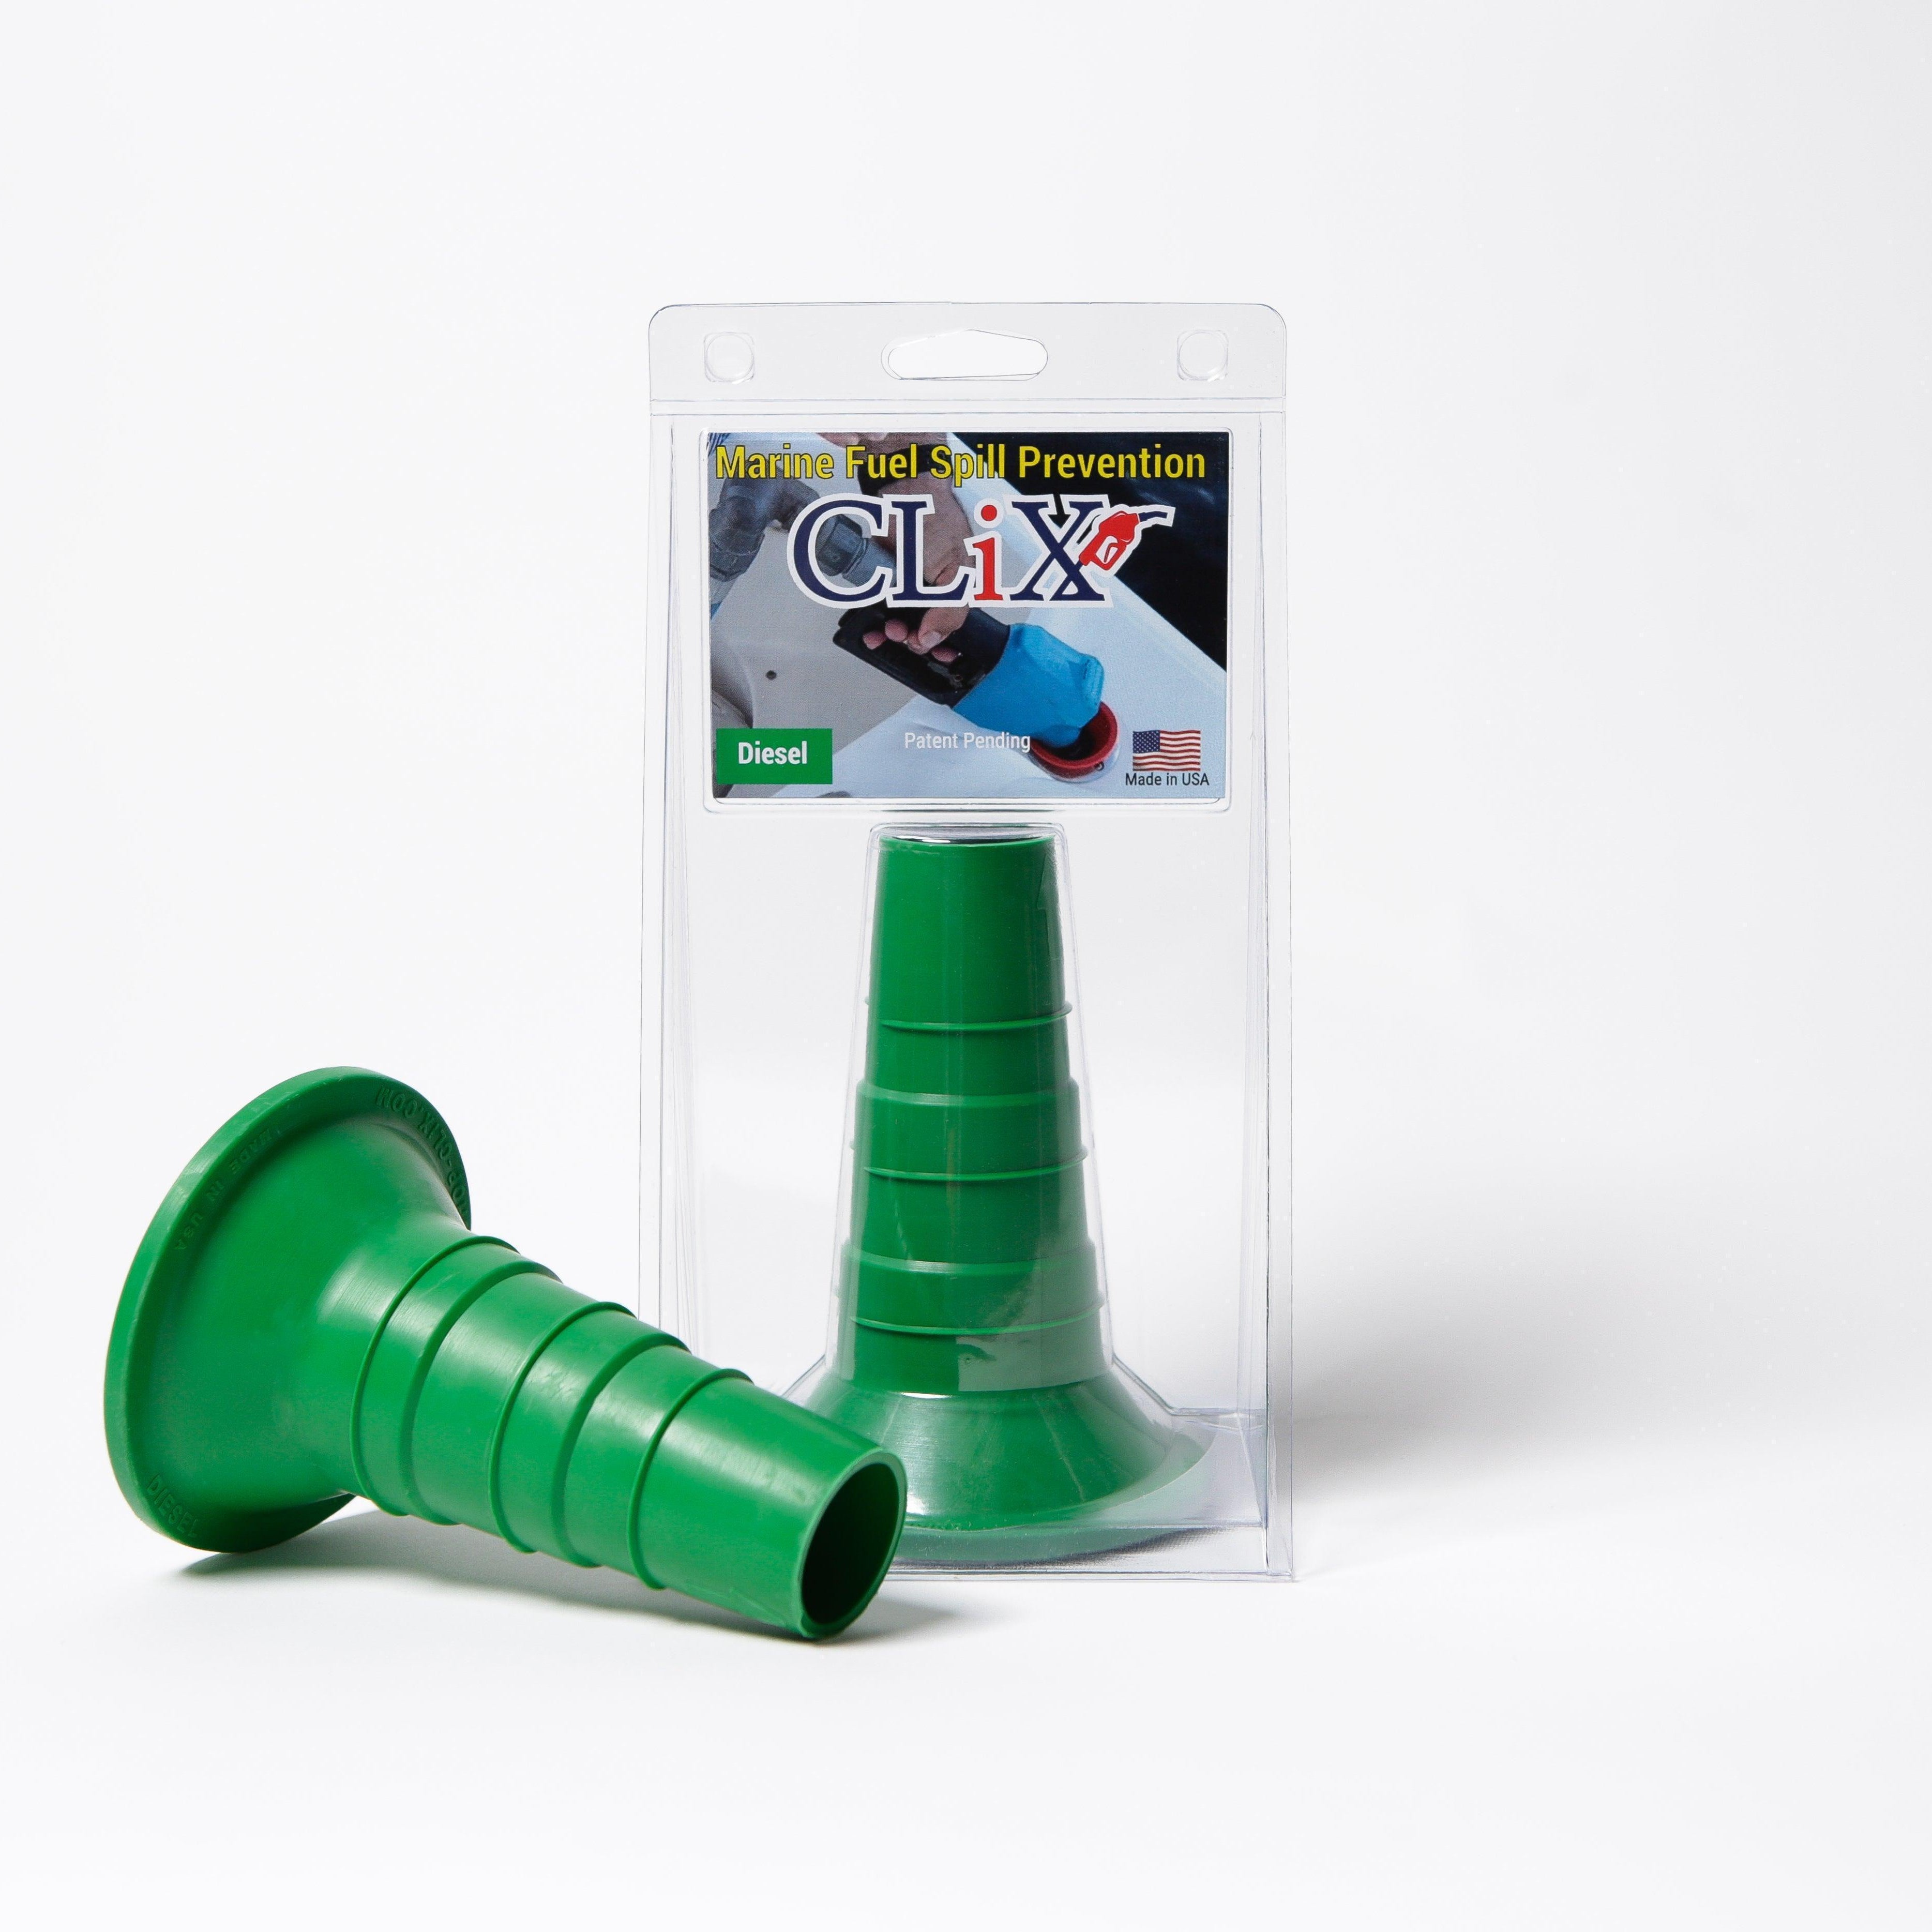
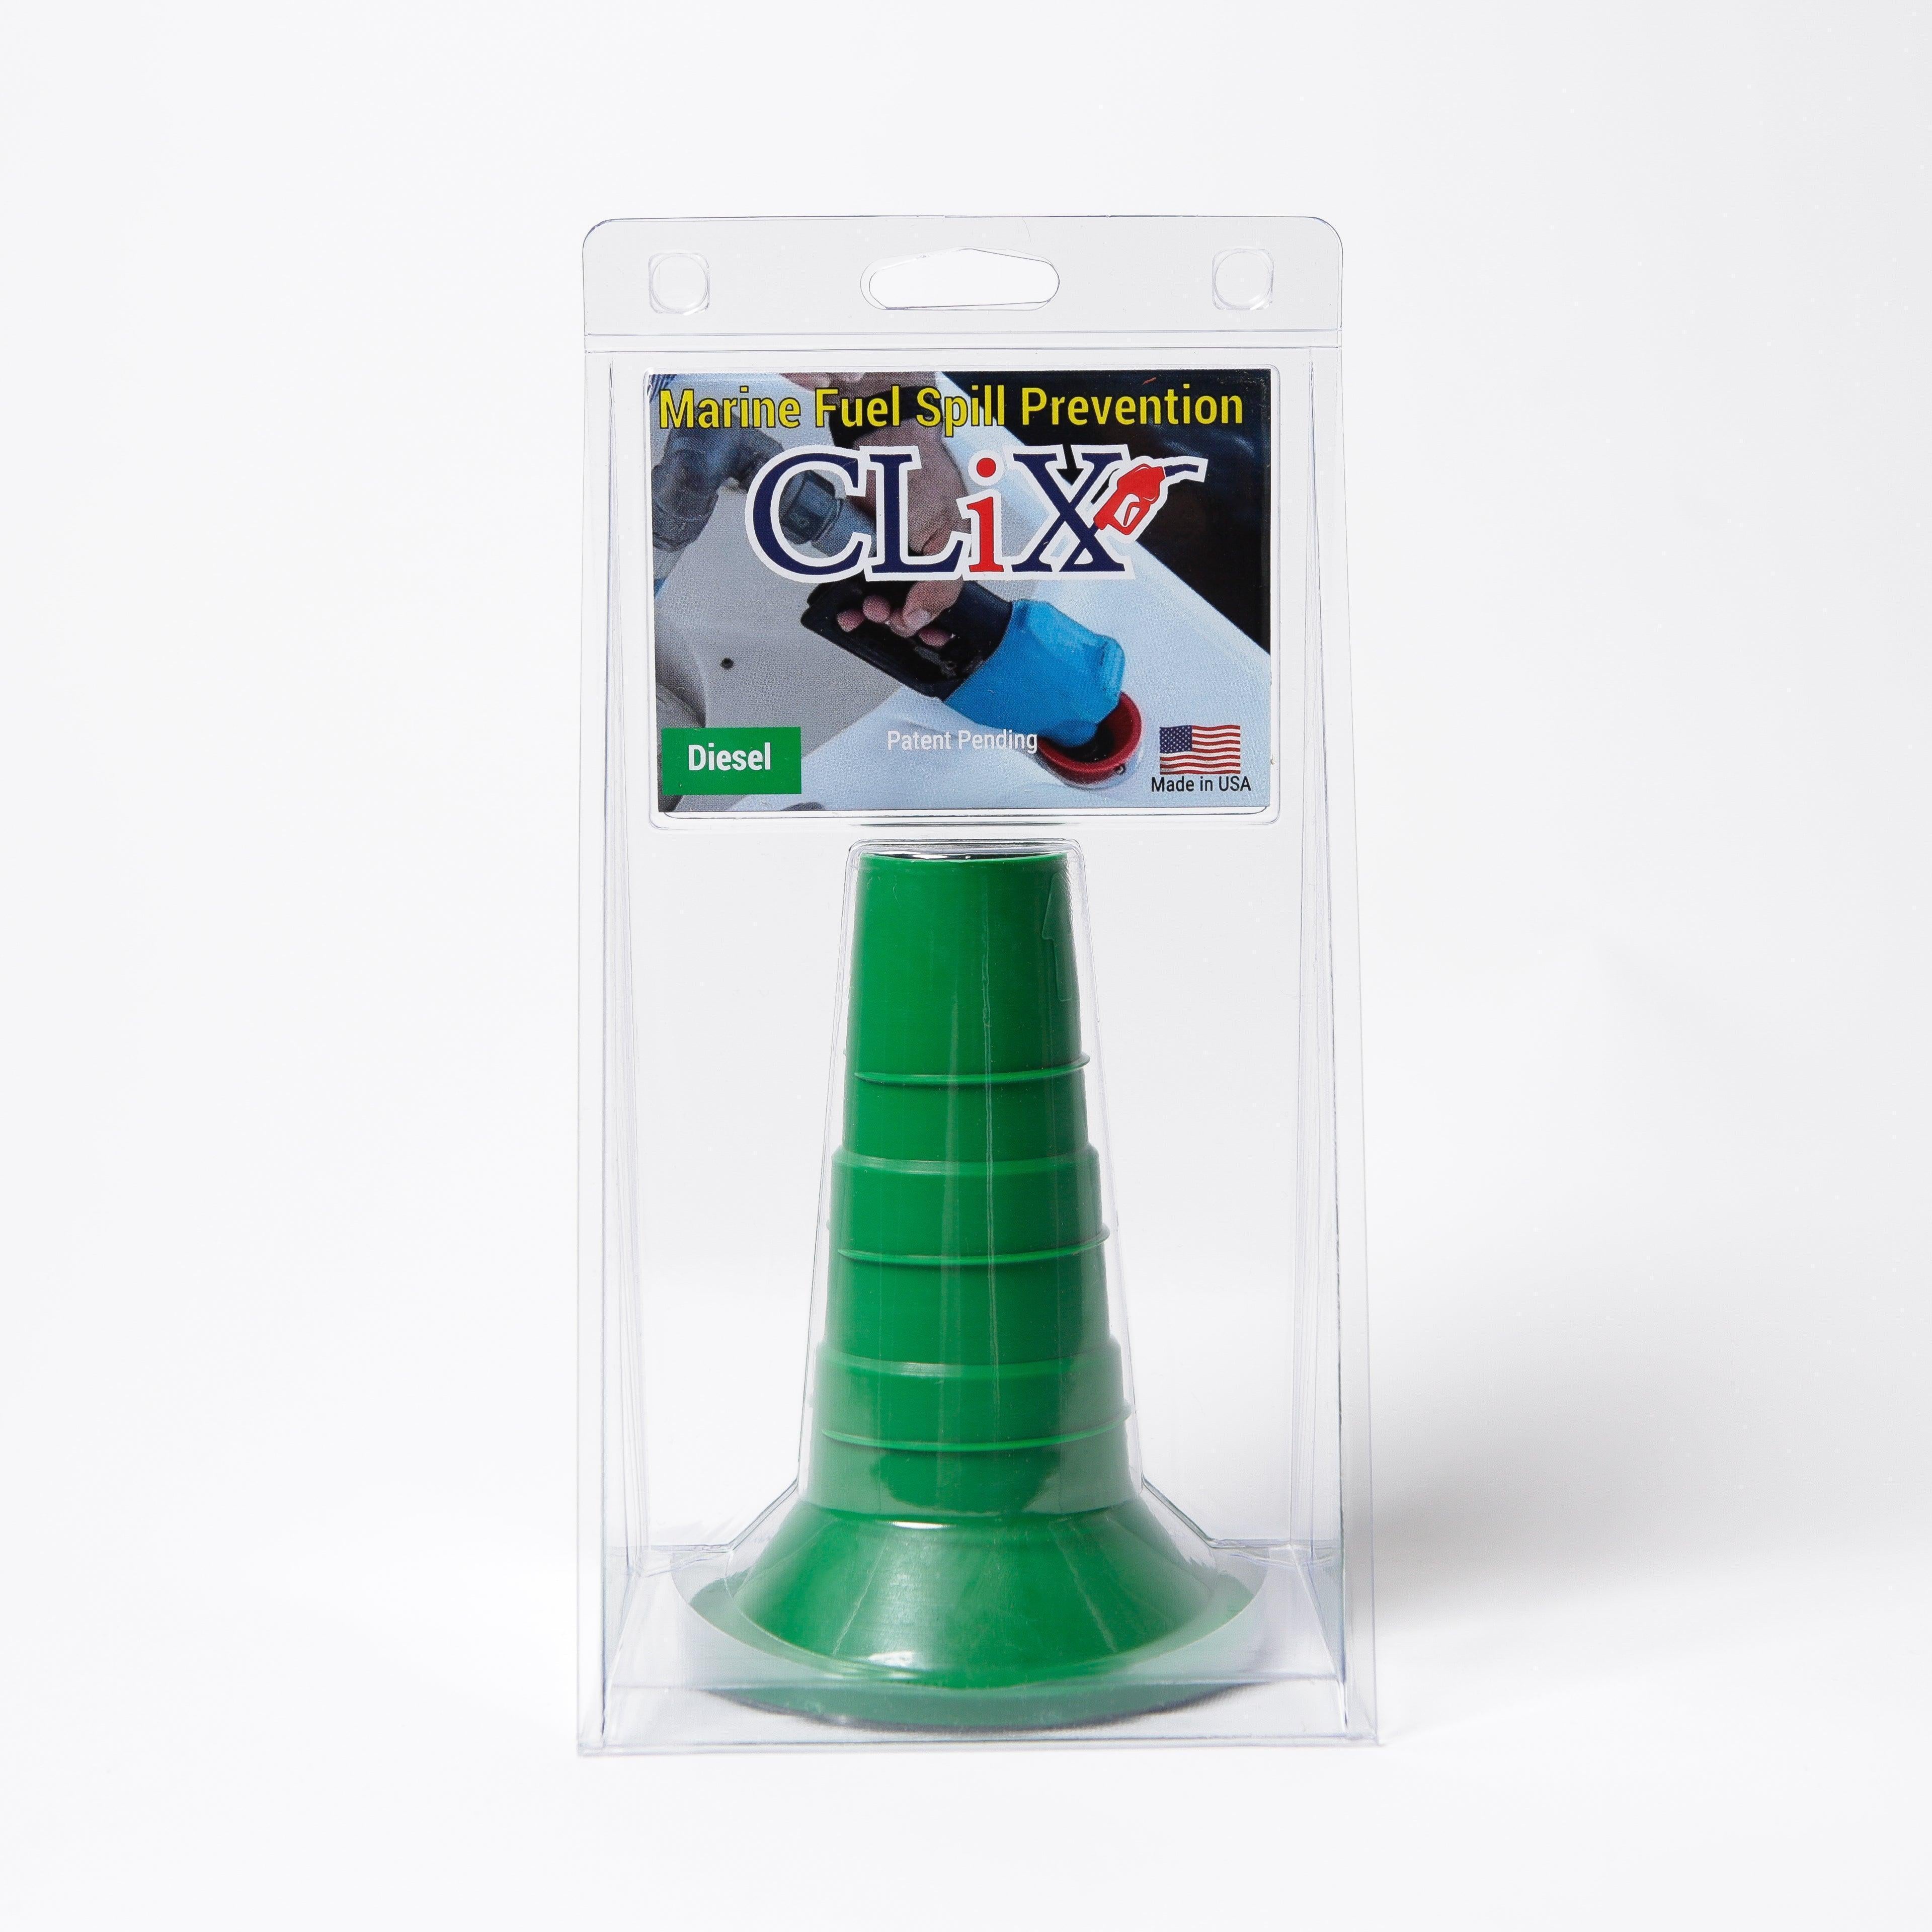
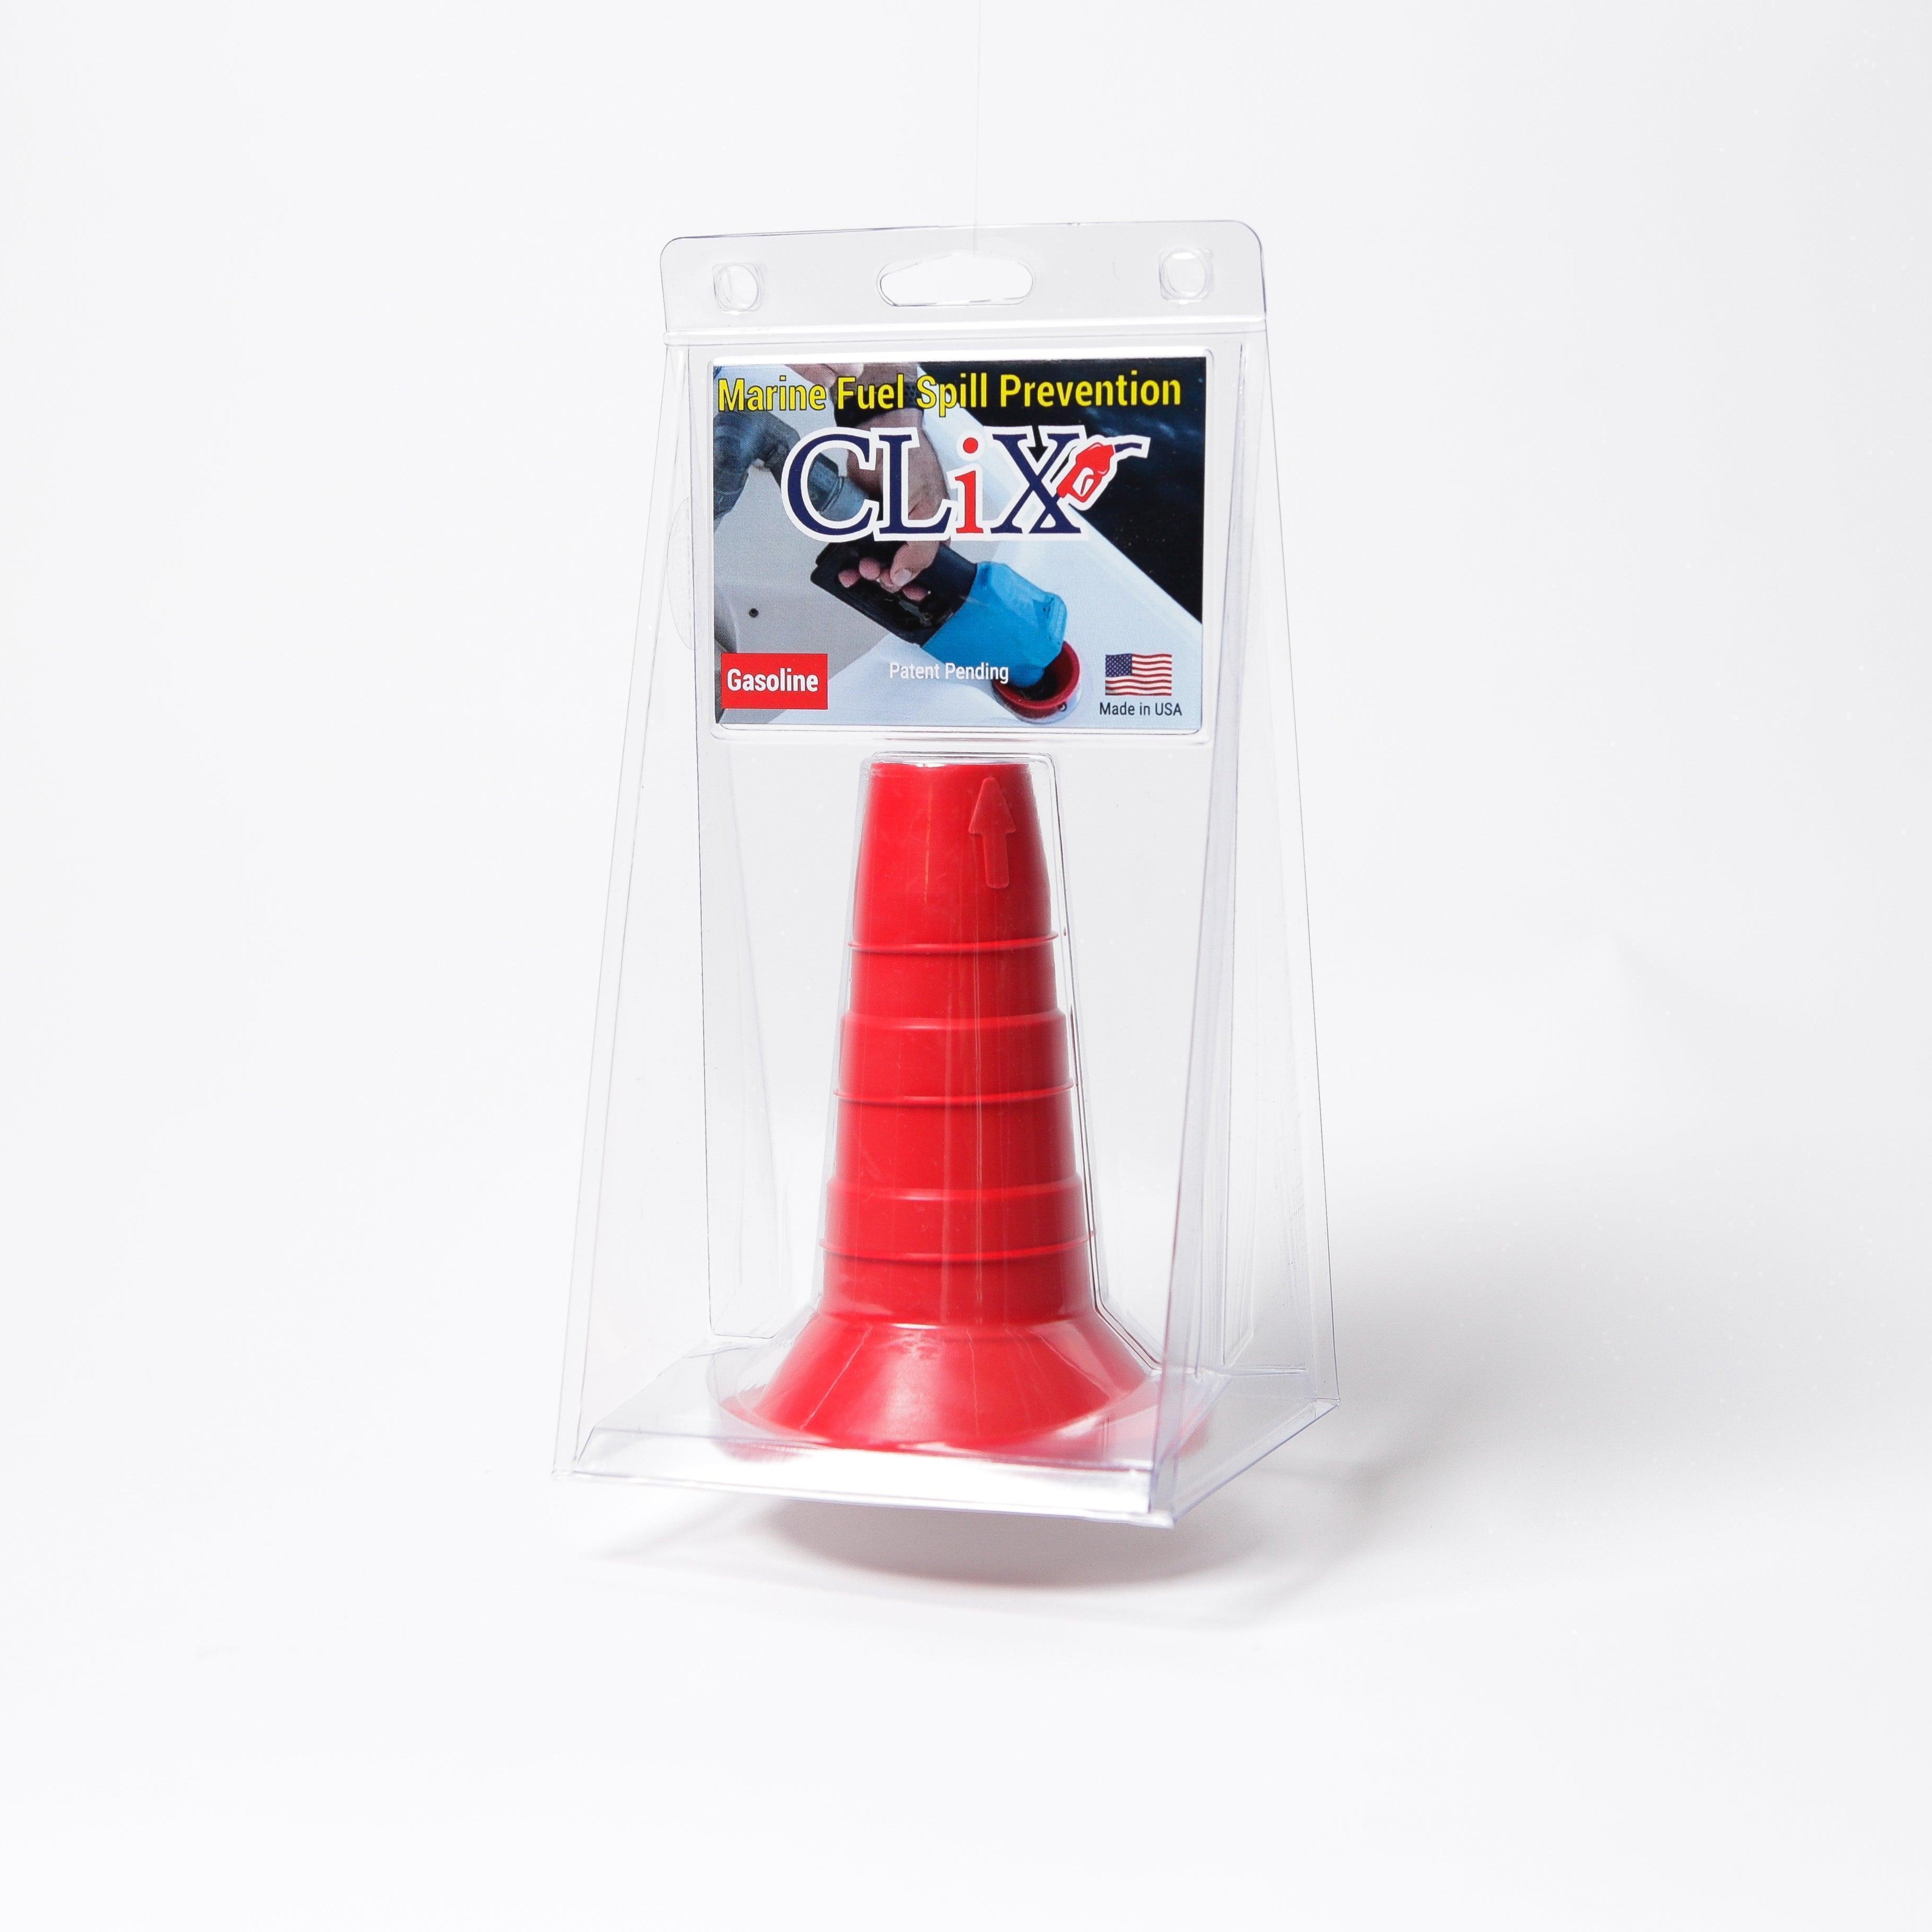
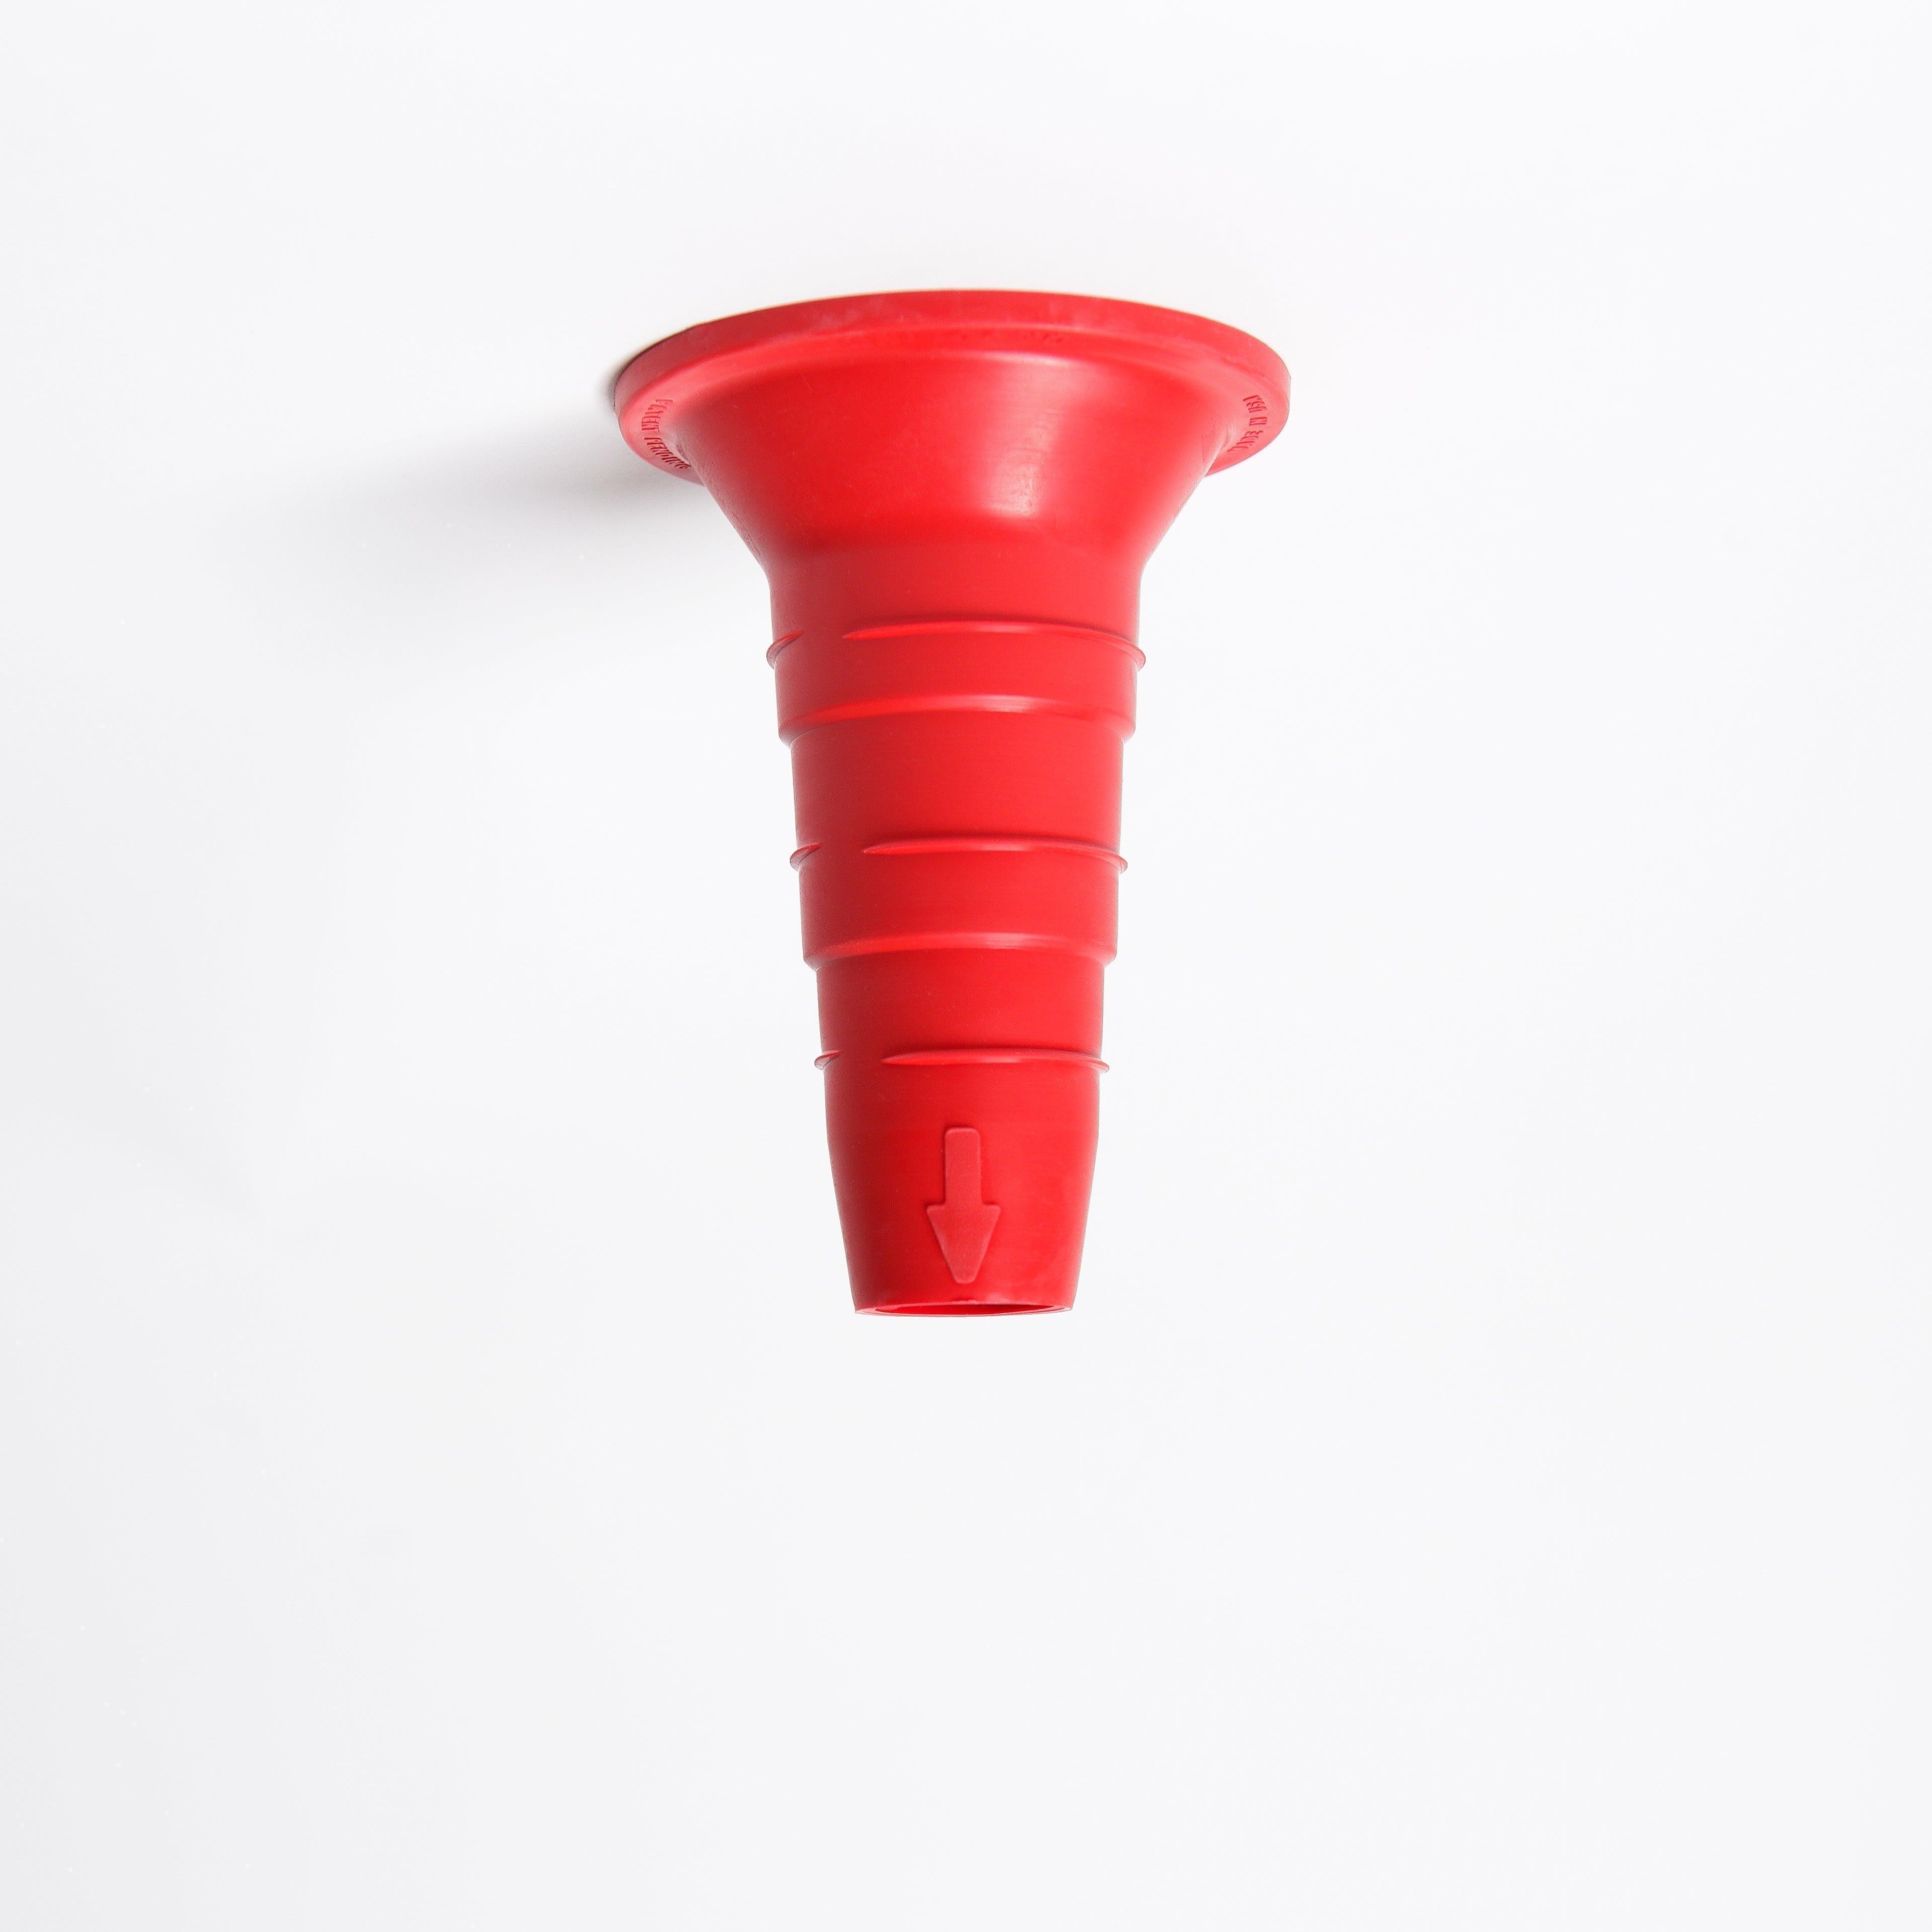
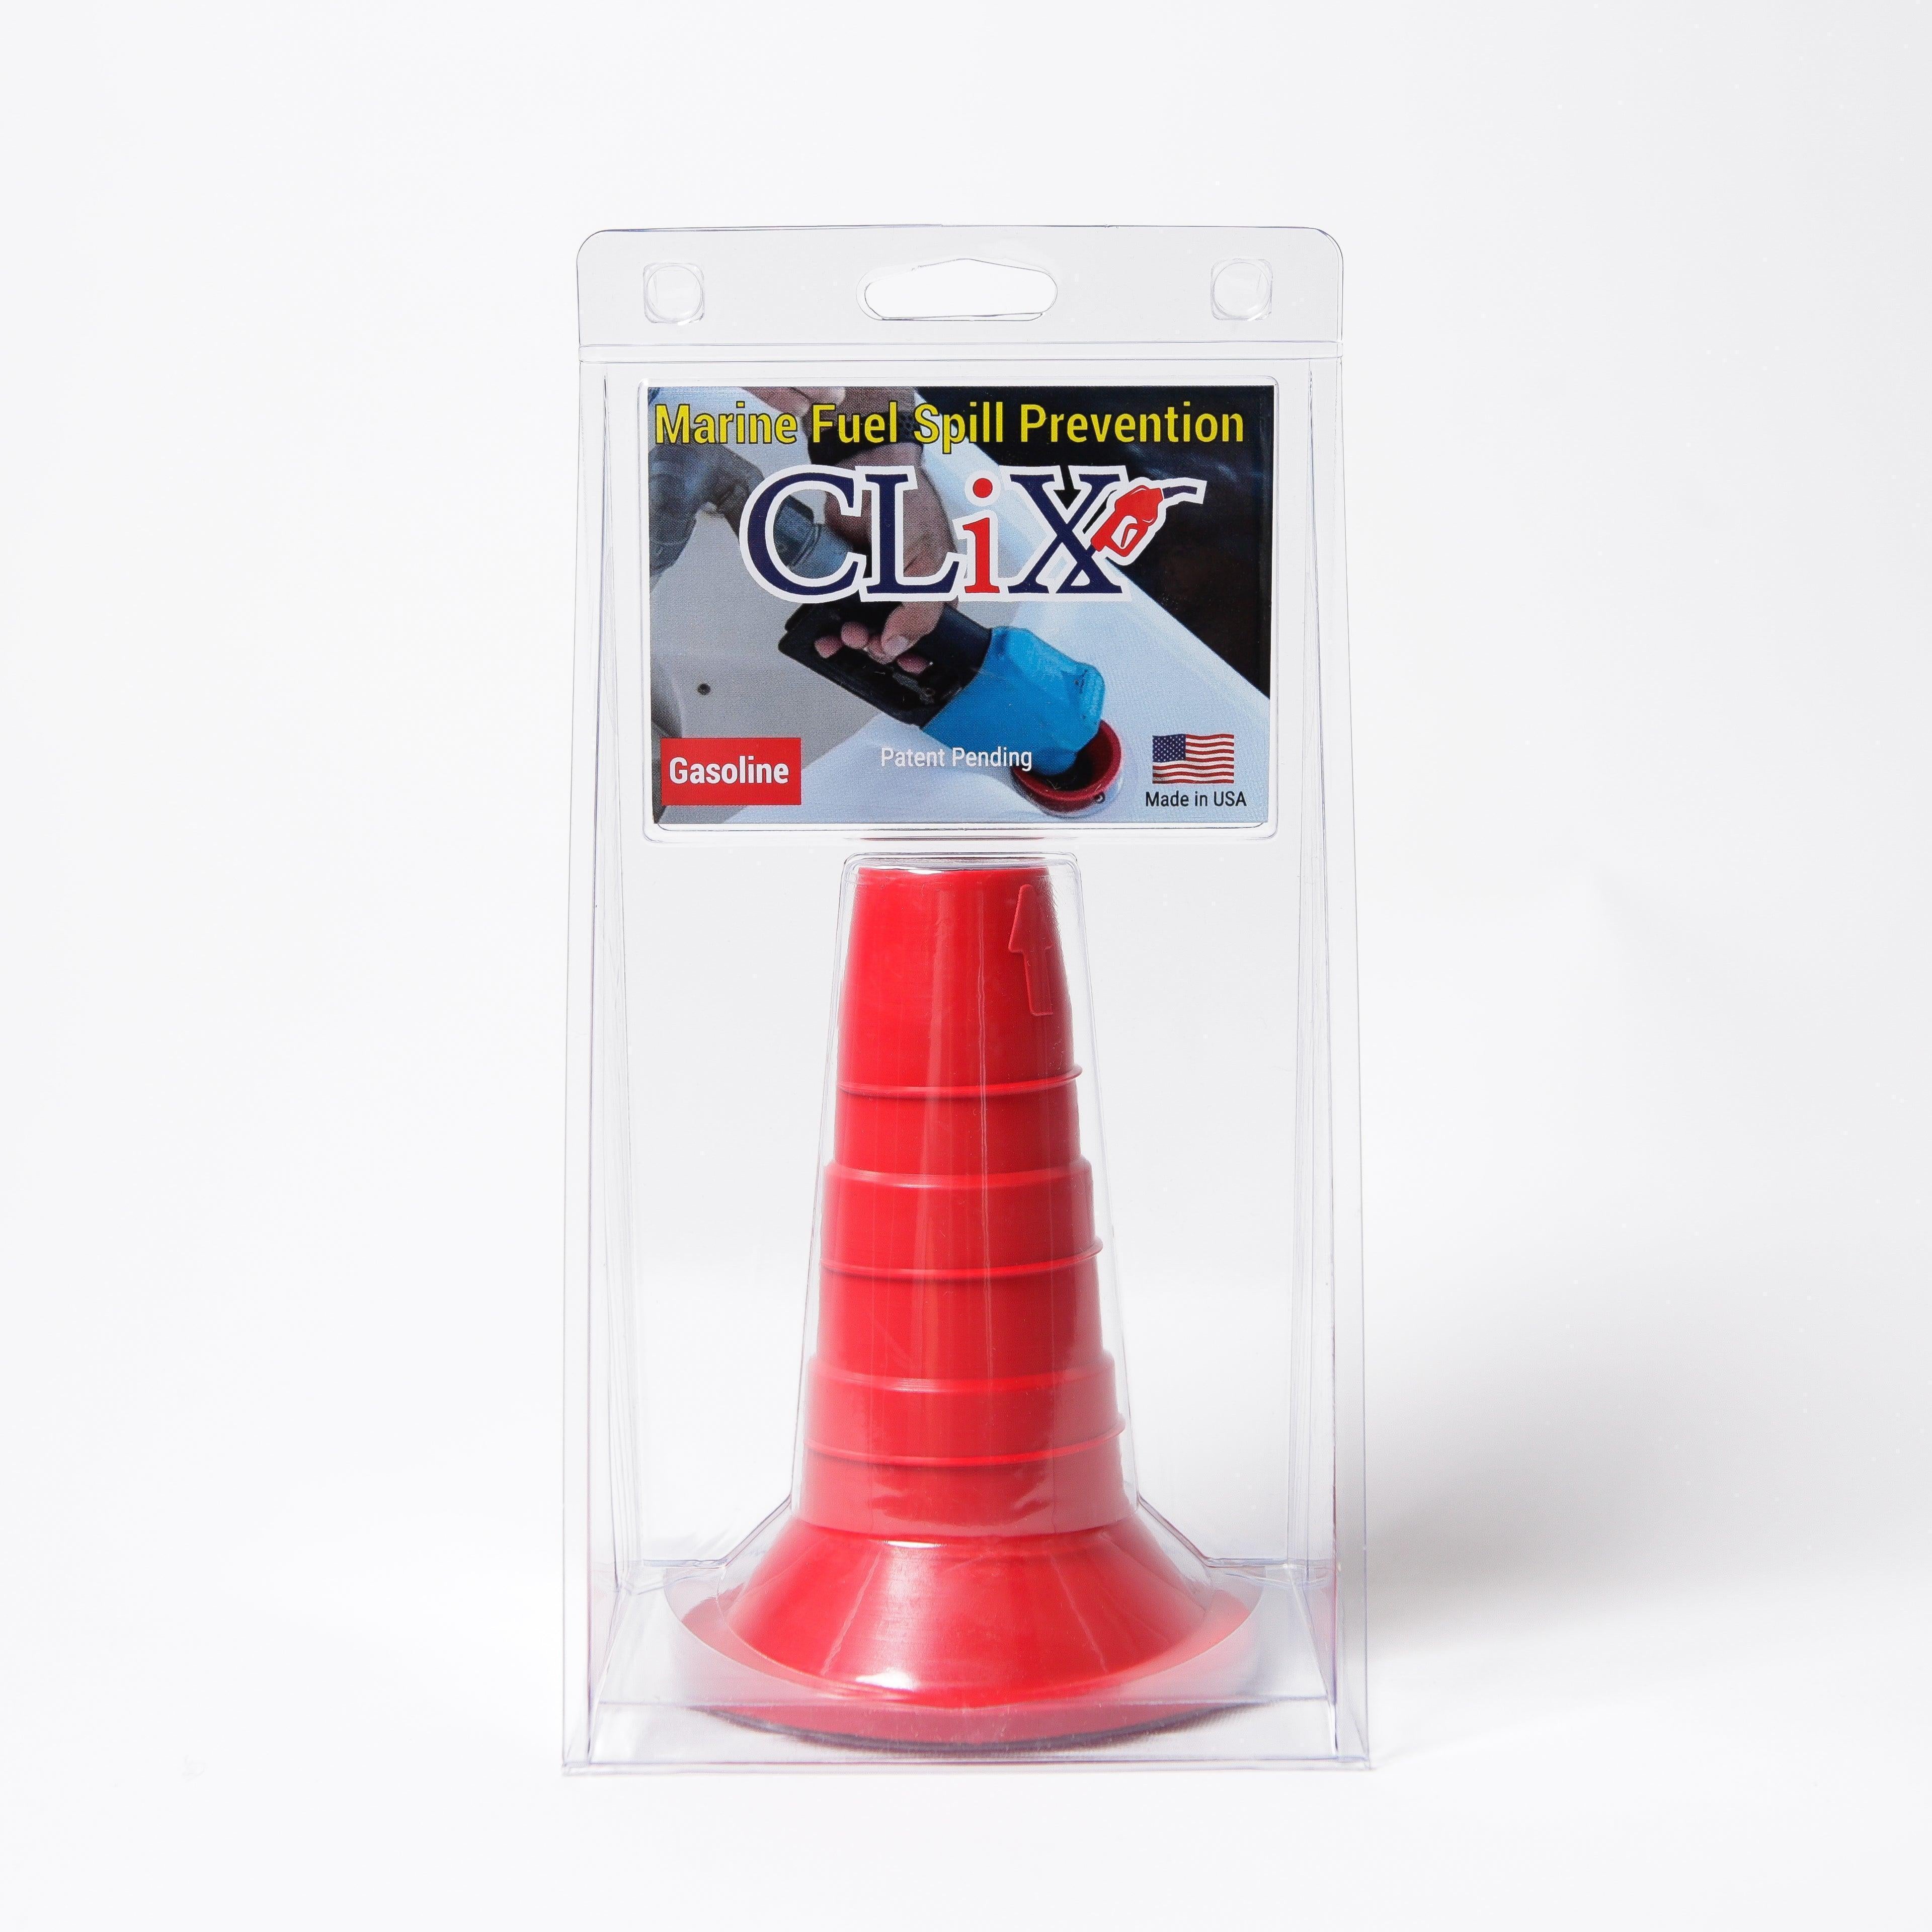
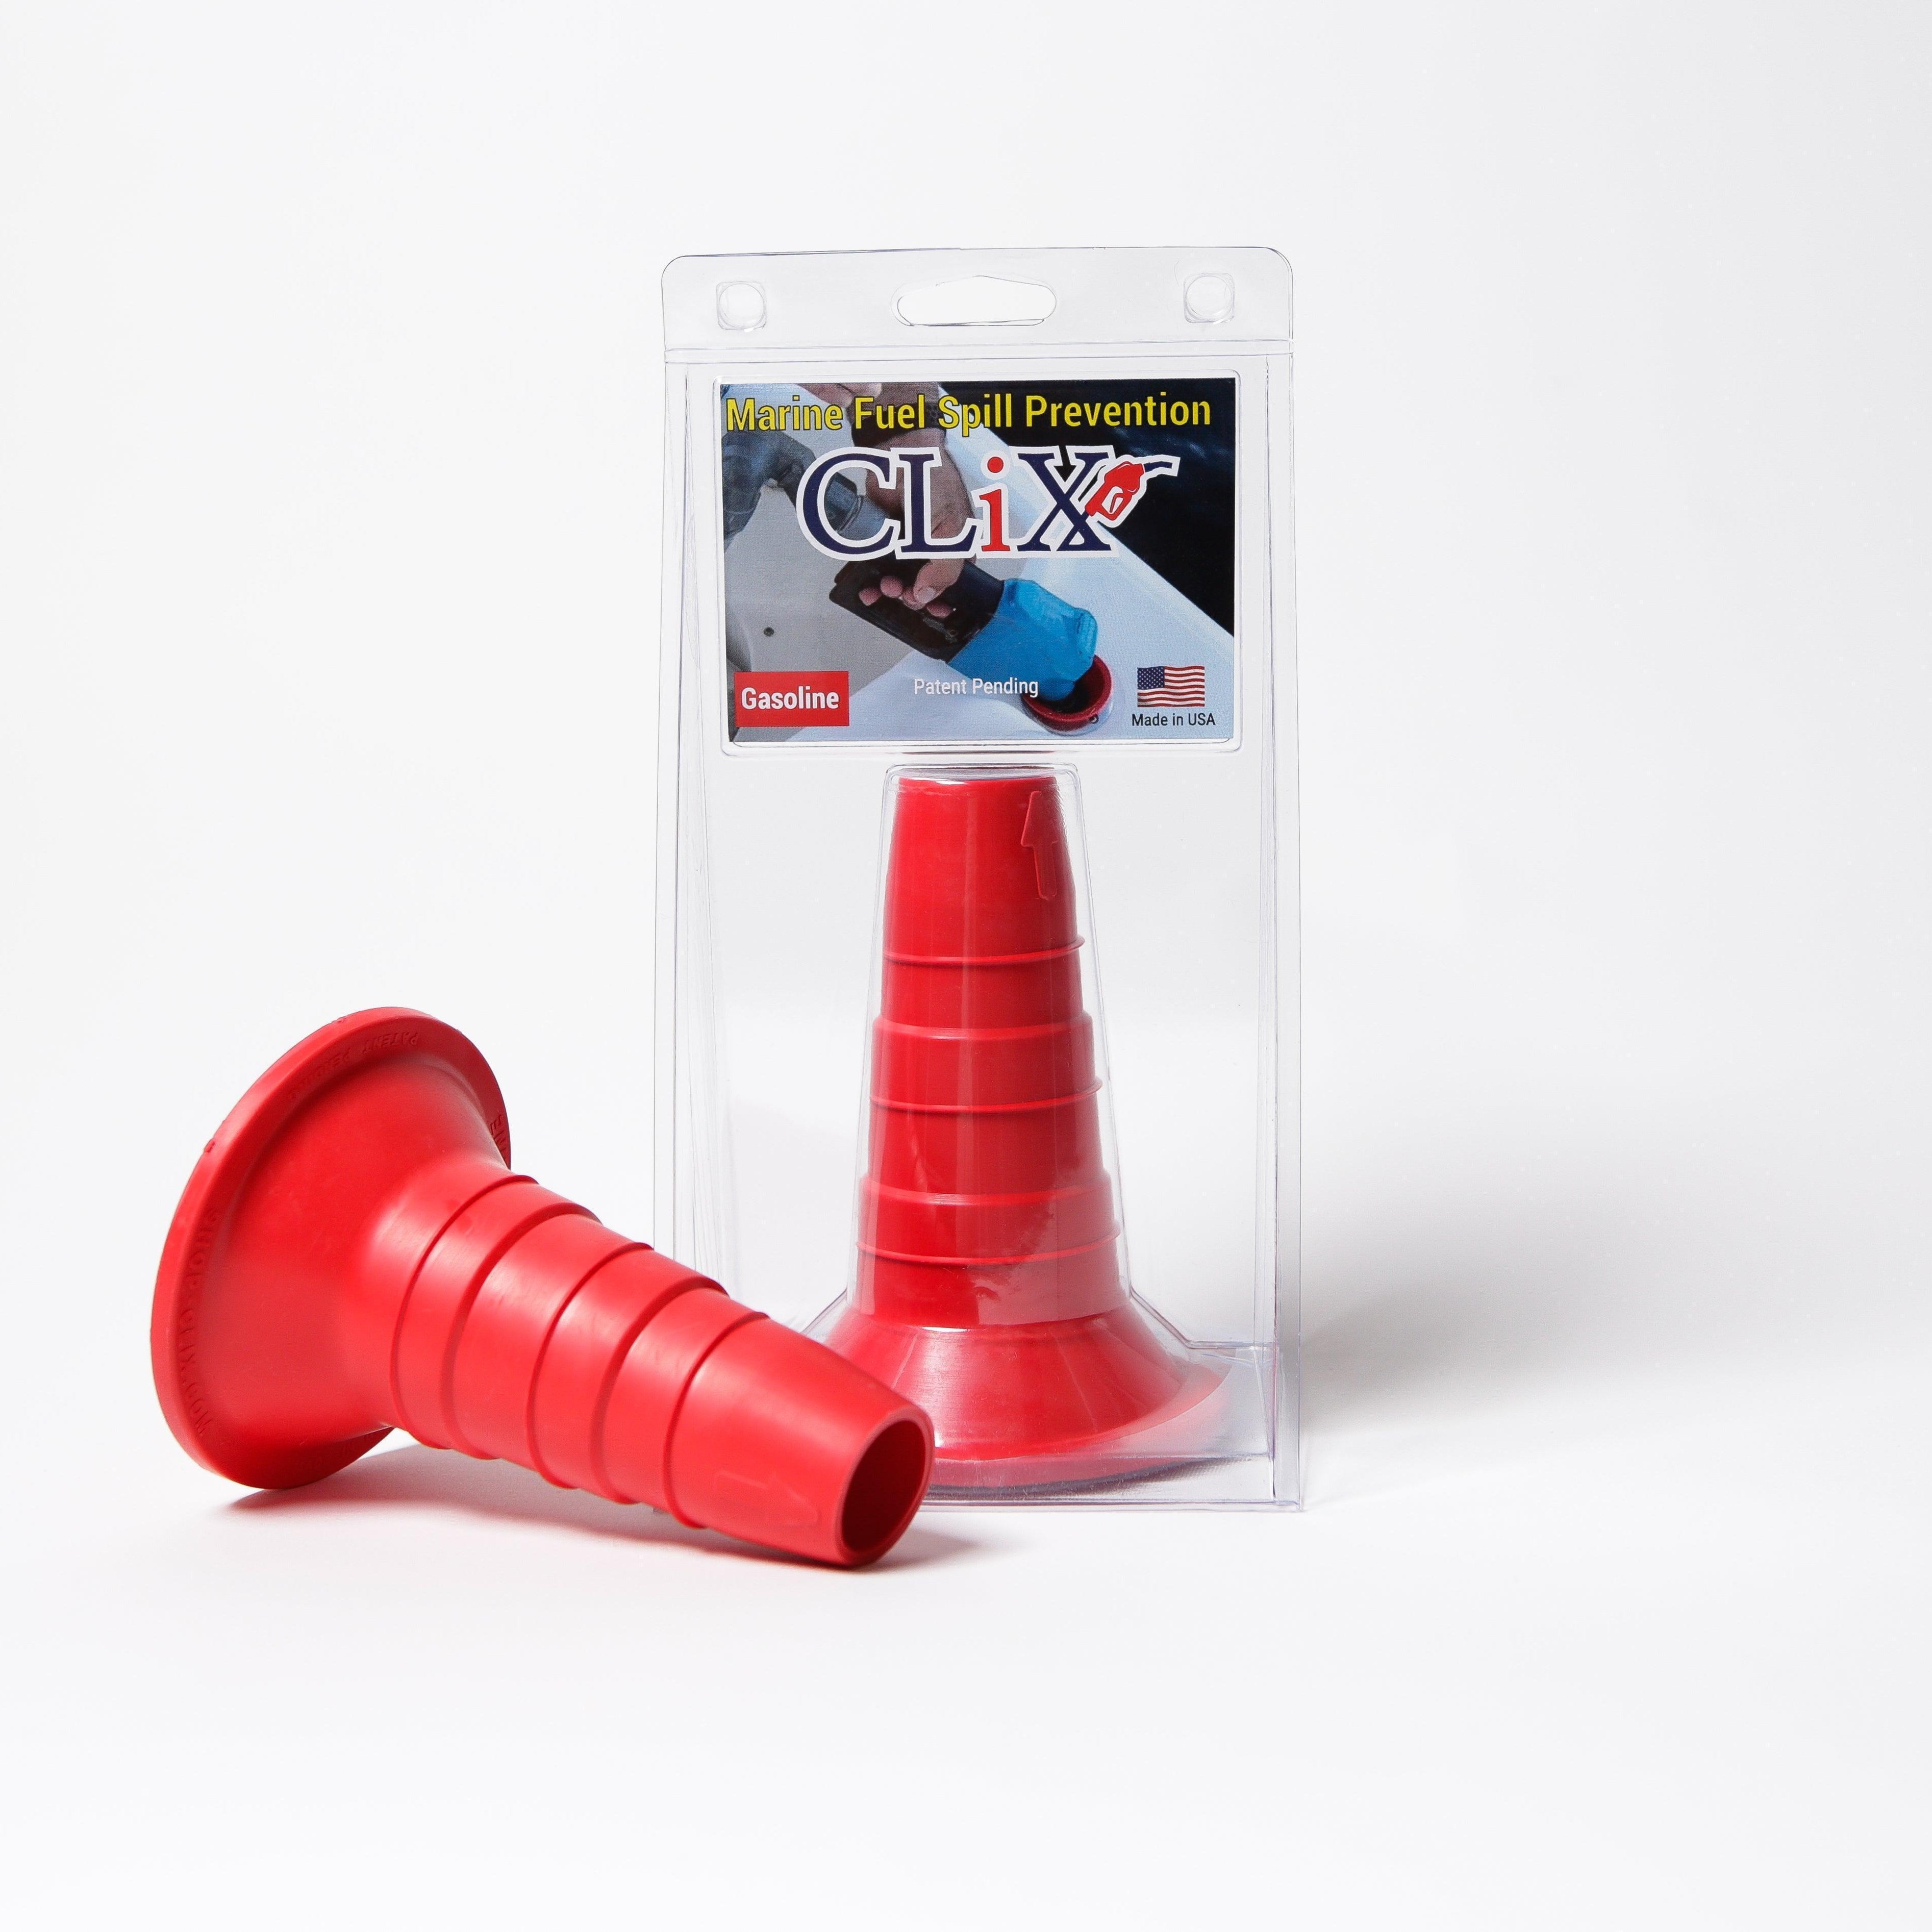
Having both is essential for complete engine protection. You can even add another layer of security before fuel ever hits your tank; see how a fuel filter funnel can protect your engine and keep contaminants out from the start.
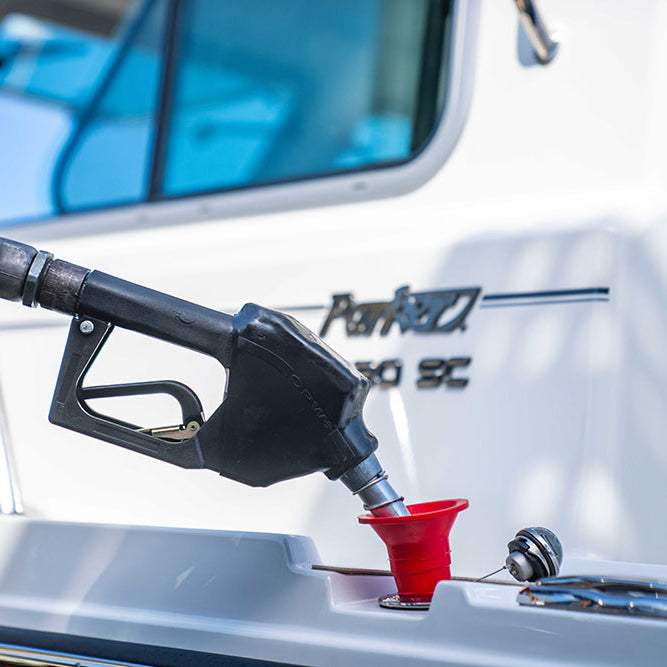
For a truly stress-free and spill-free day on the water, trust CLiX Fueling Solutions to handle your refueling safely and automatically. Check out our innovative fueling system at https://clixfueling.com.