Your boat's gas filler is the gatekeeper for your entire fuel system. It's not just a cap—it's the first line of defense, designed to keep nasty stuff like water and debris out of your fuel tank. A good, solid filler is crucial for preventing engine damage and avoiding environmental messes.
Why Your Boat Gas Filler Is So Important
Think of your boat's gas filler like the main hatch on a submarine. The fuel inside is what powers your adventures, and that filler is the one thing protecting it from the outside world. It does way more than just give you a place to stick the fuel nozzle; it's a carefully designed piece of safety equipment.
It might seem like a small part, but that little gas filler is doing several critical jobs. Without a perfect seal, water from a heavy rain or even just a bit of spray can sneak into your fuel. That's a recipe for an engine that sputters, stalls, or worse, quits on you completely.
The Anatomy of a Secure Fuel System
To really get why this matters, let's look at what makes up the filler assembly. Each piece has a specific job in keeping your fuel system clean and safe.
- The Cap: This is what you see and touch. A good cap with a healthy O-ring or gasket is what creates that primary seal. It keeps water out and stops fuel vapors from leaking.
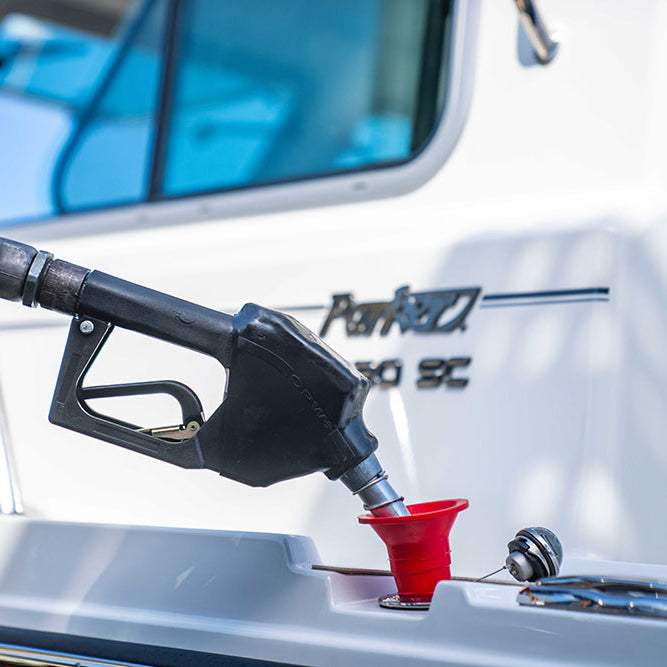
- The Neck: This is the tube that funnels the fuel from the nozzle down to the tank. It's shaped to prevent fuel from splashing back at you while you're filling up.
- The Flange: This is the base plate that mounts to your boat's deck. When it's bedded and sealed right, it creates a totally watertight barrier.
These three parts work together to make sure nothing but clean fuel gets into your tank.
A leaky gas filler cap is one of the most common—and totally preventable—ways water gets into a boat's fuel tank. A single cracked O-ring can let gallons of water seep in over time, setting you up for some seriously expensive engine repairs.
More Than Just a Cap
Beyond just sealing the tank, the gas filler is a key part of your boat's ventilation system. As your engine burns fuel, air has to get into the tank to replace it, otherwise, a vacuum will form and starve the engine. On the flip side, when the sun beats down, fuel expands and creates vapor. The filler and its vent lines let this pressure escape safely.
This is why you should always give your gas filler a quick look-over as part of your regular checks. Making sure it’s in good shape should be on every thorough pre-departure checklist. It’s a tiny component that has a huge impact on your safety, your boat’s performance, and the water we all enjoy.
Choosing the Right Type of Gas Filler
Picking the right boat gas filler is a lot like choosing the right tires for your car. It might seem like a small detail, but it has a huge impact on safety, performance, and even how your boat looks. Get this choice right, and you'll save yourself a world of trouble later on.
It’s easy to get overwhelmed by the options, but they really boil down to a few key decisions. Let's break them down, starting with the part you'll see and use every time you're at the fuel dock.
Comparing Gas Filler Styles
First up, you need to decide on the style of the filler itself. This is all about balancing the look you want with how you use your boat. Are you going for classic and functional, or something a bit more modern and sleek?
-
Standard Screw-In Fillers: These are the old faithfuls of the boating world. A simple, visible cap screws right into the deck flange. They're reliable, easy to use, and won't break the bank. You really can't go wrong with this tried-and-true design.
-
Pop-Up (Flush-Mount) Fillers: If you're after a clean, modern look, this is your ticket. The filler sits completely flush with the deck. Give it a push or a twist, and the cap pops right up. When you're done, it closes flat, leaving a smooth surface that won't snag fishing lines or stub any toes.
-
Locking Gas Fillers: Worried about fuel theft at the marina? A locking filler is a no-brainer. It works just like a standard filler but adds a key lock for that extra peace of mind when you're not around.
Once you’ve settled on a style, it’s time to get into the really important stuff: what it’s made of.
Understanding Material Differences
This is probably the single most critical decision you'll make. The material determines how your gas filler will hold up against the relentless abuse of sun, salt, and water. A poor choice here can lead to corrosion, leaks, and a whole lot of headaches.
Comparing Common Boat Gas Filler Materials
This table breaks down the key characteristics of popular boat gas filler materials to help you choose the best fit for your vessel's needs and environment.
| Material | Corrosion Resistance | Durability | Aesthetic Appeal | Typical Cost |
|---|---|---|---|---|
| Stainless Steel | Excellent | Very High | Premium, classic look | High |
| Chrome-Plated Zamak | Good (while plated) | Moderate | Shiny, modern look | Moderate |
| Nylon/Plastic | Excellent (rust-proof) | Good | Functional, basic look | Low |
As you can see, stainless steel is really the gold standard. Its incredible resistance to rust makes it perfect for saltwater, and while it costs more upfront, its longevity often makes it the cheapest option in the long run.
Chrome-plated zamak (a zinc alloy) gives you that shiny, polished look for less money. But be warned: if that chrome finish gets scratched, the metal underneath can corrode fast, especially in salt water. It’s a solid choice for freshwater boats where the risk is lower.
Finally, you have nylon and other high-strength plastics. They're lightweight, totally rust-proof, and the most affordable of the bunch. The downside? Years of UV exposure can make them brittle and prone to cracking.
The material you choose isn't just about looks—it's about longevity and safety. A corroded filler can fail, leading to dangerous fuel leaks and water contamination in your tank.
Integrated vs. Separate Venting Systems
Last but not least, you have to think about venting. As your engine sips fuel, air needs to get back into the tank to prevent a vacuum from forming. This is handled by a fuel tank vent.
Some gas fillers have an integrated vent—a tiny hole built right into the unit. Others are designed to work with a separate vent, which is another fitting installed somewhere else on the hull.
Knowing which system your boat uses is key. This choice ensures your engine gets a steady, uninterrupted flow of fuel. For a deeper dive into how all these parts work together, check out our complete guide to the boat fuel system.
How to Select the Perfect Fit for Your Vessel
 Now that you know the different styles and materials out there, it's time to pick the right boat gas filler for your ride. This isn't a one-size-fits-all situation. Getting the details right is crucial for a secure, leak-free system and, most importantly, for staying safe out on the water.
Think of it like picking plumbing fixtures for your house. The wrong size doesn't just look off; it leaks, causing water damage and a huge mess. It’s the same concept here, but with flammable fuel. Let’s walk through what you need to measure and consider to get a perfect match.
Measuring for a Flawless Fit
First things first, you've got to do some measuring. Before you even think about buying a new filler, you need the exact dimensions you're working with. This is the only way to ensure the new part drops right in without forcing you to drill new holes or mess with your boat's deck.
Grab a measuring tape and get these two numbers:
- Cutout Diameter: This is the size of the hole in your deck where the current filler sits. It's the most critical measurement because you need the new flange to cover the hole completely.
- Hose Diameter: You also need the inside diameter of your fuel hose. Most recreational boats use either a 1-1/2 inch or a 2-inch hose, but you absolutely have to confirm your specific size. Guessing here is a recipe for a leaky connection.
Nailing these two measurements from the get-go will save you a world of frustration when it's time to install.
Matching the Filler to the Fuel
This next point sounds almost too obvious to mention, but it's one of the most vital safety checks you can make. Your gas filler must be clearly labeled for the type of fuel your boat uses. Mixing them up isn't just a problem—it can be catastrophic for your engine.
Most fillers are clearly stamped or engraved with one of three words:
- GAS
- DIESEL
- WATER
Never, ever assume. A diesel engine that gets a tank full of gasoline can be destroyed in a matter of minutes. A clearly marked filler is your best line of defense against a very expensive mistake at the fuel dock.
Misfueling is a surprisingly common and costly error in the marine world. Always take a second to double-check the label on the pump and your boat's deck fill before you start pumping.
Ensuring Proper Venting and Quality
The vent is the unsung hero of your entire fuel system. As your engine sips fuel, air has to get back into the tank to replace it. Without a clear vent line, a vacuum forms, which can starve the engine of fuel and cause it to stall—usually at the worst possible moment.
When picking out a new boat gas filler, make sure it's compatible with your boat's vent system. Beyond that, look for signs of quality construction. A well-made filler will have a thick, pliable O-ring for a perfect seal and a sturdy chain or cable keeping the cap attached so you don’t lose it overboard.
Choosing a quality part also plays into the bigger picture of fuel management. The marine industry is heavily focused on efficiency, with the market for fuel optimization tech valued at USD 12.6 billion in 2023. That number is expected to hit USD 32.6 billion by 2030, which shows just how much every component matters. You can read more about the research on marine fuel optimization market growth.
Finally, look for parts that comply with marine safety standards from organizations like the American Boat and Yacht Council (ABYC). That certification is your peace of mind, telling you the product has been properly tested to withstand the harsh marine environment.
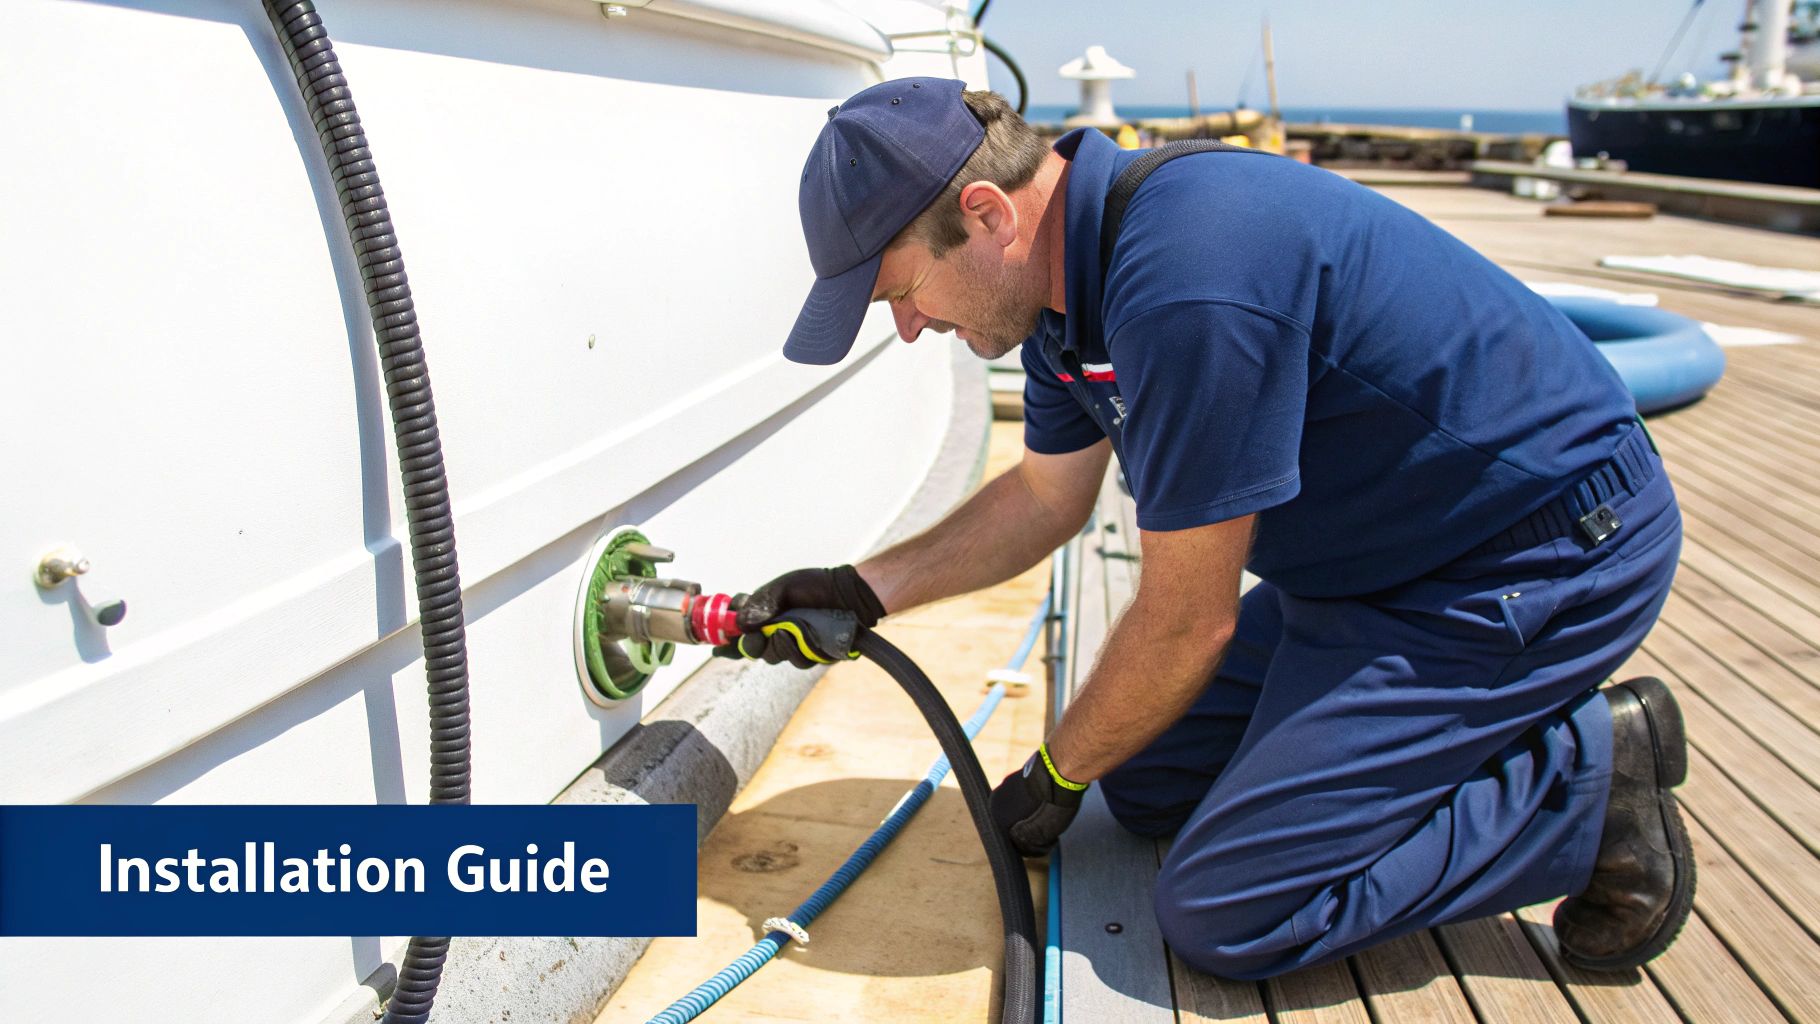
Installing Your New Boat Gas Filler Step-by-Step
So, you're ready to swap out your boat's gas filler? It's a job most boat owners can handle themselves with a few common tools and a little bit of patience. Getting it right isn't just about looks—it's crucial for keeping your fuel system safe and leak-free.
First things first: safety. Let's be clear, you're working with your boat's fuel system. There's no room for error. A single spark can turn this simple DIY project into a disaster. Always, always work in a well-ventilated area. Outdoors is best, but an open garage will do. You need to keep those fuel vapors from building up.
The absolute first step, before you touch a single tool, is to disconnect your boat’s battery. This is non-negotiable. It kills the risk of any stray electrical sparks. Finally, grab your marine-rated fire extinguisher and keep it right next to you. Okay, now that we've covered the essentials, you’re ready to get started.
Preparing for the Installation
A little prep work goes a long way. If you rush this part, you're setting yourself up for headaches later, like annoying leaks or a seal that just won't hold.
-
Gather Your Tools: You’ll probably need a screwdriver or a socket set for the old filler, a scraper for the old gunk, and some acetone or alcohol to get the surface perfectly clean. You'll also need a tube of good marine-grade sealant (something like 3M 5200) and the right size hose clamps.
-
Get Access: Make sure you can easily get to the top of the deck where the filler is, as well as the underside where the hose connects. Clear out any gear that's in your way so you have plenty of room to move around.
With your tools laid out and the area clear, it's time to tackle the old unit. This can be the trickiest part of the whole job, especially if that old filler has been sitting there for a decade.
Removing the Old Gas Filler
Go slow here. You don't want to accidentally gouge your deck. The old sealant can be surprisingly stubborn, but it will give up with a bit of steady effort.
Start underneath by loosening the hose clamps on the fuel filler hose. Sometimes the hose feels practically glued to the filler neck. A gentle twist back and forth should help break it free. Whatever you do, don't just yank on it—you could easily damage the hose.
Next, head back up top and take out the mounting screws holding the flange to the deck. Now for the seal. Use a plastic scraper or a putty knife to carefully work your way under the flange, prying it up gently. The goal is to separate it from the deck without scratching up your fiberglass. Once it's loose, you can lift the old filler right out.
Installing the New Unit and Ensuring a Watertight Seal
With the old part gone, you're on the home stretch. Getting a clean surface is everything here. It’s the key to creating a permanent, watertight seal that will last for years.
-
Clean the Mounting Surface: Get every last speck of that old sealant off the deck. Scrape off the big stuff, then use a rag soaked in acetone or alcohol to wipe the surface until it’s perfectly clean and smooth.
-
Apply Marine-Grade Sealant: Squeeze a generous, continuous bead of sealant onto the underside of the new filler's flange. Don't be stingy! You want enough that a little bit squeezes out around the edges when you tighten it down. That’s how you know you have a gap-free seal.
-
Secure the New Filler: Place the new boat gas filler into the opening, lining it up properly. Put the new screws in and tighten them in a star pattern, kind of like you'd tighten lug nuts on a car wheel. This applies even pressure for a perfect seal. Wipe away the excess sealant that squishes out for a nice, clean look.
-
Connect and Clamp the Hose: Back under the deck, slide the fuel hose onto the new filler neck. Now, this is important: you absolutely must use two hose clamps. Turn them so the screw mechanisms are on opposite sides of the hose. This is an ABYC safety standard that provides a redundant, super-secure connection to prevent any fuel leaks. You can learn more about different boat fuel filler options and their requirements in our detailed guide.
This image shows a simple three-step flow for keeping your new filler in great shape.
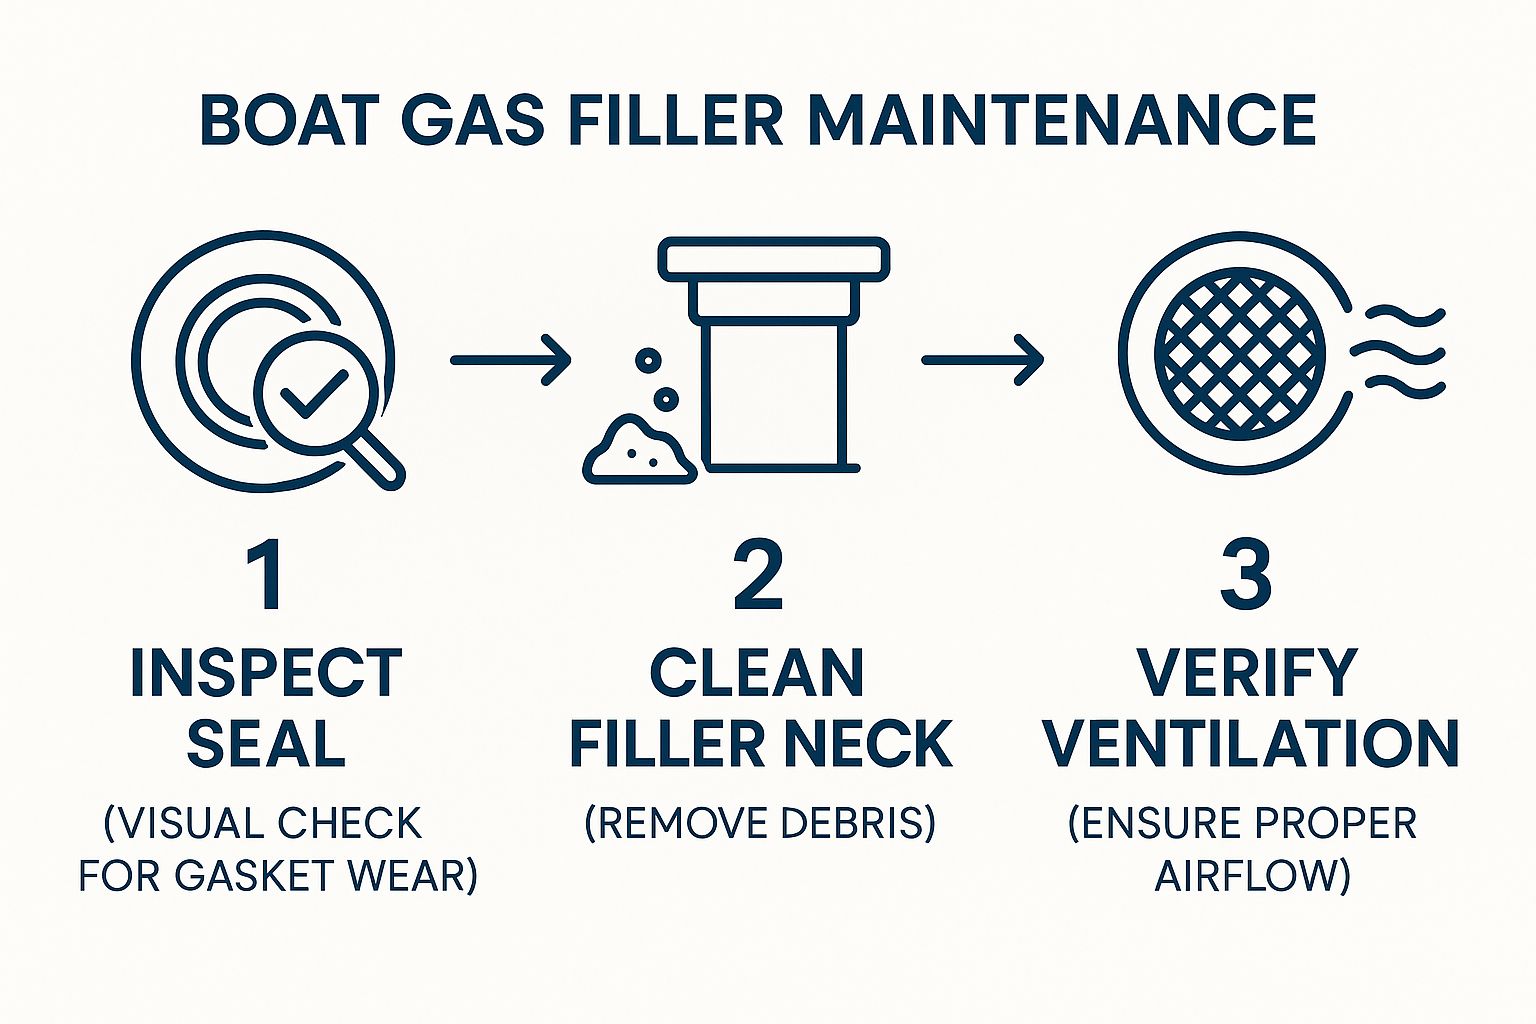
As you can see, just routinely checking the seal, neck, and vent is the foundation for a reliable fuel system.
Troubleshooting Tip: If your fuel hose is old and stiff, it can be a real pain to get back on the new filler neck. A little heat from a hairdryer will make it much more flexible. Just never, ever use an open flame anywhere near your fuel lines.
Once the sealant has had time to cure (check the instructions on the tube), you can reconnect your battery. The very last step is a leak check. Add a little fuel to the tank and carefully inspect all your connections. If everything is dry and secure, you’re all done
Simple Maintenance for a Longer Lifespan
When it comes to your boat gas filler, a little preventative maintenance goes a surprisingly long way. Think of it like changing the oil in your car—these simple, regular checks can help you dodge much bigger, more expensive headaches down the road. It’s all about stopping trouble before it even gets a chance to start.
Don't worry, this isn't some complicated or time-consuming chore. We’re just talking about a few minutes of inspection every few trips out. This quick routine will keep your filler safe, reliable, and working exactly as it should for years to come.
Your Quick Maintenance Checklist
Treat this as a quick health checkup for your fuel system's first line of defense. Catching small issues early prevents them from becoming the kind of major problems that could leave you stranded.
Here are the key things to look at during your inspection:
- Inspect the Cap’s O-Ring: This little rubber gasket is arguably the most critical part of the cap. Check it for any signs of cracking, drying out, or getting flattened. A bad O-ring is basically an open invitation for water to sneak into your fuel tank.
- Clean the Threads: Salt, sand, and general grime love to build up on the cap and filler neck threads. A quick wipe with a clean cloth keeps them clear, ensuring you get a perfectly tight seal every time.
- Check the Tether: Make sure the chain or cable connecting the cap to the filler is still secure. Losing a gas cap is a completely avoidable expense and a real pain.
These small steps add up to create a powerful barrier against contamination. The integrity of that seal is everything, and our comprehensive boat fuel tank guide dives deeper into keeping your entire fuel system healthy.
Protecting Your Engine from Harm
A clean, well-maintained boat gas filler does more than just keep water out; it’s directly protecting your engine's most sensitive parts. Contaminants like water and debris can absolutely wreck a marine fuel injection system, leading to clogs, corrosion, and lousy performance.
These systems are precision-engineered, and the market reflects that. The global marine fuel injection system market hit a value of USD 5.71 billion in 2024, a number that highlights just how critical it is to protect this investment.
A single drop of water can cause rust on a fuel injector tip, messing up the spray pattern and tanking your engine's efficiency. Regular maintenance of your gas filler is the cheapest insurance policy you can buy for your engine's health.
Knowing When to Replace, Not Repair
Proper maintenance will definitely extend the life of your filler, but no part lasts forever. It’s crucial to recognize the signs that it’s time for a full replacement, not just another cleaning.
Keep an eye out for these red flags:
- Visible Corrosion or Pitting: If you see rust or pitting on the metal, especially around the flange or neck, the filler's structural integrity is shot.
- Stripped Threads: Can you no longer tighten the cap down securely? The threads are probably worn out, creating a poor seal and a serious safety hazard.
- Cracks in the Flange: Any visible cracks in the filler's body, particularly where it mounts to the deck, mean it's time for a new one, no questions asked.
Don’t try to patch up these kinds of problems. Replacing the entire unit is the only truly safe and reliable fix to keep your fuel system secure and leak-free.
Got Questions About Your Boat's Gas Filler? We've Got Answers.
Even after you've got the basics down, a few nagging questions always seem to pop up when it comes to boat fuel systems. Let's tackle some of the most common ones we hear from fellow boaters, so you can handle these situations like a seasoned pro.
We'll cover everything from the nightmare scenario of water in your fuel to whether that shiny stainless steel upgrade is really worth it. The goal here is practical advice you can actually use.
What Should I Do If Water Gets in My Fuel Tank?
Finding water in your fuel is one of those heart-sinking moments for any boater. The first clue is usually a sputtering engine that just won't run right, or it might die altogether. Because water is heavier than fuel, it sinks to the bottom of your tank—exactly where the fuel pickup tries to pull from.
If you think you've got water contamination, kill the engine immediately. Don't try to power through it; you'll only pull more water into the delicate parts of your engine. What you do next depends on how bad the problem is.
- Just a little water? A good fuel-water separator should catch it. You can also try a fuel additive designed to emulsify small amounts of water, allowing it to pass harmlessly through the engine.
- A lot of water? This is a bigger problem. The tank needs to be completely pumped out and cleaned by a professional. Trust us, this isn't a DIY weekend project. It involves handling flammable liquids and requires special equipment to be done safely.
Of course, prevention is the best medicine. Make a habit of checking the O-ring on your gas filler cap. If it's cracked or worn out, replace it. It’s a simple, cheap fix that can save you a world of hurt.
How Can I Tell If My Fuel Vent Line Is Clogged?
A blocked fuel vent is a tricky issue because it often feels like you're just running out of gas. This little line allows air to replace the fuel your engine burns, preventing a vacuum from forming inside the tank. When it gets clogged, the engine eventually starves.
The classic symptom is an engine that stalls out, especially when you're running at higher speeds. You wait a few minutes, it starts right back up, and then the cycle repeats. That's the vacuum building up, stopping fuel flow, and then slowly releasing while the engine is off. Another dead giveaway is a loud "whoosh" of air rushing in when you open your gas cap.
A quick way to test this theory is to run the boat with the gas cap just slightly loose. If the problem goes away, you've almost certainly found your culprit. Just be careful—this can let fuel vapors escape.
What causes the clog? Usually, it's something simple like a spider's nest, salt crystals, or some other piece of debris. A quick blast of low-pressure compressed air from the tank-side of the line can often clear it right out.
Can I Upgrade from a Plastic to a Stainless Steel Gas Filler?
Yes, you absolutely can, and it's one of the best and most common upgrades you can make. A lot of boats leave the factory with basic plastic fillers to save on cost. They work fine for a while, but UV rays eventually make them brittle and prone to cracking, which is a major leak risk.
Swapping it out for a quality stainless steel boat gas filler is a great move for a few reasons:
- Built to Last: Stainless steel isn't going to crack from sun exposure or get damaged easily at the dock.
- Fights Corrosion: It holds up beautifully, especially if you spend your time in saltwater.
- Looks Sharp: Let's be honest, a polished stainless filler just looks better and adds a touch of class.
The swap is usually pretty simple. The key is to buy a new filler that has the same cutout diameter and fits the same size hose. This makes it a direct replacement, so you won't have to get out the jigsaw.
Are Locking Gas Caps Really Worth It for a Boat?
For the peace of mind they provide, we'd say yes. While you might not think of fuel theft as a huge problem on the water, it definitely happens, particularly in crowded marinas or less-secure storage lots. A locking cap is an easy way to deter thieves.
But it’s not just about theft. A locking cap also prevents someone from messing with your boat. The last thing you want is a vandal putting water, sugar, or anything else into your fuel tank. That kind of prank can lead to thousands in engine repairs. For the small price of a locking filler, you get great insurance against theft and malice, ensuring you're the only one who can access your tank.
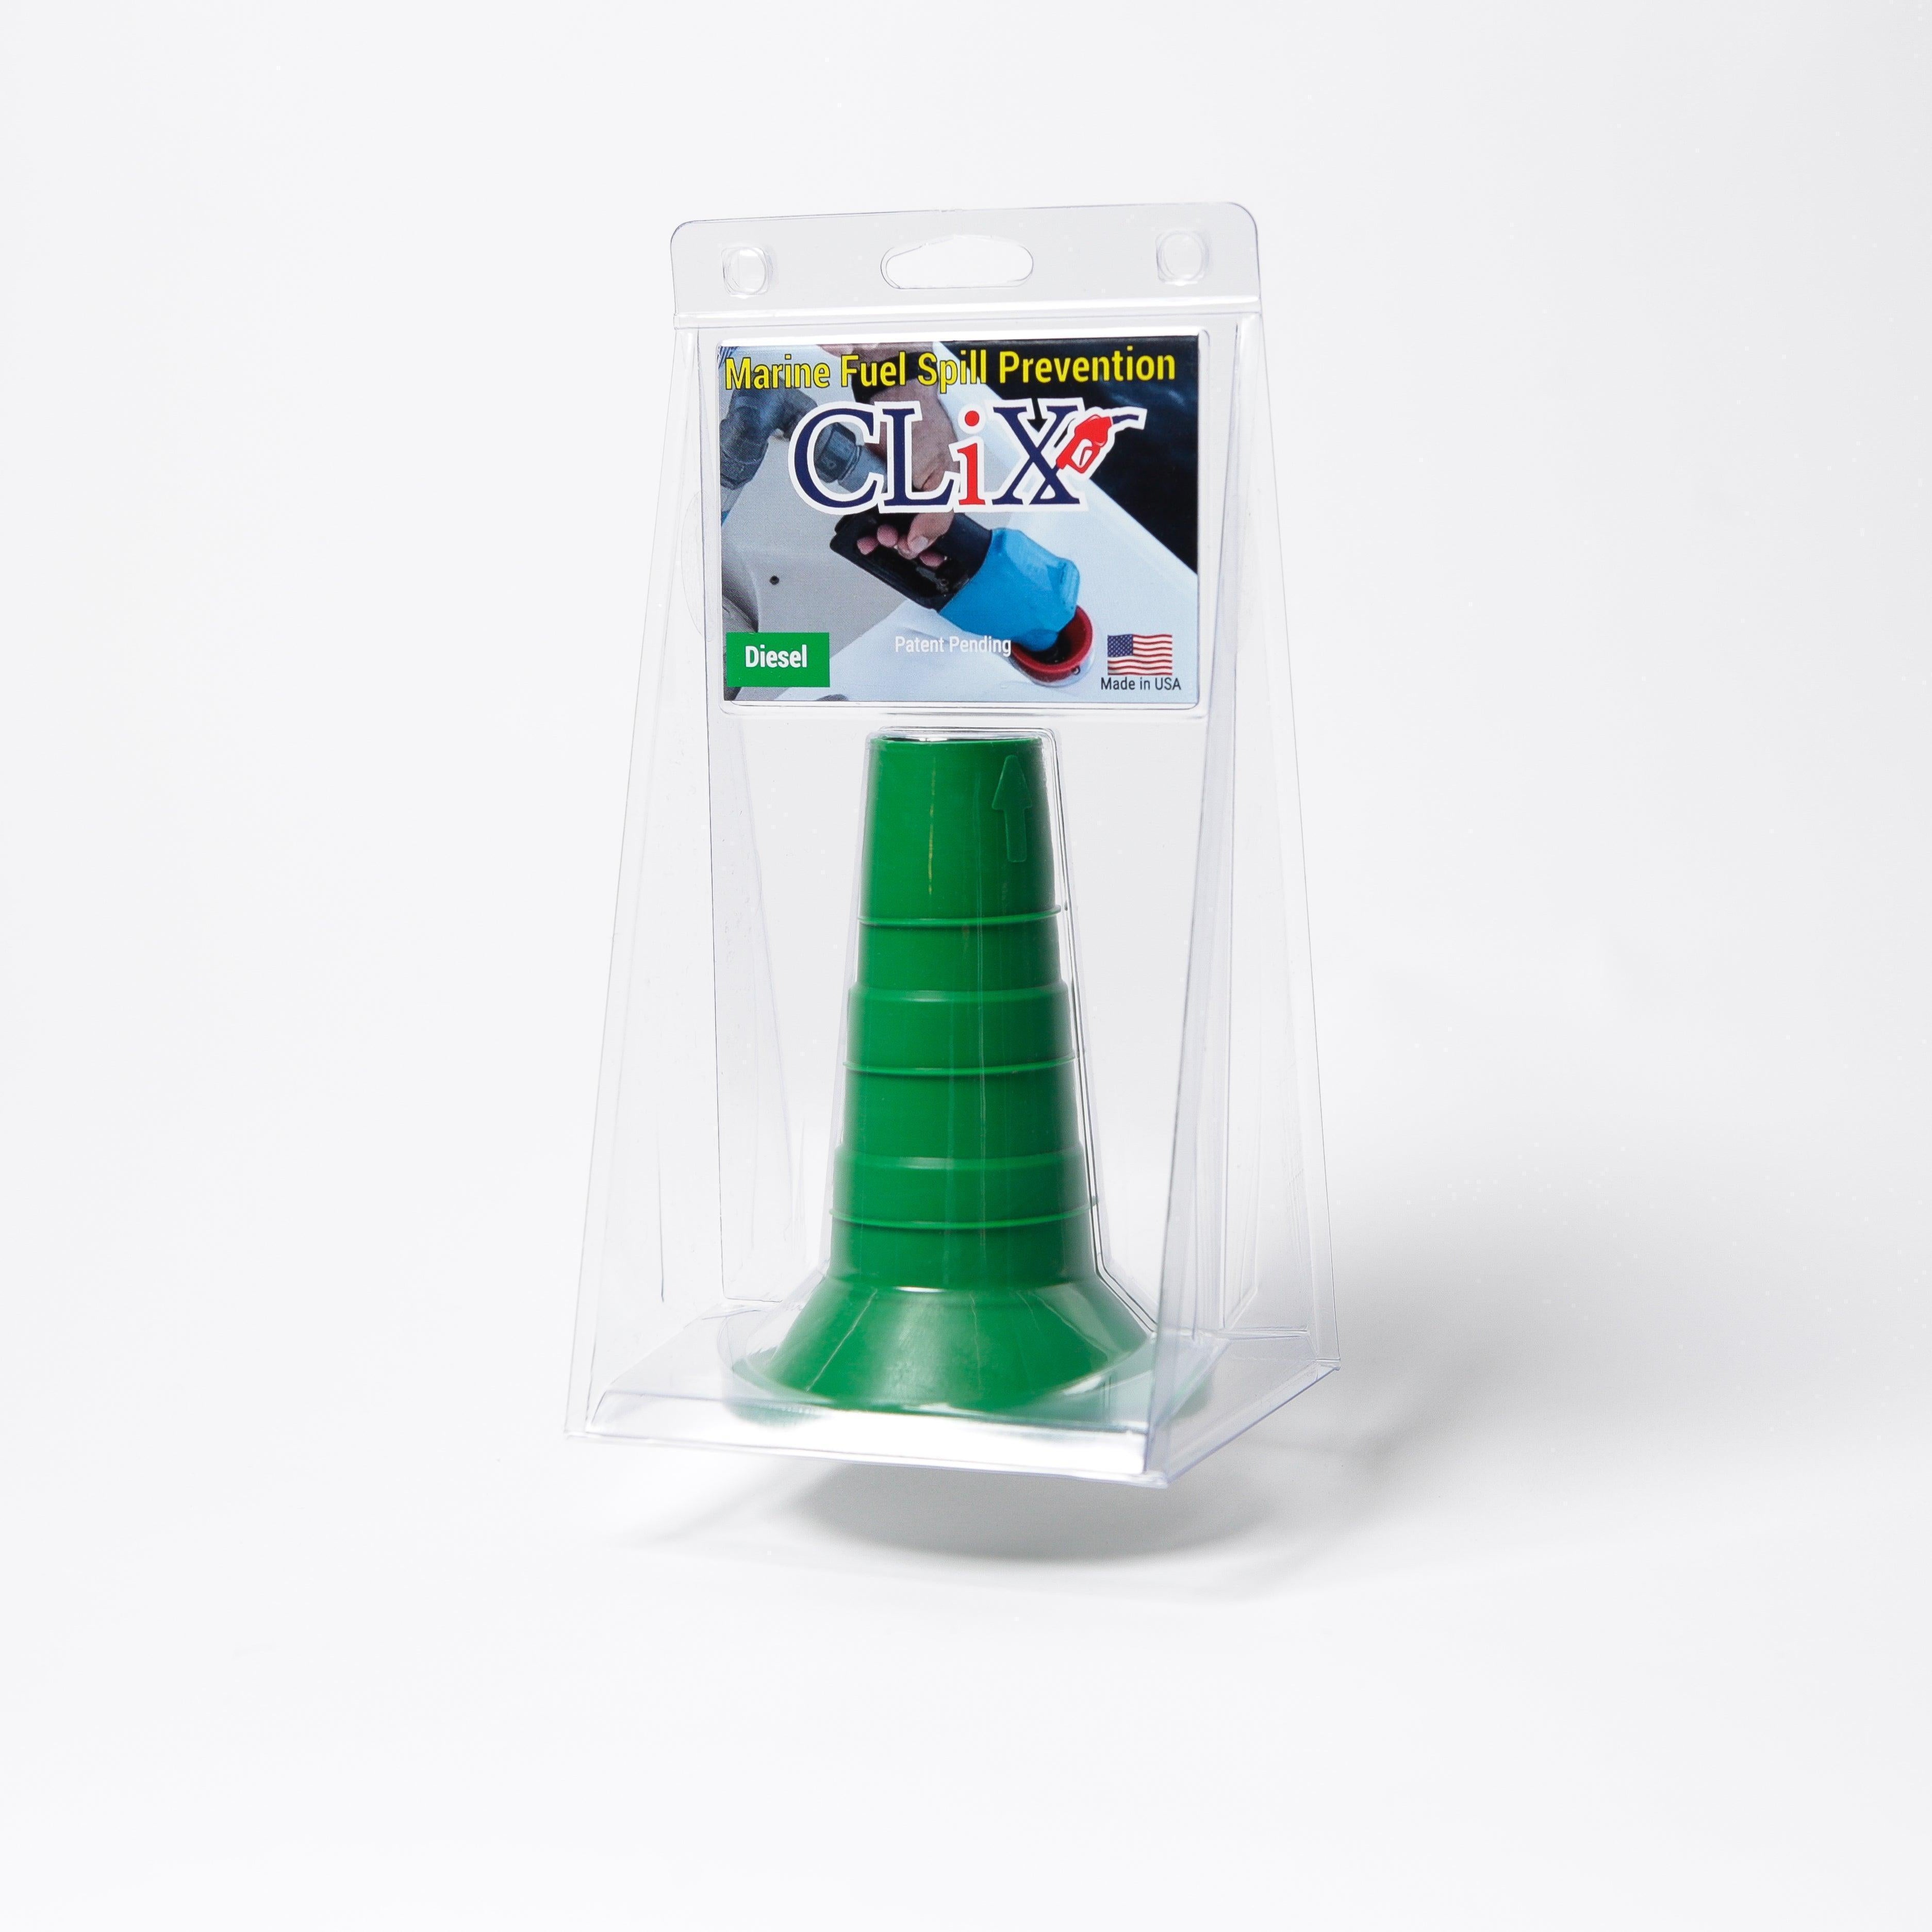
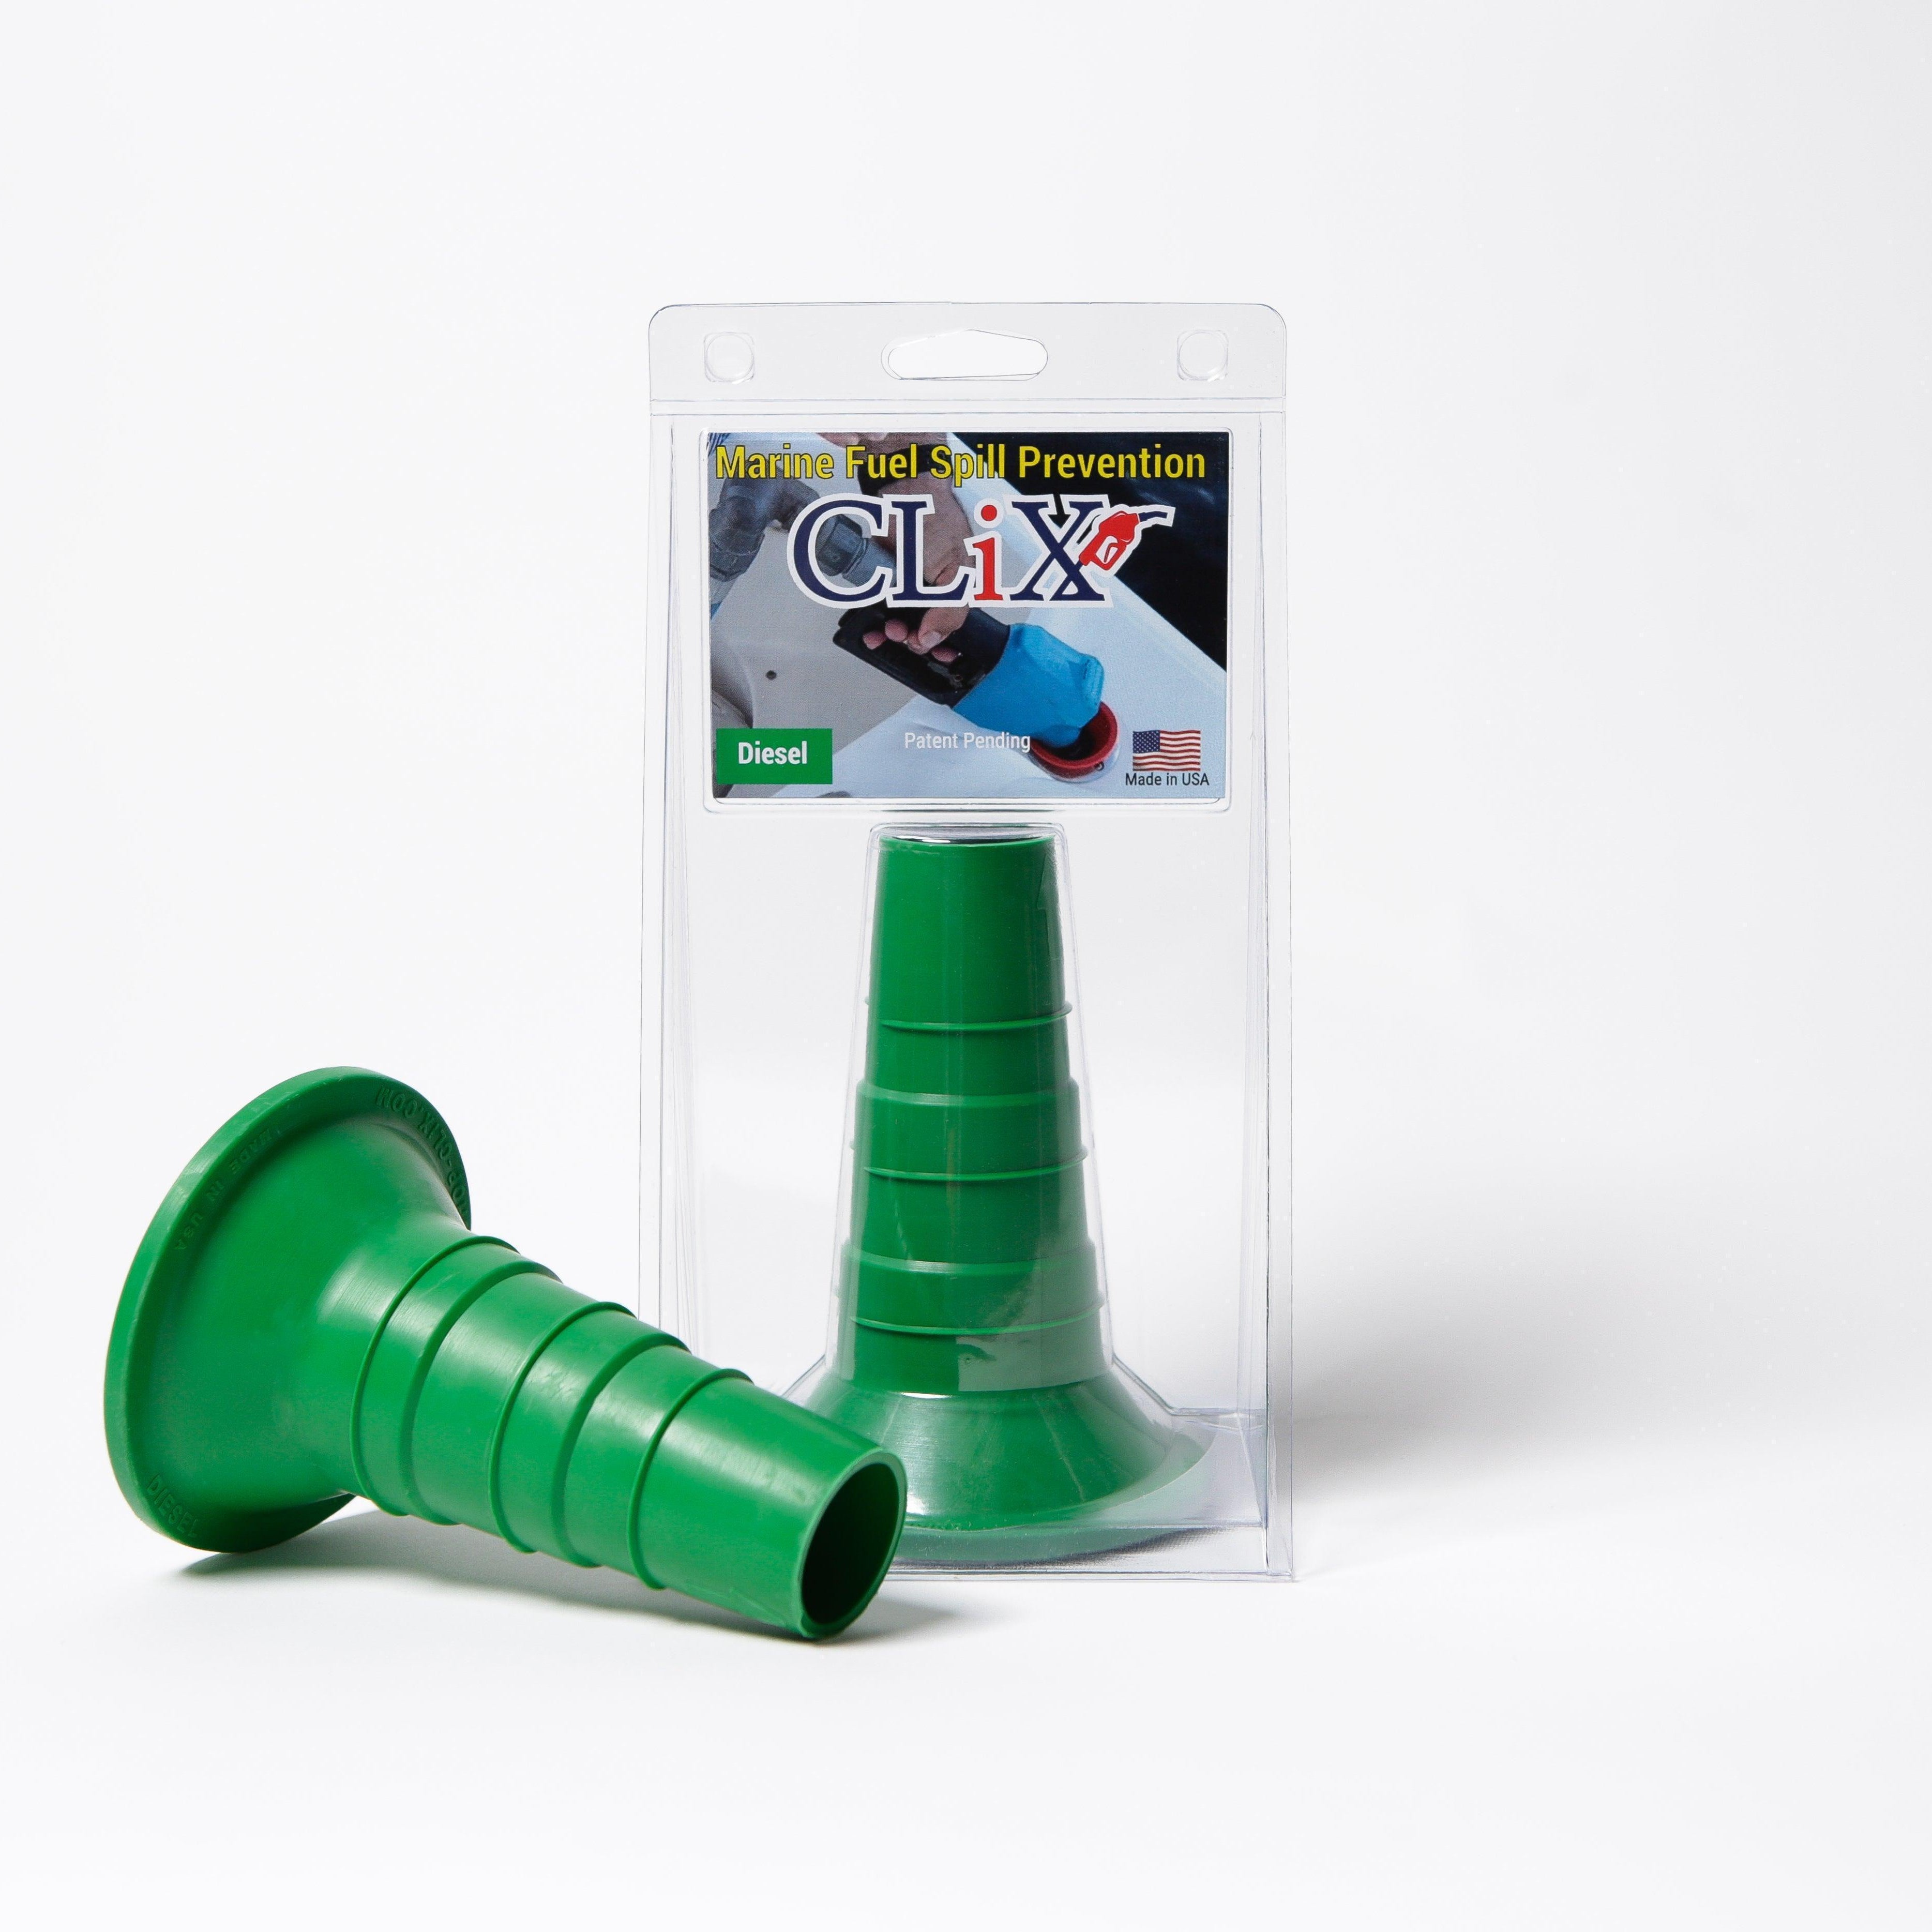
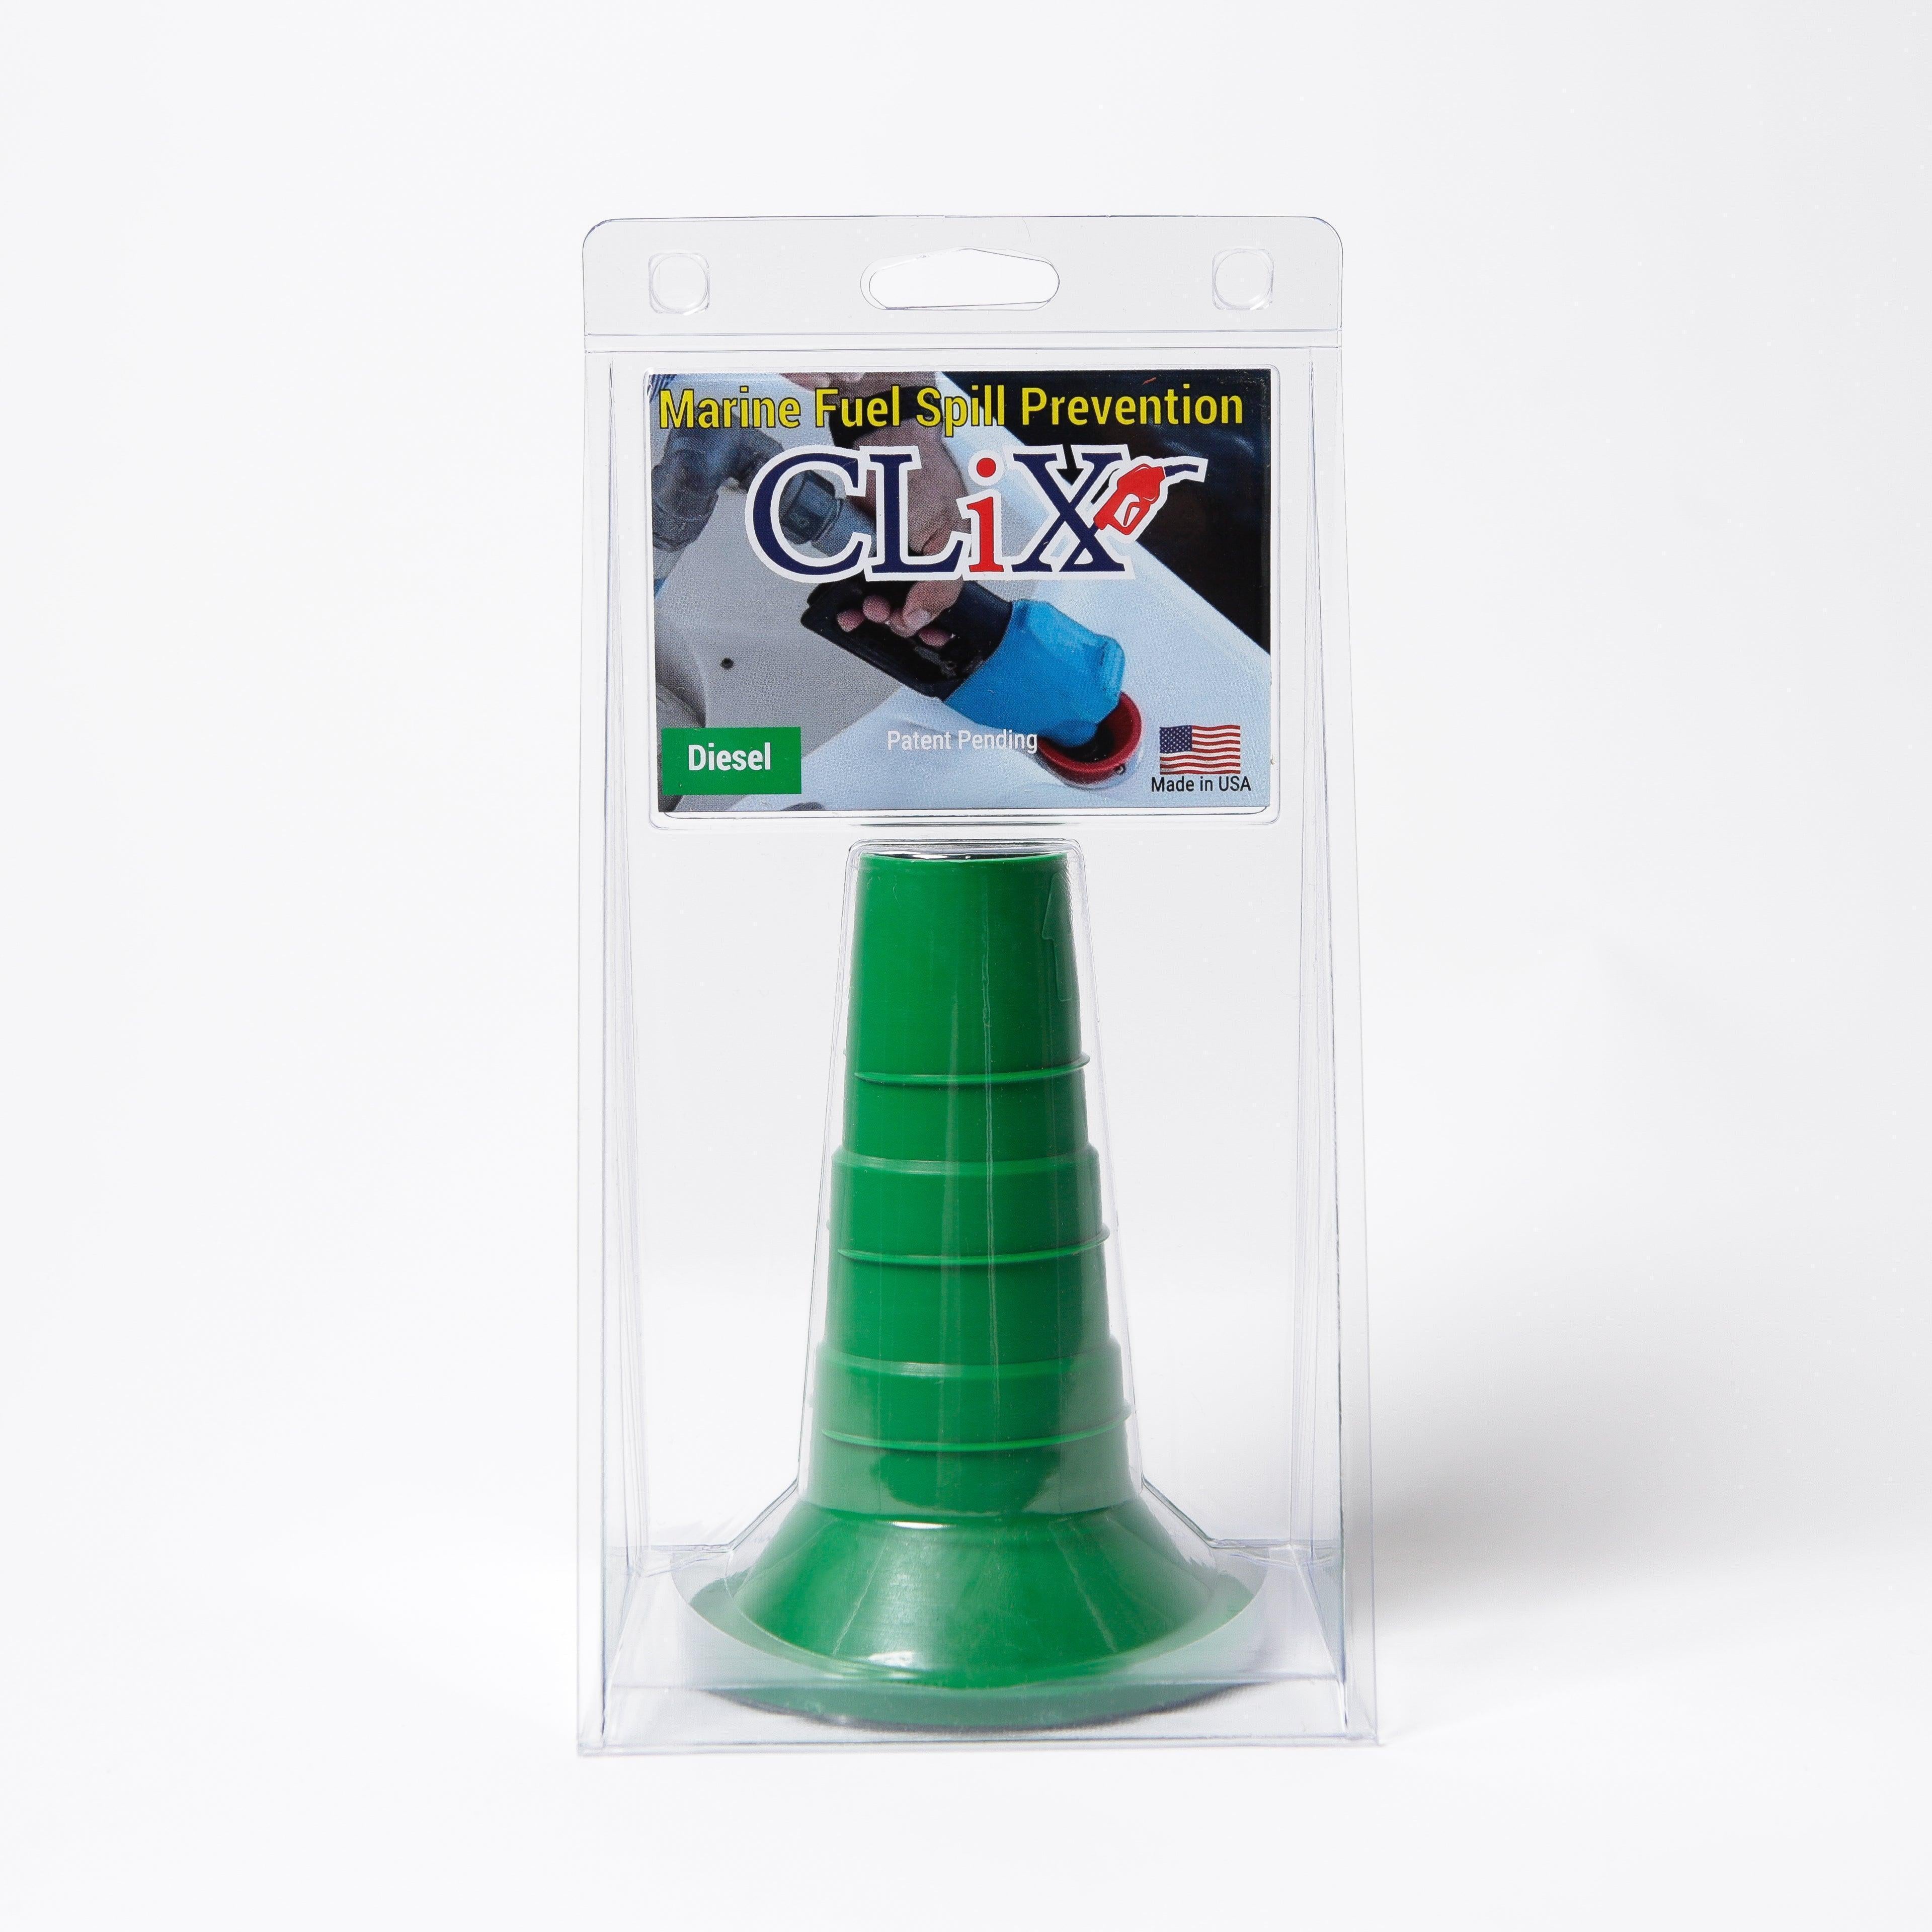
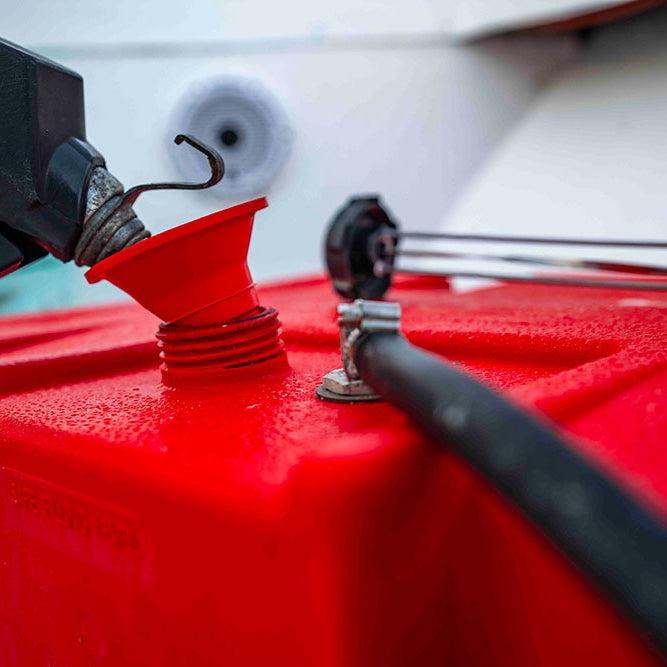
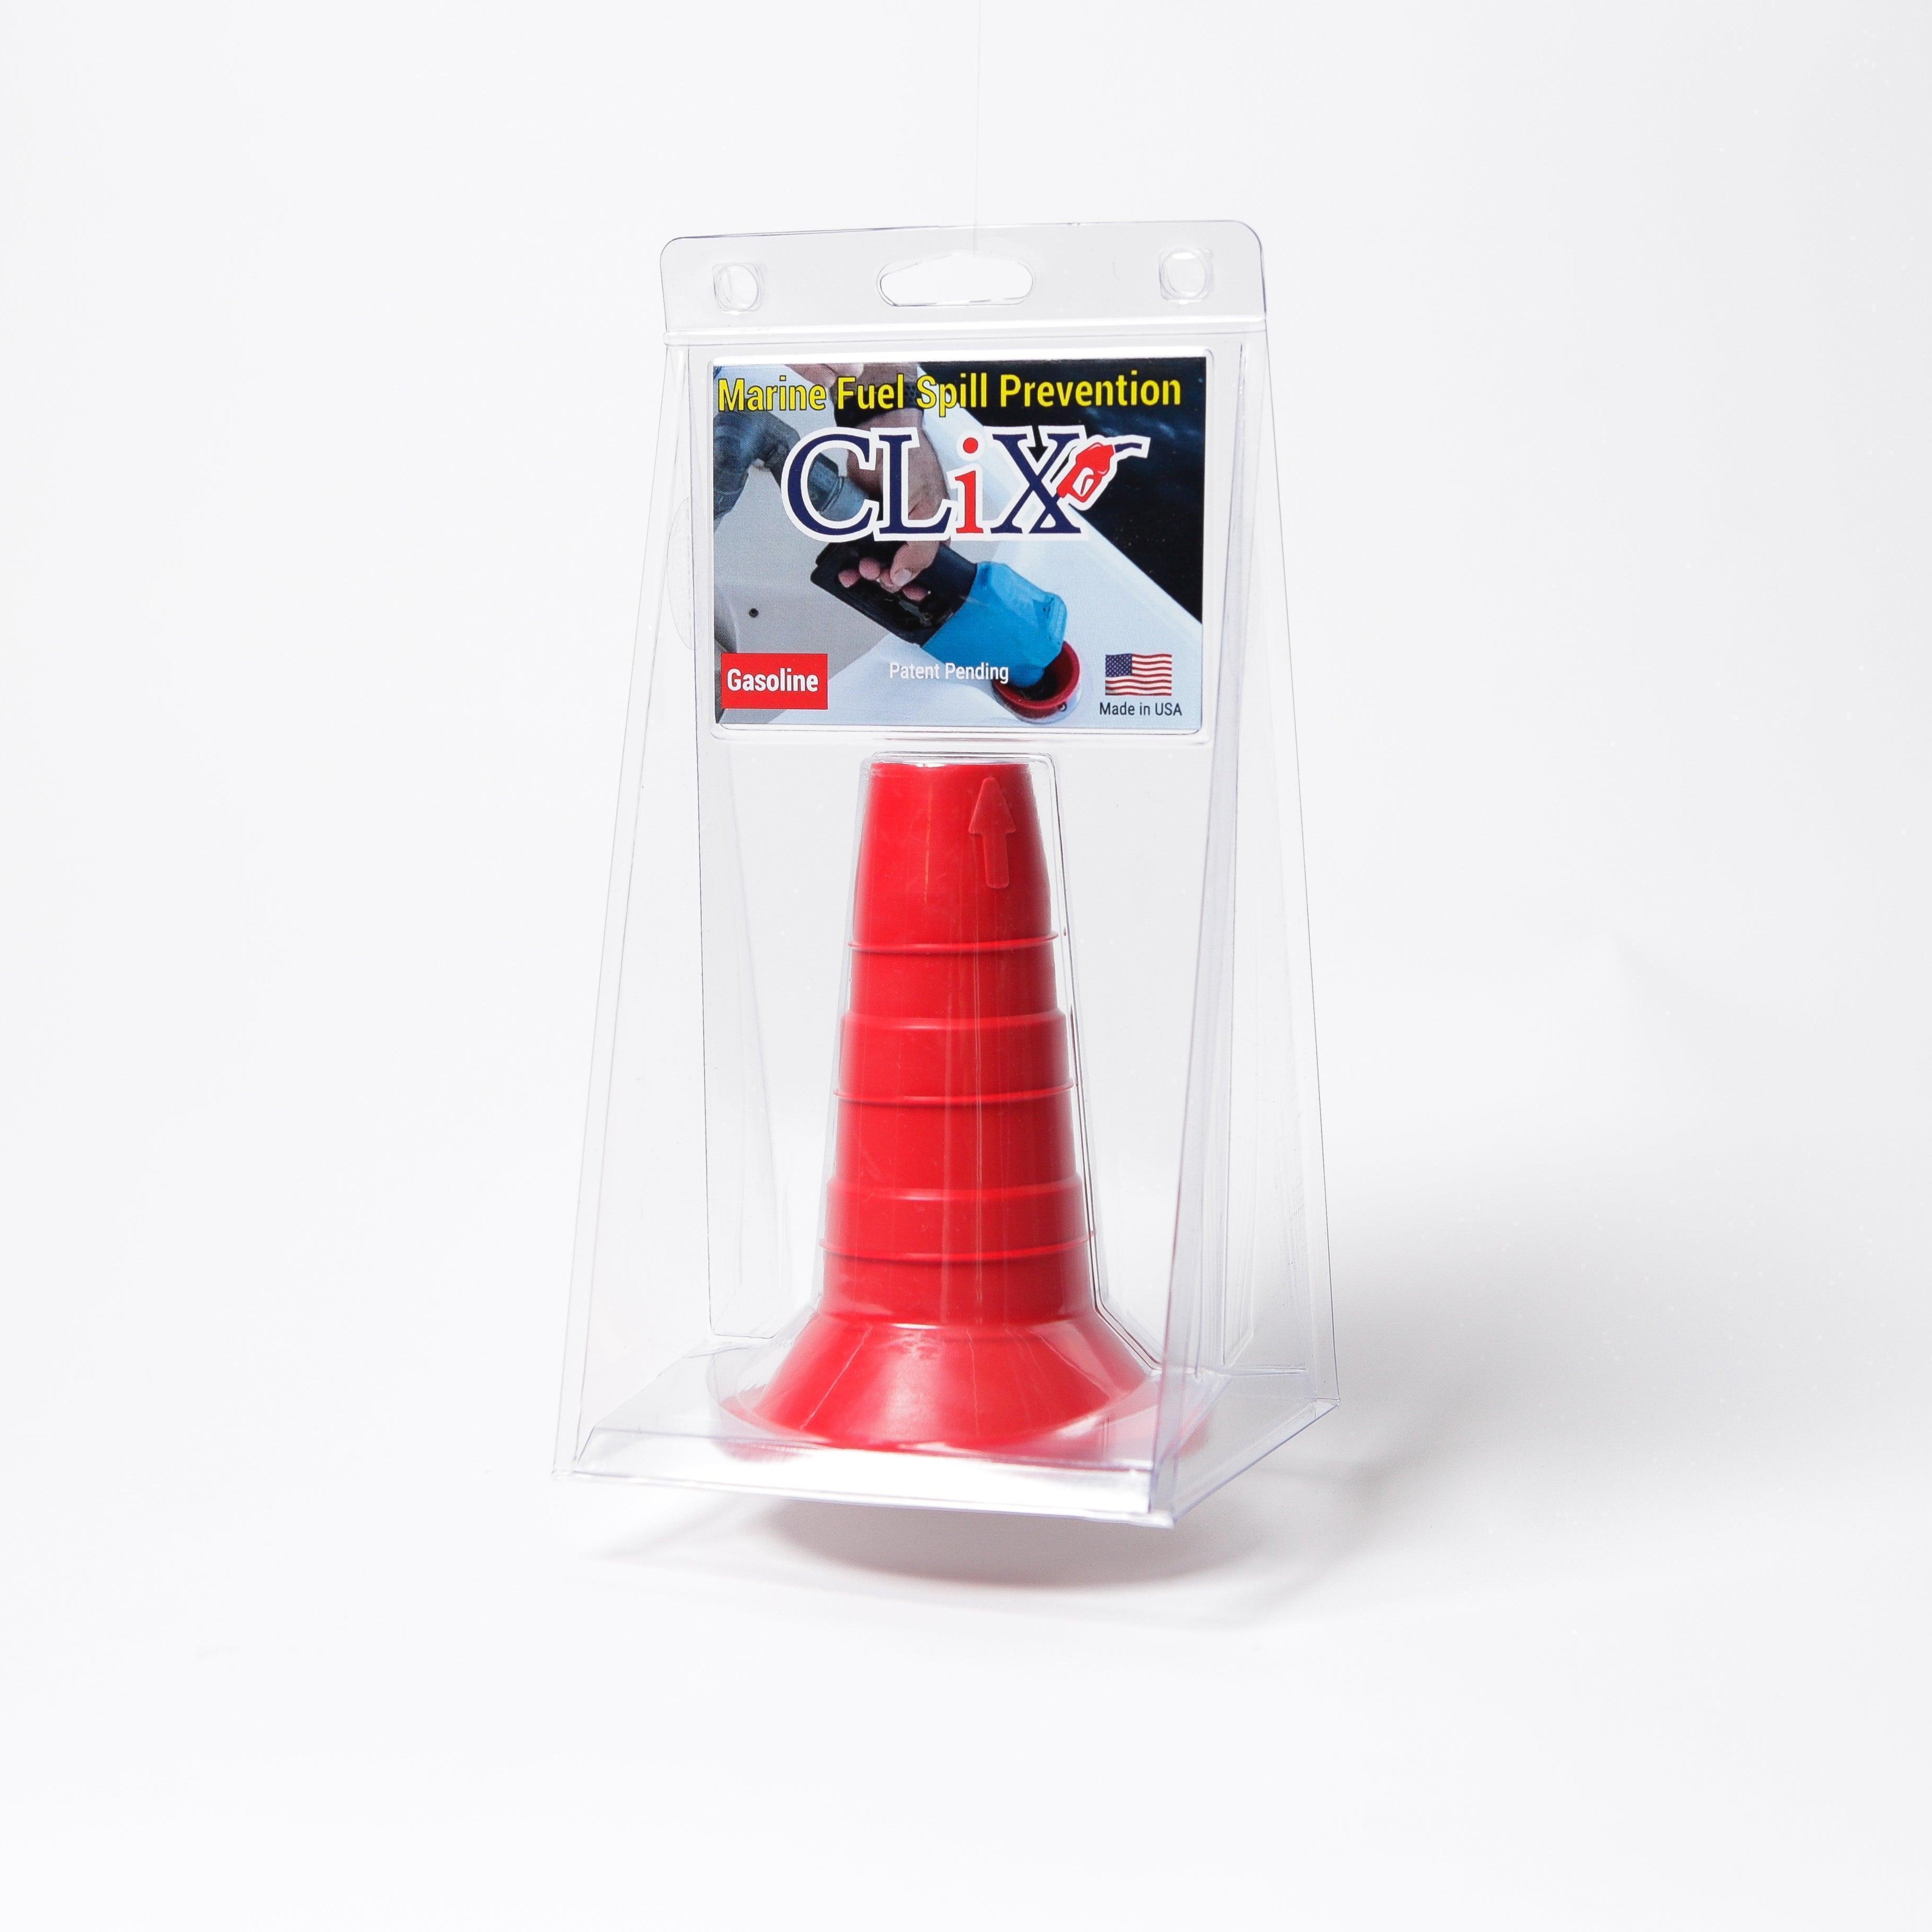
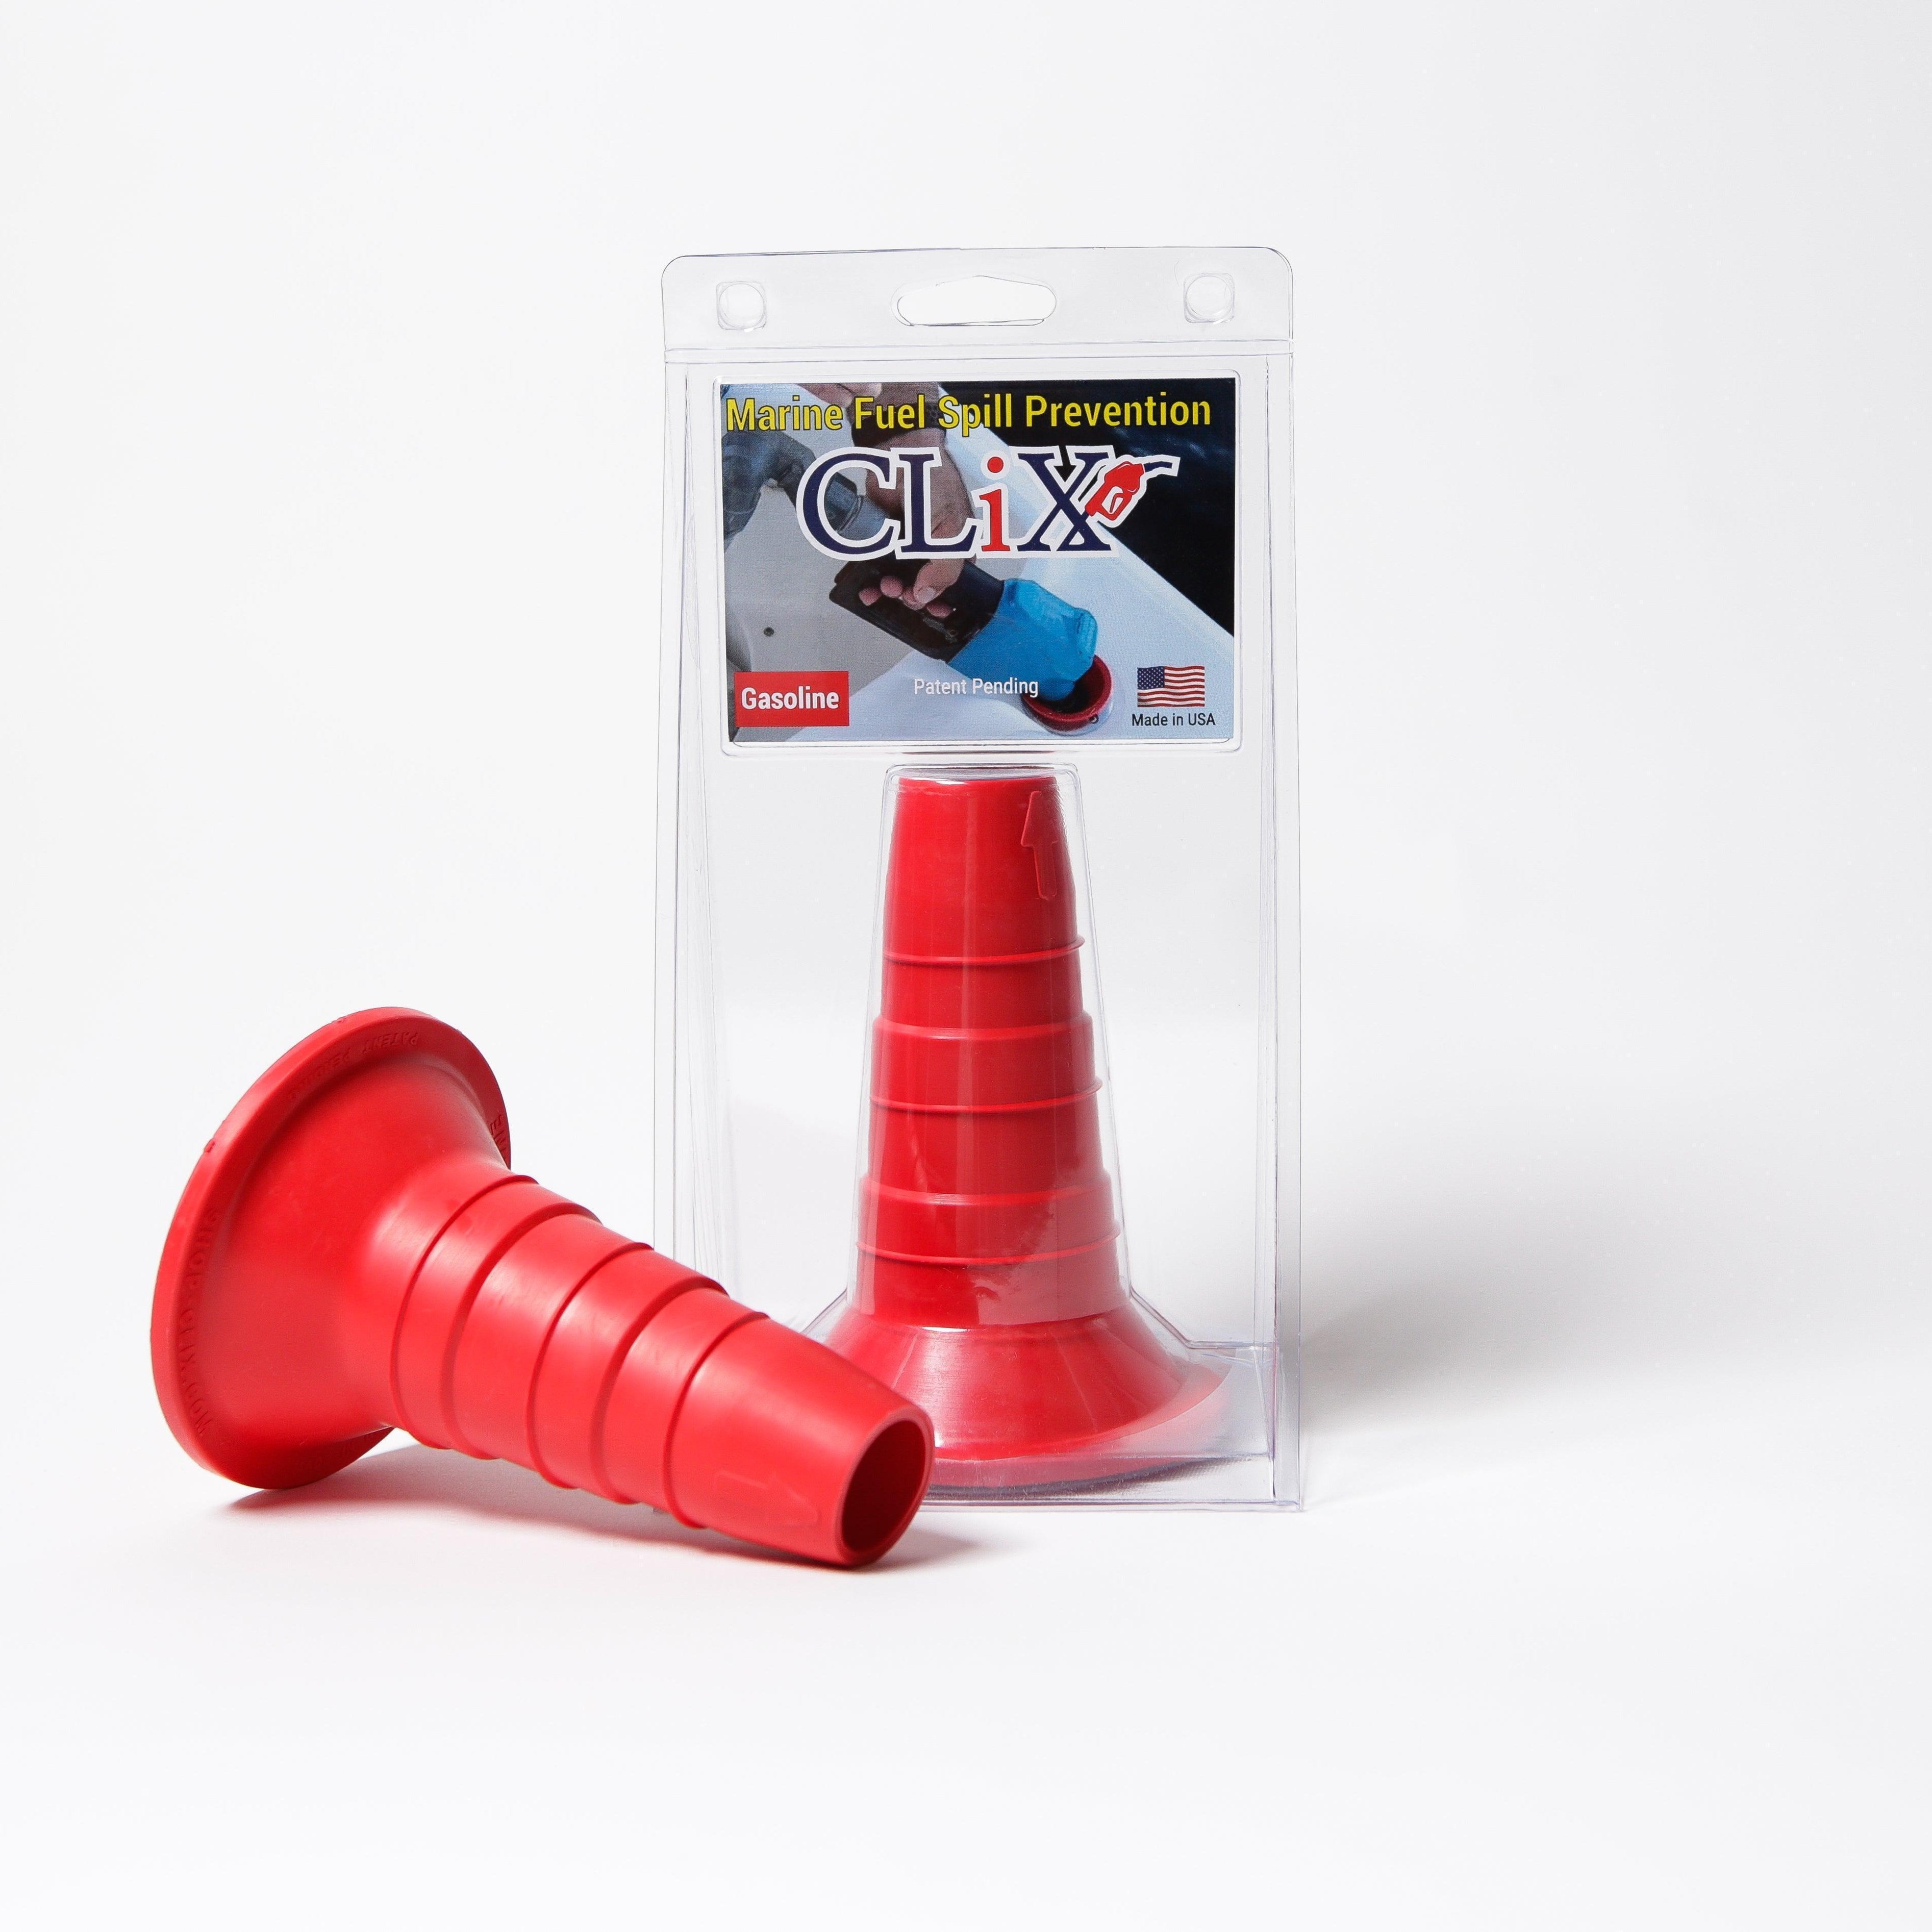
Tired of the guesswork and messy spills at the fuel dock? CLiX Fueling Solutions offers a stress-free, automatic shut-off system that prevents overfills every time. Protect your boat, the environment, and your peace of mind with our American-made fueling solution. See how it works at https://clixfueling.com.