You might think of a boat fuel filler as just a fancy cap, but it’s so much more. It's the secure gateway to your boat's entire fuel system. At its core, its job is to give you a safe, sealed spot to refuel, keeping out water and gunk while preventing dangerous fuel spills and vapors from getting out.
This small part is your first line of defense for both your engine and the environment.
What a Boat Fuel Filler Actually Does
Picture the fuel filler as the bouncer for your boat's engine. Its role is straightforward but absolutely vital: to control what goes in and what comes out of your fuel tank.
Just like a sturdy front door protects your home, a good fuel filler shields your engine's sensitive parts from damaging junk. Without a solid one, your fuel system is wide open to water, dirt, and debris, which can lead to expensive engine trouble and serious safety issues.
Its job really boils down to three key tasks that work together to keep things running smoothly and safely whenever you're out on the water.
Creating a Leak-Proof Seal
The most basic and important job of a boat fuel filler is to create a completely airtight seal. This is usually done with a tough little rubber gasket called an O-ring that fits snugly inside the cap.
This seal is a big deal. It stops water from getting into your fuel—even a tiny amount can wreck an engine. It also traps flammable fuel vapors, keeping them from escaping onto your deck where they could ignite. A good seal isn't optional; it's a must-have for safety.
Providing a Secure Fueling Point
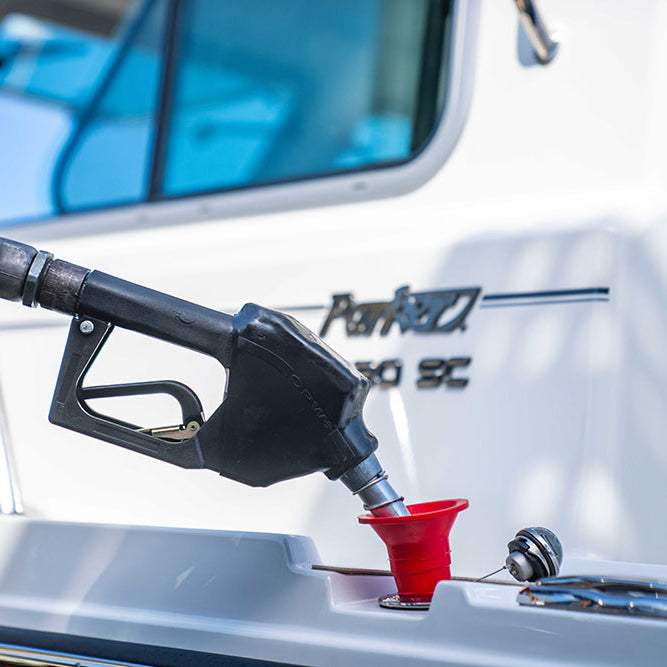
When it's time to fuel up, the filler neck gives you a stable, secure entry point for the fuel nozzle. It’s designed to funnel the fuel straight into the tank, not all over your deck.
This simple design ensures every drop of pricey fuel goes where it's supposed to. That means less mess on your boat and less pollution in the water, not to mention a much lower risk of fire.
A compromised fuel filler isn't just an inconvenience; it's a direct threat to your boat's performance and your safety. It's the one component that stands between clean, efficient fuel and a contaminated, hazardous system.
Allowing the Tank to Breathe
As important as sealing is, a fuel system also needs to breathe. Your fuel filler is part of a vented system that lets air into the tank as fuel gets used up, which stops a vacuum from forming. It also lets air out when you're filling the tank.
This controlled ventilation is critical for keeping fuel flowing properly to the engine and preventing pressure from building up and damaging the tank itself.
Comparing Different Types of Boat Fuel Fillers
Picking the right boat fuel filler goes way beyond just how it looks. It's really about matching the hardware to your boat and how you use it. The style you choose has a real impact on everything from safety on deck to keeping your fuel secure. They typically break down into a few main categories based on how they're built and whether they lock.
Getting a handle on these differences is the first step toward finding a filler that gives you both convenience and peace of mind when you're out on the water. Each type is built for a reason, tailored to different boat layouts and the needs of the boater.
The image below gives a great overview of the main designs you'll run into.
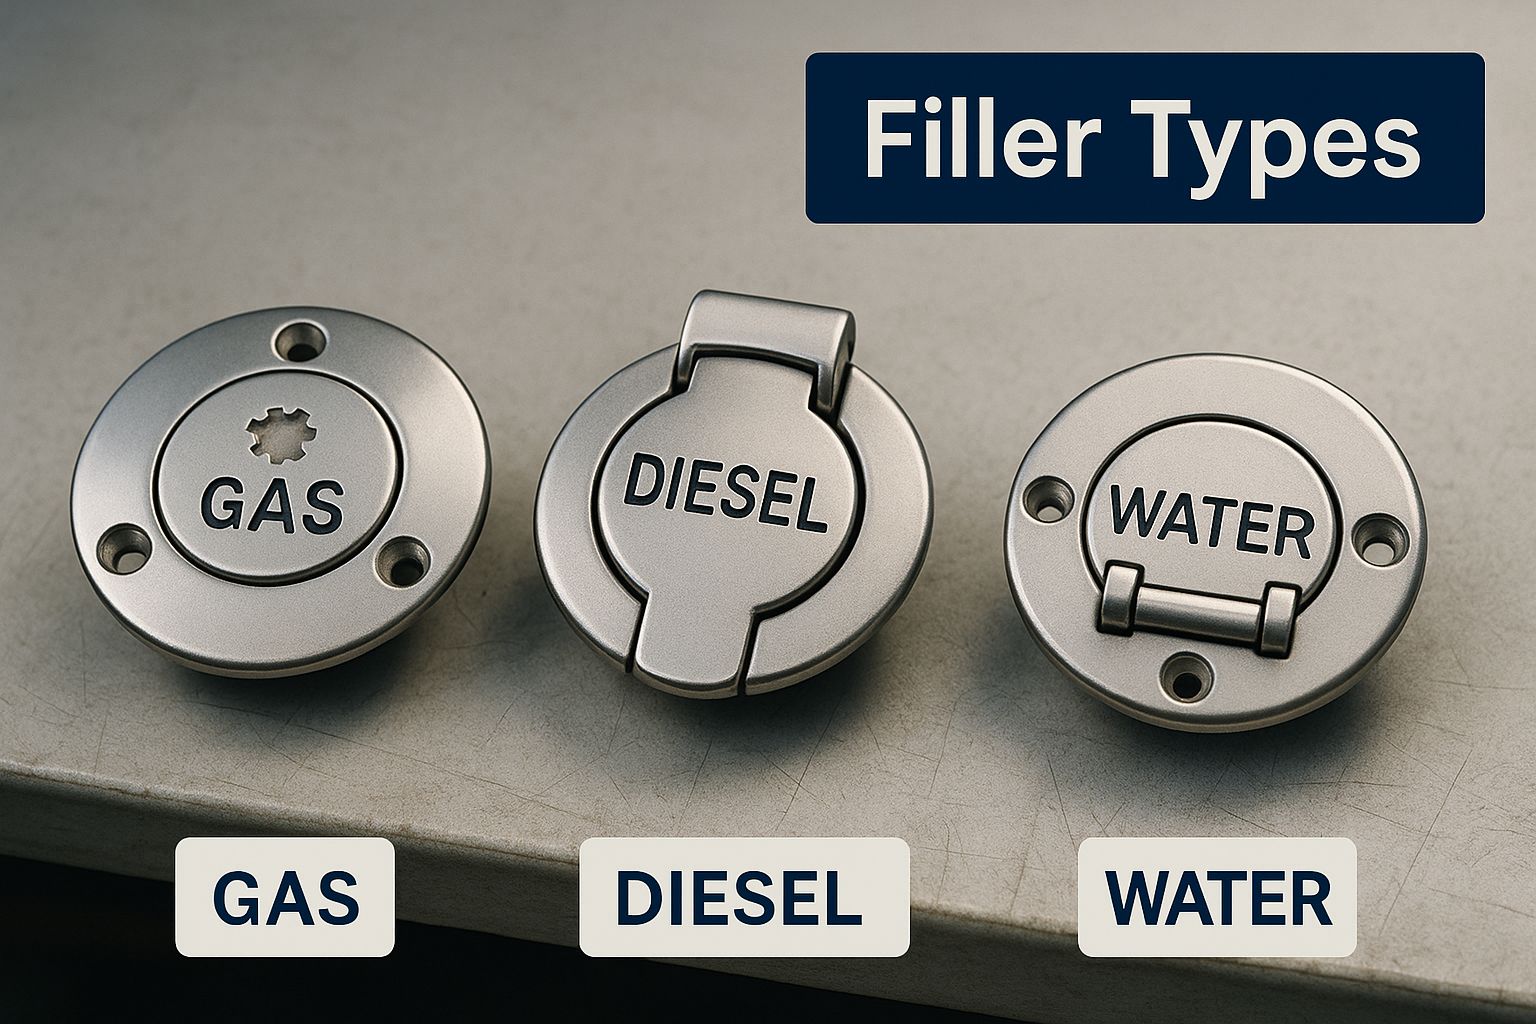
As you can see, your choice really comes down to how the filler sits on the deck and if it has a lock. This simple breakdown makes it much easier to decide what's right for you.
To help you sort through the options, let's compare the most common types side-by-side.
Boat Fuel Filler Feature Comparison
| Filler Type | Key Feature | Best For | Main Advantage |
|---|---|---|---|
| Flush-Mount | Sits level with the deck | High-traffic areas, fishing boats | Reduces tripping hazards |
| Raised | Protrudes slightly from the deck | Areas prone to water collection | Prevents water from entering the tank |
| Keyed (Locking) | Requires a key to open | Public marinas, unsecured docks | Prevents fuel theft and tampering |
| Non-Keyed | Simple twist-on/off cap | Private docks, low-risk areas | Quick and easy access for refueling |
This table simplifies the decision, but let's dive a little deeper into what these differences mean in the real world.
Flush Mount vs. Raised Fillers
One of the first decisions you'll make is whether to go with a flush-mount or a raised fuel filler. Just like the name implies, a flush-mount filler sits completely level with your boat’s deck. This creates a clean, snag-free surface. It's the perfect choice for busy areas where anything sticking up could be a problem.
Think about a center console fishing boat where people are constantly moving around. A flush-mount filler is simply the safer, more practical option. You won't have to worry about anyone stubbing a toe or tripping over it while reeling in a big catch.
On the other hand, raised fillers stick up just a bit from the deck. While this can create a potential snag point, their biggest benefit is preventing water from pooling around the cap and getting into your fuel tank. This is especially helpful during a heavy rainstorm or when you're hosing down the deck. You'll often see this style on sailboats or cruisers where the filler is tucked away from the main walkways.
Keyed vs. Non-Keyed Caps
Next up is security. Do you need a locking, or keyed, fuel cap? This really comes down to where you keep your boat.
A keyed fuel cap is an inexpensive insurance policy against fuel theft and vandalism. For the small additional cost, it provides significant security, particularly in busy or less secure marinas.
In a crowded public marina or a boat storage yard, a locking cap is a no-brainer. It stops anyone from messing with or siphoning your fuel, which unfortunately does happen. In fact, over 90% of reported fuel thefts from boats happen at docks that lack basic security. A simple lock can save you a huge headache.
Of course, a non-keyed cap is all about convenience. If your boat is docked at a private residence or in a very secure, low-risk area, the ease of a simple twist-off cap might be all you need. It means no more fumbling for keys when your hands are full at the fuel dock. It's all about weighing your need for security against your desire for convenience.
Choosing the Right Material for Your Fuel Filler
The material of your boat fuel filler is its first line of defense against the harsh marine world. Think of it like picking the right coat for a storm; your choice determines how well it will stand up to a constant barrage of sun, salt, and fuel. Getting this right from the start can save you from a world of headaches and costly replacements down the line.
Your decision will likely boil down to three main contenders: stainless steel, chrome-plated zinc, and composite plastics. Each has its own pros and cons, and they perform very differently out on the water. Let's break down their strengths and weaknesses so you can keep your fuel system secure for years to come.
The Undisputed Champion: Stainless Steel
When you’re talking about pure, unadulterated durability in a saltwater environment, 316-grade stainless steel is the king of the hill. This specific alloy includes molybdenum, an element that supercharges its resistance to corrosion from salt. It's essentially built-in rust protection that won’t quit.
Sure, it's the most expensive option upfront, but its incredible longevity makes it a smart investment. For any boater who regularly ventures into the ocean, a 316-grade stainless steel fuel filler isn't just a nice-to-have—it's practically essential for reliable, long-term performance.
Other Material Options
Of course, not every boat lives in saltwater, so other materials can be perfectly good alternatives depending on your boating habits and budget.
- Chrome-Plated Zinc: This one gives you that bright, shiny look of stainless steel but for a fraction of the cost. The catch? The moment that chrome plating gets scratched or chipped, the zinc underneath is exposed and becomes extremely vulnerable to corrosion, especially in salt. It's a much better choice for freshwater boats where rust isn't as aggressive.
- Composite Plastics: Modern polymers are completely immune to rust and corrosion, which is a huge plus. They're also lightweight and usually the most affordable option. The main downside is their susceptibility to UV damage. Over time, constant sun exposure can make the plastic brittle and lead to cracking.
No matter what the filler body is made of, the O-ring is the true hero of the seal. A cracked or worn-out O-ring means the entire filler has failed, even if the cap itself is made of the toughest steel.
The Critical Role of the O-Ring
That small rubber gasket nestled inside the cap is the O-ring, and it's the unsung hero of your fuel filler. This little component creates the final, crucial seal that locks water out and keeps fuel vapors in. The material it's made from is just as important as the filler itself.
Most high-quality O-rings are made from nitrile rubber (Buna-N). This specific material is fantastic at resisting breakdown from gasoline, diesel, and ethanol blends. It stays flexible and effective, ensuring a tight seal trip after trip. Checking on this tiny part is one of the simplest yet most important maintenance tasks you can do.
To see how this all fits into the bigger picture, check out our complete guide on boat fuel systems.
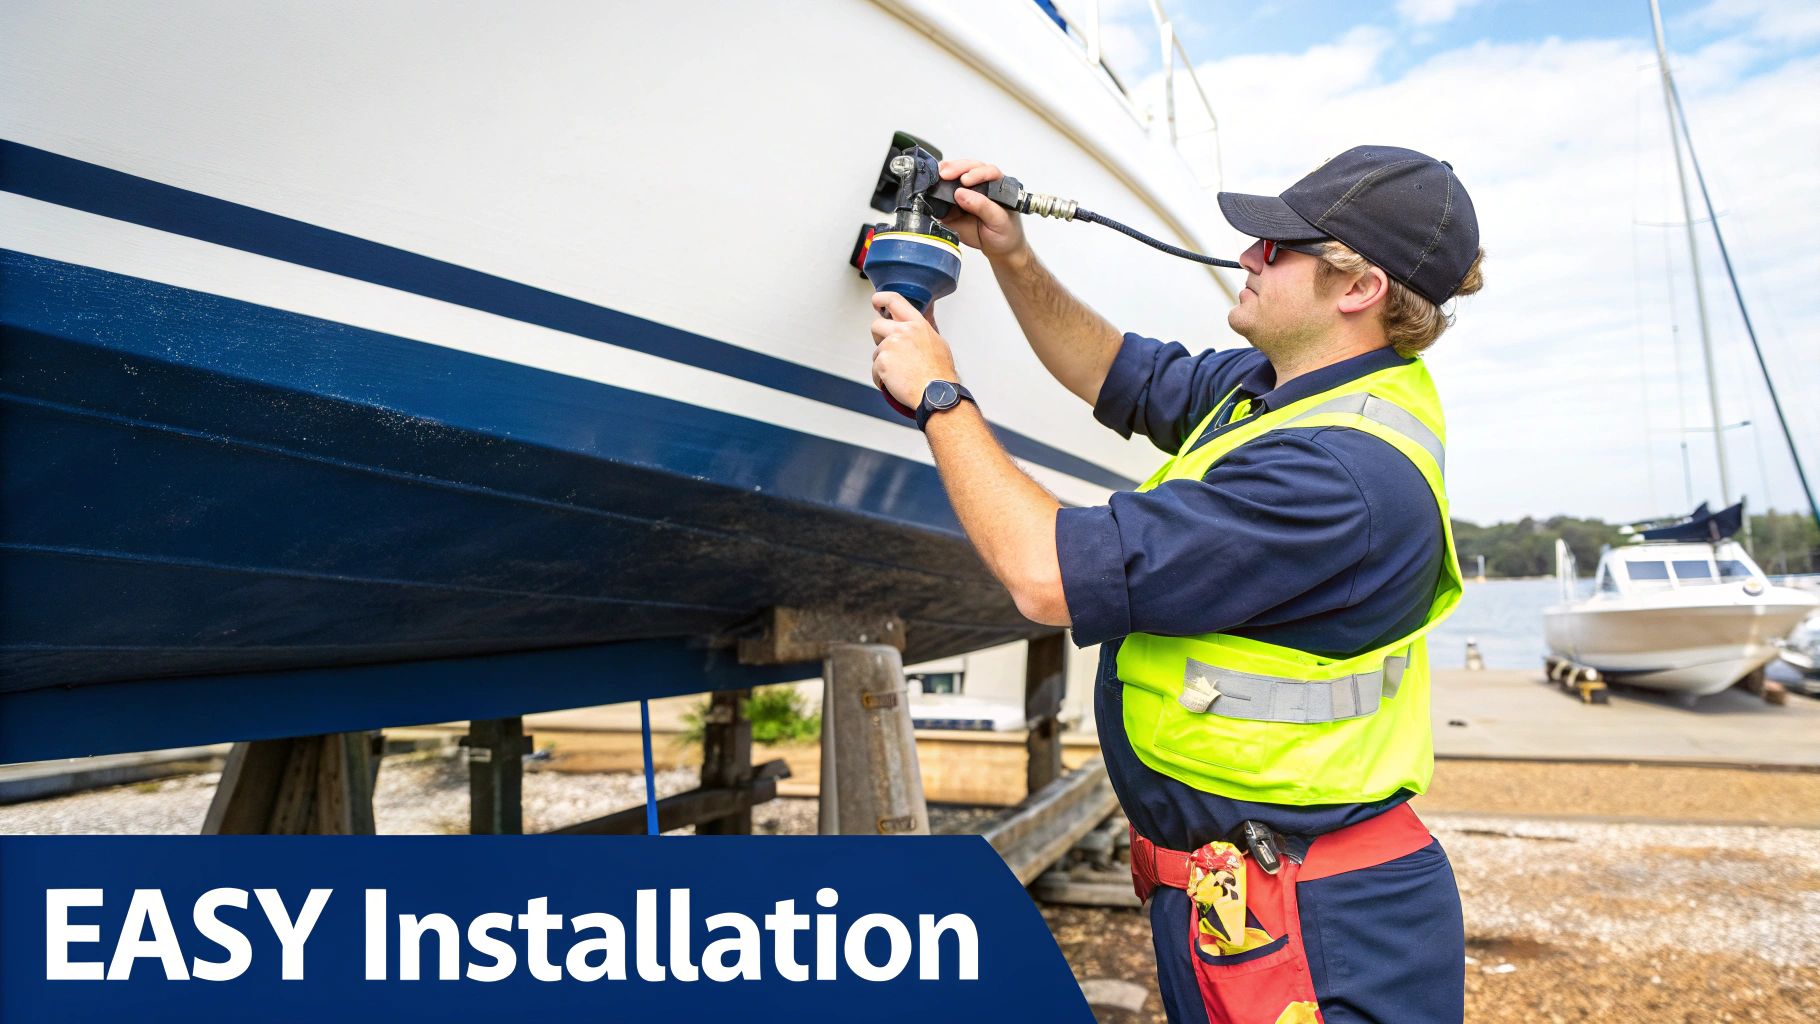
How to Install a Boat Fuel Filler
Swapping out a boat fuel filler isn't as intimidating as it might sound. If you've got the right tools and a little bit of patience, it’s a job you can definitely handle yourself. Think of it less like major surgery on your boat and more like changing a doorknob—a few careful steps will get you a secure, leak-free connection that keeps your fuel system (and you) safe.
First things first: safety. You'll be working with fuel lines, so make sure your workspace is well-ventilated and completely free of any potential sparks or open flames. Keep a fire extinguisher within arm's reach, just to be safe. It's also a smart move to disconnect the boat's battery to eliminate any chance of an accidental electrical spark.
Gathering Your Tools and Materials
There’s nothing worse than getting halfway through a job only to realize you’re missing a crucial tool. Take a few minutes to gather everything you need before you start. It’ll make the whole process go a lot smoother.
Here’s a quick checklist of the usual suspects:
- New Boat Fuel Filler: Double-check that it’s the right size and material for your boat.
- Screwdrivers: You’ll probably need both a Phillips head and a flathead.
- Hose Clamps: Don't reuse the old ones. Grab a fresh set of stainless steel clamps.
- Marine-Grade Sealant: This is non-negotiable. You need a sealant made to stand up to gasoline and diesel, like 3M 5200.
- Hole Saw: You'll only need this if you're cutting a brand-new hole, not just replacing an existing filler.
- Cleaning Supplies: Acetone or rubbing alcohol and a few clean rags are perfect for prepping the surface.
- Safety Gear: Don't forget your safety glasses and some fuel-resistant gloves.
Step-by-Step Installation Guide
Alright, with your tools laid out, you’re ready to get started. We'll walk through this in five simple steps.
-
Get the Old Filler Out: Begin by removing the mounting screws that hold the old filler's flange to the deck. Once they're out, go below deck and loosen the hose clamps on the main fuel fill hose and the smaller vent hose. After they’re loose, you should be able to gently twist and pull the hoses off the filler neck.
-
Prep the Mounting Surface: This is the most important step for getting a perfect, leak-proof seal. You need to clean the area around the hole meticulously. Scrape off every last bit of old sealant, dirt, and any corrosion. A plastic scraper is great here because it won't scratch your gelcoat. Once it looks clean, give it a final wipe-down with acetone or alcohol to make sure the surface is completely pristine and dry.
-
Seal and Seat the New Filler: Squeeze a generous, unbroken bead of your marine-grade sealant around the underside of the new filler's flange. This is what creates that all-important waterproof and vapor-proof barrier. Carefully guide the new filler into the hole, pressing it down firmly to embed it in the sealant.
-
Secure Everything in Place: Pop in the new mounting screws and start tightening them. It’s best to alternate from one side to the other, like you’re tightening lug nuts on a car tire, to apply even pressure. Be careful not to overtighten—you don’t want to crack the flange or squeeze out all the sealant. Below deck, slide the fuel and vent hoses back onto their new homes and tighten the new hose clamps until they're good and snug. Double-check them!
One of the biggest mistakes people make is grabbing any old sealant. Your standard household silicone will dissolve when it comes in contact with fuel, creating a dangerous leak. Always, always use a fuel-resistant, marine-grade adhesive sealant for this job.
- The Final Cleanup: Use a rag to wipe away any excess sealant that squished out from under the flange. This gives you that clean, professional look. Give everything one last look-over—make sure the screws are tight and the hose connections are rock-solid. Let the sealant cure for the time recommended by the manufacturer, and then you’ll be ready to refuel with total confidence.
Essential Maintenance and Safety Checks
When it comes to your boat’s fuel system, a well-maintained fuel filler is a safe fuel filler. Think of it like a quick, five-minute health check before you head out. Spending a few moments on a routine inspection can help you spot a small problem, like a cracked gasket, before it turns into a serious safety hazard on the water.
This one small part plays an outsized role in the health of your entire fuel system. It’s a key piece of the global marine fuel management market, an industry valued at USD 5.32 billion that's expected to climb to USD 7.28 billion by 2032. This growth shows just how critical every component is—from high-tech sensors right down to the humble fuel filler—for keeping boating safe and efficient.
A simple, regular check takes almost no time but can save you a world of trouble and expensive repairs later on.
Your Quick Inspection Checklist
You don’t need to be a seasoned mechanic to keep your fuel filler in top shape. Just make a habit of running through a quick inspection every few trips. Knowing what to look for is half the battle.
Here’s a simple checklist you can breeze through in minutes:
- Inspect the O-Ring: Take a close look at the rubber O-ring inside the cap. Is it cracked, brittle, or flattened? If it looks worn out, swap it for a new one right away. This little seal is your first line of defense against leaks.
- Check for Corrosion: Scan the base of the filler and the threads on both the cap and the deck fitting for any rust or pitting. Corrosion can weaken the seal and even compromise the filler's structure.
- Verify the Grounding Wire: Make sure the small grounding wire is still securely attached. This tiny wire is a huge safety feature, preventing static electricity from building up during fueling—a major fire risk.
- Test the Chain or Lanyard: Give the cap’s retaining chain or lanyard a little tug to ensure it’s intact. It’s a simple thing, but it’s what keeps your cap from taking a dive into the water.
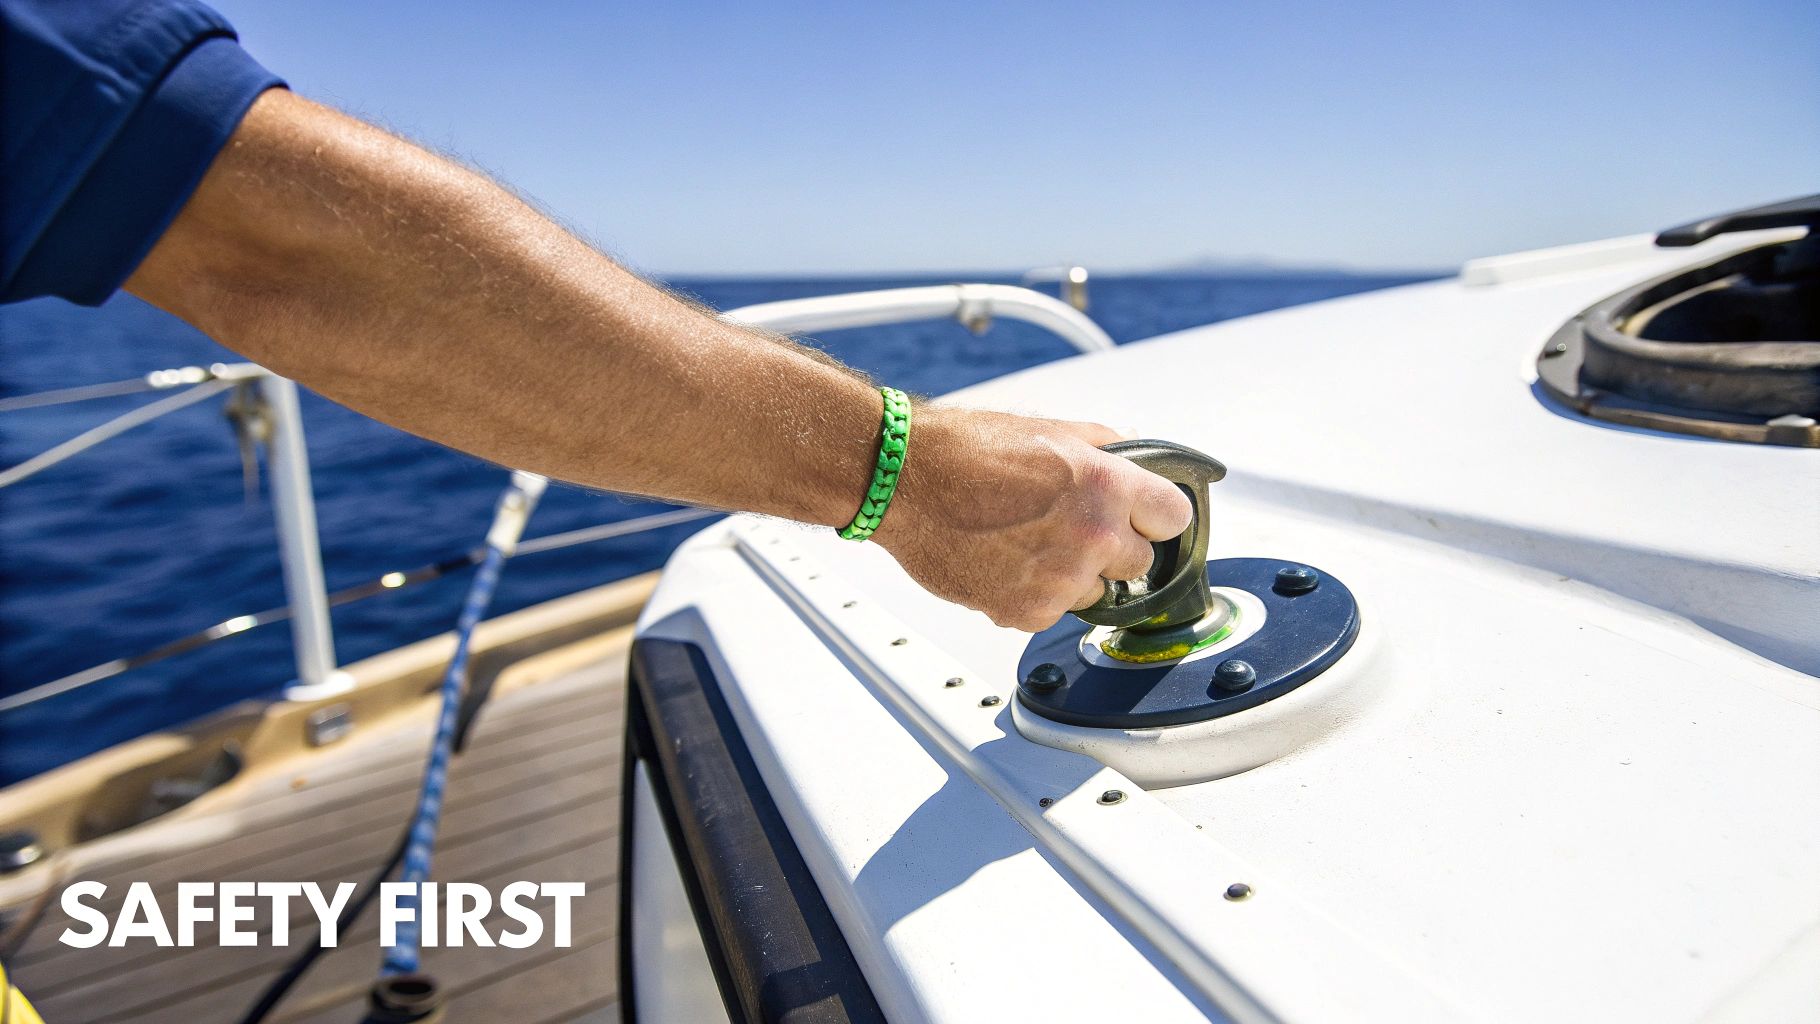
Safe Fueling Best Practices
Good maintenance is crucial, but so are your habits at the fuel dock. Refueling is one of those routine tasks where it’s easy to get complacent, but a moment of distraction can lead to a dangerous spill.
Every time you refuel, you're handling a flammable substance in a dynamic environment. Never let your guard down. A consistent, safety-first approach is the best way to prevent accidents before they happen.
Make these steps a non-negotiable part of your fueling routine:
- No Passengers Onboard: Before you even think about picking up the nozzle, make sure all your passengers are off the boat and safely on the dock.
- Shut Everything Down: Kill the engine and turn off all electronics. Anything that could create a spark—including propane stoves or battery chargers—needs to be off.
- Keep Nozzle in Contact: Always keep the metal fuel nozzle in direct contact with the filler neck opening. This grounds the nozzle and prevents static sparks from igniting fuel vapors.
- Avoid Overfilling: Don’t just jam the nozzle in and squeeze. Listen for the sound to change as the tank gets full, and stop before fuel has a chance to burp out of the vent.
- Clean Up Spills: Accidents happen. If you do spill some fuel, clean it up immediately with an absorbent pad. Never just hose it into the water.
By combining routine maintenance with smart fueling habits, you're doing your part to make sure every trip is a safe one. For a deeper dive into overall boat safety and operation, including vital skills like fuel handling, you might consider a PADI Boat Diver certification.
To learn more about keeping yourself and your boat protected at the pump, check out our complete guide here: https://clixfueling.com/blogs/news/boat-fueling-safety-your-complete-protection-playbook.
How Fuel Fillers Support Sustainable Boating
Think a fuel filler is just a simple cap and pipe? Think again. In today's world, where we're all trying to be better stewards of our waterways, even this small piece of hardware plays a huge role in responsible boating.
A high-quality fuel filler is your first line of defense against pollution. Its job is to create a perfect seal, which stops fuel from splashing out in rough seas and, crucially, keeps harmful fuel vapors from leaking into the air. Those vapors are packed with volatile organic compounds (VOCs) that are bad news for air quality.
Preventing Spills and Reducing Emissions
A well-designed fuel filler is all about getting fuel from the pump to your tank without a single drop going astray. Features like a deep-set neck and a robust O-ring seal make a huge difference, ensuring fuel goes where it belongs—not into the water. Even a tiny spill can harm marine life, so a good filler is a simple way to eliminate that risk.
Modern designs also incorporate smart venting systems. These vents are key to preventing the dreaded fuel "burp" that can happen when you're filling up, which is a common cause of spills at the dock. They let air escape cleanly as the tank fills, without taking fuel along for the ride.
Choosing a modern, high-quality fuel filler is a direct investment in cleaner water. It's a small change that has a tangible impact on reducing pollution from recreational boating.
Adapting to the Future of Marine Fuels
The boating world is slowly but surely shifting toward greener fuels. We're talking about a massive change—the global sustainable marine fuel market was valued at USD 13.1 billion and is projected to explode to around USD 823.5 billion by 2034. You can read more about this trend on market.us.
This shift means our boat hardware needs to keep up. Some newer biofuels, for instance, can be more corrosive than old-school gasoline or diesel. That's why modern fuel fillers are built from tough materials like 316-grade stainless steel and specialized polymers designed to handle these next-gen fuels without breaking a sweat.
By choosing hardware that’s ready for the future, you're ensuring your boat can safely transition to cleaner energy when you're ready. Making smart choices like this is a core part of eco-friendly boating, a topic we dive into deeper in our sustainable boating guide for eco-friendly marine adventures.
Got Questions About Boat Fuel Fillers? We’ve Got Answers.
Even when you know the basics, real-world questions always pop up. Here are some straightforward answers to the things we hear most often from boaters about this critical piece of gear.
How Often Should I Replace My Fuel Filler O-Ring?
There's no hard-and-fast rule here. A good practice is to give the O-ring a good look at the beginning of every boating season and swap it out if you see any signs of wear. Keep an eye out for cracking, stiffness, or if it looks flattened out.
If your boat bakes in the sun all day or you use fuel with a lot of ethanol, you'll probably need to replace it more frequently. A new O-ring is cheap insurance against nasty fuel leaks and water contamination.
Can I Switch From a Non-Keyed to a Keyed Fuel Cap?
Absolutely. This is usually a simple and smart upgrade, especially if you’ve moved your boat to a marina or storage spot that’s a bit less secure. Most manufacturers offer both keyed and non-keyed versions of the same fuel filler model.
Often, you can just swap the cap itself without having to pull out the whole deck fitting. The key is to match the manufacturer and model exactly to ensure the threads and sealing surfaces line up for a perfect, safe fit.
An improperly sealed fuel filler is a serious safety hazard. Always double-check that any replacement cap, keyed or not, creates a tight, secure seal with the deck fitting. Even a tiny gap can let dangerous fumes escape.
What Should I Do If My Fuel Filler Is Leaking?
A leaking fuel filler is something you need to deal with right away. The first step is to figure out where the leak is coming from.
- Leaking from the cap? The most common culprit is a bad O-ring. Try replacing that first.
- Leaking from the base? If you see fuel seeping out from under the flange on the deck, the sealant has probably given up. You’ll need to remove the whole filler, scrape off all the old gunk, and reinstall it with fresh, marine-grade sealant that’s rated for fuel.
- Leaking from the hoses below deck? Check that the hose clamps are tight and that the hoses themselves aren't cracked or falling apart.
If you’re not 100% sure what you’re looking at, your safest bet is to call a qualified marine mechanic to track down and fix the problem for good.
Is Stainless Steel Always the Best Material?
For anyone boating in saltwater, 316-grade stainless steel is the undisputed champion. Nothing beats its ability to resist corrosion.
But it’s not the only game in town. For freshwater boats, high-quality composite plastics are a fantastic choice because they’ll never rust and are incredibly durable. Chrome-plated zinc can also be a good, budget-friendly option for freshwater, as long as the chrome plating stays intact and doesn’t get scratched up. Ultimately, the best material really comes down to where you boat and what you’re looking to spend.
Ready to eliminate fueling guesswork and prevent costly spills for good? CLiX Fueling Solutions offers an automatic shutoff system that makes refueling safe, easy, and spill-free. Discover how CLiX can protect your boat and the environment at clixfueling.com.