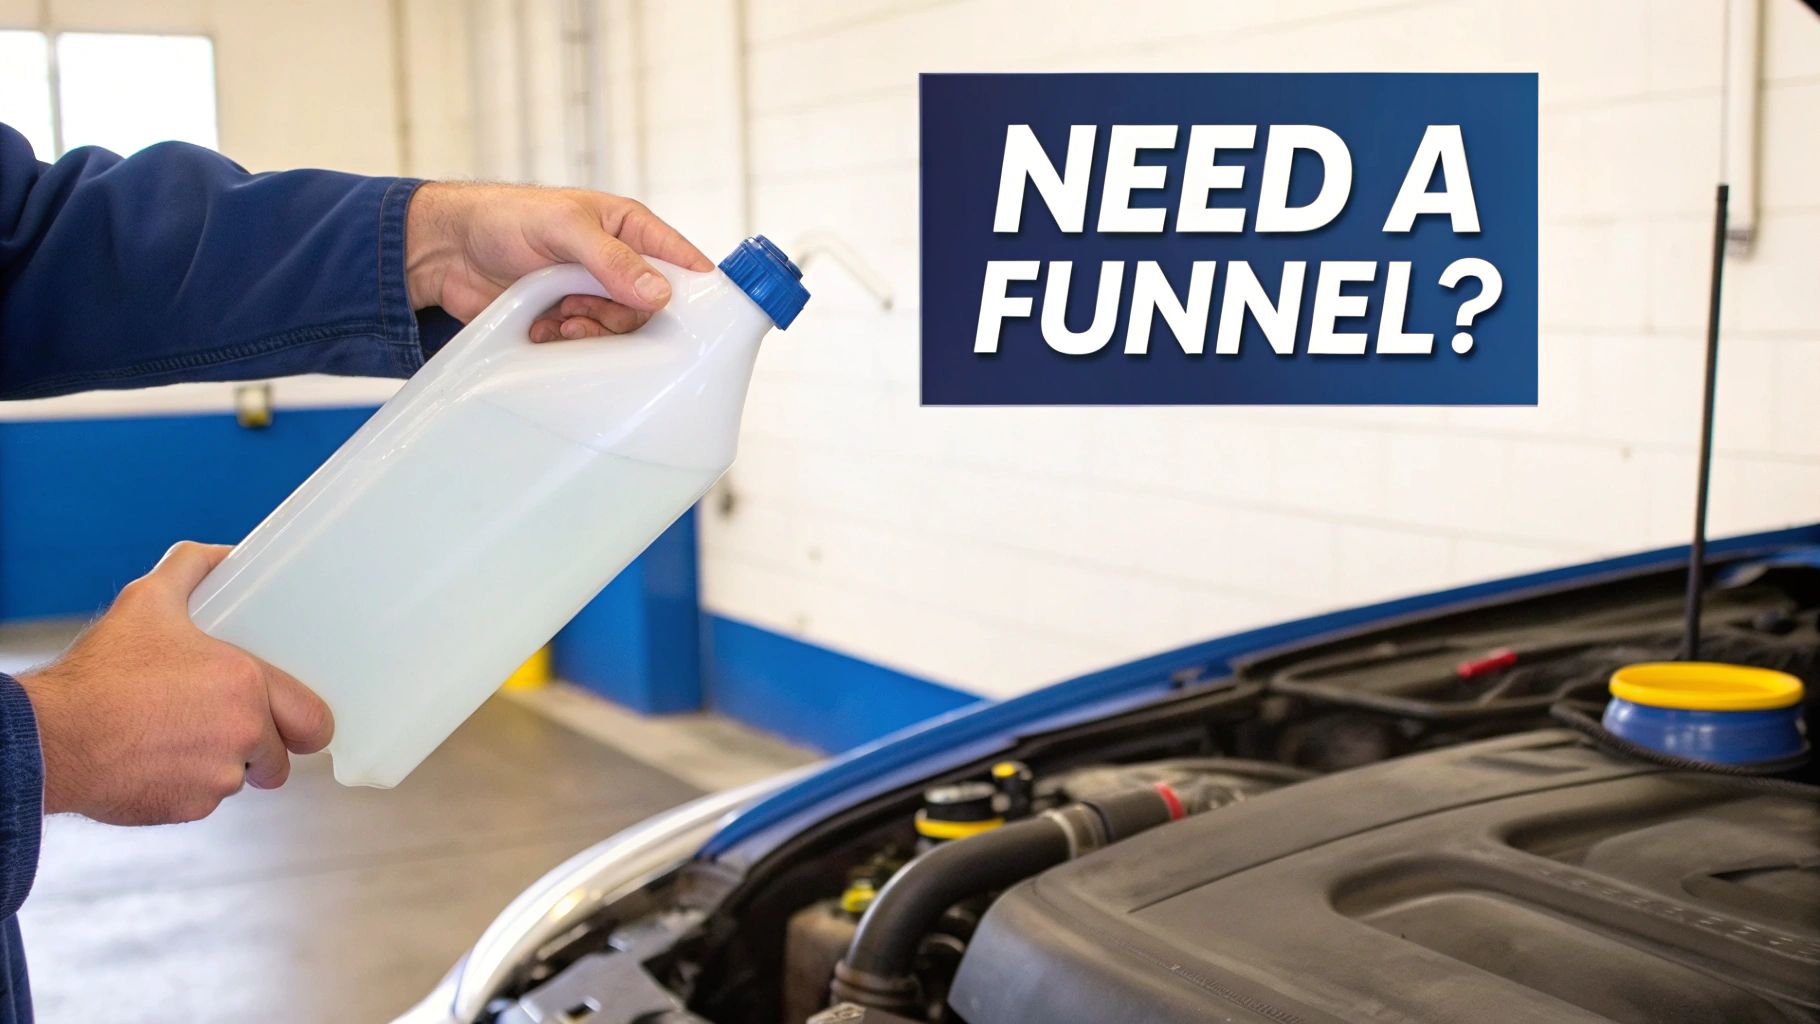
Sometimes, the simplest solution is the best one. When you need a funnel in a pinch, the quickest way to make one is by cutting a plastic bottle in half and using the top part. It's a classic trick for a reason, but the real key to making it work safely is matching the right material to the liquid you're handling.
Why Knowing How to Make a Funnel Is So Useful
Anyone who's spent time on a boat or in a workshop has been there: you need to transfer fuel or top off some oil, and the funnel is MIA. It’s a small problem that can quickly escalate into a messy, wasteful spill.
Knowing how to improvise a funnel on the spot isn't just a party trick; it's a genuinely practical skill that saves you from a major headache. The best part? The solution is usually right there in your recycling bin.
When a Makeshift Funnel Saves the Day
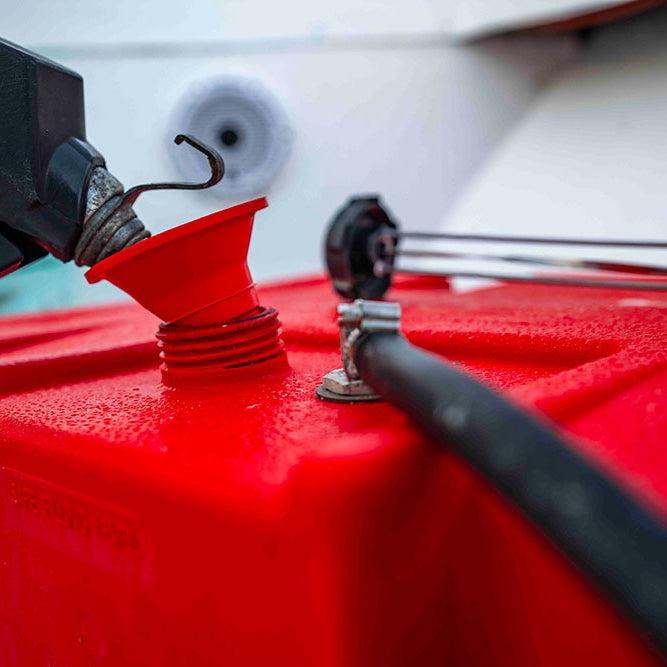
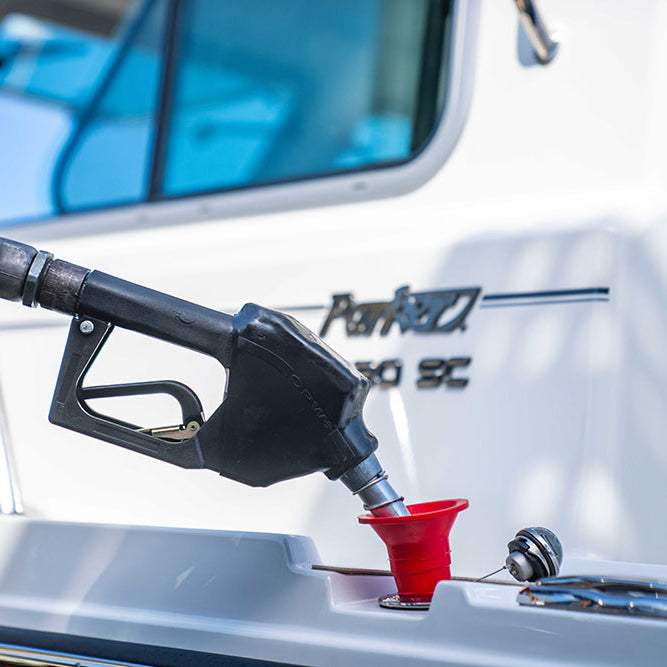
Picture this: you're anchored in a quiet cove, and the dinghy's outboard motor is running on fumes. Trying to pour from a heavy gas can into that tiny fuel port is a recipe for disaster—spilling fuel all over the boat and into the water. A quick funnel made from an old soda bottle makes the job clean and easy, ensuring every last drop gets where it needs to go.
Back on land, it’s the same story. You're doing a simple oil change, but the new bottle has a wide mouth, and the engine’s fill port is small and hard to reach. A makeshift funnel prevents you from dripping oil all over a hot engine block.
A homemade funnel isn’t just a backup plan. It's an on-the-spot solution that lets you handle unexpected jobs safely and efficiently, no matter where you are.
This guide will walk you through turning common household items into the perfect tool for the job. Of course, for bigger tasks, it helps to understand other options. For instance, learning how a hand pump for fuel transfer works can be a game-changer for moving larger volumes of liquid without any lifting or spilling.
Choosing the Right Materials for a Safe Pour
When you're rigging up a homemade funnel, the material you pick is everything. It's the difference between a clean pour and a dangerous mess. We've all been there—you grab what's handy, like an old water bottle, thinking it'll do the job. But that thin, flimsy plastic can be a recipe for disaster, especially when you're dealing with more than just water.
Think about it this way: a sturdy plastic soda bottle works great for things like coolant, oil, or washer fluid. The plastic is thick enough and generally won't react with those everyday automotive liquids. I've used them in a pinch many times.
The big mistake people make is trying to use that same logic for gasoline.
Why Material Really Matters
You absolutely cannot use a thin water bottle or a milk jug for gasoline. Why? Because gasoline and other harsh solvents can eat right through certain plastics. They can make the plastic brittle, cause it to crack, or even start to dissolve it right in your hands.
This isn't just about a potential spill; it's about contaminating your fuel with plastic particles, which is a great way to cause some serious engine trouble down the line. It's also worth being mindful of the risks associated with nanoplastics in bottled water, which shows just how easily plastics can break down and get into our liquids. For a closer look at handling fuel correctly, our guide on how to store gasoline safely covers principles that are just as important here.
There's a reason the professional funnel market is so specialized—it was valued at around USD 2.1 billion in 2023—with companies designing funnels specifically for chemical compatibility. That same thinking should apply to your DIY project.
My rule of thumb is simple: The best material is one that won't react with what you're pouring. If you have any doubt about a plastic's strength, especially with something volatile like gas, just don't use it. Find something else.
If you're stuck, you can get a quick clue by checking the recycling code on the bottom of a plastic container. It's usually a number inside a small triangle.
Here’s a quick rundown:
- PET or PETE (Code 1): This is your typical soda and water bottle. It's fine for oil, coolant, and other non-solvents, but it's a definite no-go for gasoline.
- HDPE (Code 2): You'll find this on milk jugs and detergent bottles. It’s a much more robust, chemical-resistant plastic. For very temporary use with fuel, it’s a safer bet, but a real, purpose-built fuel funnel is always the best choice.
How to Craft a Plastic Bottle Funnel
Let's turn that empty plastic bottle into a genuinely useful tool. Honestly, knowing how to whip up a reliable funnel from a plastic bottle is one of the handiest tricks for any boater or DIYer. It’s quick, easy, and works like a charm when you do it right. The two things to get perfect are a clean cut and a spout that’s sized for the job.
I’ve found that a standard 2-liter soda bottle is your best bet. The plastic is thicker and more rigid, so it won’t buckle under the weight of the liquid. Plus, its long, tapered neck is already the perfect shape for a funnel spout. While a thin water bottle can work in a pinch, they’re just too flimsy and can easily collapse or crack mid-pour.
Making a Clean and Safe Cut
First things first, you need to separate the top of the bottle from the bottom. The goal here is a clean, straight edge—no jagged bits that can snag or tear. I usually start the hole with a sharp utility knife for precision, but then I switch to a pair of sturdy scissors to do the actual cutting. It gives me much better control.
Mark a line around the bottle where the top starts to straighten out, which is usually about a third of the way down. Carefully puncture the plastic just below that line with your knife, then follow the mark all the way around with your scissors. This little two-step process helps you get a smooth edge and keeps the plastic from splitting.
A clean cut isn't just about looks. It ensures the funnel sits flat and stable when you're pouring, preventing wobbles that lead to messy spills. It's worth taking an extra second to trim any rough spots.
Before you pour, though, make sure your plastic is compatible with the liquid you're handling. Some chemicals can degrade certain types of plastic, which is the last thing you want.
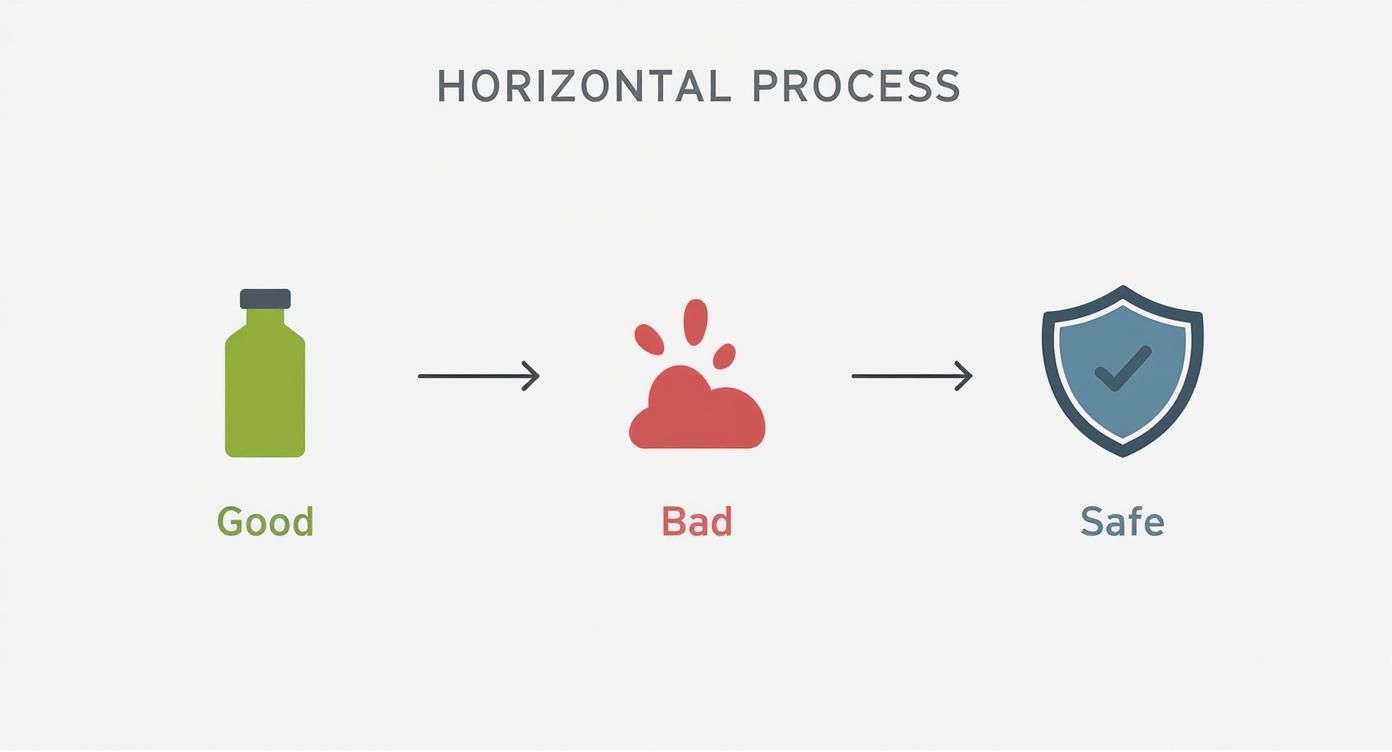
This graphic is a great cheat sheet for figuring out which materials are safe for your project and which ones to avoid completely.
Shaping the Spout for a Perfect Fit
You’ve got the basic funnel shape now, but the real secret to a spill-proof pour is customizing the spout. A standard bottle opening is often too wide for smaller fill ports, like on a lawnmower or a small outboard motor. This is where you can prevent a real mess.
To narrow the spout, just carefully trim away tiny slivers of plastic from the bottle's neck. The trick is to taper it down gradually until it fits snugly into the fill port. I did this last season to top off the oil in my boat's generator—I tapered the spout until it formed a perfect, leak-proof seal. The whole job was completely mess-free.
Here’s my method for getting it just right:
- Test as you go. Snip off a small amount, then check the fit. Keep doing this until it sits securely in the opening. Don’t rush it.
- Angle the cut. Sometimes, cutting the spout at a slight angle makes it easier to wiggle into those awkward, hard-to-reach ports.
That one small adjustment turns a simple piece of trash into a custom-fit tool, guaranteeing a clean and efficient pour every single time.
Simple Upgrades for a Better Homemade Funnel
You've got the basic shape of your funnel, but a couple of small tweaks can take it from a quick fix to a tool you'll actually want to use again and again. These upgrades tackle the most common frustrations you run into, especially when you're trying to fuel up on a rocking boat.
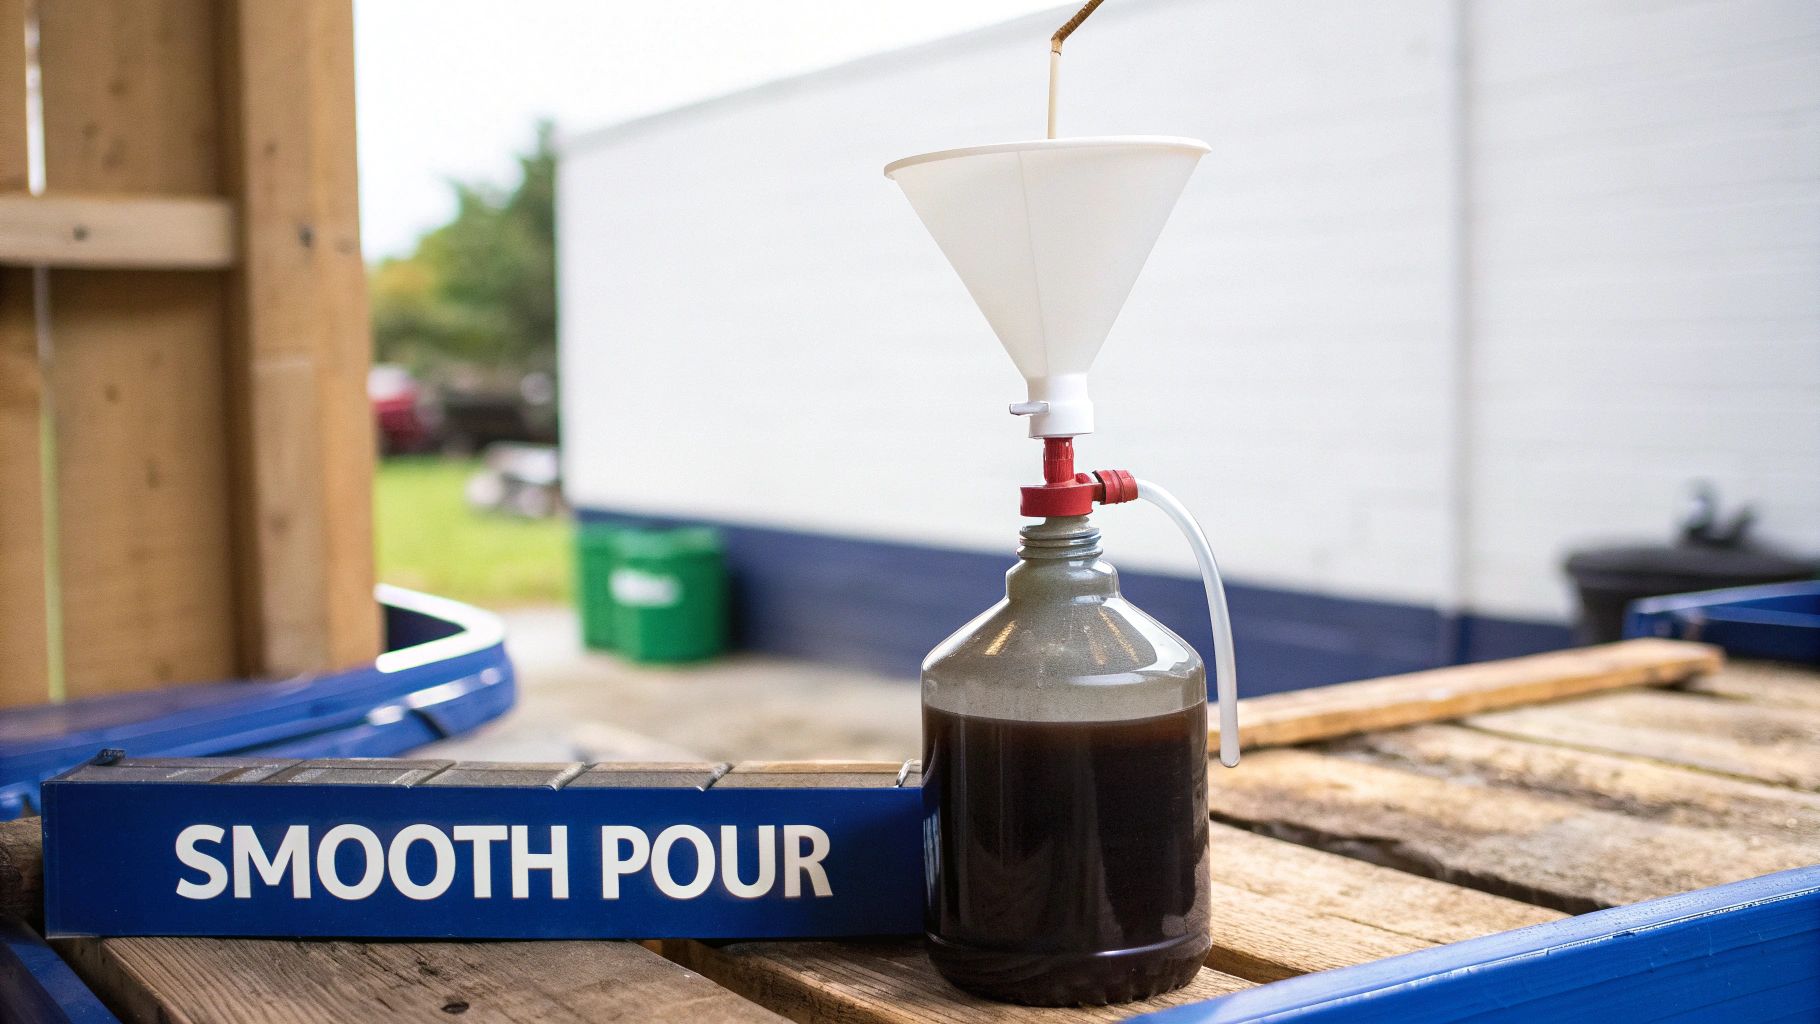
One of the biggest headaches is the "glug-glug-splash" of an uneven pour. That happens when air gets trapped in the tank and has no way to escape, forcing the liquid to bubble back up. The fix is surprisingly simple: create an air vent.
All you have to do is tape a simple drinking straw to the inside of your funnel. Make sure one end is near the spout, and you've just created a perfect little channel for air to escape as the liquid goes in. No more glugging, just a fast, smooth pour.
Adding Filters and Flexible Spouts
Another pro move is to add a filter. This is non-negotiable if you're transferring fuel, as even the tiniest bit of debris can wreak havoc on an engine. Just drop a coffee filter or a small piece of fine mesh screen into the cone of the funnel. It’s a 10-second step that can save you from a major headache.
A homemade funnel becomes a truly versatile tool when you adapt it to the task. Adding a filter or an extended spout isn't just a clever trick—it’s a practical step that prevents much bigger problems later on.
What about those hard-to-reach fill ports tucked away in awkward spots? That’s where a flexible spout becomes your best friend. Just find a short piece of flexible tubing and tape it securely to the funnel's nozzle. Suddenly, you can snake the spout around obstacles with no problem.
This kind of on-the-fly customization is exactly why DIY solutions are so great. There's a reason the commercial long-neck funnel market is so big—people need to solve specific pouring problems. By making your own modifications, you're essentially building a custom tool for your exact needs. If you're curious, you can explore more about funnel market trends to see just how valuable these specialized features are.
With these simple enhancements, your basic bottle funnel is now a high-performance tool ready for just about any pouring challenge you can throw at it.
Safety First: Handling Your DIY Funnel Like a Pro
Knowing how to whip up a quick funnel is a great skill, but if you're handling anything flammable, safety is everything. Seriously, don't cut corners here.
Always, and I mean always, work in a well-ventilated area. That means outside or in an open garage, far away from any potential ignition sources. Think about things like water heater pilot lights, space heaters, or even a random electrical spark. Getting fresh air moving is the single best thing you can do to prevent dangerous vapor buildup.
And please, gear up. A good pair of chemical-resistant gloves and some safety glasses are your best friends. It’s easy to think a little splash of gasoline or solvent is no big deal, but it can irritate your skin and is definitely not something you want in your eyes.
What to Do When Spills Happen
Let's be real—spills are part of the game sometimes. The key is being ready for them. Before you even start pouring, make sure you have some old rags, a bucket of sand, or even cat litter on hand. These materials are great for soaking up a spill before it spreads.
If you do have a spill, we've got a detailed resource you should check out. Our article on cleaning gasoline spills offers a complete safety guide and walks you through exactly what to do.
Once you’re done, what do you do with the funnel? Proper disposal is just as important as the pouring. A huge mistake is reusing a funnel that’s had gasoline in it for something else, like oil or coolant. That’s a surefire way to cross-contaminate your fluids.
After a single use with fuel or harsh chemicals, the safest practice is to let the funnel air dry completely in a safe, open space and then dispose of it according to your local regulations for hazardous waste.
This isn't just my opinion; it’s becoming standard practice. There's a reason the eco funnel market is expected to reach an incredible USD 65.6 billion by 2035. More and more people are focusing on spill prevention and handling chemicals the right way. Following these simple steps keeps you, your boat, and the environment safe. It’s just smart.
Got Questions About Your DIY Funnel?
Even the simplest projects can bring up a few questions. I've been making and using these quick funnels on my boat for years, and a few common queries always pop up. Here are the answers I've learned from experience.
What's the Best Material to Use?
Hands down, the best thing to grab from your recycling bin is a 2-liter soda bottle or a sturdy plastic juice bottle. Their plastic is tougher and won't get flimsy when it comes in contact with things like oil or coolant. You can get a nice, clean cut without it cracking.
A milk jug works in a pinch, but I'd steer clear of those thin, crinkly water bottles. They're just too weak and can collapse mid-pour, which is the last thing you want when you're dealing with fuel.
The most important thing to remember is this: never reuse a funnel for drinking water if it's ever touched fuel, oil, or chemicals. The risk of contamination is just too high. When you're done with a fuel funnel, let it air out and dispose of it responsibly.
How Can I Stop the 'Glugging' and Spills?
Ah, the classic "glug-glug-splash." That happens when air gets trapped and can't escape as the liquid goes in. It’s an easy fix.
Just tape a simple drinking straw to the inside of the funnel. Make sure one end of the straw is up near the wide opening and the other is down near the spout. This little trick creates an air vent, letting air escape smoothly and giving you a fast, consistent pour without the mess.
Can I Reuse My Homemade Funnel?
It really depends on what you've used it for. If you were just adding something harmless like windshield washer fluid, a good rinse is probably fine.
But if that funnel has seen gasoline, oil, or any other harsh chemical, the safest bet is to treat it as a one-time-use tool. Let it air out in a safe spot away from any ignition sources, and then toss it. It's not worth the risk.
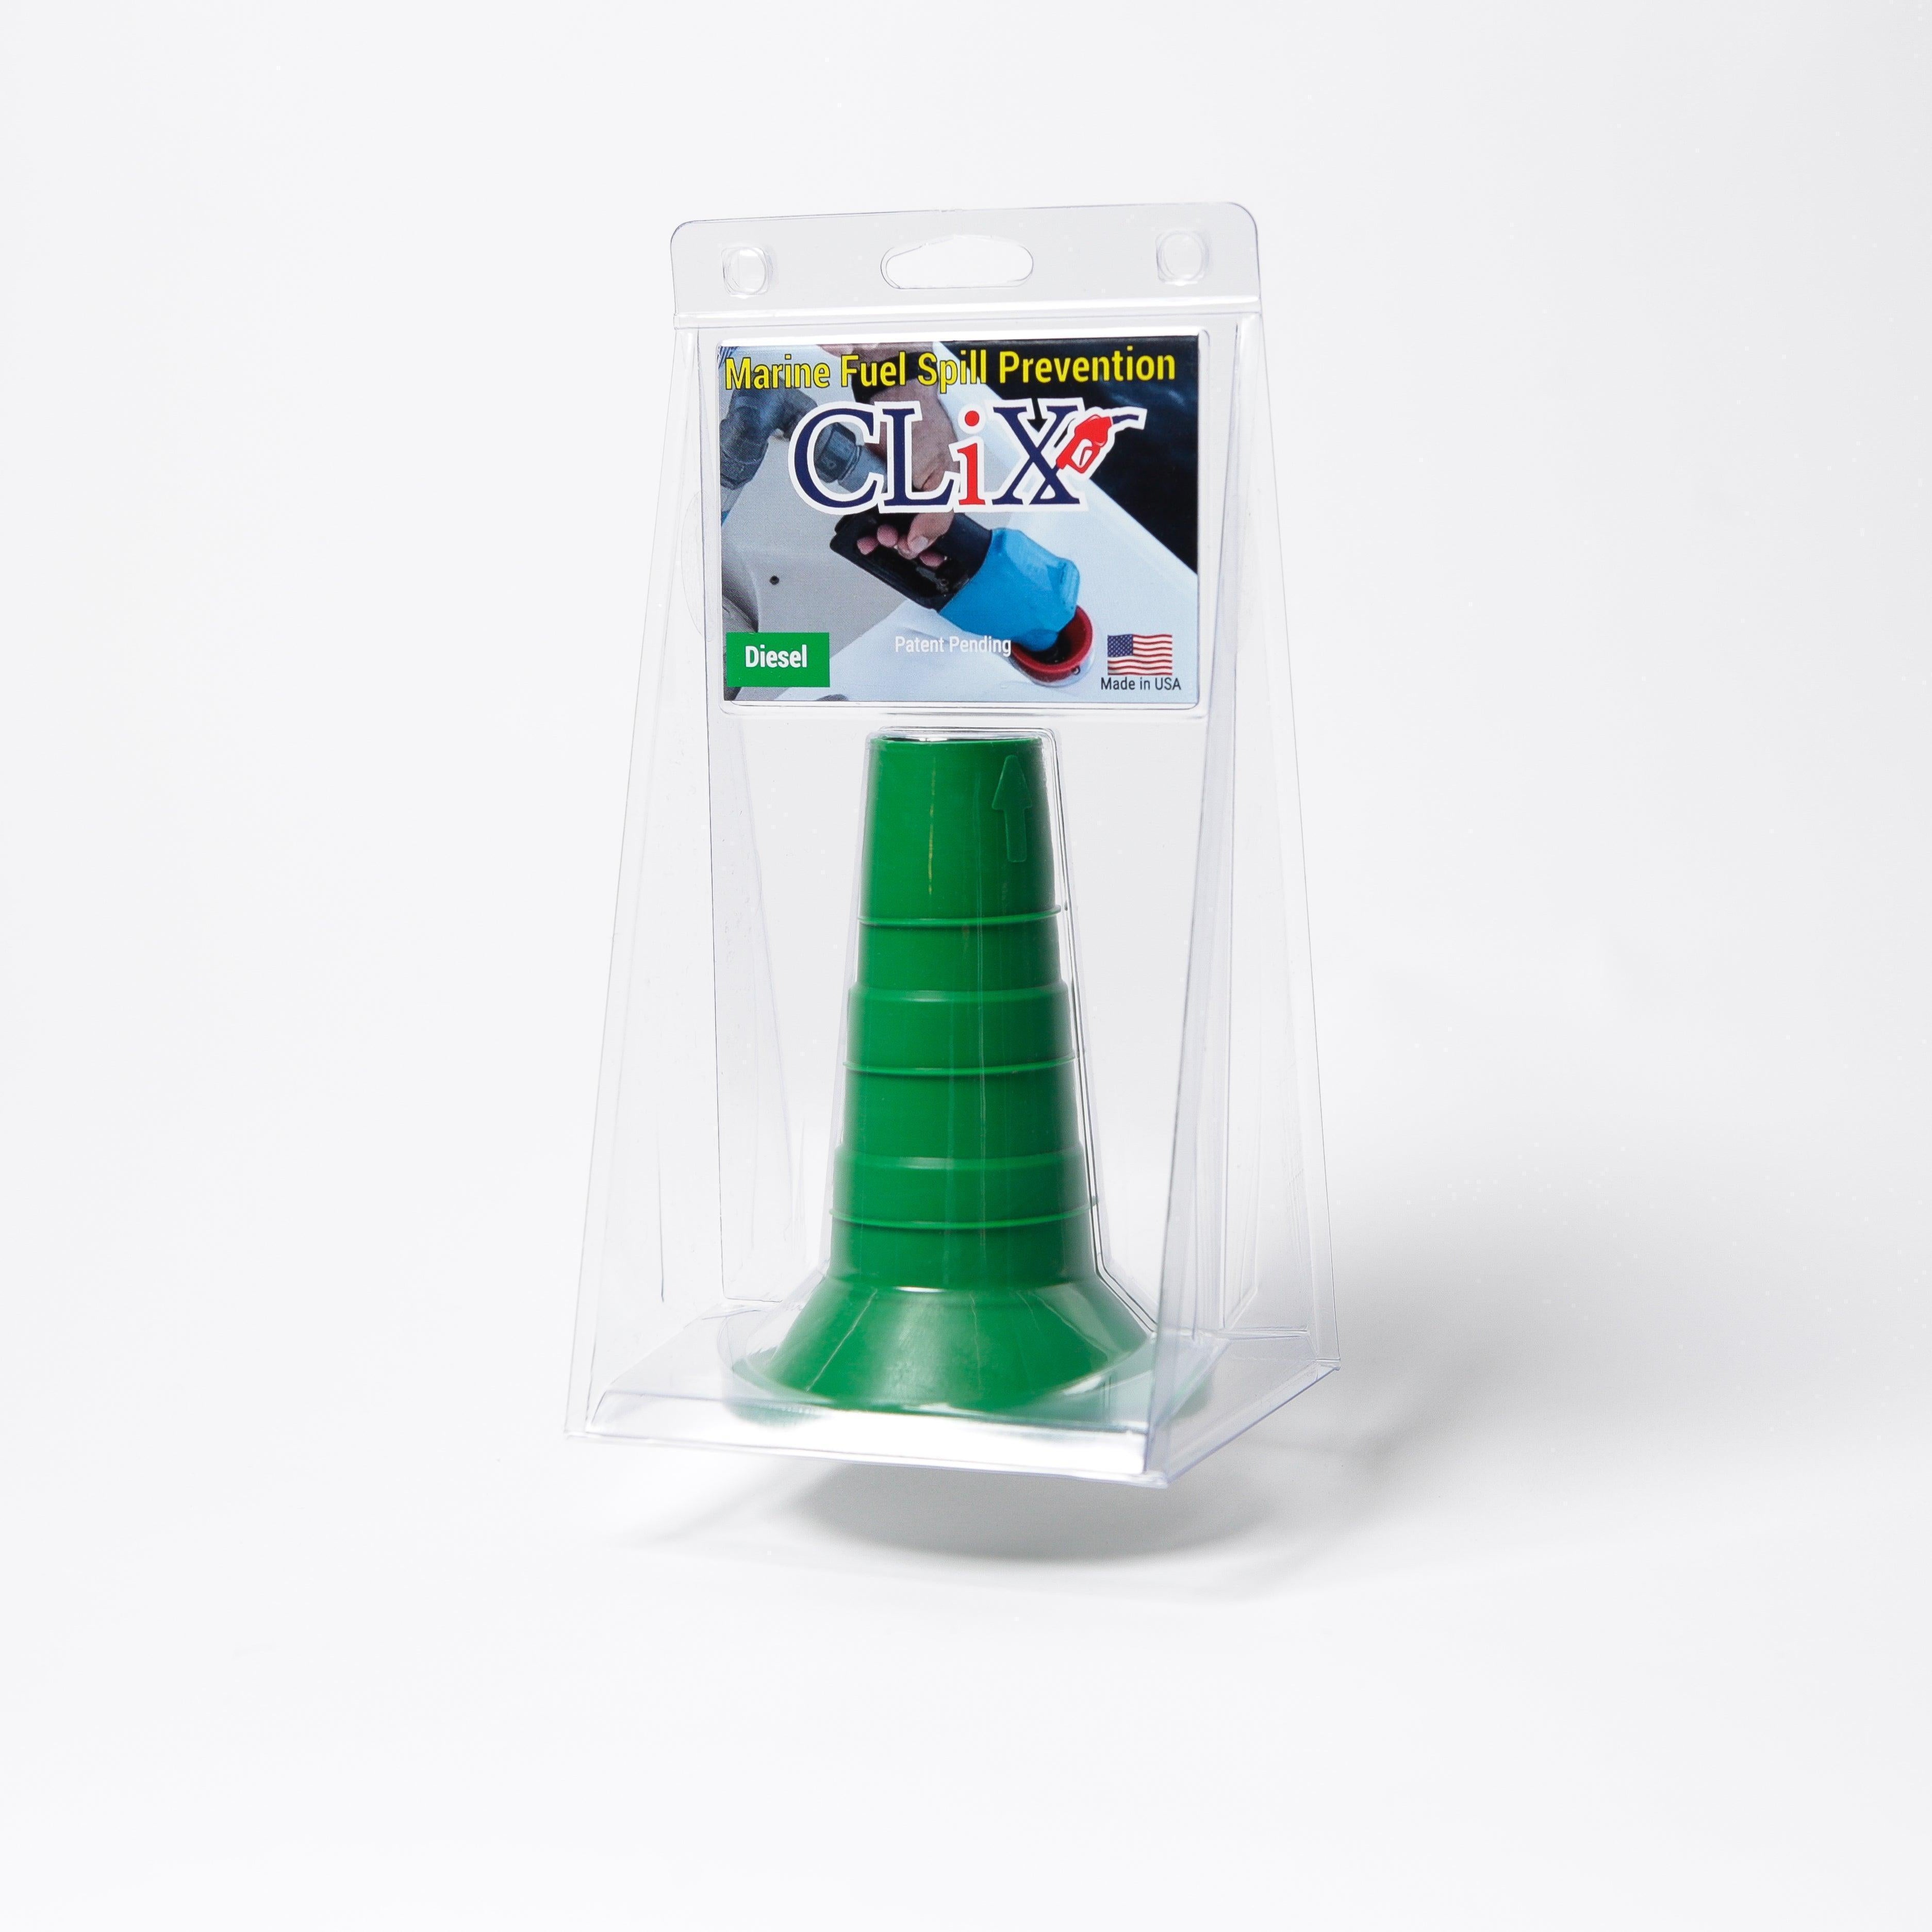
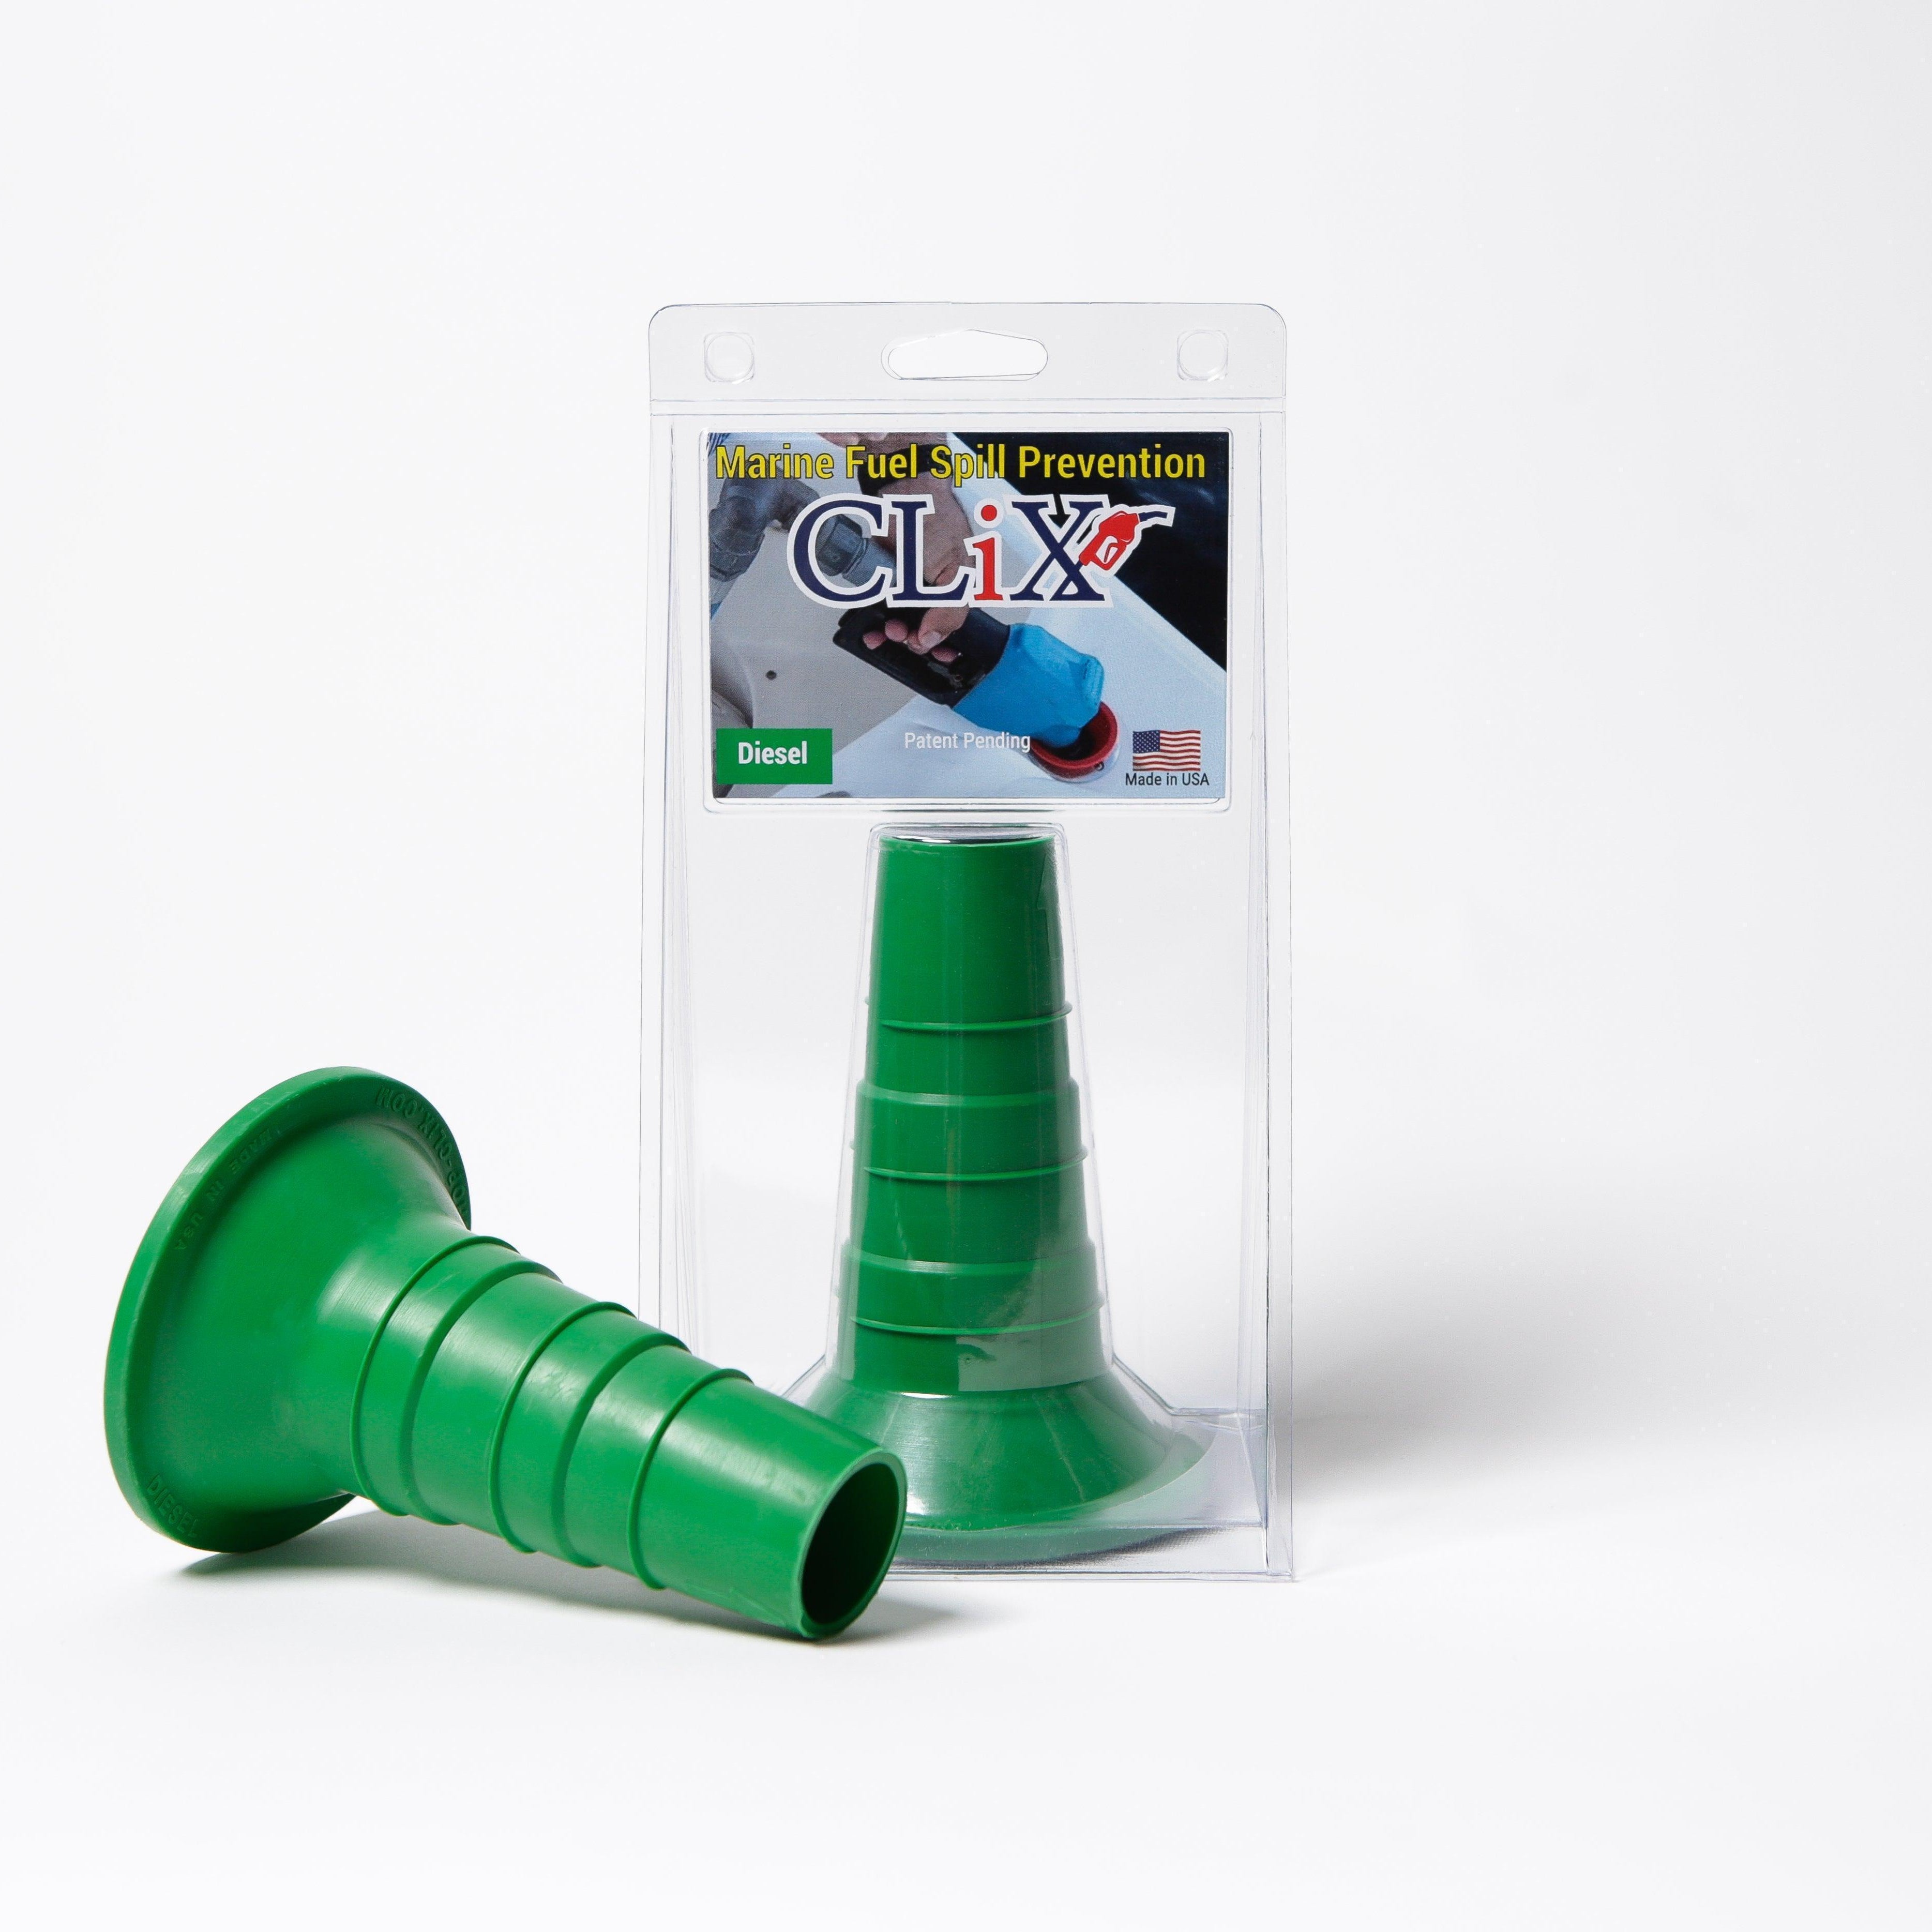
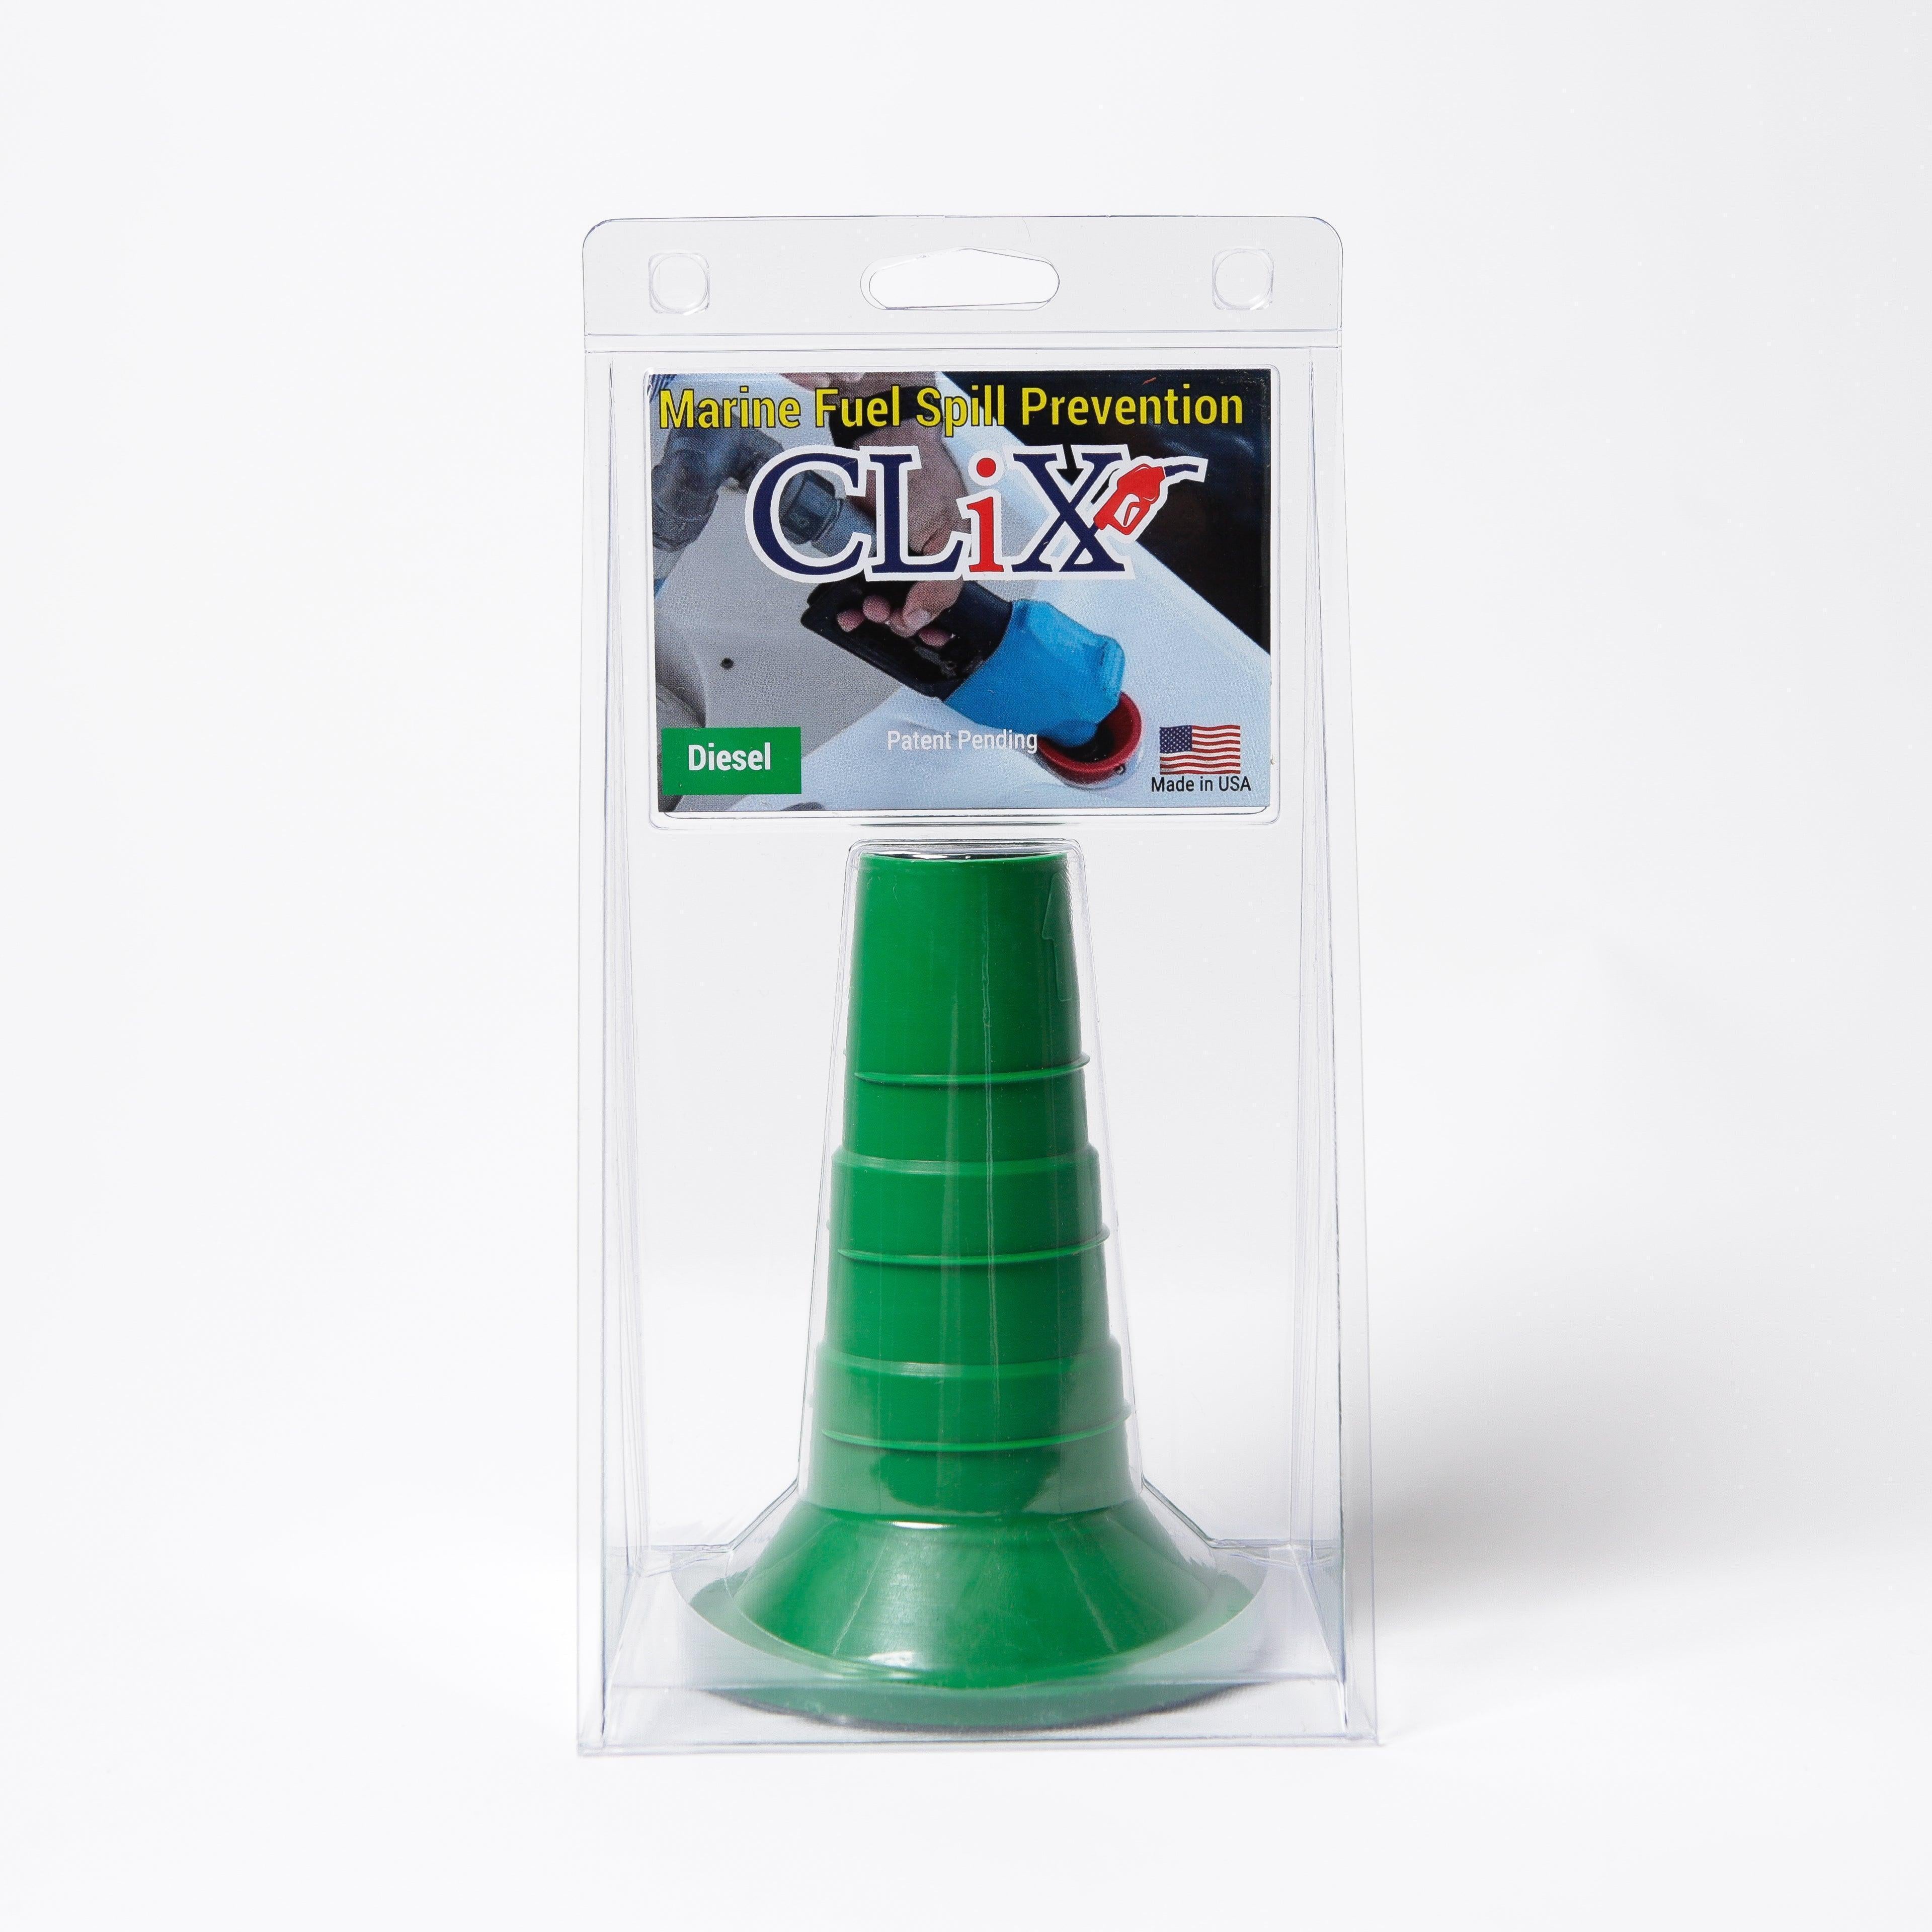
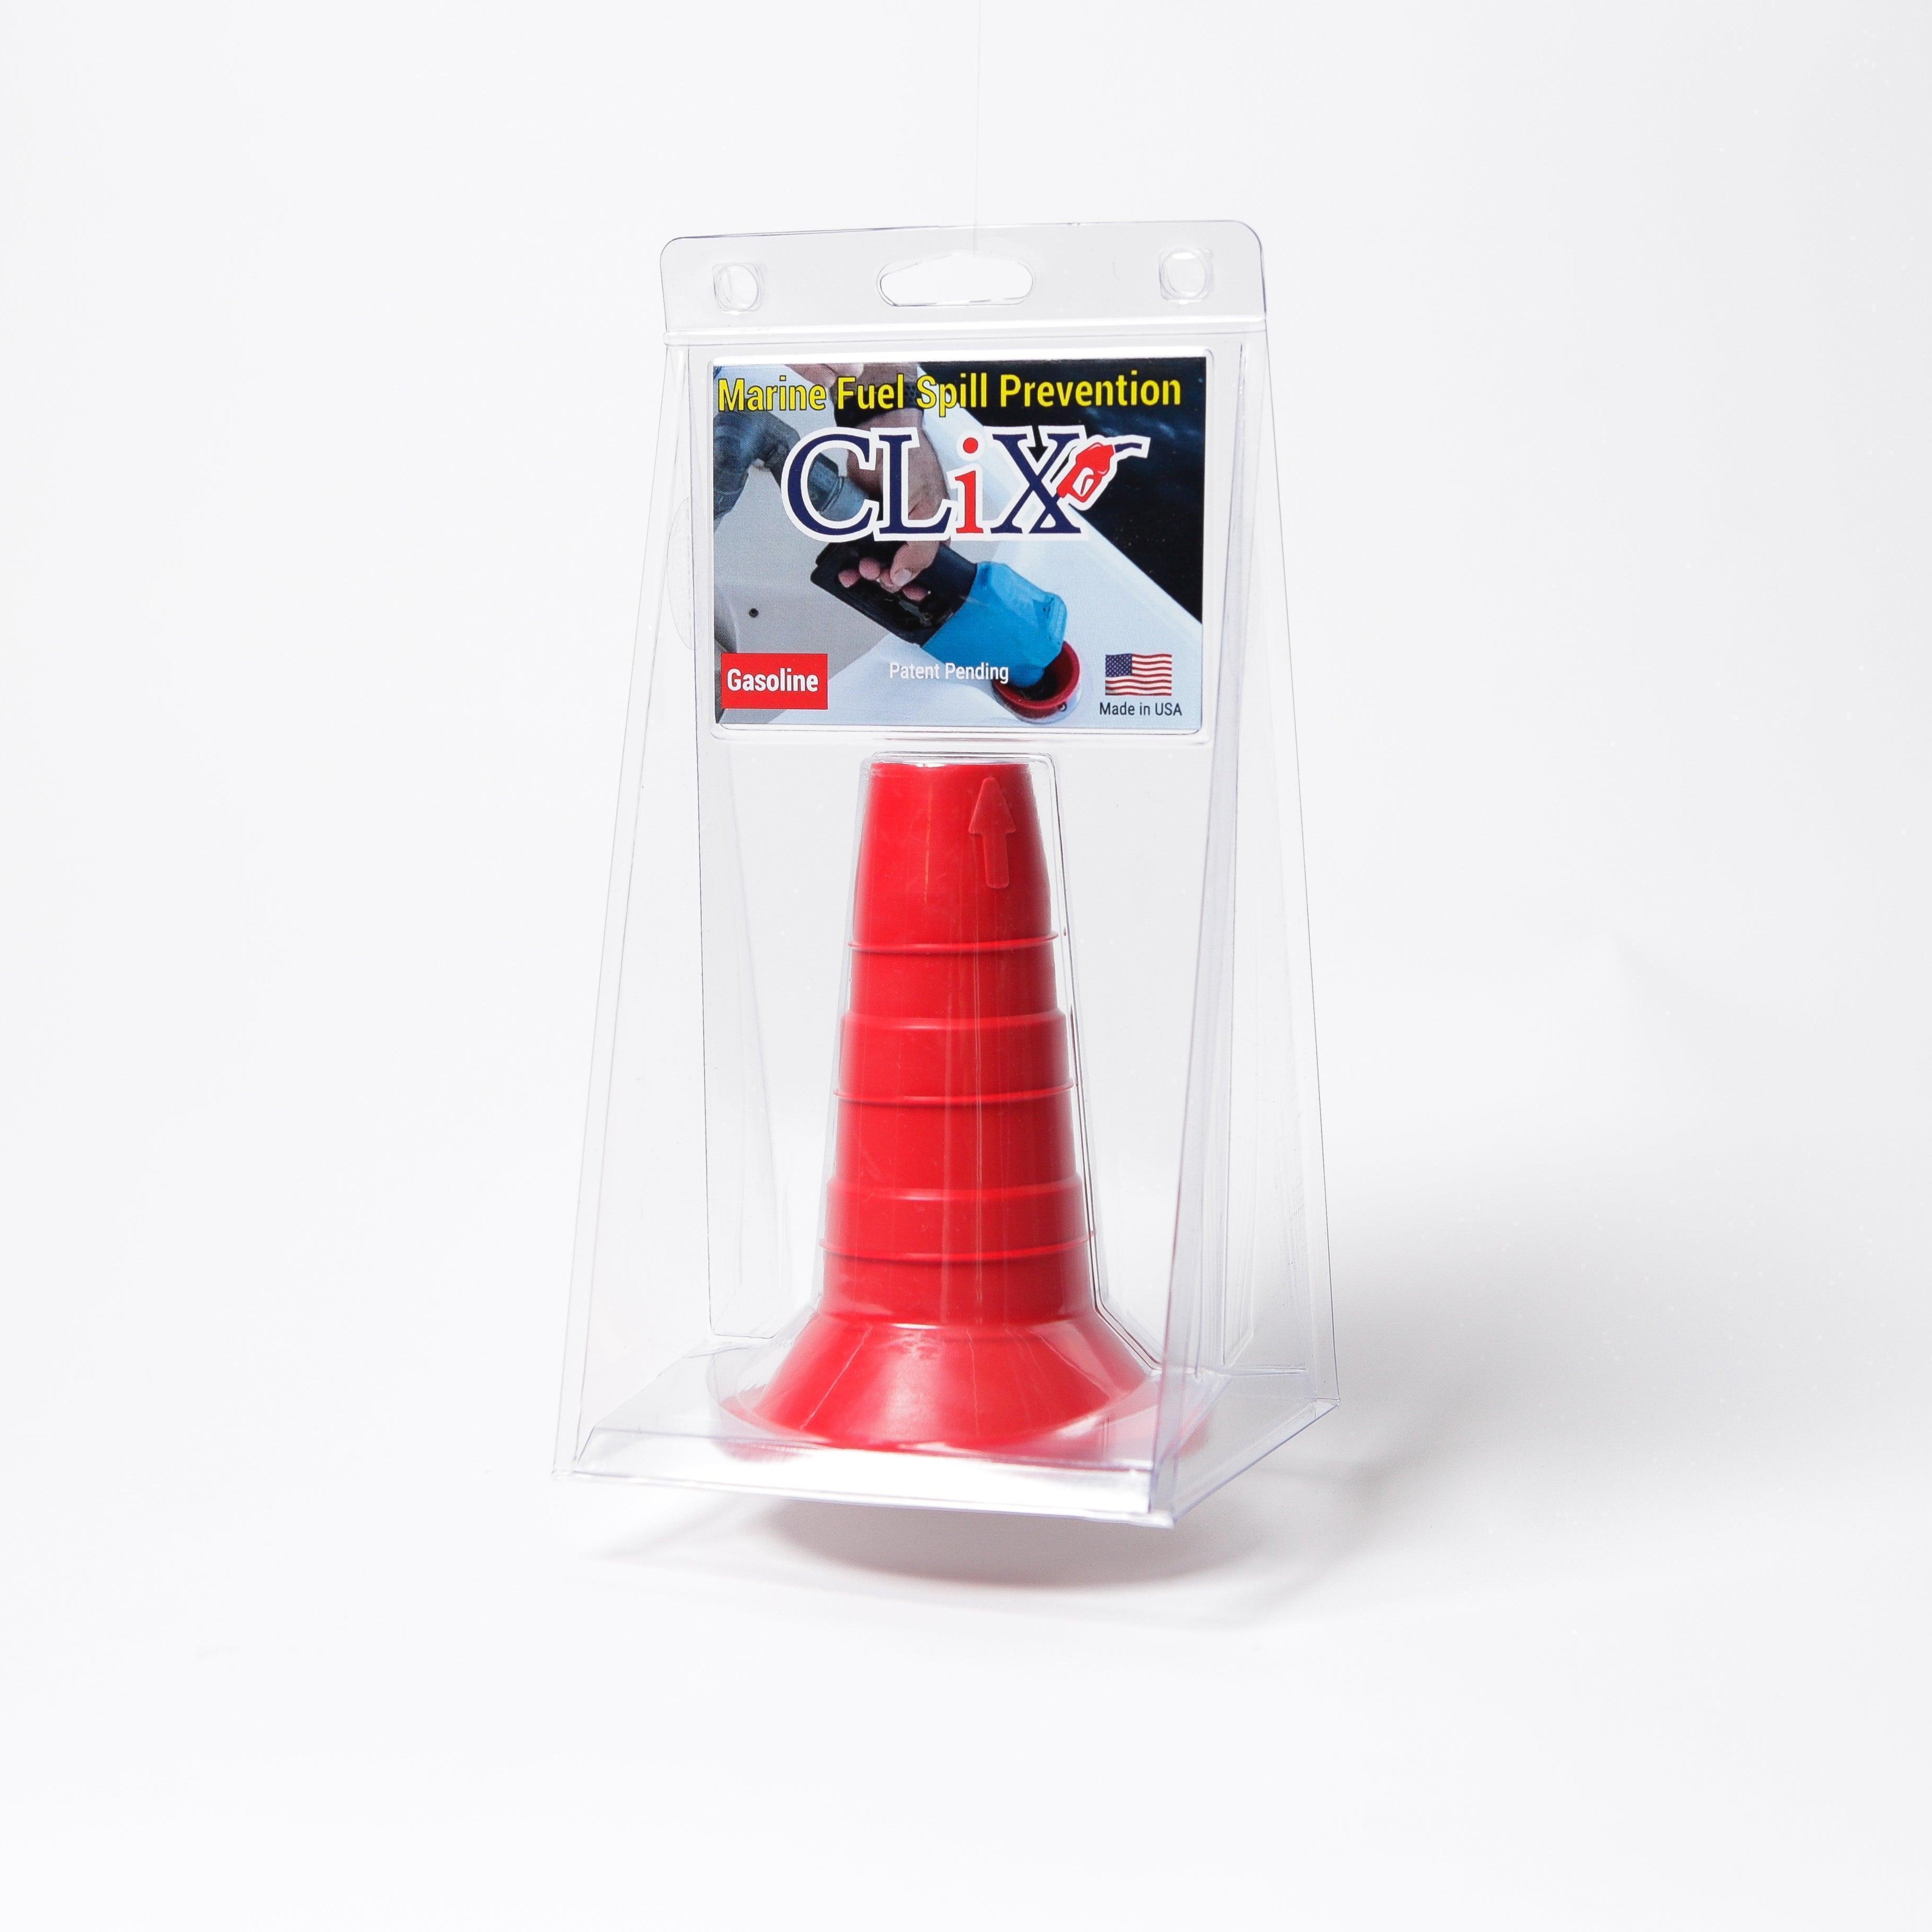
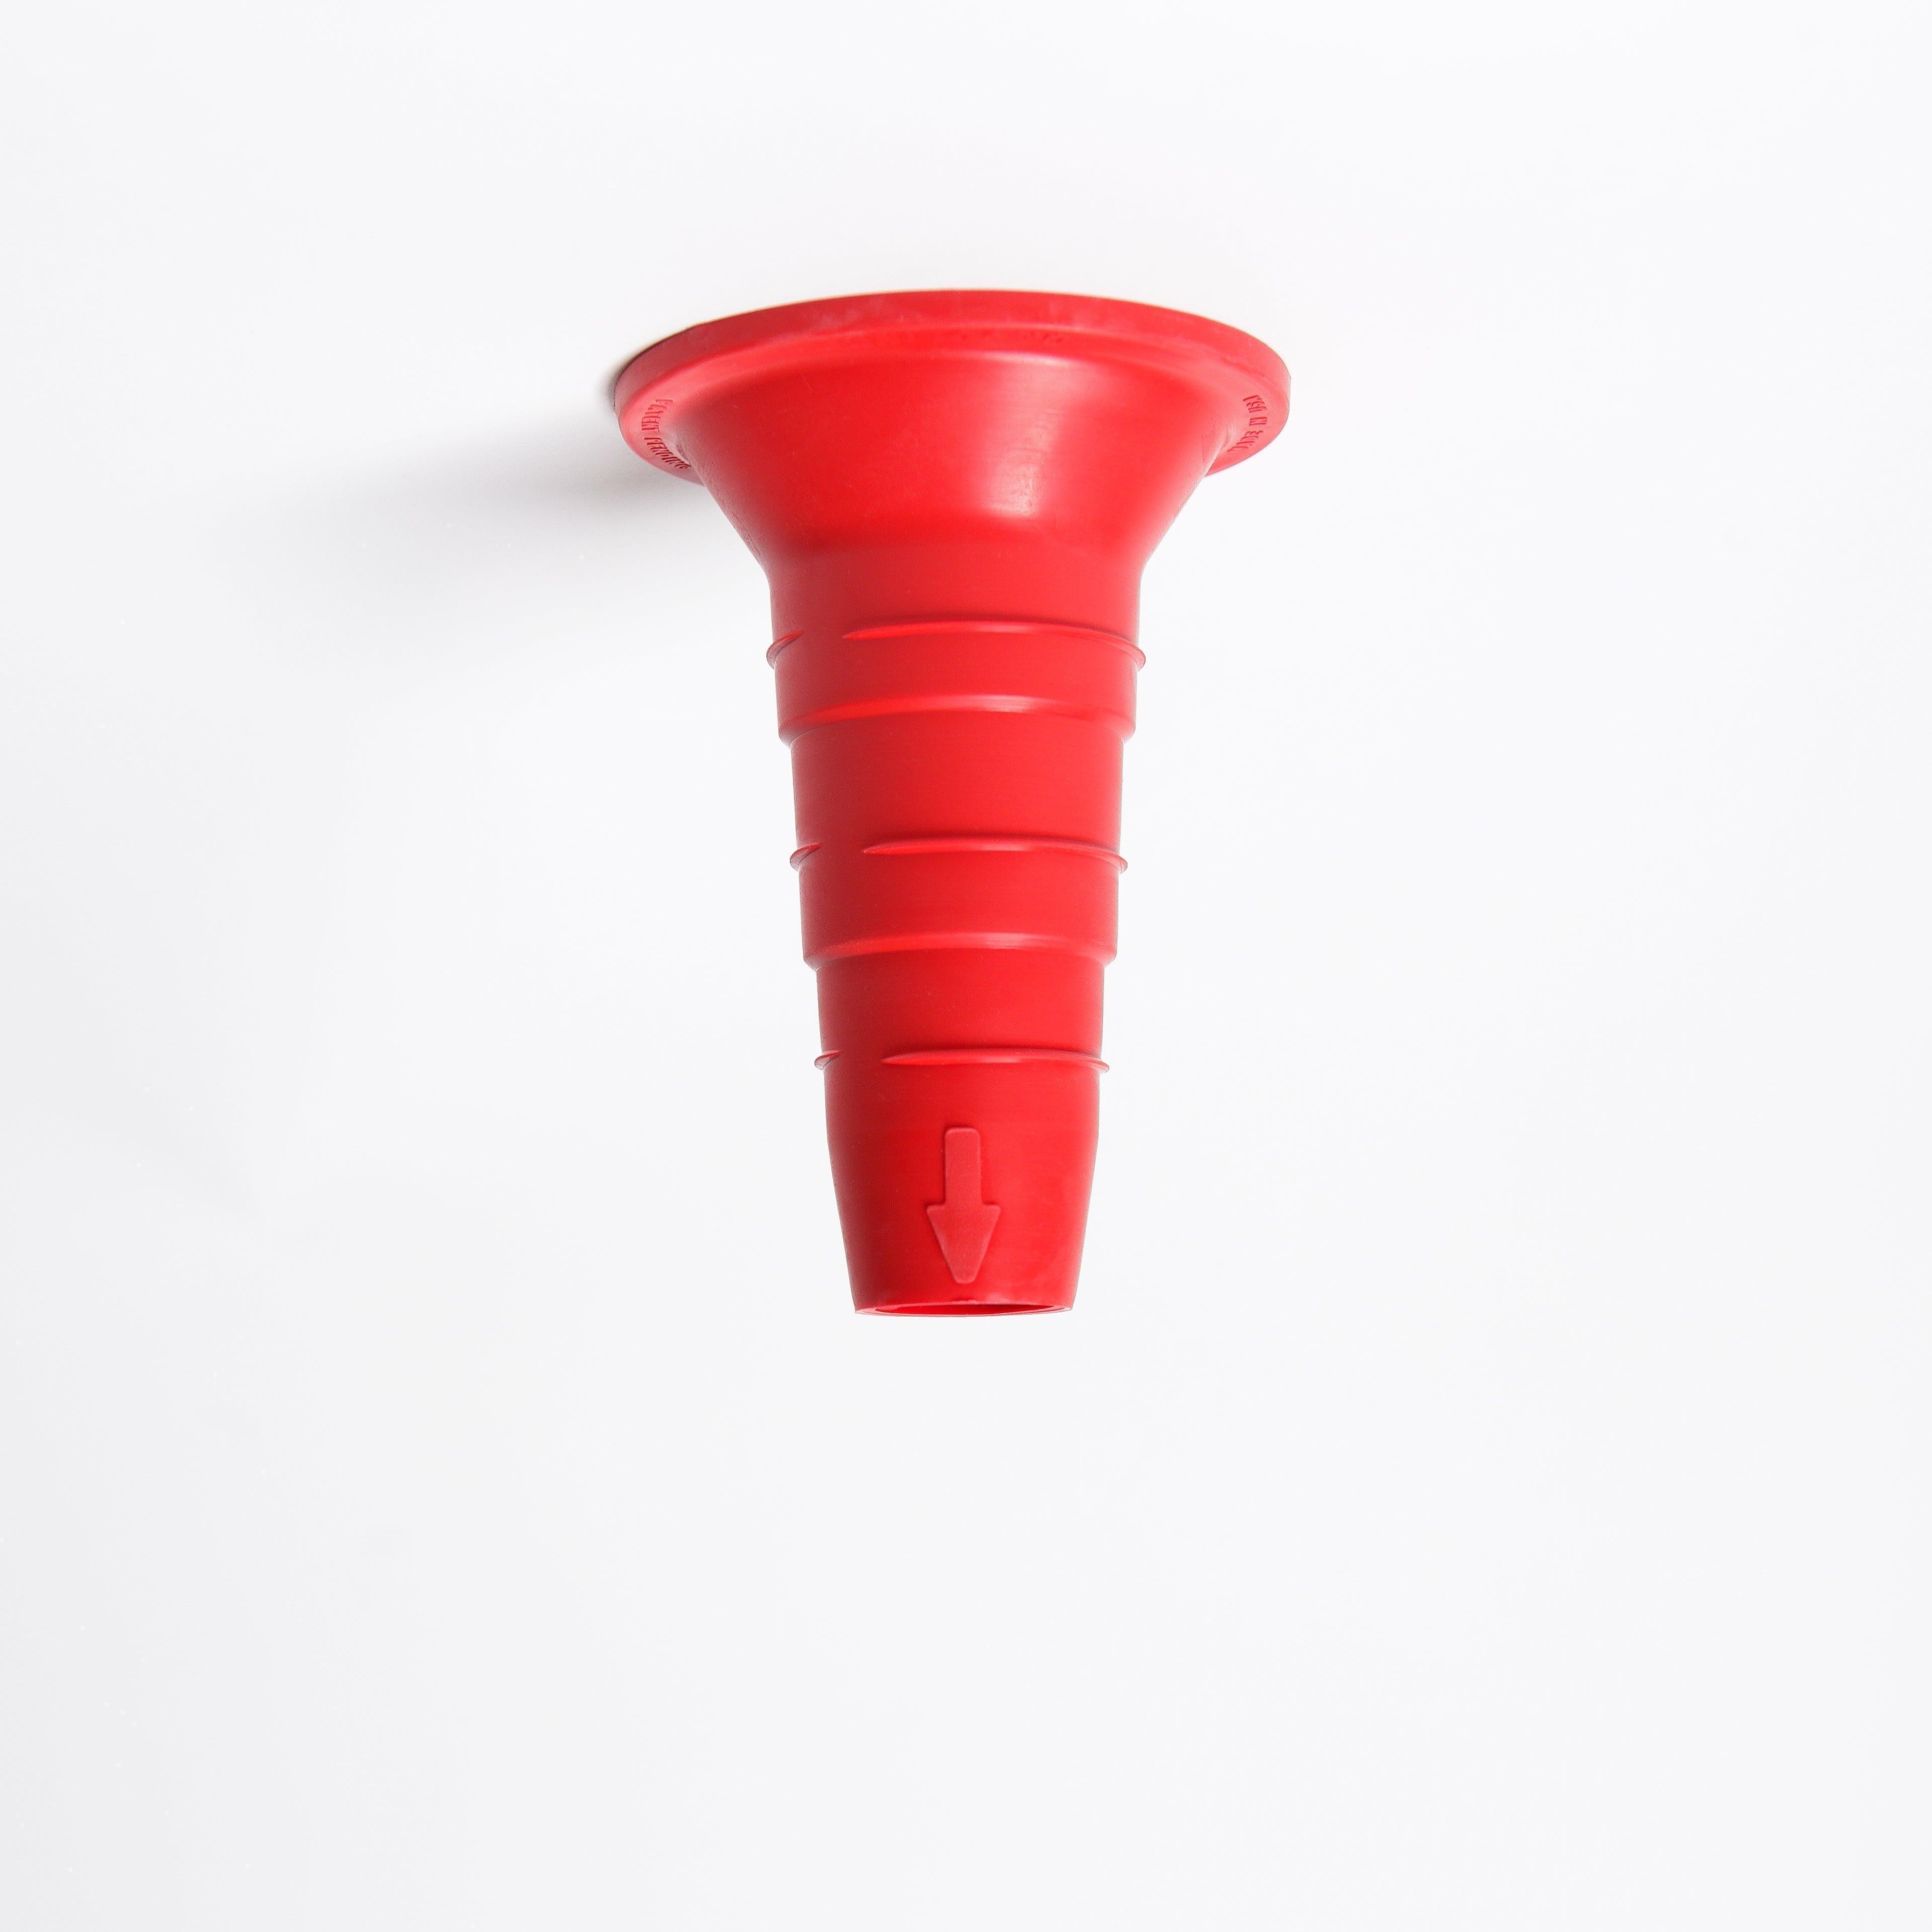
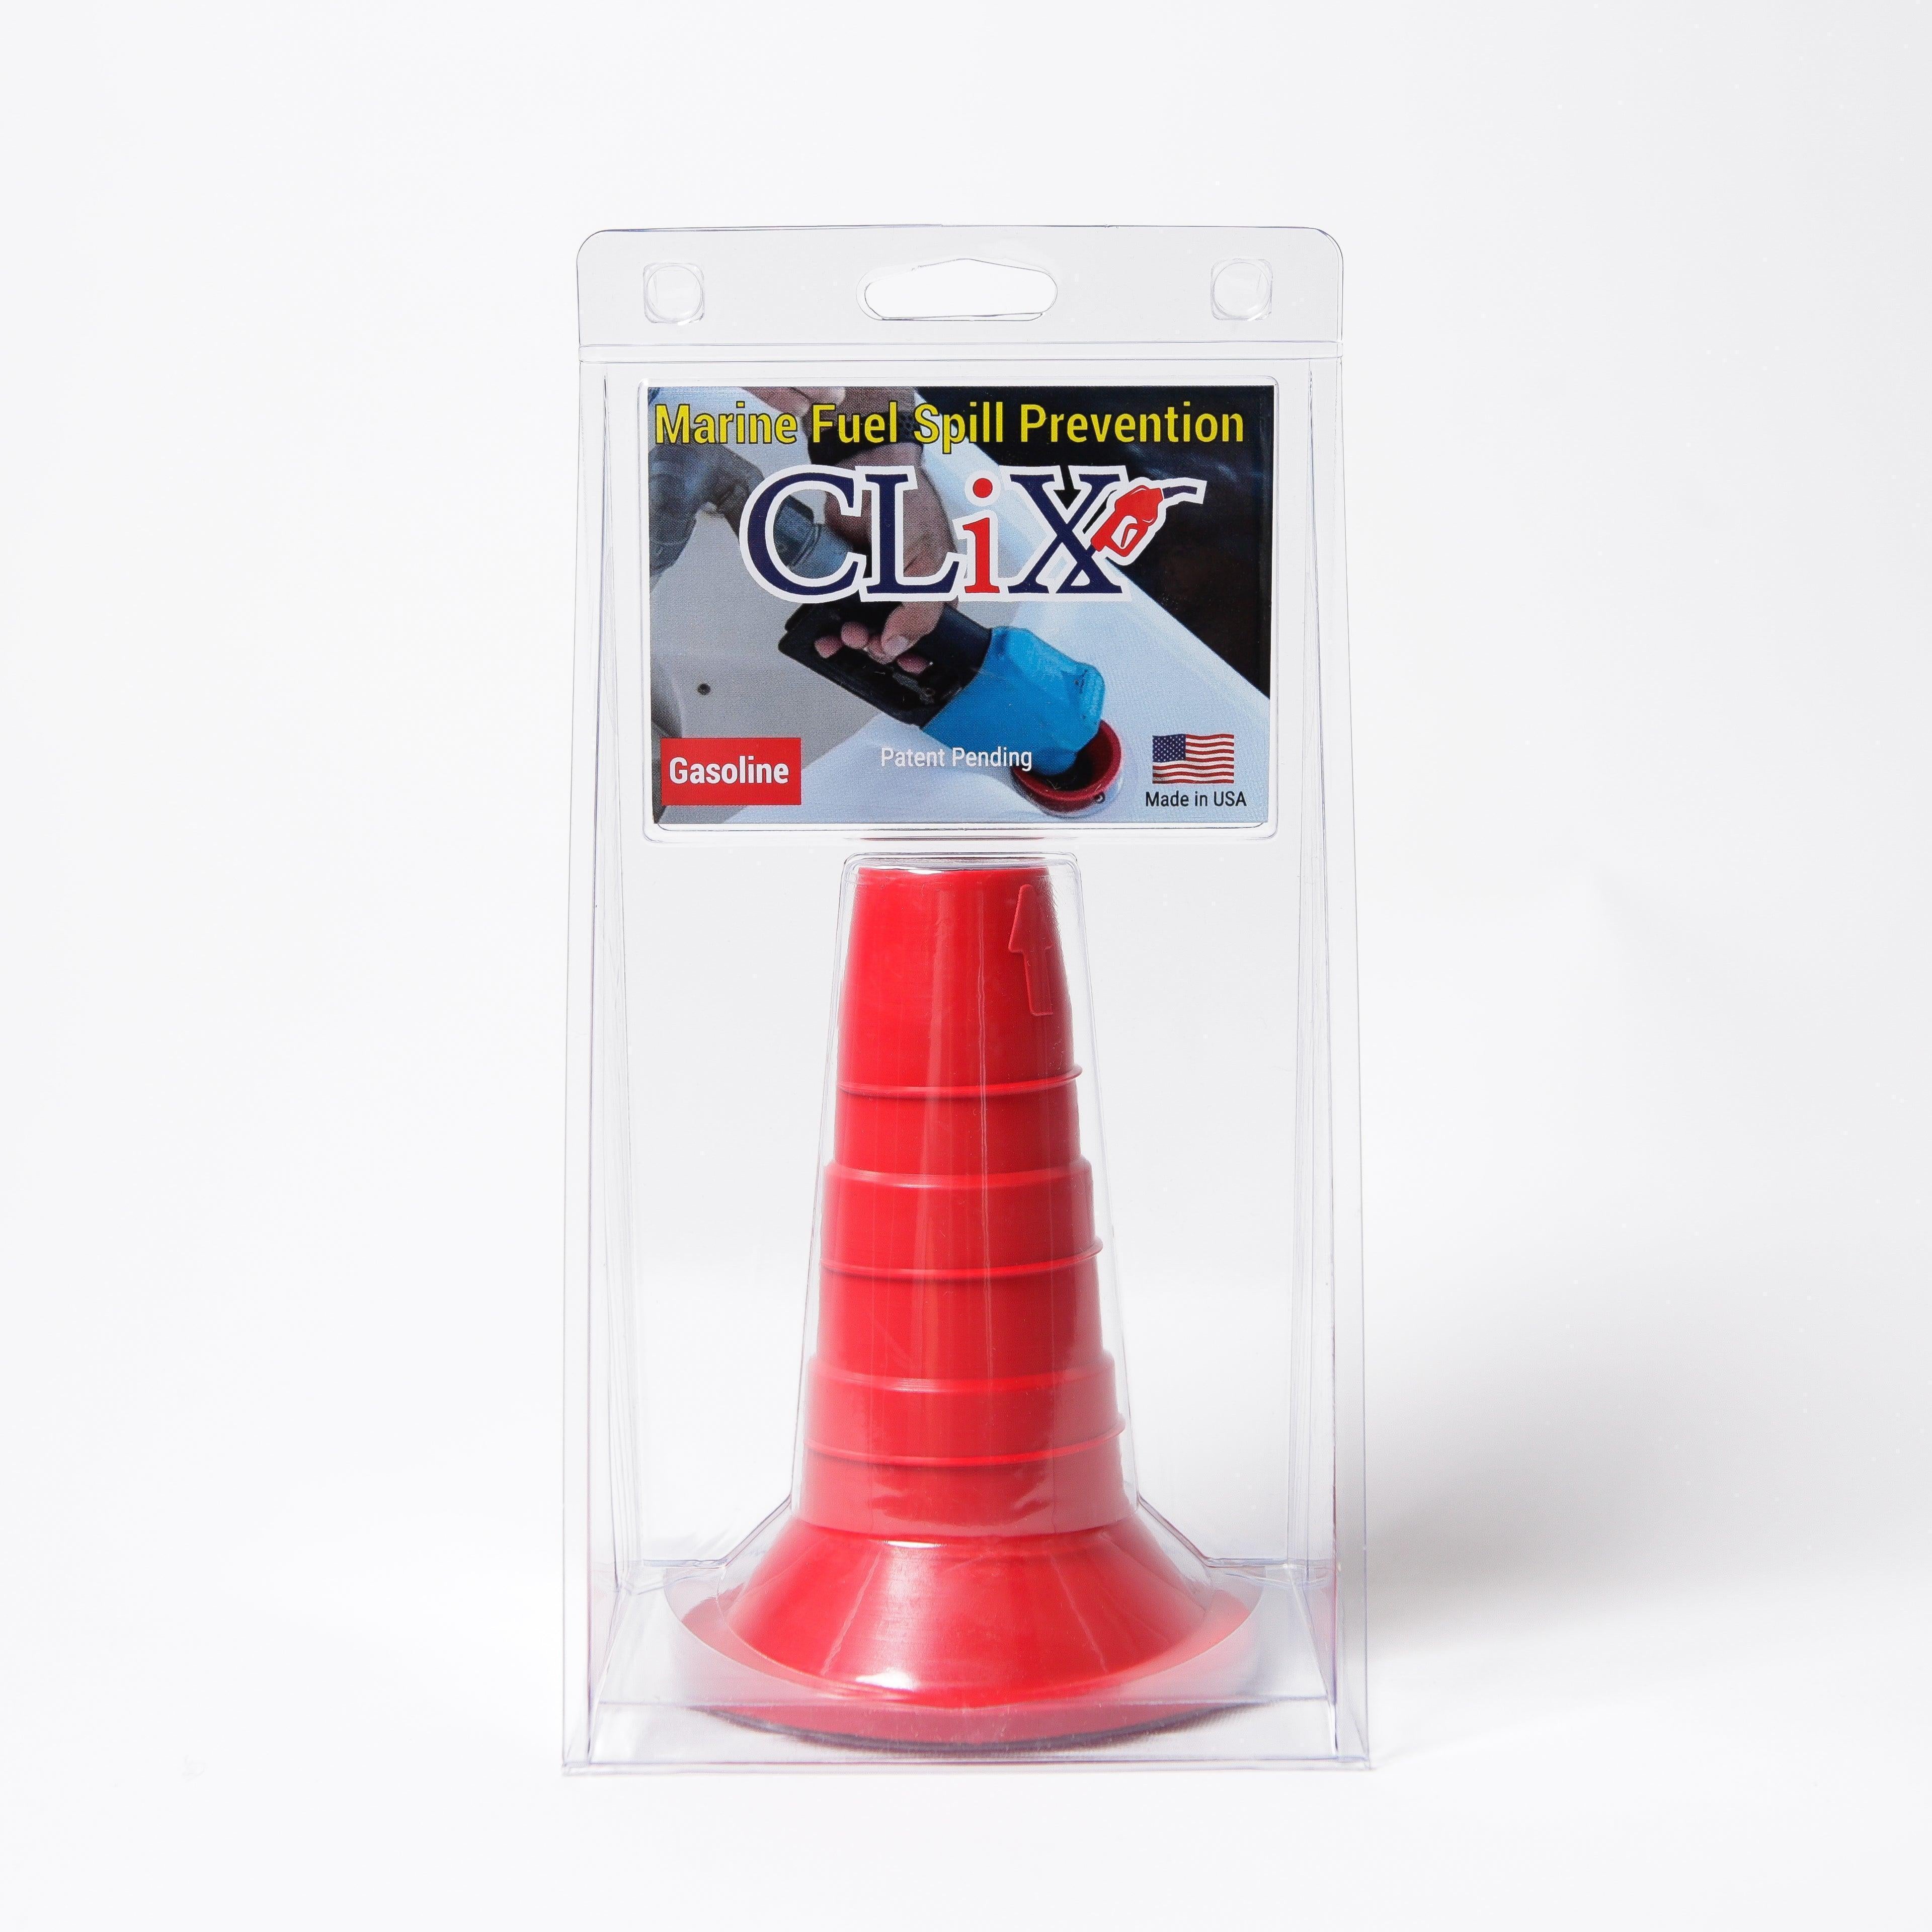
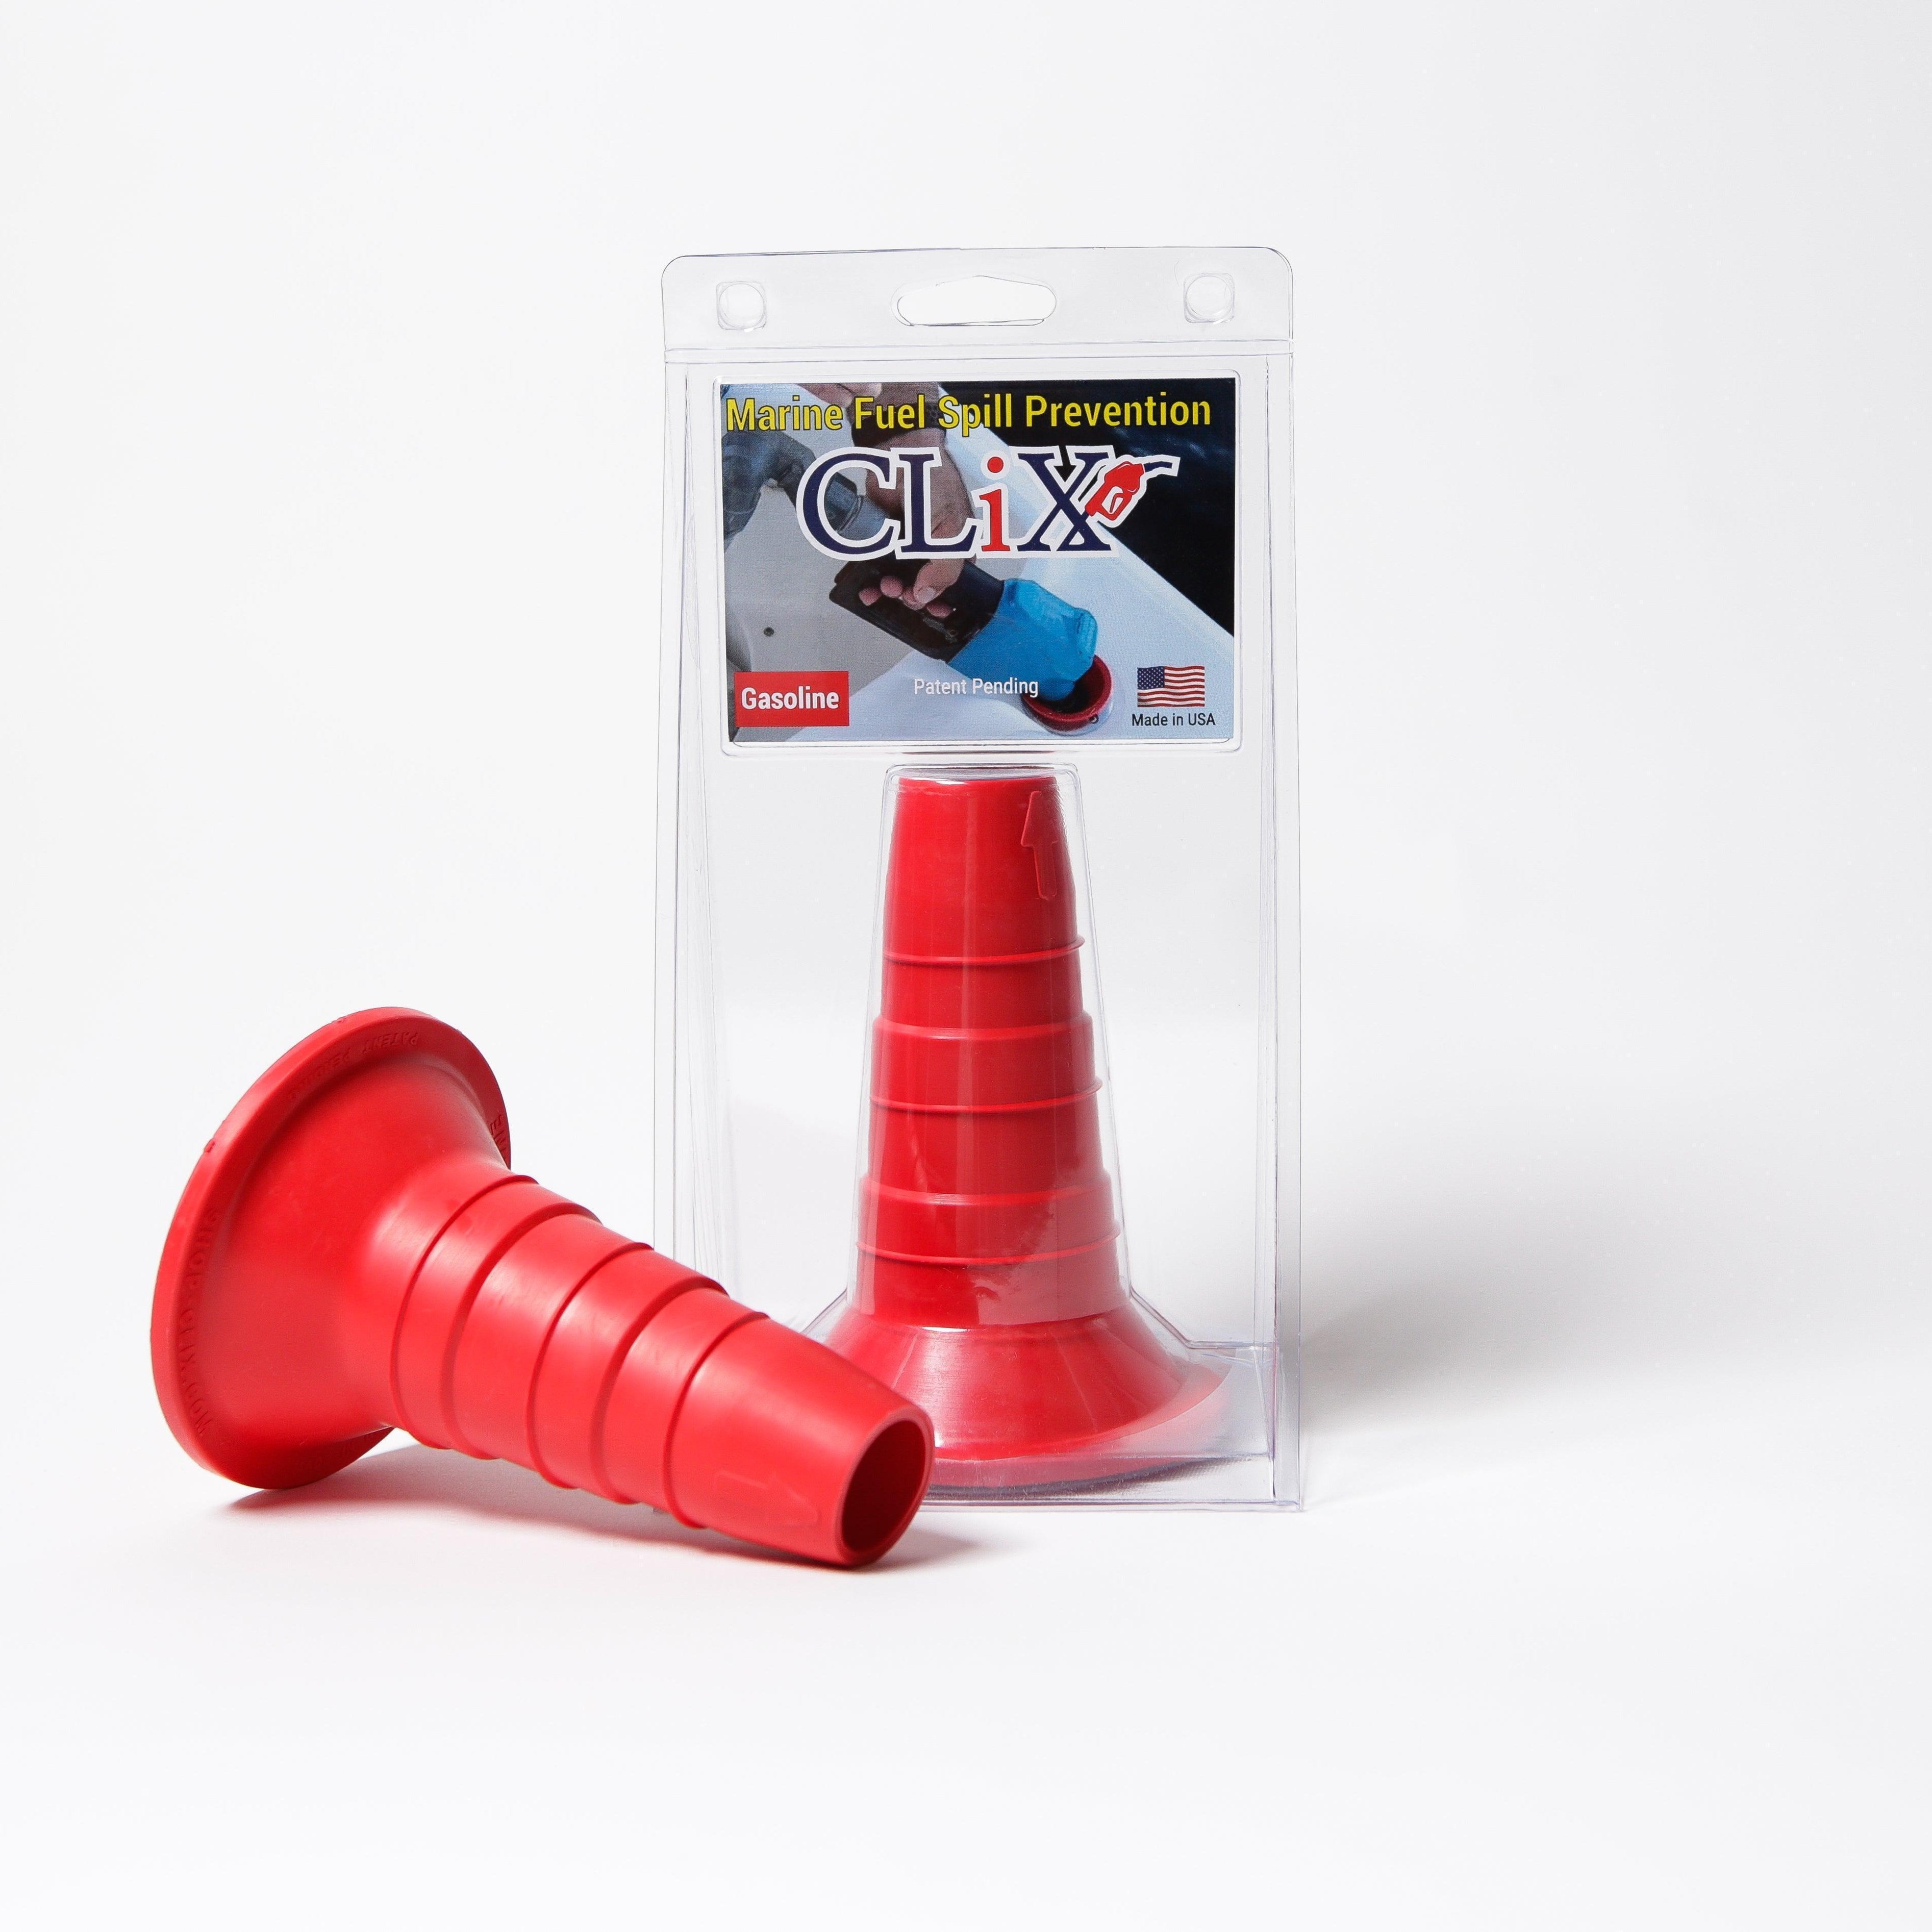
Tired of worrying about spills altogether? CLiX Fueling Solutions has a spill-free, automatic shut-off system designed to make fueling your boat clean and safe. You can protect your boat and the water by checking out how their system works at https://clixfueling.com.