A hand-pump gas can is exactly what it sounds like: a portable fuel jug with a built-in manual pump. For boaters, it’s a game-changer. It’s designed to give you a safer, cleaner, and much more controlled way to transfer fuel, saving you from the classic "lift and pour" struggle with a heavy, sloshing can.
Why a Hand Pump Gas Can Is a Boater's Best Friend
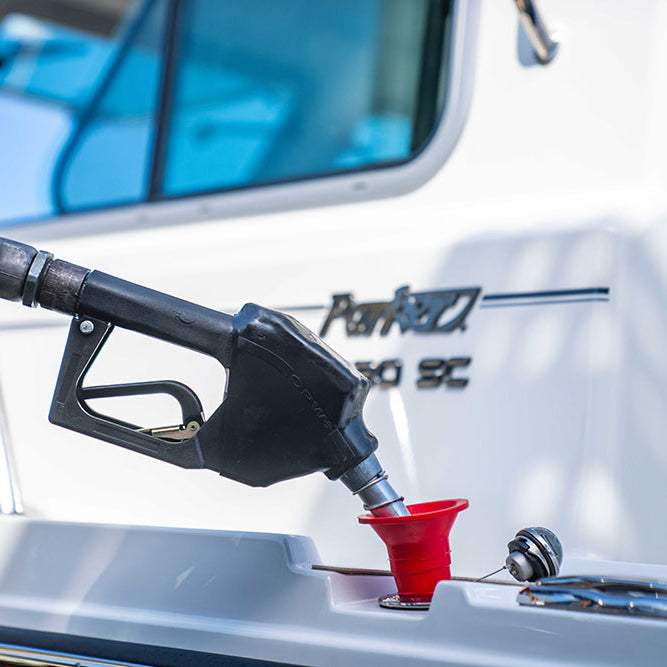
Let's be honest. Trying to fuel a boat directly from a standard five-gallon jug is a nightmare. You’re balancing on a moving deck, trying to hoist a 40-pound container over the fuel port without making a mess. It’s not just awkward; it’s a genuine safety hazard. One wrong move and you’ve got a costly fuel spill on your deck or, even worse, in the water.
This is where the simple brilliance of a hand-pump gas can shines. It turns a risky, clumsy chore into a straightforward, clean process. Instead of fighting gravity and hoping for the best, you get to control the fuel flow with every squeeze or turn of the handle.
Real-World Scenarios Solved
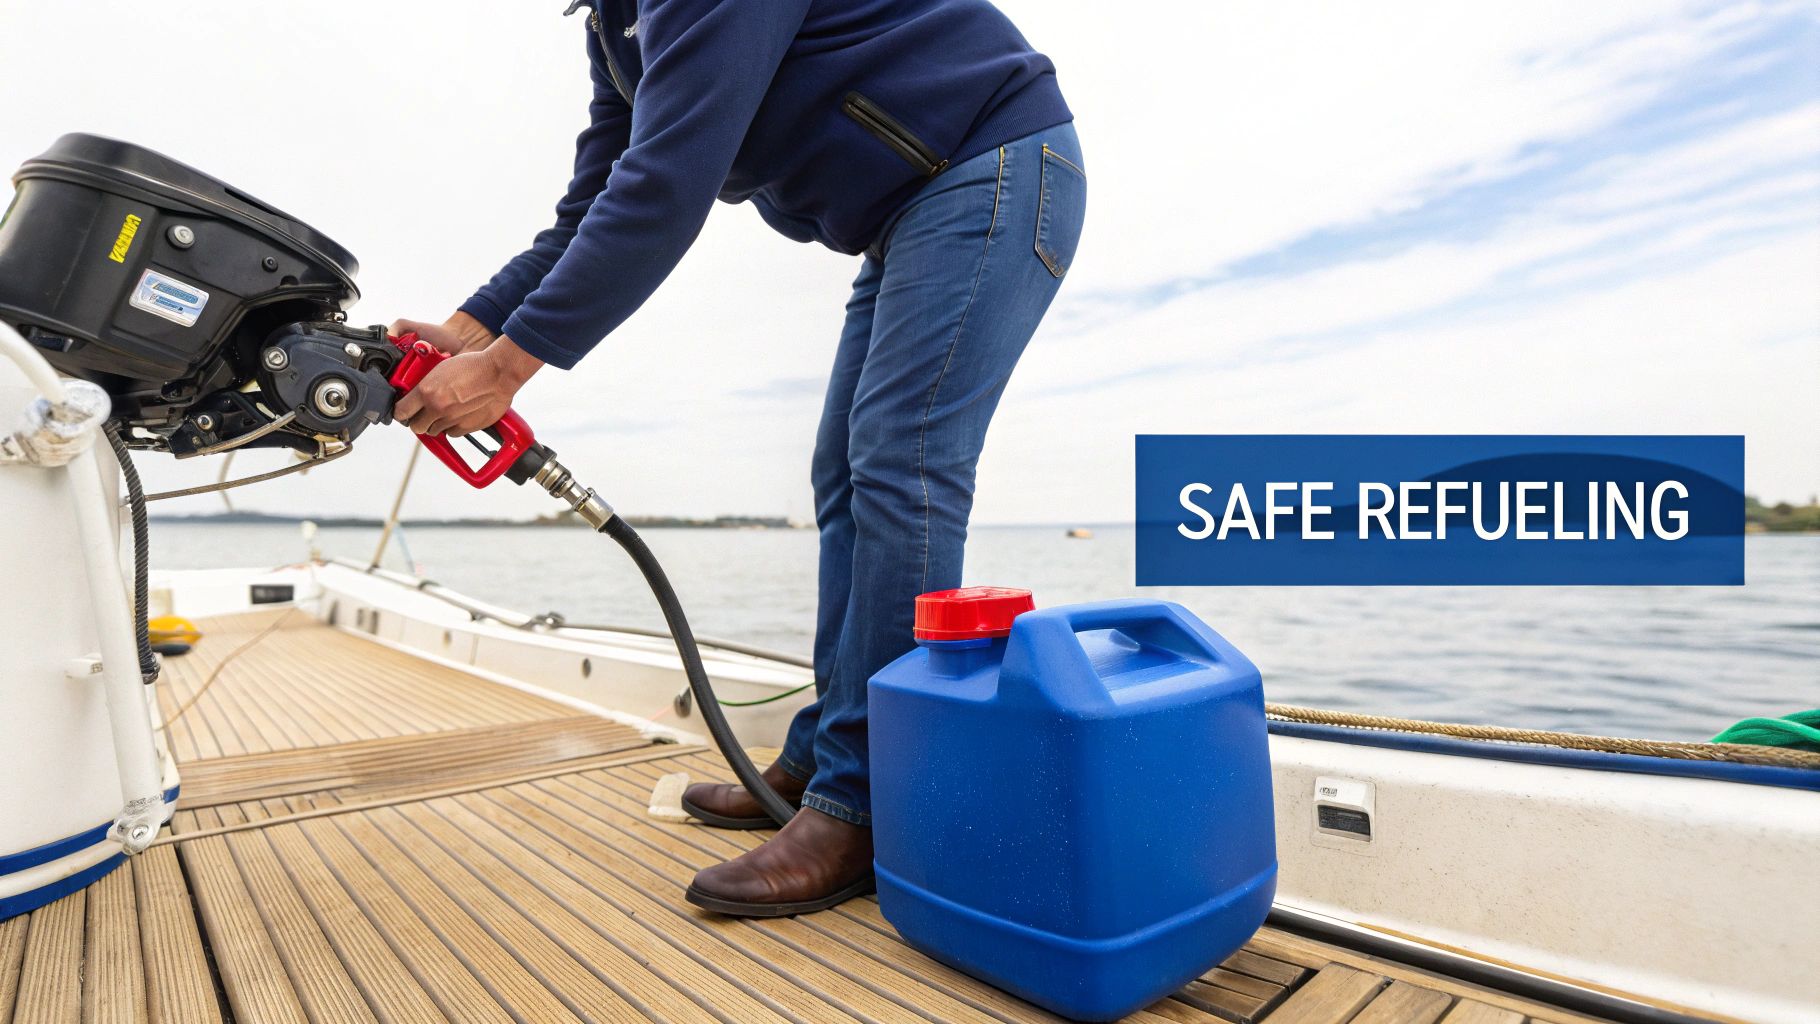
Picture this: you're trying to top off your dinghy's small tank while it’s bouncing around in choppy water. Good luck pouring from a regular can without spilling fuel everywhere. With a manual pump, you can leave the heavy gas can safely on the dock or your boat deck, run the hose over, and refuel with total control.
Or what about just topping off your main tank at the end of the day? You only need a little, but lifting a full can for a quick splash is a pain. A pump lets you add exactly the amount you need without the back-breaking effort.
Think of it less as an optional accessory and more as a crucial piece of safety and environmental equipment. It’s the smart solution to one of the most common headaches boaters face.
This isn't just a niche gadget; it's part of a growing market. The portable fuel transfer pump kit market was valued at USD 500 million in 2025 and is on a steady rise. While electric pumps get a lot of attention, manual kits—like the classic hand-pump gas can—are still a major player, with around 50 million units produced each year.
At the end of the day, this tool is all about giving you control and peace of mind.
It makes refueling:
- Safer: By drastically cutting down the risk of slips and spills.
- Cleaner: By keeping fuel off your boat and out of the water.
- Easier: By saving your back from lifting those heavy containers.
Getting familiar with the different types of gas cans with pumps helps you make a smarter choice for your boat. It’s a small investment that pays you back every single time you refuel.
Picking the Right Hand Pump and Gas Can
Let's be honest, not all hand pumps and gas cans are built the same—especially when you’re talking about using them on a boat. Choosing the right setup isn't just about making refueling easier; it's a major safety decision.
The market for these pumps is surprisingly large. It grew from USD 1.87 billion in 2024 to USD 1.95 billion in 2025, which shows just how many people rely on them for everything from filling lawnmowers to fueling equipment. But for boaters, our needs are very specific. What works in a garage might be a disaster on the water.
So, let's cut through the noise and talk about what really matters when you're out on the waves.
Siphon vs. a Real Manual Pump: What You Actually Need to Know
First things first, you need to understand the difference between a simple siphon hose and a proper manual pump. A siphon is all about gravity. You get it started, and as long as your gas can is sitting much higher than your boat’s fuel tank, it works. It can be slow, though, and it’s a pain if you can’t get that height difference just right.
A true manual pump, on the other hand, gives you direct control. You're physically pushing the fuel through the hose, which means you get a steady, reliable flow. This is a game-changer on a boat, where your fuel tank is often lower than the deck. A manual pump just gives you the control and efficiency you need. For a deeper dive, check out our guide on the different types of a hand pump fuel transfer pump.
Key Features for Your Marine Hand Pump System
When you're shopping around, a few features are non-negotiable for use on the water. Use this checklist to make sure you're getting a system that's both safe and built to last.
| Feature | What to Look For | Why It Matters on the Water |
|---|---|---|
| Anti-Static Hose | A hose explicitly labeled "anti-static" or "conductive." | Flowing fuel creates static electricity. An anti-static hose prevents a spark that could ignite gas fumes. It's a must-have. |
| Material Quality | Look for materials rated for gasoline and ethanol blends (e.g., nitrile, Viton). | Modern fuel can eat away at cheap plastics and rubber, causing leaks and hose failure. Compatibility is key. |
| Gas Can Stability | A can with a wide, flat base and a low center of gravity. | A rocking boat can easily topple a tall, skinny can. A stable base is your best defense against a dangerous spill. |
| Secure Seals | High-quality gaskets and threaded connections that seal tightly. | Good seals prevent leaks and stop flammable vapors from escaping, which is critical in an enclosed space like a boat. |
| Flow Control | A pump handle that offers easy control, or even a trigger-style nozzle. | You need to be able to stop the flow instantly if the tank is getting full or if the boat shifts unexpectedly. |
Think of it this way: a good hand pump system is more than just a can and a hose. It's a complete, integrated tool where every part is designed to work together safely. From my own experience, I can tell you that a wobbly can or a cheap hose just isn't worth the risk.
A cheap, unstable gas can is one of the fastest ways to ruin a perfect day on the water. Always, always choose a can with a low center of gravity and a wide footprint.
Paying attention to these details upfront saves you from major headaches—and potentially dangerous situations—down the road. A well-built system will give you peace of mind every time you need to refuel.
A Practical Walkthrough for Fueling Your Boat
Alright, you've picked out the right gear. Now let's get down to actually using it. Fueling your boat with a hand pump isn't just about dumping gas from one container into another—it’s a methodical process that keeps you, your boat, and the water safe and clean.
Think of these steps as a mental checklist. Running through them every time will quickly make the process second nature. The real goal here is to eliminate surprises. A solid plan means you won't have those frantic moments that lead to spills, like a can tipping over or a hose getting tangled at the worst possible time.
Pre-Fueling Rituals and Staging
Before a single drop of fuel moves, the first thing to do is set the stage. Honestly, this is where you’ll prevent 90% of the usual mishaps. Good ventilation is non-negotiable, especially if you're in a covered slip or close to the cabin where fumes can collect.
Next, find a secure, stable spot for your gas can. A boat deck is never perfectly still, so place the can on a flat surface out of the way, where it won't get kicked or knocked over. If things are a bit choppy or the deck is slick, a non-slip mat or even wedging the can in place can make all the difference.
Setting Up the Pump and Hoses
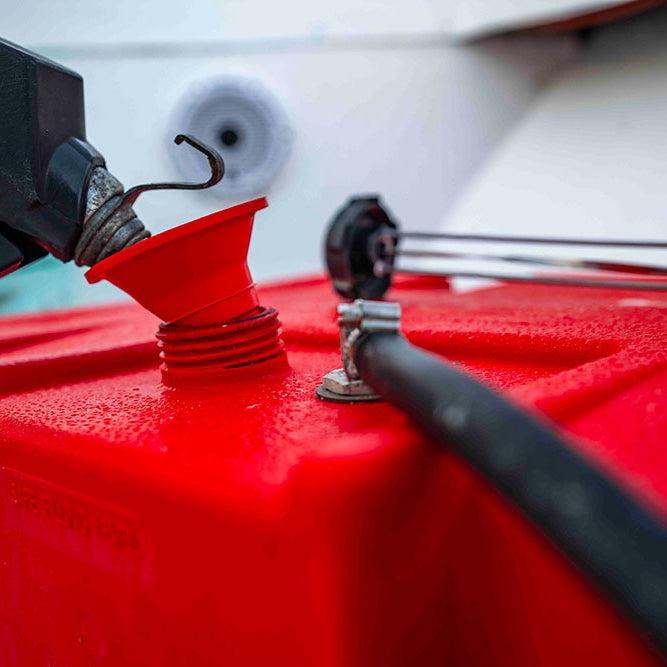
With the can secure, it’s time for the pump. After unscrewing the cap, drop the pump’s intake hose all the way to the bottom. You want to be able to get every last drop of fuel out. Now, tighten the pump assembly onto the can to create a solid seal. This is key for preventing vapor leaks and making sure the pump works like it should.
Uncoil the outlet hose and guide the nozzle over to your boat's fuel port. Take a quick second to make sure there are no kinks or twists that could block the flow. It's a classic mistake to rush this part, but getting the nozzle securely into the fuel inlet before you start pumping is what keeps it from popping out mid-flow.
This infographic breaks down the key features to look for in a pump, all of which make this setup process a whole lot smoother.
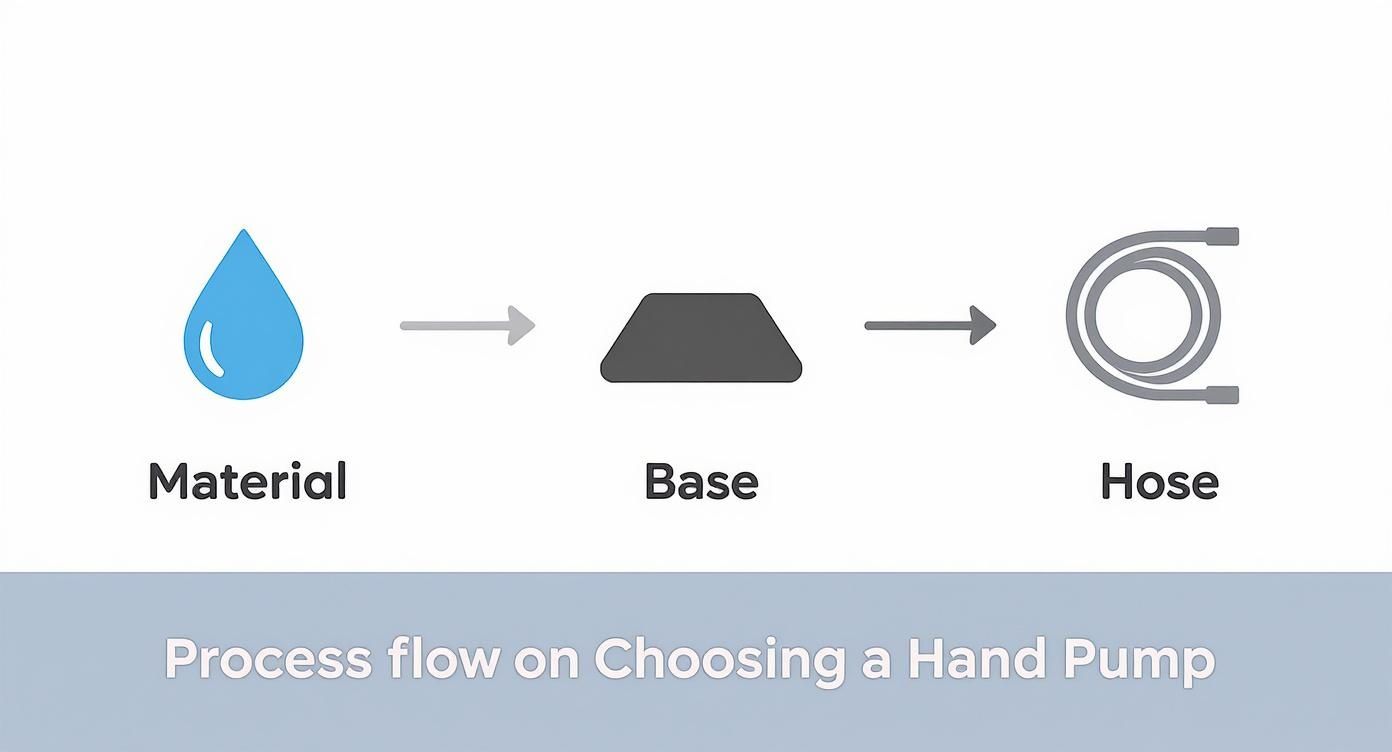
As you can see, things like a stable base and a quality hose aren't just nice-to-haves; they're the foundation of a safe fueling experience.
Finding Your Pumping Rhythm
Now for the main event. Begin with a few slow, deliberate pumps to get the fuel moving. You'll feel a slight change in resistance as the siphoning action kicks in. Resist the urge to pump as fast as you can. What you're after is a steady, controlled stream, not a high-pressure gusher.
Listen. You can actually hear the fuel flowing into the tank. A consistent rhythm helps prevent the "burping" that happens when fuel splashes back up the fill pipe. Some of the better rotary pumps deliver a smooth flow of around 7-8 liters per minute, which is very manageable.
The secret to a spill-free transfer is consistency. A steady pumping motion creates a predictable flow, allowing you to anticipate when the tank is nearing full and slow down accordingly.
Keep that rhythm going until you're almost full. It's always better to stop a little short than to clean up an overfill.
The Clean Finish and Pack-Up
Once the tank is full, stop pumping. Give it a few seconds for the remaining fuel in the hose to drain down into the tank.
Here's a pro tip to minimize drips: have an absorbent pad or a rag ready before you remove the nozzle. Lift the nozzle out slowly, keeping it angled upward so gravity keeps the last bit of fuel inside the hose. Cover the nozzle with your rag as you bring it back to the gas can.
From there, just carefully remove the pump from the can, wipe down any drips, and securely seal both your boat’s fuel cap and the gas can. Stash your gear properly, and you're good to go.
Mastering Spill Prevention and Pump Maintenance
Using a hand pump gas can is more than just a chore; it’s a skill. Done right, it protects your boat, your wallet, and the water we all enjoy. A few good habits can mean the difference between a smooth, clean top-off and a dangerous, messy spill.
The most important rule is also the simplest: never walk away while pumping. It's easy to get distracted for a moment, but that's all it takes for a boat to shift on its lines or a tank to fill faster than you guessed. Staying focused is your best defense against an overflow.
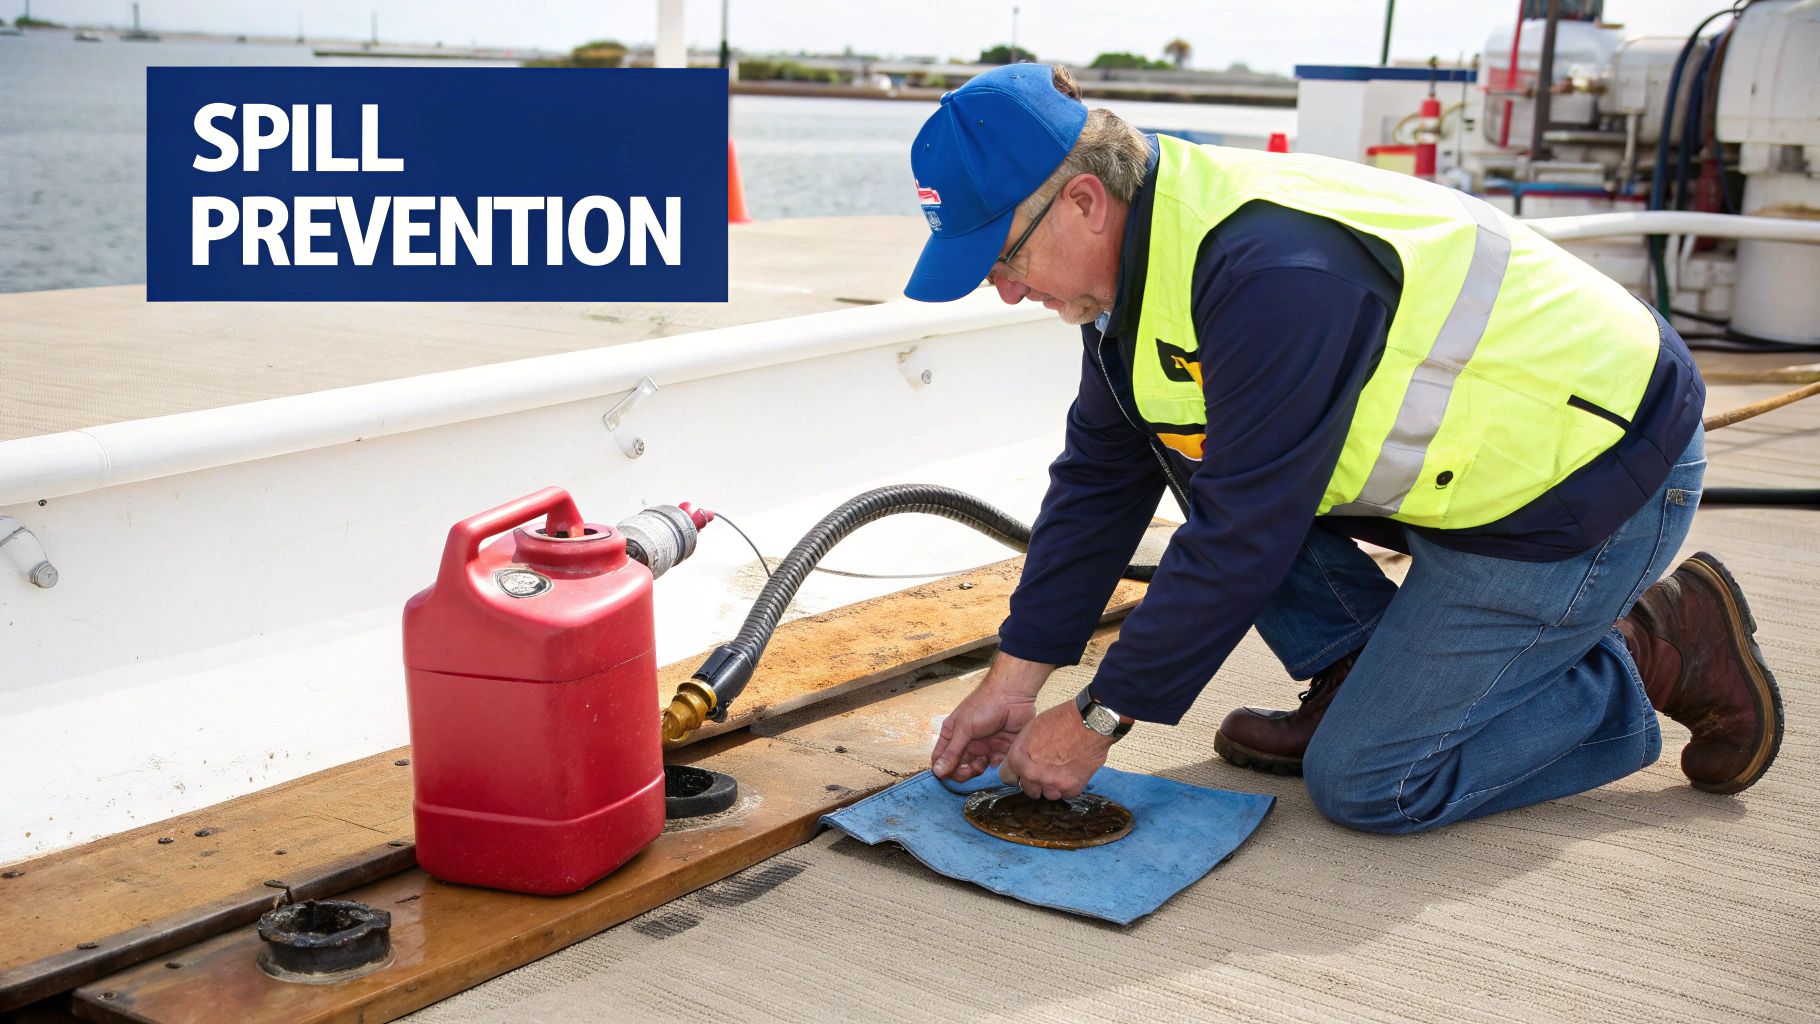
I also swear by absorbent pads. They're cheap, effective, and a must-have. Before you even start pumping, lay one down around the fuel port. It acts as a safety net, ready to catch any stray drips before they can stain your deck or pollute the water.
The Art of the Drip-Free Nozzle Removal
Over the years, I've developed a little technique to prevent that annoying trail of fuel drops when you pull the nozzle out. It’s simple, but it works every time.
- Pause Before Pulling: When the tank is full, stop pumping. But don't immediately yank the nozzle out. Leave it in the port for a few seconds to let any fuel left in the hose drain down.
- Lift and Tilt: Now, slowly lift the nozzle out while angling the tip upward. This little trick uses gravity to keep those last few drops from escaping.
- Cover and Move: As you move the hose back to the can, use your other hand to cover the nozzle tip with an absorbent pad or a rag.
It might feel a bit choreographed at first, but this maneuver quickly becomes second nature. And for those "oops" moments that happen to all of us, you need a plan. Our guide on cleaning gasoline spills is a fantastic resource every boater should read.
Keeping Your Hand Pump in Prime Condition
A reliable pump is a well-maintained pump. Neglect is the number one reason these tools fail, but a quick inspection and cleaning routine can keep yours working for years.
After you're done fueling, just take a minute to wipe down the pump and hose. This gets rid of any grime or fuel residue that can eat away at the plastic and rubber over time.
Even more crucial is a regular visual check. Here's what I always look for:
- Sun Damage: Hoses that bake in the sun get brittle and develop tiny cracks. Give the hose a gentle flex to see if any cracks appear.
- Seal Integrity: Look closely at the gaskets and seals where the pump screws onto the can. They need to be soft and whole to prevent fuel vapors from leaking out.
- Clear Intake Screen: Check the little screen at the end of the intake hose. If it's clogged with gunk, your fuel flow will slow to a crawl.
A pro tip: Storing your pump correctly is just as important as cleaning it. Never leave it sitting in the gas can. The constant fuel exposure will absolutely wreck the seals and internal parts.
When it's time to put the boat away for the season, take the pump out of the can completely. Find a cool, dry, and well-ventilated spot for it, away from sunlight. This one simple step keeps the components from getting stiff and ensures it's ready to go on day one of the next season.
How to Fix Common Hand Pump Problems
We’ve all been there. You’re ready to top off the tank, but your hand pump gas can decides to quit. A simple tool failing on the water is beyond frustrating—it can stop your day in its tracks. Luckily, most of these issues are surprisingly easy fixes you can handle on the spot.
The classic problem is a pump that just won't draw any fuel. You're pumping away, but nothing is coming out. Before you write the pump off as broken, your first move should be to hunt for air leaks. A loose connection where the pump screws onto the can, or where the hose attaches, is the number one suspect. Even a tiny gap will kill the vacuum you need to get the fuel flowing.
Another common headache is when the fuel transfer slows to a trickle. If it feels like it's taking forever, you’re probably dealing with a blockage. Start by checking the intake screen on the end of the hose sitting inside the can. It’s designed to catch gunk, and sometimes it does its job a little too well, getting clogged with debris from the fuel container.
A hand pump needs a perfectly sealed system to create suction. If it’s not pulling fuel, an air leak is almost always the culprit. Just take a minute to tighten every single connection before you start taking things apart.
Diagnosing a Loss of Suction
So you've tightened everything and it's still not working? Time to look a little closer at the seals and hoses. Constant exposure to fuel and sunlight makes them brittle over time, leading to tiny cracks that are just big enough to cause a problem.
Here’s a quick checklist for common failure points:
- Cracked Hoses: Give the hose a gentle bend and inspect it for small cracks, paying close attention to the areas near the connection points.
- Worn Gaskets: Take a look at the gasket that seals the pump to the gas can. If it looks flattened, dry, or cracked, it’s not creating an airtight seal anymore.
- Damaged Pump Internals: This is less common, but the internal diaphragm or seals inside the pump mechanism can eventually wear out, making it impossible to build pressure.
Restoring a Weak or Slow Flow
When you have some flow, but it's painfully slow, the problem is almost always a restriction somewhere. It might sound obvious, but check for a kinked hose first—it’s an easy thing to miss. Make sure the hose has a clean, straight run from the can to the fuel port.
If the hose is straight, that intake screen is your next best bet. Carefully pull the pump assembly out and give the screen a good wipe with a clean rag. This simple step is often all it takes to restore full power. Remember, a clean pump can move 7-8 liters per minute when it’s not clogged up.
The market for these pumps shows just how essential they are. The global hand fuel transfer pump market was valued at around USD 1.2 billion in 2023 and is projected to reach USD 2.0 billion by 2032. You can dig into the numbers in these industry findings on dataintelo.com. It just goes to show that a reliable manual pump is a critical piece of gear for boaters everywhere.
Answering Your Top Questions
When you're out on the water, the last thing you want to worry about is your gear. We get a lot of questions from fellow boaters about the ins and outs of using a hand pump gas can, so let's clear up a few common ones.
Can I Use a Hand Pump for Mixed Fuel?
Absolutely. If you're running a 2-stroke, you'll be glad to know that most manual pumps built for gasoline can handle your oil and gas mixture without any issues. The key is that their internal seals and diaphragms are made to resist the additives in the fuel.
Here’s a pro tip: after you're done fueling, pump a little clean gasoline through it. This quick flush clears out any sticky oil residue that could gum up the works later. It’s a simple step that keeps your pump working smoothly.
How High Can a Manual Pump Lift Fuel?
This is a great question that gets into a bit of physics. Most hand pumps you'll find at a marine supply store can lift fuel about 3 to 5 feet vertically. They work by creating a vacuum to start the flow, and then gravity takes over to do most of the heavy lifting.
To make your life easier, always place your gas can higher than the boat's fuel tank. The bigger the height difference, the faster and more reliable the siphon will be.
Working with gravity, not against it, saves you a lot of effort and gets the job done right.
Is It Safe to Store the Pump Inside the Gas Can?
I see this a lot, but it’s a bad habit to get into. Leaving the pump submerged in gasoline is a sure way to shorten its lifespan. The fuel and vapors are corrosive and will eat away at the plastic and rubber components over time, leading to cracks, bad seals, and eventually, dangerous leaks.
A much better approach is to make this part of your post-boating routine:
- Take the pump out of the can when you're finished.
- Give it a quick wipe-down to remove any remaining fuel.
- Store it in a dry, ventilated spot away from the sun, like a dock box or a shed.
Taking a minute to store your gear properly is just as important as using it correctly. It ensures your hand pump is ready to go and won't fail you when you need it most.
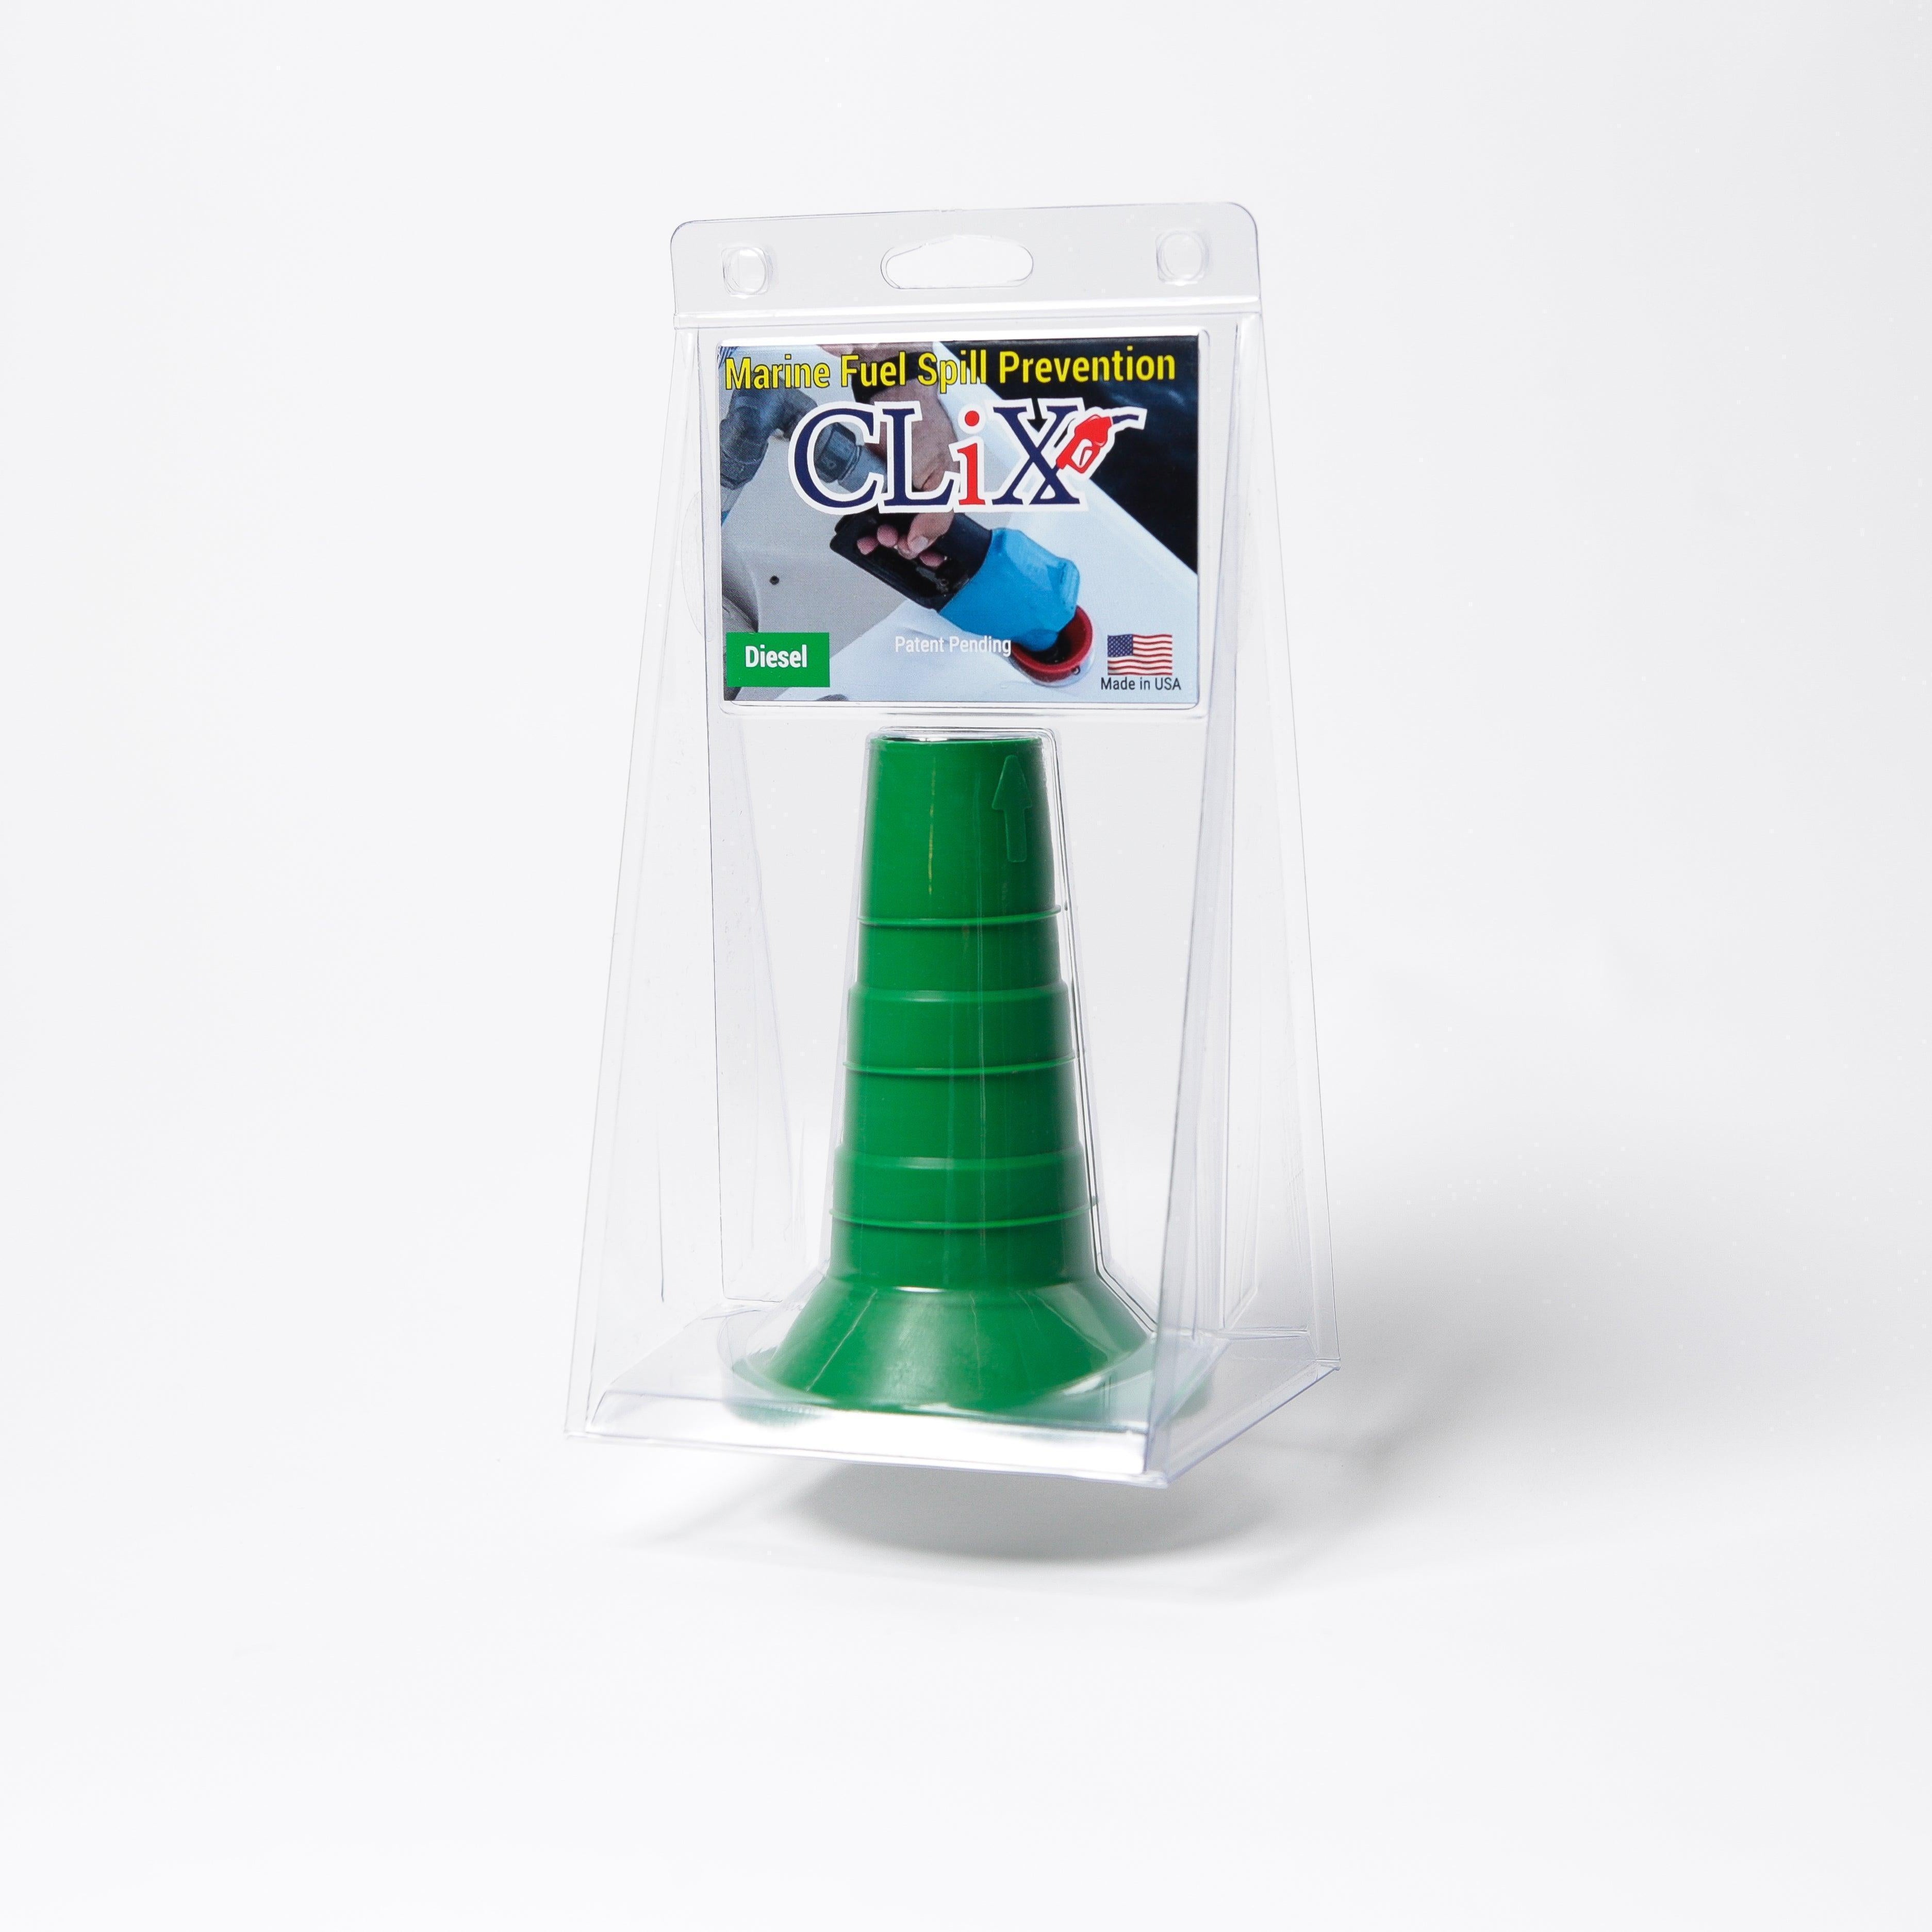
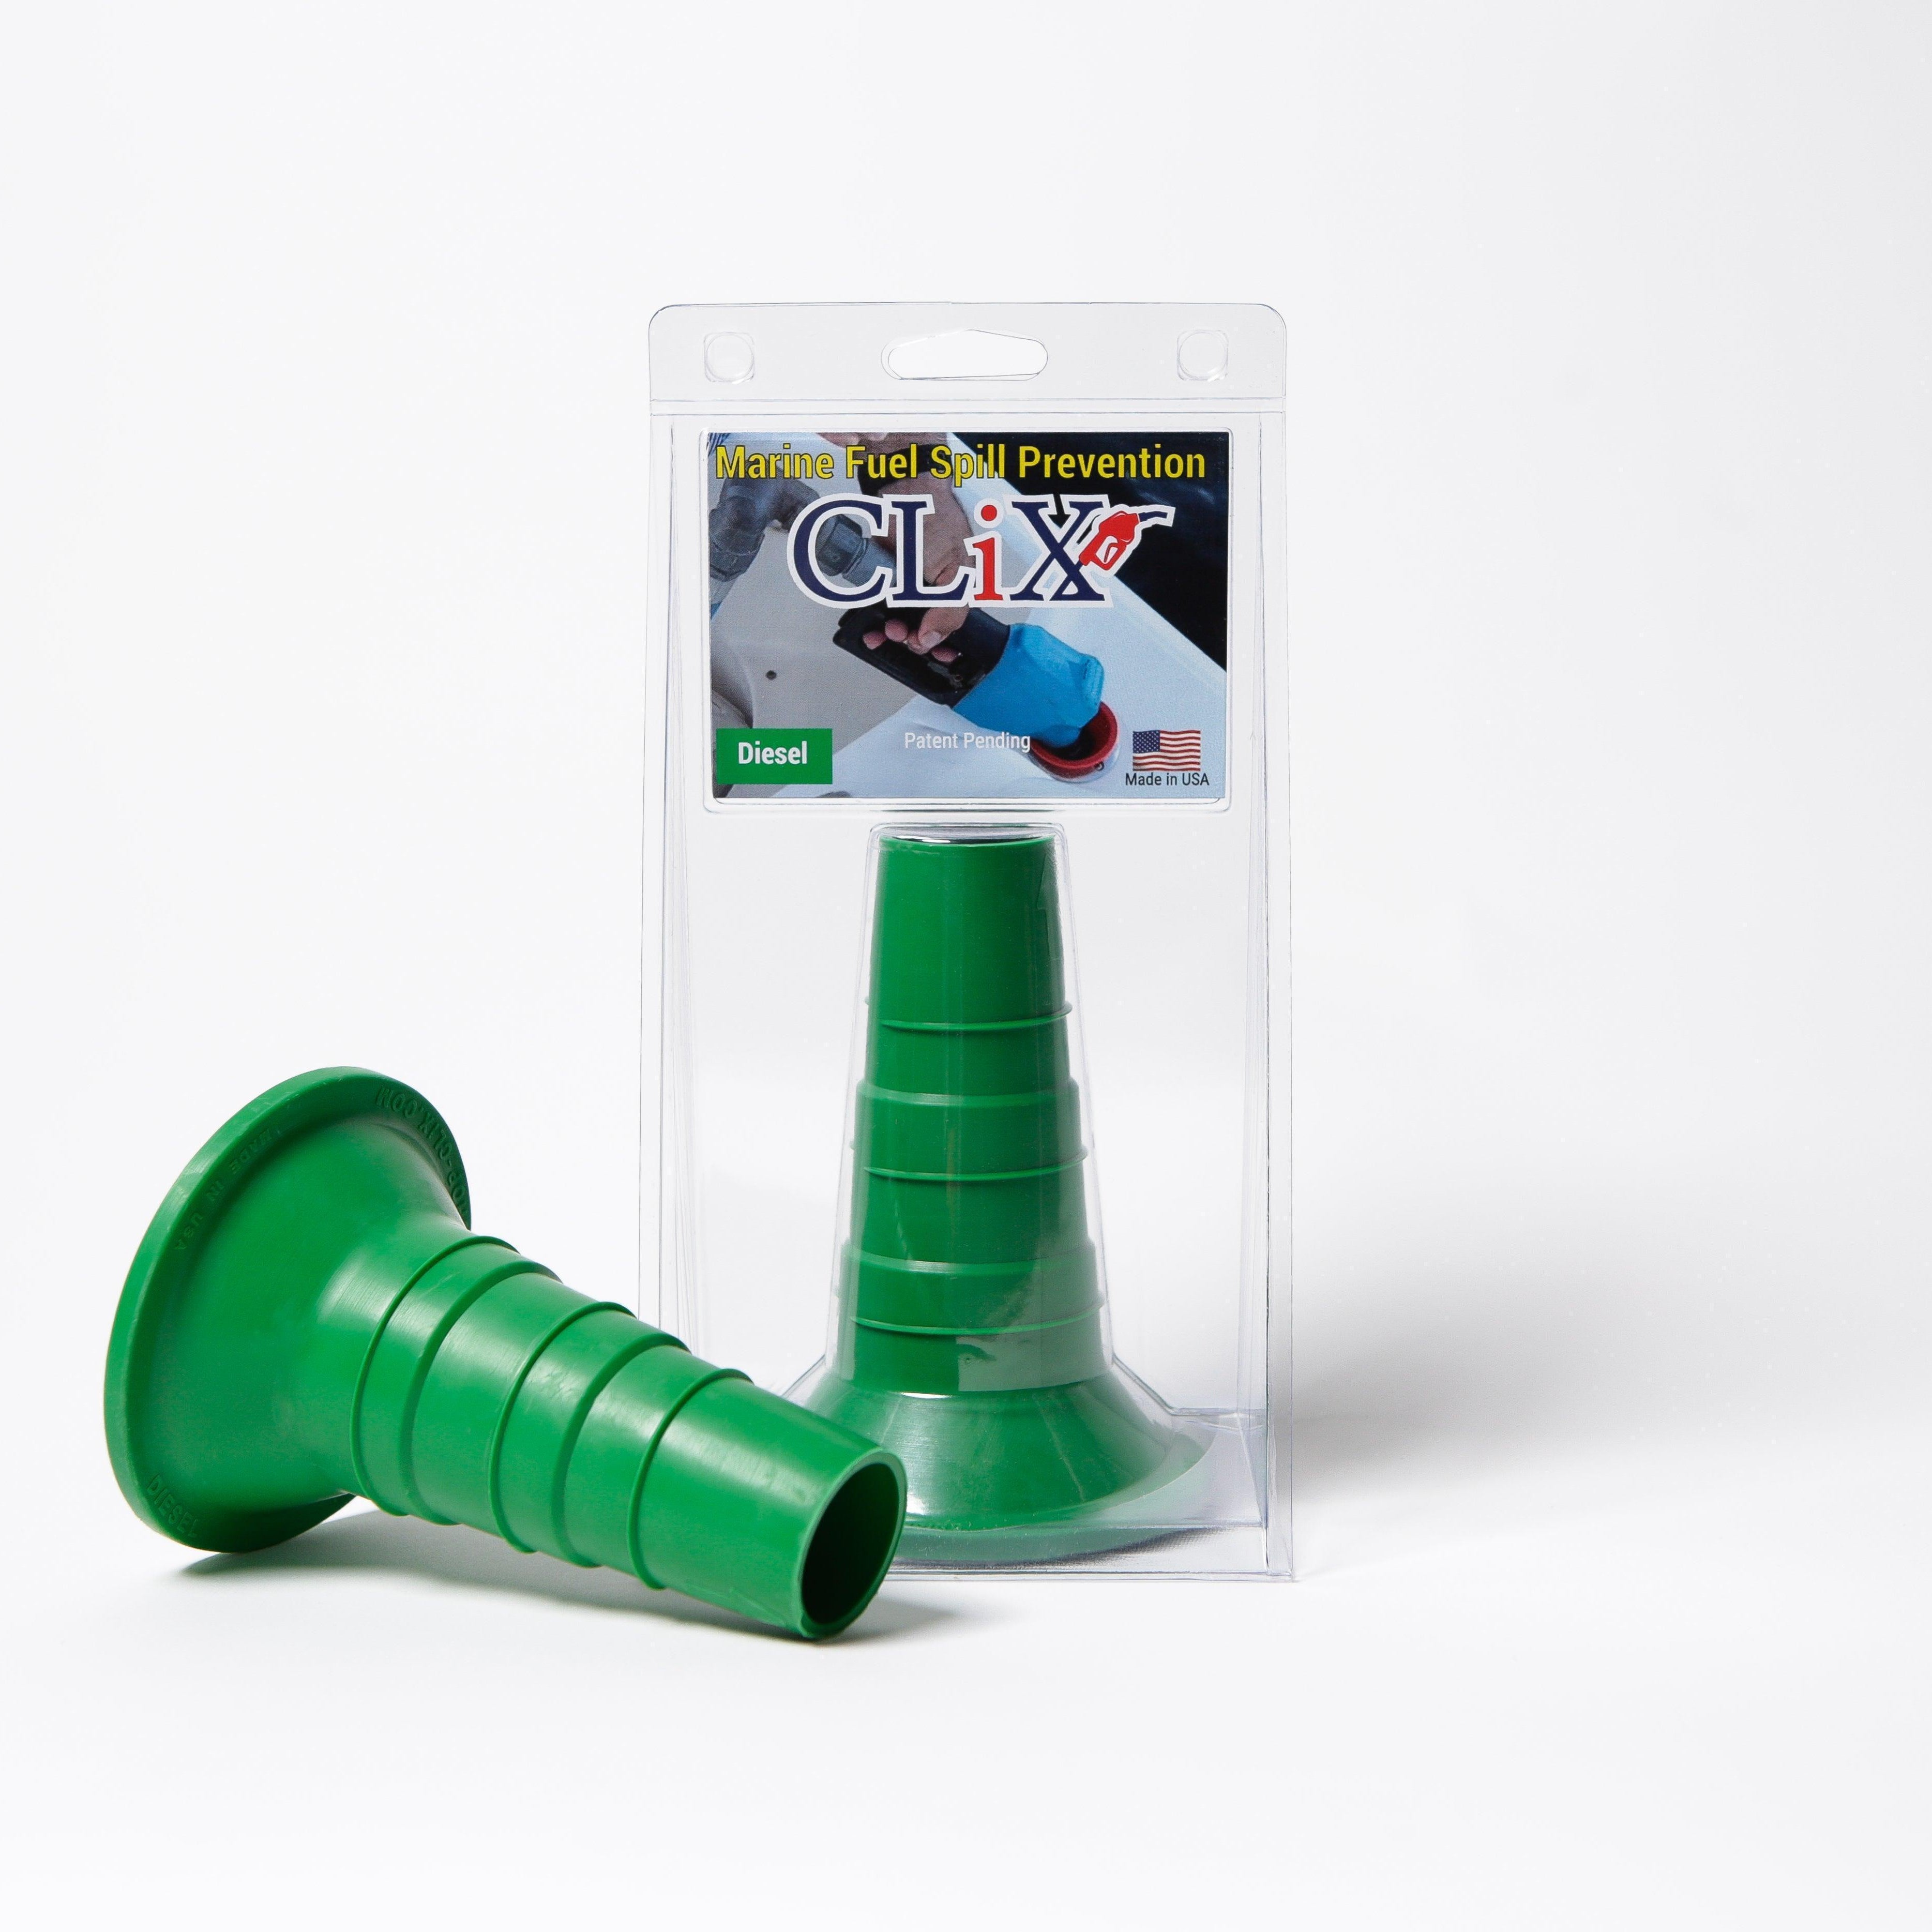
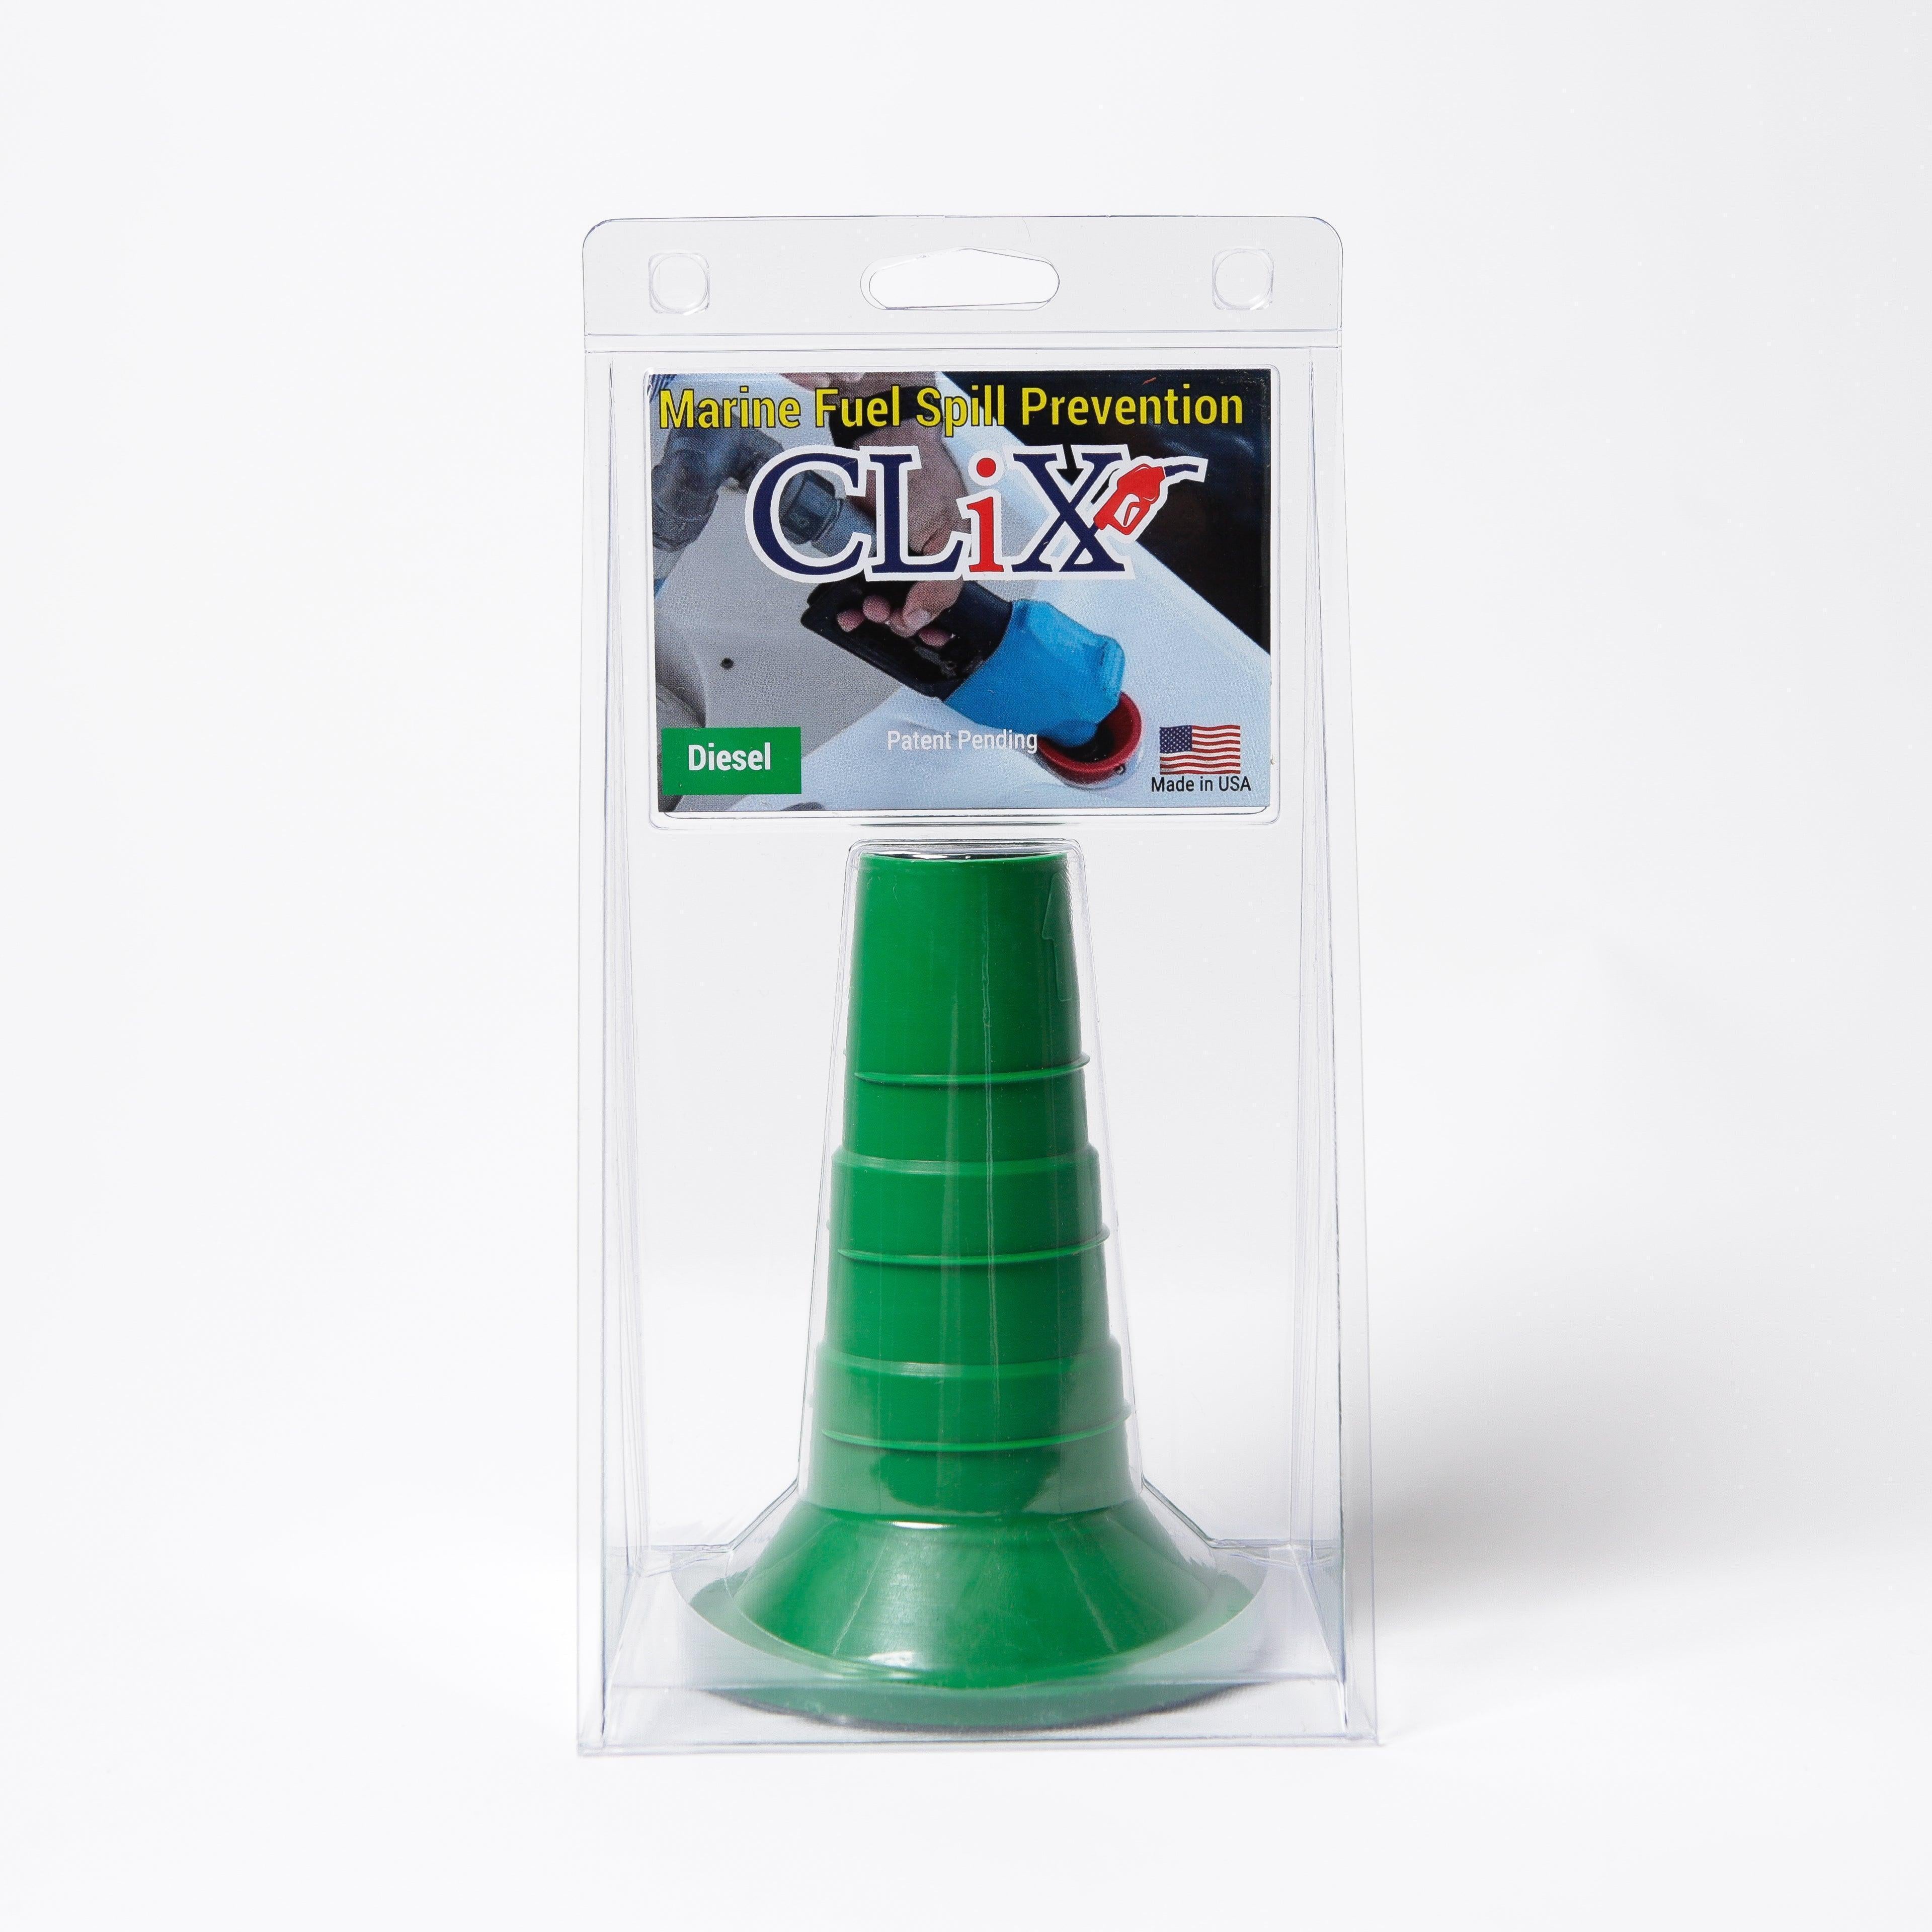
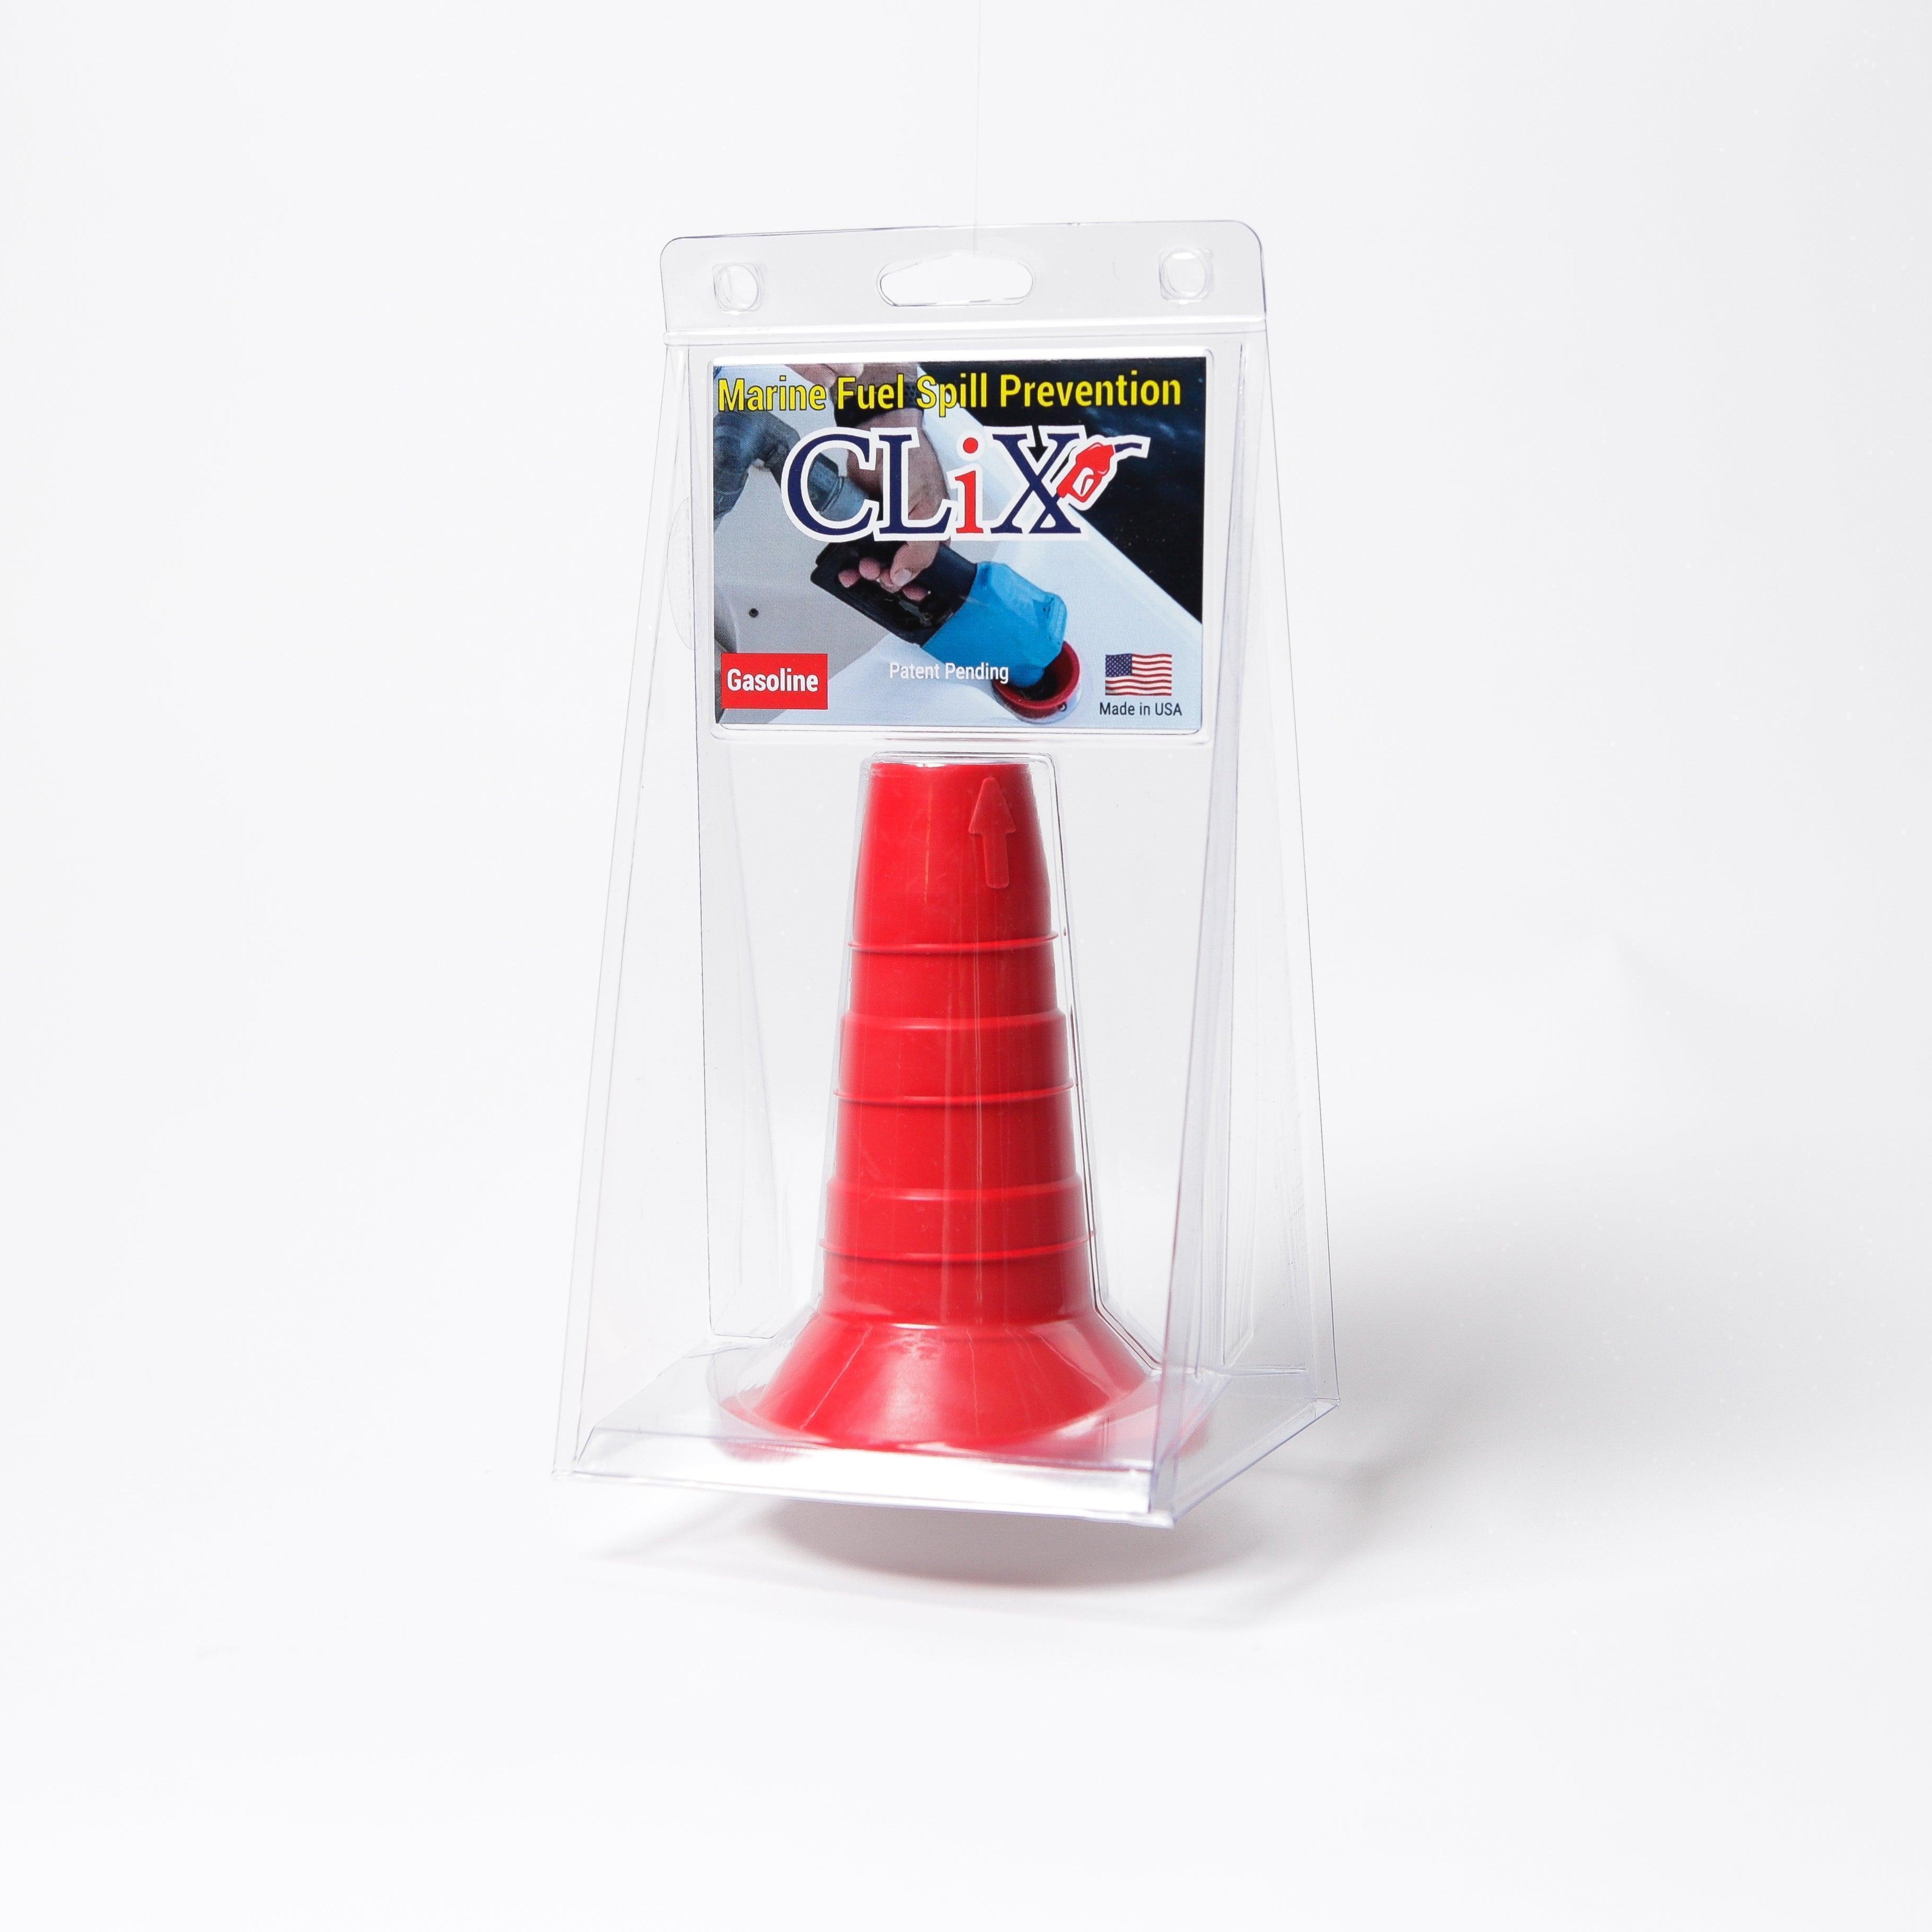
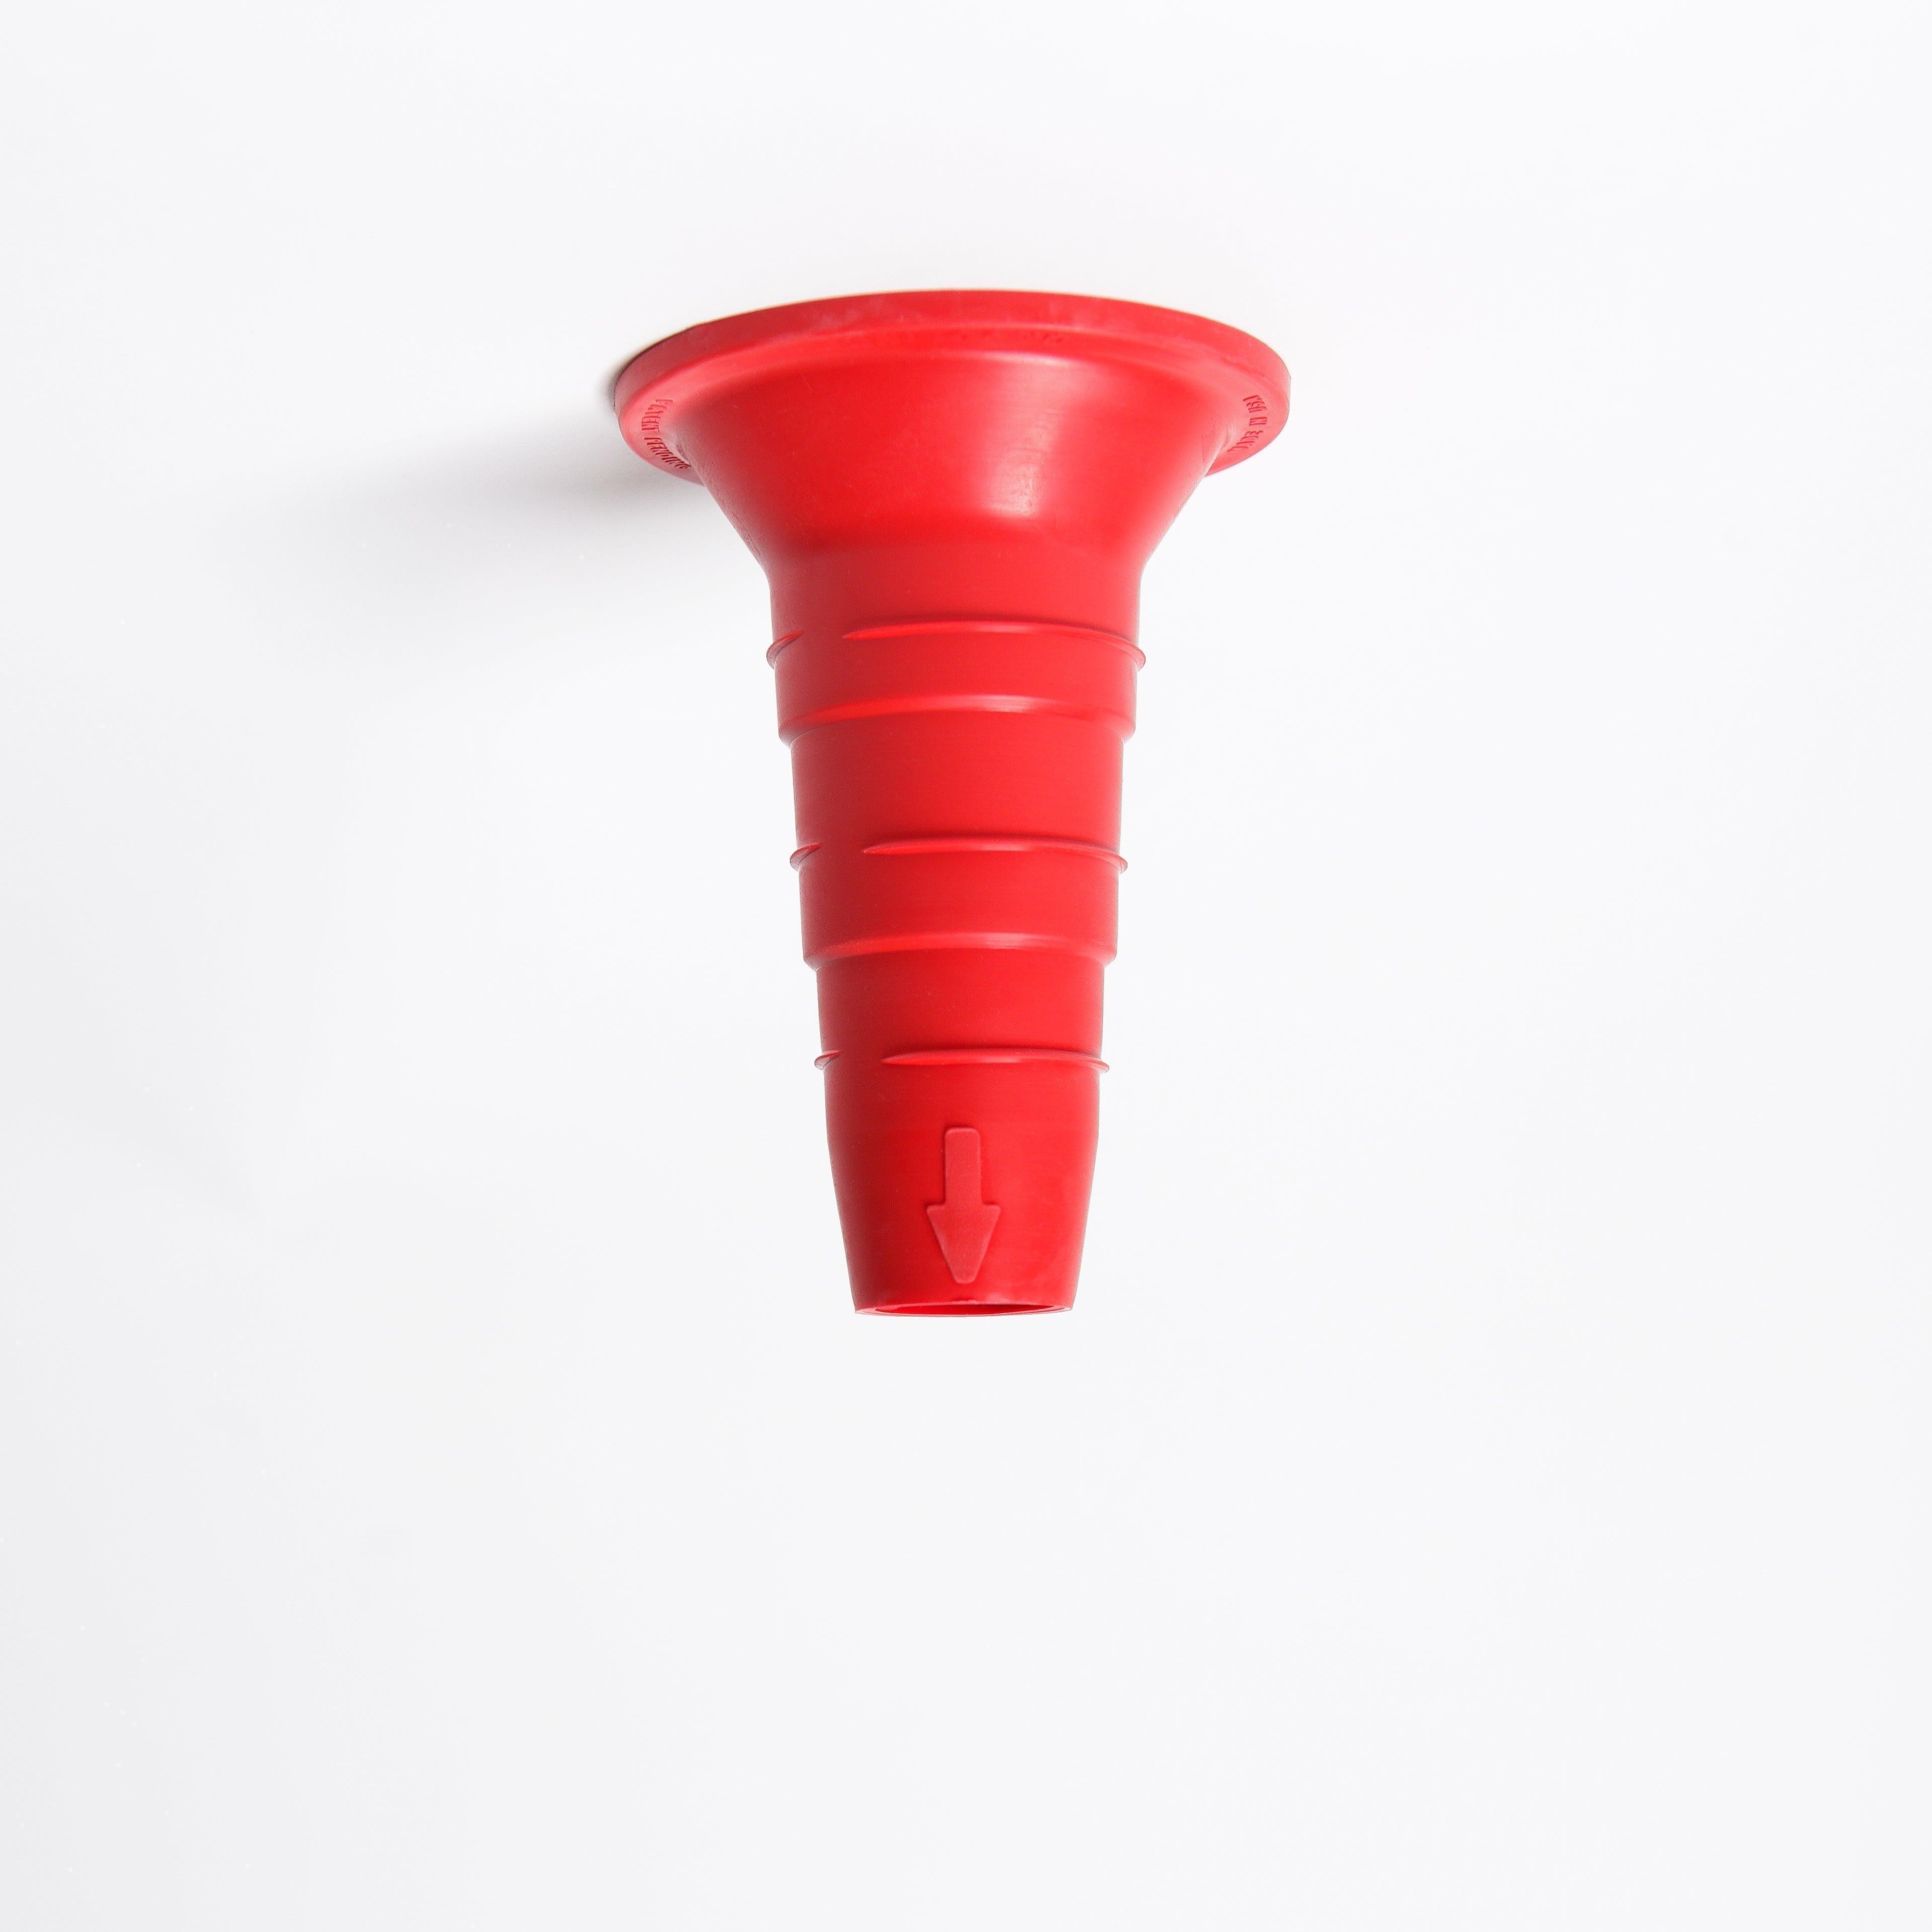
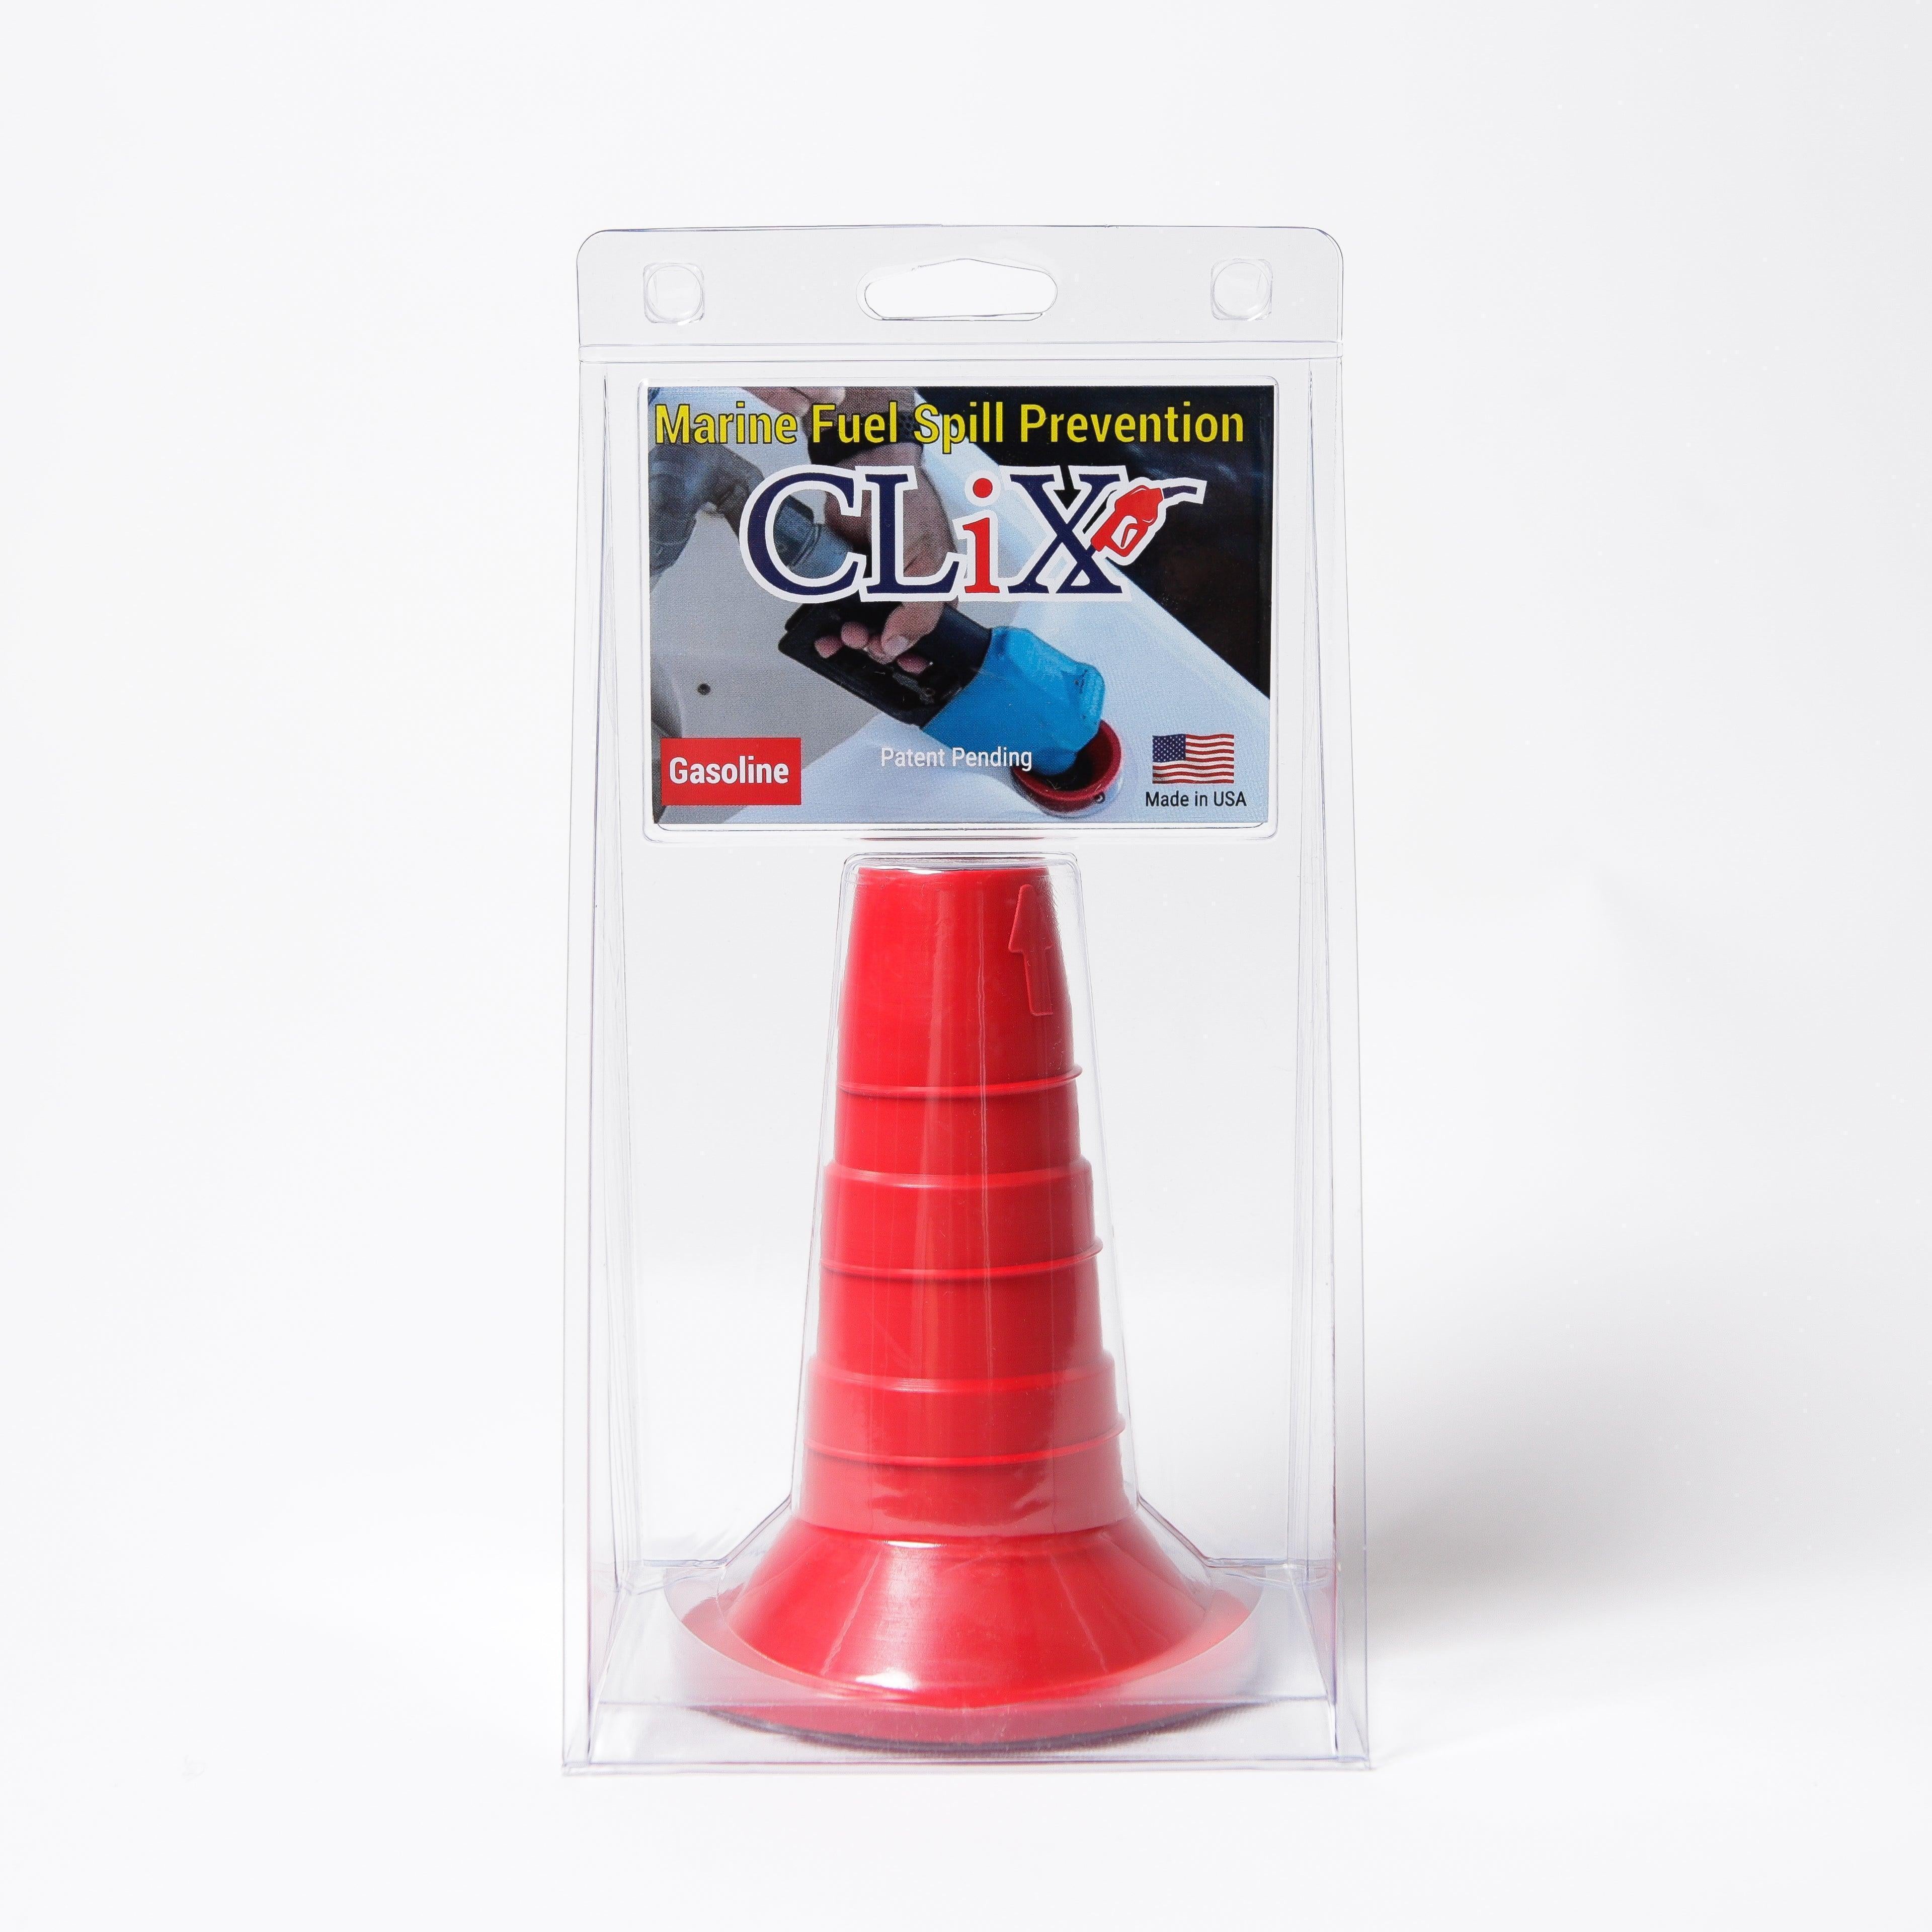
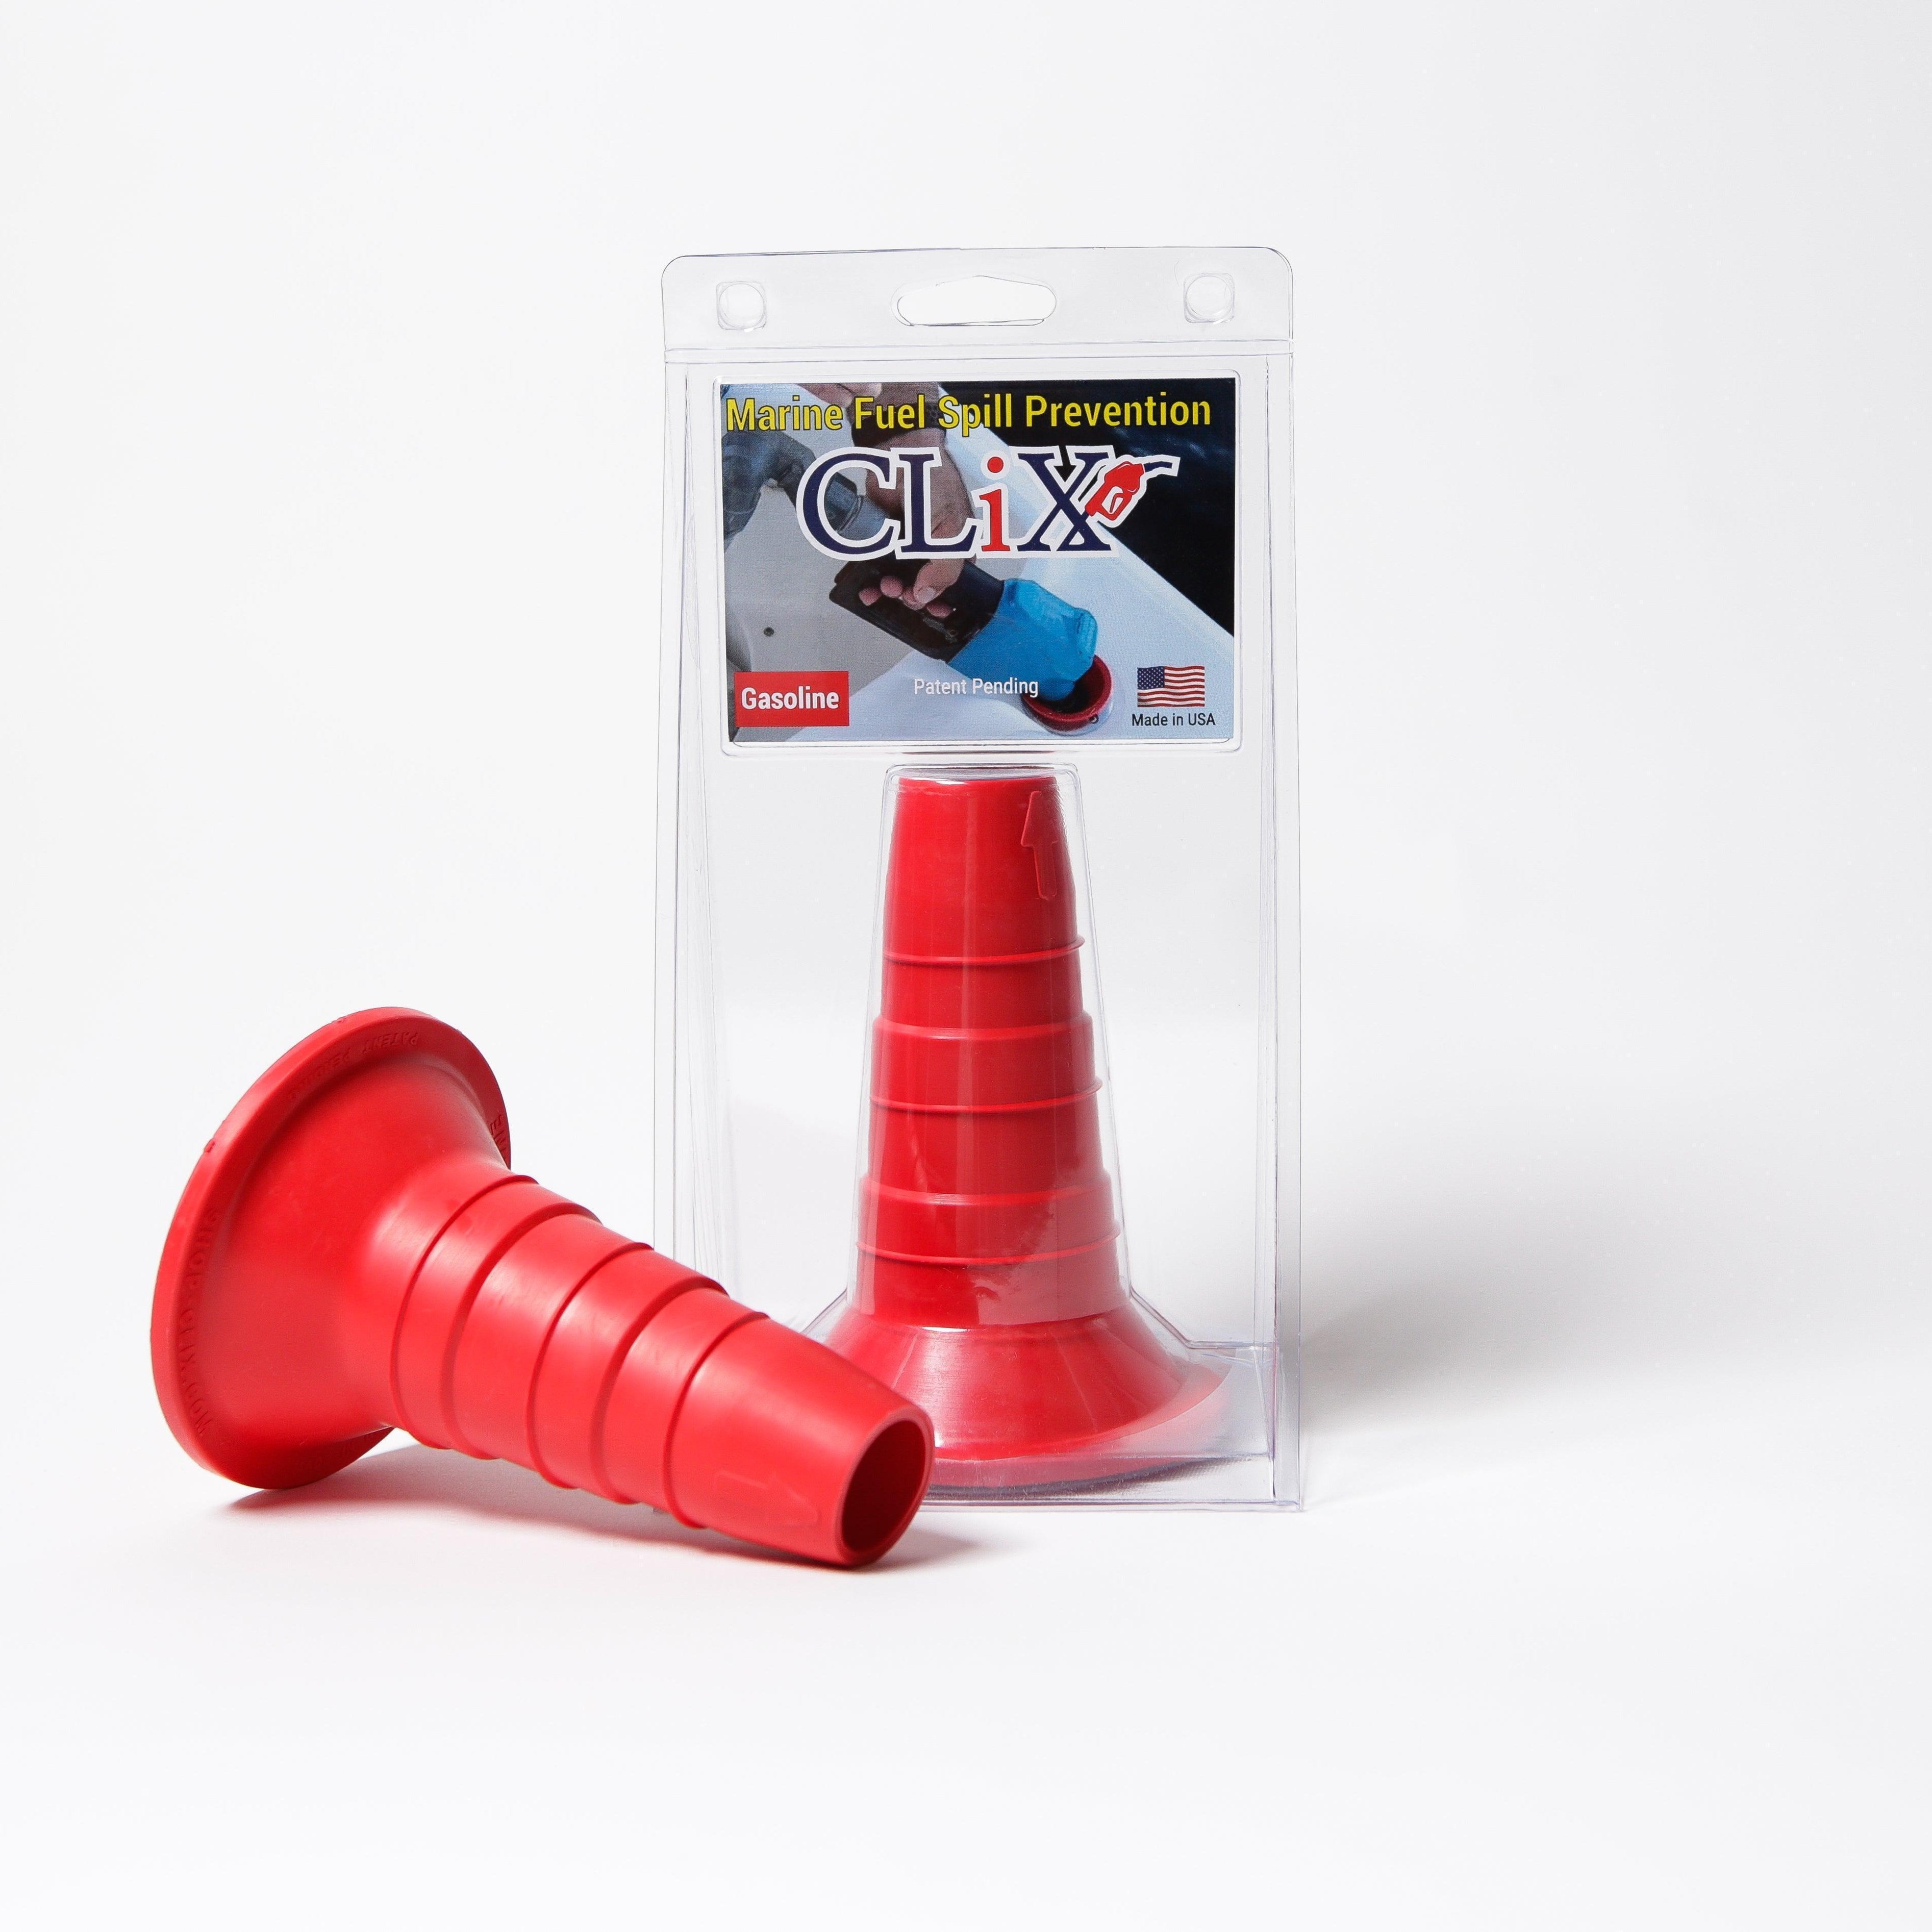
If you're tired of the manual process and want to take the guesswork out of fueling, check out CLiX Fueling Solutions. Their automated system prevents overfills and spills by stopping the flow when your tank is full. You can learn more about their smarter fueling system at https://clixfueling.com.