Your boat's gas tank is a lot more than just a box that holds fuel. It's the heart of your entire power system, the thing that keeps you moving out on the water. While it's easy to take for granted, a solid, well-maintained gas tank boat system is absolutely essential for performance, safety, and your peace of mind.
Why Your Boat Gas Tank Matters
Let's be clear: a problem with your fuel tank isn't just an inconvenience. A failure here can mean more than a stalled engine; it can lead to dangerous fuel leaks, fire hazards, or even catastrophic engine damage. Taking good care of your boat's fuel system is simply a core responsibility of being a boat owner.
This guide will walk you through everything you really need to know. We’ll cover the different types of tanks you'll encounter, how to figure out the right size for your vessel, and the critical maintenance that keeps things running smoothly. We'll also get into safe fueling habits to prevent spills and protect the waterways we all enjoy.
The Foundation of Performance and Safety
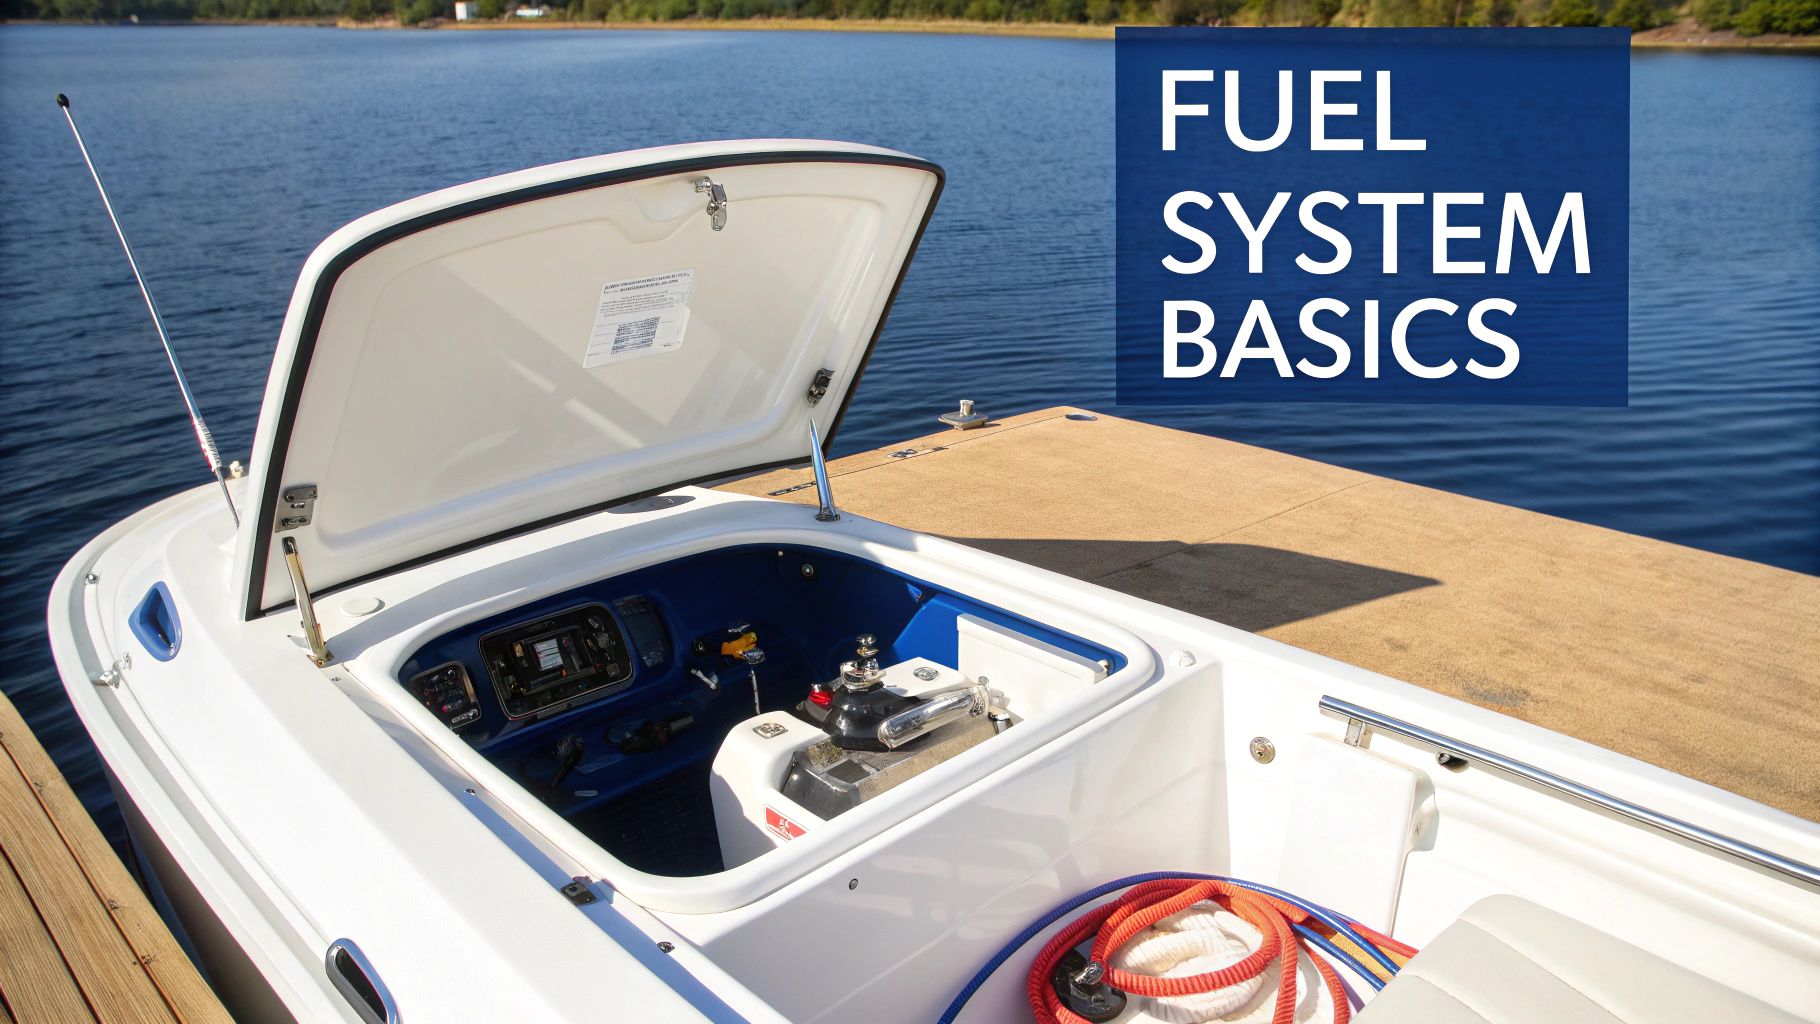
Your boat's fuel system is an interconnected network. The tank, the fuel lines, the filters—they all have to work in harmony. Getting to know this system inside and out is crucial for a few key reasons:
- Maximizing Your Range: Having the right size tank means you can plan those longer trips without constantly worrying about your next fuel stop. It's about confidence and freedom.
- Ensuring Reliability: A little proactive maintenance goes a long way. It helps you avoid common headaches like water in the fuel or old, degraded gas that can leave you dead in the water.
- Promoting Safety: Proper installation and regular checks are your best defense against fires, explosions, and environmentally damaging fuel spills.
With recreational boating more popular than ever, these practices are becoming even more important. The global boat market was valued at USD 44.09 billion in 2024 and is expected to nearly double to USD 87.77 billion by 2033. You can see just how much the industry is growing from detailed industry analysis on Marketdataforecast.com.
Think of this guide as your go-to manual for mastering one of your boat's most critical components. By the time you're done, you'll have the confidence to make smart decisions that ensure every trip is smooth, safe, and worry-free.
Choosing the Right Fuel Tank Material and Type
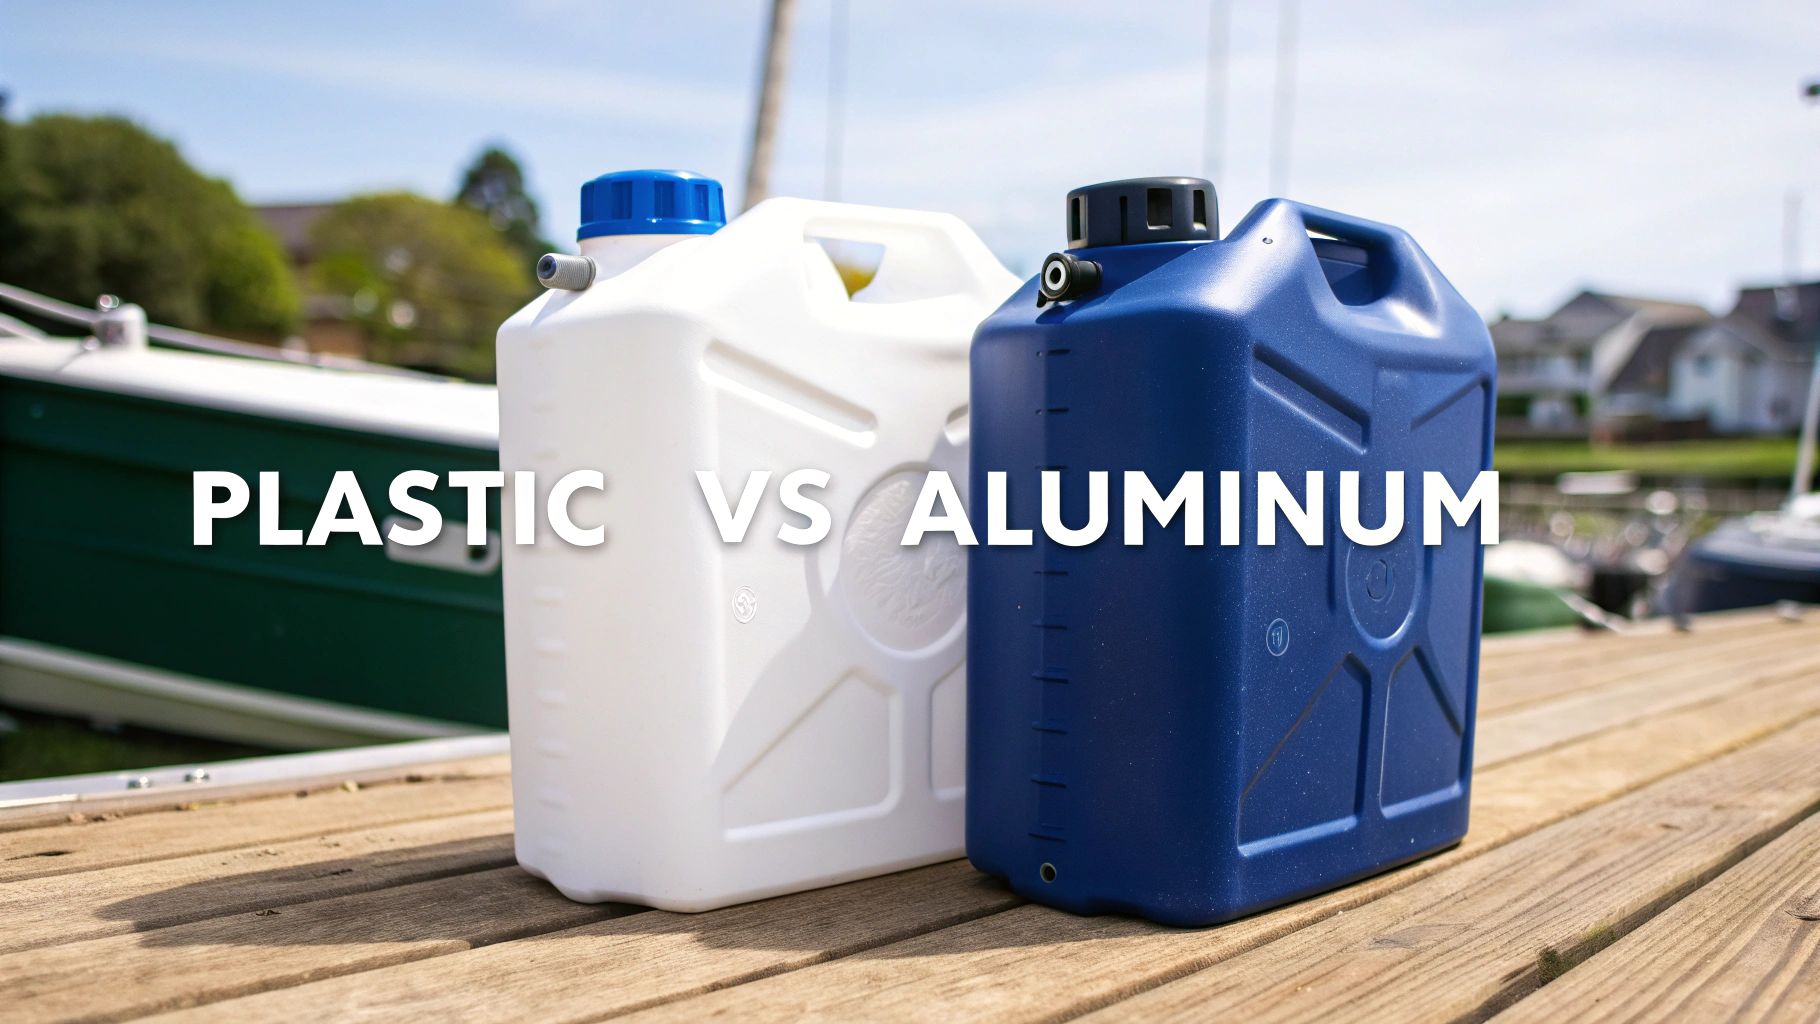
When you're outfitting your boat, one of the first big decisions you'll face is the fuel tank. The choice boils down to two main materials: aluminum and polyethylene (plastic). Each has its own personality, with real pros and cons that depend on your boat, your budget, and how you spend your time on the water.
It's a bit like choosing between a classic leather jacket and a modern GORE-TEX one. One is tough, traditional, and has a certain rigid structure, while the other is flexible, lightweight, and completely waterproof. Both keep you warm, but they do it in very different ways.
Your boat's fuel tank is the same. Getting this choice right isn't just about holding gas—it's about long-term safety, reliability, and having one less thing to worry about when you're miles from shore.
The Case for Aluminum Tanks
For decades, aluminum has been the go-to material for built-in fuel tanks, especially on bigger boats. Its biggest selling point is sheer structural strength. These tanks are solid, tough, and do an excellent job of preventing fuel vapors from seeping through the material itself.
But aluminum's strength is tied directly to its Achilles' heel: corrosion. In a saltwater environment, aluminum is prone to pitting and decay, especially if it wasn't installed perfectly or isn't maintained properly. It's shocking how quickly a little bit of water sitting at the bottom of the tank can start eating away at the metal.
This means if you have an aluminum tank, inspection isn't optional—it's essential. You have to stay on top of checking for any signs of corrosion, paying close attention to welds and fittings where moisture loves to hide.
The Appeal of Polyethylene Tanks
These days, polyethylene (plastic) tanks are everywhere, and for good reason. Their killer feature? They are 100% immune to corrosion. A plastic tank simply will not rust or corrode, which is a huge relief in the harsh marine world.
They're also typically less expensive and can be molded into all sorts of creative shapes. This allows boat designers to tuck them into odd spaces and squeeze out every last gallon of fuel capacity, which is why you see them in so many new boats.
Of course, plastic tanks aren't perfect. They have a tendency to expand and contract a bit with changes in temperature and fuel pressure. Modern tanks are designed for this, but it’s something to be aware of. Also, some older or lower-quality plastic tanks could be more prone to fuel permeation than a solid aluminum tank.
Key Takeaway: The choice between aluminum and plastic is a classic trade-off. Aluminum gives you incredible rigidity and permeation resistance but requires you to be a hawk about corrosion. Plastic eliminates corrosion worries and offers design flexibility but has its own physical quirks.
To make it even clearer, here's a direct comparison of the two materials.
Boat Gas Tank Material Comparison
This table breaks down the key differences to help you see which material might be the better fit for your specific needs.
| Feature | Aluminum Tanks | Polyethylene (Plastic) Tanks |
|---|---|---|
| Corrosion Resistance | Vulnerable to saltwater corrosion and pitting, especially if water sits inside. | Completely immune to rust and corrosion. A major advantage in marine settings. |
| Durability & Strength | High structural rigidity and strength. Very resistant to punctures. | Flexible and highly impact-resistant, but can be punctured by sharp objects. |
| Weight | Generally heavier than a comparable plastic tank. | Significantly lighter, which can help with boat performance and fuel efficiency. |
| Shape & Customization | Can be custom-fabricated but is generally limited to simpler, boxy shapes. | Can be rotationally molded into complex, custom shapes to maximize space. |
| Cost | Typically more expensive, especially for custom-built tanks. | More affordable for standard sizes and shapes. |
| Maintenance | Requires regular inspection for corrosion, particularly around welds and fittings. | Virtually maintenance-free in terms of the material itself. |
| Fuel Permeation | Excellent resistance to fuel vapors escaping through the tank walls. | Modern tanks have barrier layers, but older models may allow some permeation. |
Ultimately, both are excellent choices when installed and maintained correctly. The "better" option really depends on the boat's design and the owner's priorities.
Permanent Versus Portable Tanks
Beyond the material, you also need to decide on the tank's style: is it a permanent fixture or a portable carry-on?
-
Permanent Tanks: Found on pretty much any boat over 18-20 feet, these are installed directly into the boat's structure, usually hidden below the deck. They offer a much larger capacity for longer trips and are generally a "set and forget" part of your boat, but they require more work for installation and deep maintenance.
-
Portable Tanks: These are the lifeblood of smaller boats—think dinghies, jon boats, and small sailboats. They usually hold between 3 and 12 gallons. Their biggest perk is pure convenience. You can pop them off the boat to refuel at a gas station, which is often far easier and safer than trying to fuel up at a crowded marine dock. It also makes cleaning or replacing a tank a breeze.
How to Size Your Tank for Optimal Range
Picking the right size for your boat's gas tank isn't about grabbing the biggest one you can find. It’s a careful balancing act between range, weight, and safety. Go too small, and you'll be constantly worrying about making it back to the dock. Go too big, and you’re just lugging around extra weight that hurts your boat's performance and guzzles more fuel.
The goal here is to hit that sweet spot. You need enough fuel to get where you're going and back, plus a healthy reserve for whatever the water throws at you. Running out of fuel is more than just a hassle; it can turn a great day into a dangerous one in a hurry.
The Boater’s Golden Rule of Thirds
Ask any seasoned boater about fuel management, and they'll likely bring up the Rule of Thirds. It's a simple, time-tested principle that keeps you out of trouble.
Here’s how it breaks down:
- One-third of your fuel to get to your destination.
- One-third of your fuel for the trip back home.
- One-third of your fuel as a safety reserve.
That last third isn't just for peace of mind. It’s your lifeline for dealing with a sudden storm, fighting a strong current, taking a longer route back, or even helping another boater in a jam. Sticking to this rule is just smart, safe boating.
Calculating Your Fuel Needs
Before you can use the Rule of Thirds, you need a handle on how much fuel your boat actually burns, which is measured in gallons per hour (GPH). This number isn't static; it changes with your engine speed, how much weight you have on board, and the conditions on the water.
Think of it like the MPG in your car. You burn a lot less fuel when you're idling than when you're flying across the water at full throttle. You can usually find performance specs for your boat and engine online, but a good rule of thumb for gas engines is to divide the horsepower by 10 to get a rough idea of your GPH at wide-open throttle.
Let's run through a quick example:
- Estimate Your Trip Time: Say you’re planning a fishing trip that's a 2-hour run each way.
- Determine Your GPH: Your boat has a 150 HP engine, which burns about 8 GPH at a nice cruising speed.
- Calculate Trip Fuel: (2 hours out + 2 hours back) x 8 GPH = 32 gallons. That’s your round-trip fuel.
- Add Your Reserve: Now, apply the Rule of Thirds. You’ll need another 16 gallons for your reserve (32 gallons / 2).
- Find Your Minimum Tank Size: Add it all up: 32 + 16 = 48 gallons. In this case, a 50-gallon tank would be a smart choice, giving you plenty of fuel for the trip and a solid reserve.
This is a great starting point. It’s always smart to err on the side of caution and have a little extra, especially if you think you might do some exploring or if the weather looks iffy. To explore this topic further, check out our detailed guide on how to maximize your boat fuel tank capacity.
Proper fuel management is more important than ever. The global market for gas-powered boat motors was valued at around $5 billion USD in 2025 and is expected to climb past $8 billion USD by 2033. In fact, gas engines made up a massive 61.0% of the recreational boating market revenue in 2025, mostly because they are affordable and easy to find. You can dig into more insights about the recreational boating market from Future Market Insights.
Mastering Fuel Tank Installation and Inspection
A properly installed and regularly inspected gas tank is the bedrock of a safe boat. While you'll want a marine pro for the heavy lifting, understanding the basics of installation and inspection is non-negotiable. It lets you spot trouble long before it becomes a disaster.
Think of it like checking the oil in your car—it’s a fundamental bit of knowledge that keeps you and your crew safe out on the water.
The two things that matter most are secure mounting and proper ventilation. Get either of these wrong, and you're asking for trouble. A loose tank can vibrate and shift, stressing fuel lines until they leak. And even a tiny leak can fill an enclosed space with explosive gas fumes. It’s a scenario you don’t even want to imagine.
Why Ventilation Is So Critical
Gasoline is a surprisingly dynamic liquid; it expands and contracts a lot with temperature changes. Your boat’s fuel vent system is designed to let the tank "breathe." It allows air in as fuel is burned and lets vapors out as the fuel heats up and expands.
Without a good vent, pressure builds up inside the tank, which can actually rupture the tank itself or force fuel out of weak spots in the lines. On the flip side, a blocked vent can create a vacuum as the engine sips fuel, eventually starving it and causing it to stall—usually at the worst possible moment. Good ventilation isn't just a safety feature; it's essential for your engine to run right.
Secure Mounts and Leak-Proof Lines
Any fuel tank, permanent or portable, needs to be locked down so it can't move, slide, or chafe against the boat's structure. This is usually done with straps or brackets lined with rubber to stop any friction.
The fuel line connections are just as critical. Always use USCG-approved marine-grade fuel lines and secure them with high-quality stainless-steel clamps.
- Double-Clamping: It's a gold-standard practice to use two clamps on critical connections, like where the fuel line meets the tank and the engine. It’s cheap insurance in case one clamp fails.
- Chafe Protection: Route your fuel lines so they can’t rub against sharp edges or vibrating parts. If a line has to pass through a bulkhead, use a protective sleeve or grommet.
A classic rookie mistake is cranking down on hose clamps with all your might. Overtightening can bite into the hose and, ironically, cause a leak. You're aiming for a snug, firm fit that seals the connection without damaging anything.
Before you even think about your tank, you have to think about your fuel plan. This graphic illustrates the "Rule of Thirds," a non-negotiable principle for any boater.

It’s simple: one-third of your fuel to get where you're going, one-third to get back, and a final third held in reserve for emergencies like bad weather, strong currents, or just a bit of fun. Never, ever dip into that reserve third unless it's a true emergency.
Your Go-To Inspection Checklist
Consistent inspection is your best defense against fuel system problems. You don't need a mechanic's license to spot the most common red flags. Run through this checklist at the start of every season and give it a quick look every few trips.
What to Look For:
-
Give the Tank a Once-Over:
- Aluminum Tanks: Look for any pitting or that tell-tale white, powdery corrosion. Pay extra close attention to the welds, fittings, and anywhere a mounting strap touches the tank.
- Plastic Tanks: Check for cracks, any weird discoloration, or spots that look swollen or warped.
-
Check the Fuel Lines and Hoses:
- Give the fuel lines a gentle squeeze. They should feel firm but flexible. If a hose feels hard, brittle, or mushy, it’s shot. Replace it immediately.
- Look closely at every connection for any dampness or signs of a leak. Often, a faint smell of gas is your first clue.
-
Inspect Clamps and Fittings:
- Are the hose clamps rusty or corroded? Make sure they’re all tight.
- Check your fuel fill and vent fittings. You'd be surprised how often a bug or some debris can clog them up.
-
Always Use the "Sniff Test":
- This is the most important one. Before you even think about turning the key, open the engine compartment or bilge and take a good sniff. If you smell gas, stop. Do not start the engine. Find that leak and fix it first.
Running through these simple checks takes maybe five minutes, but it can save you from the vast majority of fuel-related headaches. It’s a tiny bit of time that pays huge dividends in safety and peace of mind.
Proactive Maintenance for a Healthy Fuel System
When it comes to your boat’s fuel system, the best way to deal with problems is to make sure they never happen in the first place. A simple, consistent maintenance routine is your best friend, saving you from the kind of fuel-related headaches that can end a great day on the water and lead to some seriously expensive repairs.
Think of your fuel system as your boat's lifeline. If it gets clogged or contaminated, your engine starves, and you’re not going anywhere. It’s one of the most common reasons boaters end up stranded, and thankfully, it's also one of the most preventable.
Using Fuel Stabilizers for Longevity
Modern gasoline has a surprisingly short shelf life. Ethanol-blended fuel, in particular, can start to go bad in as little as 30 days. As it breaks down, it creates a gummy varnish that’s an expert at clogging up fuel lines, injectors, and carburetors. This is exactly why a good marine fuel stabilizer isn't just a recommendation—it's a necessity.
A stabilizer basically presses the "pause" button on fuel degradation. It’s absolutely critical if you’re storing your boat for the off-season, but smart boaters use it with every single fill-up. It's an incredibly cheap and easy habit that pays you back tenfold in engine reliability.
The Constant Threat of Water Contamination
Water is public enemy number one for your boat's fuel system. It’s sneaky, too. It can find its way into your tank from a poorly sealed fuel cap, from simple condensation caused by changing temperatures, or even straight from the pump at the marina.
Once water gets in, it wages war on your boat:
- Engine Damage: Water doesn’t burn and it doesn't compress. If it reaches the cylinders, it can lead to catastrophic engine failure.
- Corrosion: Water is heavier than fuel, so it sinks to the bottom of the tank. For aluminum tanks, this creates the perfect breeding ground for corrosion that eats away at the metal from the inside out.
- Phase Separation: In fuels containing ethanol, water can cause the ethanol and gasoline to separate. The result is a useless, non-combustible sludge at the bottom of your tank that will stop your engine cold.
A water-separating fuel filter is a non-negotiable piece of equipment for any boat. Check it often, and if you see water, drain it immediately before you even think about starting the engine.
"Water entering the fuel tank can cause engine misfires, rough running, or even complete failure. Repairing an engine exposed to water through the fuel system isn't always easy and can be expensive."
Key Maintenance Tasks You Cannot Skip
Beyond watching for water and using stabilizers, a few other jobs are central to keeping your fuel system happy. This isn't just about cleaning; it’s about having a routine that keeps every component in check. For a much more detailed guide, check out our expert tips for boat fuel tank cleaning for peak performance.
Here’s a simple checklist to get you started:
- Replace Fuel Filters Annually: This filter is the last line of defense for your engine. Make it a habit to replace it at the start of every season, or even more frequently if you’re on the water a lot.
- Inspect Fuel Lines Regularly: Give your fuel lines a good squeeze. If they feel mushy, hard and brittle, or you see any cracks, replace them immediately. Make sure you use USCG-approved, marine-grade hoses.
- Verify Your Fuel Gauge: A lying fuel gauge is a recipe for a very bad day. Every so often, check its accuracy by comparing what the gauge says with how much fuel it actually takes to fill the tank. Knowing you can trust your gauge when you’re miles from shore is priceless.
Safe Fueling Practices to Prevent Spills
Fueling your boat should be a simple task, but it’s one where a little mistake can have huge consequences. This isn't like filling up your car at the corner gas station. At the marine fuel dock, a spill doesn't just stain the concrete—it can harm the environment and create a serious fire hazard. Just think about this: a single gallon of spilled fuel can contaminate up to one million gallons of water.
That’s why responsible fueling isn't just a good idea; it's a critical part of being a boat owner. The secret is to never rush. By taking a breath, slowing down, and making a few simple steps part of your routine, you can make every fill-up safe and totally stress-free.
Before You Even Touch the Pump
A safe fill-up starts long before the nozzle goes into your boat. Getting prepared is half the battle and helps prevent the most common, and often messy, accidents.
-
Tie It Up Tight: First things first, make sure your boat is securely moored to the dock. You don’t want the boat drifting away from the pump with the nozzle still in the fill. That’s a guaranteed recipe for a major spill.
-
Kill the Power: Turn off your engine and shut down all electrical equipment. Don't forget any open flames, like a galley stove or a lit grill. You want to eliminate any possible source of ignition for the gasoline vapors that are about to be in the air.
-
Clear the Deck: Ask anyone not helping with the fueling to step off the boat and onto the dock. It’s the safest place for them to be and keeps them out of the way if something goes wrong.
-
Batten Down the Hatches: Close all windows, ports, and hatches. This is a crucial step to stop gasoline fumes from sneaking down into the cabin and bilge, where they can build up and create a serious explosion risk.
A lot of boaters make the mistake of leaving their bilge blower on while fueling, thinking it helps clear out fumes. It does the exact opposite—it can actually suck those flammable vapors into the bilge. Wait until you're completely finished fueling before turning it on.
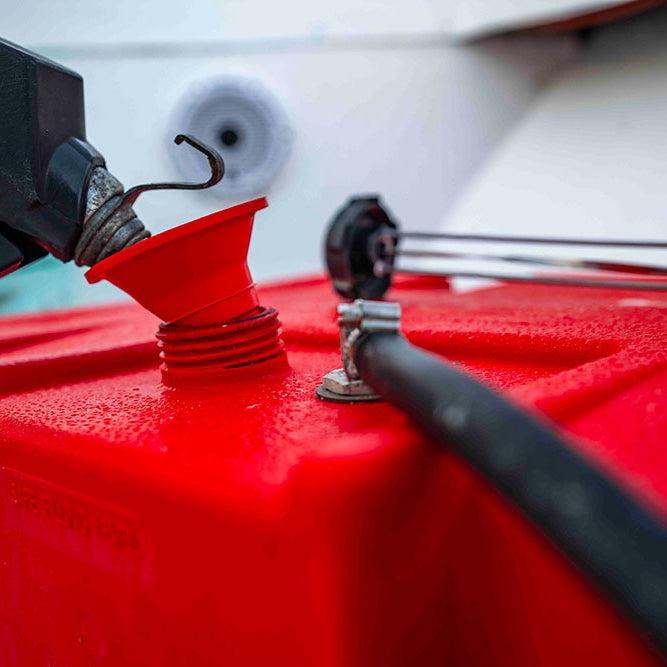
The Art of a Spill-Free Fill
With the boat prepped, it's time to focus on the fill itself. The main goal is simple: get fuel into the gas tank boat and nowhere else. The number one cause of spills is overfilling, which is incredibly easy to do if you aren't paying close attention.
One of the oldest tricks in the book is to just listen. As the tank nears full, the sound of the fuel entering the fill pipe will change. That hollow gurgling sound will turn into a higher-pitched gurgle. That's your signal to slow down and get ready to stop the pump. Whatever you do, don't trust the pump's automatic shut-off—they are notoriously unreliable with marine fuel fills. You can dive deeper into the specifics of your boat’s setup in our guide to the marine fuel fill system.
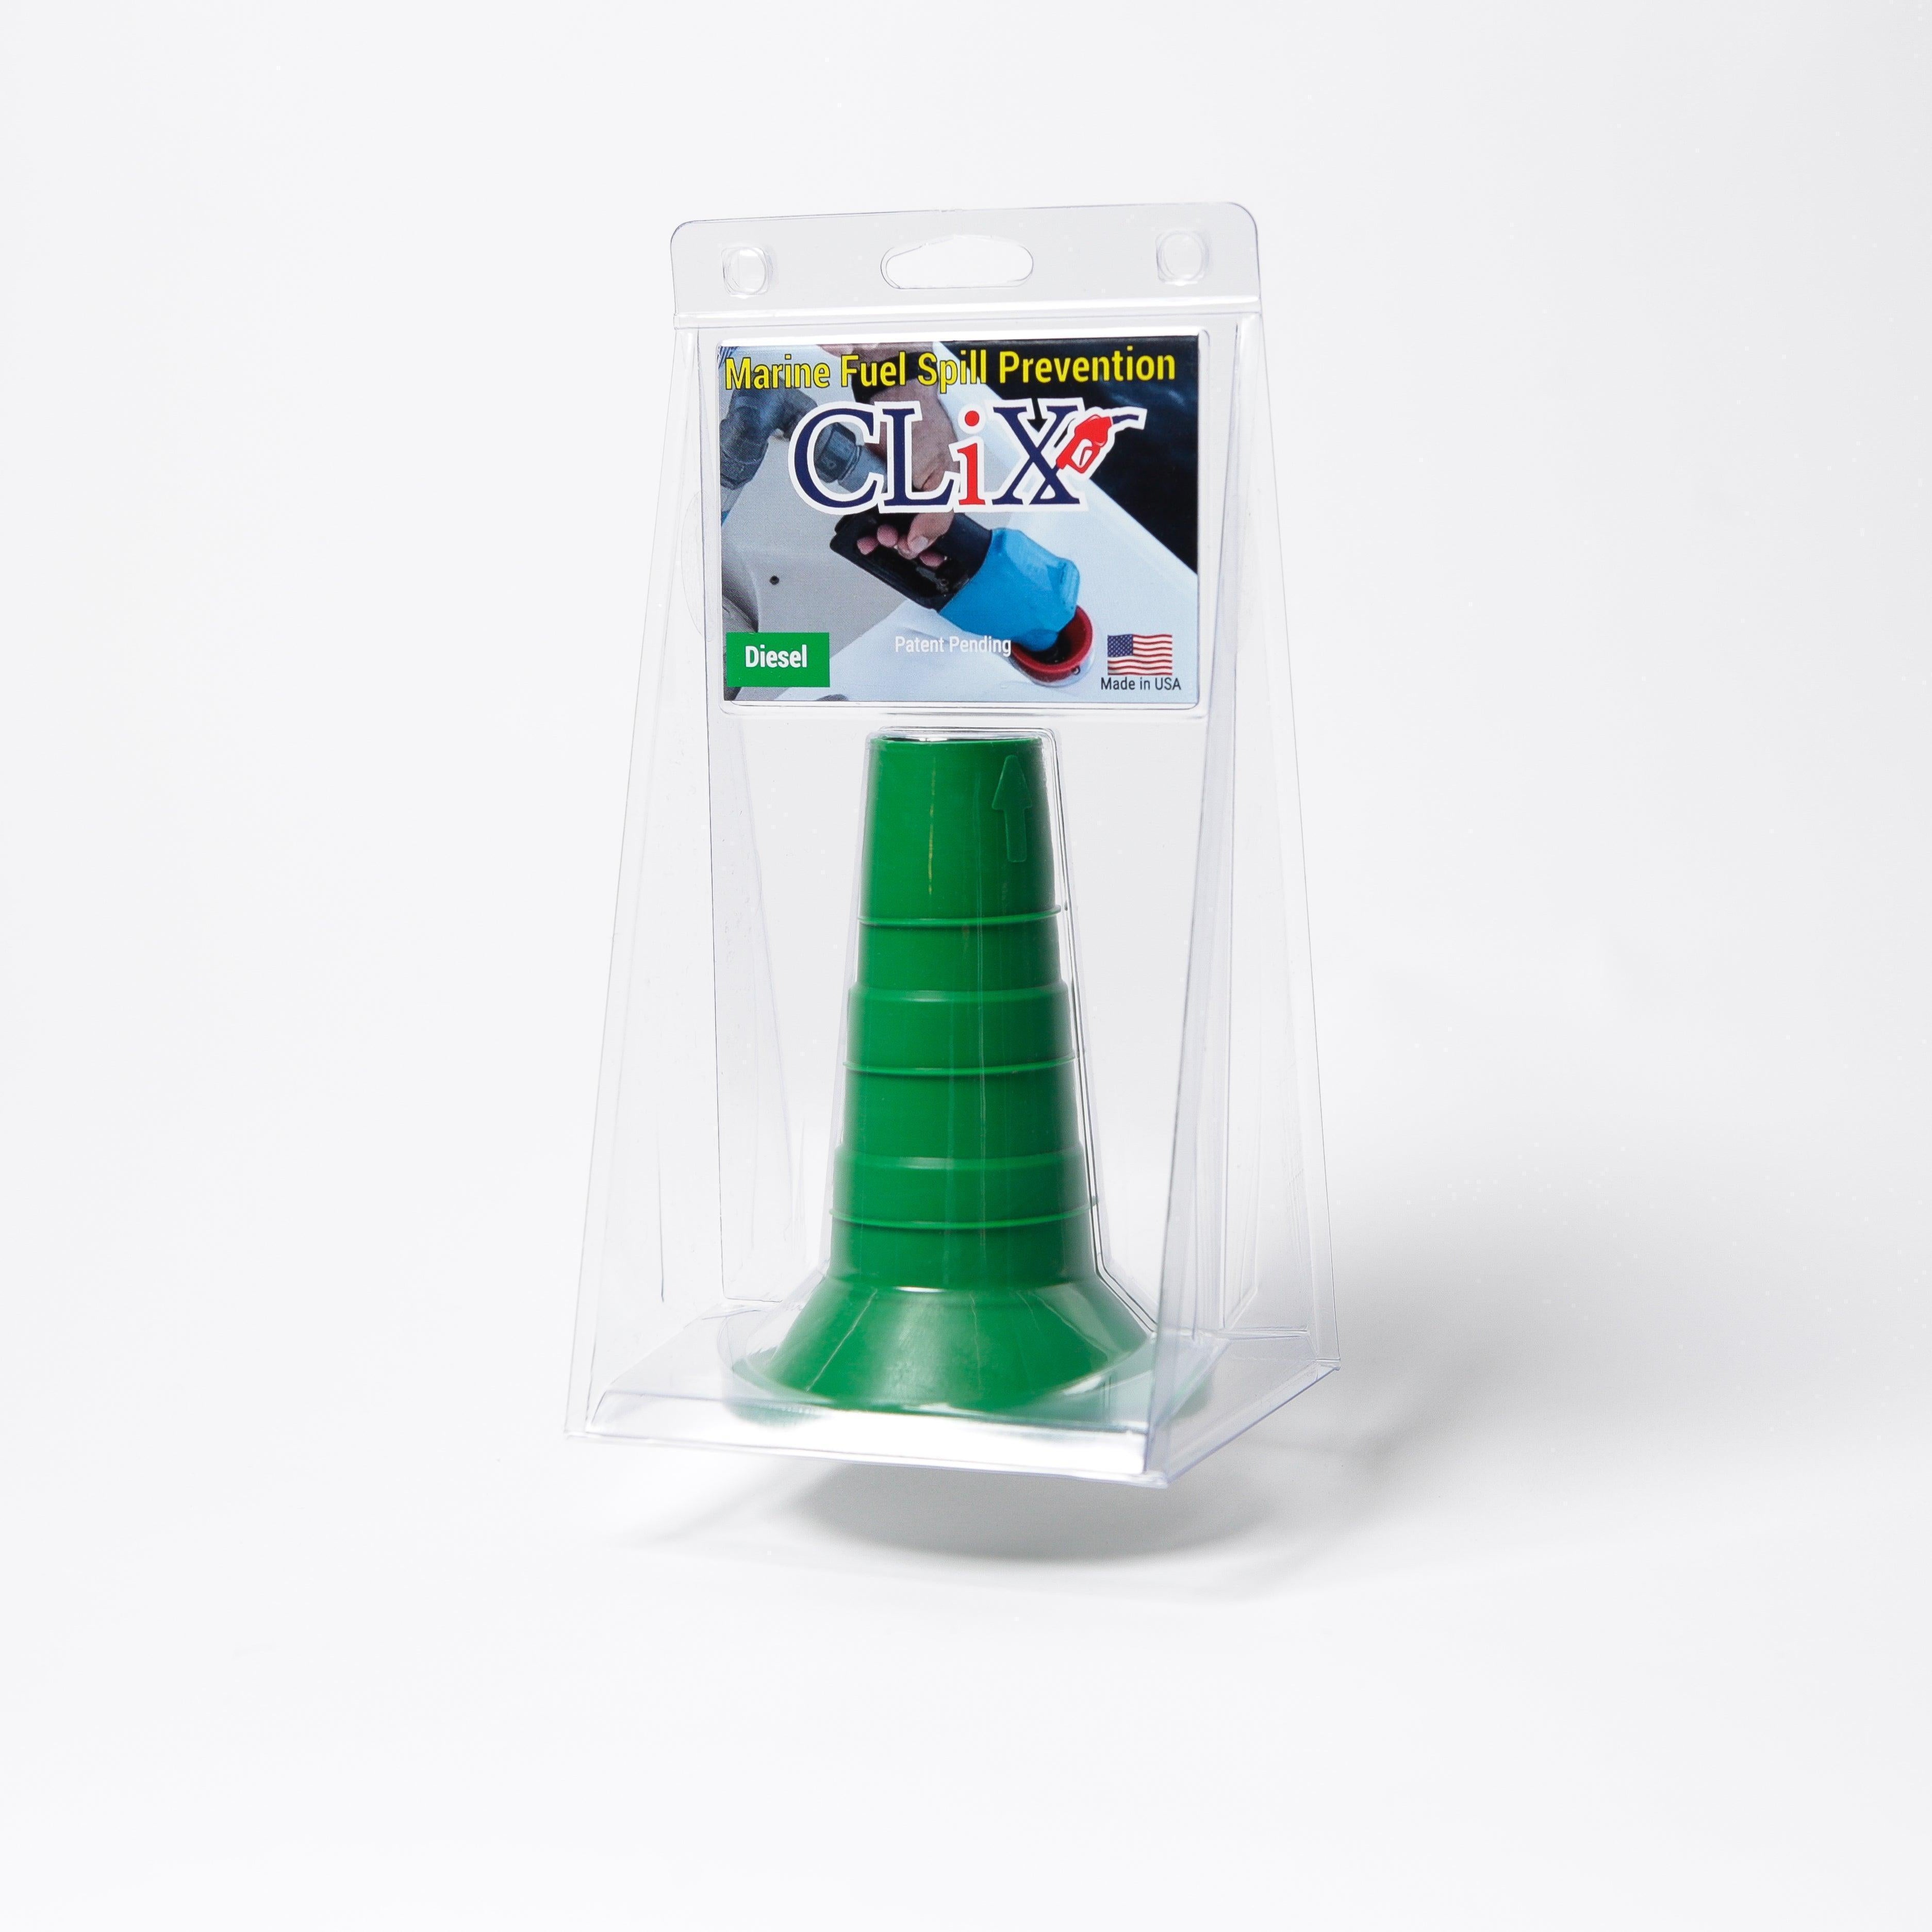
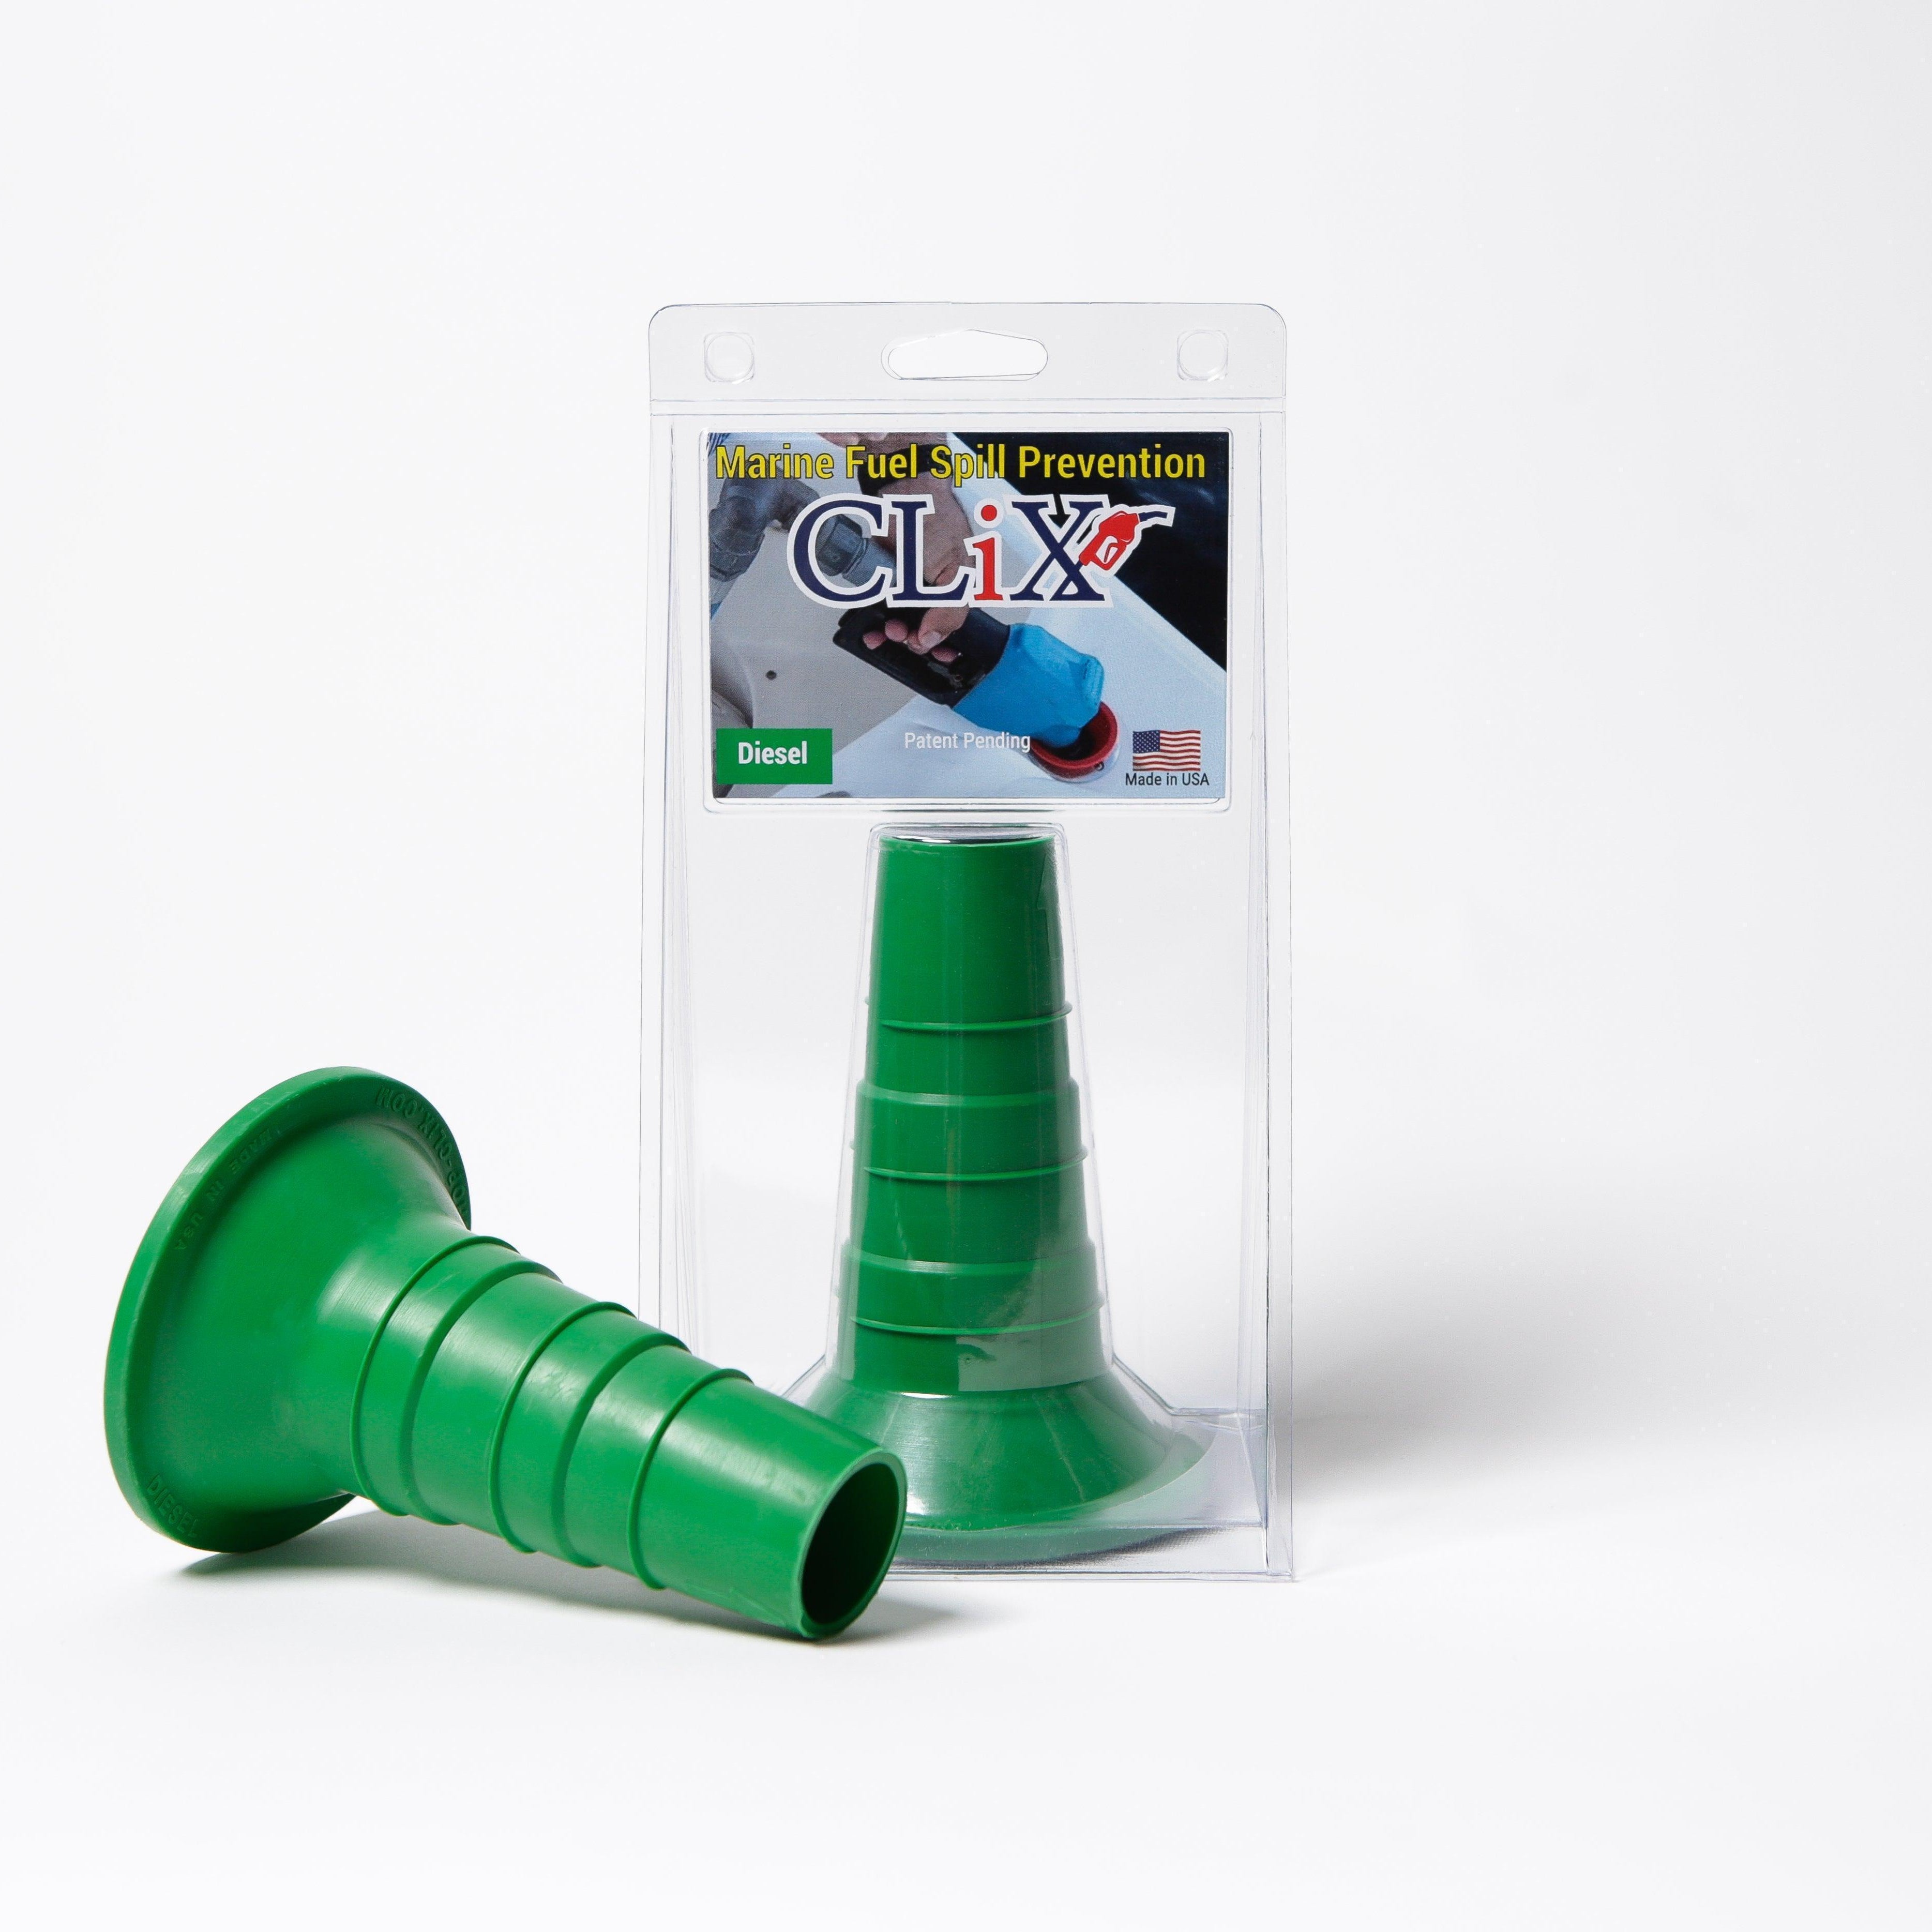
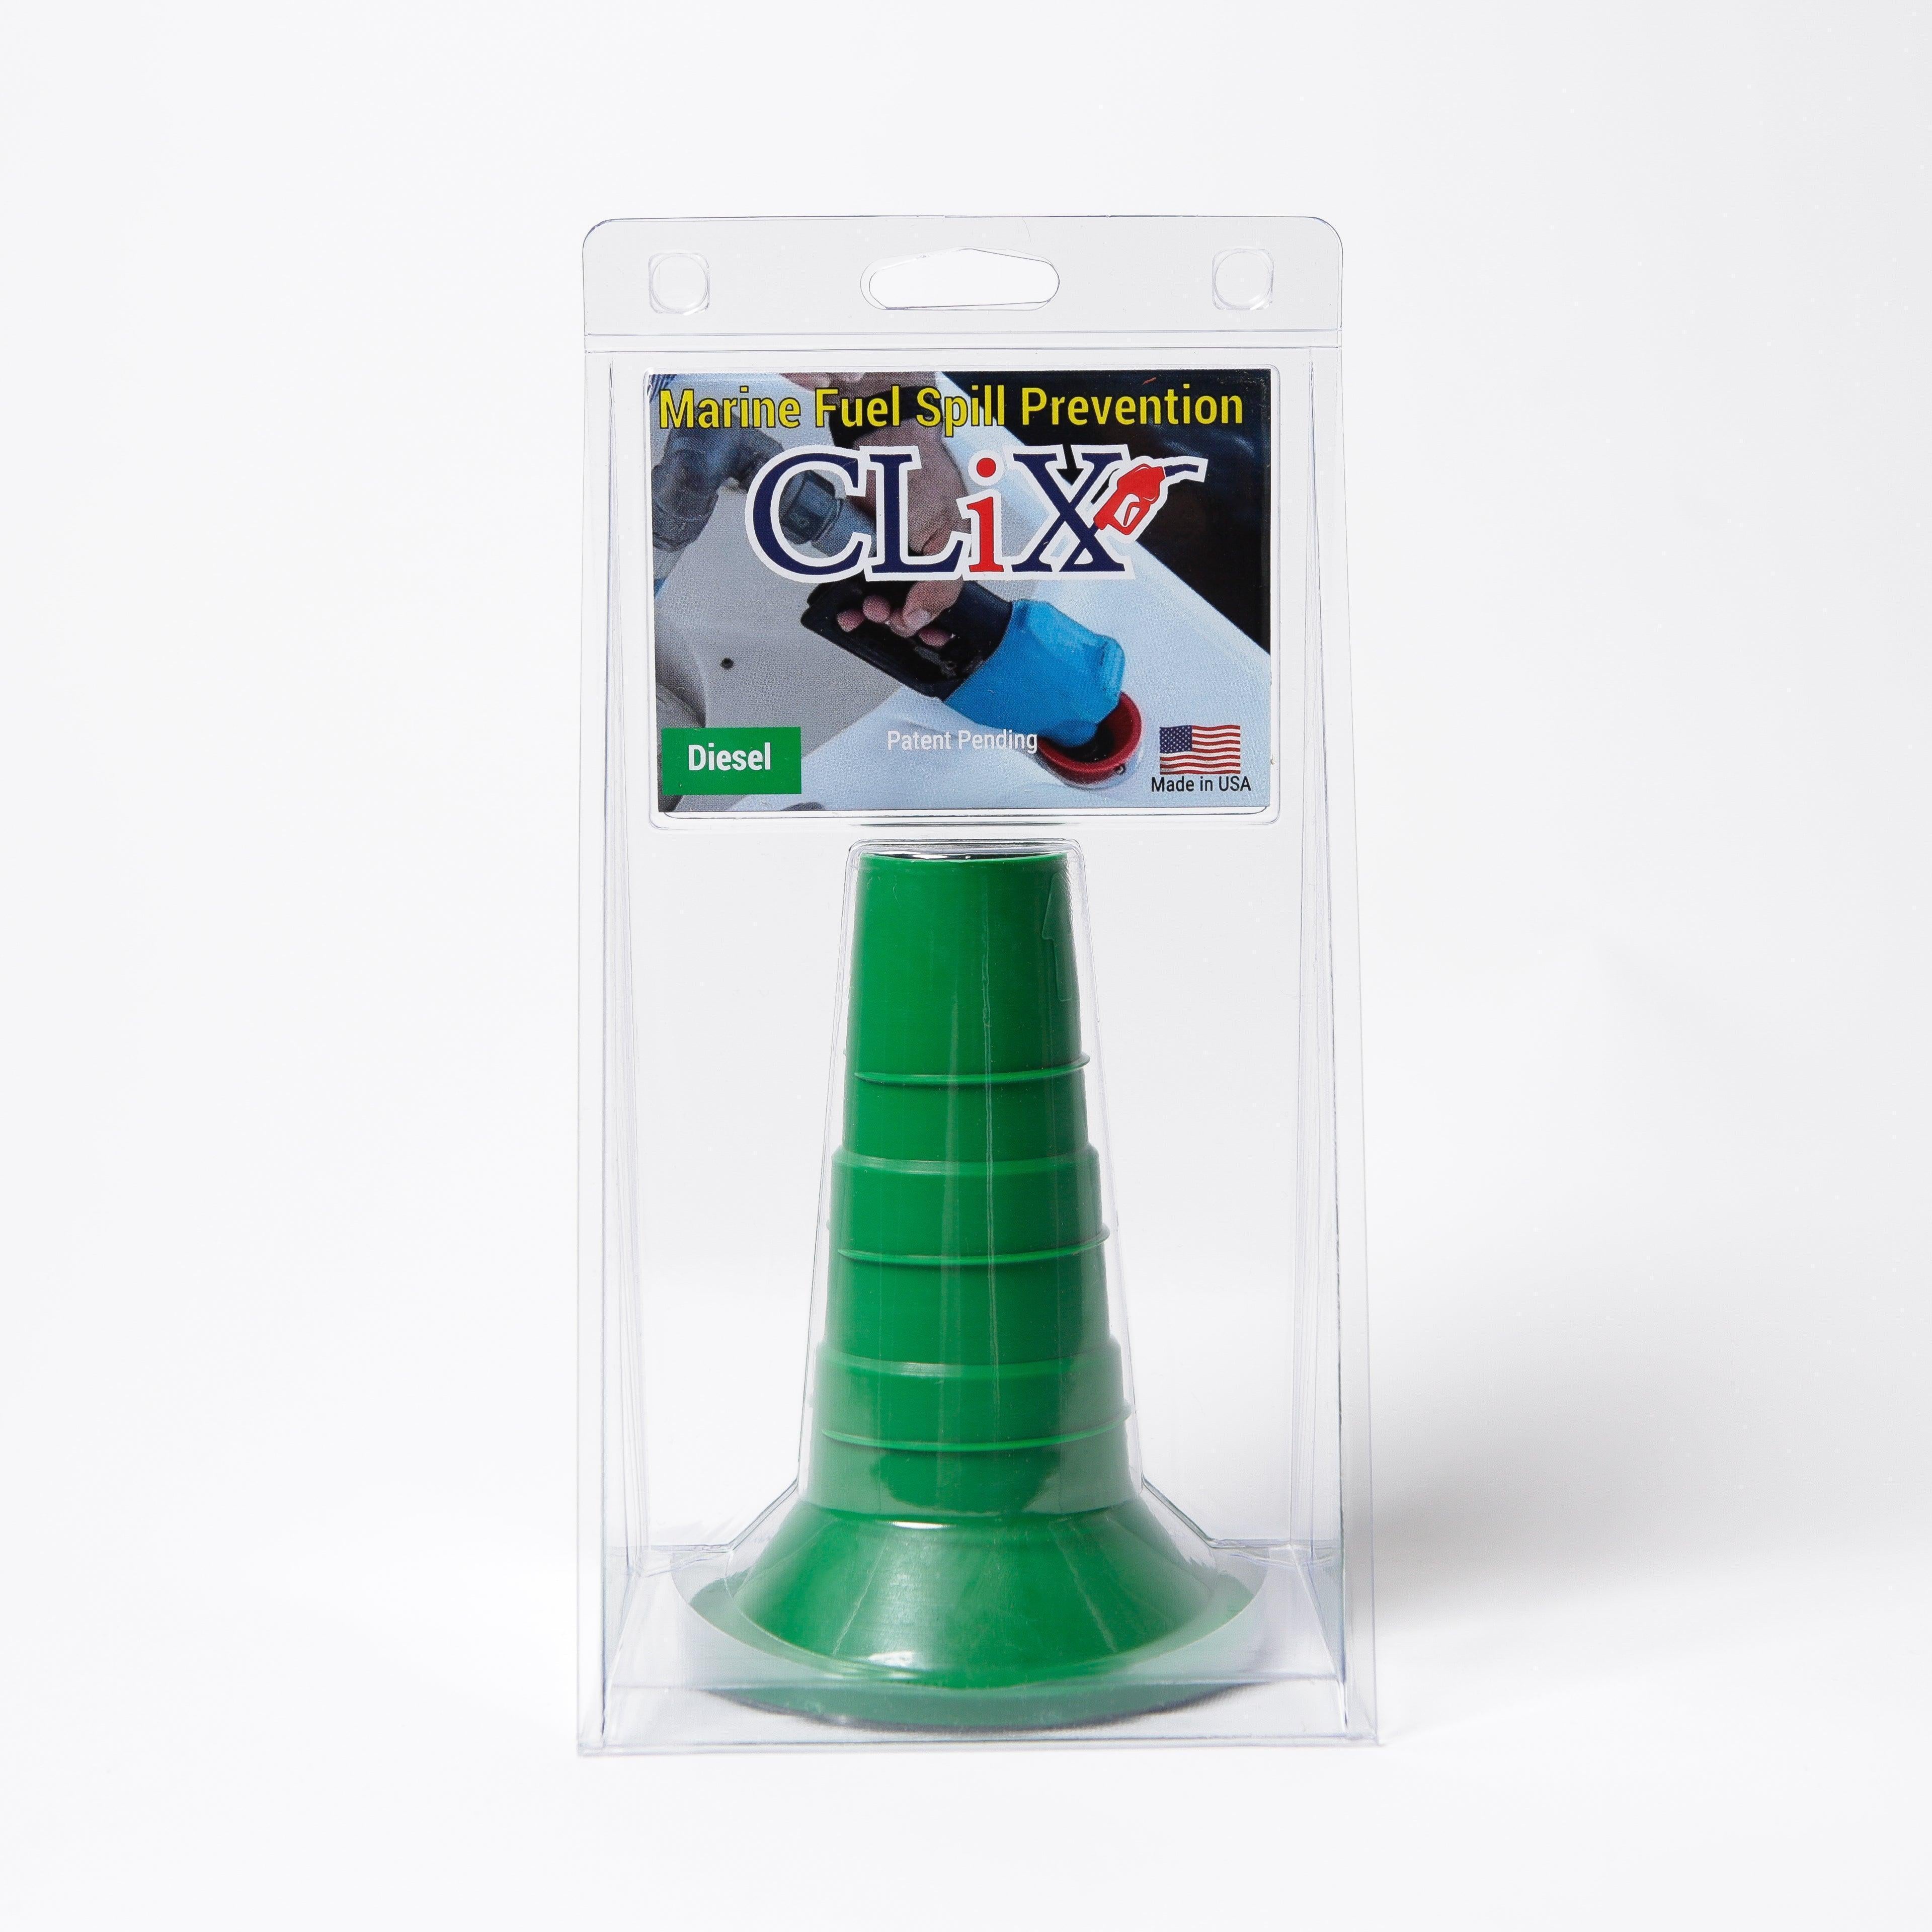
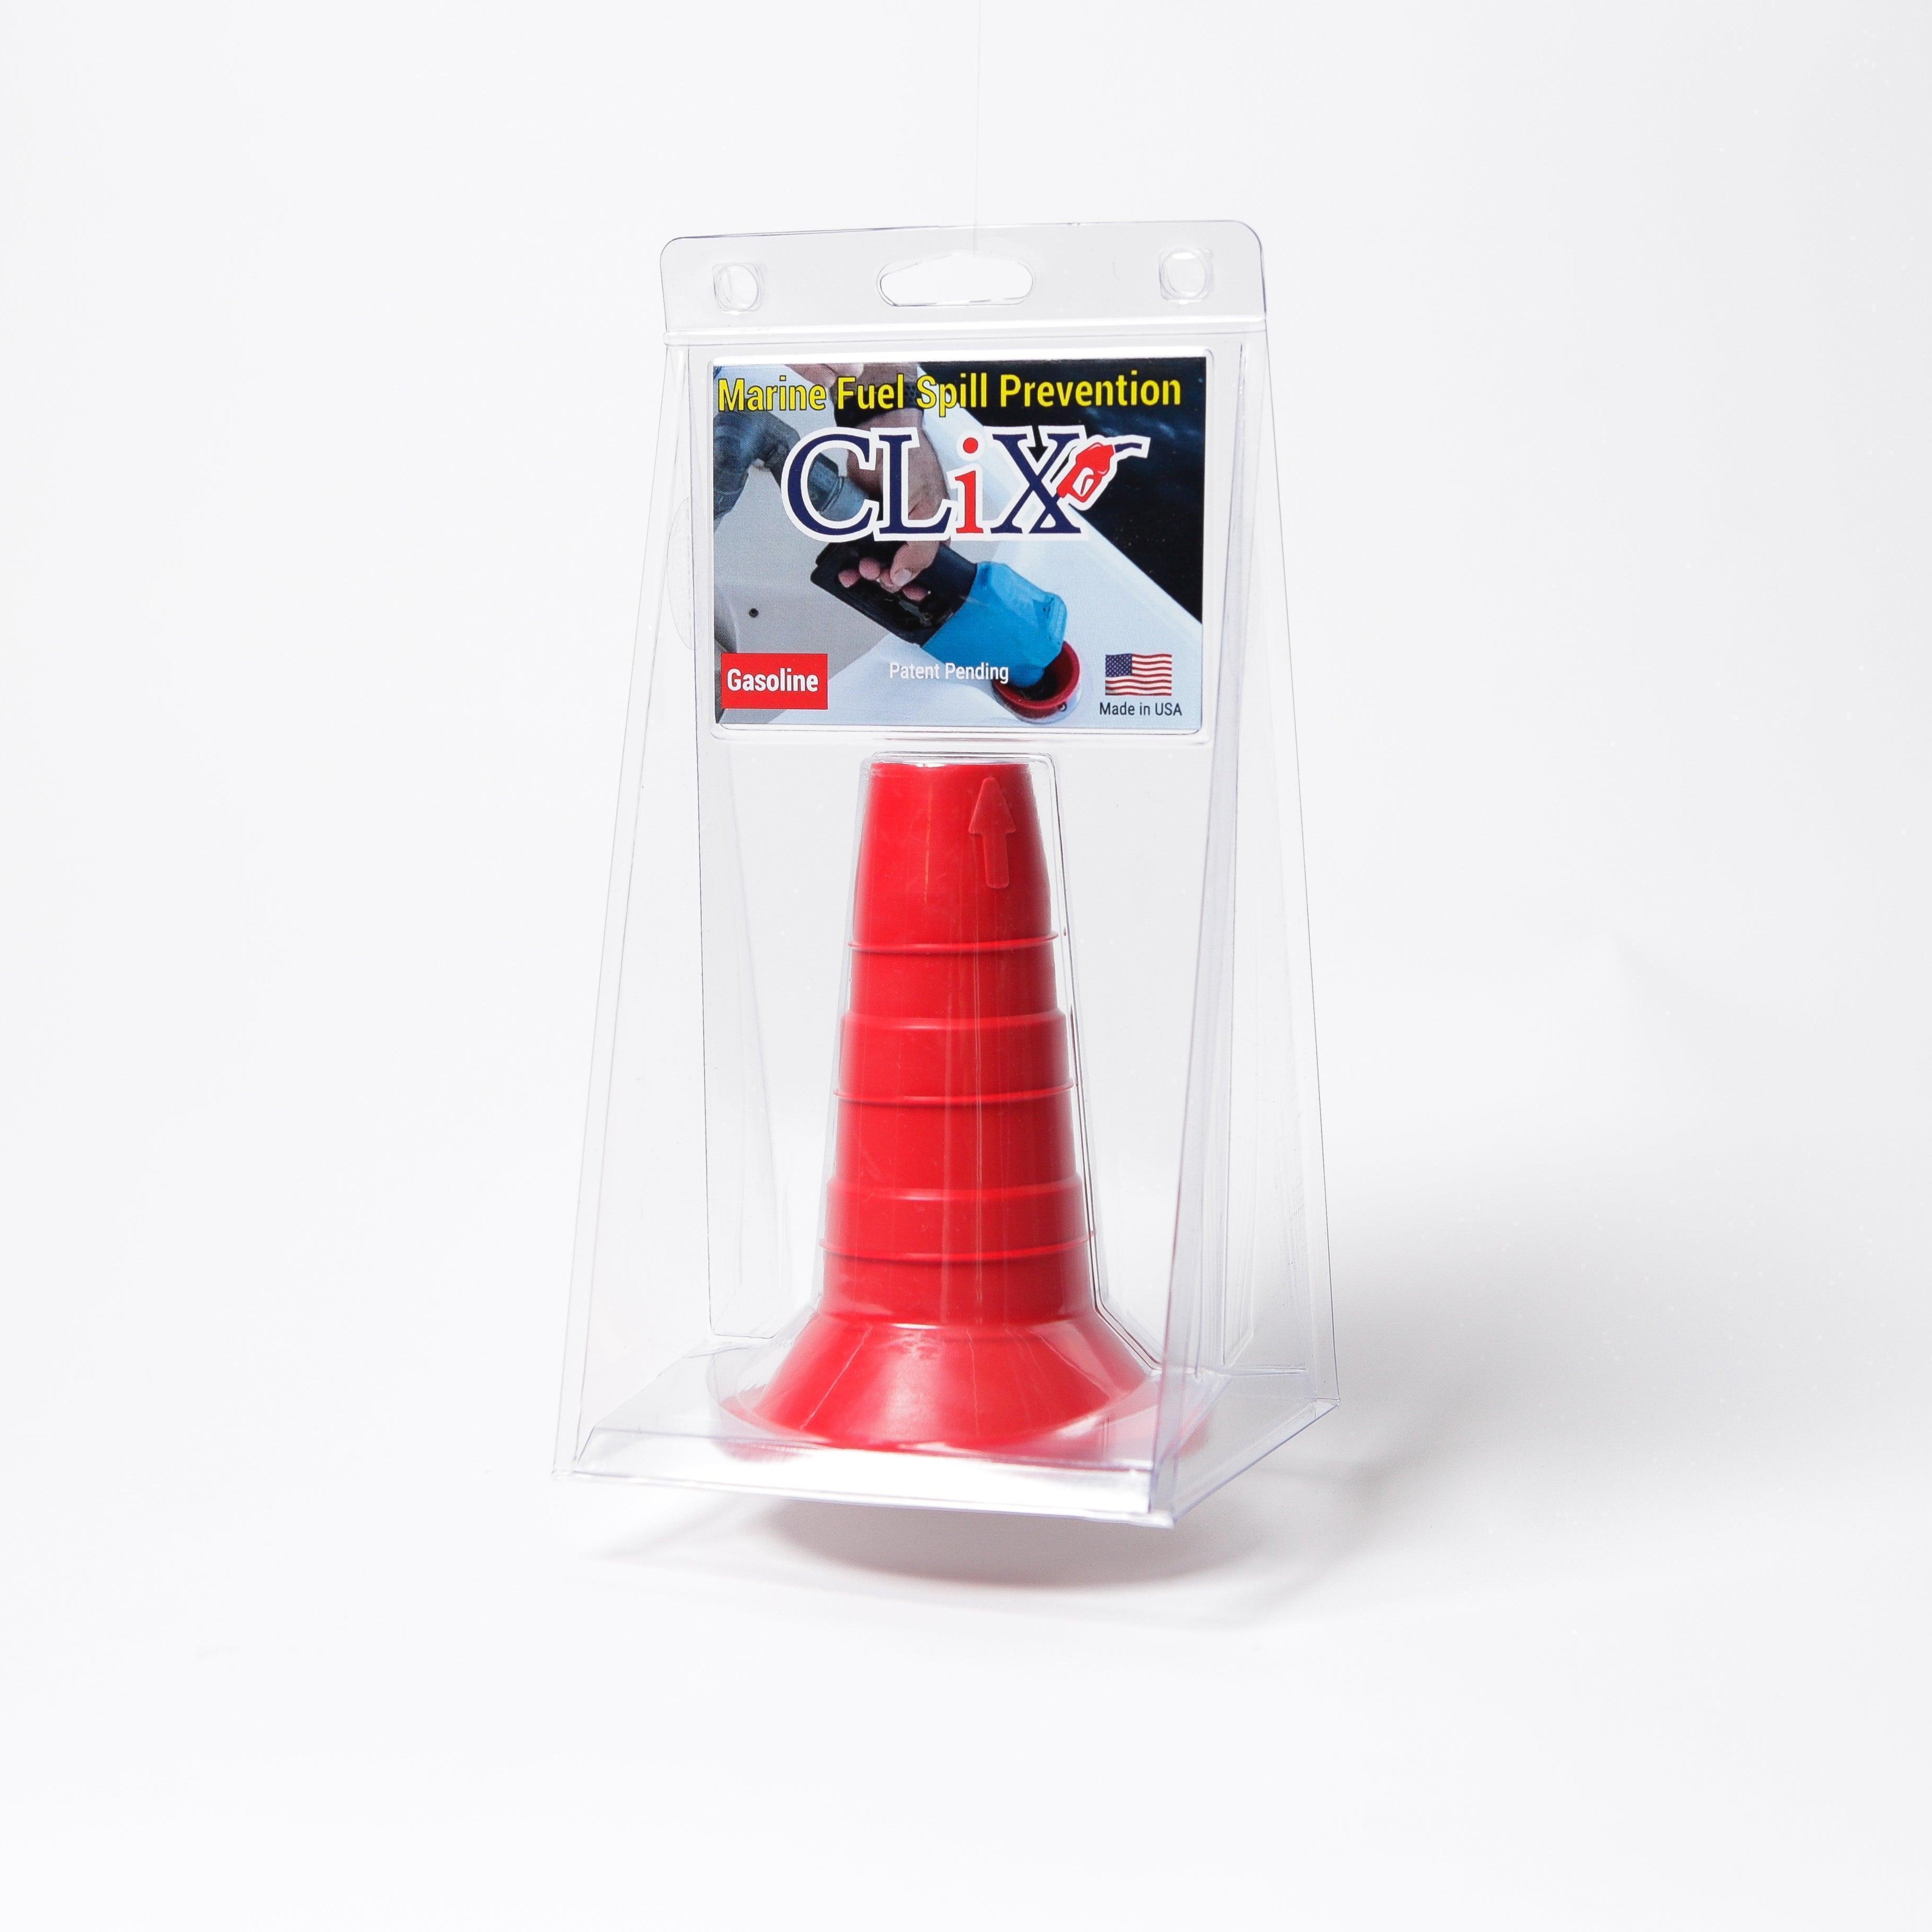
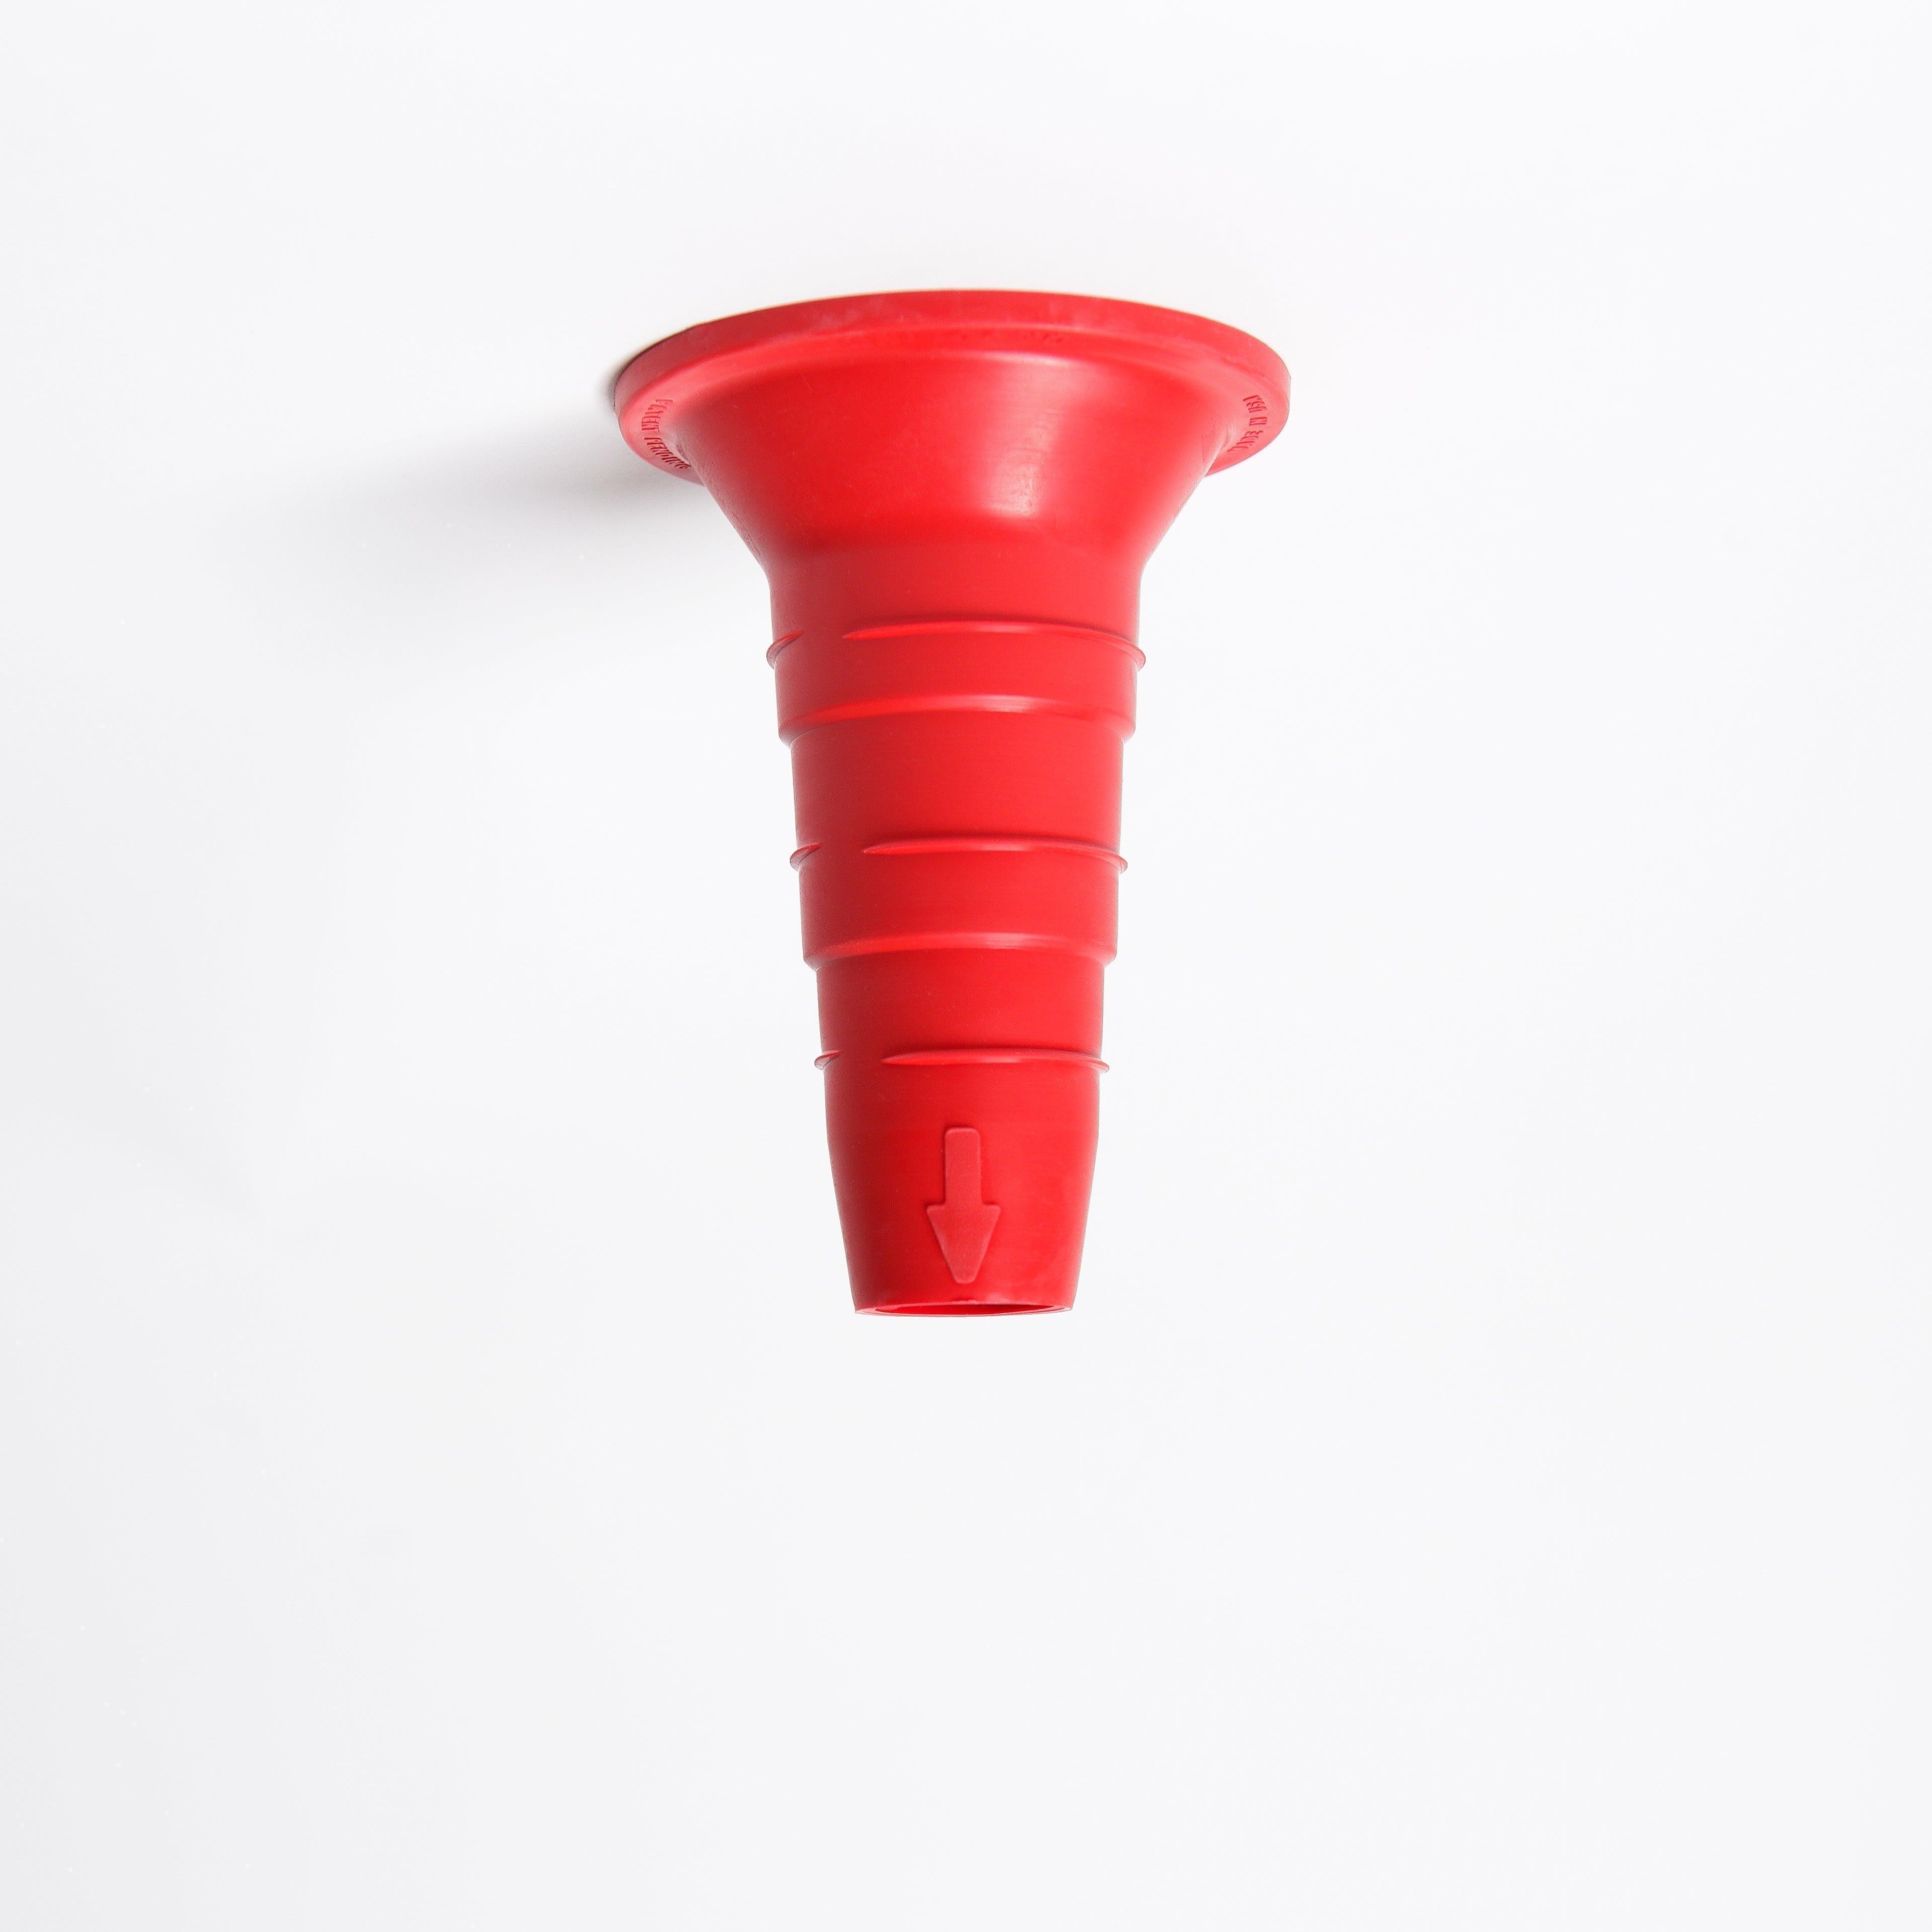
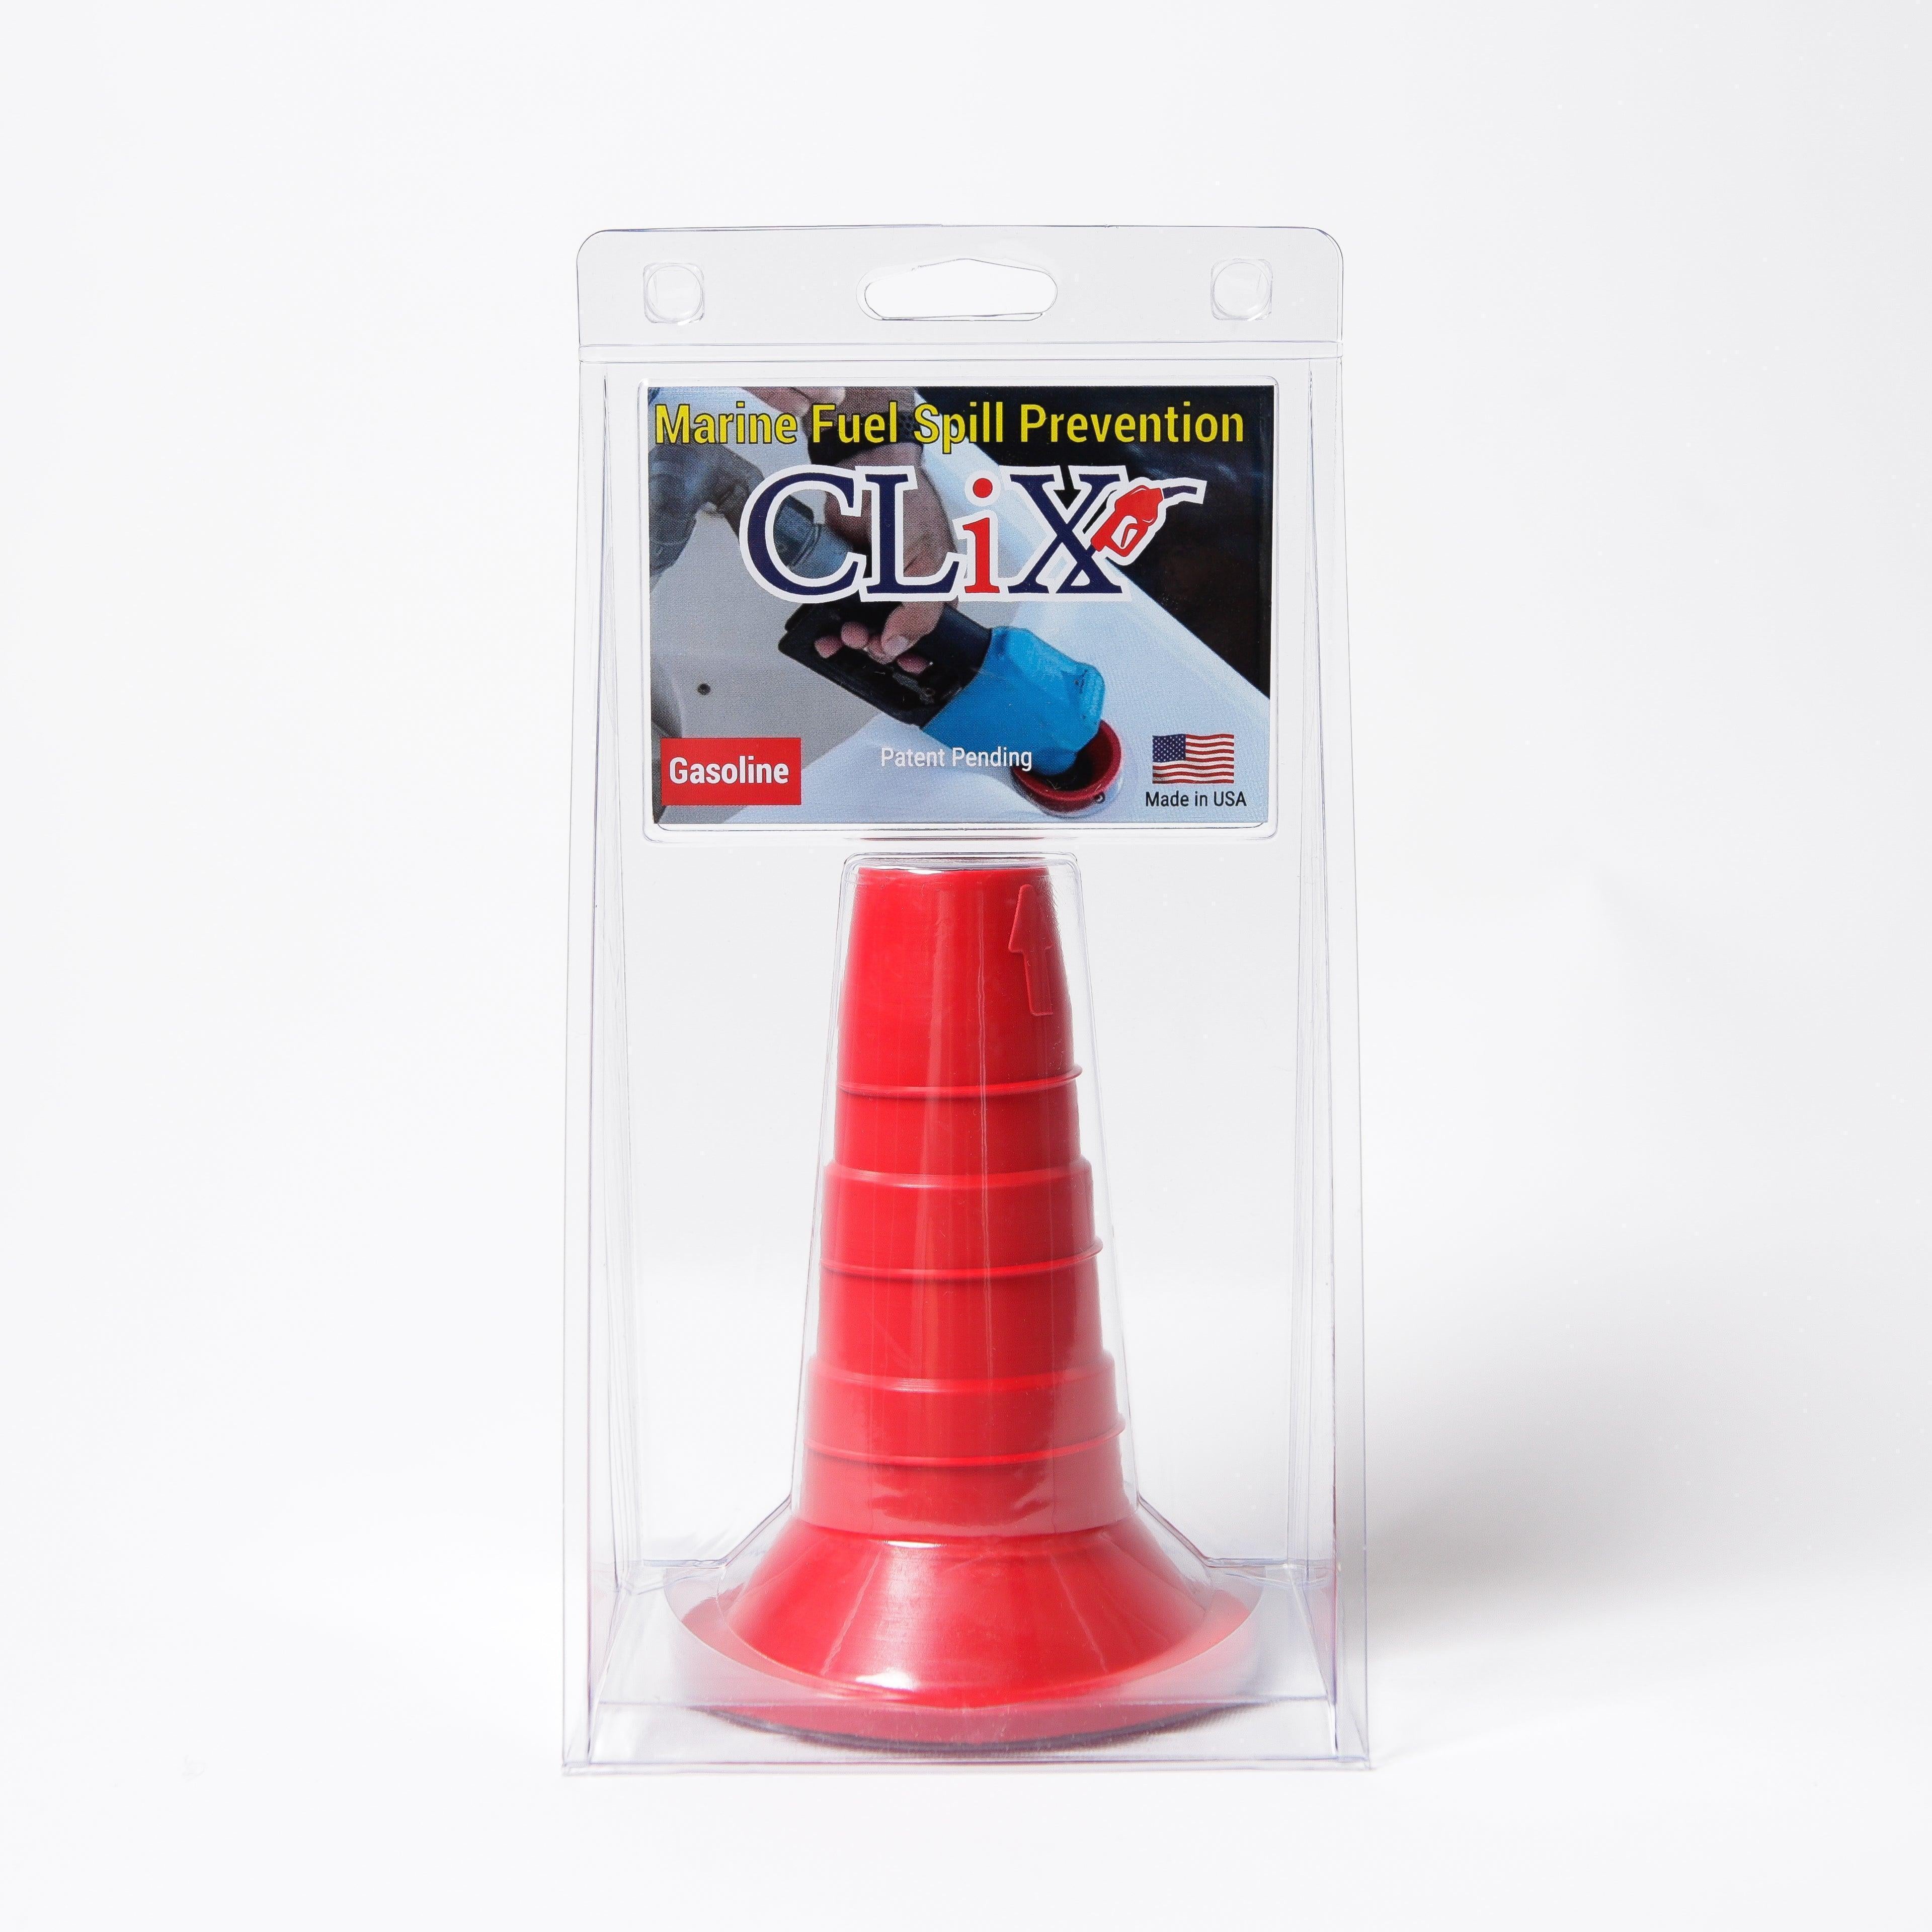
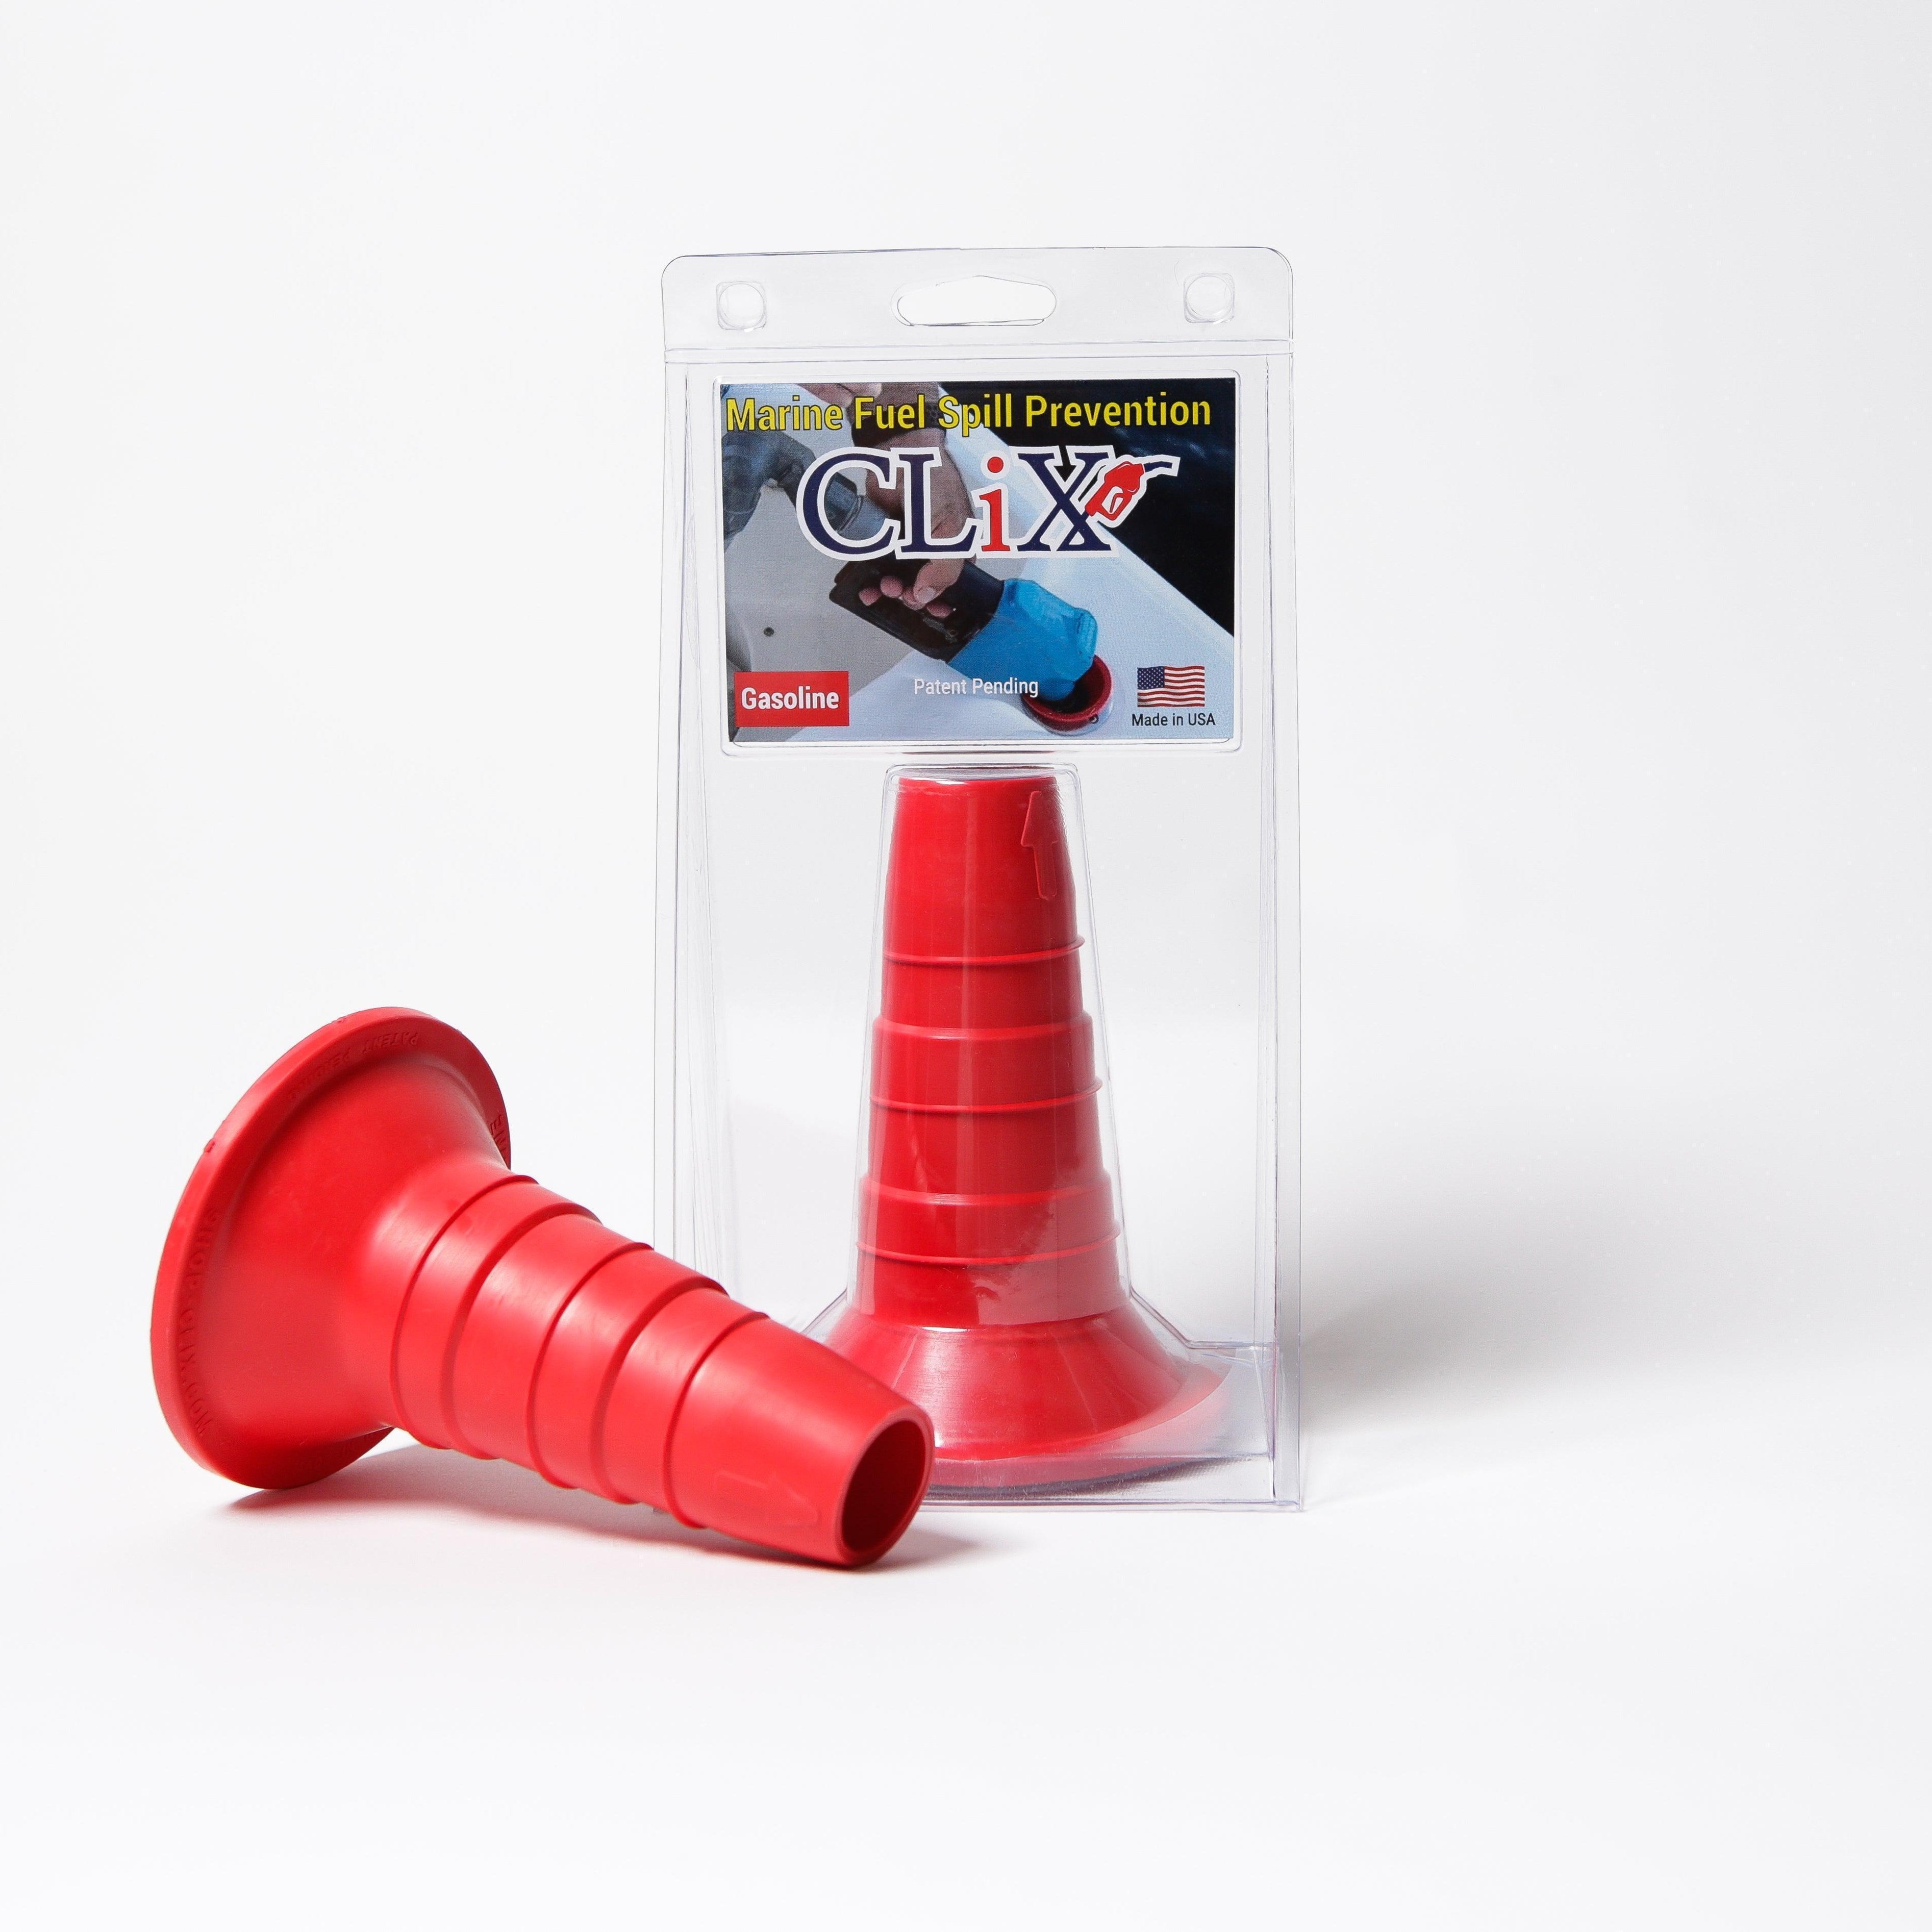
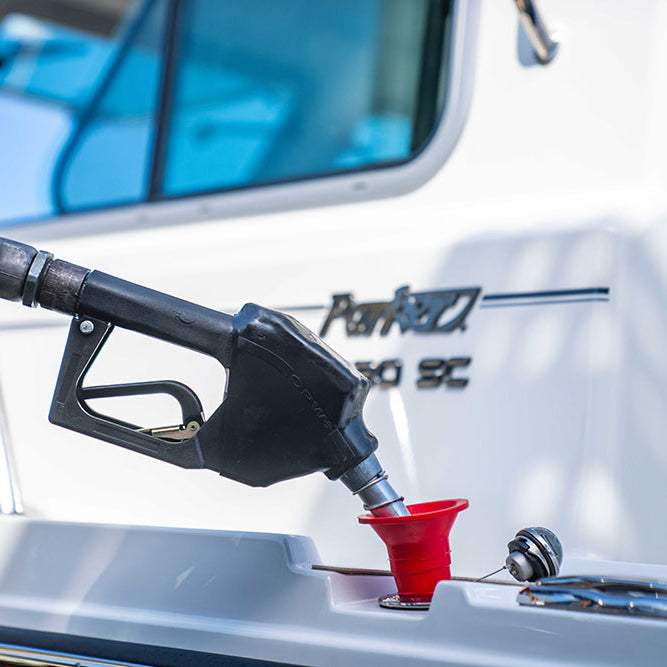
Smarter Fueling with Modern Tools
While listening for the "gurgle" is a time-tested technique, modern tools can offer a much more reliable signal. Spill-prevention devices are designed to give you a clear, impossible-to-miss alert that your tank is full.
For example, the CLiX system gives you a loud, audible “click” the moment it’s time to stop pumping. This simple device takes all the guesswork out of fueling. It not only protects the environment from contamination but also saves your boat’s finish from corrosive fuel spills. It's a small change to your routine that brings a massive amount of peace of mind.
Once the tank is full, screw the fuel cap back on tightly. Before you even think about starting the engine, open up the hatches and run your bilge blower for at least four minutes to vent any leftover fumes. And for the final, most important step? Do the sniff test. If you smell even a hint of gas, do not start the engine. Find the source of the fumes first.
Common Questions About Boat Gas Tanks
Even after you get a handle on the basics of your boat's fuel system, a few specific questions always seem to pop up. This is where we tackle those common head-scratchers, giving you clear, direct answers to help you solve problems and feel more confident on the water.
Think of this as your go-to FAQ for those "what do I do now?" moments. Sometimes, a quick, straightforward answer is all you need to get things sorted out and get back to enjoying your day.
Can I Repair a Leaky Gas Tank Myself?
It’s tempting, I know. You see a small weep or a tiny drip and think, "I can patch that." But when it comes to a boat gas tank, this is one job you absolutely should leave to the pros. Gasoline fumes are incredibly flammable, and one wrong move—a single spark—could lead to a fire or an explosion. The risk is just not worth it.
A professional marine mechanic has the right gear and know-how. They use specialized epoxy composites and coatings that are designed to bond permanently and stand up to constant contact with fuel. Getting that bond right requires serious prep work that’s tough to do in a garage. For your own safety, please call a pro.
For a metal tank, a professional repair isn’t just slapping on some goo. It usually involves grit blasting the surface clean, using a metal repair composite to fill any pits or cracks, and then coating the entire interior with a high-performance, anti-corrosion layer to stop future leaks before they start.
How Often Should I Replace My Fuel Lines?
There’s no hard-and-fast rule here, like "every five years." The real lifespan of your fuel lines depends on things like how much sun they get, the type of fuel you use, and general wear and tear. Instead of marking your calendar, you need to rely on your eyes and hands.
Give your fuel lines a good inspection at least once a season. Here’s what you’re looking for:
- Brittleness: If a hose feels hard and makes cracking sounds when you gently bend it, it's done.
- Softness or Swelling: Hoses that feel mushy or look swollen are breaking down from the inside out.
- Visible Cracks: This one's a no-brainer. Any crack, big or small, means that hose needs to be replaced immediately.
When you do replace them, don’t just grab any hose from the auto parts store. Make sure you use USCG-approved marine-grade fuel hose. It's specifically built to handle the tough marine environment and resist fuel seeping through its walls.
What Should I Do If I Get Water in My Fuel?
Finding water in your fuel is a major problem that needs to be dealt with right away. Water is heavier than fuel, so it settles at the very bottom of your tank—exactly where your engine’s fuel pickup is located. If your engine sucks up that water, you're looking at stalling, misfires, or even serious internal damage.
If you think you have water in the tank:
- Do Not Start the Engine. This is the most important rule. Firing it up will pull that water right into the fuel system.
- Check Your Fuel Filter. Your first stop should be your water-separating fuel filter. If the little bowl at the bottom is full of water, you've found your culprit.
- Pump the Tank. For more than a tiny amount of water, the only real fix is to have the tank professionally pumped out and cleaned.
The best cure, of course, is prevention. Make sure your fuel cap has a good, tight seal, and consider using a quality fuel stabilizer that can help manage the small bits of moisture that come from normal condensation.
Don't let fueling guesswork ruin your day on the water or damage your boat. The innovative solutions from CLiX Fueling Solutions provide a clear, audible click to let you know your tank is full, preventing dangerous and costly spills every single time. Learn more and fuel with confidence at clixfueling.com.