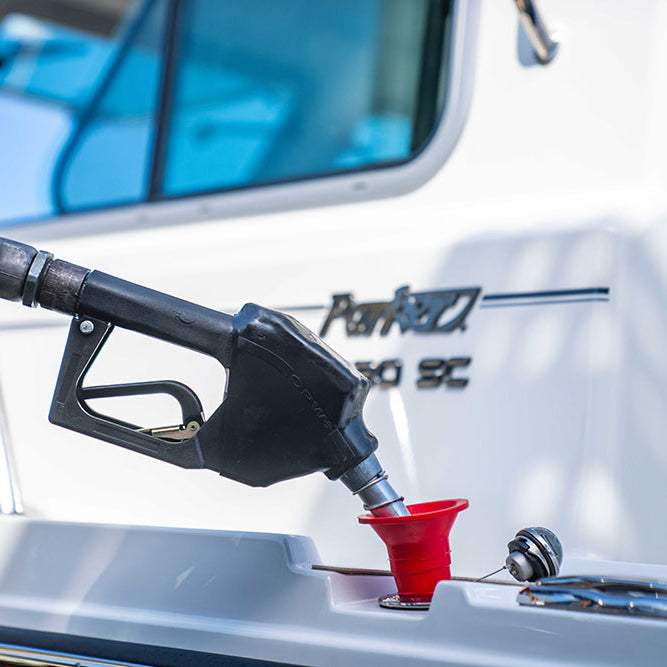
A fuel transfer pump hose isn't just a simple tube; it's a lifeline for your boat's fuel system and a critical piece of safety equipment. Getting the right one means reliable fueling, no dangerous leaks, and protecting your vessel from costly damage. It’s the essential link between your pump and your tank, built to survive the tough marine environment and the specific fuel you use.
Choosing the Right Marine Fuel Hose
Picking the perfect fuel transfer hose is a balancing act. You have to think about the materials, the power of your pump, and even the layout of your boat. This isn't just about finding a hose that fits—it's about making a smart choice that prevents premature failure, frustrating leaks, or something far worse.
Matching Materials to Your Fuel
The very first thing to consider is the type of fuel you'll be running through it. Gasoline, especially the ethanol-blended stuff we see everywhere now, is much more aggressive than standard diesel and requires a completely different kind of hose.
While materials like nitrile and neoprene offer decent resistance, you’ll often find that modern multi-layer composite hoses are the best bet for handling today's fuels and their additives.
A hose built for diesel can quickly become brittle and crack if you try to use it for gasoline. On the flip side, using a premium, ethanol-rated hose just for diesel might be overkill and a waste of money. The golden rule? Always check the manufacturer’s specs for fuel compatibility. This is non-negotiable.
Here’s a quick-reference guide to help you compare some common materials you'll run into.
Hose Material Comparison for Marine Fuels
| Hose Material | Best For | Pros | Cons |
|---|---|---|---|
| Nitrile (Buna-N) | Diesel, biodiesel, gasoline (low ethanol) | Good fuel resistance, flexible | Can degrade with high-ethanol fuels |
| Neoprene | General diesel and oil transfer | Excellent weather/ozone resistance | Moderate fuel resistance, less flexible |
| Multi-layer Composite | All fuels, including high-ethanol gasoline (E10/E15) | Superior permeation resistance, very durable | Higher cost, can be stiffer |
| PVC | Diesel transfer (in specific applications) | Lightweight, economical | Can become brittle in cold, less durable |
Remember, this table is a starting point. Always defer to the manufacturer's specific recommendations for your exact fuel type and application.
Considering Pressure and Flow Ratings
You absolutely must match the hose to the output of your transfer pump. Your pump's specs will tell you its maximum pressure (PSI) and flow rate (Gallons Per Minute or GPM), and the hose you choose must meet or exceed those numbers.
Using an underrated hose is just asking for trouble. It can swell up, burst, or even blow right off a fitting when the pressure hits. It's a dangerous and messy situation to avoid.
For a complete look at what different pumps can do, check out our guide to marine fuel transfer pumps.
Pro Tip: When in doubt, go with a hose that has a higher PSI and GPM rating than your pump. It’s a safe bet that costs very little extra for a lot of peace of mind.
Certifications Matter Most
When you're outfitting a boat, always look for hoses that are certified by the U.S. Coast Guard (USCG) or carry an equivalent ISO rating. This isn't just a suggestion—it's a critical safety standard.
These certifications guarantee the hose has gone through intense testing for things like fire resistance and fuel permeability, two things you don't want to gamble on when you're on the water.
The demand for these kinds of high-performance parts is booming. The industrial hose market, which includes fuel transfer hoses, was valued at USD 15.48 billion in 2025 and is on track to hit USD 27.82 billion by 2034. That growth is all about the need for durable, purpose-built solutions in demanding industries. You can learn more about what's driving these industrial hose market trends if you're interested in the data.
This decision tree gives you a great visual for the selection process, starting with what's in your tank.

As you can see, your choice goes in a very different direction depending on whether you’re moving gasoline with ethanol or just straight diesel.
Getting Ready for a Safe and Secure Hose Installation
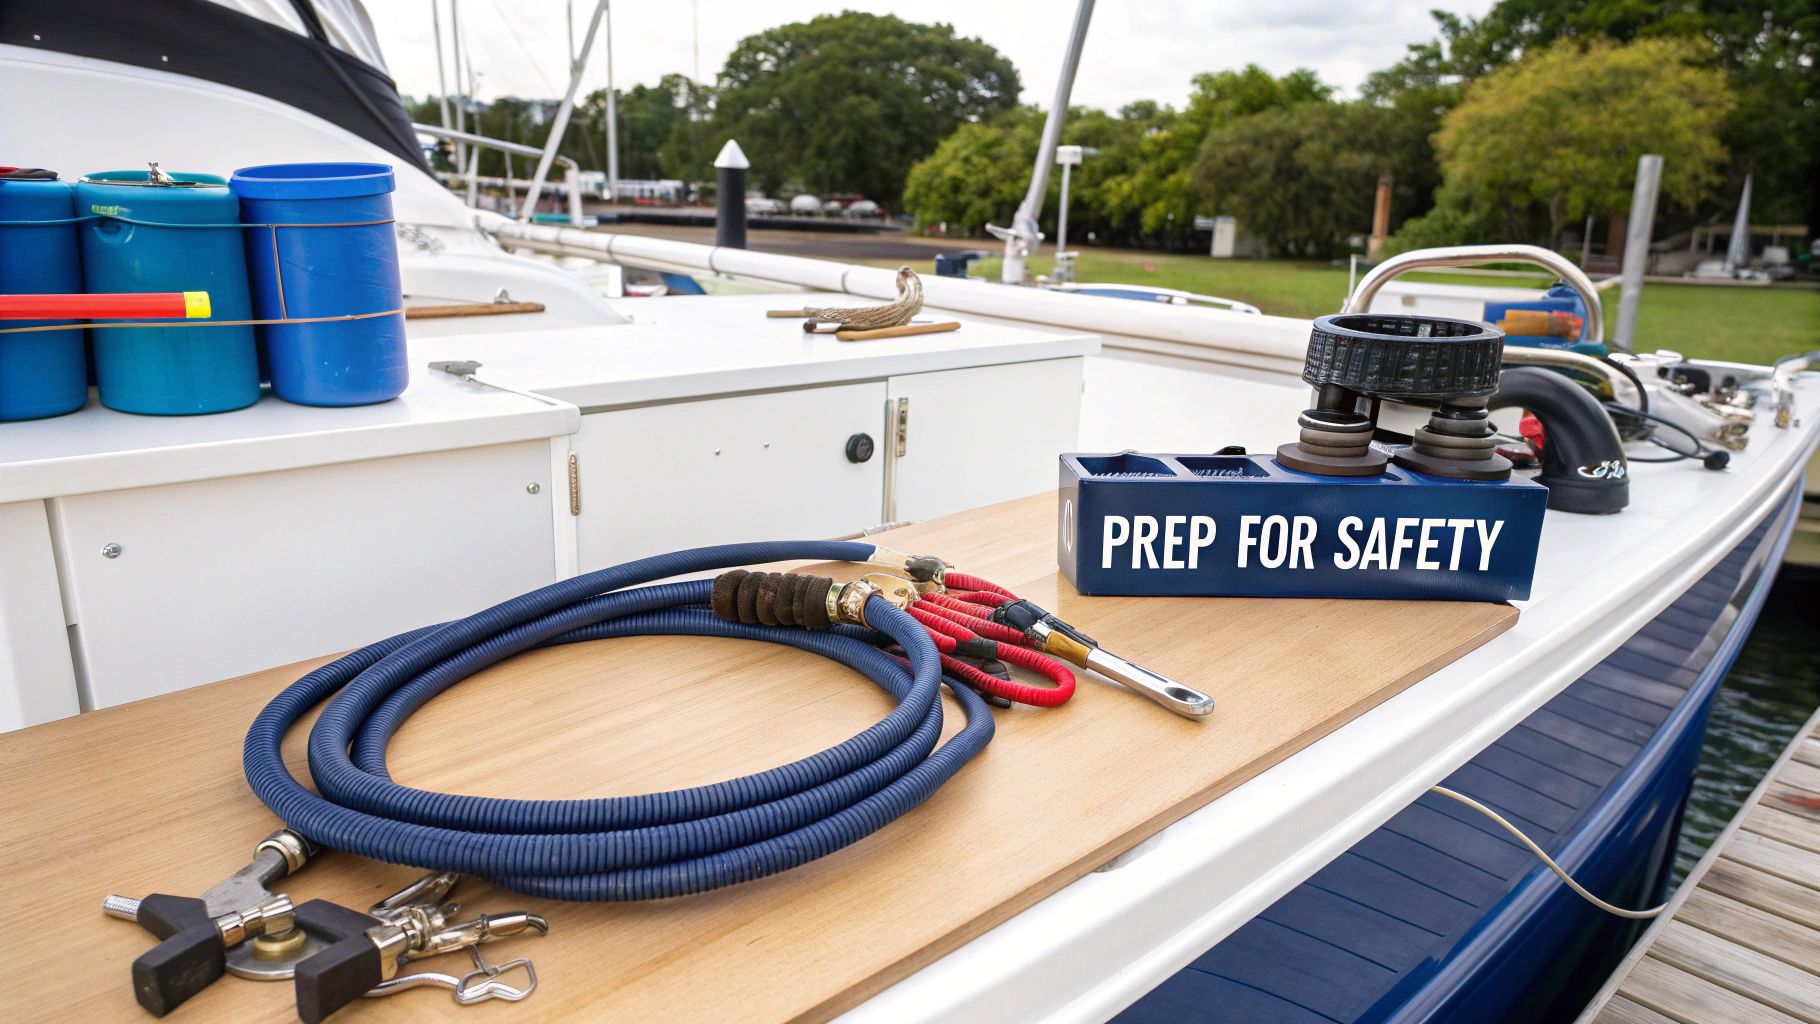
A solid, leak-free hose installation is all about the prep work. Honestly, what you do before you even touch the new hose makes the difference between a reliable fuel system and a problem waiting to surface. Before you jump in, let's get the right tools together.
You'll want a dedicated hose cutter, not just a utility knife. A proper cutter gives you a clean, perfectly square cut. This ensures the hose sits completely flush against the fitting, which is key for a tight seal. A ragged cut from a knife can easily create a tiny channel for fuel to seep out.
Inspect the Fittings and Drain the Old Line
Once you have your tools, the first real step is draining the old fuel line safely. Get an approved container under the connection point and keep some absorbent pads handy for the inevitable drips. Always, always work in a well-ventilated space and follow all safety precautions for handling fuel.
After the line is drained, take off the old hose and clamps. Now comes a crucial step people often rush: inspecting the fittings on the pump and tank. Take a close look at the metal surfaces where the hose connects.
You're searching for any red flags:
- Corrosion: Look for any white or greenish powder on brass or bronze fittings.
- Pitting: Check for tiny pits or cavities on the fitting's surface that could ruin the seal.
- Damaged Threads: Worn or cross-threaded areas will prevent you from getting a tight connection.
If a fitting looks questionable, replace it. It's cheap insurance against a serious fuel leak down the road.
I can't tell you how many "new hose leaks" I've seen that were actually caused by a dirty or damaged fitting. Spending an extra five minutes cleaning and inspecting that surface is the single best thing you can do during this job.
Choosing Clamps and Cleaning for a Perfect Seal
With your fittings confirmed to be in good shape, the last prep step is selecting the right clamps. Those standard worm-gear clamps from the hardware store might seem fine, but for a fuel transfer pump hose, you'll get better results with marine-grade T-bolt clamps. They distribute pressure much more evenly around the hose, so you're less likely to pinch or damage the hose itself.
Finally, before you even think about sliding that new hose on, give the barbed part of the fitting a good cleaning. A quick scrub with a wire brush and a residue-free solvent will do the trick. You want that surface absolutely spotless. This gives the hose maximum grip for a tight, permanent seal once you tighten those new clamps.
Getting Your New Fuel Hose Installed Just Right
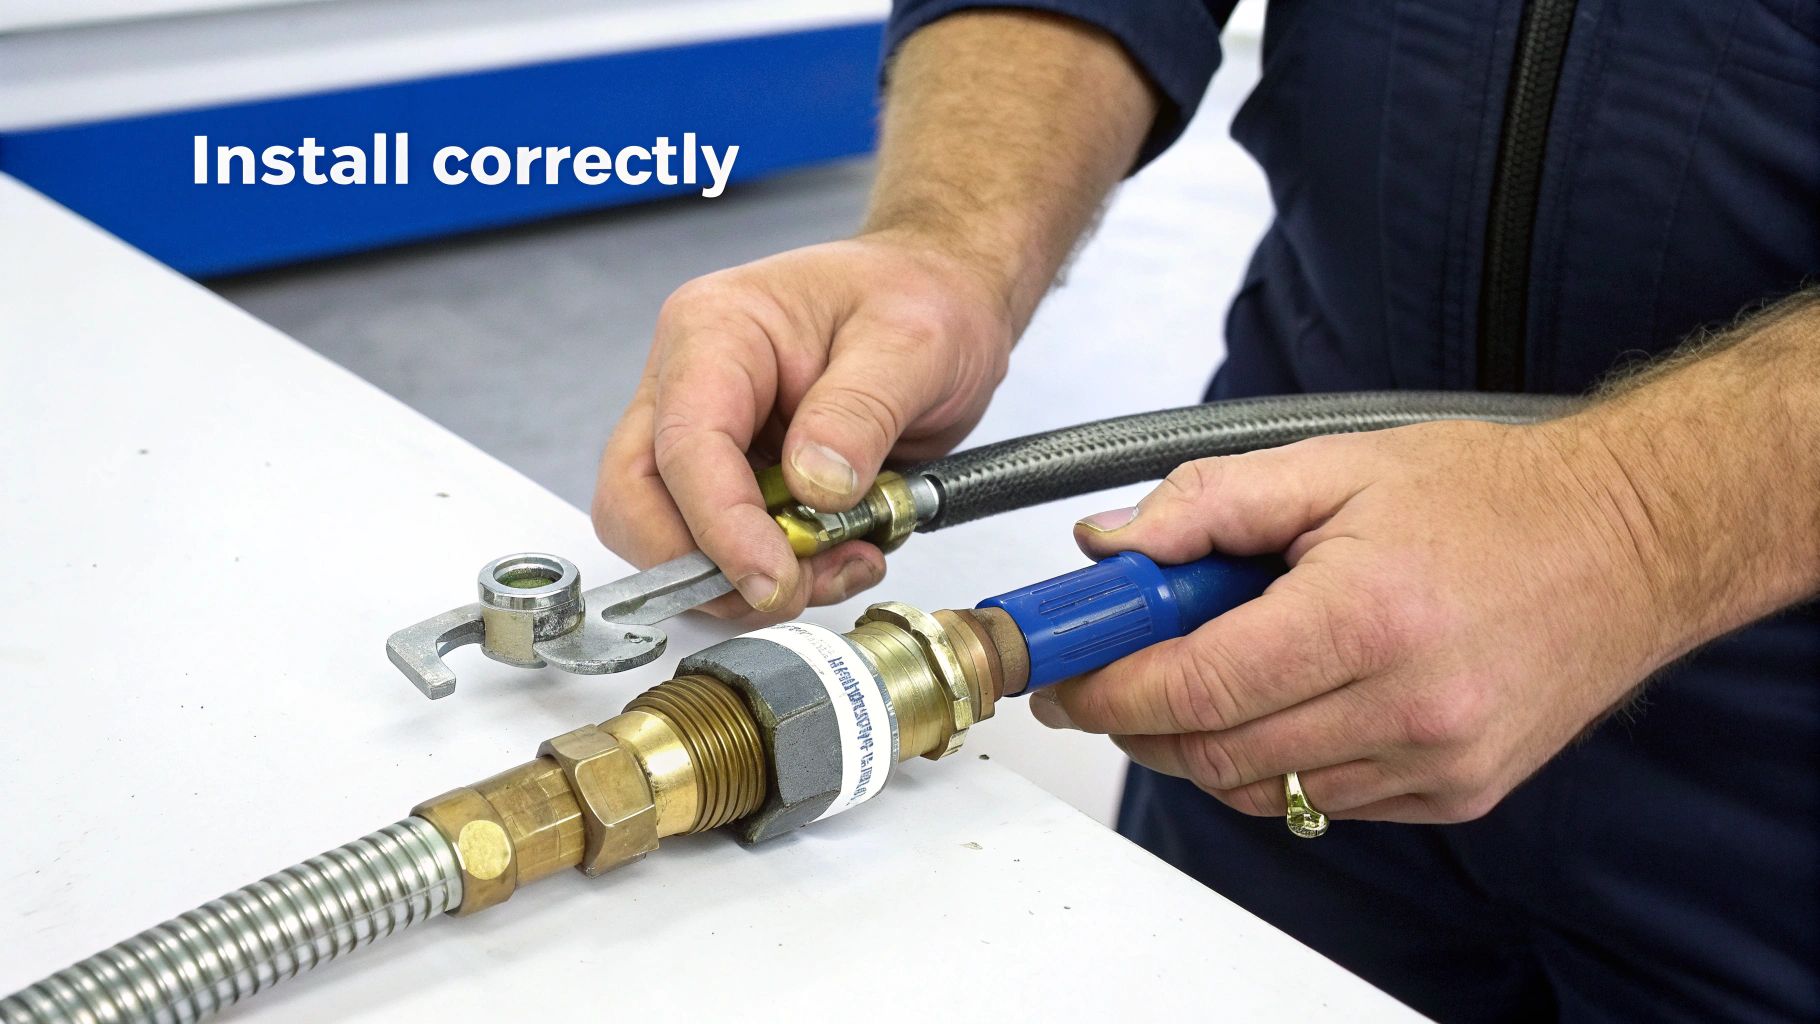
Alright, you've done the prep work and you're ready to fit your new fuel transfer pump hose. The secret here is all in the measurement. If you cut the hose too short, it'll be under constant strain and can kink at the fittings. Cut it too long, and you'll have big, loopy bends that are perfect for trapping air and gunk. Neither is good.
Take a moment to measure the path between the pump and the tank fittings. Give yourself a little extra length so the hose can make a nice, gentle sweep. A hard 90-degree bend will absolutely kill your fuel flow. Once you're happy with the length, grab a real hose cutter—not a knife—to get a perfectly square cut. A clean cut is crucial for getting a tight, leak-proof seal on the fitting.
Sealing and Securing Your Connections
With the hose cut to size, the next step is getting those connections sealed up tight. Before you push the hose onto the fittings, remember to slide a clamp over each end. Just let them sit there for now. If you're working with threaded fittings, apply a thin, even coat of a fuel-rated thread sealant or Teflon tape. Quick tip: always wrap the tape clockwise on male threads so it doesn’t bunch up and unravel when you tighten everything down.
Now, shove the hose all the way onto the barbed fitting until it stops. You want it seated completely. Position your clamp about a quarter-inch from the hose's end, making sure it’s directly over the barbs inside, and then tighten it down. You're aiming for snug—tight enough that it won't leak, but not so tight that you start crushing the hose itself.
You can find more detailed advice on this in our article covering marine fuel line installation and care.
Pro Tip: The double-clamp method is your best friend for critical connections, especially on the suction side of the pump or anywhere below the waterline. Just add a second clamp right next to the first one, but turn the screw mechanism 180 degrees from the other. This gives you backup security and spreads the clamping force more evenly.
Why You Should Double-Clamp (And When)
I can't stress this enough: for any connection on the suction side of your pump, use two clamps. It's a simple trick that provides serious peace of mind. Any tiny air leak on this side can cause the pump to lose its prime, leaving you with a system that can't draw fuel properly.
Here's my rule of thumb for when to double up:
- Always on suction-side fittings to prevent air from getting sucked in.
- On any hose connection that sits below the boat's waterline—it's just smart, redundant safety.
- When you're re-using an older fitting that might have a few minor imperfections on its surface.
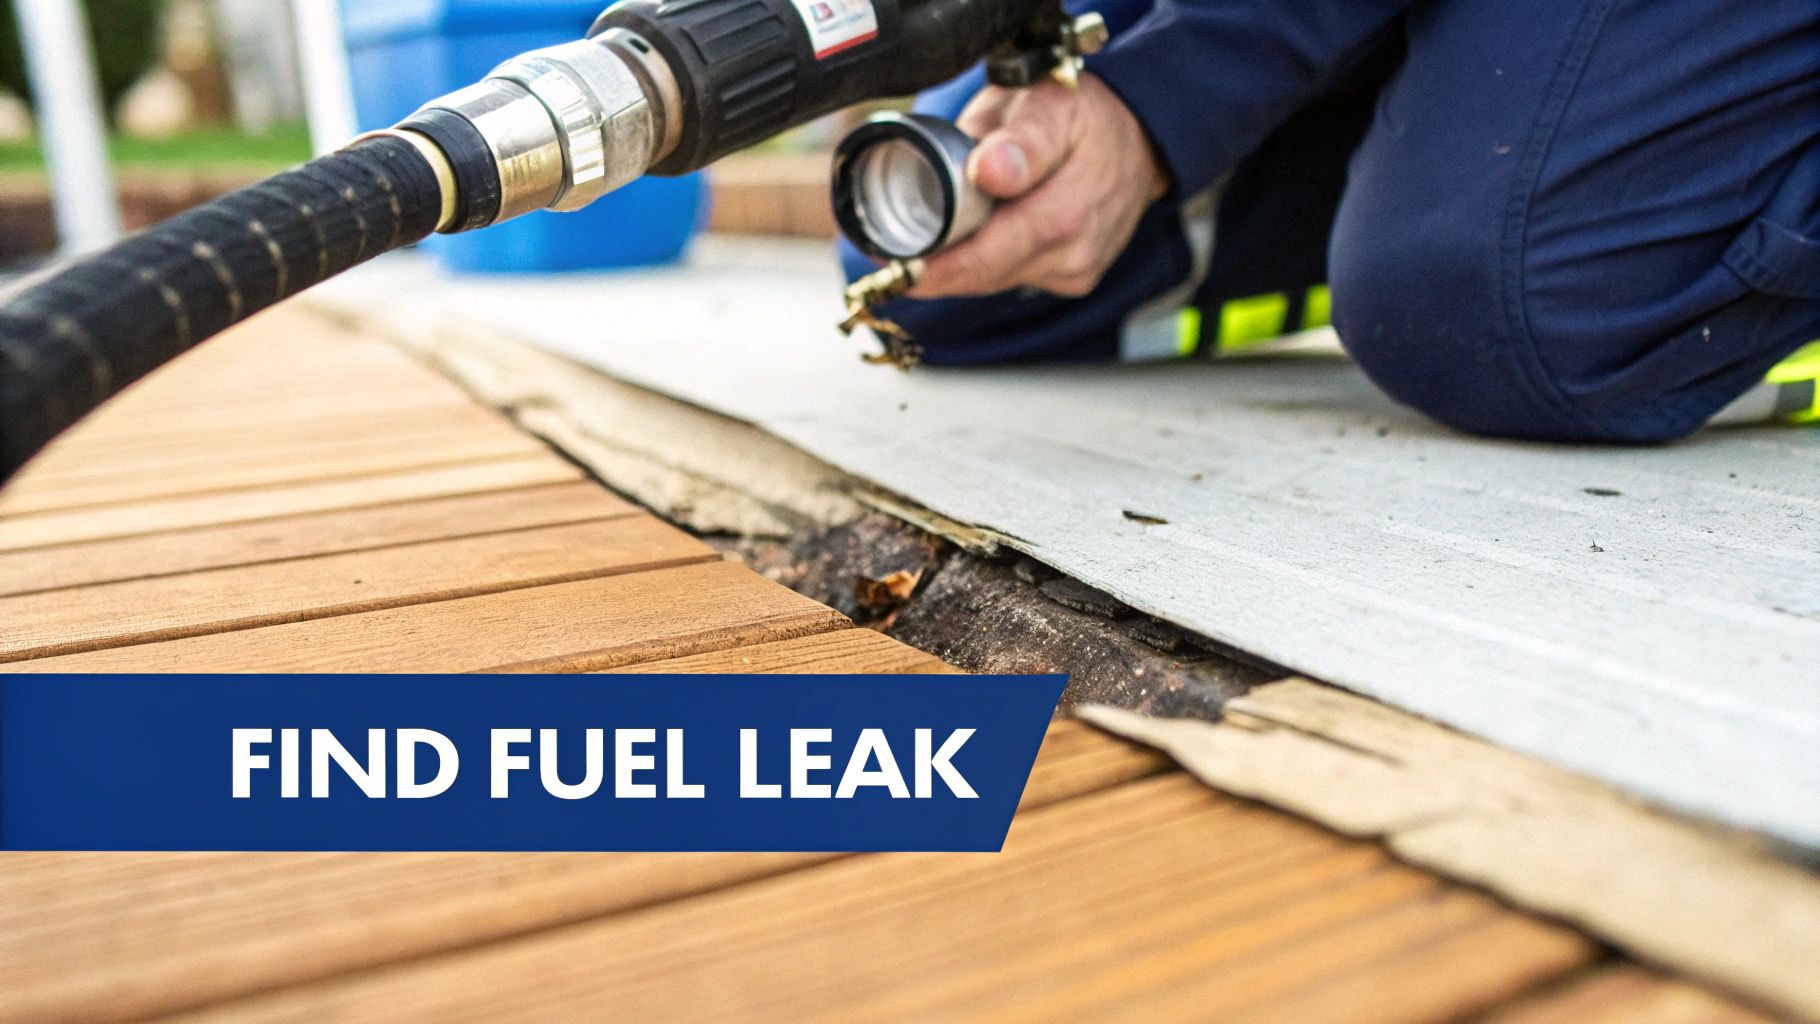
Prime the System and Hunt for Leaks
Once every connection is clamped down, it’s time for the moment of truth. This last part is absolutely non-negotiable. Re-open the fuel line and run your pump to get all the air out of the new hose.
With the system primed and under pressure, it's time to play detective. Grab a good flashlight and methodically check every single connection you made. Look for drips, wet spots, or even just the faint smell of fuel. Sometimes the sneakiest leaks are hard to see, so I always run a dry finger underneath each fitting to check for moisture.
If you find anything amiss, shut the system down immediately, release the pressure, and snug up the connection. Only after you've done a thorough check and are 100% confident there are no leaks is the job truly done.
Keeping Your Hose Shipshape for Safety and Longevity
Getting your new fuel transfer hose installed is a great first step, but the work doesn’t stop there. Consistent, simple maintenance is what really separates a reliable fuel system from a ticking time bomb. Think of it as cheap insurance against a catastrophic failure out on the water.
I recommend a thorough check at the beginning of every boating season and at least once more mid-season. It’s a small time commitment that can head off the vast majority of hose-related headaches.
What to Look and Feel For
Your best inspection tools are your own eyes and hands. You’re hunting for the subtle signs of wear and tear that tell you a hose is on its last legs.
Get in there and really look at it. Here’s what you should be checking for:
- Hairline Cracks: Pay close attention to the areas near fittings and at sharp bends. These spots are under the most stress and will show tiny cracks first.
- Blisters or Bubbles: If you see any blistering on the outside of the hose, it's a major red flag. This means the inner layers have been compromised and fuel is seeping through.
- Chafing Marks: Look everywhere the hose might rub against something—an engine stringer, a bulkhead, another component. Constant friction will wear right through the outer cover.
- Soft Spots: Give the hose a good squeeze, especially near the fittings. If it feels mushy or spongy, the internal structure is breaking down from the inside out.
From my experience, the most common failure point is always within a few inches of a fitting. The combination of clamp pressure and engine vibration concentrates all the stress right there. If that area feels soft, don't wait. Replace the hose immediately.
Don't Forget Clamps and Filters
Engine vibration and temperature swings are notorious for loosening hose clamps over time. As part of your inspection, give every clamp a check to make sure it’s snug. A properly tightened clamp won't let you twist the hose on the fitting. If you find yourself constantly re-tightening one particular clamp, it's probably time to replace it.
This is also the perfect time to inspect your fuel filter. A clean filter prevents your pump from overworking, which in turn reduces stress on the entire system, including your hoses. We cover this in more detail in our guide to choosing and maintaining your marine fuel filter.
The demand for reliable fluid transfer is huge, with the global hose pump market projected to hit USD 1,560.4 million by 2035. This just goes to show how essential every single component is, from the pump itself down to the hose. If you're interested in the industry side of things, you can discover more insights about the hose pump market and its growth.
Troubleshooting Common Fuel Hose Issues
Even if your installation was perfect, your fuel transfer pump hose will eventually show its age. The good news is, they almost always give you a heads-up before failing completely. The trick is knowing what to look for so you can nip problems in the bud and keep your fuel system running safely.
The most unmistakable sign of trouble is the smell of fuel. Never, ever ignore it. A fuel smell means you have a leak somewhere—it could be a tiny pinhole in the hose, a loose clamp, or a cracked fitting. Your first move should be a careful, systematic inspection. Start at the pump and trace the hose all the way back to the tank.
A great tip I've used for years is to wipe a clean, dry paper towel along the hose and around each connection. Even a slow, weeping leak that you can’t see will show up instantly on the towel, helping you pinpoint the source without any guesswork.
When It's Not a Leak, But a Performance Drop
Sometimes the hose is the problem, but you won't see a single drop of fuel. If your pump starts struggling to prime, or the fuel flow sputters and seems weak, you’re likely dealing with an air leak on the suction side of the system.
This kind of leak doesn't drip fuel out; it sucks air in. This air breaks the vacuum the pump needs to pull fuel from the tank, leading to poor performance. It’s often caused by a clamp that’s worked itself a little loose or a hose that’s hardened over time and no longer seals perfectly against the fitting.
Here's how to hunt down a pesky air leak:
- Wrench on the Clamps: Go over every single clamp on the suction line and make sure it’s snug. This is exactly why double-clamping the suction side is such a common best practice.
- Flex the Hose: Give the hose a good look, especially right at the fittings where it bends and endures the most stress. Look for fine cracks or areas that feel stiff and brittle.
- Check the Fittings: Hairline cracks in plastic or metal fittings are notoriously hard to spot but are a common source of air leaks.
Another factor that can wear down your equipment is the fuel itself. Problems can be magnified by understanding contaminated diesel fuel, as bad fuel can accelerate the degradation of your hoses and seals.
The reliability of these components is a big deal. The entire fuel transfer market, valued at a staggering USD 1.71 billion in 2021, depends on every part doing its job correctly.
Key Takeaway: A pump that's struggling is just as serious as a visible fuel leak. An air leak doesn't just kill performance; it overworks your pump and can cause it to burn out. Treat any performance dip as an urgent signal to inspect your entire fuel hose setup.
Your Fuel Hose Questions Answered
Even after you've got all the right parts in hand, a few questions usually pop up. Getting straight answers about your fuel transfer pump hose is key to running your boat safely and with peace of mind. Let's tackle some of the most common ones we hear from boat owners.
How Often Should I Replace My Fuel Hose?
While there's no hard-and-fast expiration date stamped on a fuel hose, a good rule of thumb is to inspect it every year and budget for a replacement every 5-10 years. The marine environment is tough—sun, salt, and constant vibration all take their toll.
That said, the calendar is less important than the hose's actual condition. If you spot any cracking, blistering, unusual stiffness, or—worst of all—an active leak, don't hesitate. Replace it immediately, no matter how new it is.
Can I Just Use An Automotive Fuel Hose On My Boat?
Never. This is a massive safety risk and a corner you can't afford to cut. Marine-grade fuel hoses are built to meet strict U.S. Coast Guard (USCG) standards for fire resistance and fuel permeability, which are far more demanding than automotive specs.
An auto parts store hose simply won't cut it. It lacks the necessary fire resistance and allows too much fuel vapor to escape, creating a serious fire hazard in the enclosed spaces of a boat. Using the wrong hose isn't just dangerous—it could also give your insurance company a reason to deny a claim.
What Do The A1, A2, B1, and B2 Ratings Mean?
These codes on the side of a hose are a shorthand from the USCG that tells you two critical things: how fire-resistant it is and how well it prevents fuel vapors from escaping.
It’s actually a pretty simple system once you break it down:
- The Letter (A vs. B): This is all about fire resistance. An 'A' rating means the hose has passed a stringent 2.5-minute fire test, making it suitable for engine compartments. A 'B' rated hose has a lower fire resistance.
- The Number (1 vs. 2): This indicates fuel permeability. A '1' means very low permeability, which is essential for trapping dangerous fumes in enclosed areas. A '2' allows more vapor to pass through and is only safe for applications like fuel tank vent lines that run in open air.
For any inboard engine setup, you'll almost certainly need an A1 rated hose. When in doubt, always stick with what the boat manufacturer specifies.
Stop worrying about fuel spills and overflows. CLiX Fueling Solutions offers an automatic shut-off system that makes every refueling experience clean, safe, and stress-free. Protect your boat and the water by visiting https://clixfueling.com to learn more.