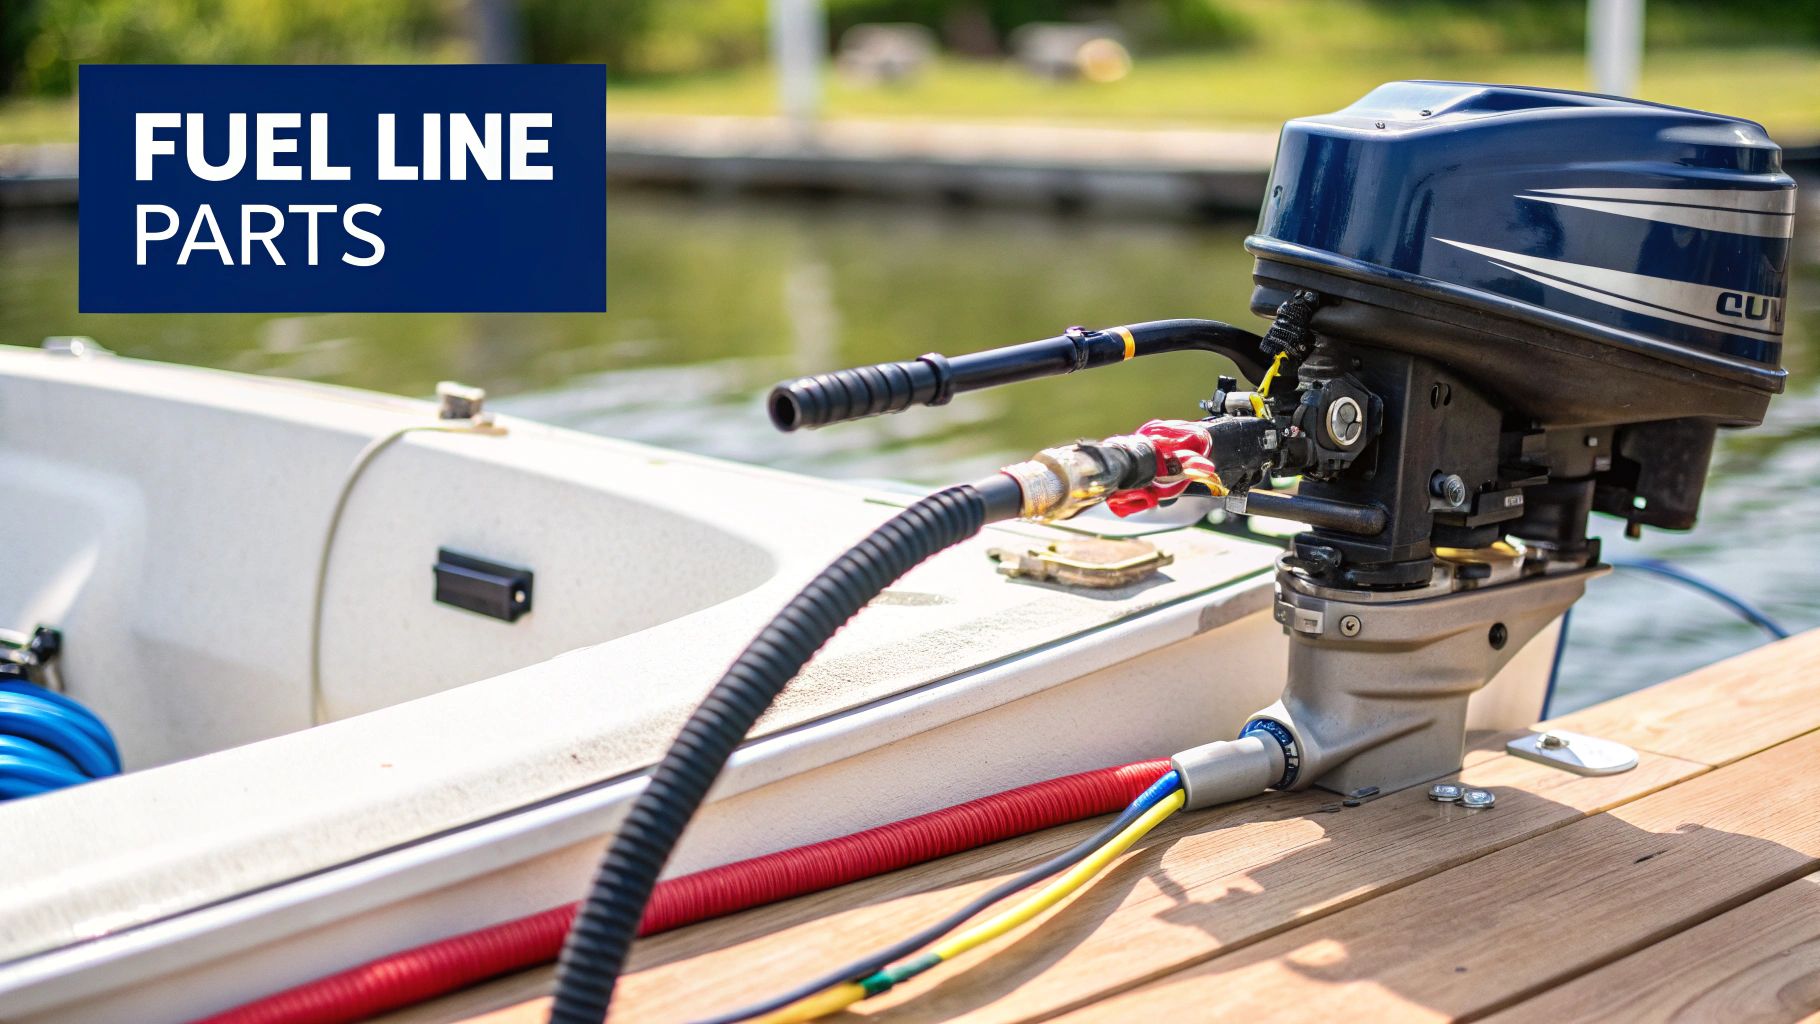
Before you start twisting wrenches or ordering parts for your fuel line yamaha outboard, take a moment to understand how it all works. Knowing the path fuel takes from the tank to the engine is half the battle. It'll make troubleshooting a whole lot easier and ensure you grab the right replacement parts the first time.
This whole setup is a chain of crucial components, and if one link fails, your engine will let you know about it.
Your Yamaha Outboard Fuel System Explained
Think of your Yamaha's fuel system as the engine's lifeline. It’s a simple but vital relay race, and fuel is the baton. It gets passed from the tank, through the lines and filters, all the way to the combustion chamber. A hiccup anywhere along this path—a cracked hose, a leaky connector, a clogged filter—can lead to rough running, stalling, or a motor that just won't start.
It all starts in your boat's fuel tank. A pre-assembled fuel line connects the tank to the outboard, but it's much more than just a hose. It's an entire system with several jobs to do.
The Path of Fuel
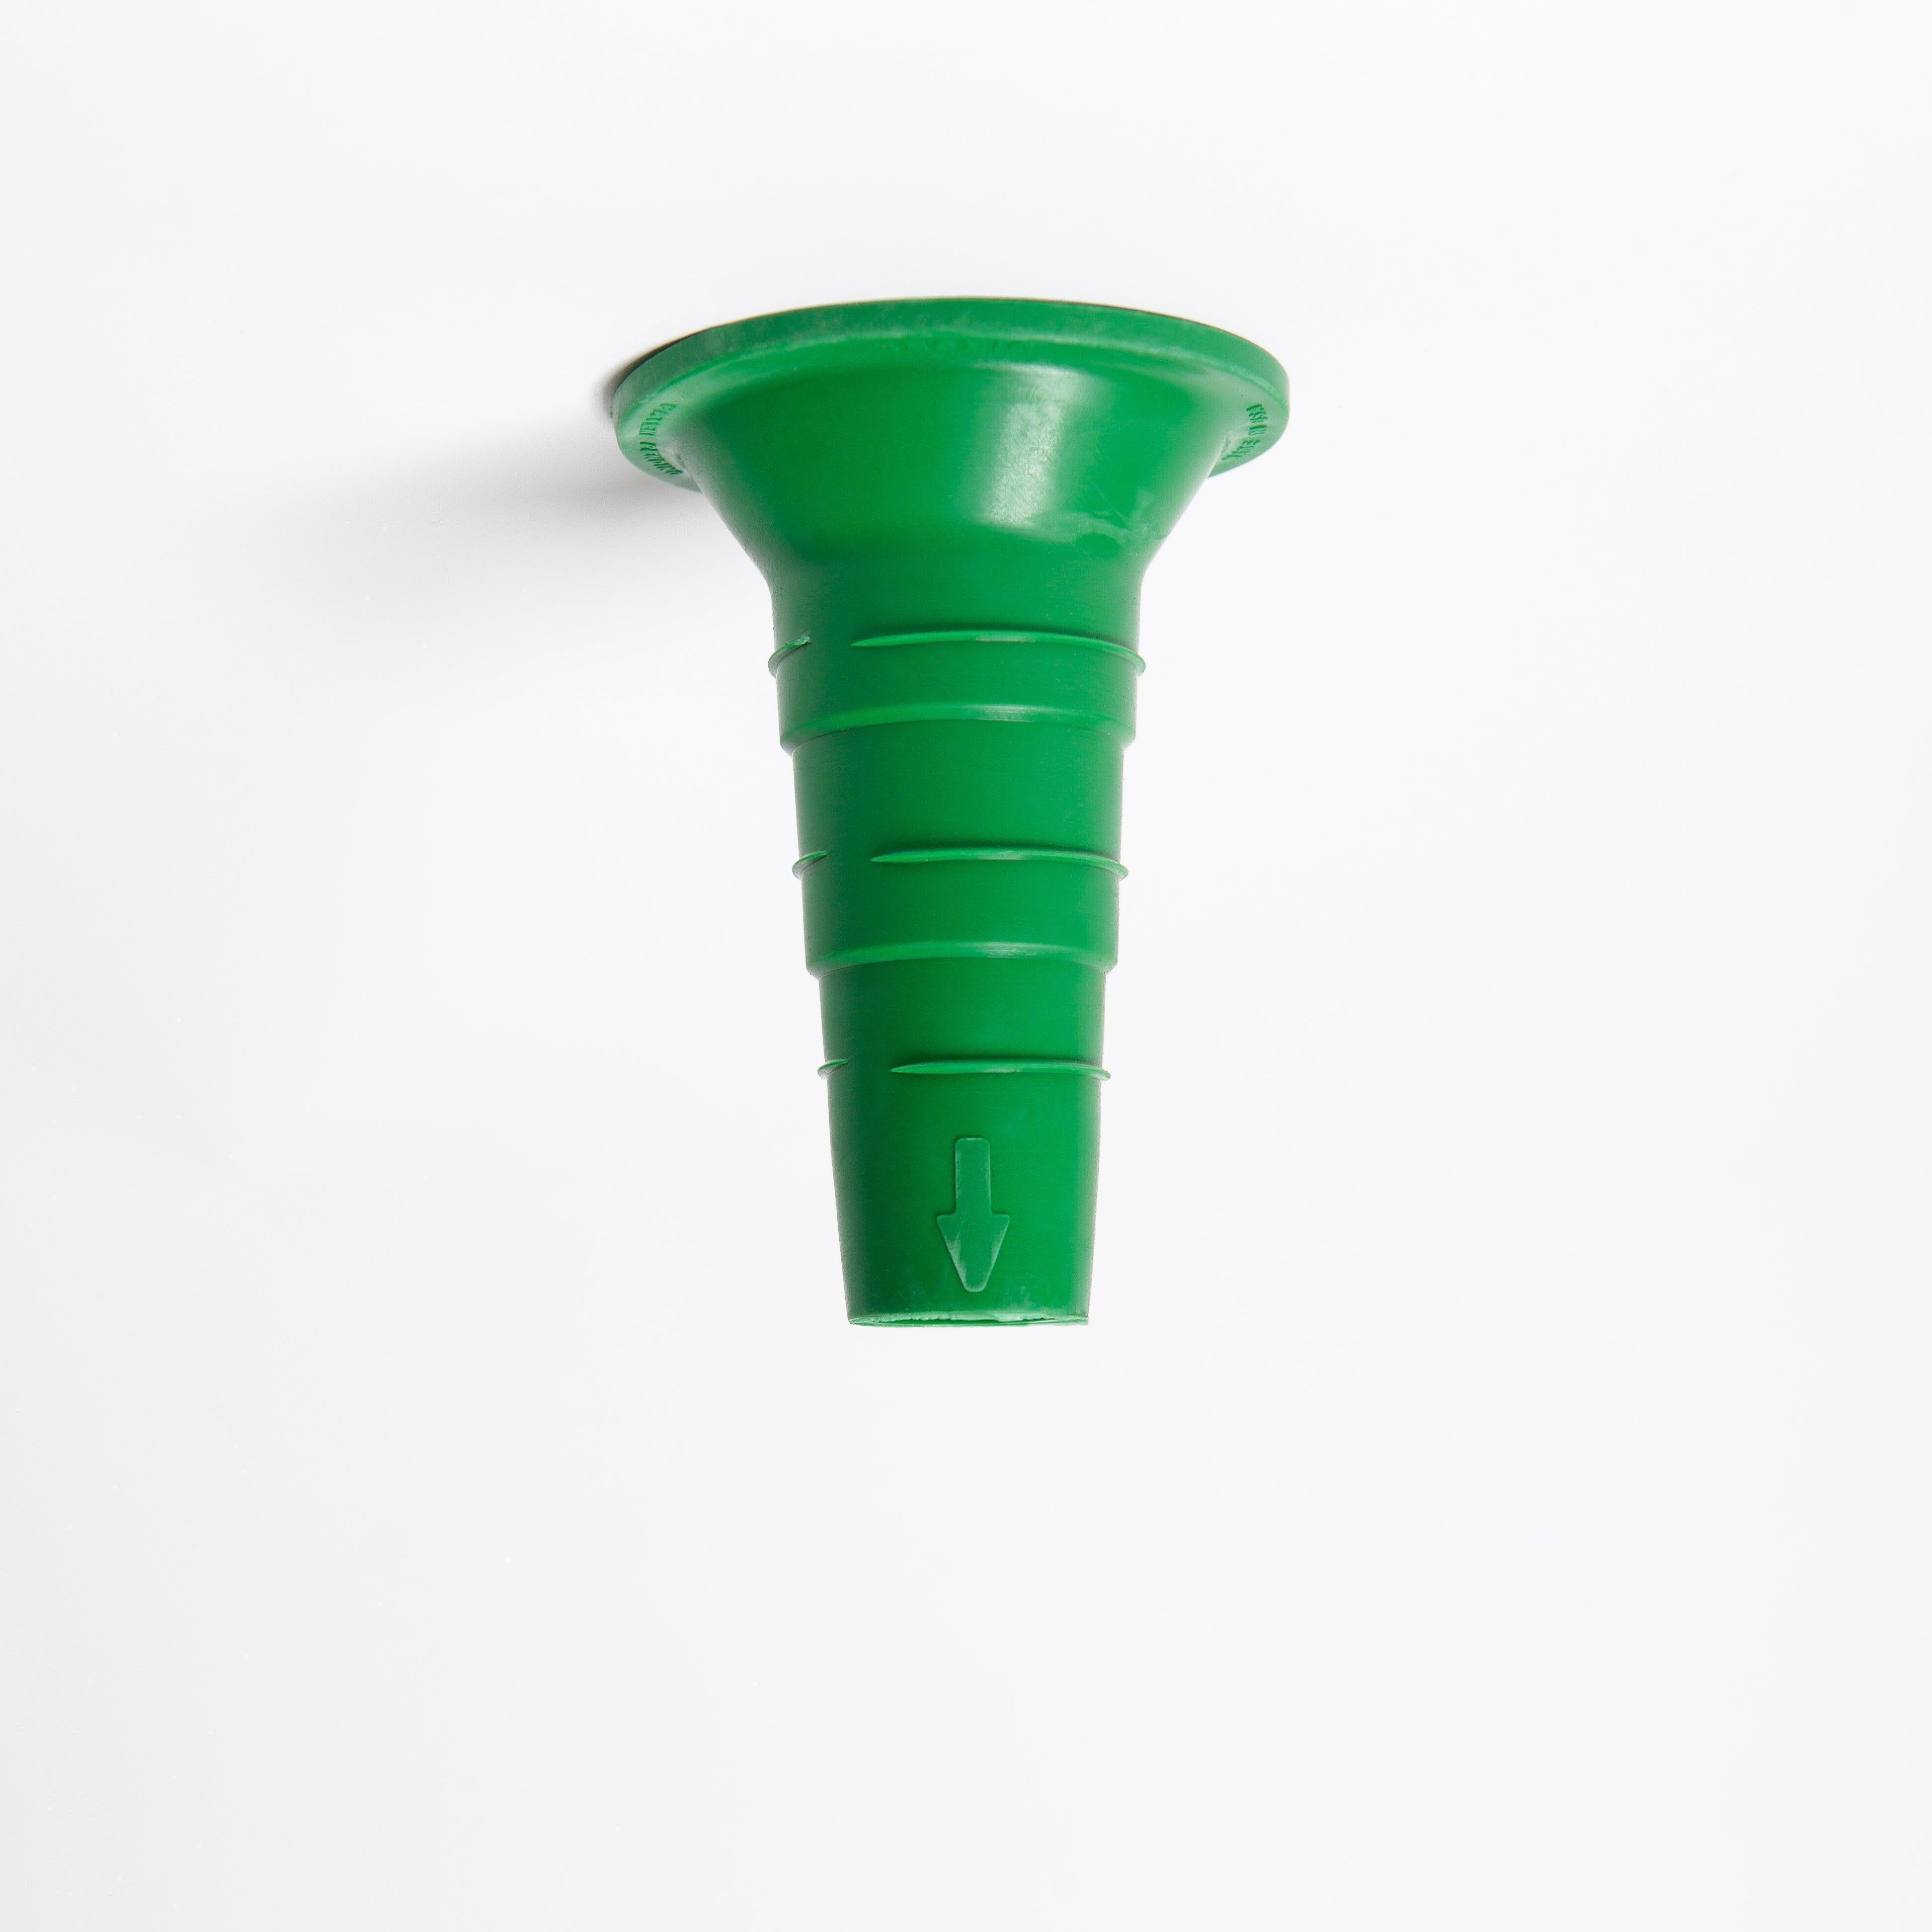
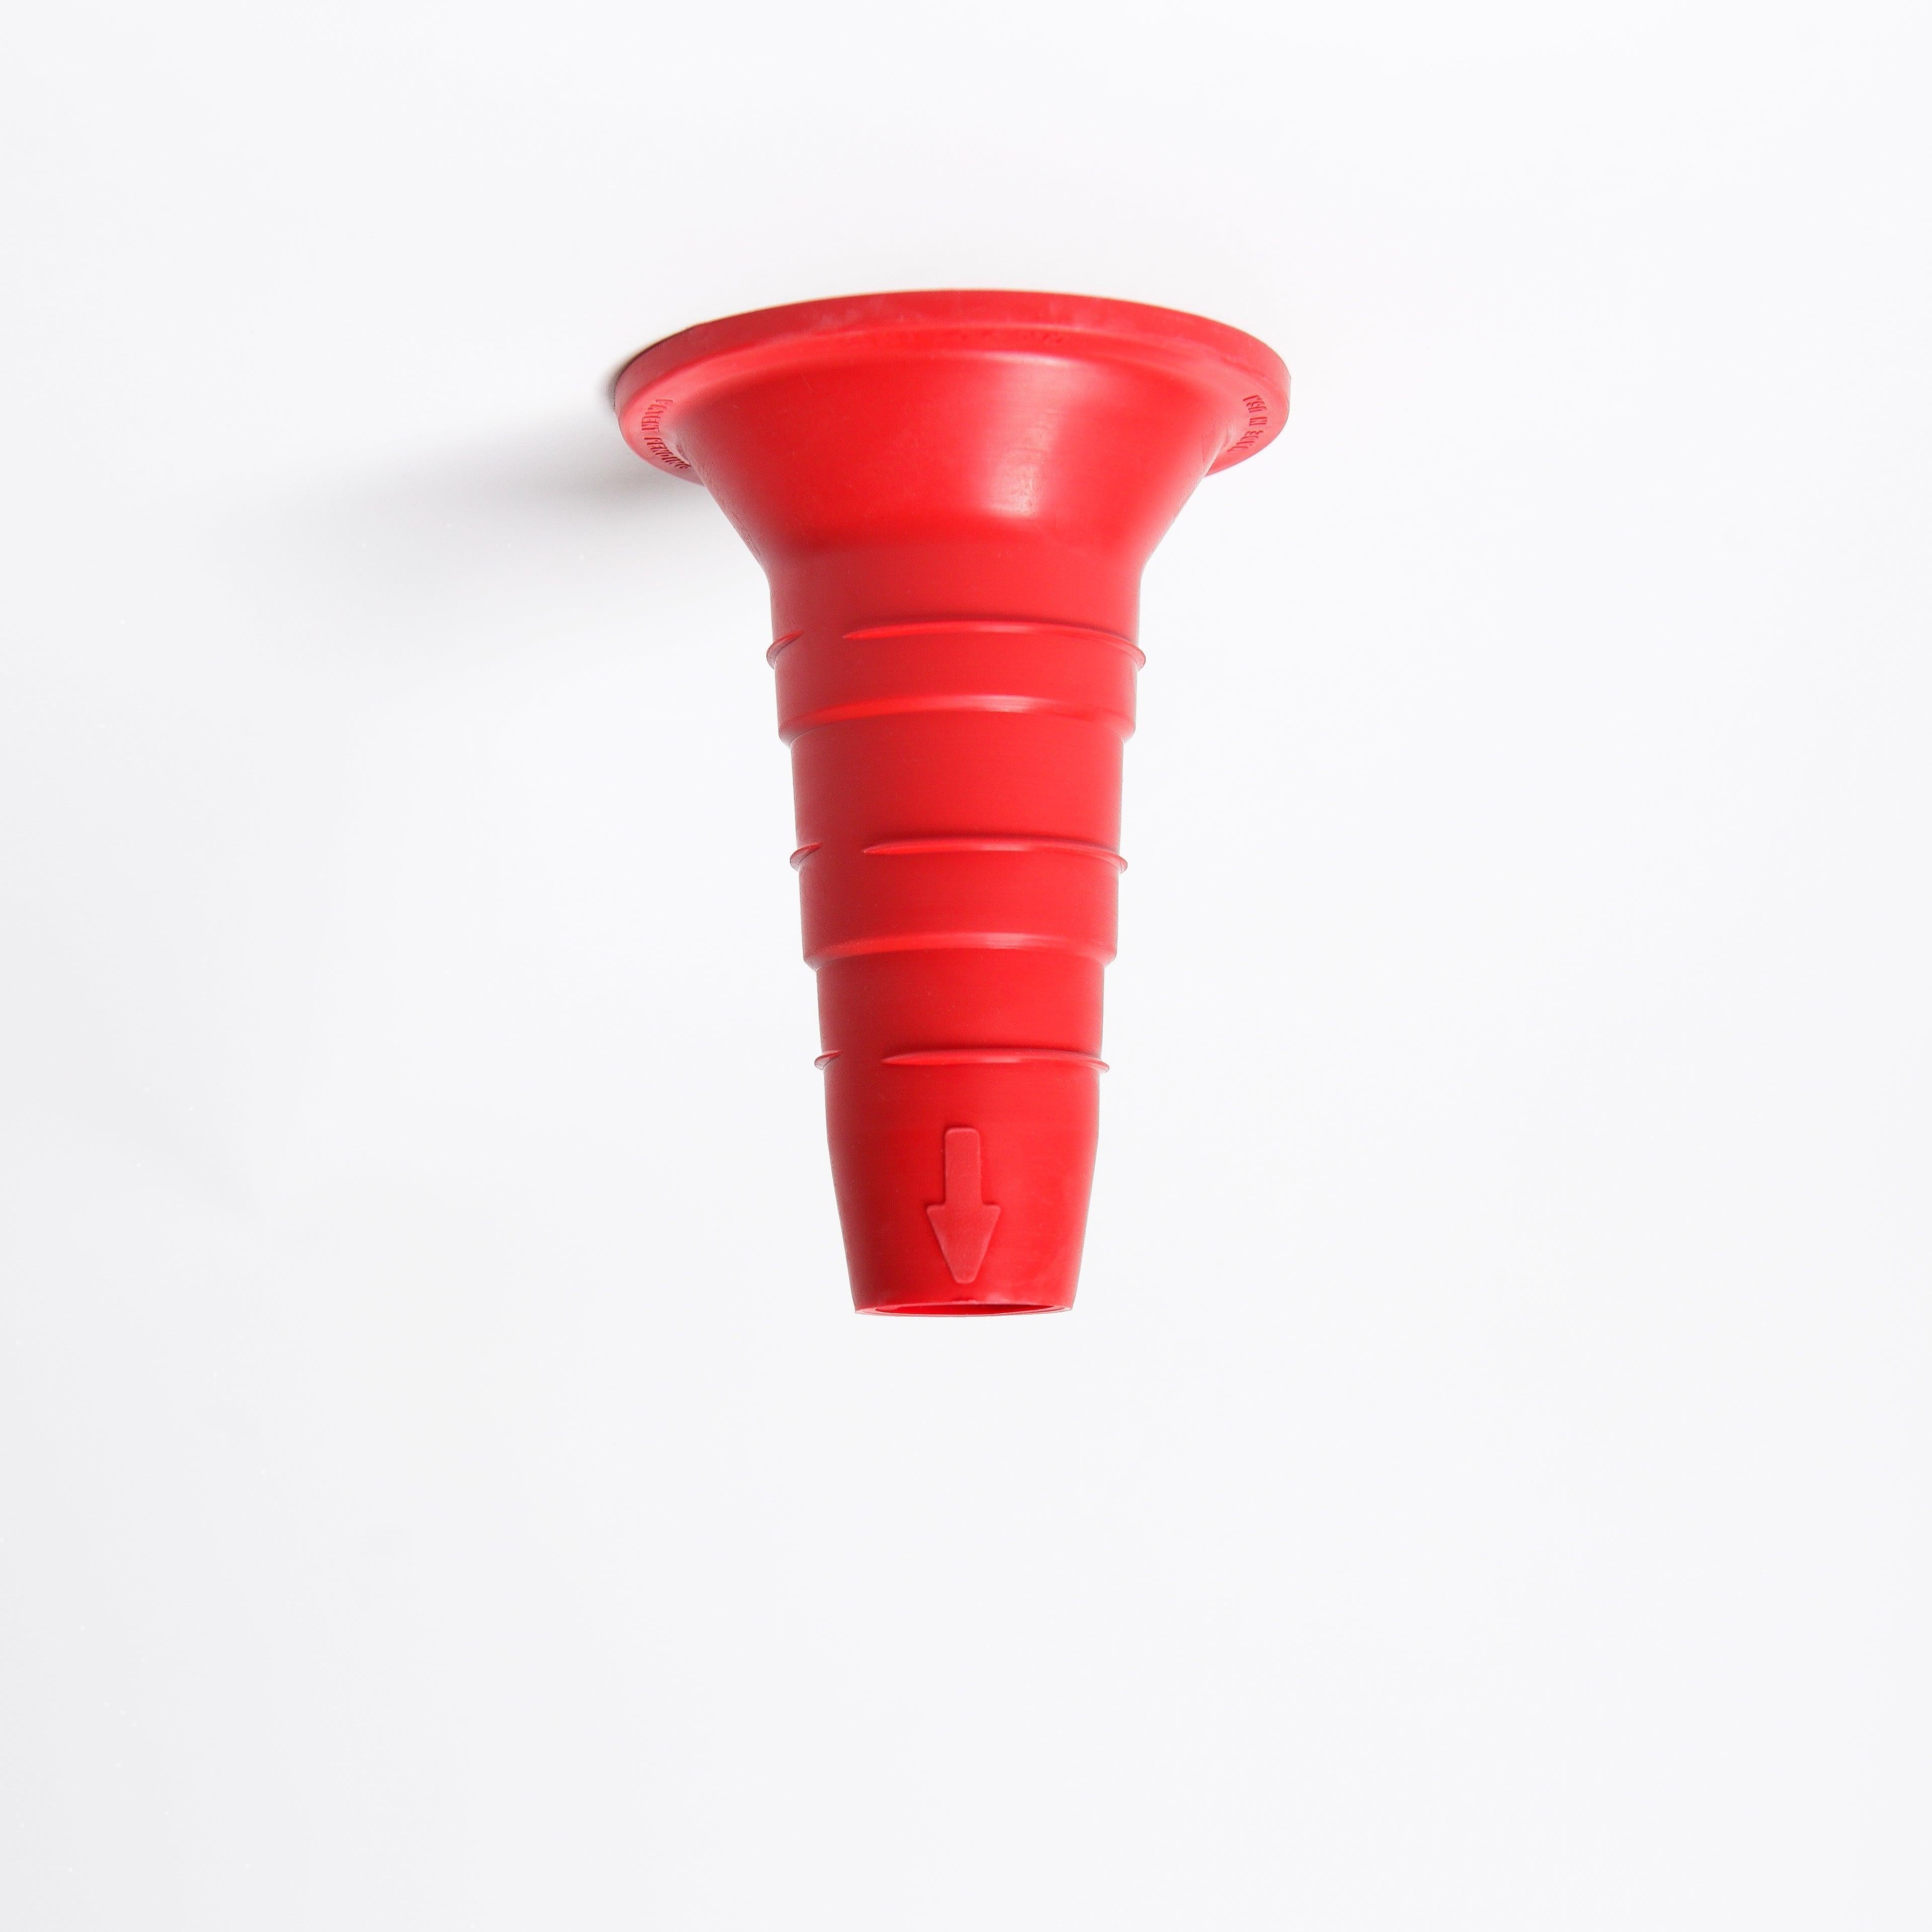
Your first interaction is usually with the primer bulb. That's the rubber bulb you squeeze a few times before you turn the key. Its purpose is to manually pull fuel out of the tank and push it toward the engine, priming the system so the engine's fuel pump doesn't have to start dry. You’ll see a little arrow on the bulb itself—make sure it’s always pointing toward the engine. That's the direction the fuel needs to flow.
A Quick Tip from Experience: A good primer bulb will get firm after just a few squeezes. If it stays mushy, or worse, if it sucks flat while the engine is running, you've likely got a fuel restriction somewhere. It could be a clogged line or a blocked fuel tank vent.
Next up are the connectors. These are the quick-disconnect fittings that click onto the tank and the engine. They're designed for easy hookup and removal, but they can be a notorious source of air leaks. The small O-rings inside can dry out and crack over time, or the fitting might not be fully seated, letting air get sucked into the line.
Filters Are Your First Line of Defense
Once the fuel leaves the primer bulb, it should hit a fuel/water separating filter. This is your engine's bodyguard, protecting it from gunk and water. Its job is to trap any dirt, debris, and—most critically—any water that's managed to condense inside your fuel tank. From there, the clean fuel moves on to the smaller filters located on the engine itself.
To help you get familiar with these parts, here's a quick reference guide to what's what in your fuel line assembly.
Yamaha Outboard Fuel Line Component Guide
| Component Name | Primary Function | Common Failure Sign |
|---|---|---|
| Primer Bulb | Manually draws fuel from the tank to prime the engine. | Stays soft/mushy; collapses; cracks and leaks fuel. |
| Fuel Connectors | Provides a quick-disconnect point at the tank and engine. | Visible fuel leaks; hissing sound (air leak); engine stalls. |
| Fuel Hose | Transports fuel between components. | Becomes stiff and brittle; develops cracks or bulges. |
| Fuel/Water Separator | Filters out debris and water from the fuel before the engine. | Engine sputtering or losing power; visible water in the filter bowl. |
These components all have to work together perfectly to feed your engine clean, pressurized fuel. Whether you're running an older carbureted two-stroke or a modern Electronic Fuel Injection (EFI) four-stroke, these basic principles are the same. Getting a handle on this flow is key, and you can dive deeper in our complete guide to your boat's fuel system.
Yamahas are everywhere on the water for a reason, and their popularity has only grown. Back in 2009, the company already commanded nearly 37% of the outboard market in the US. While you'll still see plenty of older Johnson and Evinrude motors out there—showcasing how long some of those classic engines last—Yamaha's presence on modern boats is undeniable.
How to Choose the Right Fuel Line for Your Yamaha
Picking out a new fuel line for your Yamaha outboard seems simple, but getting it wrong can cause major headaches. It’s one of those small parts that can make or break a day on the water. A cheap or incorrect fuel line can lead to poor engine performance, stalling, or even a dangerous fuel leak. Let's break down what you really need to look for.
The single biggest factor these days is the fuel hose material itself. Modern gasoline, especially blends with ethanol (E10 or E15), is incredibly tough on older rubber. If you’re still running the original line from years ago, it probably wasn't made to stand up to ethanol. The alcohol will eat away at the inner lining, making it brittle and causing it to crack over time.
This isn't just about leaks, either. As that old rubber breaks down, tiny bits flake off and get sucked into your fuel system. Best case, they clog your fuel filter. Worst case, they make their way into the tiny, precise passages of your fuel injectors or carburetor, and that’s a much bigger problem to solve. Simply swapping out an old hose for a new, ethanol-resistant one is some of the best preventative maintenance you can do.
Getting the Diameter and Length Right
You've got to nail the hose diameter—it’s not a one-size-fits-all situation. Most smaller Yamaha outboards, typically anything under 100 horsepower, run perfectly on a 5/16-inch (that’s 8mm) inner diameter hose. Bigger, thirstier engines will usually need a 3/8-inch (10mm) hose to get enough fuel when you’re running wide open.
Trying to run a high-horsepower engine on a hose that's too small is like asking it to breathe through a coffee stirrer. You'll starve the motor of fuel, which can cause it to sputter, hesitate, and run lean—a condition that can lead to serious engine damage. If you're unsure, your owner's manual is the best place to check. If not, just measure the fitting on your existing line.
For length, you want enough slack for the engine to tilt all the way up and turn lock-to-lock without pinching or stretching the line. But you don't want so much extra that it creates a tangled mess on your deck. A good rule of thumb is to measure your old hose and add a few inches just to be safe.
Pro Tip: Whatever you do, don't grab a cheap automotive fuel hose from the local auto parts store. Marine fuel lines need to be USCG (United States Coast Guard) rated, like Type B1-15. This certification means they are fire-retardant and designed for low permeation to keep explosive fuel vapors from escaping into your boat.
OEM vs. Aftermarket: A Smart Comparison
So, do you spring for the genuine Yamaha part or go with an aftermarket brand? This really comes down to your budget and what gives you peace of mind.
- OEM Yamaha Parts: These are the sure thing. They're guaranteed to fit perfectly and perform just like the original. You’re paying a bit more for that Yamaha logo and the confidence it brings.
- Quality Aftermarket Parts: There are some fantastic aftermarket companies out there making lines that are just as good, if not better, than the factory ones, often for less money. The trick is to stick with reputable brands and avoid the dirt-cheap, no-name kits, which often cut corners on materials.
The demand for reliable outboard parts is booming—the global market is projected to hit USD 7.68 billion by 2033. As you can imagine, this means more and more options are becoming available. You can see more data on this trend and the rise of four-stroke engines by reading the full market research report.
For most boaters, a well-made aftermarket fuel line assembly is a great way to save a few bucks without sacrificing safety or reliability, as long as it meets all the critical specs.
Replacing Your Yamaha Outboard Fuel Line Assembly
Alright, let's get our hands dirty. Swapping out the complete fuel line yamaha outboard assembly—everything from the tank connector to the engine fitting—is one of the best things you can do for your motor. It's a simple job that pays huge dividends in reliability and helps you avoid those frustrating, trip-ruining engine problems.
We'll walk through the whole process, from the first safety check to the final leak test. Stick with me, and you'll have a brand-new, trouble-free fuel line set up in no time.
First, Safety and Tools
Before you lay a finger on that fuel line, we need to talk safety. Fuel and its fumes are no joke, so working smart isn't just a suggestion, it's a requirement. Do this job in a well-ventilated space, preferably outside. Keep it far away from any potential ignition sources—that means no open flames, no sparks, and definitely not near a pilot light on a water heater.
Your very first move? Disconnect the boat's battery. This simple step removes the risk of an accidental spark from any of the boat's wiring. It’s also wise to have a Class B fire extinguisher (the kind rated for fuel fires) close by, just in case.
Once you’re set on safety, let's gather the tools. Having everything you need laid out and ready to go makes the whole process smoother. You won’t need a giant toolbox for this.
- Pliers: A decent set of slip-joint or needle-nose pliers will make quick work of old hose clamps.
- A Proper Hose Cutter: Don’t try to use a utility knife. A dedicated hose cutter gives you a clean, square cut that’s essential for a good seal. A dull blade just crushes the hose.
- New Hose Clamps: This is non-negotiable. Always use new, marine-grade stainless steel clamps. Trying to reuse old, rusty ones is just asking for a leak.
- Safety Glasses & Gloves: Protect your eyes from fuel spray and keep gasoline off your skin.
- A Few Rags: You'll need them to catch drips when you disconnect the old line.
Getting the Old Fuel Line Out
Start by tucking a rag under the connection point on the engine. This will catch any fuel left in the line. Squeeze the tabs on the quick-connector and give it a firm pull to remove it from the engine fitting. Do the same thing on the fuel tank side. Just like that, the old assembly is free.
Now for the tricky part. Getting the old, hardened hose off the primer bulb and connectors can be a real pain, especially if it's been on there for a decade. The rubber can feel like it’s glued to the plastic fittings. Whatever you do, don't just yank on it—you could easily crack the plastic nipple on the connector or bulb.
Here’s a Pro Tip: Don't pry the hose off with a flathead screwdriver; you'll just gouge the barb on the fitting. Instead, take a sharp utility knife and carefully slice a small slit in the hose, right over the barb. Cut from the end of the hose inward. This releases the tension and lets you twist it right off.
Putting the New Yamaha Fuel Line Together
With the old parts out of the way, grab your new ethanol-resistant fuel hose and lay it out next to the old one. The old assembly is the perfect template. Use it to measure and cut your new hose sections to the exact same lengths. Remember, a sharp, clean cut is vital for a leak-proof seal.
Before you push the hose onto the fittings, slide your new stainless steel clamps on first. It’s a simple step, but one that’s incredibly easy to forget when you’re in the middle of the job.
To make life easier, put a tiny dab of 2-stroke oil or marine grease on the barbs of the primer bulb and connectors. This helps the new hose slide on without a fight.
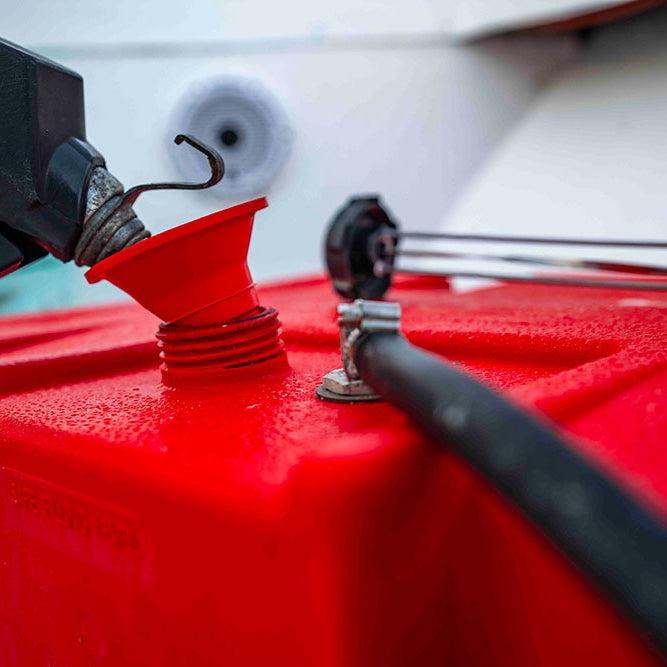
And here's a critical detail: make sure the primer bulb is facing the right way. There’s an arrow on the side that must point toward the engine, showing the direction of fuel flow. Push the hose all the way on until it stops, then position the clamp about a quarter-inch from the end of the hose and tighten it down firmly.
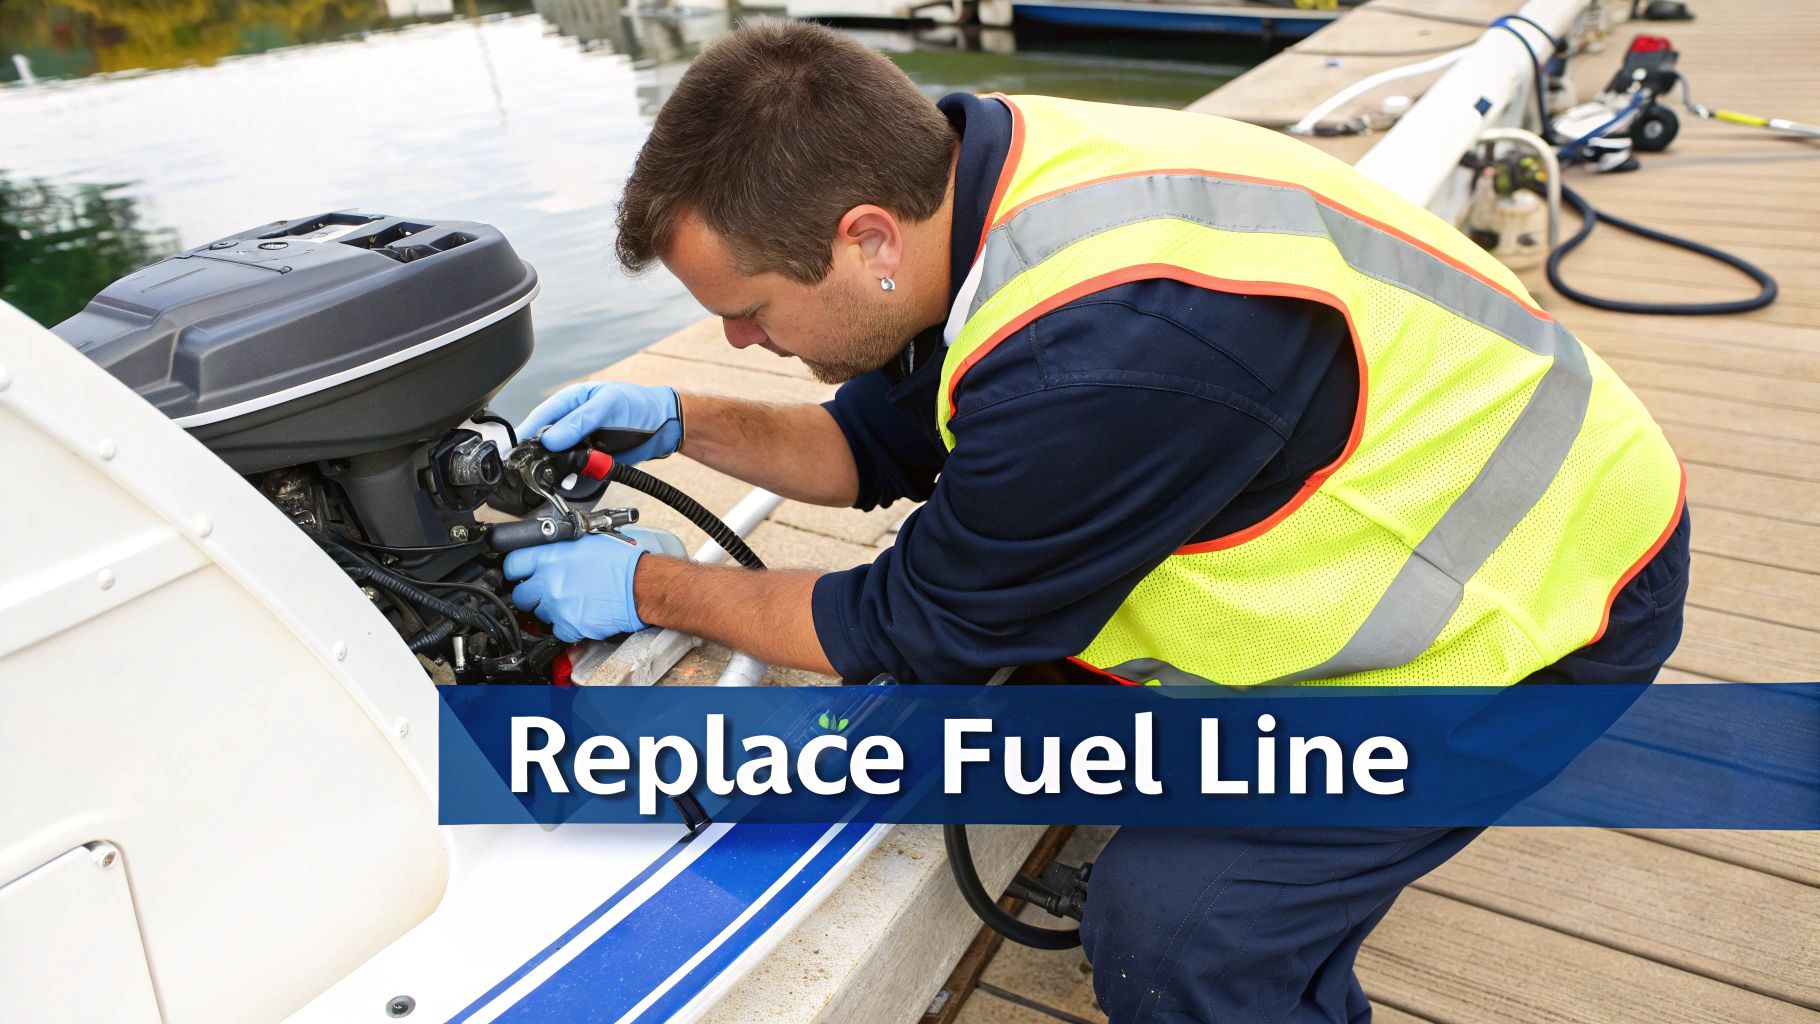
This image highlights how crucial a healthy, crack-free hose is for preventing common fuel system headaches.
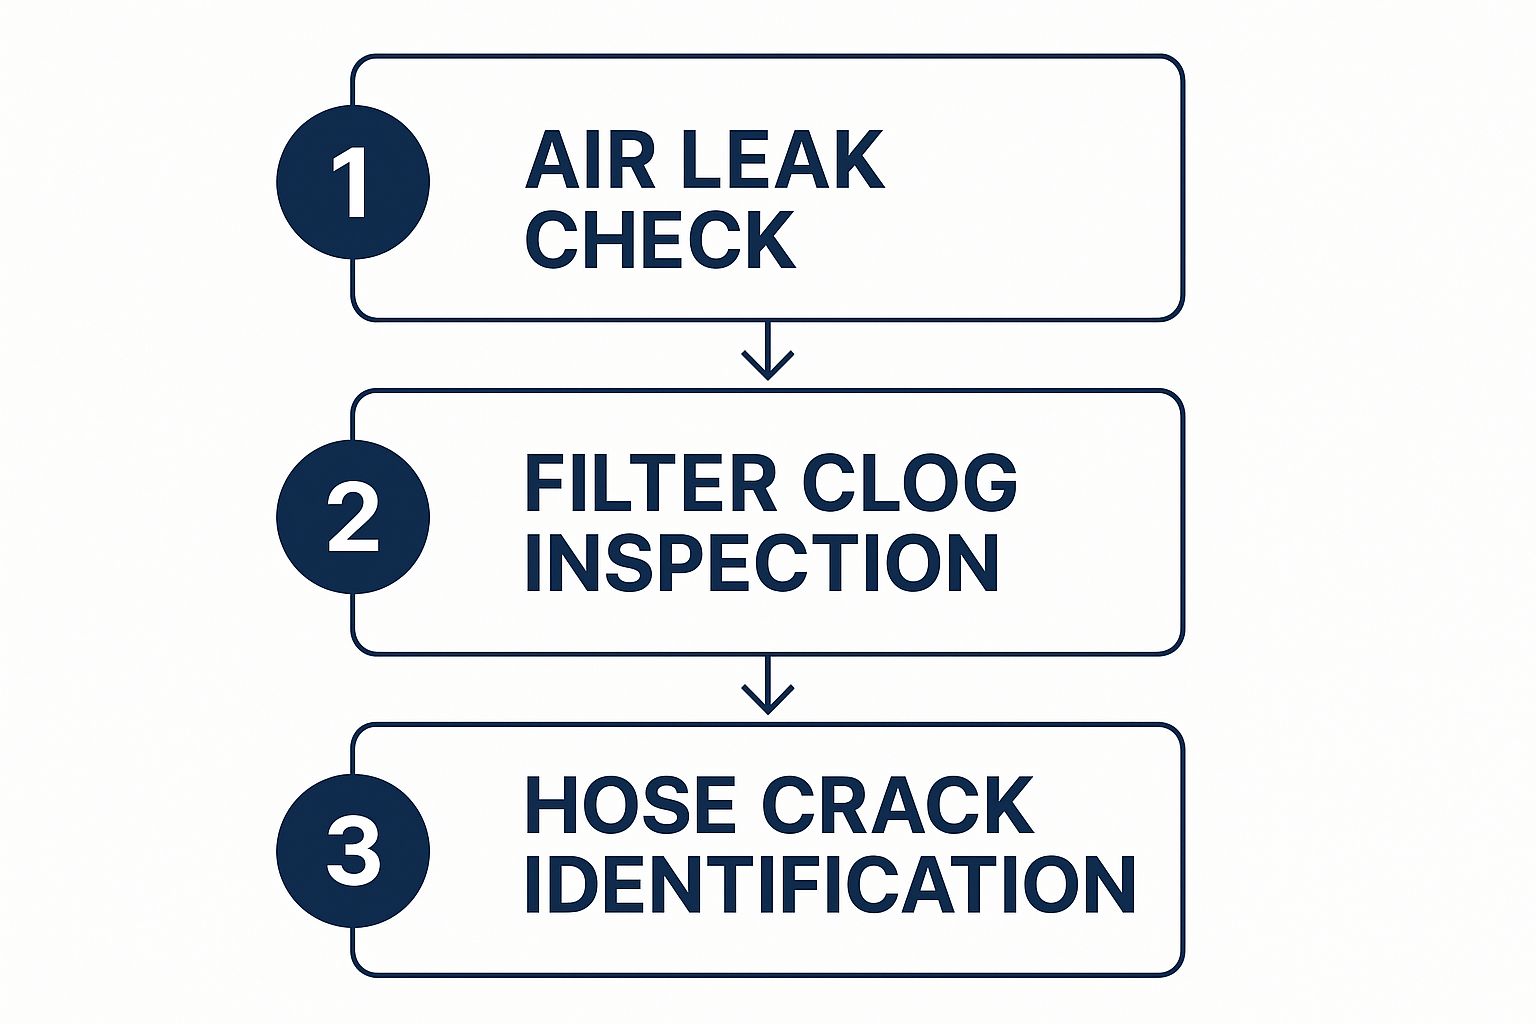
As you can see, stopping air leaks from cracked hoses is one of the first lines of defense for a smooth-running engine.
Final Connections and Testing
With your new fuel line assembled, go ahead and connect it to the tank and the engine. The connectors should give you a nice, solid "click" so you know they’re seated properly. Now it’s time to check your work.
Give the primer bulb a good squeeze, over and over, until it feels firm. This fills the line with fuel and pressurizes the system. While you're doing this, run your eyes (and a dry finger) over every single connection point—at the tank, on both sides of the primer bulb, and at the engine. Look for any hint of a leak or even just a wet spot.
If everything is bone dry and the bulb is hard, you're good to reconnect the battery. Fire up the engine and let it idle for a few minutes. Keep watching the fuel line assembly to make sure no leaks pop up under real operating pressure.
That's it! A successful replacement means a more reliable motor and a lot more peace of mind out on the water.
Troubleshooting Common Fuel Line Issues
When your Yamaha outboard sputters, stalls, or just won't start, your first suspect should always be the fuel system. From my experience, more often than not, a simple issue with the fuel line yamaha outboard assembly is the culprit. Learning to read the signs is the key to a quick fix, saving you from a day of frustration and getting you back on the water.
Let’s start with the best diagnostic tool you have on board: the primer bulb.
Reading the Signs from Your Primer Bulb
Before you even think about turning the key, give that primer bulb a few squeezes. In a healthy system, it should get nice and firm after about four to six good pumps. If it just stays soft and mushy, you’re not pulling fuel. This almost always points to an issue before the bulb, like a loose connection at the tank, a bad O-ring, or a clogged fuel pickup.
On the flip side, what if the bulb gets rock-hard but the engine is a no-go? This tells you there’s a blockage after the bulb, somewhere between it and the engine itself. The first place I'd look is the fuel filter—it’s the most common offender.
Now for a classic symptom: the engine runs for a minute, then the primer bulb gets sucked completely flat. This is a tell-tale sign of a fuel tank vent issue. Your engine is pulling fuel out, but since air can't get in to replace it, a vacuum forms and crushes the bulb. Always check that your tank’s vent is clear of dirt, salt buildup, or even an old insect nest.
Expert Takeaway: A primer bulb that won’t get firm means air is getting in. A bulb that collapses flat means fuel can’t get out. Remembering this simple distinction will cut your diagnostic time in half.
Hunting for Elusive Air Leaks
Air leaks are the invisible enemy of your fuel system. They don't leave a tell-tale puddle of fuel, so they can be tricky to find. But they'll let just enough air into the line to starve your engine, leading to hard starts, a rough idle, or sudden stalling.
When I’m hunting for an air leak, these are my prime suspects:
- Cracked Hoses: Give the entire fuel hose a thorough visual inspection. Pay close attention to any bends and the areas right at the connection points. You're looking for tiny, spiderweb-like cracks that tell you the rubber is old and brittle.
- Loose Clamps: Vibration can work wonders on hose clamps. Put a screwdriver on every single one and make sure they’re snug. It's amazing how often this simple check solves the problem.
- Faulty Connectors: The little O-rings inside the quick-connect fittings are notorious for drying out and failing. A connector might feel like it clicked in securely, but if that seal is compromised, it's a major source of air leaks.
Here's a quick tip: after priming the bulb until it’s firm, just watch it for a few minutes. If it slowly goes soft, you have a leak somewhere, and the pressure is bleeding off.
To make things even clearer, I've put together a quick-reference table. When your engine acts up, find the symptom here to get on the right track fast.
Diagnosing Yamaha Fuel Line Issues
| Symptom You're Experiencing | Likely Fuel Line Cause | How to Fix It |
|---|---|---|
| Engine won't start; primer bulb won't get firm. | An air leak at a connector or a crack in the hose somewhere between the tank and the bulb. | Inspect all connections and the entire hose from the fuel tank to the primer bulb. Replace any cracked sections. |
| Engine sputters, stalls, or loses power under load. | A clogged fuel filter or internal delamination of an older fuel hose, which can create flakes that block flow. | Replace your fuel/water separator and the on-engine fuel filters. Squeeze the hose to feel for soft, mushy spots. |
| Primer bulb goes flat while the engine is running. | The fuel tank vent is blocked, or there's a clog in the tank's pickup tube. | Check the tank's vent fitting for any obstructions. Disconnect the line and blow through it (away from your face!). |
Nailing down these issues doesn't just solve today's headache—it helps you understand and manage your boat's systems better. Speaking of which, if you want to get a better handle on your boat's range, check out our guide on how to calculate boat fuel consumption. A systematic approach turns a frustrating problem into a simple, manageable repair.
Keeping Your Fuel System in Top Shape for the Long Haul
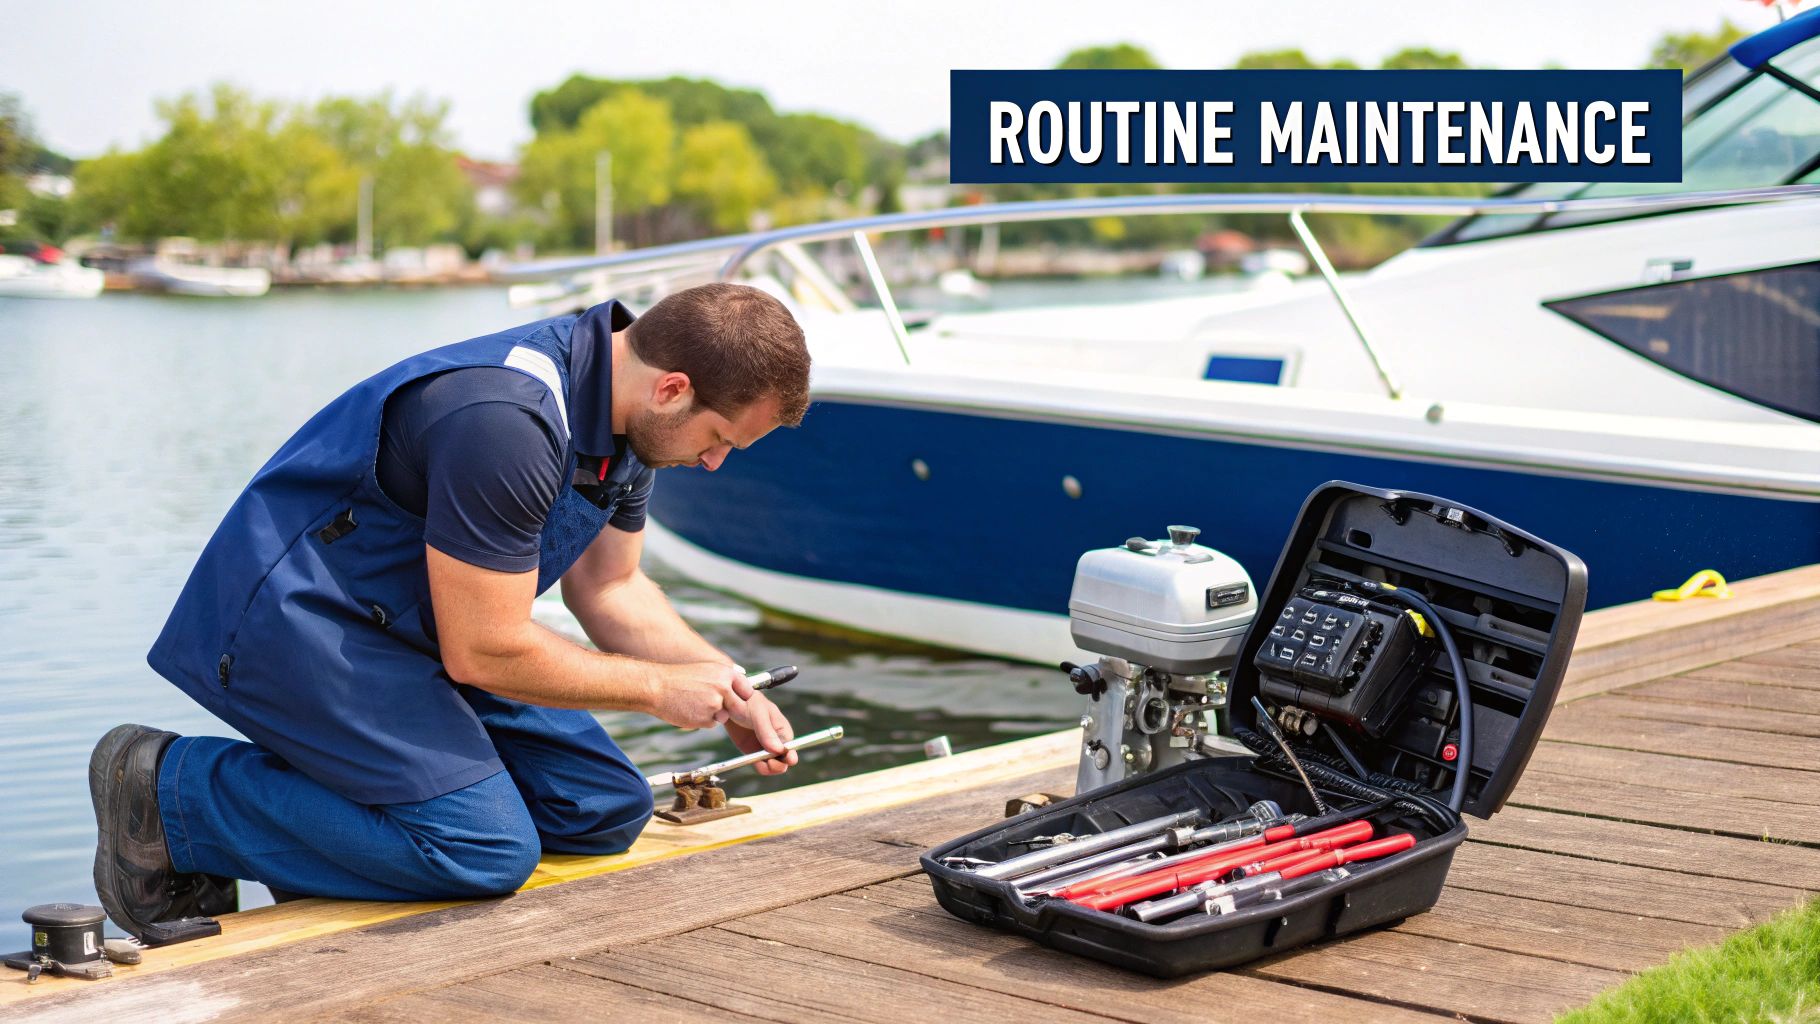
When it comes to preventing fuel system failures, a little proactive care goes a long, long way. A few simple checks each season can protect your fuel line yamaha outboard assembly, keeping your engine dependable and saving you a major headache out on the water.
Before that first trip of the season, get into the habit of giving your fuel line a quick once-over. Run your hands along the entire length of the hose. You're feeling for anything that seems off—spots that are unusually stiff, brittle, or even mushy. Pay close attention to the areas near connectors and bends, looking for those tiny, spiderweb-like cracks that signal the hose is on its way out.
Routine Checks for Peace of Mind
Give that primer bulb a few good squeezes. It should feel firm but flexible, snapping back to its original shape. If it feels hard as a rock or stays squished, it’s a ticking time bomb. Replace it now before it leaves you stranded.
While you're at it, inspect the quick-connect fittings on both the engine and tank side. Look for any gunk, salt deposits, or corrosion that could mess with the seal. A clean connection is a secure, leak-free connection.
A healthy fuel system is the heart of a reliable outboard. Small, consistent checks prevent the vast majority of fuel-related issues that can ruin a day on the water. Ignoring them is a gamble you don't want to lose miles from shore.
This kind of attention to detail is more important than ever. North America accounts for roughly 85% of the global outboard market, and the trend toward bigger boats with multiple engines means our fuel systems are working harder. You can see more data on this trend by reviewing the latest market intelligence reports.
Smart Storage for the Off-Season
When it's time to winterize the boat, don't just park it and walk away. How you prep your fuel system for storage is one of the most critical things you can do for its longevity.
- Stabilize Your Fuel: Before you do anything else, add a quality marine-grade fuel stabilizer to your tank. Follow the directions on the bottle to a T. This simple step stops the fuel from breaking down and creating nasty, gummy deposits that will clog up your lines and filters.
- Run It Through: After adding the stabilizer, fire up the engine and let it run for 10-15 minutes. This is crucial because it pulls that freshly treated fuel through the entire system—the hose, the primer bulb, and all the important bits inside the engine.
- Know Your Tank: For more in-depth advice on long-term fuel storage, our guide to boat fuel tanks has some great expert tips on choosing and maintaining them.
Following these simple habits is the best way to make sure your Yamaha roars to life on the first try next season.
A Few Common Questions About Yamaha Outboard Fuel Lines
Even after a full replacement, a few questions always seem to pop up about the fuel line yamaha outboard system. I get asked these all the time, so let's run through some quick answers to clear up any confusion.
How Often Should I Replace My Yamaha Outboard Fuel Line?
You won't find a hard-and-fast rule in a manual, but a good habit is to inspect the whole fuel line assembly every year and plan to replace it every 3-5 years.
That said, the calendar isn't as important as the actual condition of the hose. If you see any cracks, find spots that feel hard and brittle, or notice the primer bulb is getting soft and mushy, don't wait. Replace it right away. Today's ethanol-blended fuels are tough on rubber and can speed up this breakdown, so these visual checks are more critical than ever. Trust me, waiting for it to fail on the water is a surefire way to ruin a perfectly good day.
Expert Takeaway: Your eyes and hands are the best diagnostic tools you have. If a fuel line looks or feels "off," it is. Don't risk it with old rubber.
Can I Use an Automotive Fuel Line on My Boat?
Let me be crystal clear: absolutely not. Putting a car's fuel line on a boat isn't just a bad idea; it's a major safety hazard and a direct violation of U.S. Coast Guard (USCG) regulations.
Marine-grade fuel lines are built differently. They're designed to be fire-resistant and have low permeation, meaning they stop explosive fuel vapors from leaking into confined areas like a bilge or cuddy. Automotive hoses don't have these safety features, which creates a serious fire risk. On top of that, using the wrong hose will almost certainly void your boat's insurance policy. It’s just not worth the risk.
Why Won’t My New Fuel Connector Click Onto the Engine?
This is a classic head-scratcher, but usually, it's a simple fix. The first thing to know is that Yamaha has changed its connector styles over the decades. Your first step should be to double-check the part number to make sure you bought the right one for your engine's model and year.
Even with the correct part, aftermarket connectors can sometimes be incredibly tight. Before you try to force it on, take a close look at the male fitting on the engine itself. A tiny bit of built-up salt, dirt, or debris can be enough to block it from seating correctly.
If it’s all clean, try putting a small dab of marine grease or even a little 2-stroke oil on the O-ring inside the female connector. That lubrication is often all it needs to slide on and seal up. If it still won't connect with a reasonable amount of pressure, you almost certainly have the wrong part for your outboard.
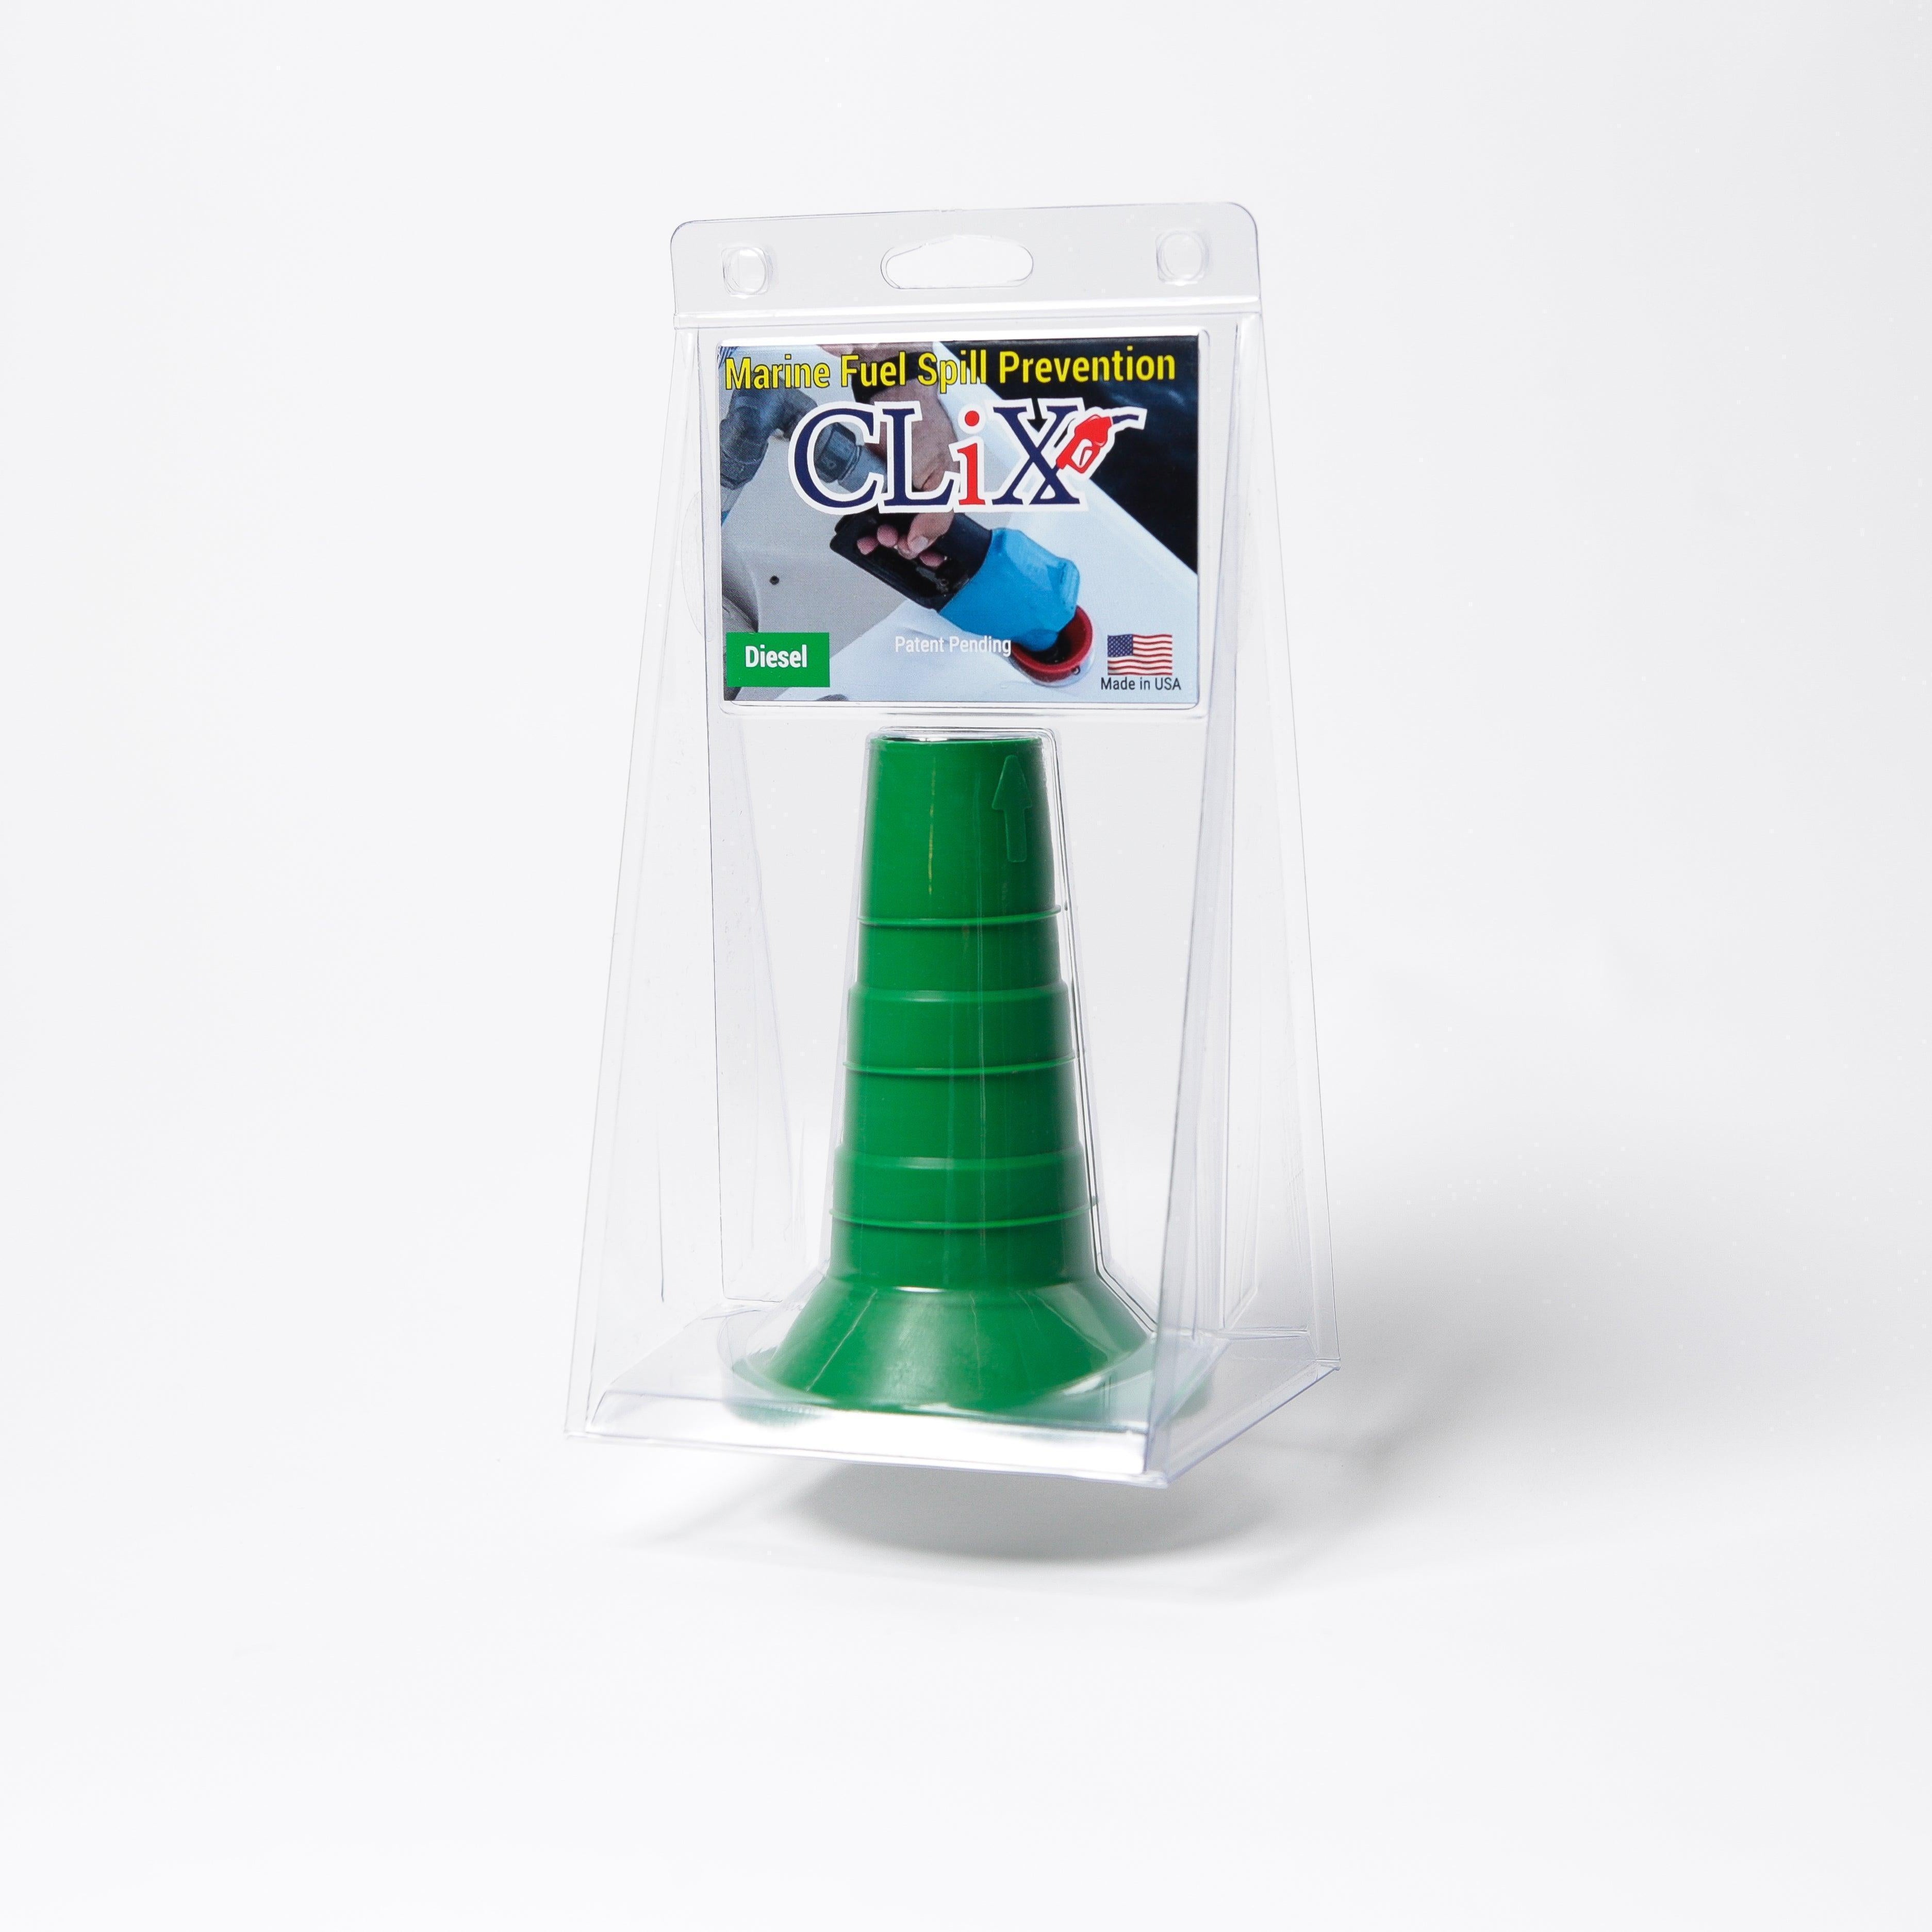
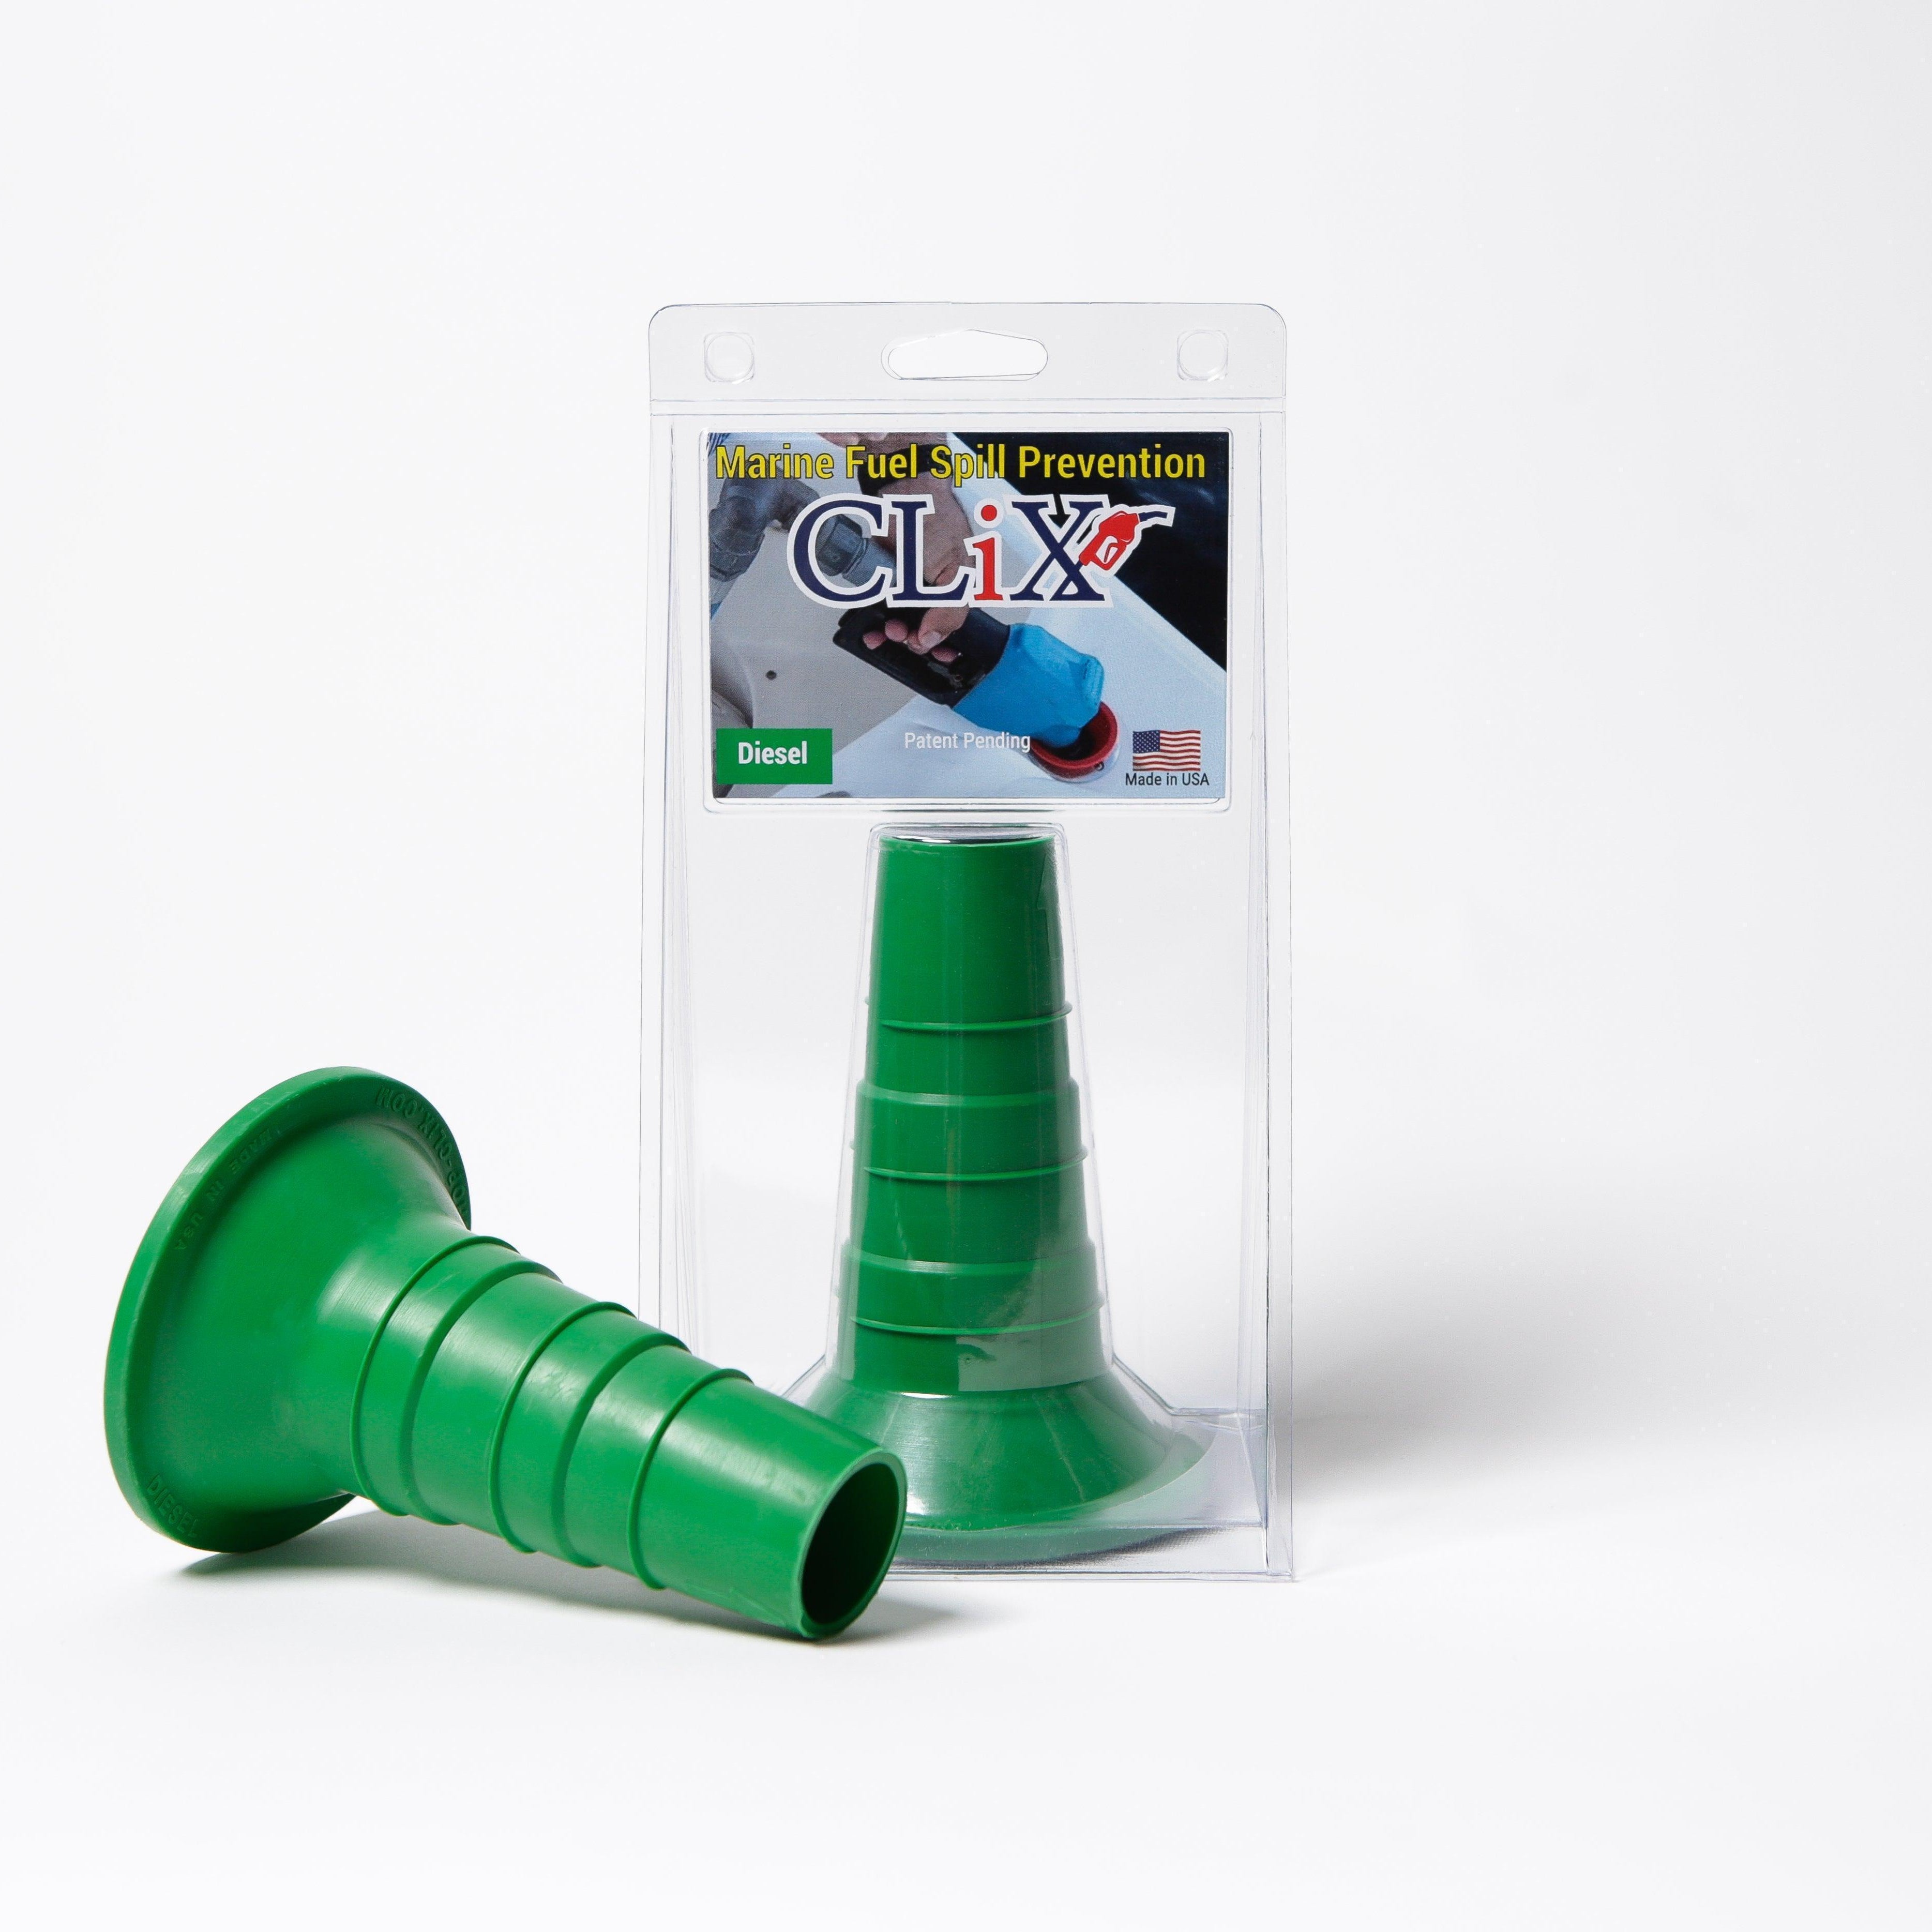
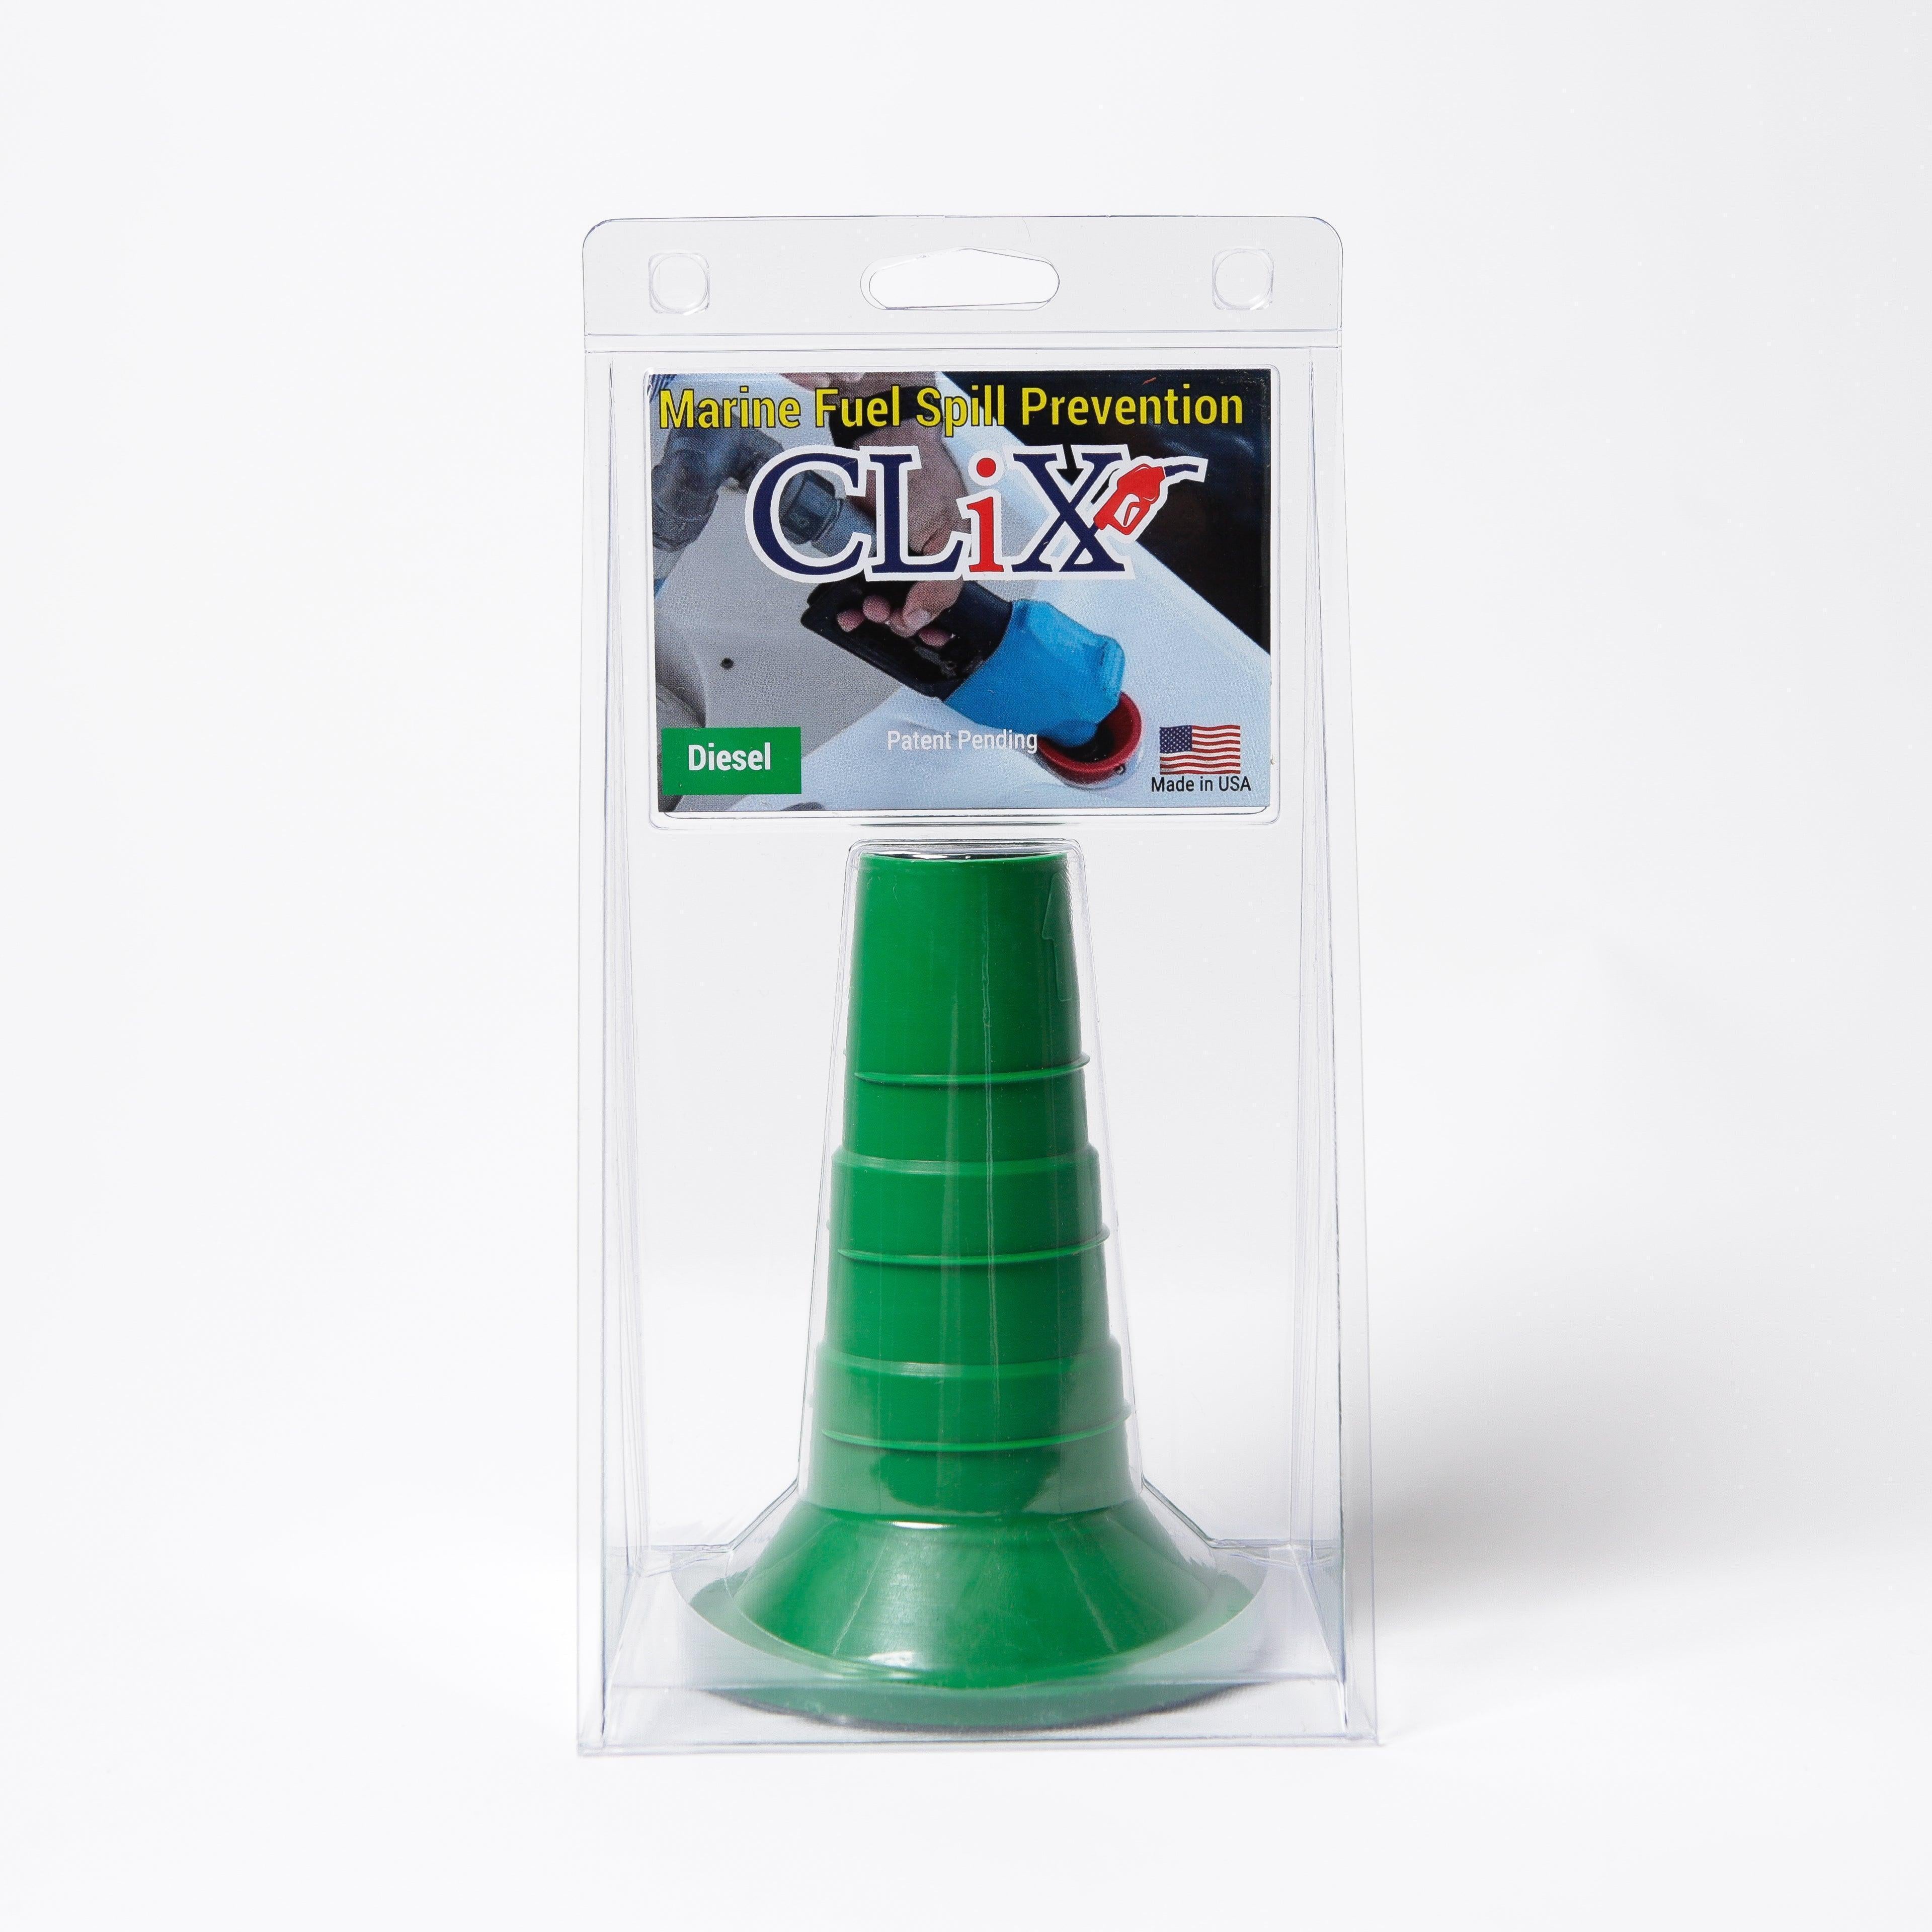
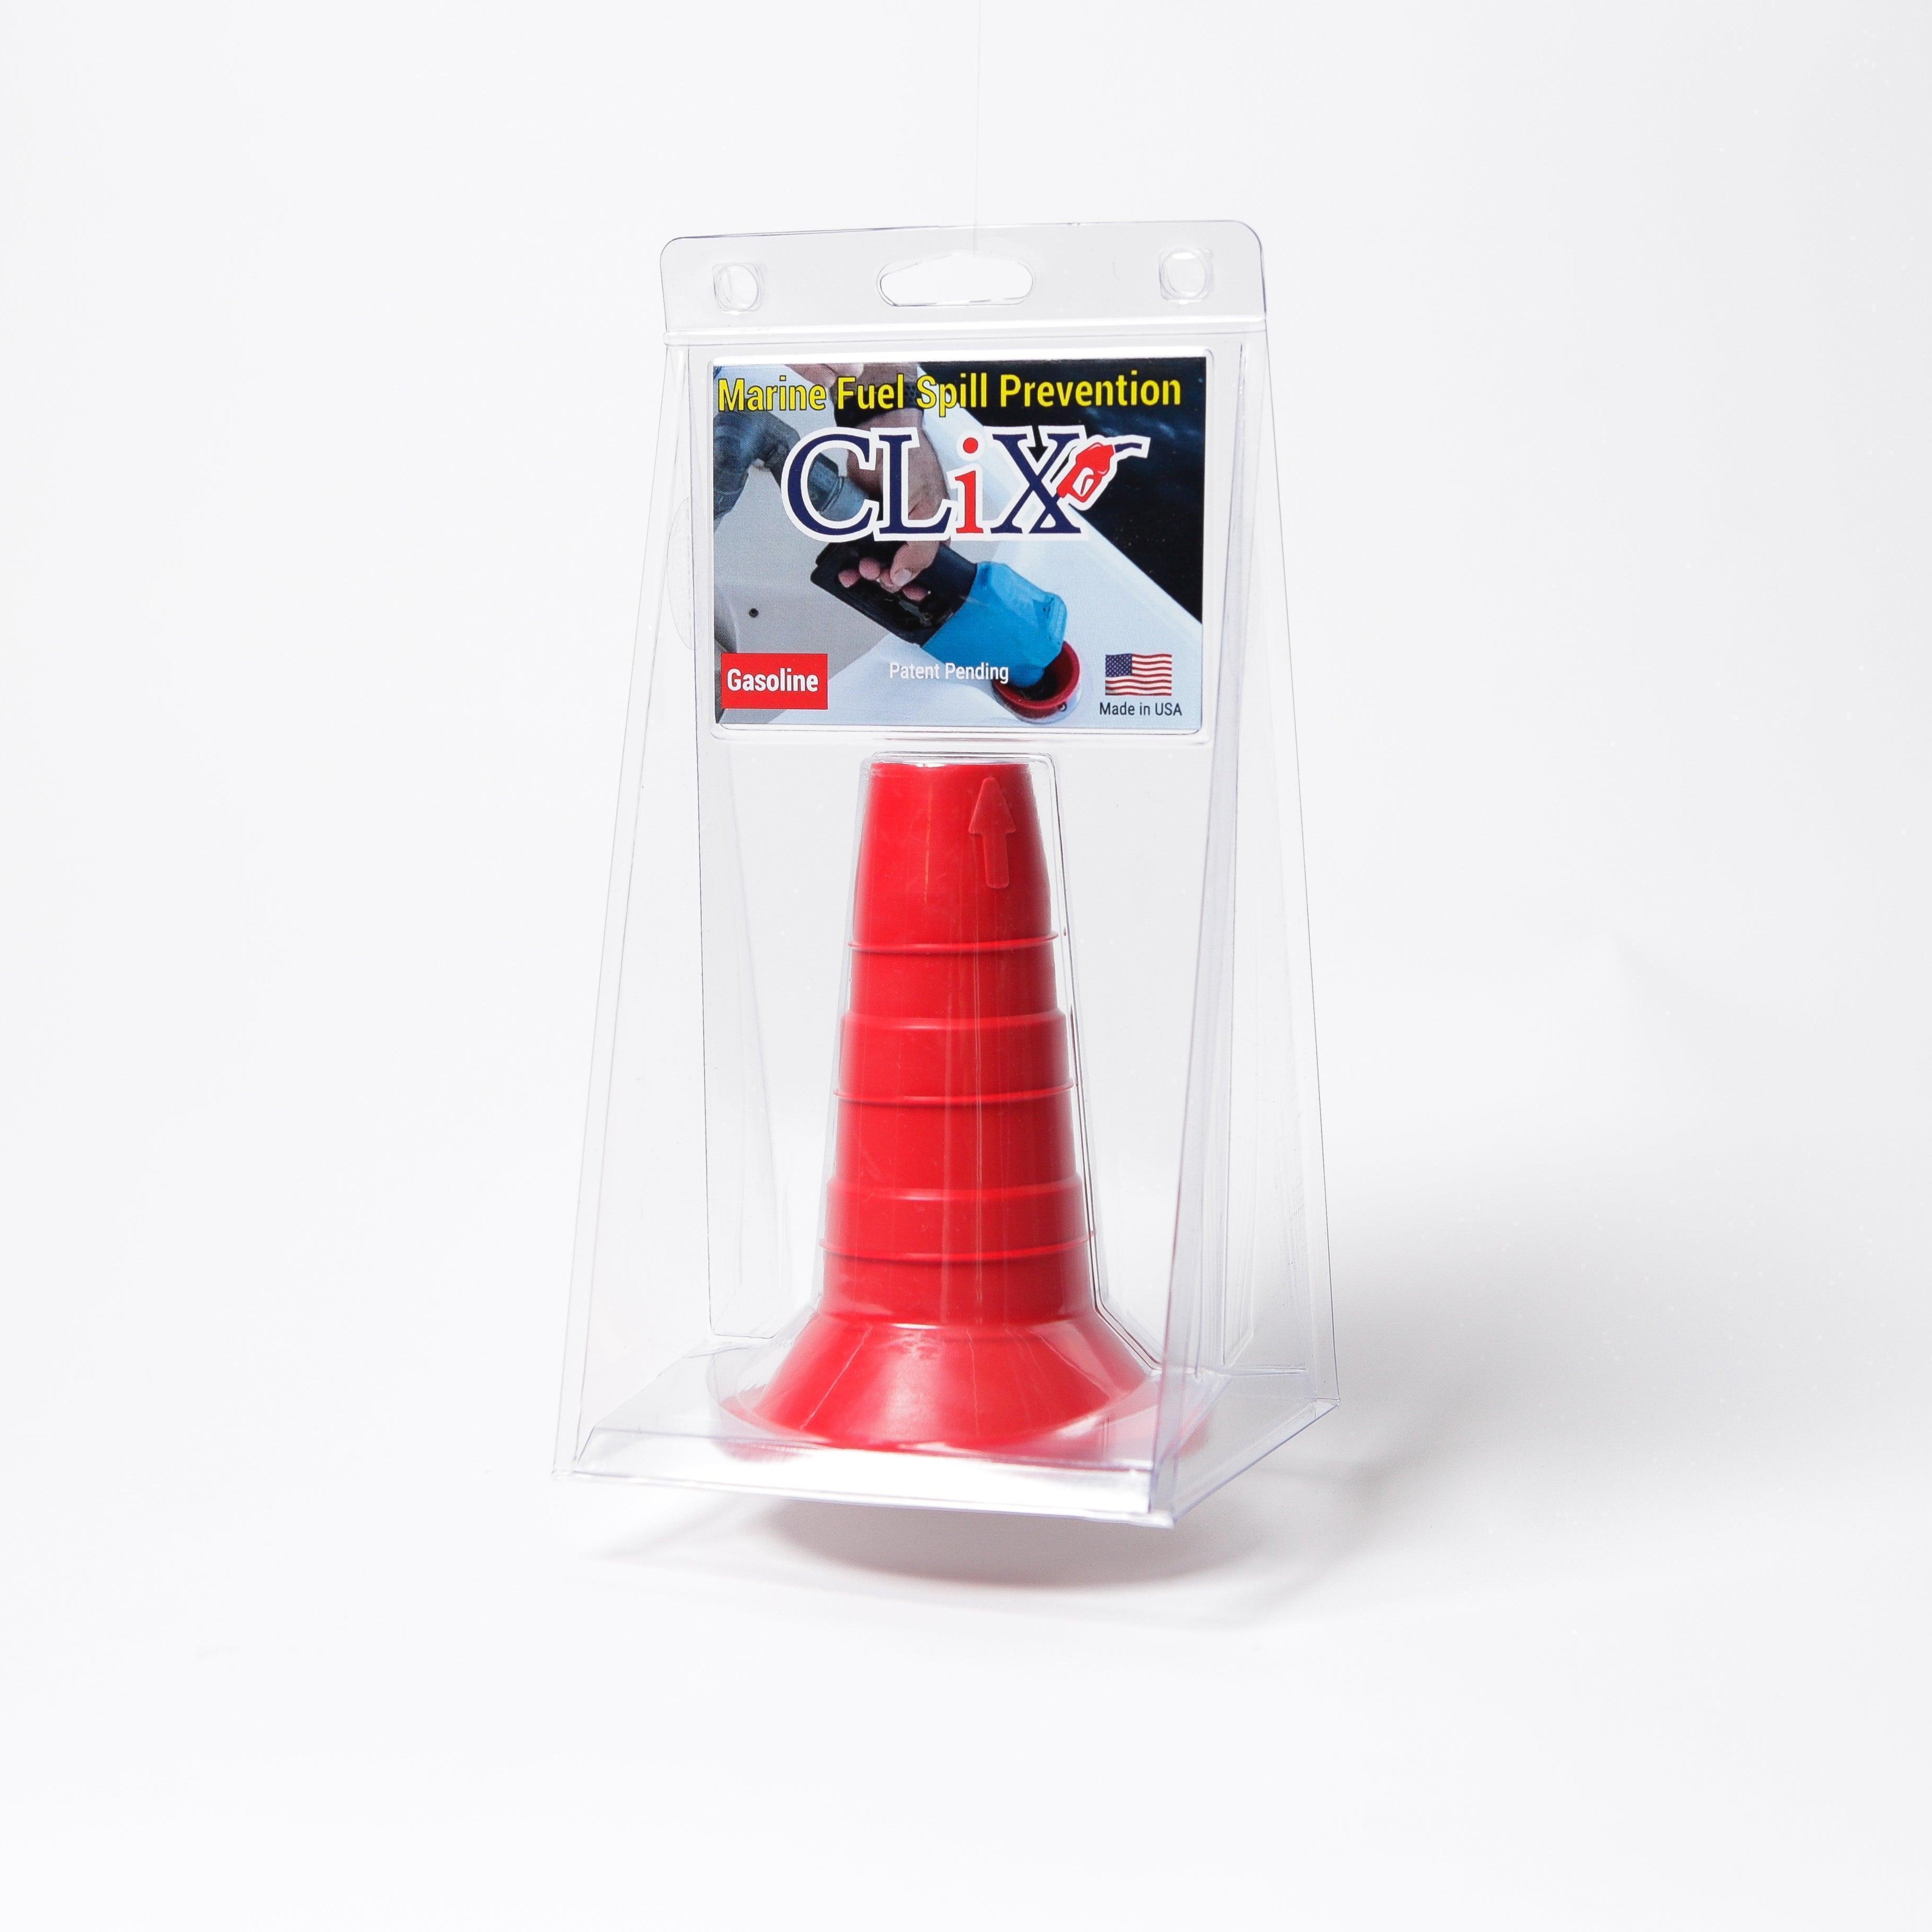
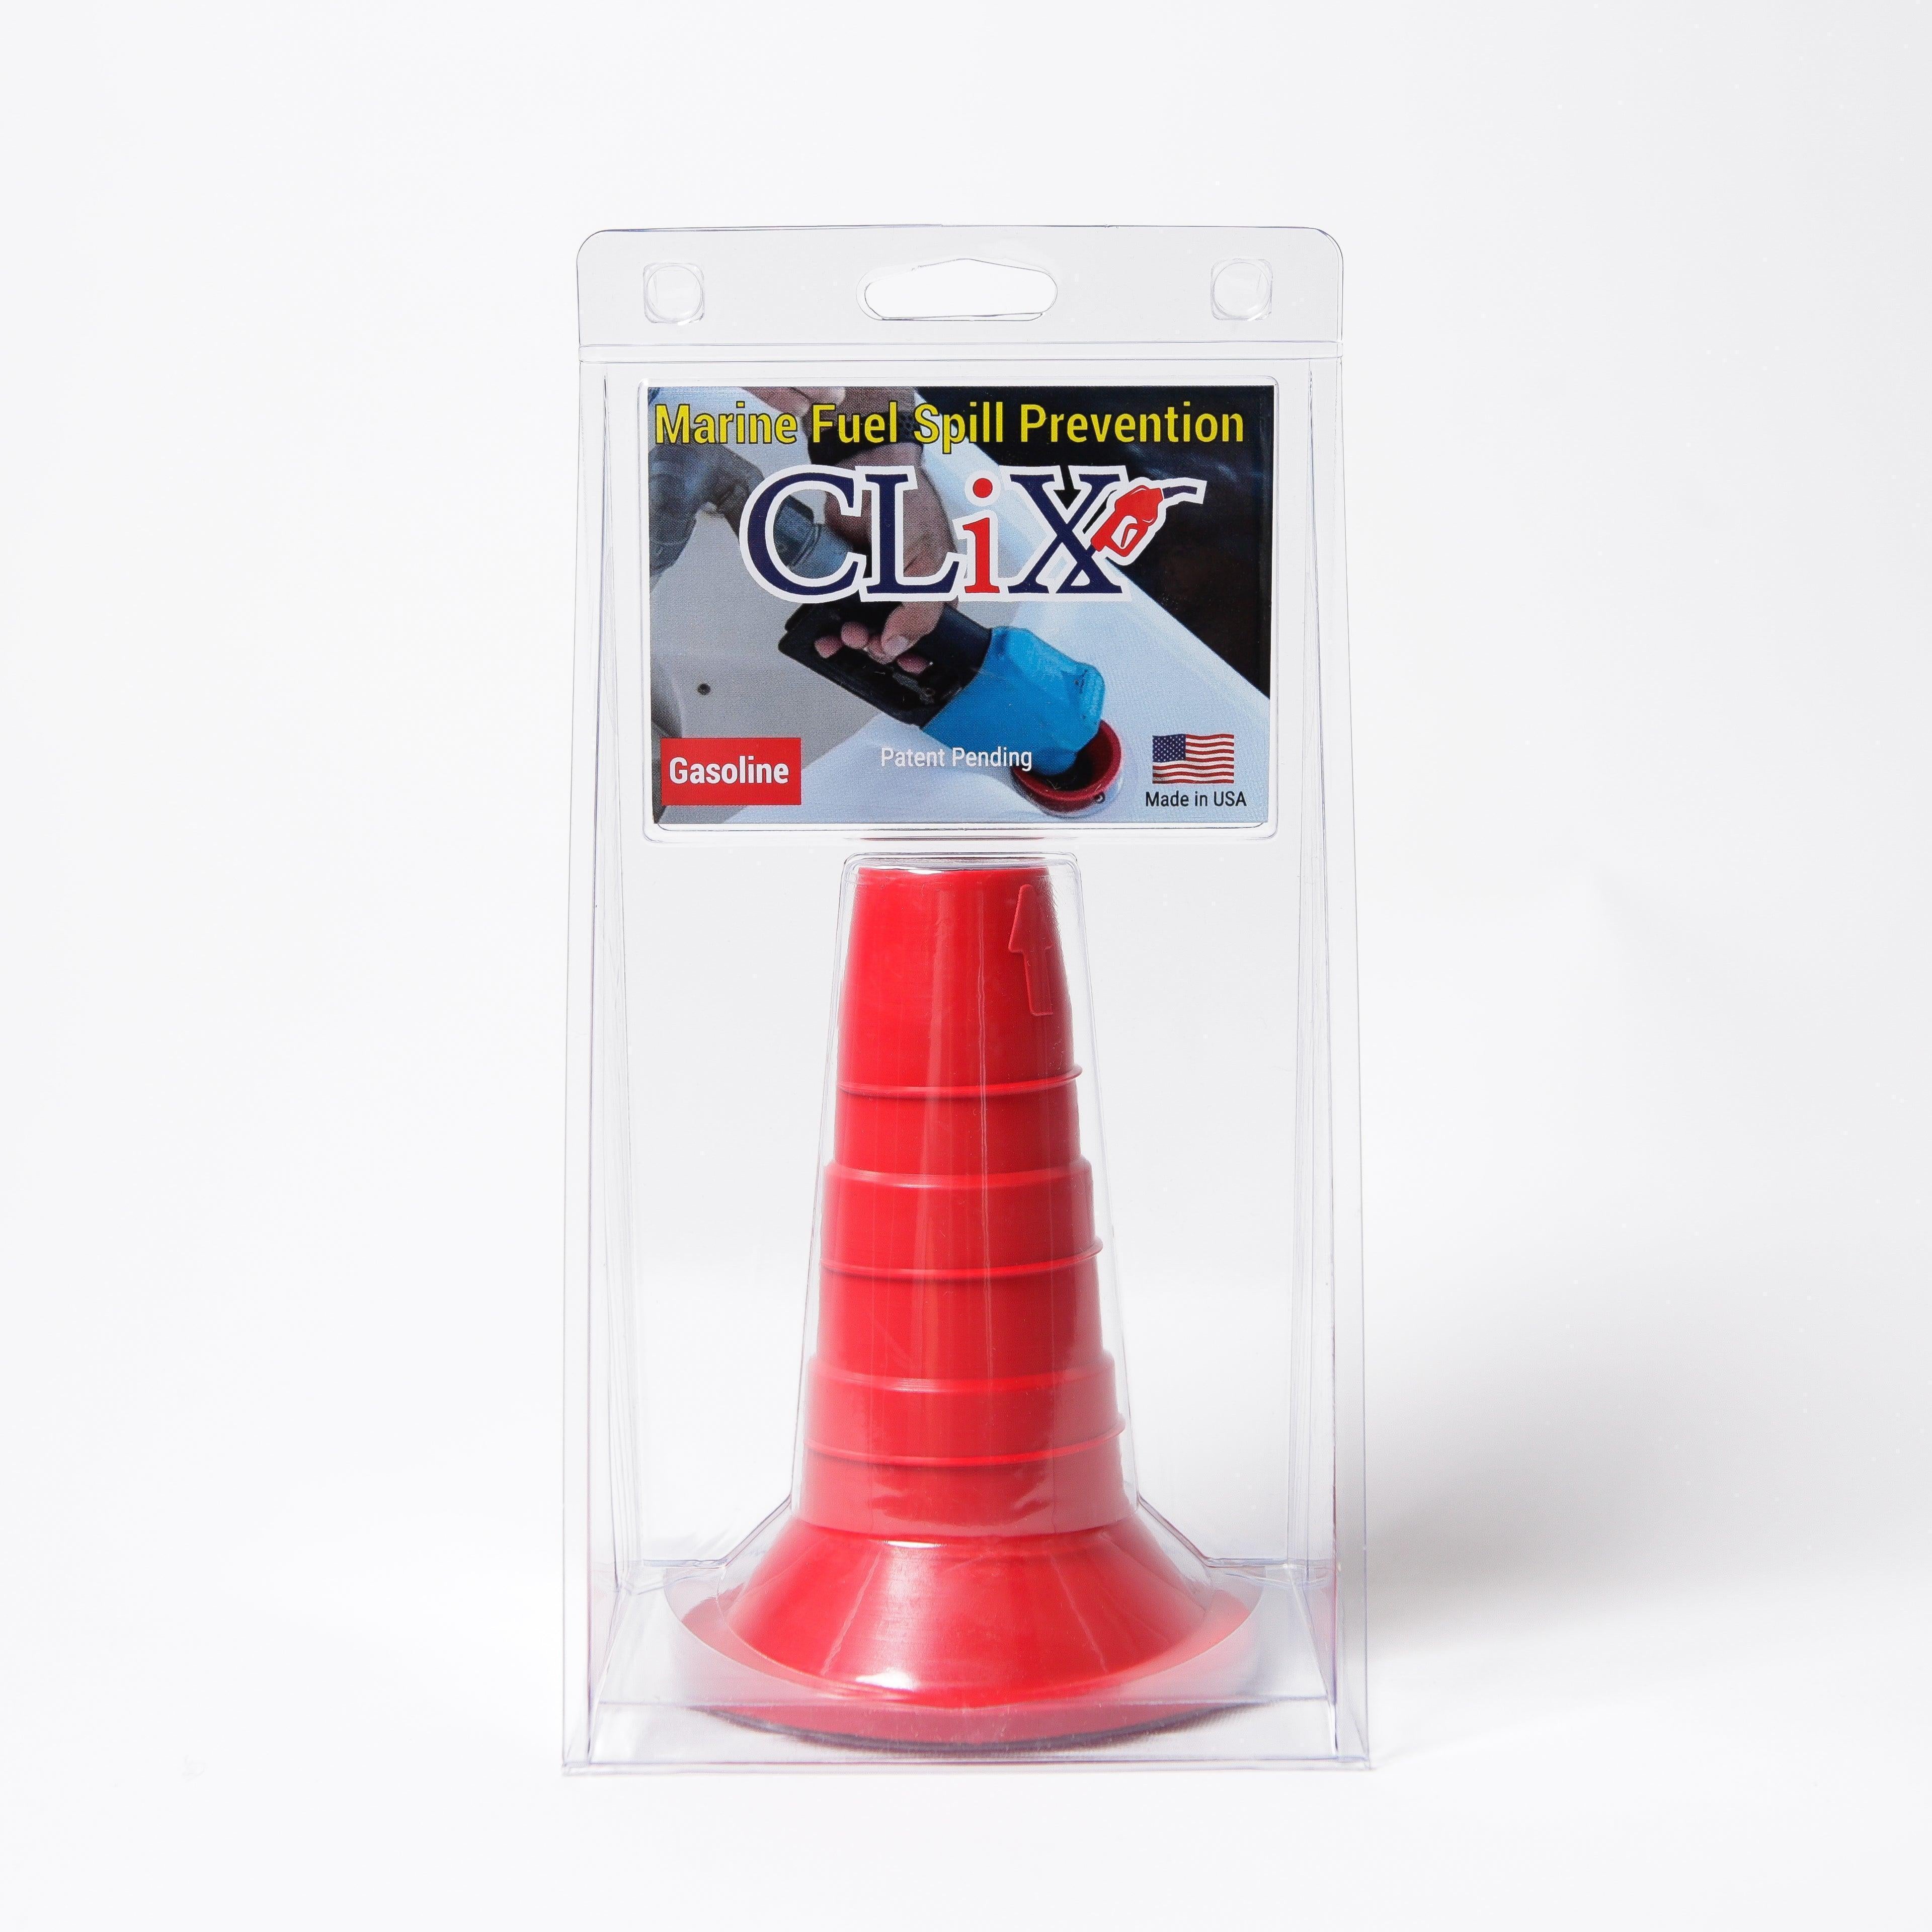
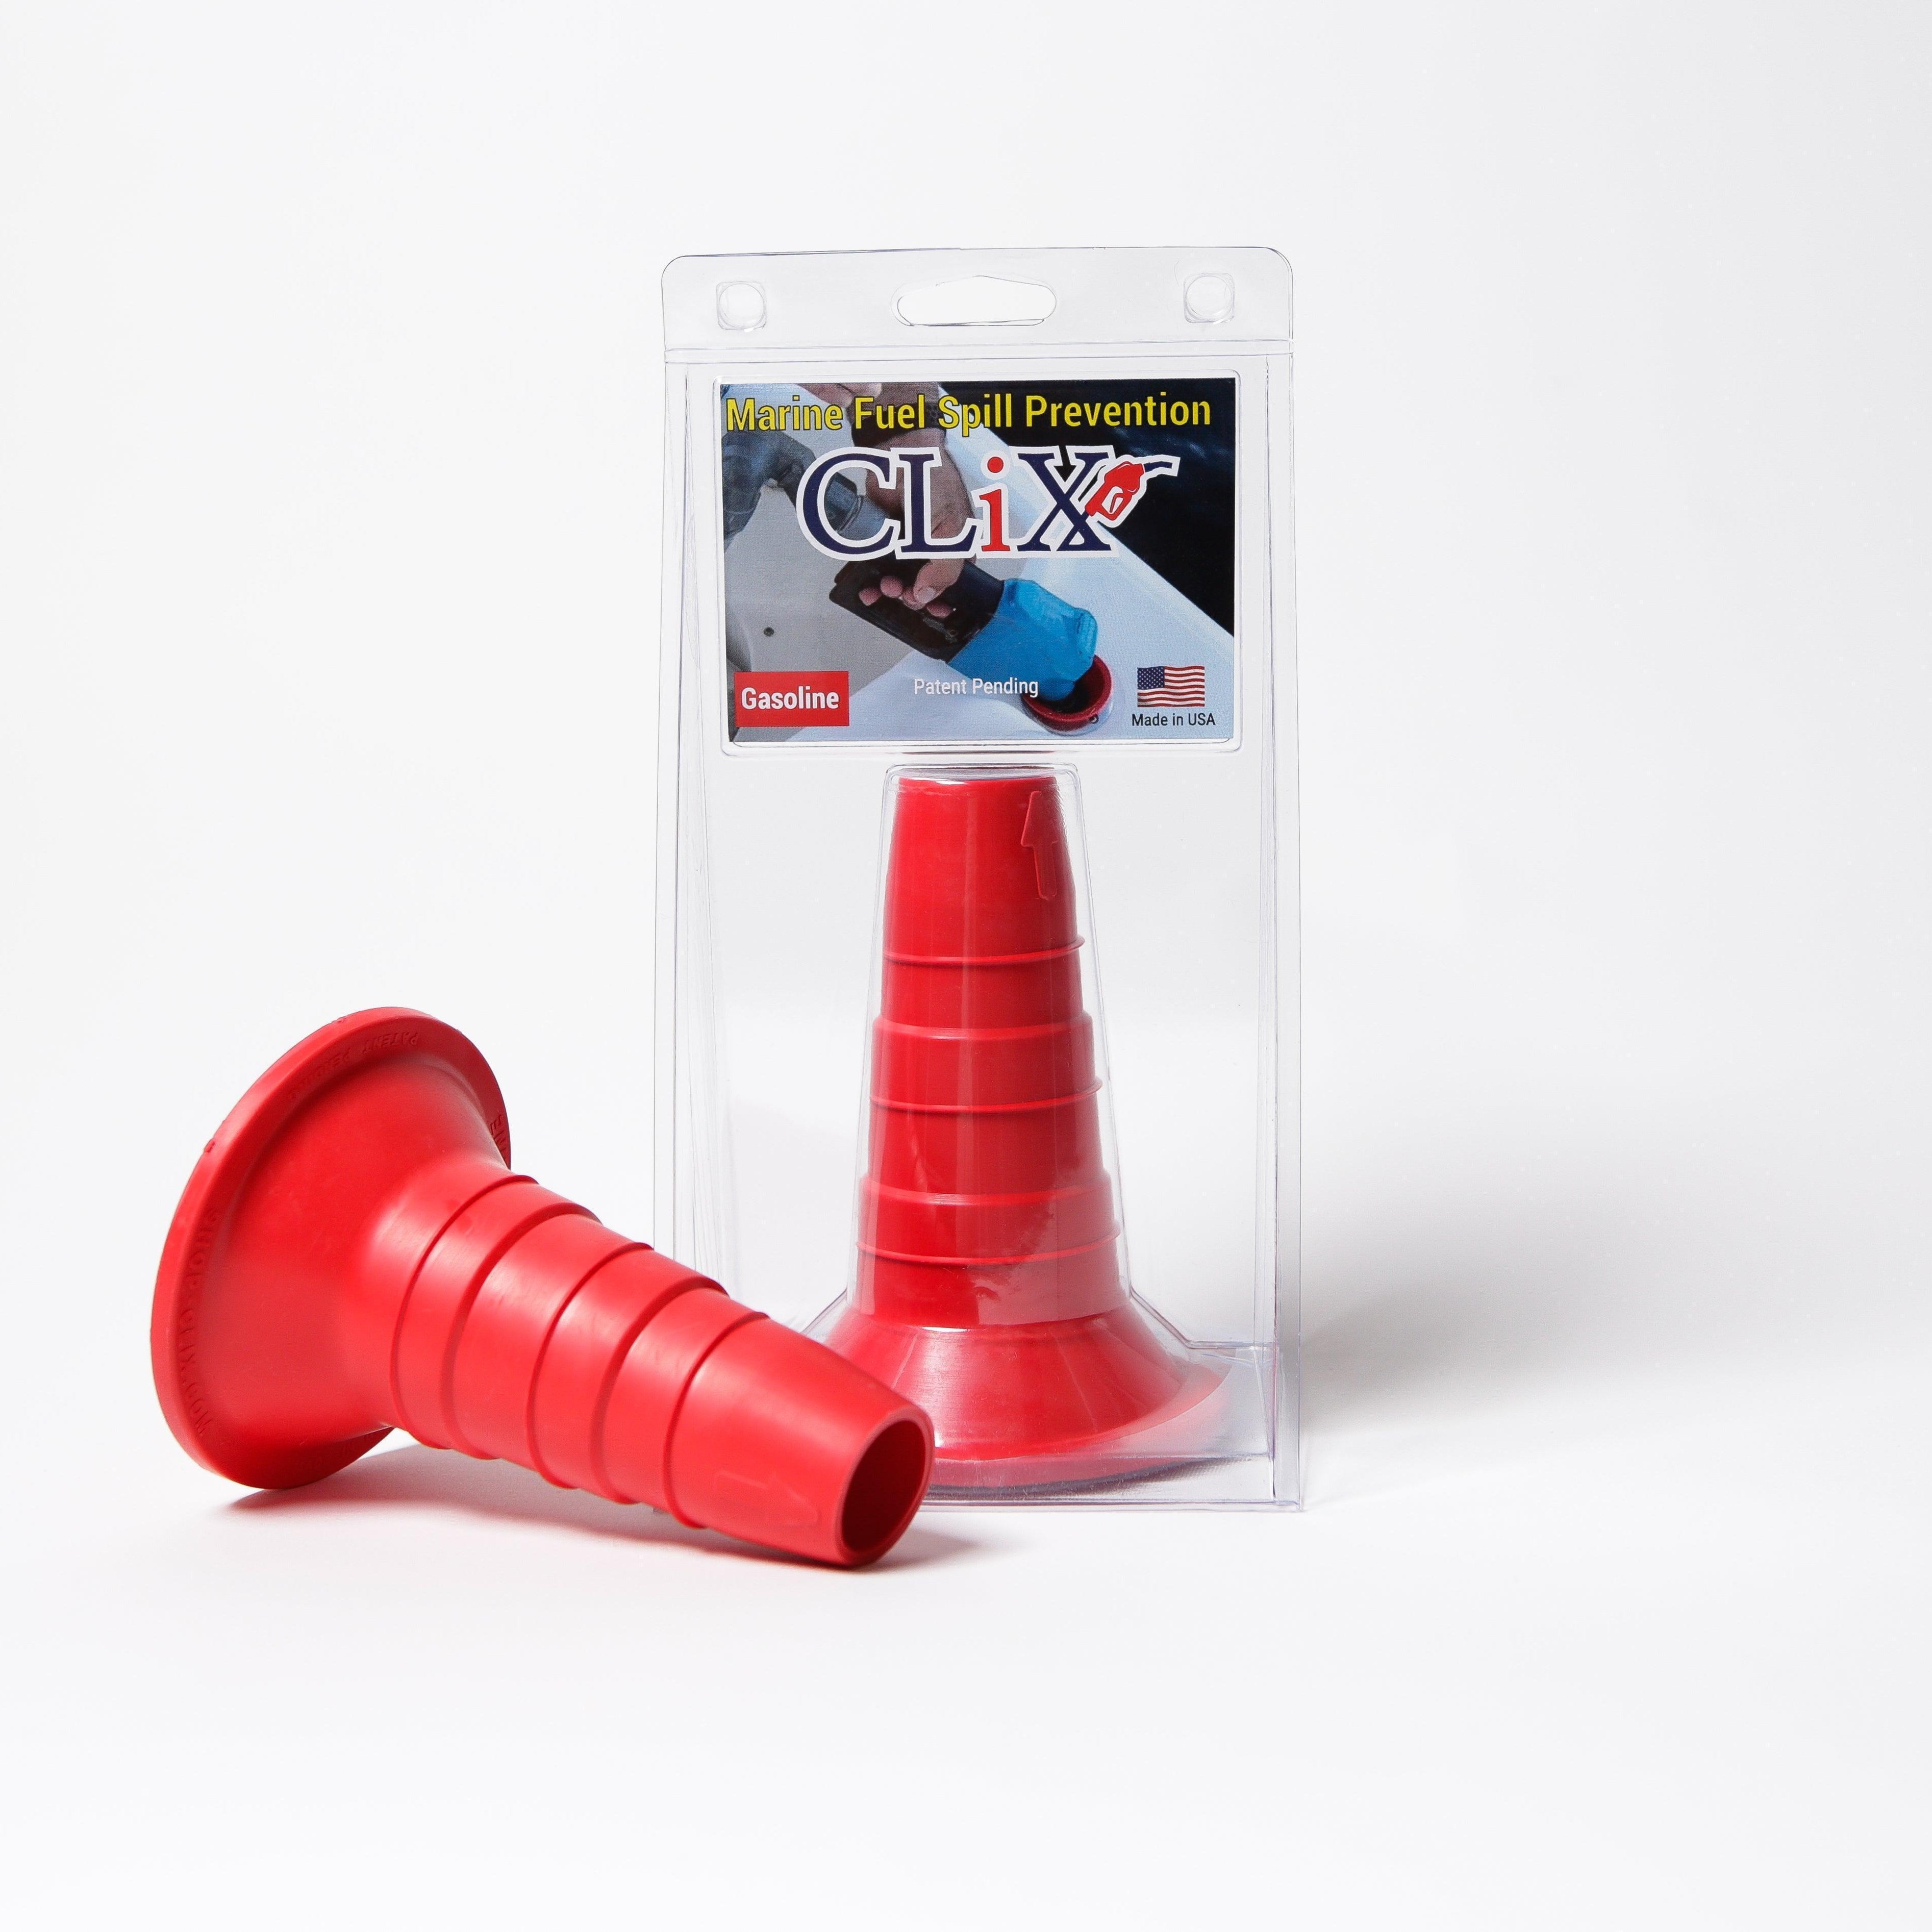
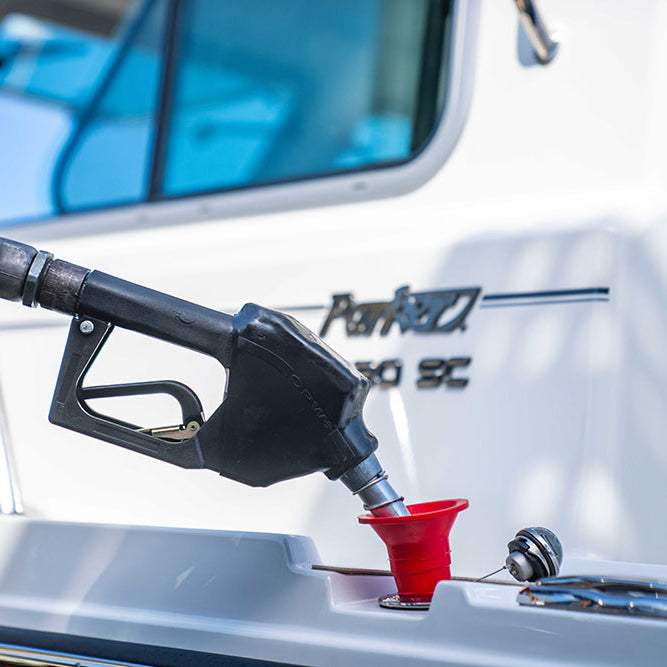
Ready to eliminate fueling guesswork and prevent costly spills for good? CLiX Fueling Solutions offers a stress-free, automatic shut-off system that ensures a perfect fill every time. Protect your boat and the environment by visiting https://clixfueling.com to learn more.