Why Your Boat Fuel Tank Gauge Is Your Best Crew Member
Think of your boat's instruments as your trusted crew. The GPS is your navigator, charting the course. The depth sounder is your lookout, spotting dangers below the surface. In this crew, your boat fuel tank gauge is the quartermaster—the one responsible for the single most critical resource that ensures you make it back to the dock safely. A reliable gauge isn't just about convenience; it is the bedrock of confident and safe boating.
An inaccurate gauge can turn any trip into a stressful guessing game. Ask any seasoned mariner or Coast Guard professional, and they'll tell you that running out of fuel is one of the most common—and preventable—reasons for distress calls. Imagine a solo sailor on Alaska's Inside Passage whose engine sputters out in a rising gale because he misjudged his fuel burn. Without a trustworthy gauge, he was forced to refuel in treacherous, wave-tossed conditions, turning a simple miscalculation into a life-or-death situation.
The Evolution From Afterthought To Essential System
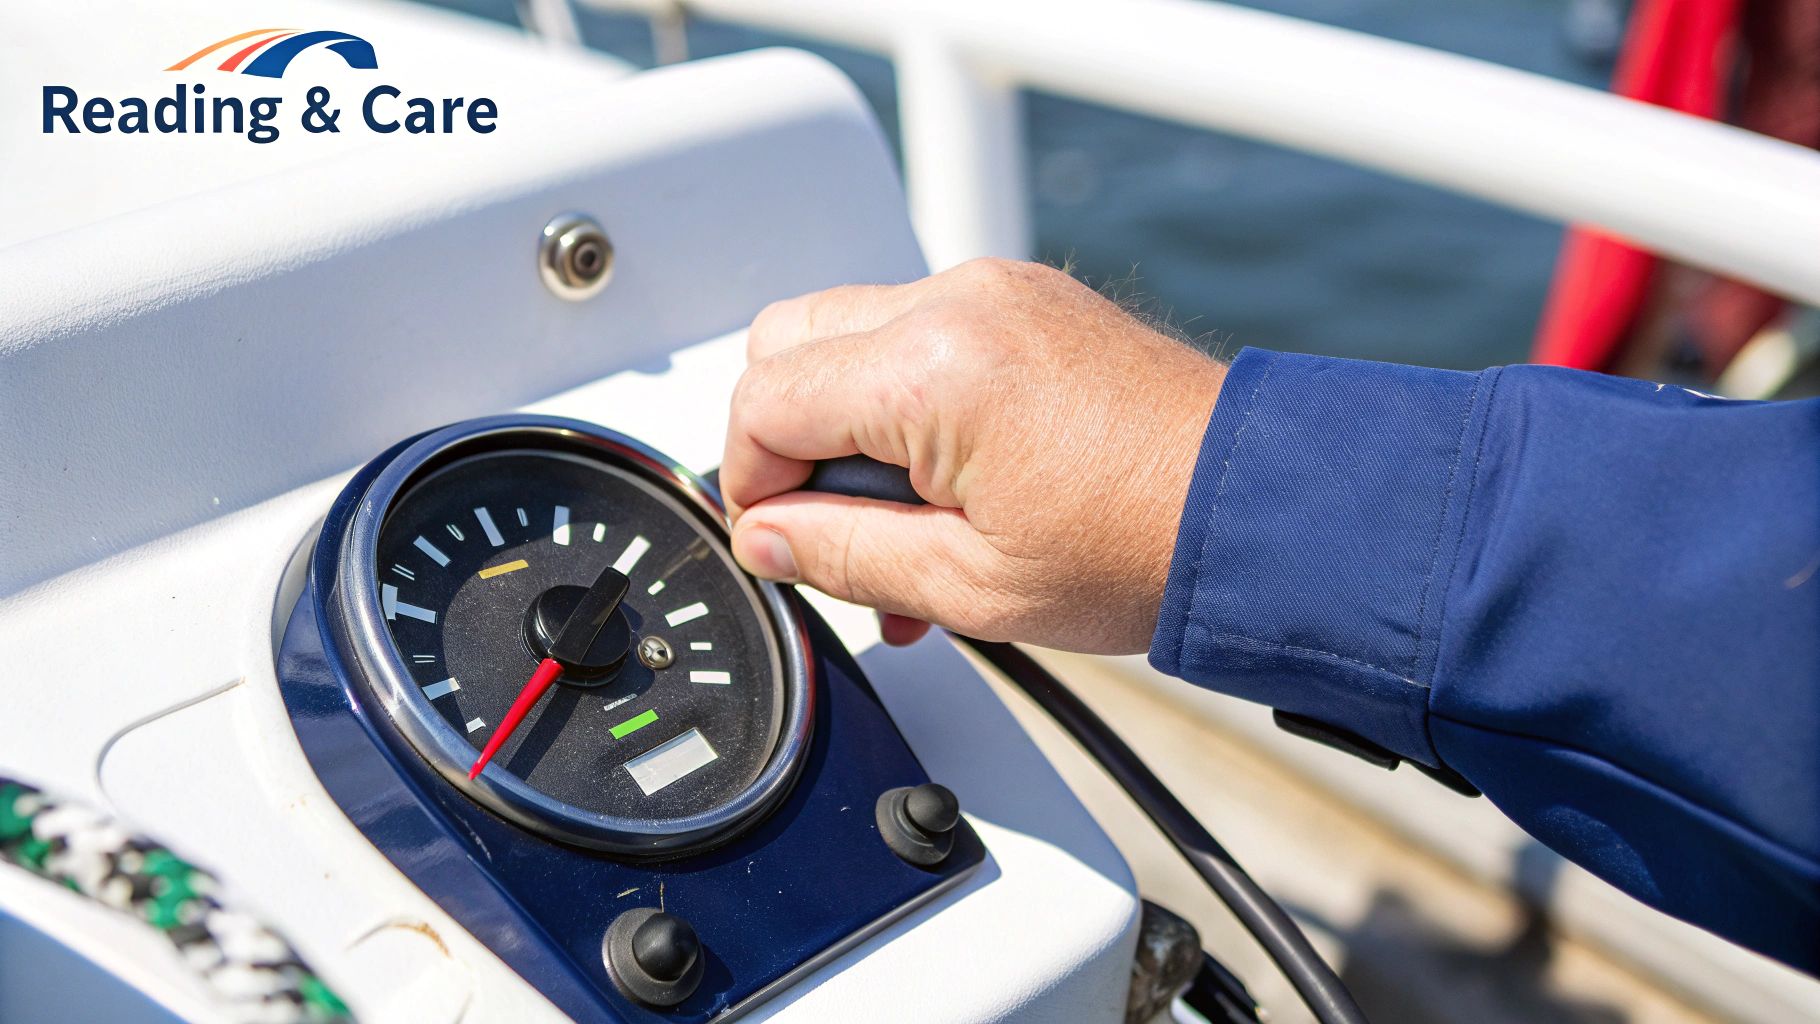
For years, fuel gauges were notoriously unreliable, often treated as nothing more than a rough suggestion. This is why many boaters still live by the "one-third rule"—using one-third of the tank to go out, one-third to return, and keeping one-third in reserve. They simply couldn't trust their instruments. But the technology has come a long way from the basic and often inaccurate float mechanisms of the past.
Here's a look at the traditional fuel gauge display most boaters will recognize.
While this classic analog dial serves its basic purpose, today's gauges offer much more detailed information. This growing demand for better monitoring is clear from market trends. The global tank level monitoring system market is expected to reach $1.59 billion by 2029, propelled by advancements like wireless connectivity and IoT integration. This reflects a major shift in the industry toward more dependable fuel management. You can explore this trend further in the full research from The Business Research Company.
Beyond Just Fuel Level: A Tool for Smart Boating
A modern, accurate boat fuel tank gauge does more than just show you a level; it gives you information you can act on. It helps you to:
- Plan with Confidence: Calculate your range with precision, allowing for longer and more adventurous trips without the constant worry of fuel consumption.
- Optimize Performance: By watching your real-time fuel burn, you can find your engine's most efficient cruising speed, which saves you money and gives you more time on the water.
- Enhance Safety: In an emergency, knowing your exact fuel reserve is vital. It tells you whether you can make it to a safe harbor, wait for help, or need to declare an immediate Mayday.
Ultimately, having a fuel monitoring system you can trust changes your entire approach to boating. It swaps guesswork for data, letting you focus on the joy of the journey, knowing your most important crew member has the fuel situation completely under control.
Decoding Boat Fuel Tank Gauge Technologies That Actually Work
Not all fuel gauges are created equal. The technology inside your tank is what separates a reliable reading from a frustrating guessing game that could leave you stranded. Understanding the core differences between these systems helps you interpret your gauge correctly and choose the right one for your boat. Think of it this way: you wouldn't use a simple kitchen scale to weigh something priceless, so you need the right tool for the job of measuring fuel.
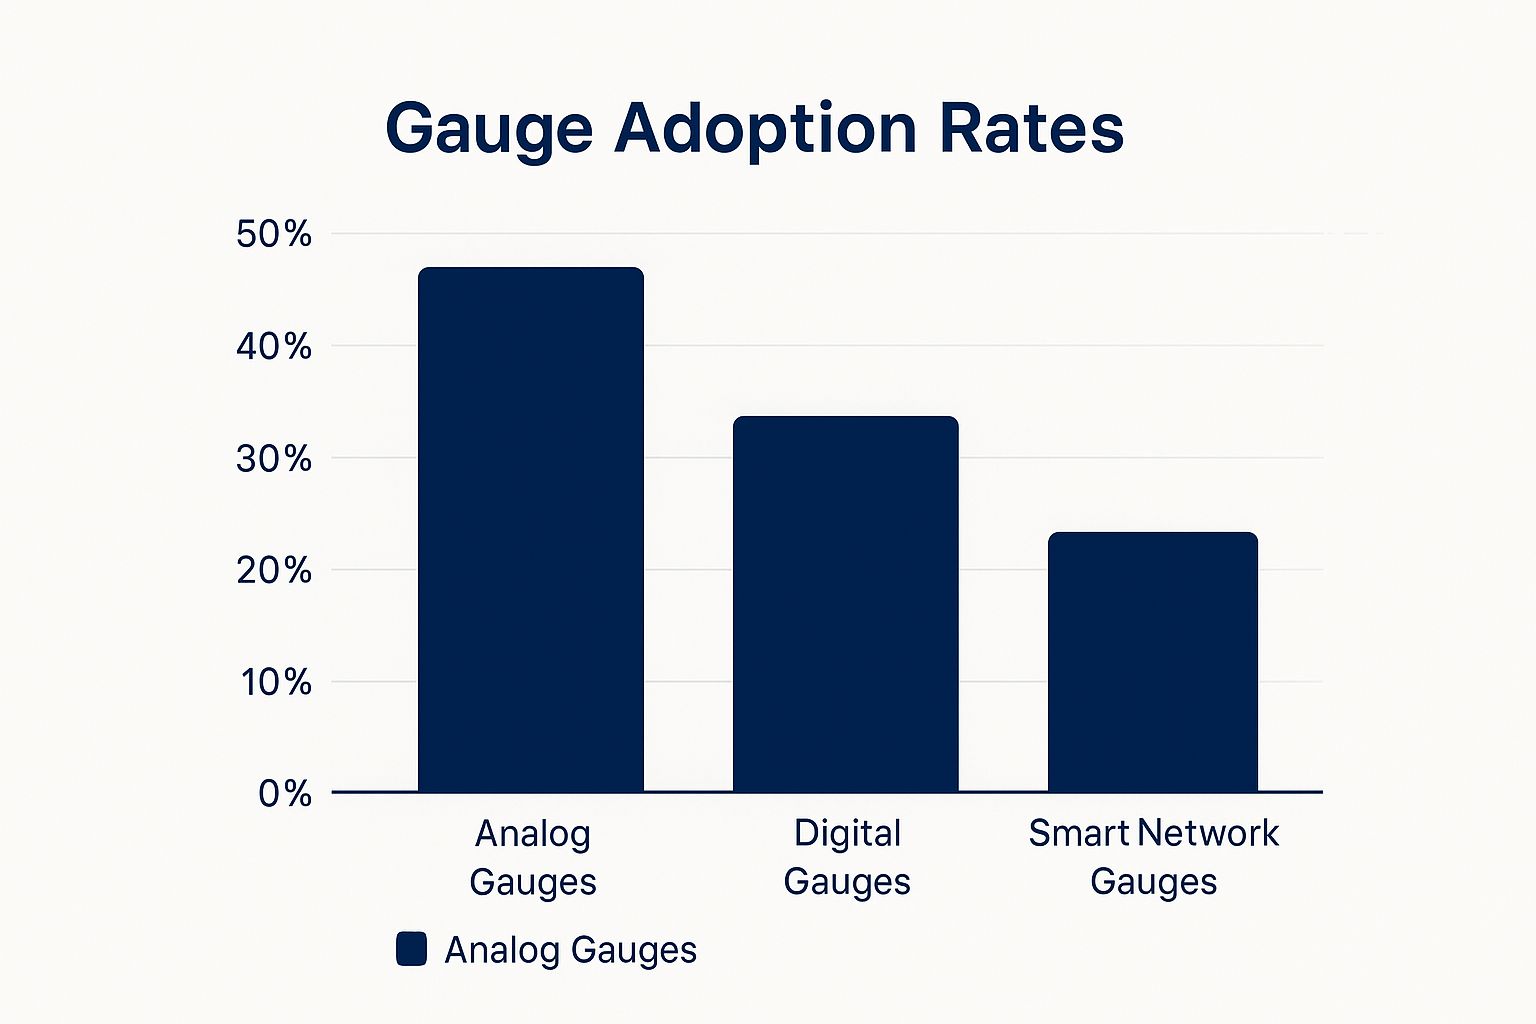
This chart shows the current adoption rates for different gauge technologies in the recreational boating market.
The data clearly shows that while traditional analog systems are still the most common, boaters are increasingly turning to digital and smart gauges for better accuracy.
The Main Players: Analog vs. Digital Systems
At the core of any fuel monitoring system are two key parts: a sending unit inside the tank and a gauge at the helm. The sender's job is to measure the fuel level, while the gauge displays that information. The real difference between gauge types lies in how they do this.
Mechanical (Analog) Gauges
This is the classic boat fuel tank gauge most people are familiar with. The sending unit typically uses a float arm that works much like the one in your home's toilet tank. As the fuel level drops, the float moves an arm across a resistor, which changes the electrical signal sent to the needle on your console.
While these systems are simple and affordable, they have some well-known drawbacks. Fuel sloshing around in rough seas can make the needle swing wildly, and the mechanical parts can wear out, get gummed up, or get stuck over time. Many experienced boaters know not to trust them completely.
Digital and Ultrasonic Gauges
More modern systems often get rid of failure-prone moving parts. Ultrasonic gauges, for example, are mounted at the top of the tank and send a sound pulse down to the fuel's surface. By measuring the time it takes for the pulse to bounce back, they calculate the fuel level with impressive precision—often within 1-2% accuracy.
Because there are no moving parts inside the fuel, these gauges aren't affected by sloshing and work well with almost any tank shape or material.
Capacitive and Pressure Gauges
Other advanced technologies offer similar benefits. Capacitive senders work by measuring changes in electrical capacitance as the fuel level rises and falls. Pressure sensors are placed at the bottom of the tank to measure the hydrostatic pressure of the fuel above them. Both provide highly accurate readings without the reliability issues of mechanical floats.
To help you decide which technology is right for your needs, here’s a detailed comparison of the different boat fuel gauge types.
| Gauge Type | Accuracy Range | Installation Difficulty | Price Range | Best For | Maintenance Needs |
|---|---|---|---|---|---|
| Mechanical (Float Arm) | +/- 10-15% | Low | $30 - $100 | Budget-conscious boaters, calm water usage | High (moving parts can stick or wear out) |
| Ultrasonic | +/- 1-2% | Medium | $150 - $400 | Irregularly shaped tanks, high accuracy needs | Low (no moving parts in fuel) |
| Capacitive | +/- 1-3% | Medium-High | $100 - $350 | Tall, narrow tanks; high reliability | Low (no moving parts) |
| Pressure | +/- 2-5% | High | $200 - $500+ | Large vessels, commercial applications | Low (sensor is durable but needs proper calibration) |
This comparison makes it clear that while mechanical gauges are the cheapest, you get what you pay for in terms of accuracy. Digital options like ultrasonic and capacitive gauges offer a significant upgrade in reliability for a moderate increase in cost, making them a popular choice for serious boaters.
This screenshot from a BoatUS article highlights a common frustration with older mechanical gauges.
As you can see, a gauge might read "Full" for a long time before suddenly dropping. This is a classic sign of a non-linear, float-based system and is precisely why many boaters learn to track engine hours or use a dipstick instead of fully trusting their gauge. Ultimately, the technology you choose directly impacts your safety and peace of mind on the water.
The Science Behind Accurate Fuel Level Readings
Have you ever wondered why your boat fuel tank gauge seems to have a mind of its own? It might stubbornly read "Full" for hours, suddenly drop to three-quarters, then plummet toward "Empty" at a shocking speed. This isn't just a random quirk; it’s a result of the physics at play when a device tries to translate the fuel in your tank into a simple reading on your dash. Understanding this science gives you practical knowledge to interpret your gauge correctly and spot problems before they leave you stranded.

At its heart, a fuel gauge system is a translator. Its job is to convert the physical height of the fuel into an electrical signal that your dashboard gauge can understand. The method it uses for this translation is what ultimately defines its accuracy and reliability.
From Floats to Pulses: How It Works
The most common system uses a float-arm sender, which works a lot like the float inside your toilet tank. A buoyant float rests on the fuel's surface. As the fuel level drops, the float goes down with it, causing an attached metal arm to sweep across a component called a variable resistor. This movement changes the electrical resistance, which is sent to the gauge, making the needle move. The classic "stuck on full" problem often happens because the arc of the float arm doesn't perfectly match the tank's shape, causing very little change in resistance until a good amount of fuel is gone.
More modern systems use different principles for a more precise translation:
- Ultrasonic Senders: Think of these like a bat using echolocation. They send a high-frequency sound pulse down from the top of the tank. By measuring the time it takes for the echo to bounce off the fuel's surface (time-of-flight), the system can calculate the distance and, therefore, the fuel level with impressive accuracy.
- Capacitive Senders: These systems use two concentric metal tubes that form a capacitor. Fuel and air have different properties that affect capacitance. The sender measures these changes as fuel rises and falls between the tubes, providing a steady and precise reading without any moving parts.
Why Readings Can Be Deceptive
Several factors can interfere with the translation process, leading to the confusing readings every boater has experienced.
- Boat Attitude: When your boat gets up on plane, the bow rises, tilting the entire fuel tank. This causes the fuel to pool at the back, making a float-arm sender report a lower level than is actually there. Once you slow down and the boat levels out, you'll see the gauge reading rise again.
- Temperature: Fuel expands in the heat and contracts in the cold. A tank you filled on a cool morning might show a higher reading by the afternoon as the sun warms the fuel, causing it to expand—even though you haven't added any more.
- Tank Shape: Irregularly shaped tanks are the biggest headache for simple float-arm systems. An ultrasonic or capacitive boat fuel tank gauge is often a much better choice in these cases because it measures the direct vertical height of the fuel, which can then be calibrated to the tank's specific volume.
The push for better accuracy is driving major growth in this area. The global level gauge market was valued at $1.7 billion in 2021 and is projected to reach $2.6 billion by 2031, largely thanks to the marine industry's adoption of more precise, automatic systems. You can learn more about this market growth on Taiwan News. By understanding the science behind the reading, you can interpret what your gauge is truly telling you and boat with greater confidence.
Matching the Right Boat Fuel Tank Gauge to Your Vessel
Picking a new boat fuel tank gauge isn’t like buying a standard part off the shelf. It’s about matching the right technology to your boat and your specific needs. The high-tech gauge perfect for a serious offshore fishing vessel is likely unnecessary for a pontoon that spends its days on a quiet lake. The goal is to find a sweet spot between cost, accuracy, and installation simplicity.
Key Factors in Your Decision
Before you start browsing products, take a moment to consider your boat and how you use it. This quick evaluation will help you filter out the noise and focus on what truly matters.
- Tank Material and Shape: This is the most important starting point. An old-school float-arm sender can give quirky, non-linear readings in an irregularly shaped plastic tank. For these, a modern ultrasonic sender is a much better fit because it measures the direct vertical distance to the fuel, ignoring the tank’s weird angles. For a standard rectangular aluminum tank, a good mechanical or capacitive sender will do the job just fine.
- Your Accuracy Tolerance: How precise do you need your fuel level to be? If you’re making long trips far from shore, fuel calculations are a critical safety measure, and a system with 1-2% accuracy is a worthwhile investment. For a day cruiser or small fishing boat that stays close to the marina, a gauge with +/- 10% accuracy is usually enough, especially when you also keep an eye on your engine hours.
- Installation Constraints: Think about how easy it is to access your fuel tank. Can you get to the sender unit without a major teardown? Some advanced gauges, like pressure senders, must be installed at the very bottom of the tank, which can be a difficult and invasive task. In contrast, a simple top-mounted float or ultrasonic gauge is often a straightforward DIY project.
Fuel Tank Gauge Selection Criteria
To help you connect the dots between your boat and the right gauge, we've created a table that breaks down recommendations for common vessel types. This guide will help you see which factors are most important for different boating scenarios.
| Boat Type | Recommended Gauge Type | Key Considerations | Typical Accuracy Needs | Installation Notes |
|---|---|---|---|---|
| Small Fishing Boat | Mechanical Float-Arm | Cost-effective and simple for standard-shaped tanks. | Moderate (+/- 10%) | Easy DIY installation, typically top-mounted. |
| Pontoon / Deck Boat | Ultrasonic or Capacitive | Handles fuel slosh well, ideal for common plastic tanks. | High (+/- 5%) | Top-mount installation; requires careful calibration. |
| Offshore Center Console | Ultrasonic or NMEA 2000 | High accuracy is critical for safety; integrates with other electronics. | Very High (+/- 1-2%) | May need professional setup for network integration. |
| Sailboat (with Auxiliary) | Capacitive or Ultrasonic | Reliable with low power draw and no moving parts to fail. | High (+/- 3-5%) | Sender length must be cut precisely to match tank depth. |
Ultimately, choosing the right boat fuel tank gauge comes down to an honest look at your needs. Don't get distracted by features you'll never use. Instead, focus on finding a reliable and accurate system that fits your style of boating. This approach ensures you get a gauge that delivers both value and peace of mind on the water.
Installation Strategies That Ensure Long-Term Reliability
Installing a new **boat fuel tank gauge** can seem like a straightforward weekend project, especially after watching a few online tutorials. However, there's a big difference between a quick fix and a professional installation built to last for years. A proper setup isn't just about connecting a few wires; it’s about ensuring safety, accuracy, and durability in the harsh marine environment. Cutting corners here is one of the fastest ways to create future problems and put your safety at risk.Your first thought should always be the fuel system itself. Working around gasoline or diesel fumes demands strict safety measures. This means you need excellent ventilation, all power sources must be disconnected to eliminate spark risks, and a suitable fire extinguisher must be within easy reach. Getting complacent can have devastating consequences. The electrical connections are just as important—every splice must be sealed with marine-grade, heat-shrink connectors to block moisture and corrosion, which are the main culprits behind gauge failures.
DIY vs. Professional Installation
Choosing between a DIY installation and hiring a professional marine technician comes down to your experience with electrical systems and fuel safety. For many boat owners, the confidence that comes with a professional job is well worth the investment. Technicians bring specialized tools and the expertise to handle unexpected problems, like a seized sending unit or mismatched wiring.
However, if you're a hands-on owner ready for the challenge, here are some critical areas to focus on for a successful installation:
- Correct Sender Length: The sending unit has to be the right length for your tank. If it’s too long, it will hit the bottom and always read "full." If it's too short, it will show "empty" while you still have fuel remaining.
- Proper Gasket Sealing: Always use a new, fuel-resistant gasket when replacing the sender. Tighten the mounting screws in a star pattern to distribute pressure evenly and create a perfect seal, which is vital for preventing dangerous fuel leaks.
- Grounding is Crucial: A bad ground connection is the root cause of more than 50% of electrical problems on boats. The gauge, sender, and the tank itself (if it's metal) all need a clean, solid connection to the boat's main DC ground point.
Calibration for Accuracy
The final, and frequently skipped, step is calibration. This process syncs the gauge on your dash with the actual fuel level in your tank. With more advanced systems, this might involve digitally programming the tank's specific shape and volume. The long-term performance of your gauge is also linked to the health of the fuel tank; understanding the durability of polyethylene tanks can inform the reliability of the entire system.
For more detailed instructions on sender installation and troubleshooting, our guide on boat fuel sending unit setup offers step-by-step help. In the end, a careful and thorough installation is the best way to ensure you have a fuel gauge you can trust on every trip.
Keeping Your Boat Fuel Tank Gauge Accurate for Years
A properly maintained boat fuel tank gauge is like a trusted first mate—reliable, accurate, and always there when you need it most. Many boaters, however, treat their gauges as "set it and forget it" devices, only paying attention when the readings are obviously wrong. This reactive approach can lead to frustrating guesswork and dangerous fuel miscalculations far from shore.
Proactive care is what separates a consistently accurate fuel gauge from a system that eventually lets you down. This principle of diligent fuel management is a cornerstone of the maritime industry. In fact, the global market for inventory tank gauging, which includes these critical systems on all types of vessels, was valued at approximately $662.9 billion in 2023. This massive figure shows just how important it is to know exactly how much fuel is on board at all times.
You can explore the complete research on Verified Market Research to see the scale of this market. For an individual boater, the same commitment to reliability applies, just on a more personal level.
Your Seasonal Maintenance Checklist
Just as you winterize your engine, your fuel gauge system needs seasonal attention to perform at its best. A few simple checks can prevent most common failures and keep your equipment in top shape.
- Spring Commissioning: Before your first trip of the season, give all wiring connections from the sender to the gauge a close look. Search for any signs of corrosion, which is a prime suspect for causing erratic readings. Clean the terminals with a wire brush and apply dielectric grease to shield them from moisture.
- Mid-Season Check-Up: Do a quick accuracy test. When your tank is at a known level, like half full, note the gauge reading. Does it look right? Check it again on your next trip to see if it’s consistent. This simple habit helps you catch gradual calibration drift before it becomes a real problem.
- Winter Storage: When possible, store your boat with a full tank of fuel treated with a stabilizer. This simple step cuts down on condensation inside the tank, which can lead to corrosion and damage the sending unit’s delicate components over the winter.
Diagnosing Early Warning Signs
Learning to spot trouble early can save you a major headache down the line. Don't ignore these common red flags:
- A "Stuck" Needle: If your gauge reads "Full" for way too long before suddenly dropping, it often points to a worn-out or gummed-up float-arm mechanism in the sending unit.
- Wildly Fluctuating Readings: While some needle bounce is normal in rough seas, a gauge that constantly jumps between empty and full in calm water usually means a loose wire or a bad ground connection.
- The Gauge is Dead: If the gauge shows no reading at all, the issue could be a blown fuse, a complete wiring failure, or a dead sending unit. Always start by checking the simplest things first, like the fuse panel.
By making these practices part of your routine, you turn your boat fuel tank gauge from a simple dial into a piece of safety equipment you can truly trust. For more great tips, you can also check out our extensive boat fuel tank guide for safety and maintenance.
Solving Common Fuel Gauge Problems Like a Pro
Every boater knows the gut-wrenching feeling of seeing a boat fuel tank gauge that’s clearly not telling the truth. Whether it's stubbornly stuck on full, lifeless on empty, or bouncing around like a pinball, a bad gauge turns a great day on the water into a high-stakes guessing game. Before you make a costly call to the marina or take a chance on running dry, you can often solve the puzzle yourself with a bit of systematic troubleshooting.
Imagine your fuel monitoring system is a team of three: the gauge on your dashboard, the sending unit inside the tank, and the wiring that connects them. Most of the time, the problem lies with one of these three players. The secret is to figure out which one is failing before you start replacing parts. As many charter captains can attest, a gauge stuck on "Full" is a common headache that can lead to a dangerously false sense of security about your remaining fuel.
A Step-by-Step Diagnostic Approach
When your gauge starts to misbehave, the best reaction is a calm and logical one. By starting with the most common and simplest potential issues, you can save yourself a world of time, money, and frustration.
- Check the Simple Stuff First: Before you start tearing into wires, take a moment to check the basics. Is the fuse for the gauge still good? Is the boat's ignition on? It might sound elementary, but these small oversights are surprisingly common culprits.
- Test the Gauge Itself: This is a key move to isolate the problem. Is the issue at your helm, or is it back at the tank? First, disconnect the sender wire from the back of the gauge. When you turn the ignition on, the needle should fall to "Empty." Next, use a small jumper wire to connect the gauge's sender terminal directly to a good ground. The needle should now swing all the way to "Full." If the gauge performs these two actions correctly, you know it's working fine. The problem must be in the wiring or the sending unit.
- Inspect the Sending Unit and Wiring: With the gauge cleared, turn your attention to the sender and its electrical connections. A bad ground connection is the root cause of over 50% of marine electrical gremlins. Check that the sender's ground wire is clean and securely fastened. You should also carefully examine the wiring for any signs of corrosion, worn-through insulation (chafing), or loose connectors, paying close attention to where they attach to the sending unit on top of the fuel tank.
Common Problems and Their Likely Causes
| Problem | Likely Cause | Solution |
|---|---|---|
| Gauge Stuck on Full | The sender wire has a short to ground, or the float itself is physically stuck at the top. | Check the wiring for any shorts and inspect the sending unit for mechanical hangups. |
| Gauge Stuck on Empty | There's a break in the sender wire, a poor ground connection, or the sending unit has failed. | Test the wire for continuity, confirm the ground is solid, and test the sender. |
| Erratic Readings | A loose wire, corroded terminal, or a sender that is beginning to fail. | Clean and tighten every connection; if that doesn't work, the sender likely needs replacement. |
Working through these issues systematically gives you the power to find the real problem and fix it right the first time. For a more detailed guide on specific repairs, check out our post on the top solutions for boat fuel gauge problems.
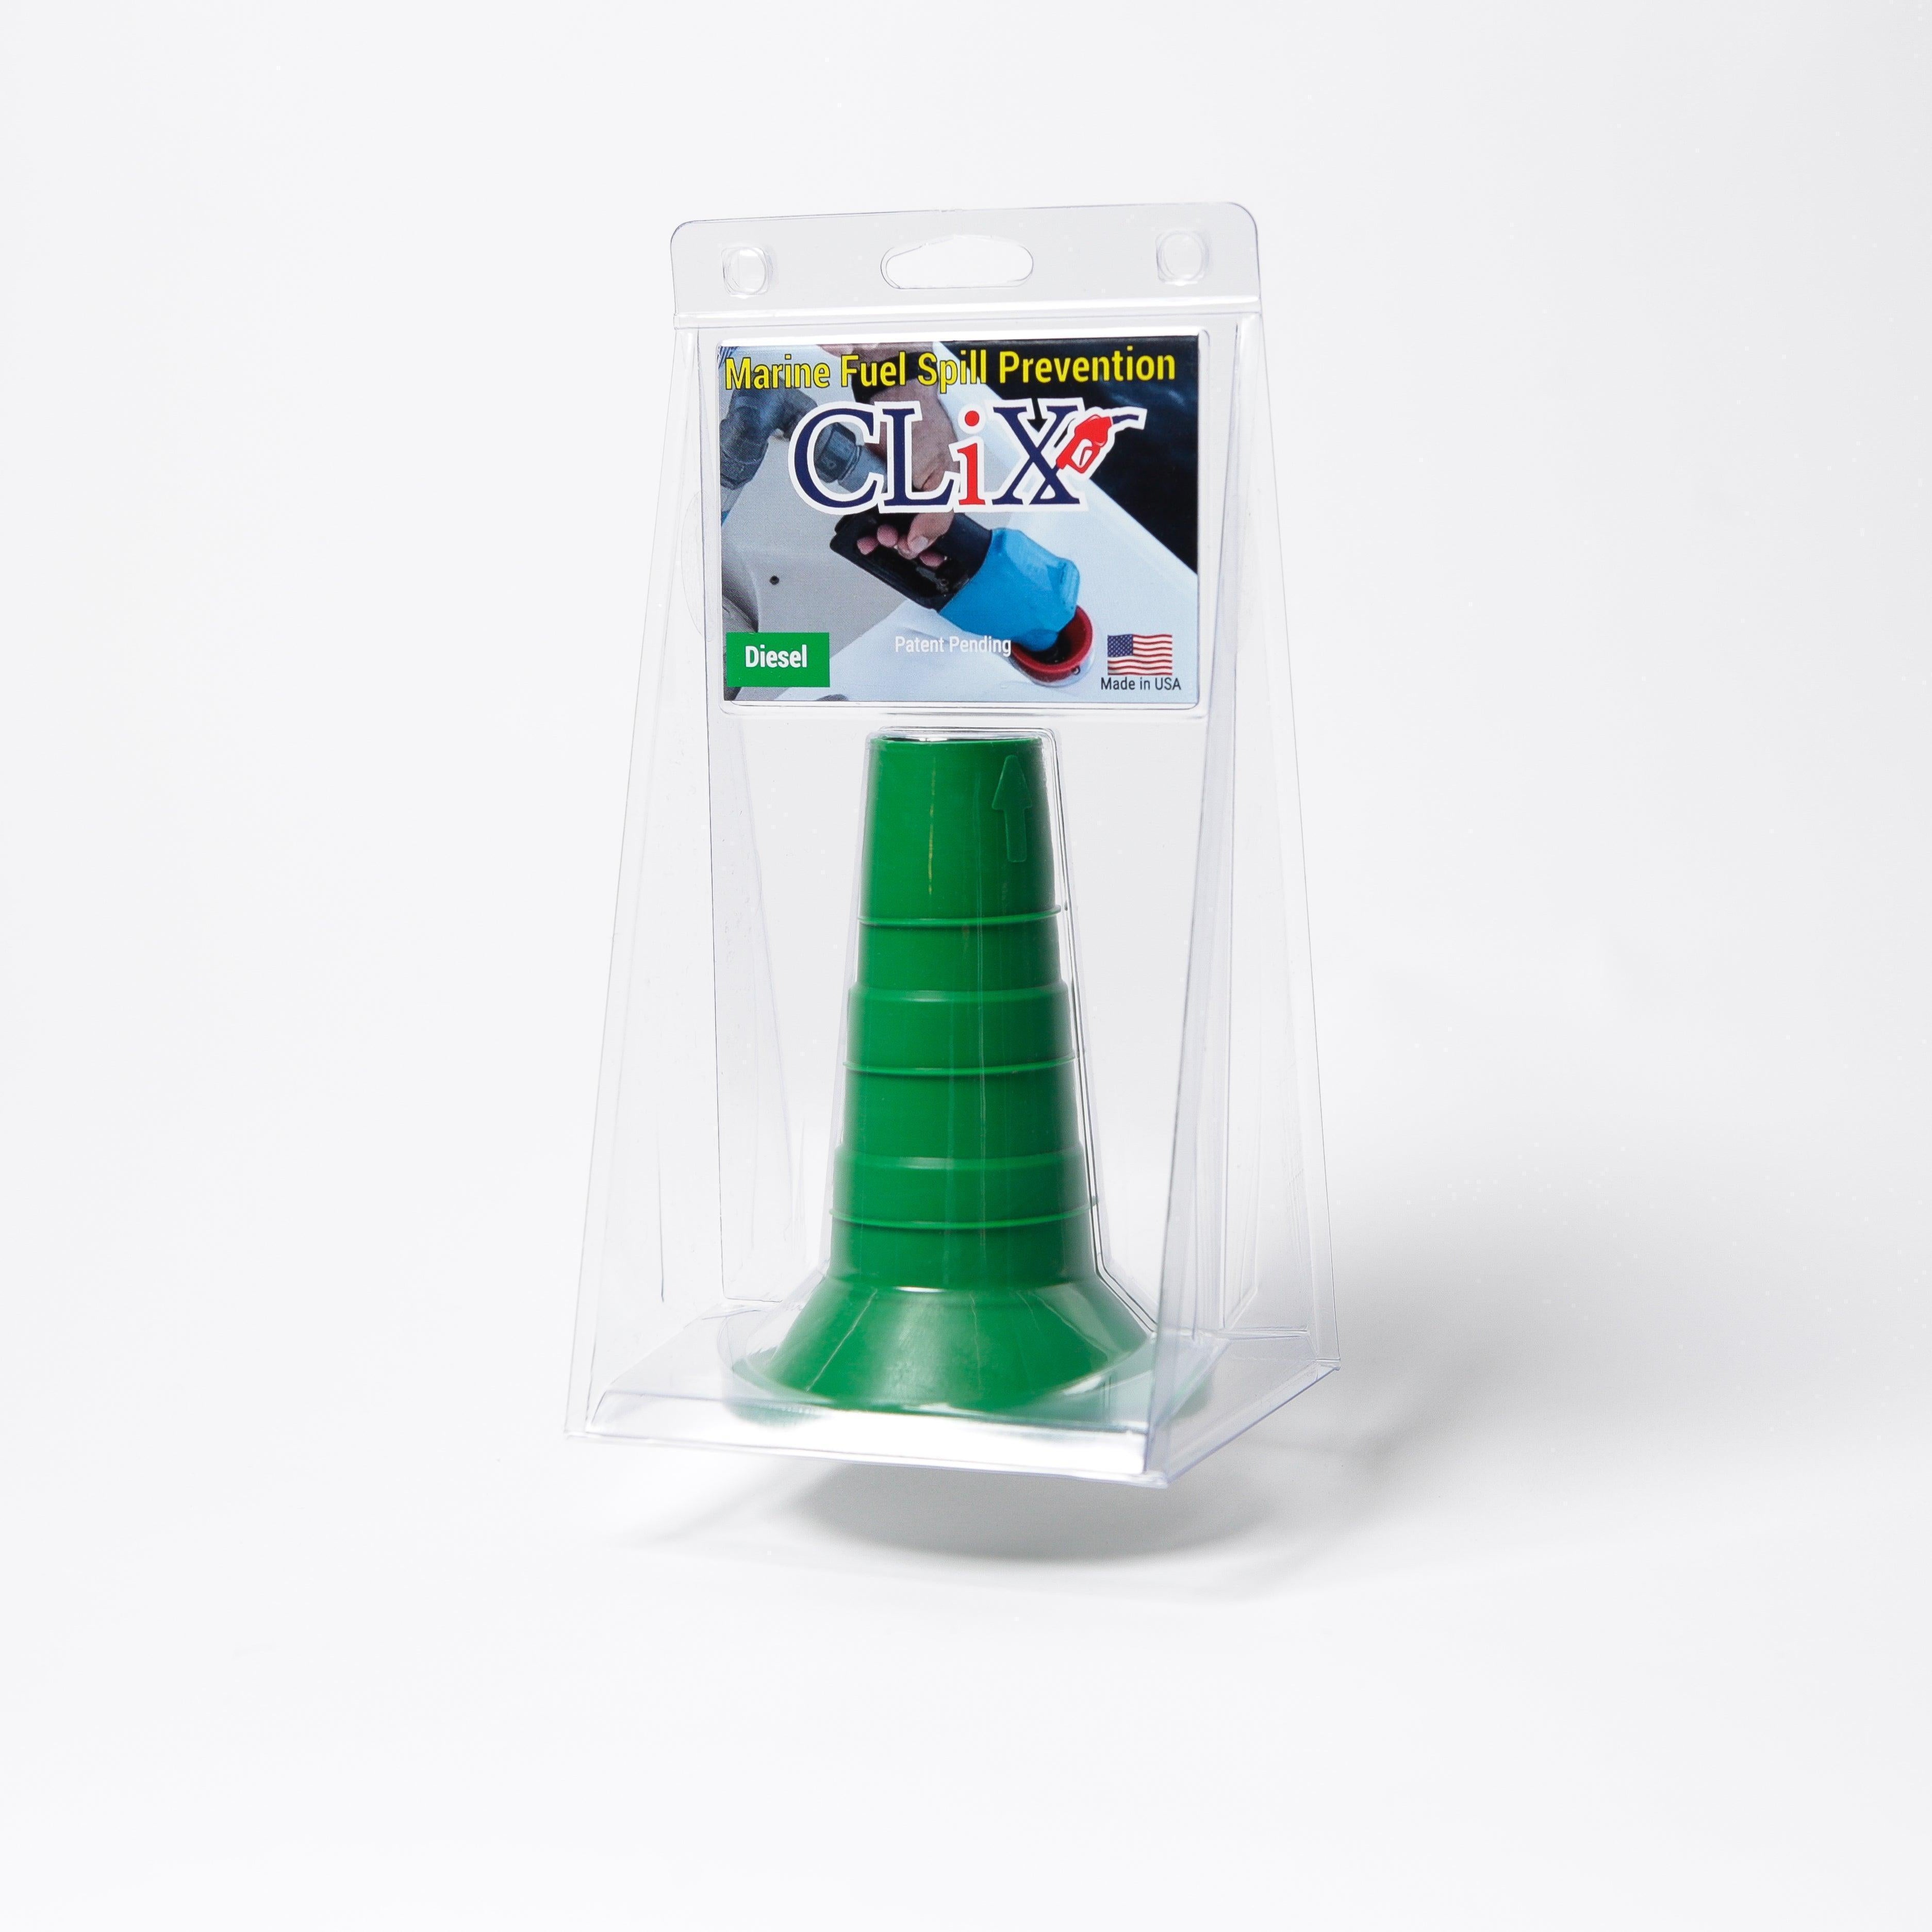
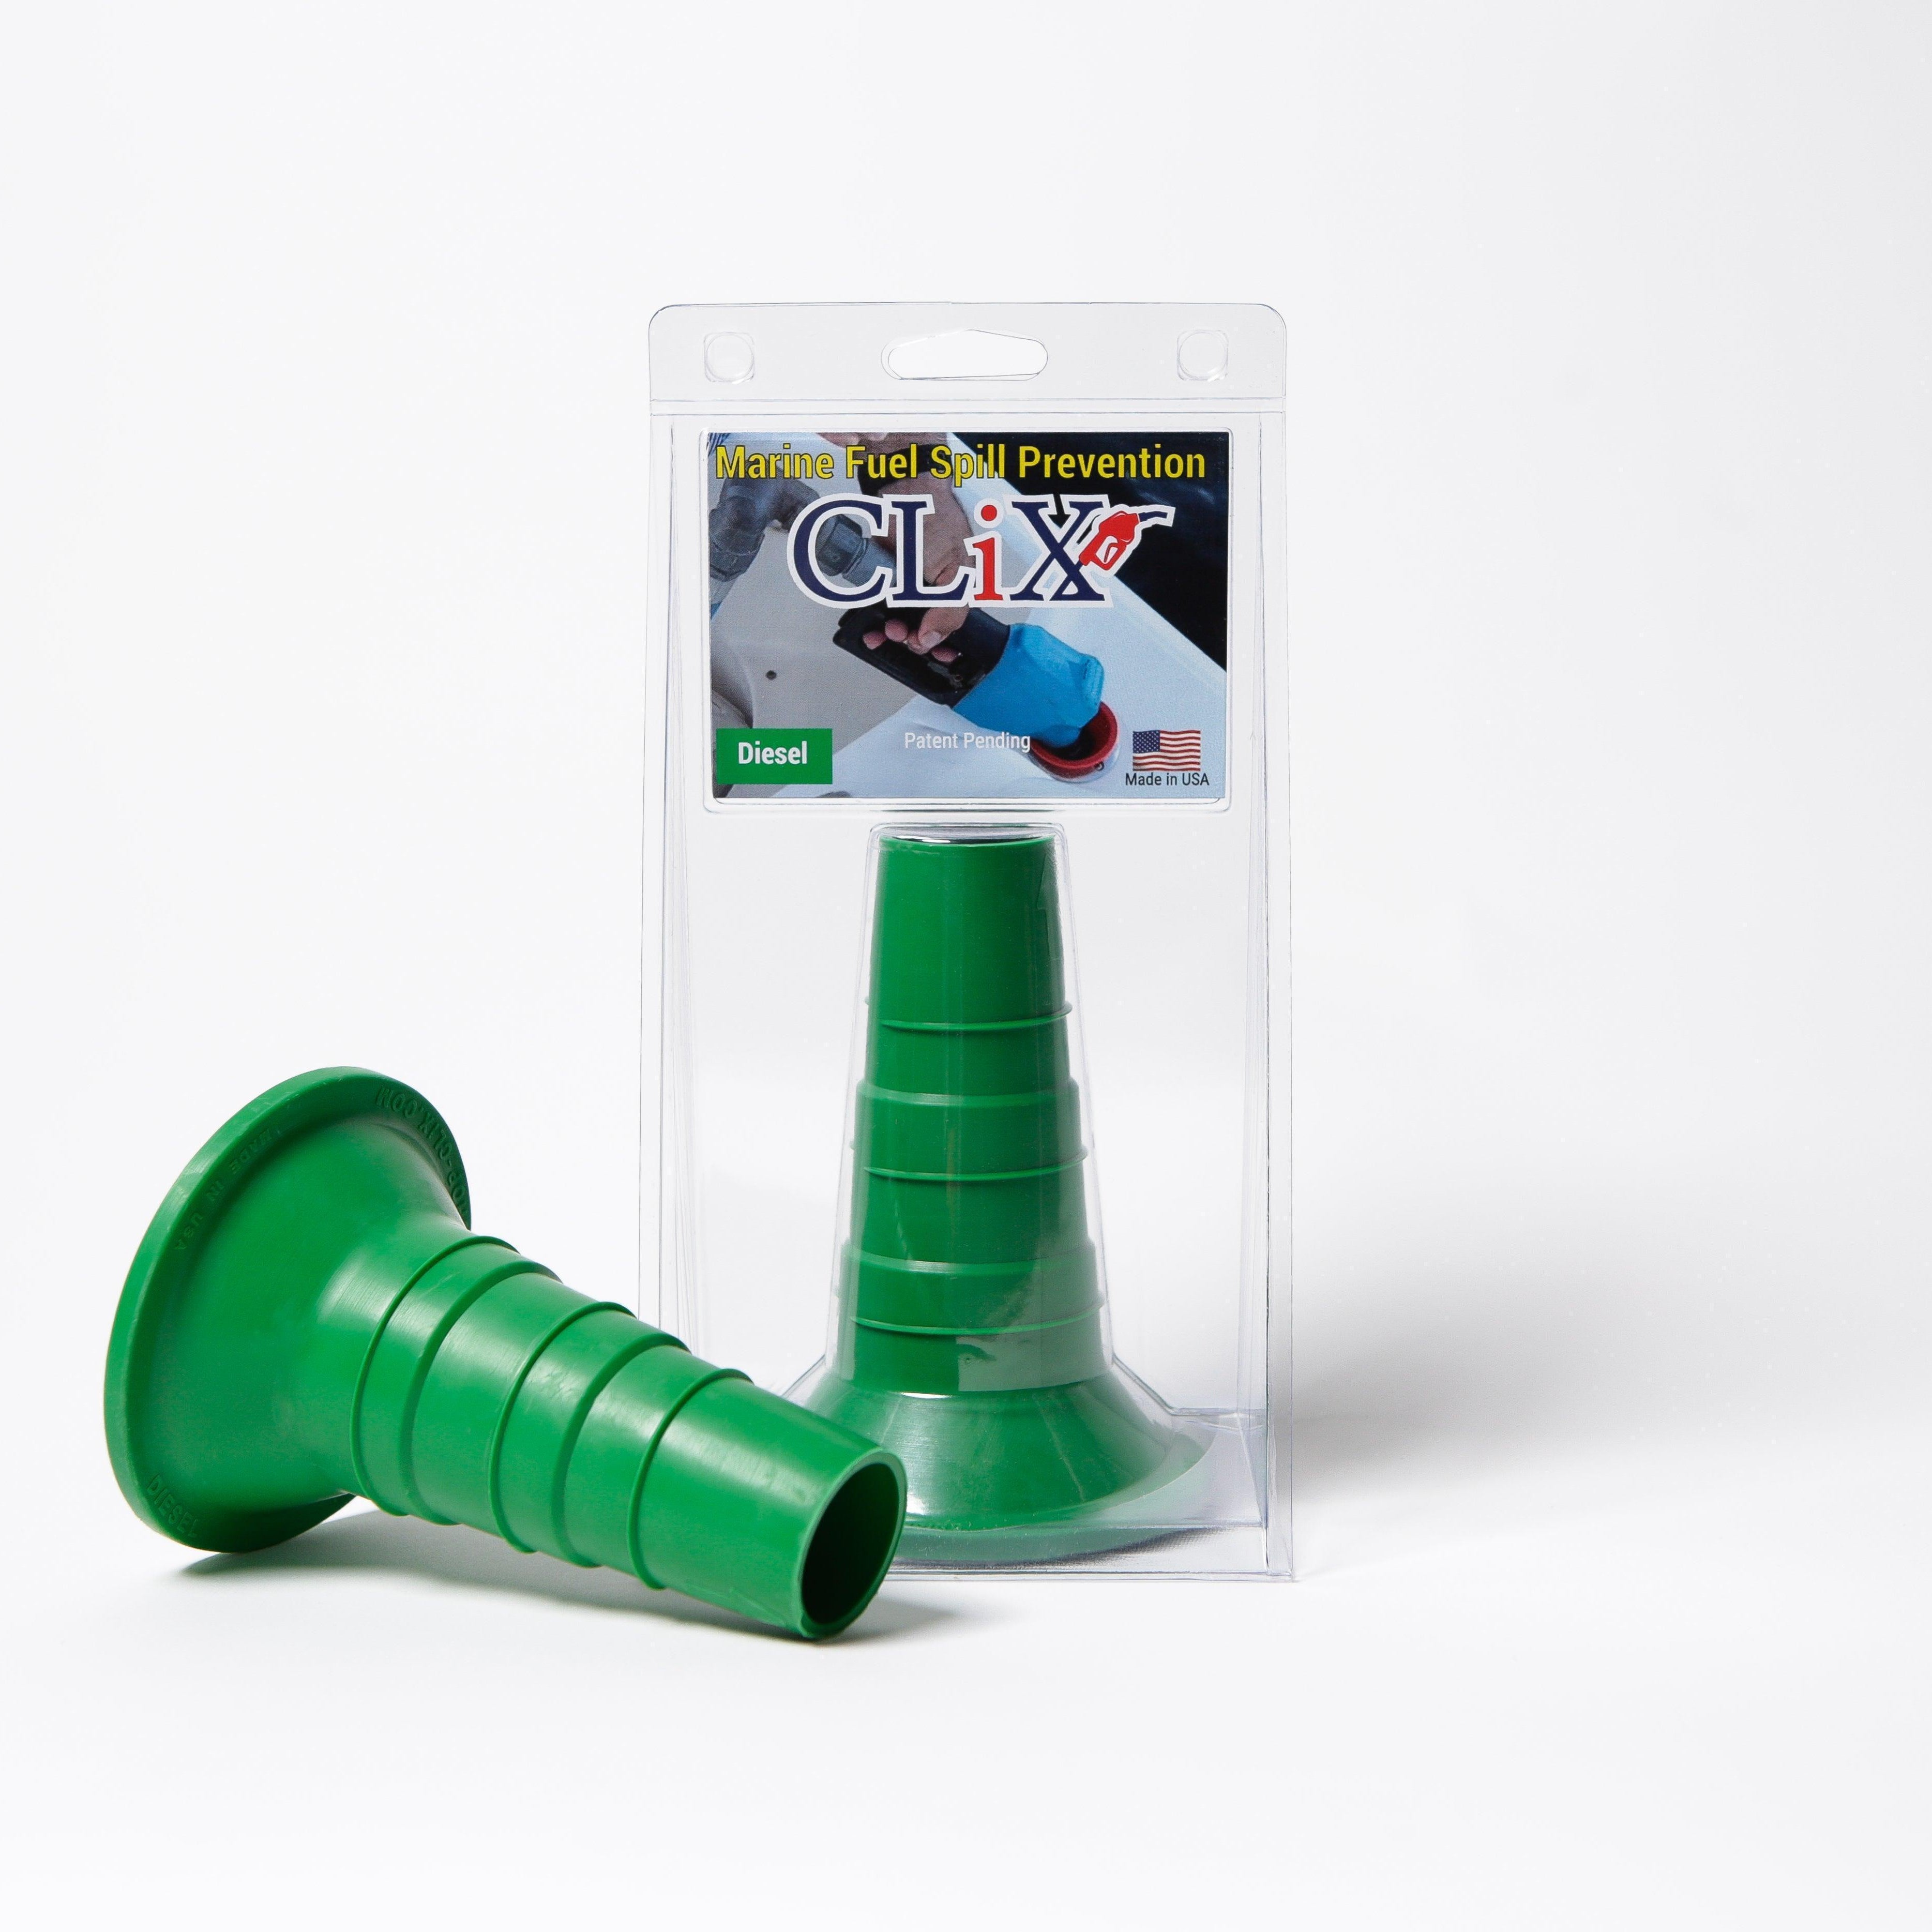
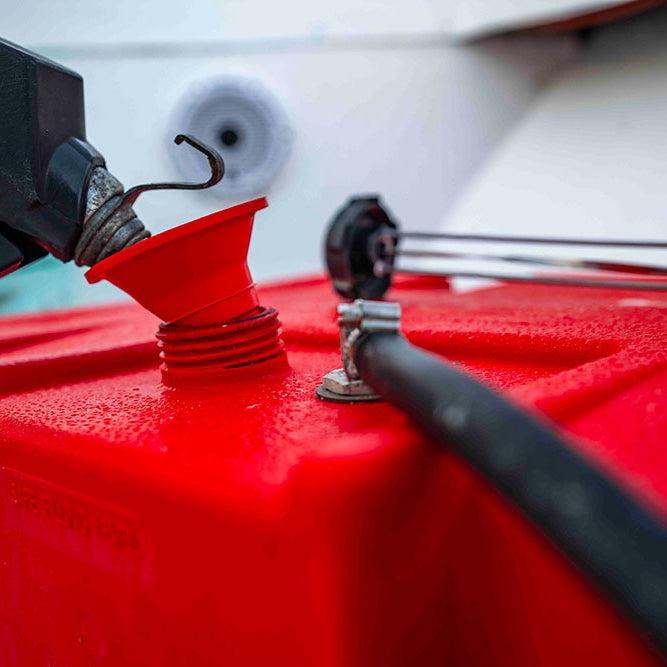
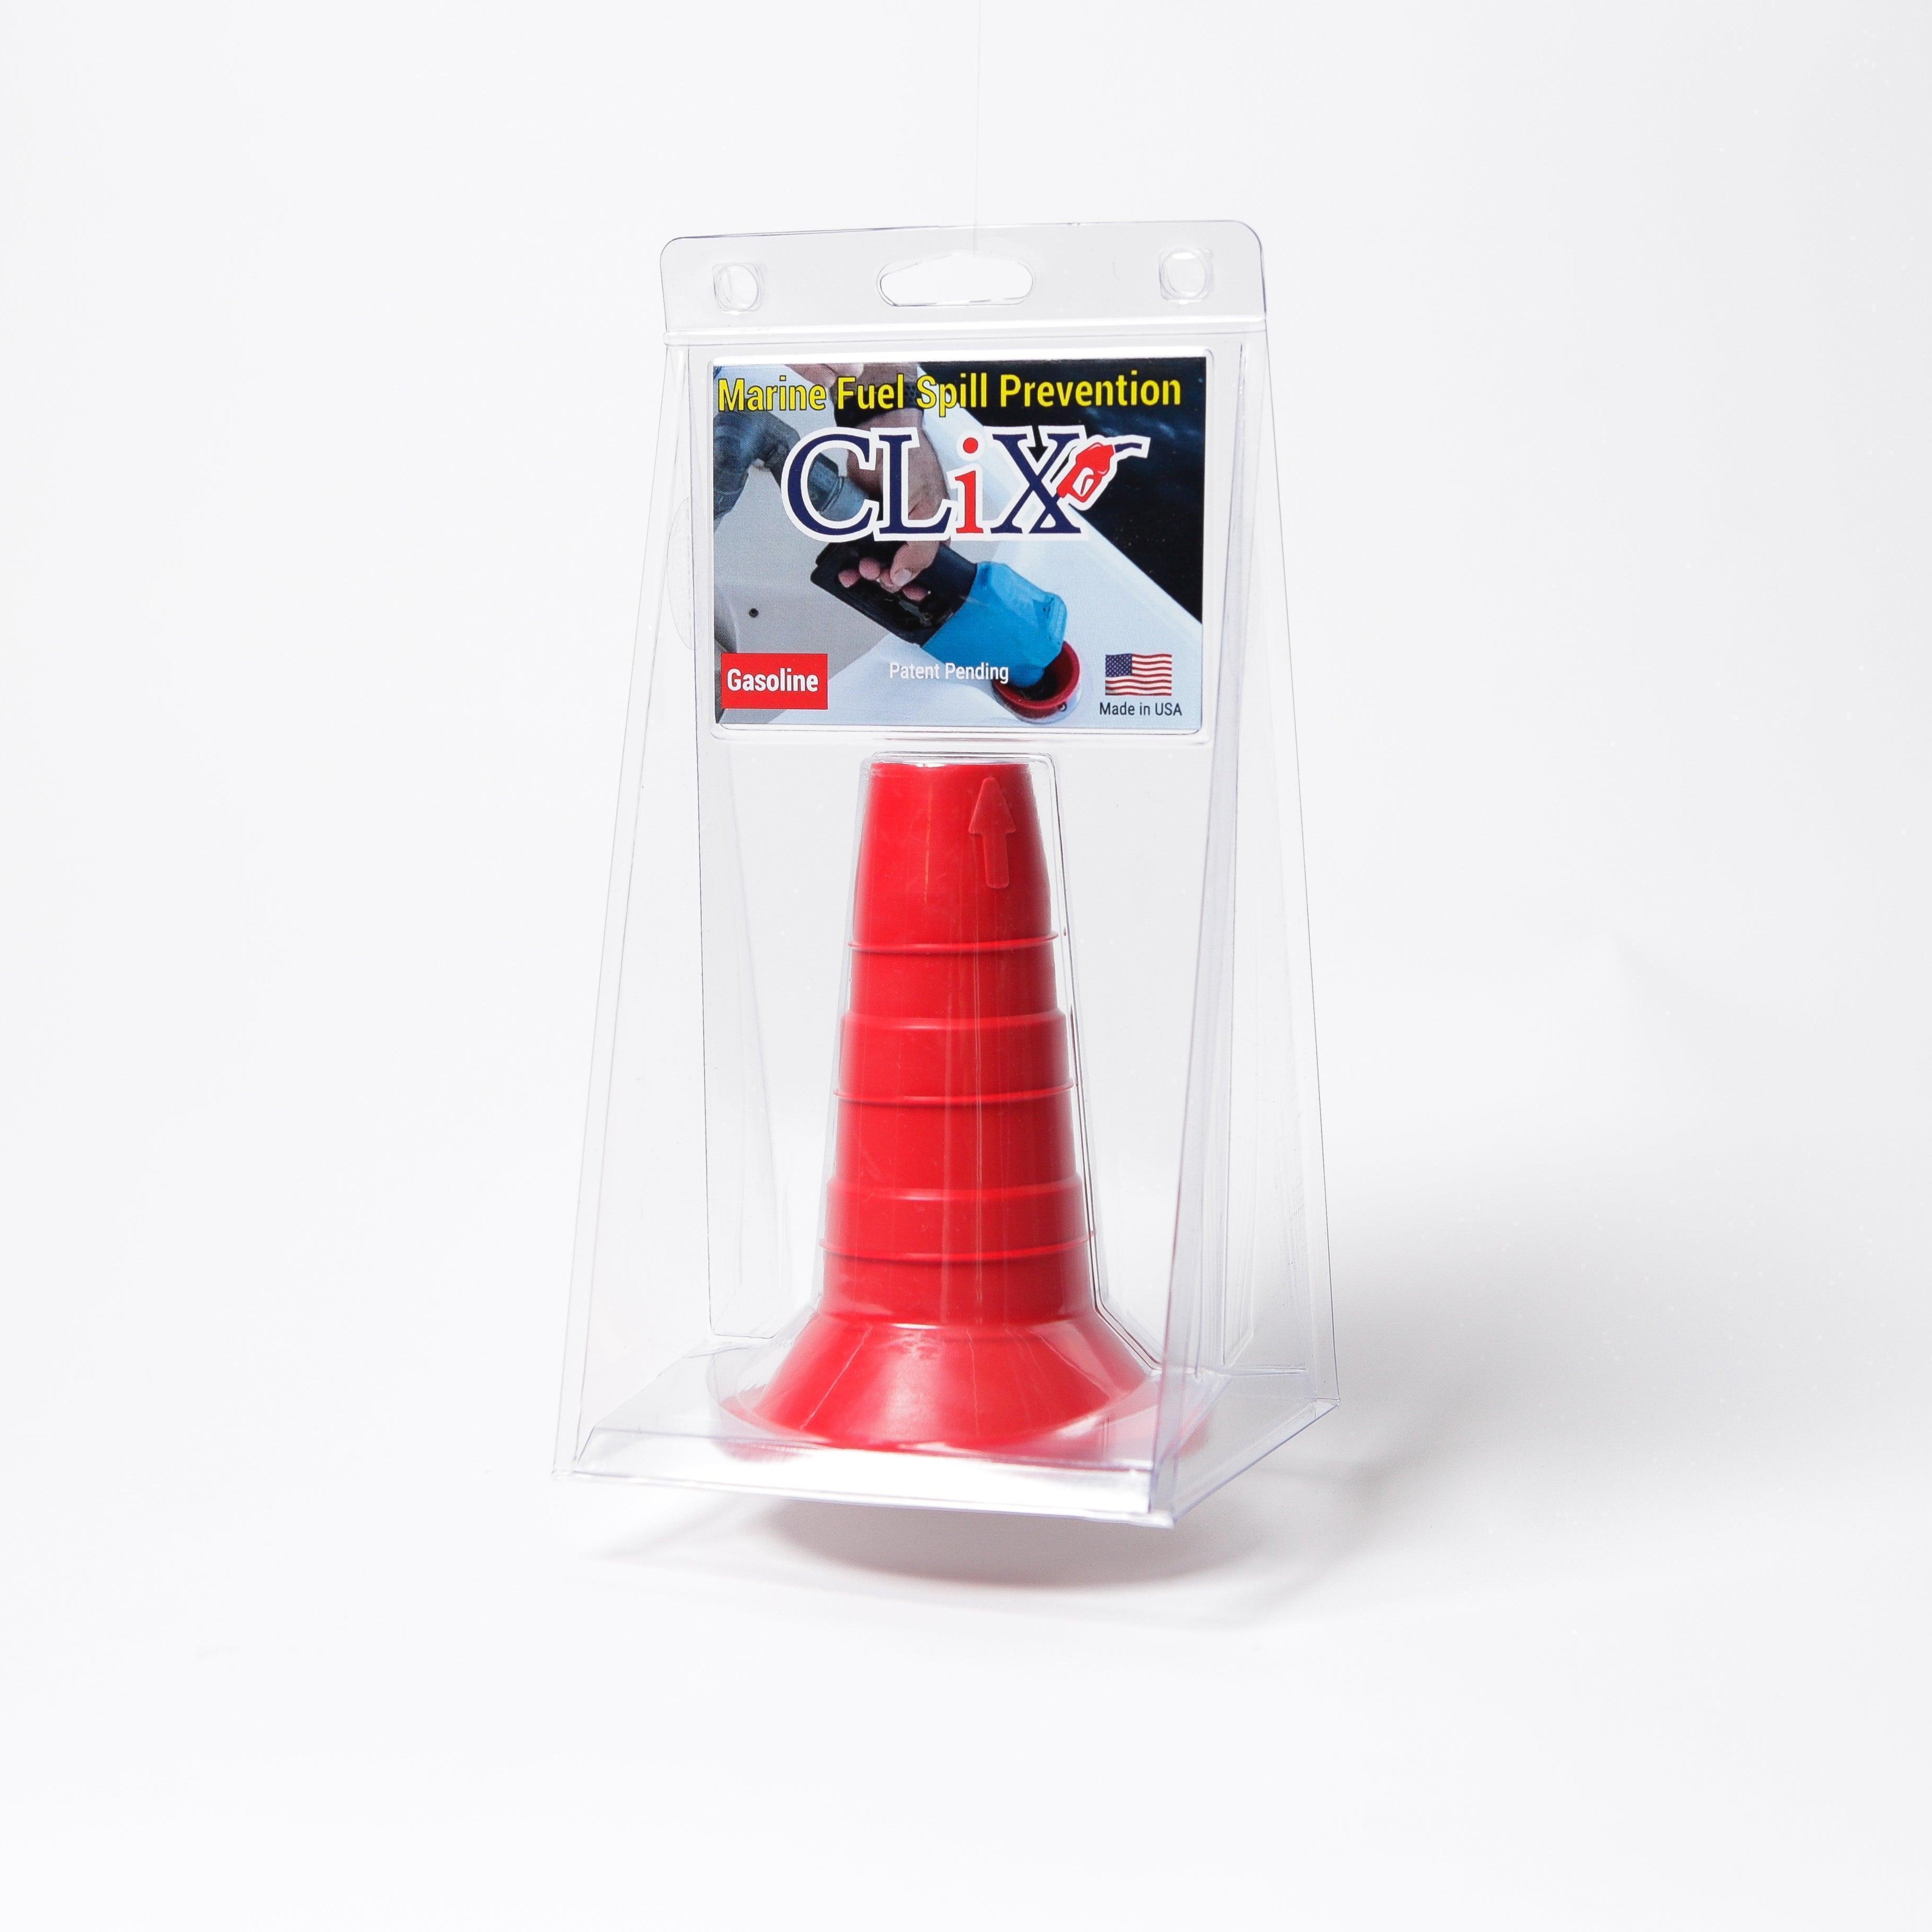
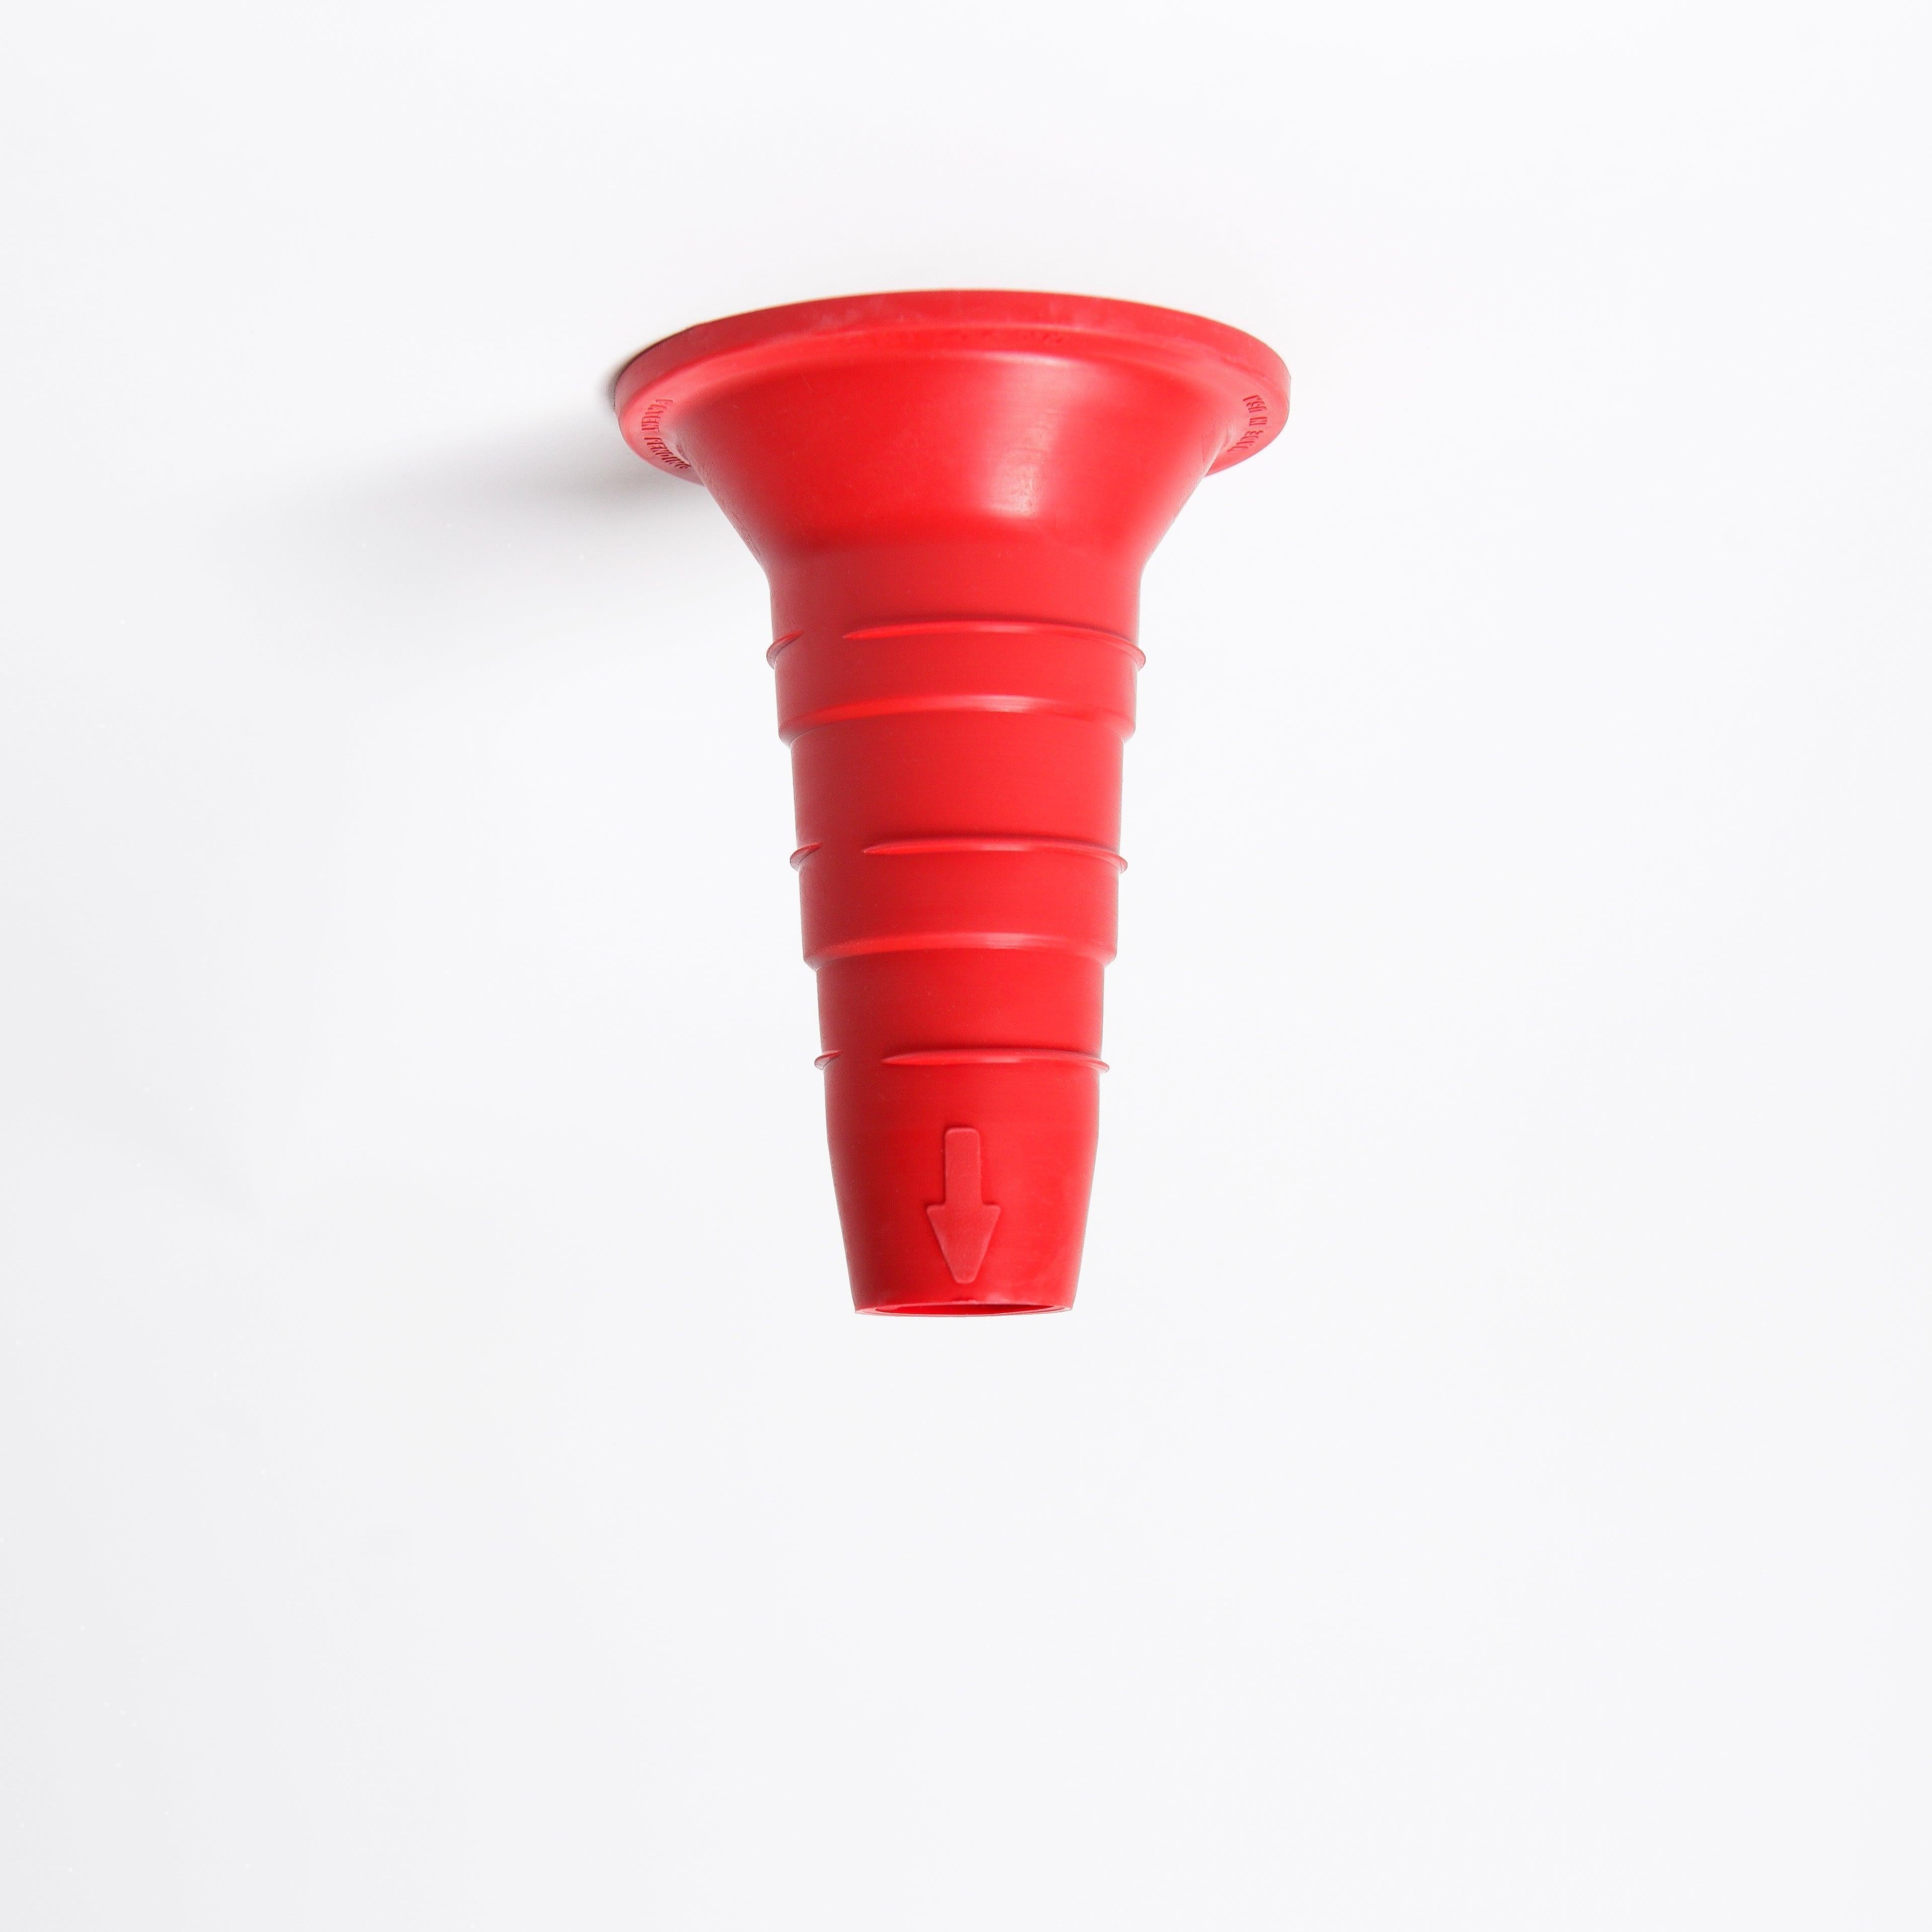
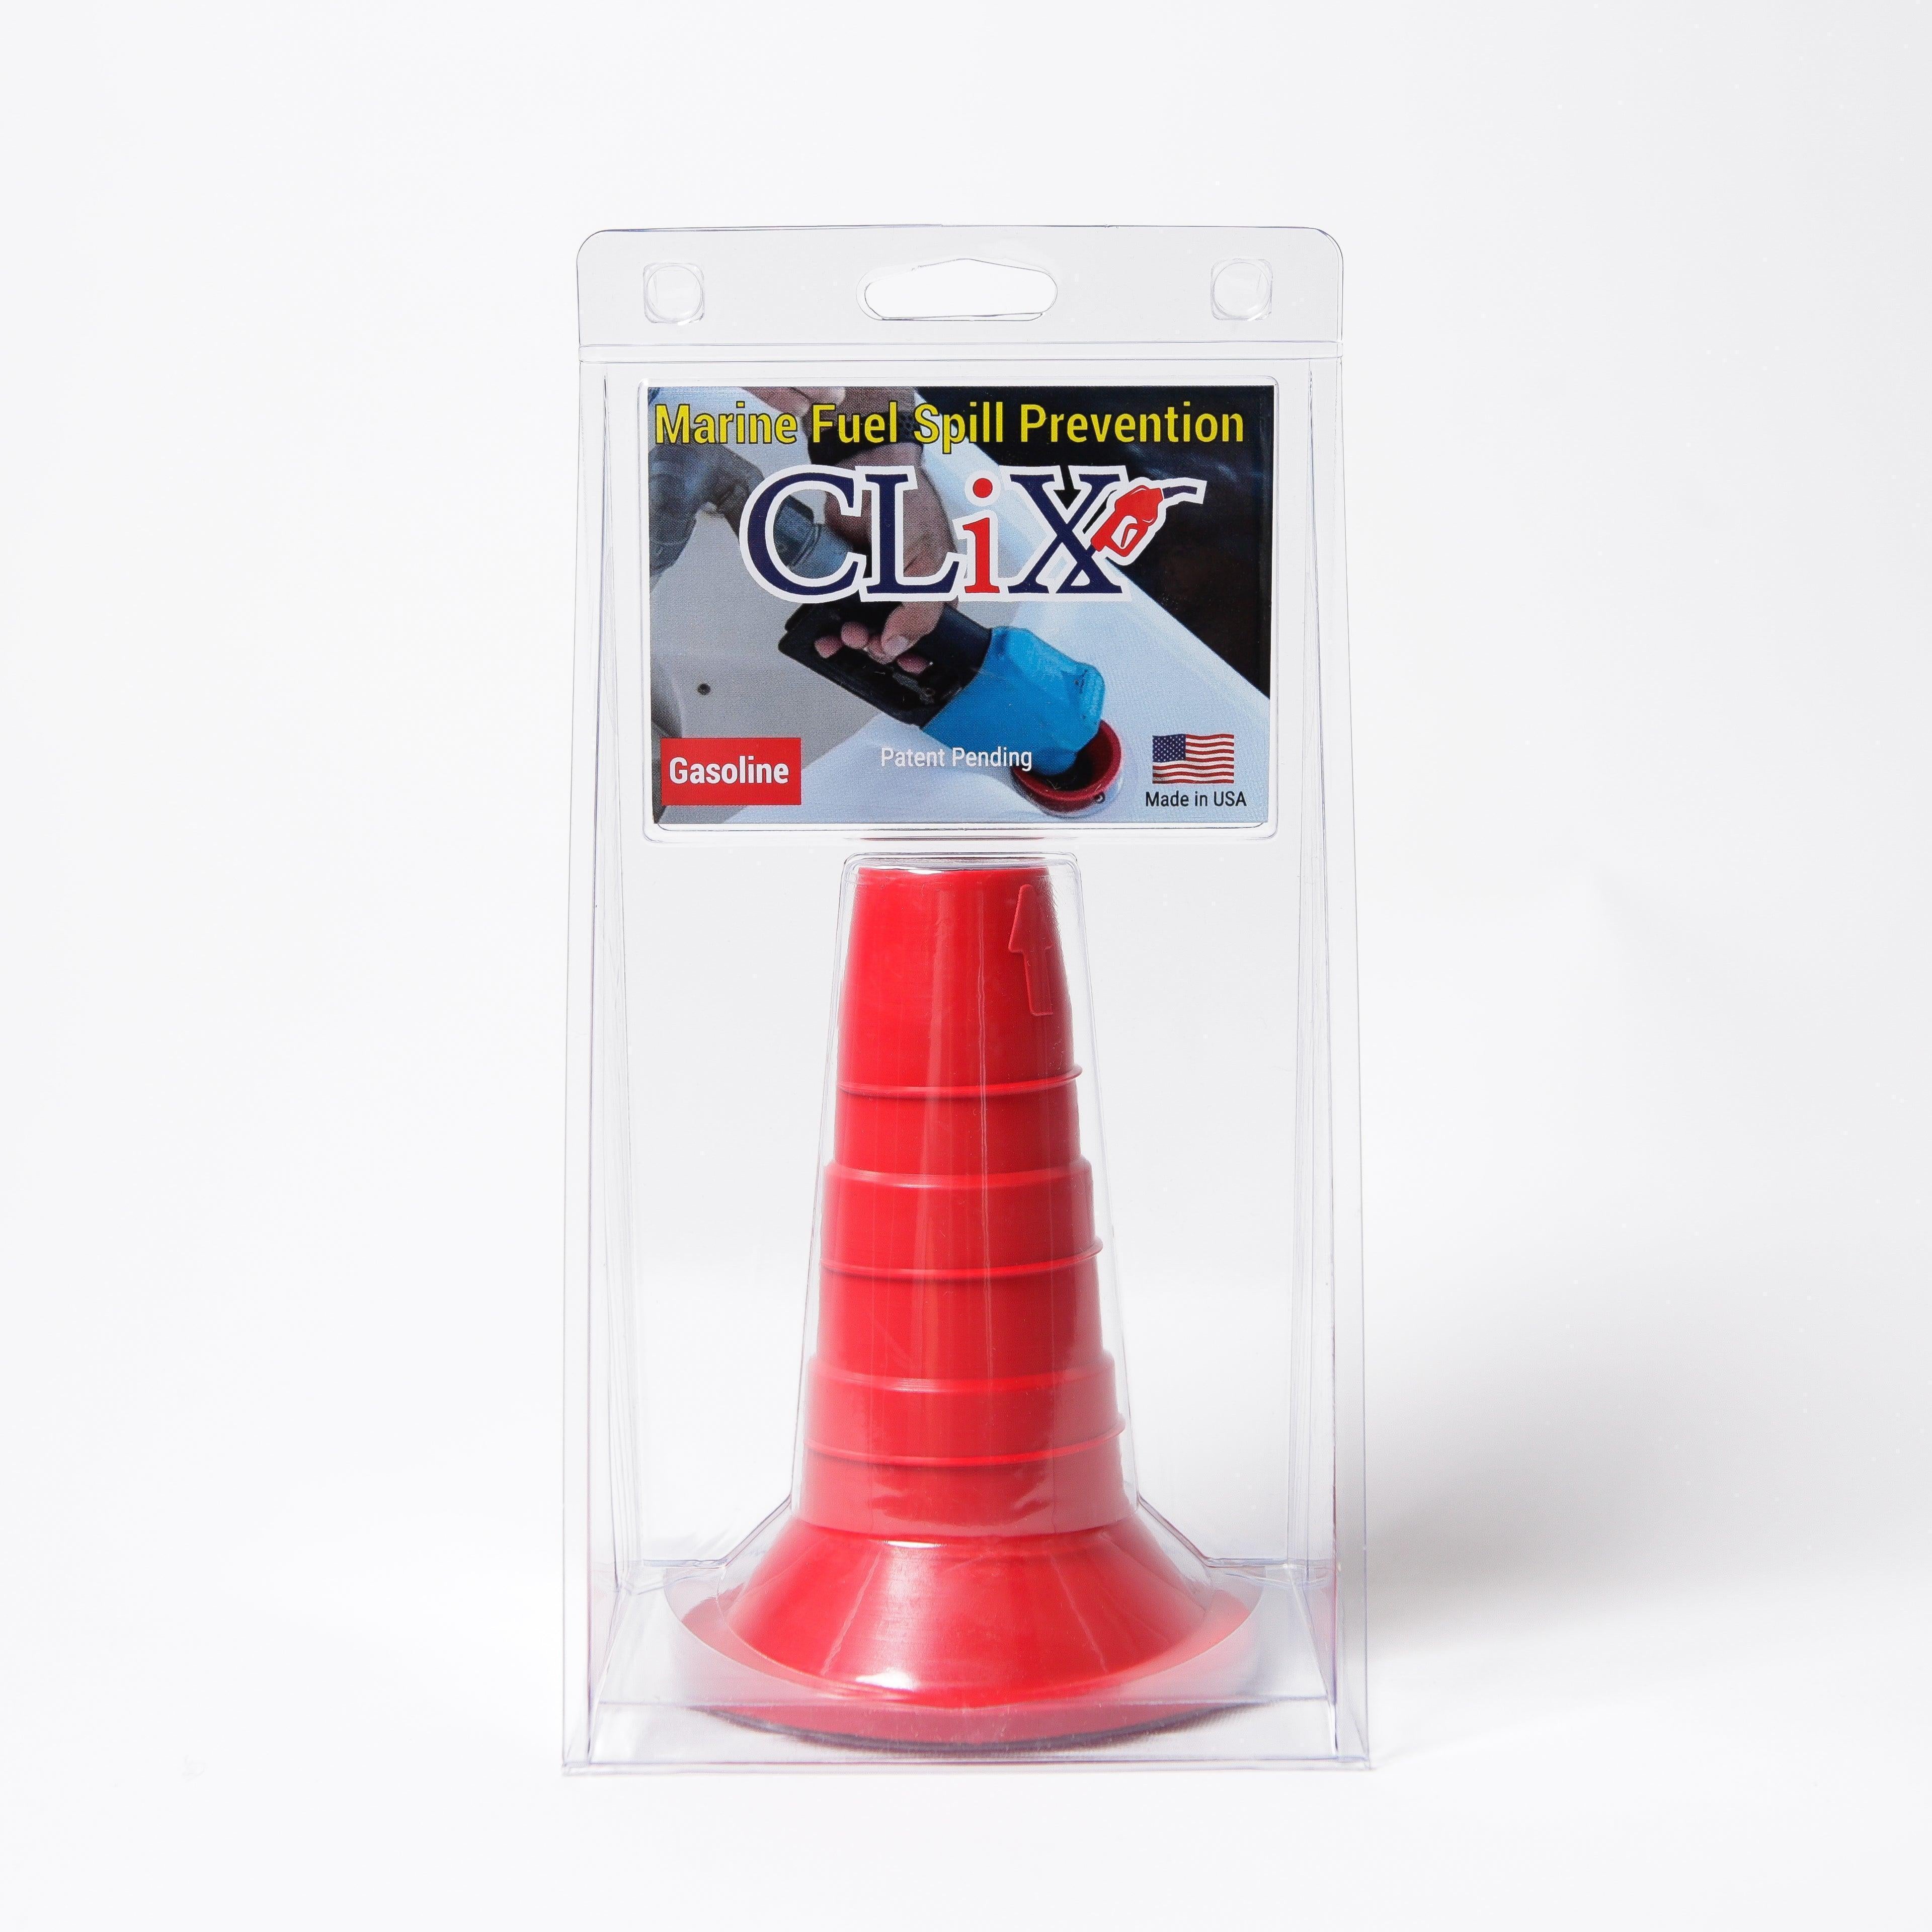
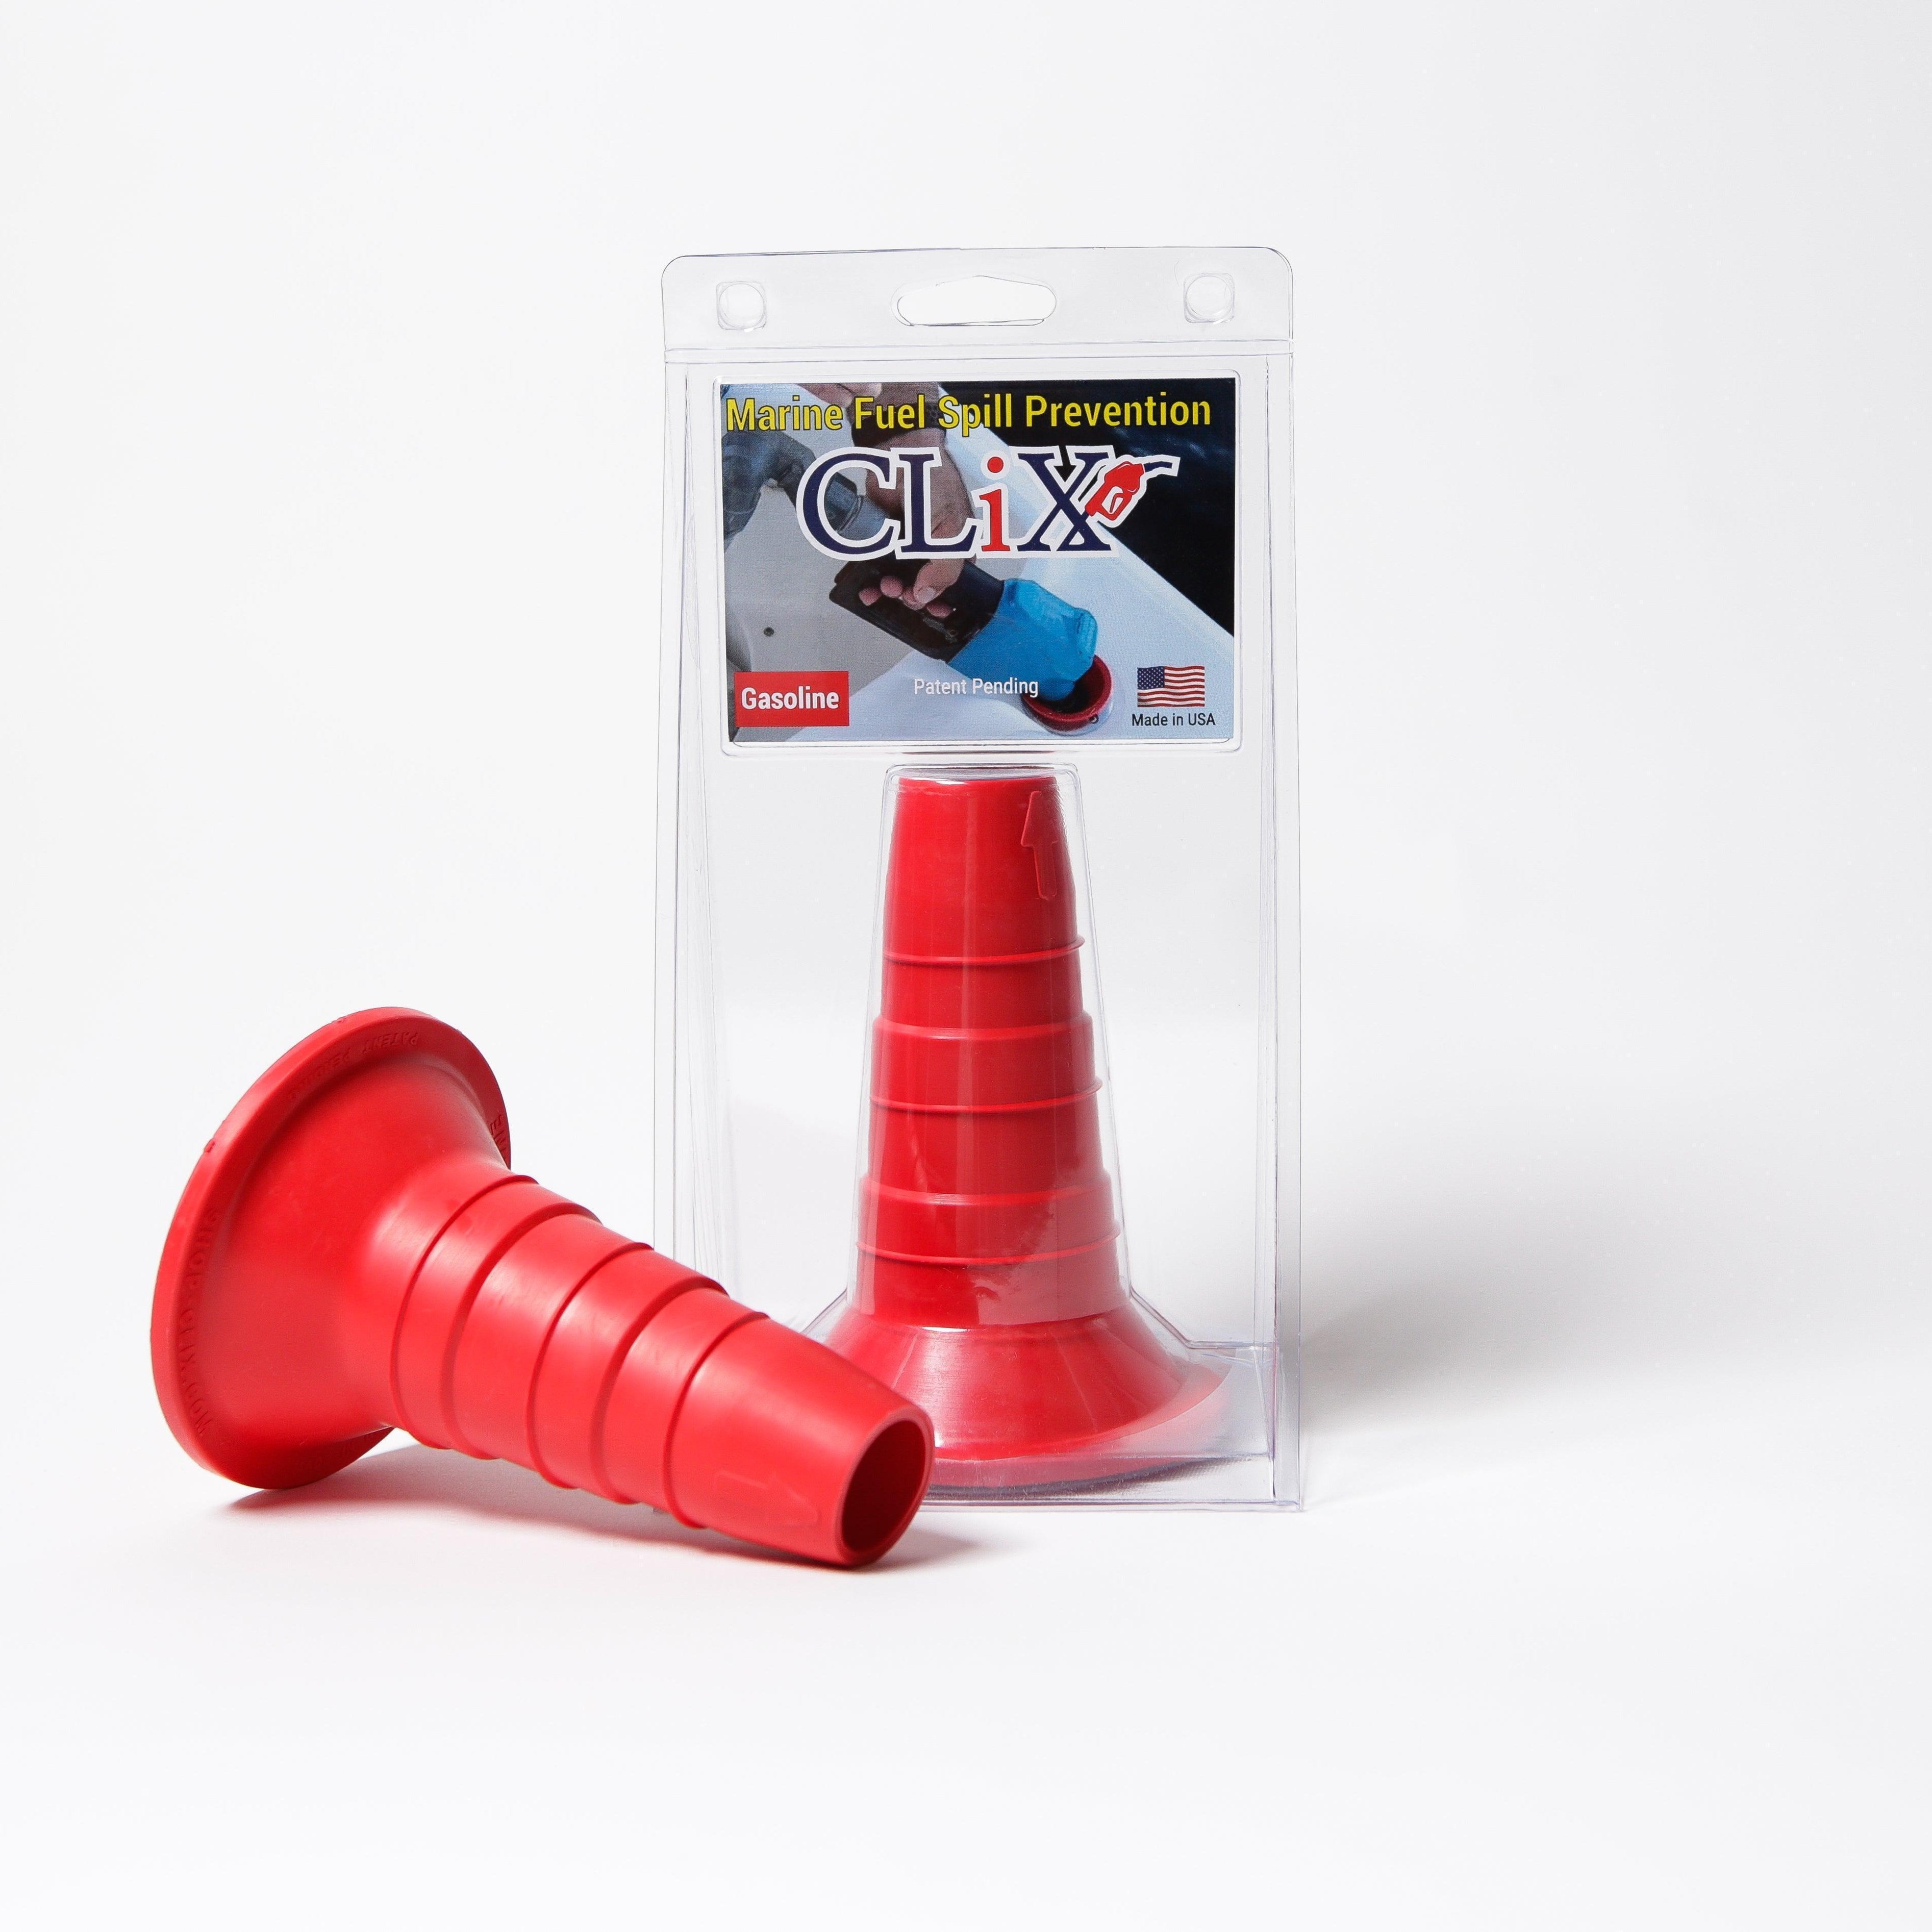
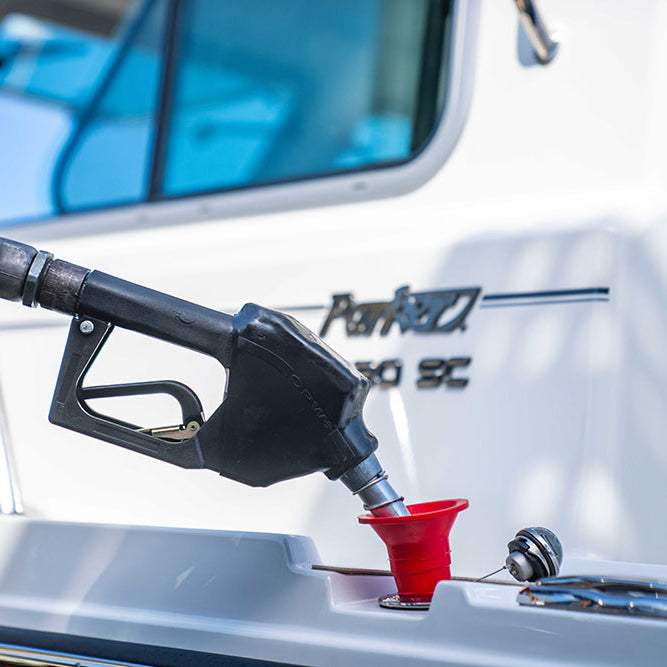
While having a reliable gauge is critical, preventing fuel spills is equally important for your safety and the health of our waterways. The CLiX Fueling system is designed to stop overflows before they happen, taking the guesswork out of refueling. Explore how CLiX can make every refueling stop spill-free and stress-free.