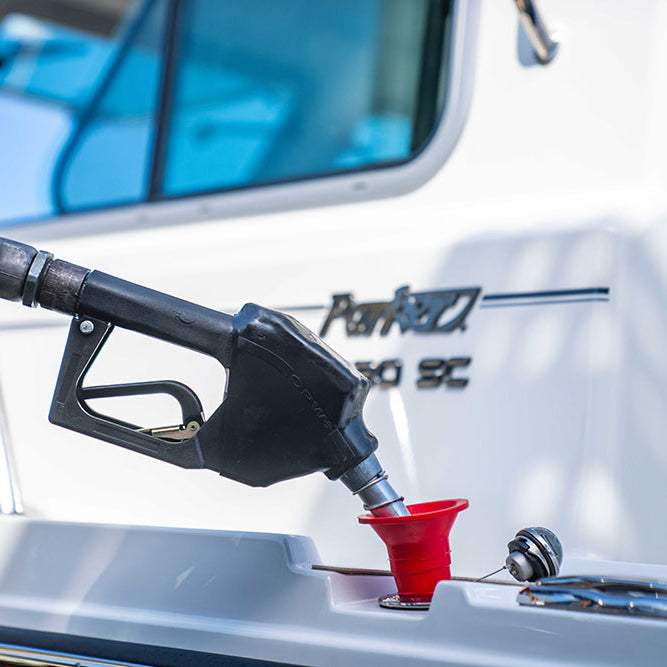
At first glance, a boat fuel filler looks like little more than a cap on your deck. It’s the spot where you stick the fuel nozzle, fill up the tank, and get on with your day. But this simple-looking piece of hardware is actually the gatekeeper to your entire fuel system, and getting it right is crucial.
This is your single access point for refueling, and it's designed to make that process safe, clean, and secure every single time you pull up to the fuel dock.
Why Your Boat Fuel Filler Is So Important
Think of your boat's fuel filler as the front door to its engine. It’s the first and last line of defense against all sorts of contaminants—water, dirt, salt, and grime—that would love to get into your tank and cause havoc. More critically, it's a key safety component engineered to prevent dangerous fuel spills and the ignition of highly flammable vapors.
A broken, leaky, or poorly designed fuel filler isn't just a minor annoyance. It's a genuine risk to your boat, your crew, and the environment.
These components are built tough for a reason. They have to survive constant exposure to punishing UV rays, corrosive saltwater, and wild temperature swings without failing. That's why they're made from materials like high-grade, corrosion-resistant stainless steel or specialized marine polymers. They have to work, and keep working, while maintaining a perfect seal against the elements.
The Cornerstone of a Healthy Fuel System
You can have the best engine in the world, but if your fuel filler is letting you down, you're going to have problems. A solid, high-quality filler is the foundation of your boat's reliability. A good seal stops water from getting in, which can cause everything from a sputtering engine to a complete stall or even catastrophic damage.
A bad seal doesn't just let things in—it also lets things out. Escaping fuel vapor is not only wasteful but also creates a serious fire hazard. The whole assembly is designed as a closed system to protect your investment.
Here’s a quick breakdown of why this one part matters so much:
- Keeps Fuel Clean: A tight-fitting cap and deck plate are your best defense against rainwater and sea spray getting into the fuel tank.
- Keeps You Safe: That little grounding wire you might not have noticed is a critical safety feature. It gets rid of static electricity that can build up during fueling, which could otherwise spark and ignite vapors.
- Preserves Fuel Quality: By stopping vapor from escaping and water from entering, the filler assembly helps your fuel stay fresh and perform as it should.
- Protects the Water: A secure boat fuel filler is essential for preventing spills at the dock, protecting our waterways from pollution.
A well-maintained fuel filler is more than just a piece of hardware; it’s a commitment to safe boating. Neglecting it is like leaving the front door of your house unlocked—it invites problems that are easily preventable.
When you understand how your fuel filler works and why it’s so important, you shift from just being an operator to being a true captain. It gives you the knowledge to spot trouble before it starts, ensuring every trip begins with a full, clean tank and a little more peace of mind.
Breaking Down the Fuel Filler Assembly
It’s easy to look at a boat fuel filler and see nothing more than a simple cap on the deck. But that couldn't be further from the truth. That polished metal or polymer exterior is the tip of the iceberg for a whole assembly, with every single part working together to keep your fuel safe and your engine happy.
Think of it as a gatekeeper for your boat's most volatile system. It's not just there to let fuel in; it's designed from the ground up to keep water out, stop dangerous fumes from escaping, and even prevent static electricity from causing a catastrophe.
The Key Players in Your Fuel Filler
Every part of the fuel filler assembly has a specific job. When you understand what each piece does, you start to see why skimping on quality here is a bad idea. Let's take a look under the deck plate.
Here's a quick tour of what you're working with:
- Deck Plate: This is the part you see and touch. It's the flange mounted right on your deck, often clearly marked with "GAS" or "DIESEL" to save you from a very expensive mistake at the fuel dock.
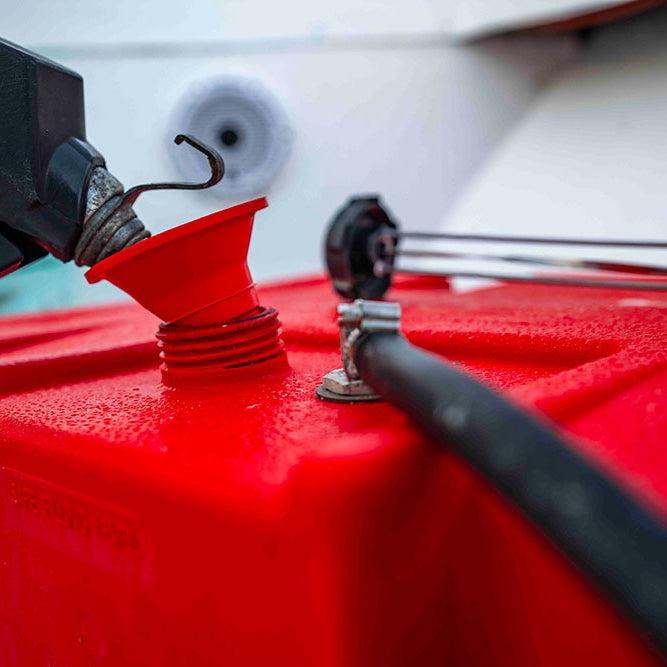
- Filler Cap: More than just a lid, the cap creates a watertight and airtight seal. It keeps rain and sea spray from contaminating your fuel and, just as importantly, prevents flammable vapors from escaping.
- Gasket or O-Ring: This is the unsung hero. It's a simple rubber or silicone ring that sits inside the cap, but it's what creates that perfect, leak-proof seal when you tighten everything down.
- Hose Connection: Under the deck, there's a neck or barbed fitting where the fuel fill hose clamps on. This connection has to be tough enough to handle the rush of fuel and the constant vibration of the boat.
- Grounding Wire: This little wire is a huge deal for safety. It connects the metal filler to your boat’s bonding system to dissipate any static electricity that builds up during fueling.
A missing or disconnected grounding wire is a major fire hazard. A tiny static spark is all it takes to ignite gasoline fumes. Always make sure this connection is solid.
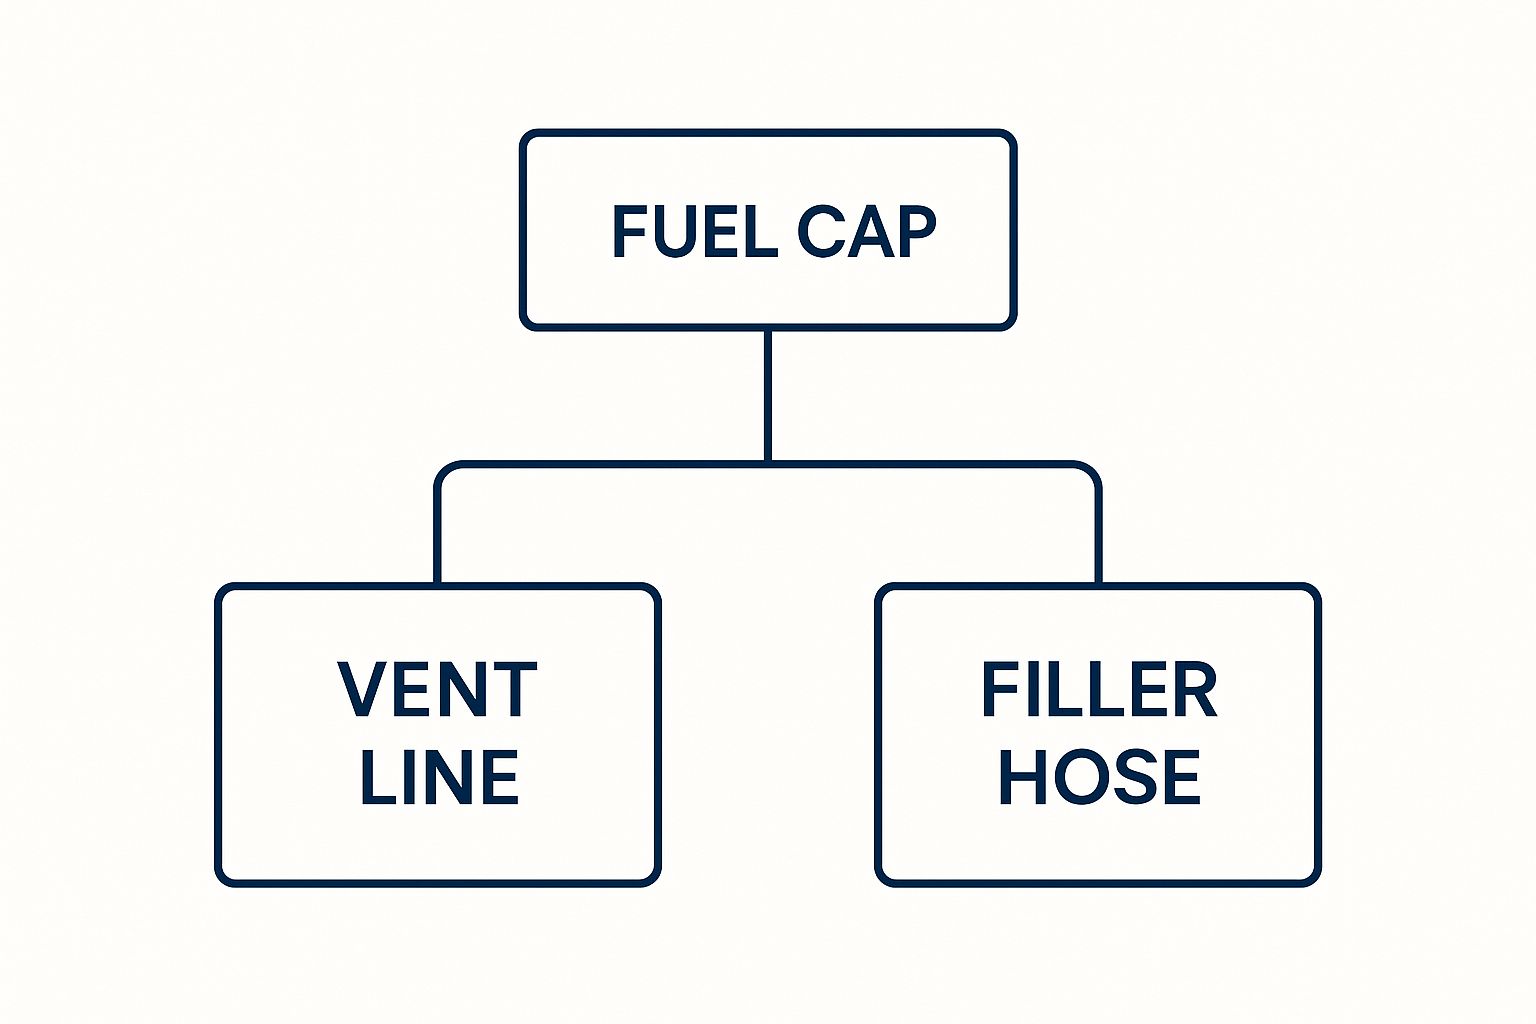
As you can see, the fuel cap is the central hub, managing the flow from the fill hose and the air pressure through the vent line. It's a critical part of the entire boat fuel system.
Materials Make All the Difference
The marine environment is brutal. Salt, sun, and moisture will destroy inferior materials in no time, which is why fuel filler components are made from specific stuff. A failure here doesn't just look bad; it can compromise your entire fuel system.
Let's break down the common components and what they're made of.
Boat Fuel Filler Component Breakdown
| Component | Primary Function | Common Materials |
|---|---|---|
| Deck Plate & Cap | Provide a sealed access point to the fuel tank. | Stainless Steel, Chrome-Plated Brass, Marine-Grade Polymers |
| Gasket / O-Ring | Create a watertight and airtight seal. | Nitrile Rubber, Viton, Silicone |
| Hose Connection | Securely attach the fuel fill hose to the filler neck. | Aluminum, Stainless Steel, Nylon |
| Grounding Wire | Dissipate static electricity to prevent sparks. | Tinned Copper Wire |
Choosing the right material is a balancing act between looks, longevity, and budget. While a polished stainless steel filler looks fantastic, modern marine polymers are often better at resisting today's ethanol-blended fuels.
The demand for safer, more durable fuel systems is driving real innovation. The global market for fuel filler assemblies is projected to grow from USD 11.05 billion in 2023 to USD 16.06 billion by 2032, largely because boat builders and owners are demanding better materials that can stand up to harsh conditions and modern fuel formulas.
Matching Your Filler to the Right Fuel
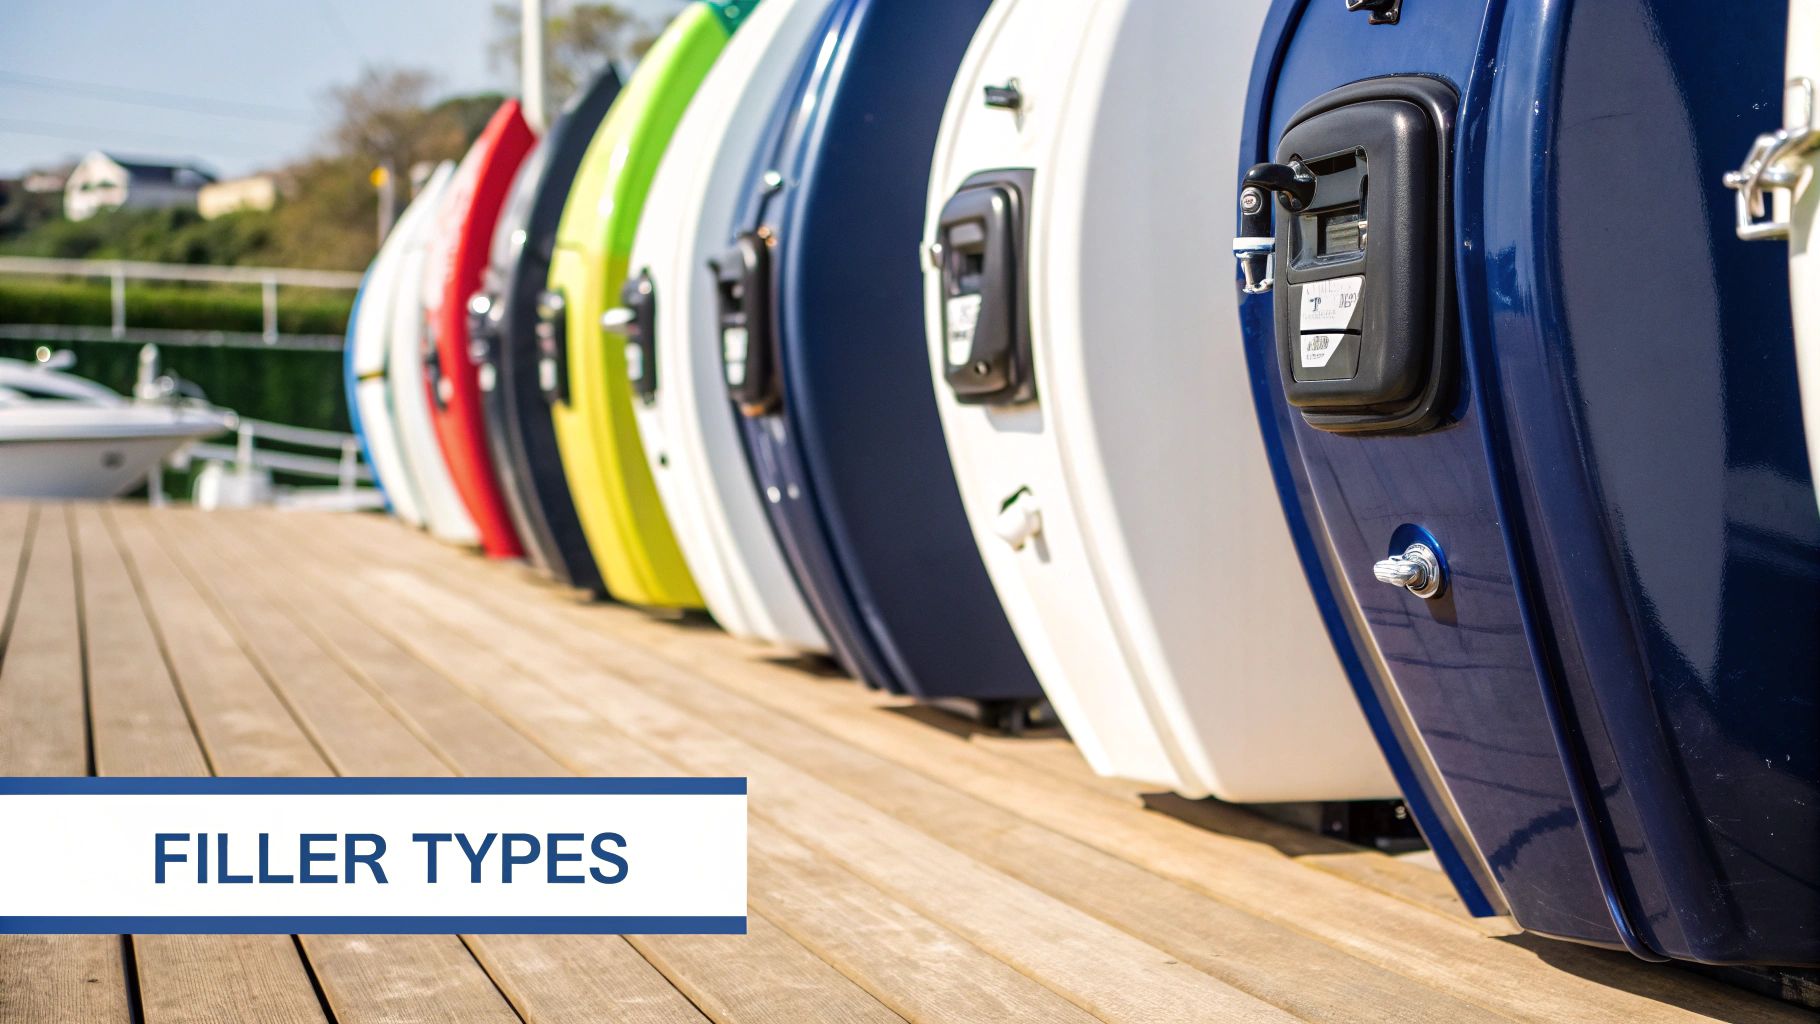
Putting the wrong fuel in your boat is more than just an inconvenient mistake; it's a potentially catastrophic and expensive one. Your boat fuel filler is your first and best line of defense against this kind of disaster, serving as a clear, unmistakable signpost every time you pull up to the fuel dock.
Think of it this way: the fuel filler is engineered with specific features to guide the right nozzle to the right tank, making it incredibly difficult to mix up gasoline and diesel. These design differences aren't just for looks—they're critical safety measures that protect your engine, your wallet, and your precious time on the water.
Color Coding: The Unmistakable Visual Cue
The most obvious difference you'll see is the color. The marine industry has established a simple, universal language that anyone can understand at a glance. It’s designed to be foolproof.
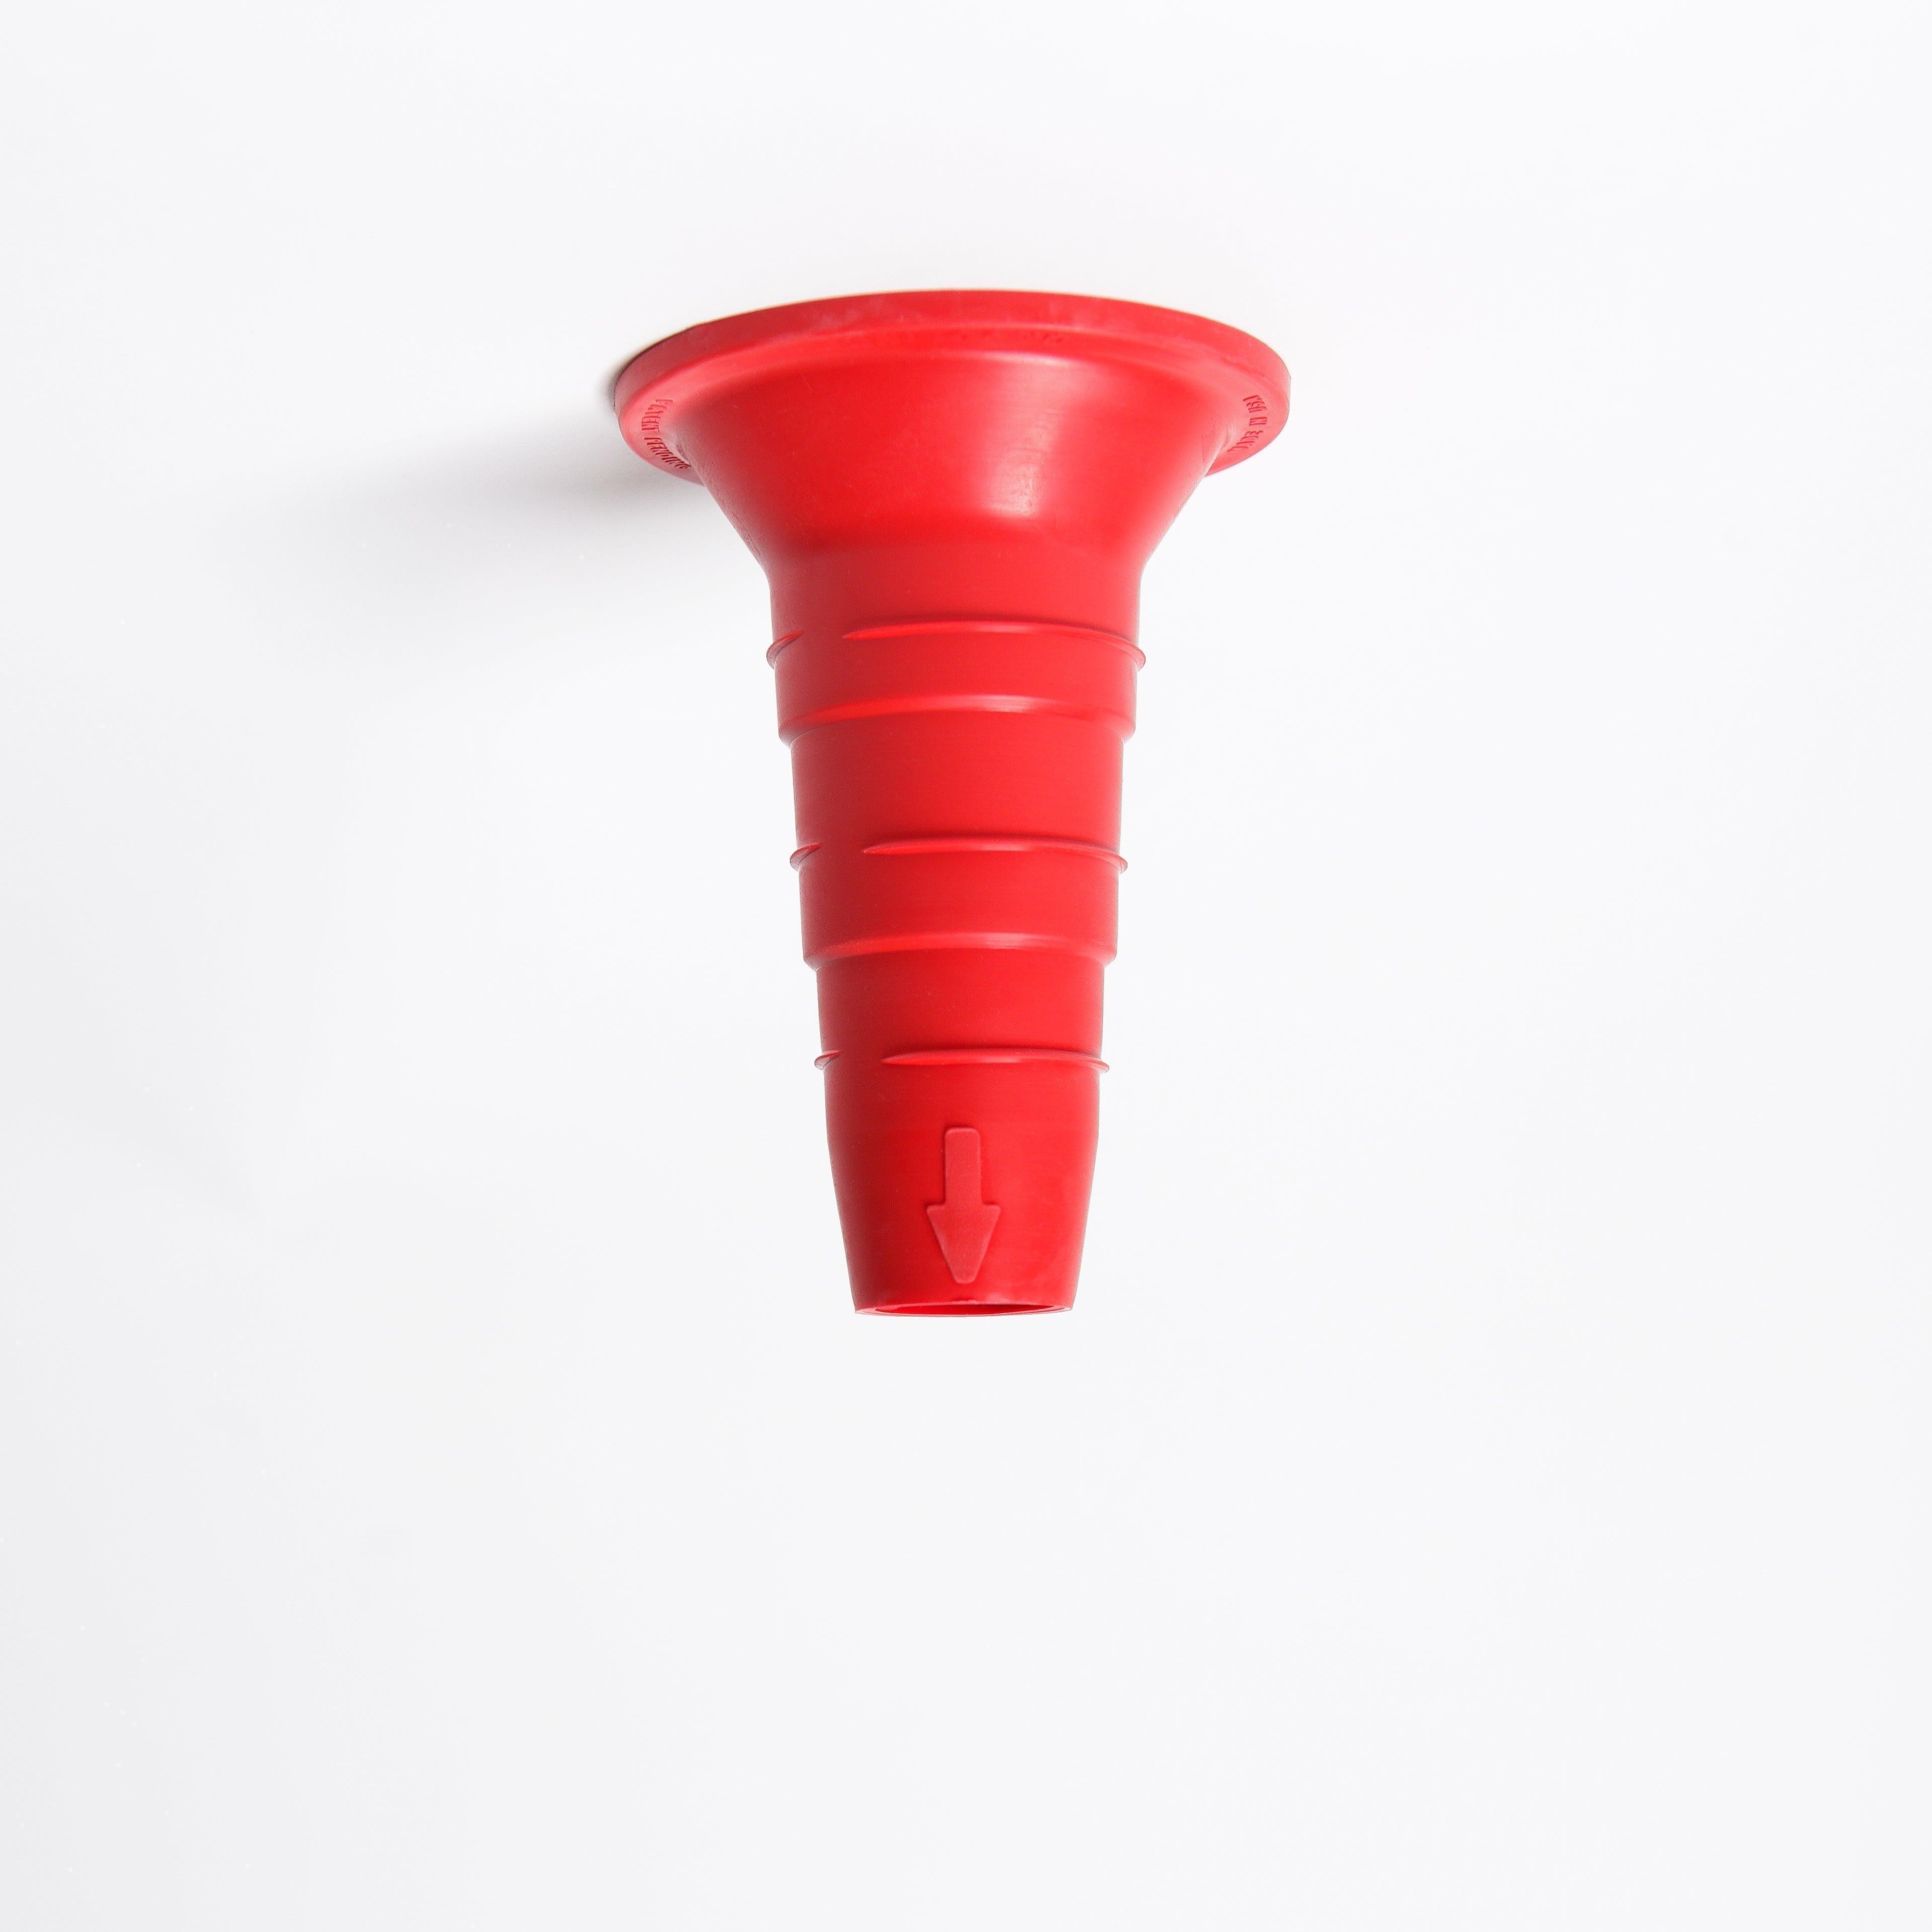
- Red for Gasoline: You'll almost always see red on gasoline fillers and caps. That bright, urgent color is your mental stop sign, prompting you to double-check you're grabbing the gas nozzle.
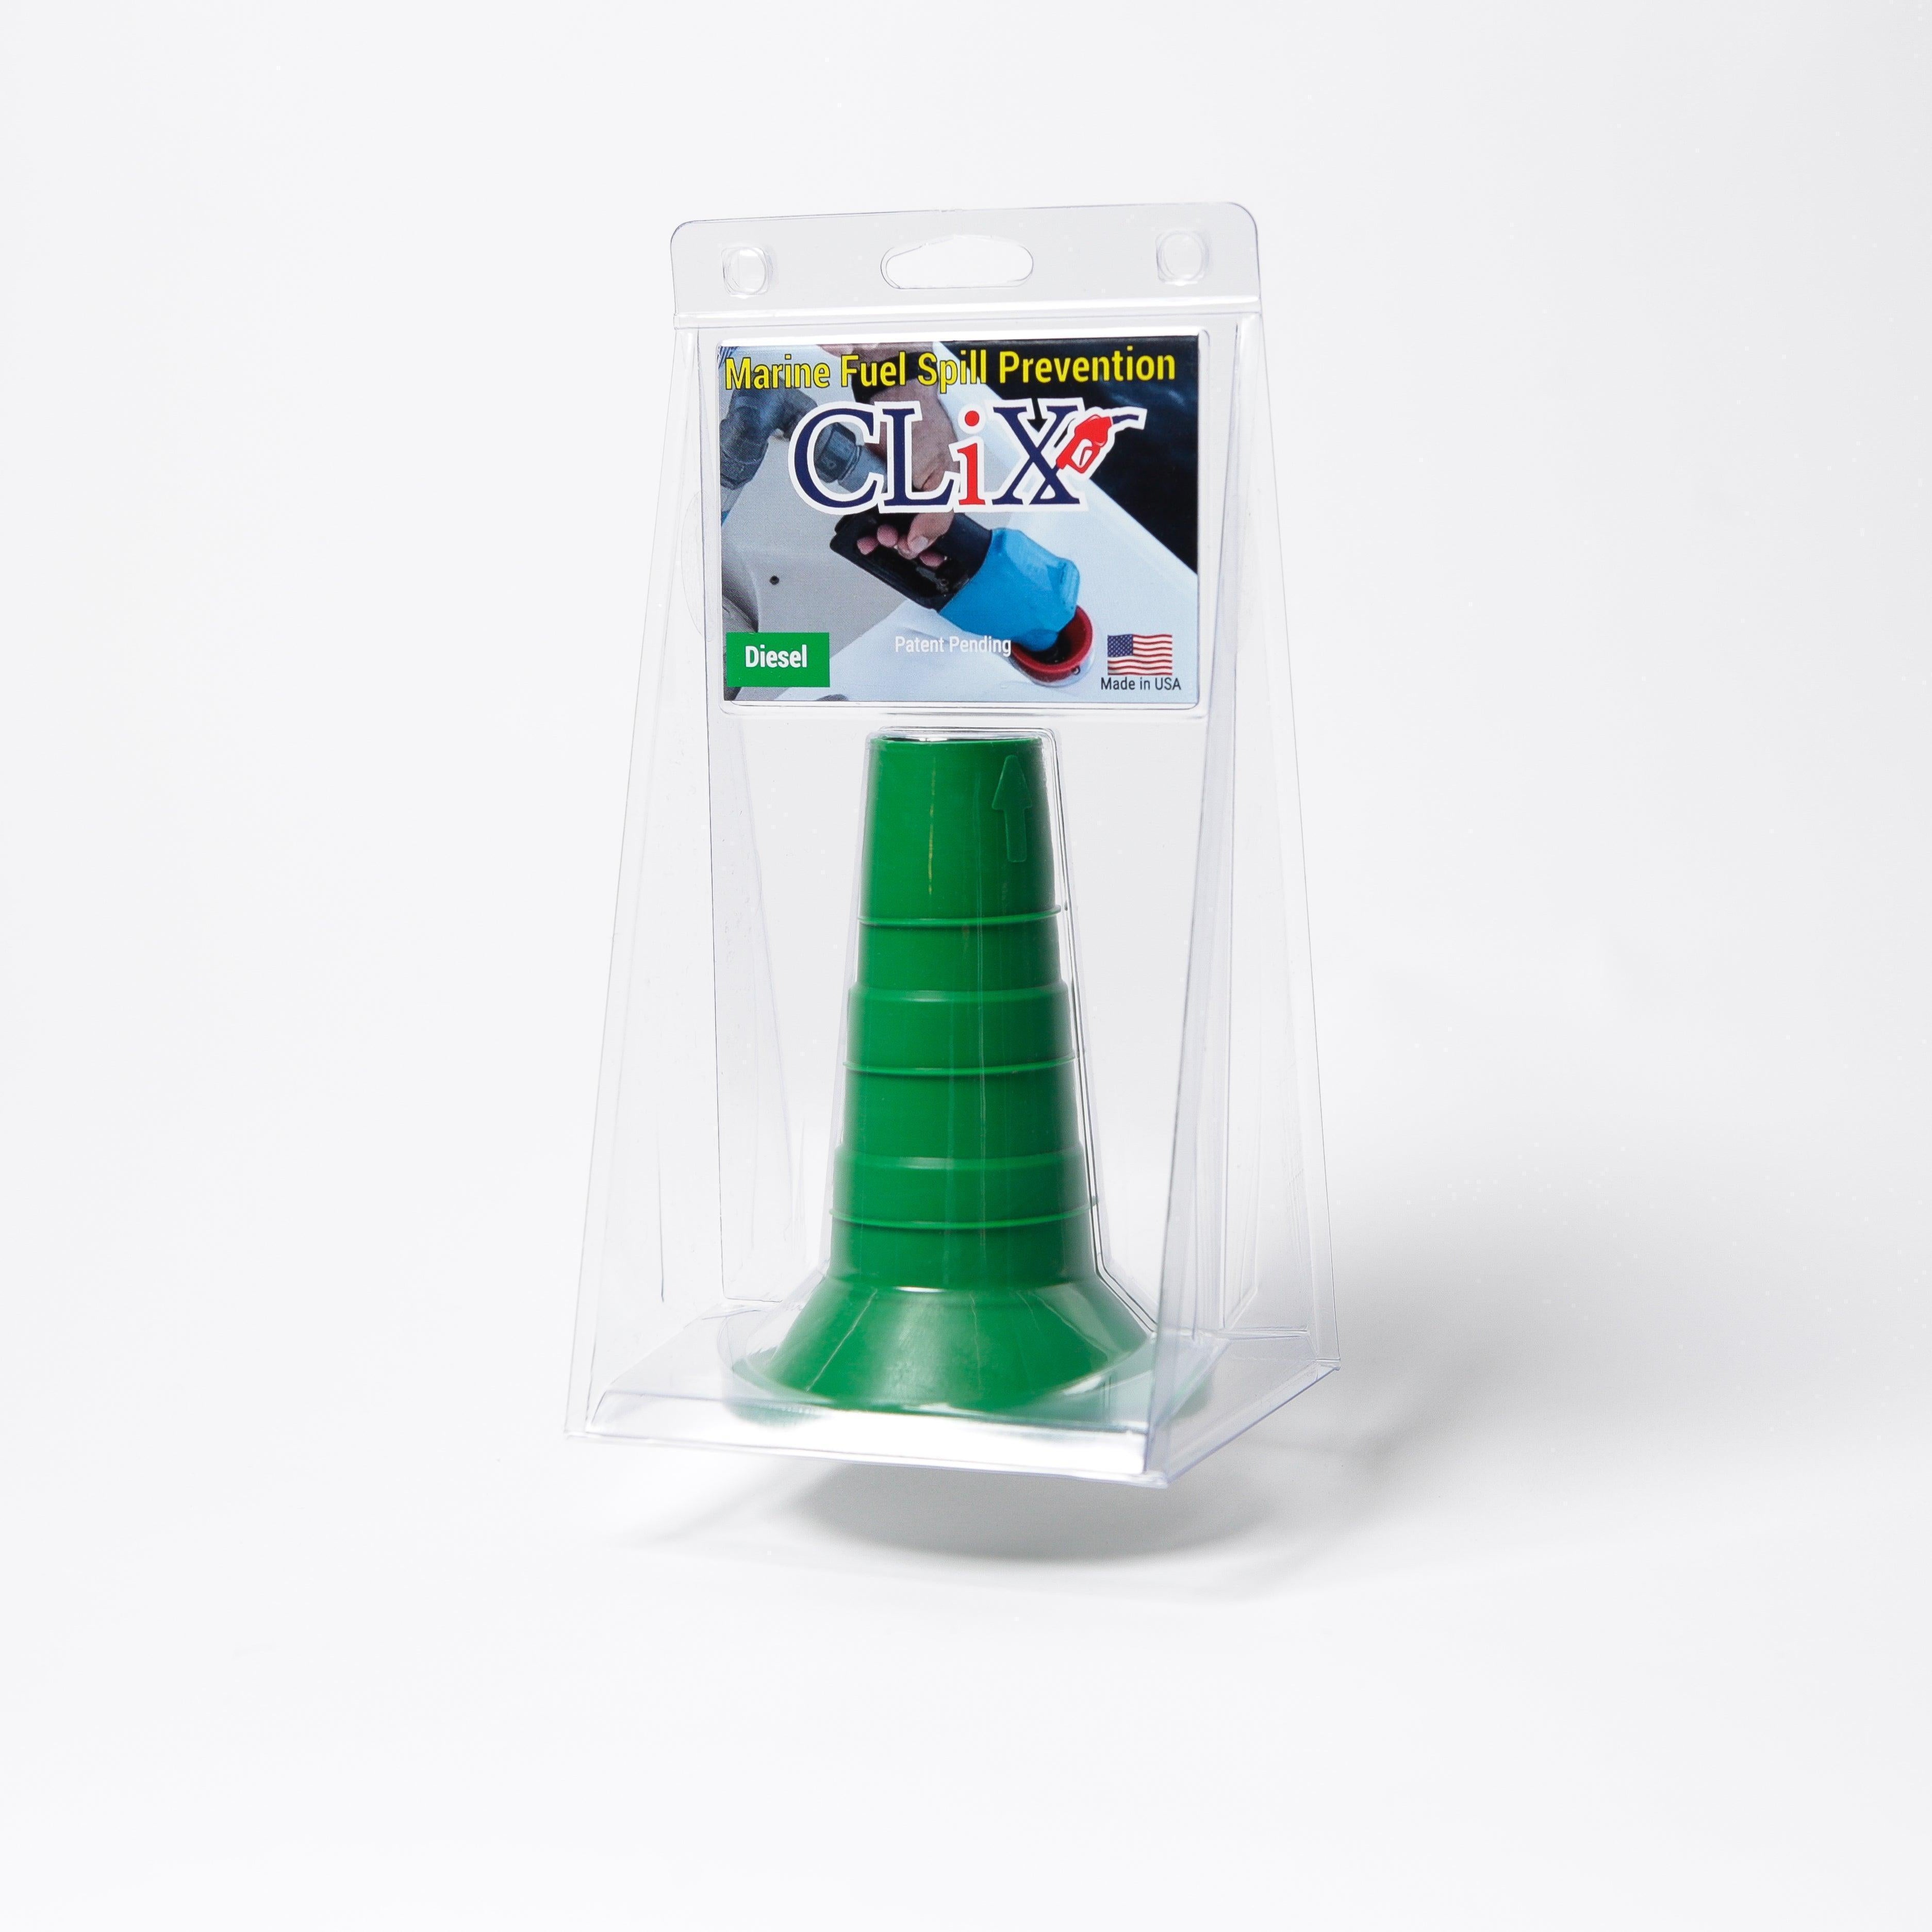
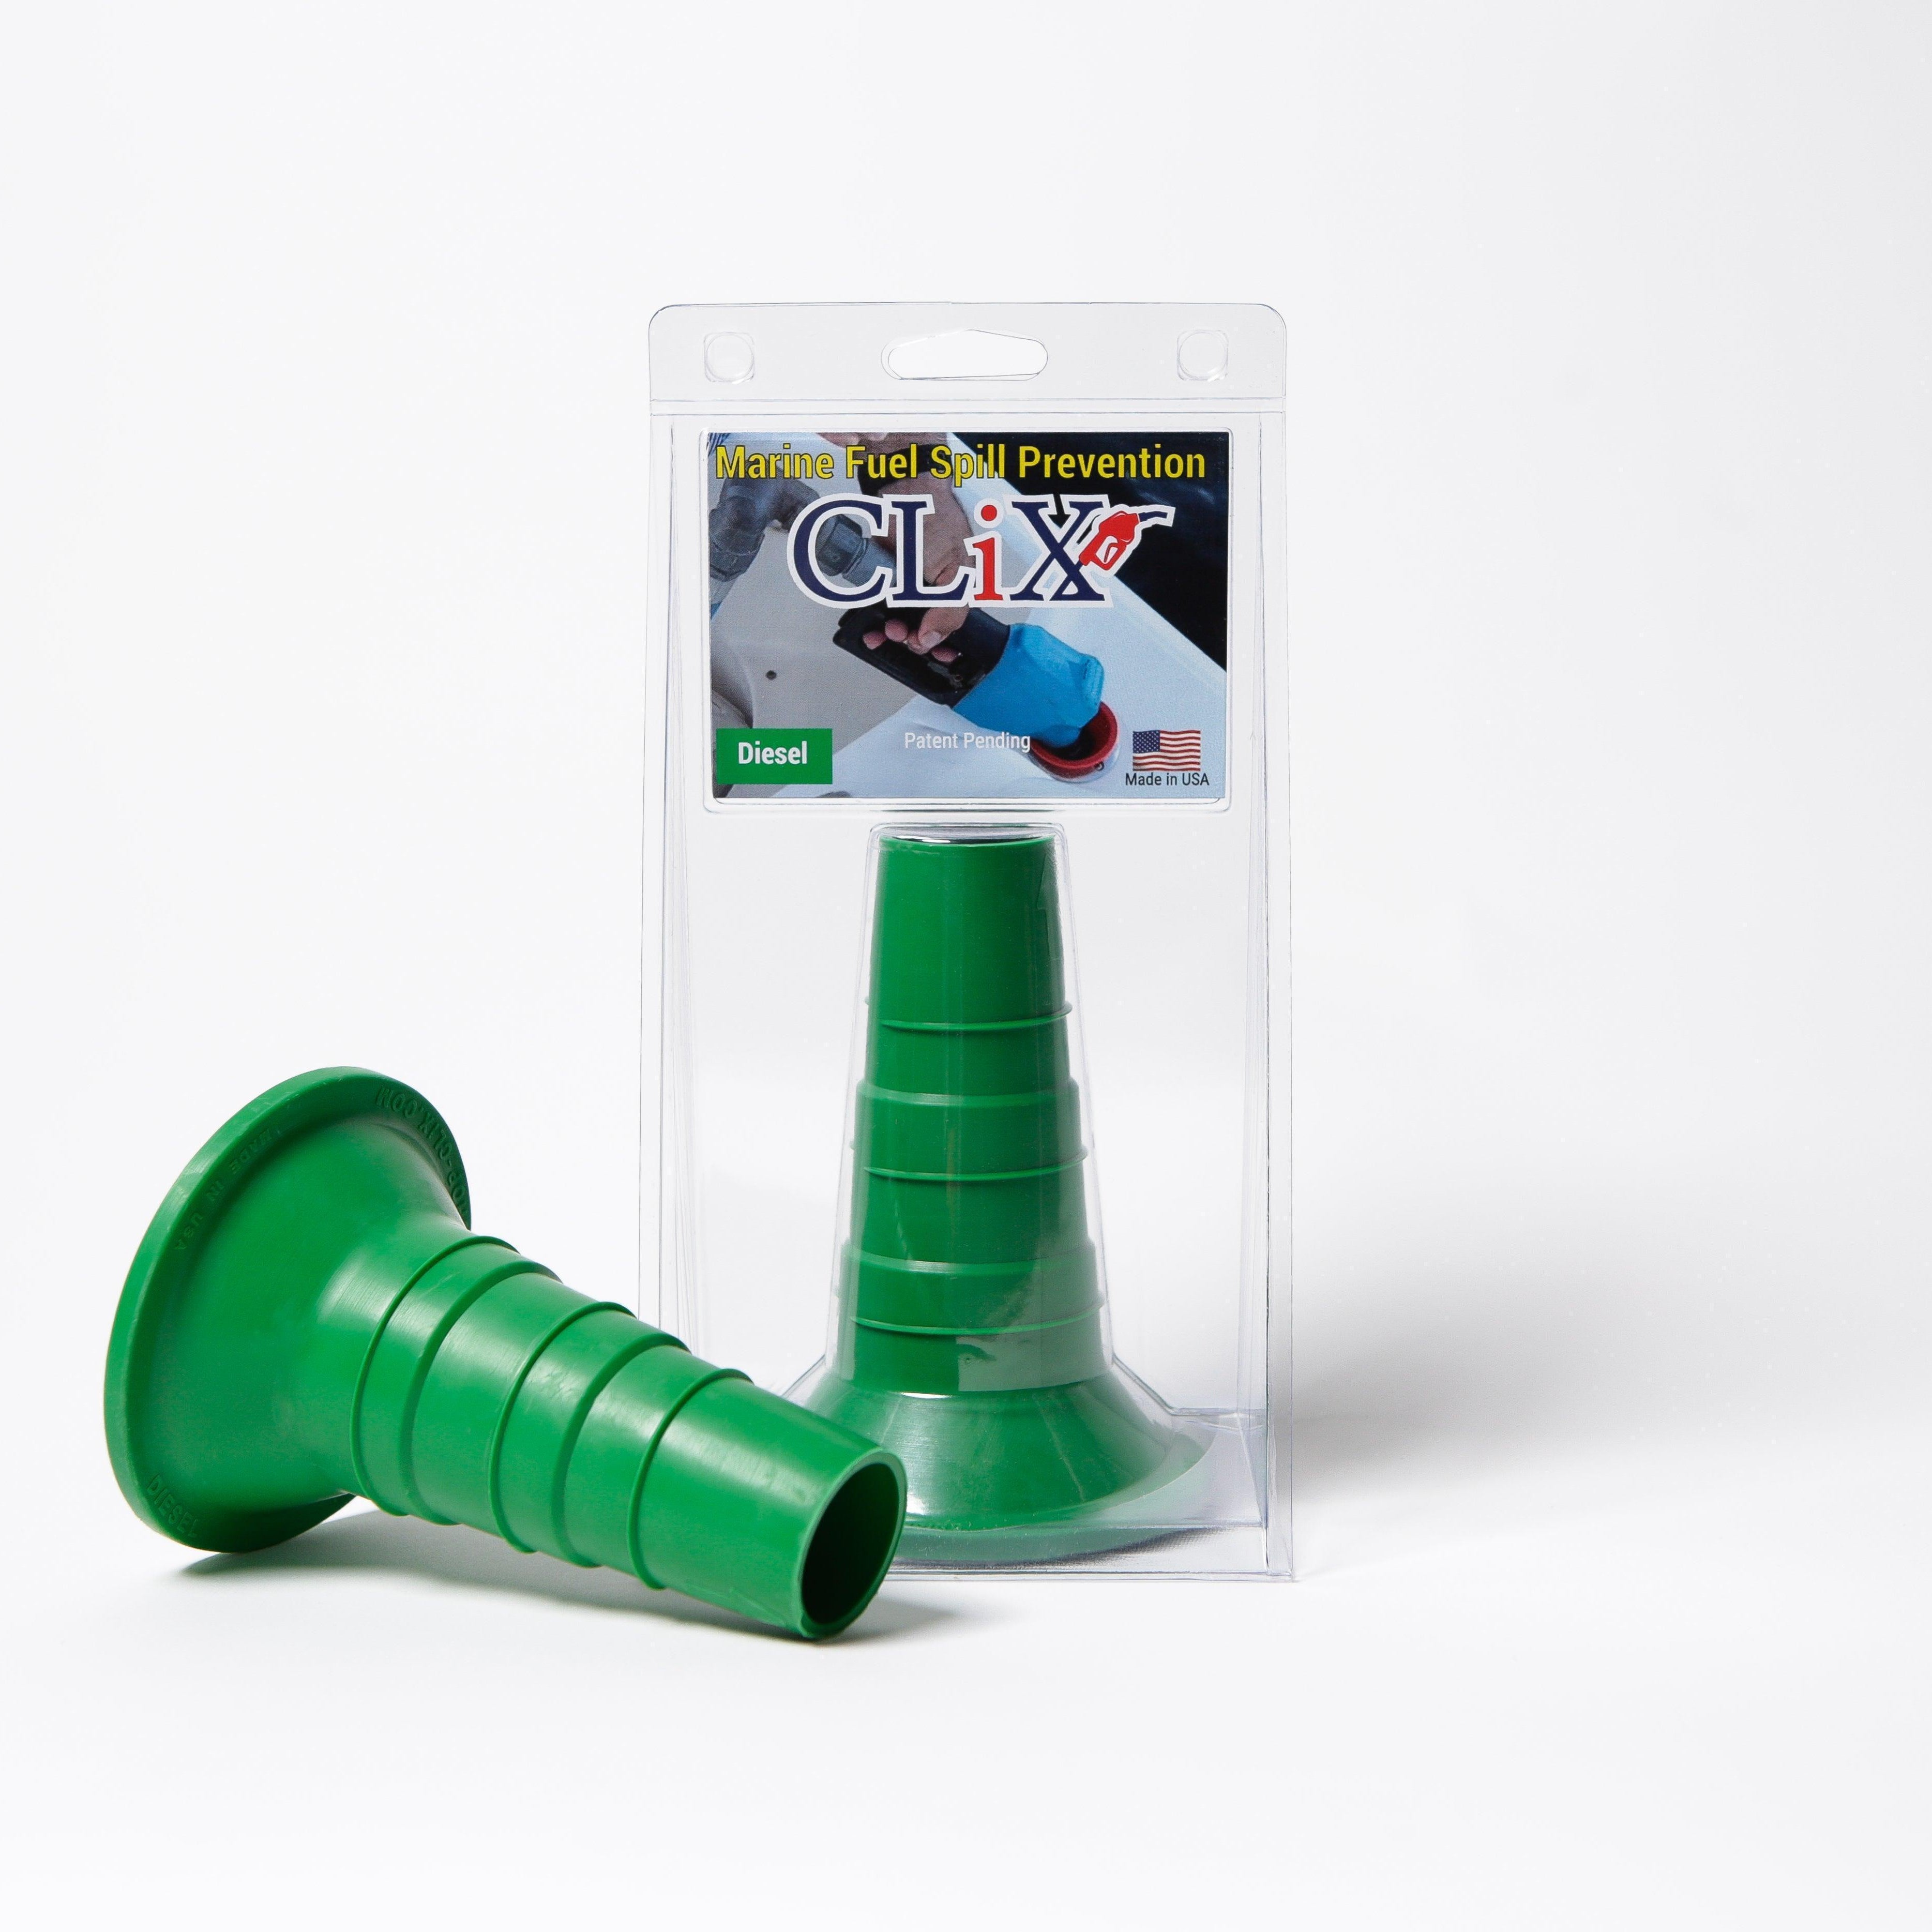
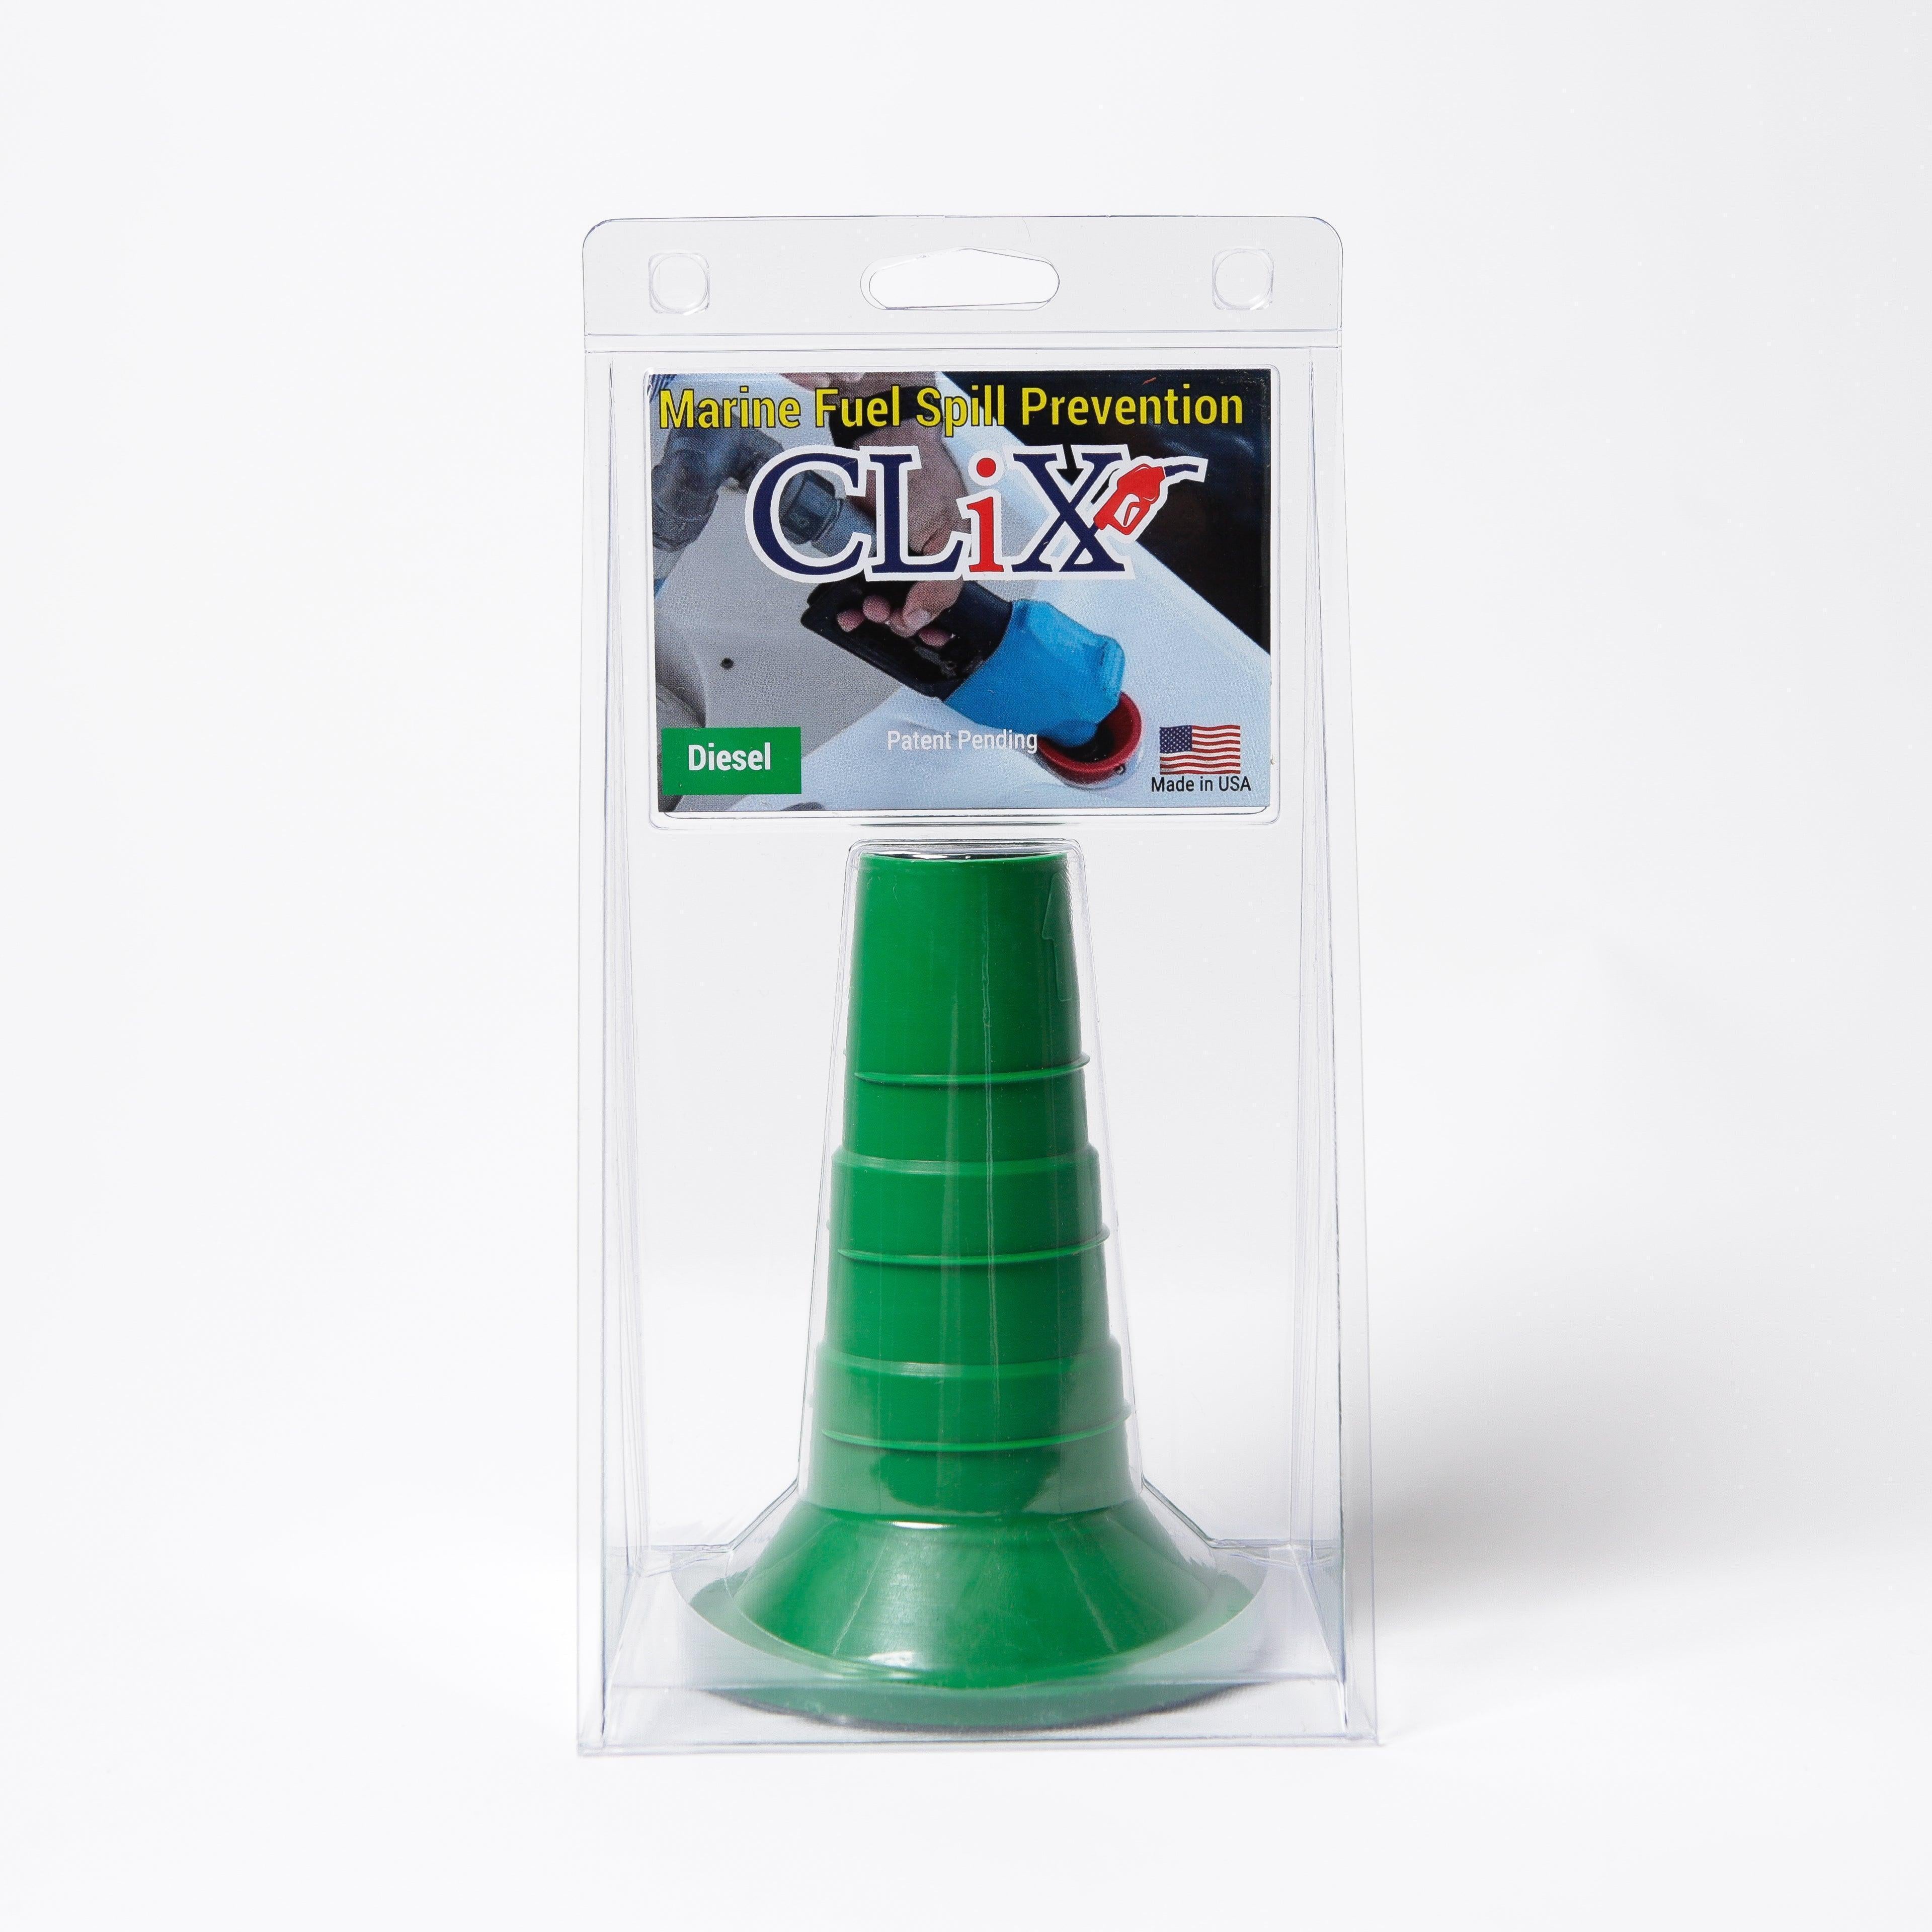
- Green or Black for Diesel: Diesel fillers, on the other hand, are typically marked with green or sometimes black, creating a clear visual contrast.
This simple system is the easiest way to prevent a fueling mishap. Before you even pick up the nozzle, take a moment to match the color on your filler to the color on the fuel pump handle. It’s a habit that pays off.
Nozzle Size: A Physical Barrier to Mistakes
Beyond just color, there's a brilliant physical safeguard built right into the design: the different sizes of the filler neck and the fuel nozzle. This is where things get clever. The system is designed to create an intentional mismatch to prevent cross-fueling, like a lock and key where only the correct key will fit.
The nozzle for unleaded gasoline has a diameter of about 21mm (13/16 inch), while a diesel nozzle is noticeably wider at around 24mm (15/16 inch). Because of this, a diesel nozzle simply will not fit into a standard gasoline filler neck.
This physical incompatibility is an incredibly effective safety feature. While you could technically put a smaller gas nozzle into a larger diesel tank by mistake, the reverse is physically impossible. This protects more sensitive gasoline engines from being destroyed by diesel fuel.
The Science Behind the Materials
The differences don't stop at colors and sizes. They go all the way down to the materials used to make the fuel filler and its components. Gasoline and diesel are chemically very different, and the parts that handle them have to be tough enough to withstand their unique properties for years.
Gasoline, especially the ethanol-blended fuel common today, can be corrosive to certain types of rubber and plastic. That’s why a boat fuel filler for gas uses gaskets and seals made from ethanol-resistant materials like Nitrile or Viton.
Diesel, an oil-based fuel, can cause other materials to swell or soften over time. The fillers and hoses made for diesel are built to handle its oily nature without breaking down, ensuring the integrity of your entire fuel system from the deck right down to the tank.
As new energy sources come online, this focus on fuel compatibility is becoming even more important. The global market for LNG bunkering—the infrastructure for refueling ships with liquefied natural gas—is projected to grow from USD 12.6 billion in 2025 to USD 21.2 billion by 2035. This shift just underscores the need for specialized filler connections for all types of fuel. You can find more insights on the future of marine fueling over at futuremarketinsights.com.
Getting Your Boat Fuel Filler Installed Right
Installing a boat fuel filler isn't just another boat project; it's one of the most critical safety procedures you can perform. Think of it less like a simple part replacement and more like surgery on your boat’s fuel system. One small mistake—a clamp that isn't quite tight enough, a seal that doesn't quite sit right, or a missed grounding wire—can lead to some serious problems, from fuel leaks to water in your tank, or worse.
When you get this installation right, you’re creating a completely sealed and secure pathway for fuel. It’s about making sure every drop you pay for ends up in the tank and stays there. Let’s walk through the steps and focus on the little details that separate a pro job from a future headache.
Picking the Perfect Spot
Before you even think about drilling a hole in your deck, you need to pick the right location. This is easily the most important decision in the whole process. The spot you choose has to be practical, safe, and up to marine standards.
Look for a spot on a relatively flat, high point of the deck. A little elevation goes a long way in preventing water from pooling around the cap and trying to find its way past the seals.
Here's what to keep in mind when you're scouting for a location:
- Easy Access: Can you actually reach it from a fuel dock without a struggle? Imagine trying to stretch a heavy, greasy fuel hose to its absolute limit—it's not fun.
- Good Drainage: Does water naturally run away from this spot? You never want the filler sitting in a puddle.
- A Clear Path: Look below deck. Is there a reasonably straight shot from where you want the filler to the fuel tank? Sharp bends and kinks in the fuel hose are bad news; they can slow down fueling and create air pockets.
I’ve seen it a hundred times: someone installs a filler too close to the edge or in a low spot that’s always getting splashed. Over time, even the best seal will give up the fight against constant water pressure. The result? Water-contaminated fuel that can kill your engine when you’re miles from shore.
Making a Clean, Sealed Installation
Once you've marked your spot, it's time to make the cut. Precision is everything here. This is no time for "good enough." Every step builds on the last to create a system that's completely waterproof and fuel-tight.
This part is about more than just screwing the filler down. You’re creating a tough, multi-layered defense against any leaks. A sloppy cut or using the wrong sealant can ruin the whole job, no matter how nice your new filler is.
Follow these steps for a rock-solid fit:
- Cut the Hole: Use the template that came with the filler, or just trace the flange itself. Grab a hole saw that’s the exact size needed. A clean, perfect cut helps the filler sit flush and seal tightly against the deck.
- Lay Down a Bead of Sealant: This is non-negotiable. Use a high-quality, fuel-resistant marine sealant (a product like 3M 5200 is the go-to for this). Apply a generous bead to the underside of the filler flange. This bead will create a tough, flexible gasket between the filler and the deck.
- Secure the Filler: Press the filler down firmly into the hole, letting a little bit of sealant squeeze out around the edges. Fasten it down with stainless steel screws, tightening them in a star pattern to apply even pressure. Don't crank down on them too hard—you could warp the flange or even crack your deck.
- Clean Up: Before the sealant cures, wipe away the excess for a clean, professional-looking finish.
Connecting the Hose and Grounding Wire
With the deck plate locked down, the real work begins below. These final connections are all about safety and reliability. This is where the fuel flows and where dangerous static electricity is handled. You have to get these connections perfect.
The fuel hose is the main artery. The U.S. Coast Guard is very specific about this: you must use a rated hose, typically a USCG Type A2 or B2 fuel fill hose. These are built to handle fuel without breaking down or letting fumes escape. The grounding wire might look small, but it’s arguably the most important safety piece in the whole setup.
- Attach the Fuel Hose: Slide that fuel fill hose all the way onto the barbed fitting on the back of the filler. Now, here's the key: always use two stainless steel hose clamps. Turn the screws so they face opposite directions. This provides a redundant, leak-proof seal that won’t vibrate loose over time.
- Connect the Grounding Wire: Find the grounding terminal on the filler and attach the wire securely. Run it to your boat’s bonding system or directly to the fuel tank’s grounding point. This little wire is what prevents static electricity—which builds up as fuel rushes through the hose—from creating a spark that could ignite fuel vapors.
Take your time with these final steps. A little extra attention to detail here will give you a safe, reliable fuel system you can trust for years. And if you’re ever unsure about anything, especially the electrical grounding, don’t guess. Call a certified marine technician. It’s always the smart move.
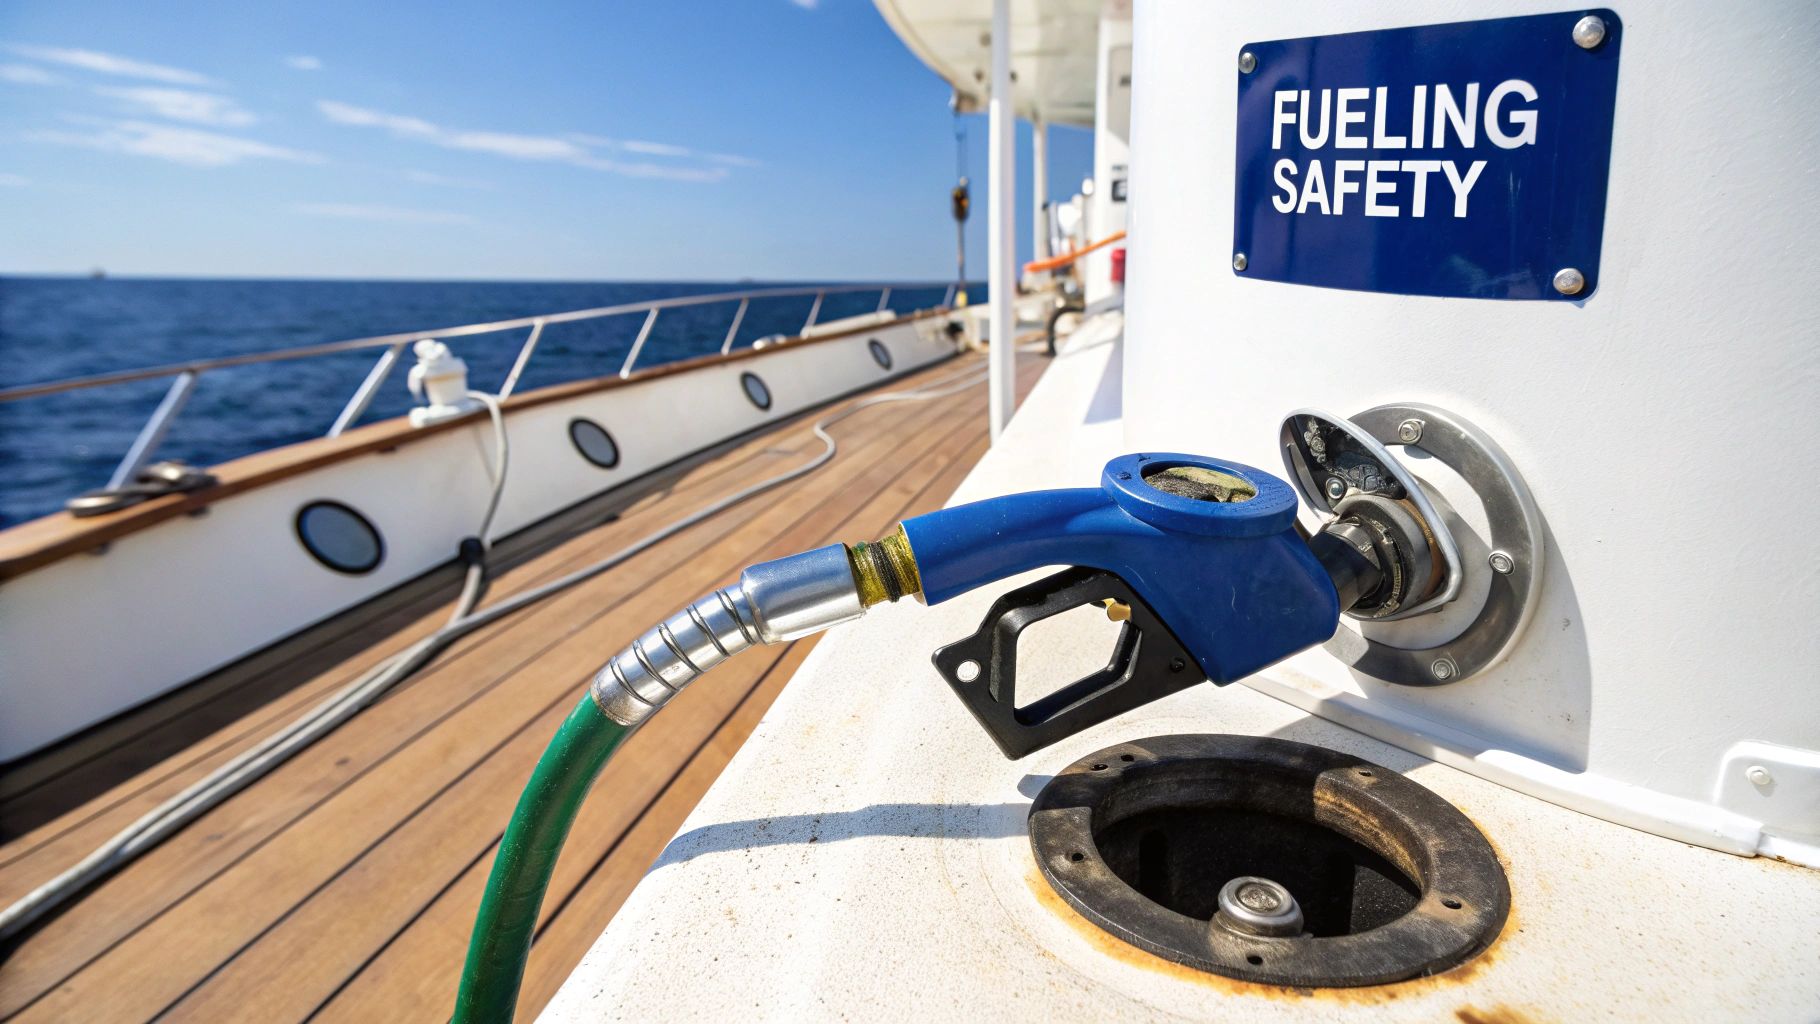
Fuel Filler Safety and Maintenance Checks
Think of your boat fuel filler as the gatekeeper for your entire fuel system. It’s your first line of defense against fuel-related headaches, but only if you keep it in top shape. A few simple, routine checks can be the difference between a perfect day on the water and a preventable disaster.
Ignoring this small component is like ignoring a slow leak in a tire—sooner or later, it’s going to leave you stranded. By building a few quick inspections into your regular habits, you can catch wear and tear before it leads to dangerous fuel spills, hazardous vapor leaks, or even a fire.
Your Pre-Fueling Safety Checklist
Every trip to the fuel dock should start with a quick, methodical look-over. This isn't just about unscrewing the cap and sticking the nozzle in; it's about being aware of your equipment's condition before you pump a single drop.
- Clear the Area: This is non-negotiable. Make sure there are no ignition sources nearby. That means no smoking, all engines and electronics off, and no open flames.
- Inspect the Cap and Seal: Give the filler cap a good look. Are there any cracks or obvious damage? Now, check the gasket or O-ring inside. A healthy seal should be pliable and intact, not dry, cracked, or brittle. A bad seal is an open invitation for water to get into your tank and for dangerous fumes to escape.
- Check the Deck Plate: Look at the area around the filler. Do you see any corrosion? What about stress cracks in the fiberglass or sealant that’s pulling away? These are red flags that the whole assembly might be loose or failing.
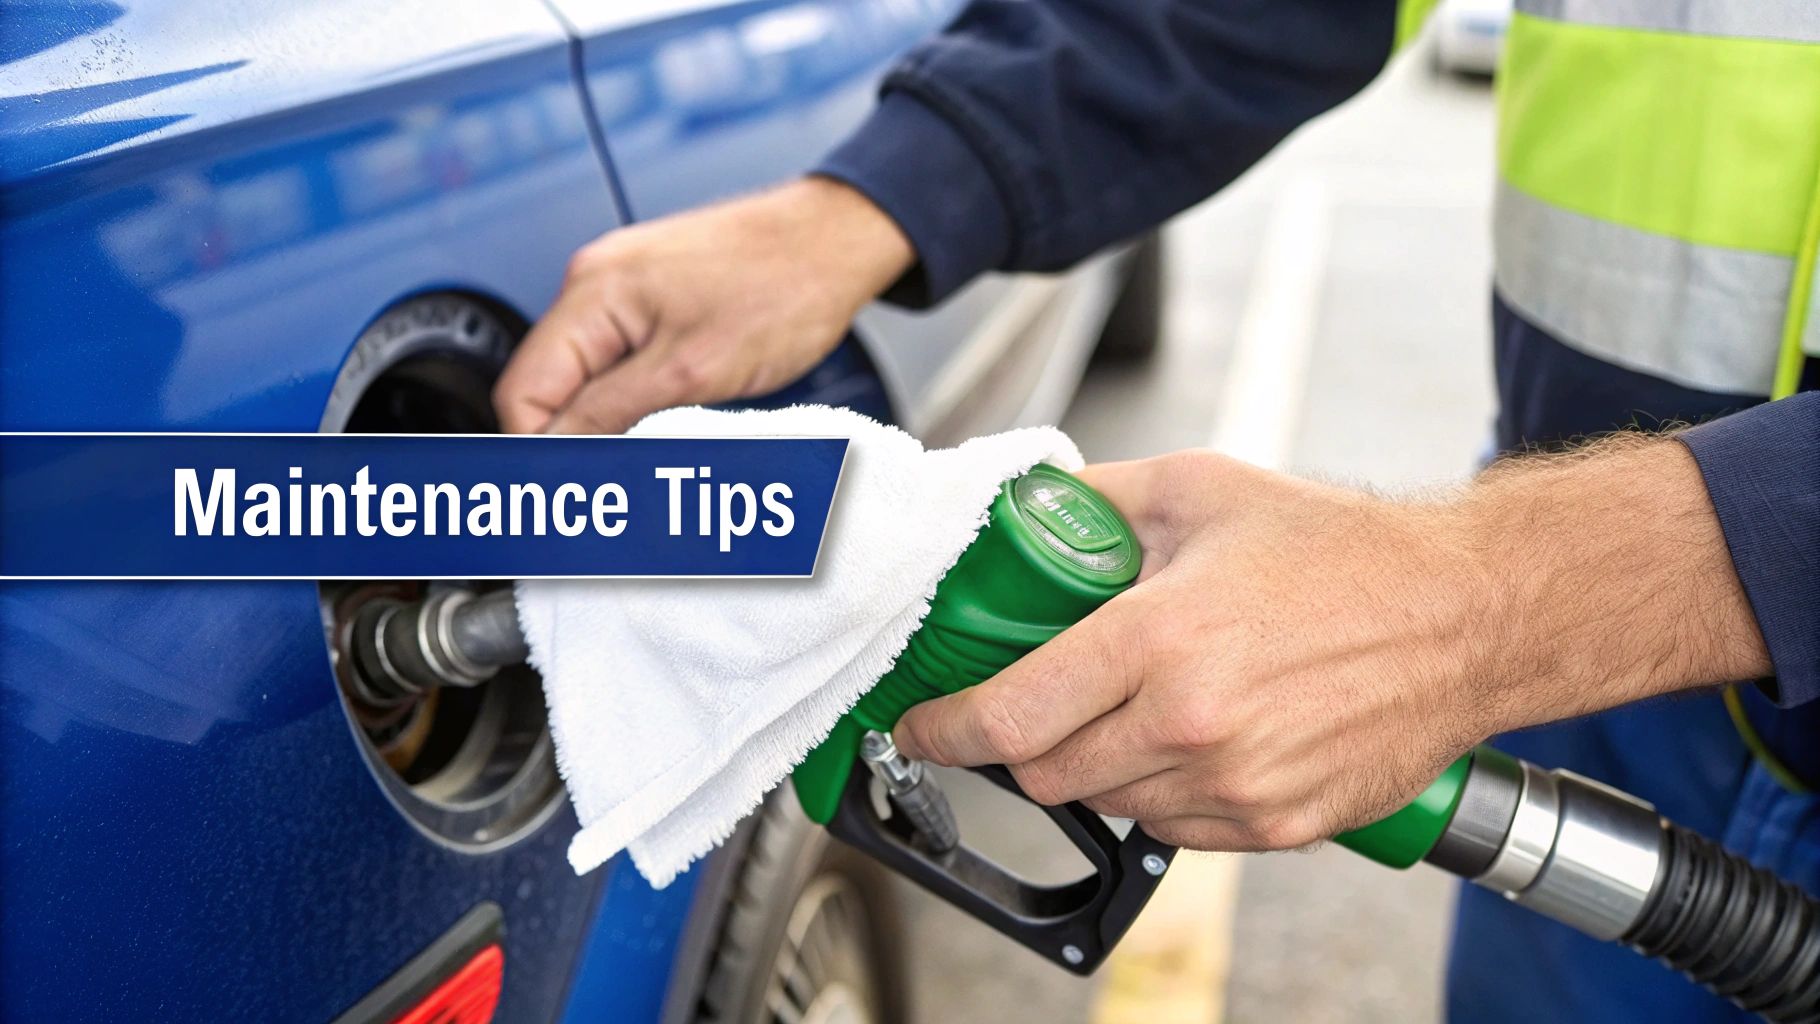
- Ground the Nozzle: Before you start pumping, touch the metal nozzle to the metal rim of your boat's fuel filler. Hold it there for a couple of seconds before you pull the trigger and keep it in contact the entire time you're fueling. This simple action grounds the nozzle, safely getting rid of any static electricity that could otherwise ignite fuel vapors.
A static spark is an invisible but very real threat at the fuel dock. The simple act of grounding the nozzle against the filler neck is one of the most critical safety habits a boater can develop. It costs nothing and takes seconds, yet it can prevent a catastrophic fire.
Essential Maintenance Routines
Beyond the quick check at the dock, your boat fuel filler needs a little TLC to stay reliable for the long haul. A bit of preventative maintenance goes a long way in protecting your whole fuel system.
This proactive approach is more important than ever. Modern marine engines are incredibly sophisticated—the marine fuel injection system market was valued at USD 5.71 billion in 2024, which shows just how much complex technology depends on clean, uncontaminated fuel. For those interested in the industry trends, you can learn more about the growth of marine fuel systems.
Here’s a straightforward maintenance schedule to keep everything in working order.
Keeping your fuel filler in good shape is all about routine. A simple checklist can help you spot trouble before it starts.
Fuel Filler Maintenance Checklist
A routine checklist for boat owners to inspect and maintain their fuel filler system for optimal safety and performance.
| Check Interval | Inspection Point | What to Look For |
|---|---|---|
| Monthly | Cap, Seal, and Threads | Cracks in the cap, brittle or missing O-ring, and gunk or debris in the threads. |
| Monthly | Grounding Wire | The wire is securely attached at both the filler neck and the boat's bonding system. No corrosion. |
| Annually | Hose & Clamps | The fuel fill hose is free of cracks, soft spots, or signs of dry rot. Clamps are tight and not rusted. |
| Annually | Deck Plate Sealant | The sealant around the deck plate is intact, with no gaps or pulling away from the deck. |
These quick checks are a small investment of time that pays off big in safety and reliability.
A well-maintained fuel system starts at the filler, but it doesn't end there. To get the full picture, take a look at our comprehensive guide on how to choose and maintain your boat's fuel tank. By paying attention to these small but vital parts, you ensure your entire system works together safely, protecting your boat and keeping everyone on board safe.
Common Boat Fuel Filler Questions
Even if you’ve been on the water for decades, boat fuel fillers can still raise questions. It’s one of those components you don't think about until something goes wrong. Getting a handle on the details can save you a lot of headaches later on.
Let's dive into some of the most common questions we hear from boat owners. Getting these things right is key to a safe and efficient fuel system.
Key Fuel Filler Distinctions
A lot of confusion comes down to the cap. Do you need a vented one or not? It's a great question. A vented cap lets air into the tank as fuel is used, which stops a vacuum from forming and starving your engine.
But here’s the thing: most modern boats don't need them. They have a separate fuel tank vent line that does the same job. That’s why you'll almost always see a sealed, non-vented cap. This design keeps water out and, just as importantly, keeps flammable fuel vapors in. Using the wrong cap isn't just a minor mistake—it can mess with your engine's performance and create a serious fire hazard.
What about that grounding wire? It's absolutely critical. As fuel flows into your tank, it can generate static electricity. That tiny wire safely dissipates the charge. Without it, a spark could easily jump from the fuel nozzle to the filler neck, and that’s all it takes to ignite vapors.
When to Replace Your Filler
So, how do you know when it’s time for a new fuel filler? Thankfully, they usually give you some pretty clear signs that they’re on their way out. Don't wait for a leak to tell you it's too late.
You should be planning an immediate replacement if you spot any of these red flags:
- Visible Cracks: Any crack, no matter how small, in the filler neck or the cap itself is a problem.
- Heavy Corrosion: If you see significant rust or pitting, especially on the threads or mounting points, the structural integrity is compromised.
- Damaged Gasket: The rubber O-ring inside the cap is your primary seal. If it’s cracked, brittle, or gone, it’s not doing its job.
- Loose Cap: Does the cap just spin without tightening down? That's a sure sign it's time for a new one.
A strong fuel smell around the filler, even with the cap on tight, is another dead giveaway that the seal has failed. These aren't just cosmetic issues; they're genuine safety risks. For a more thorough look at keeping things safe at the pump, check out our complete guide to boat fueling safety.
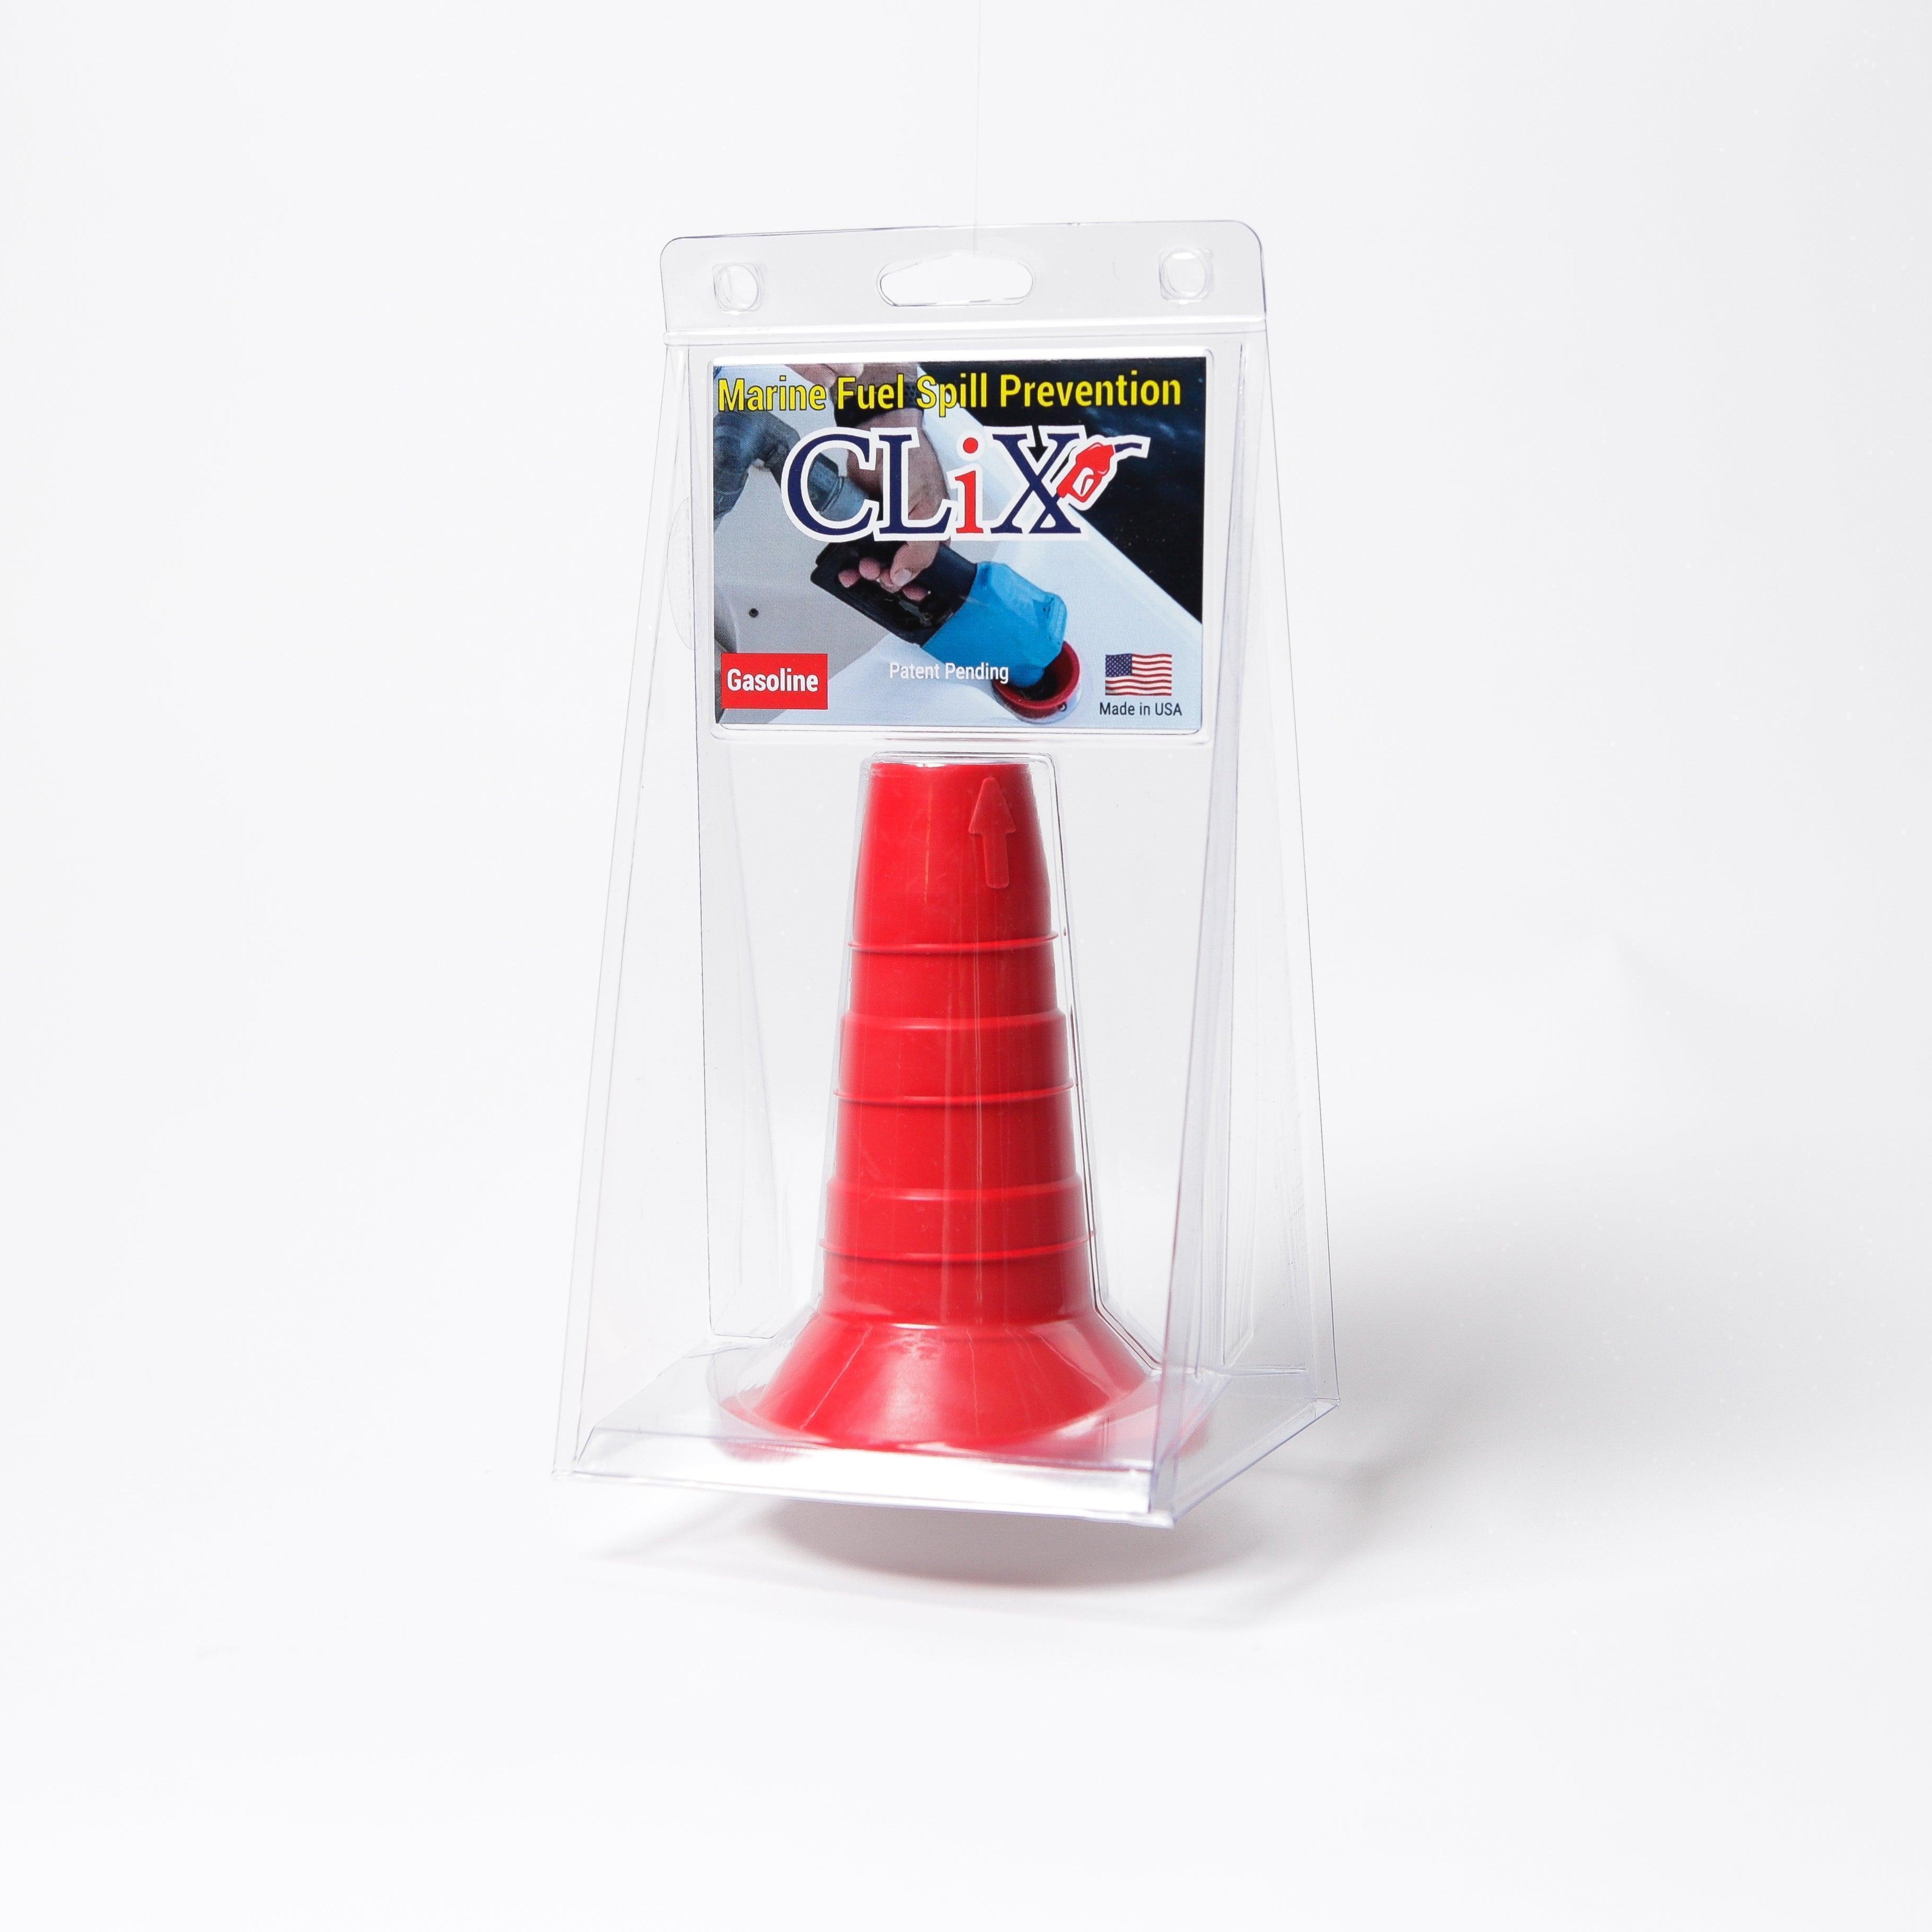
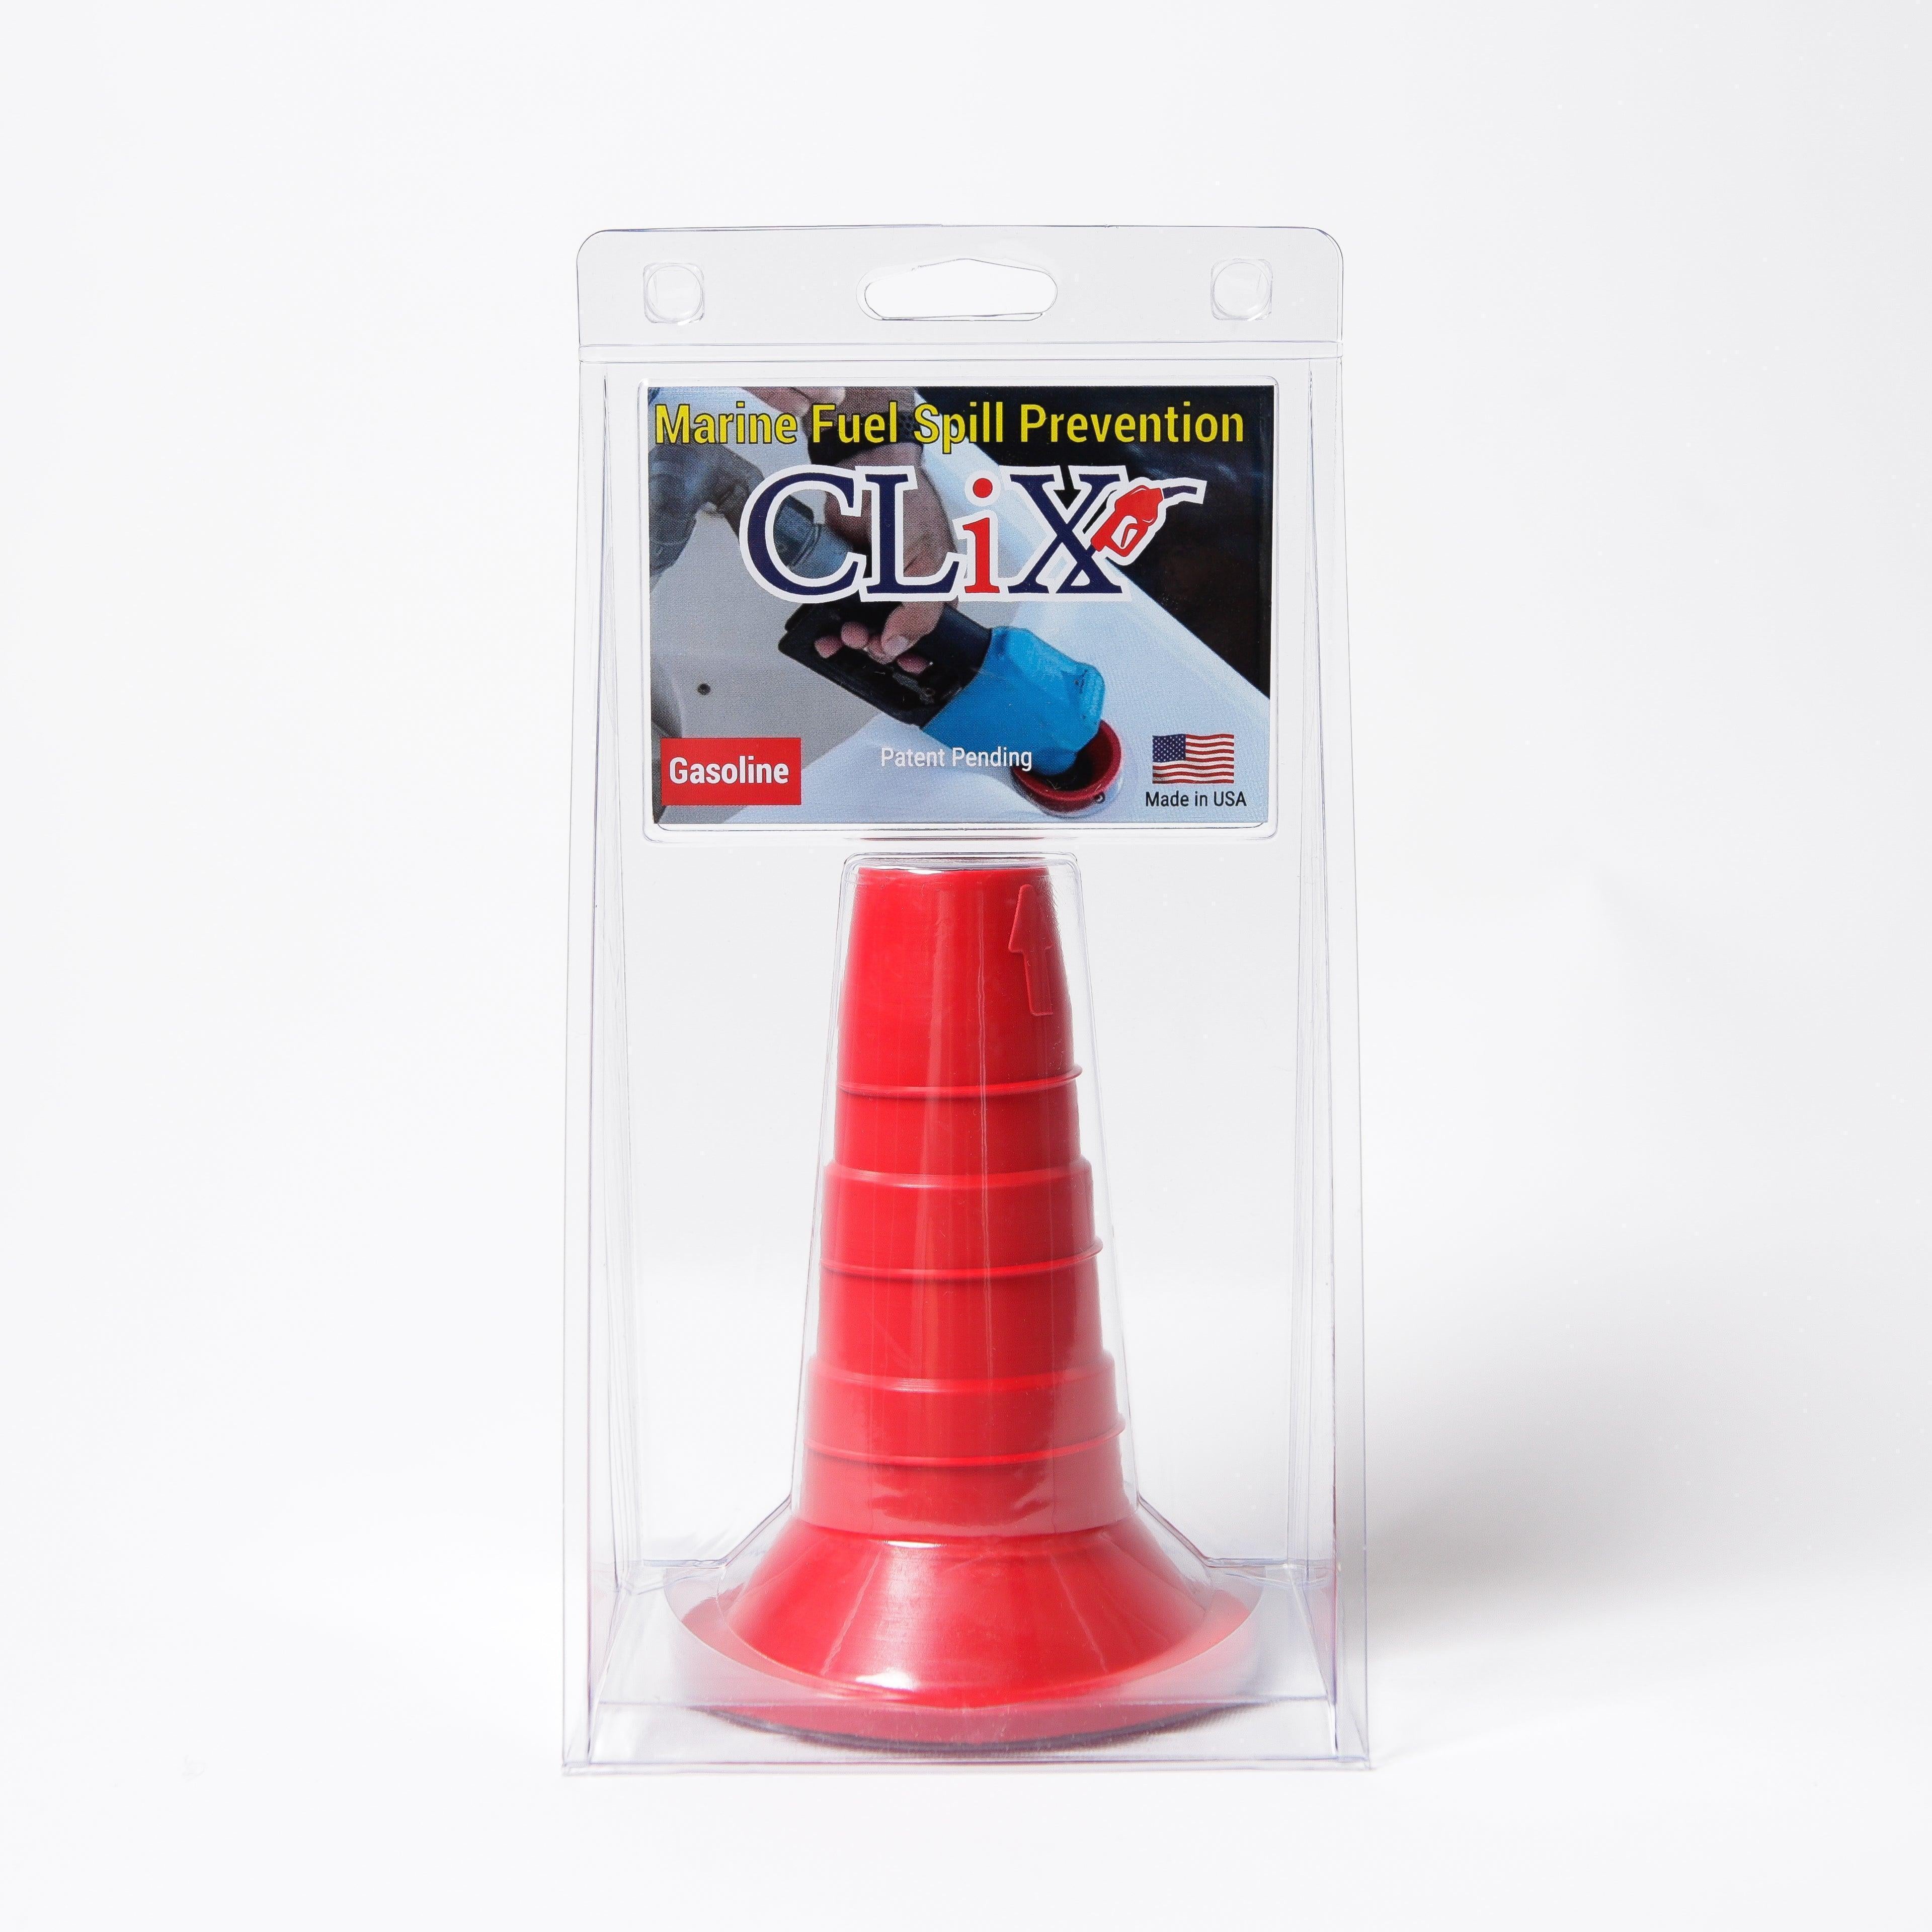
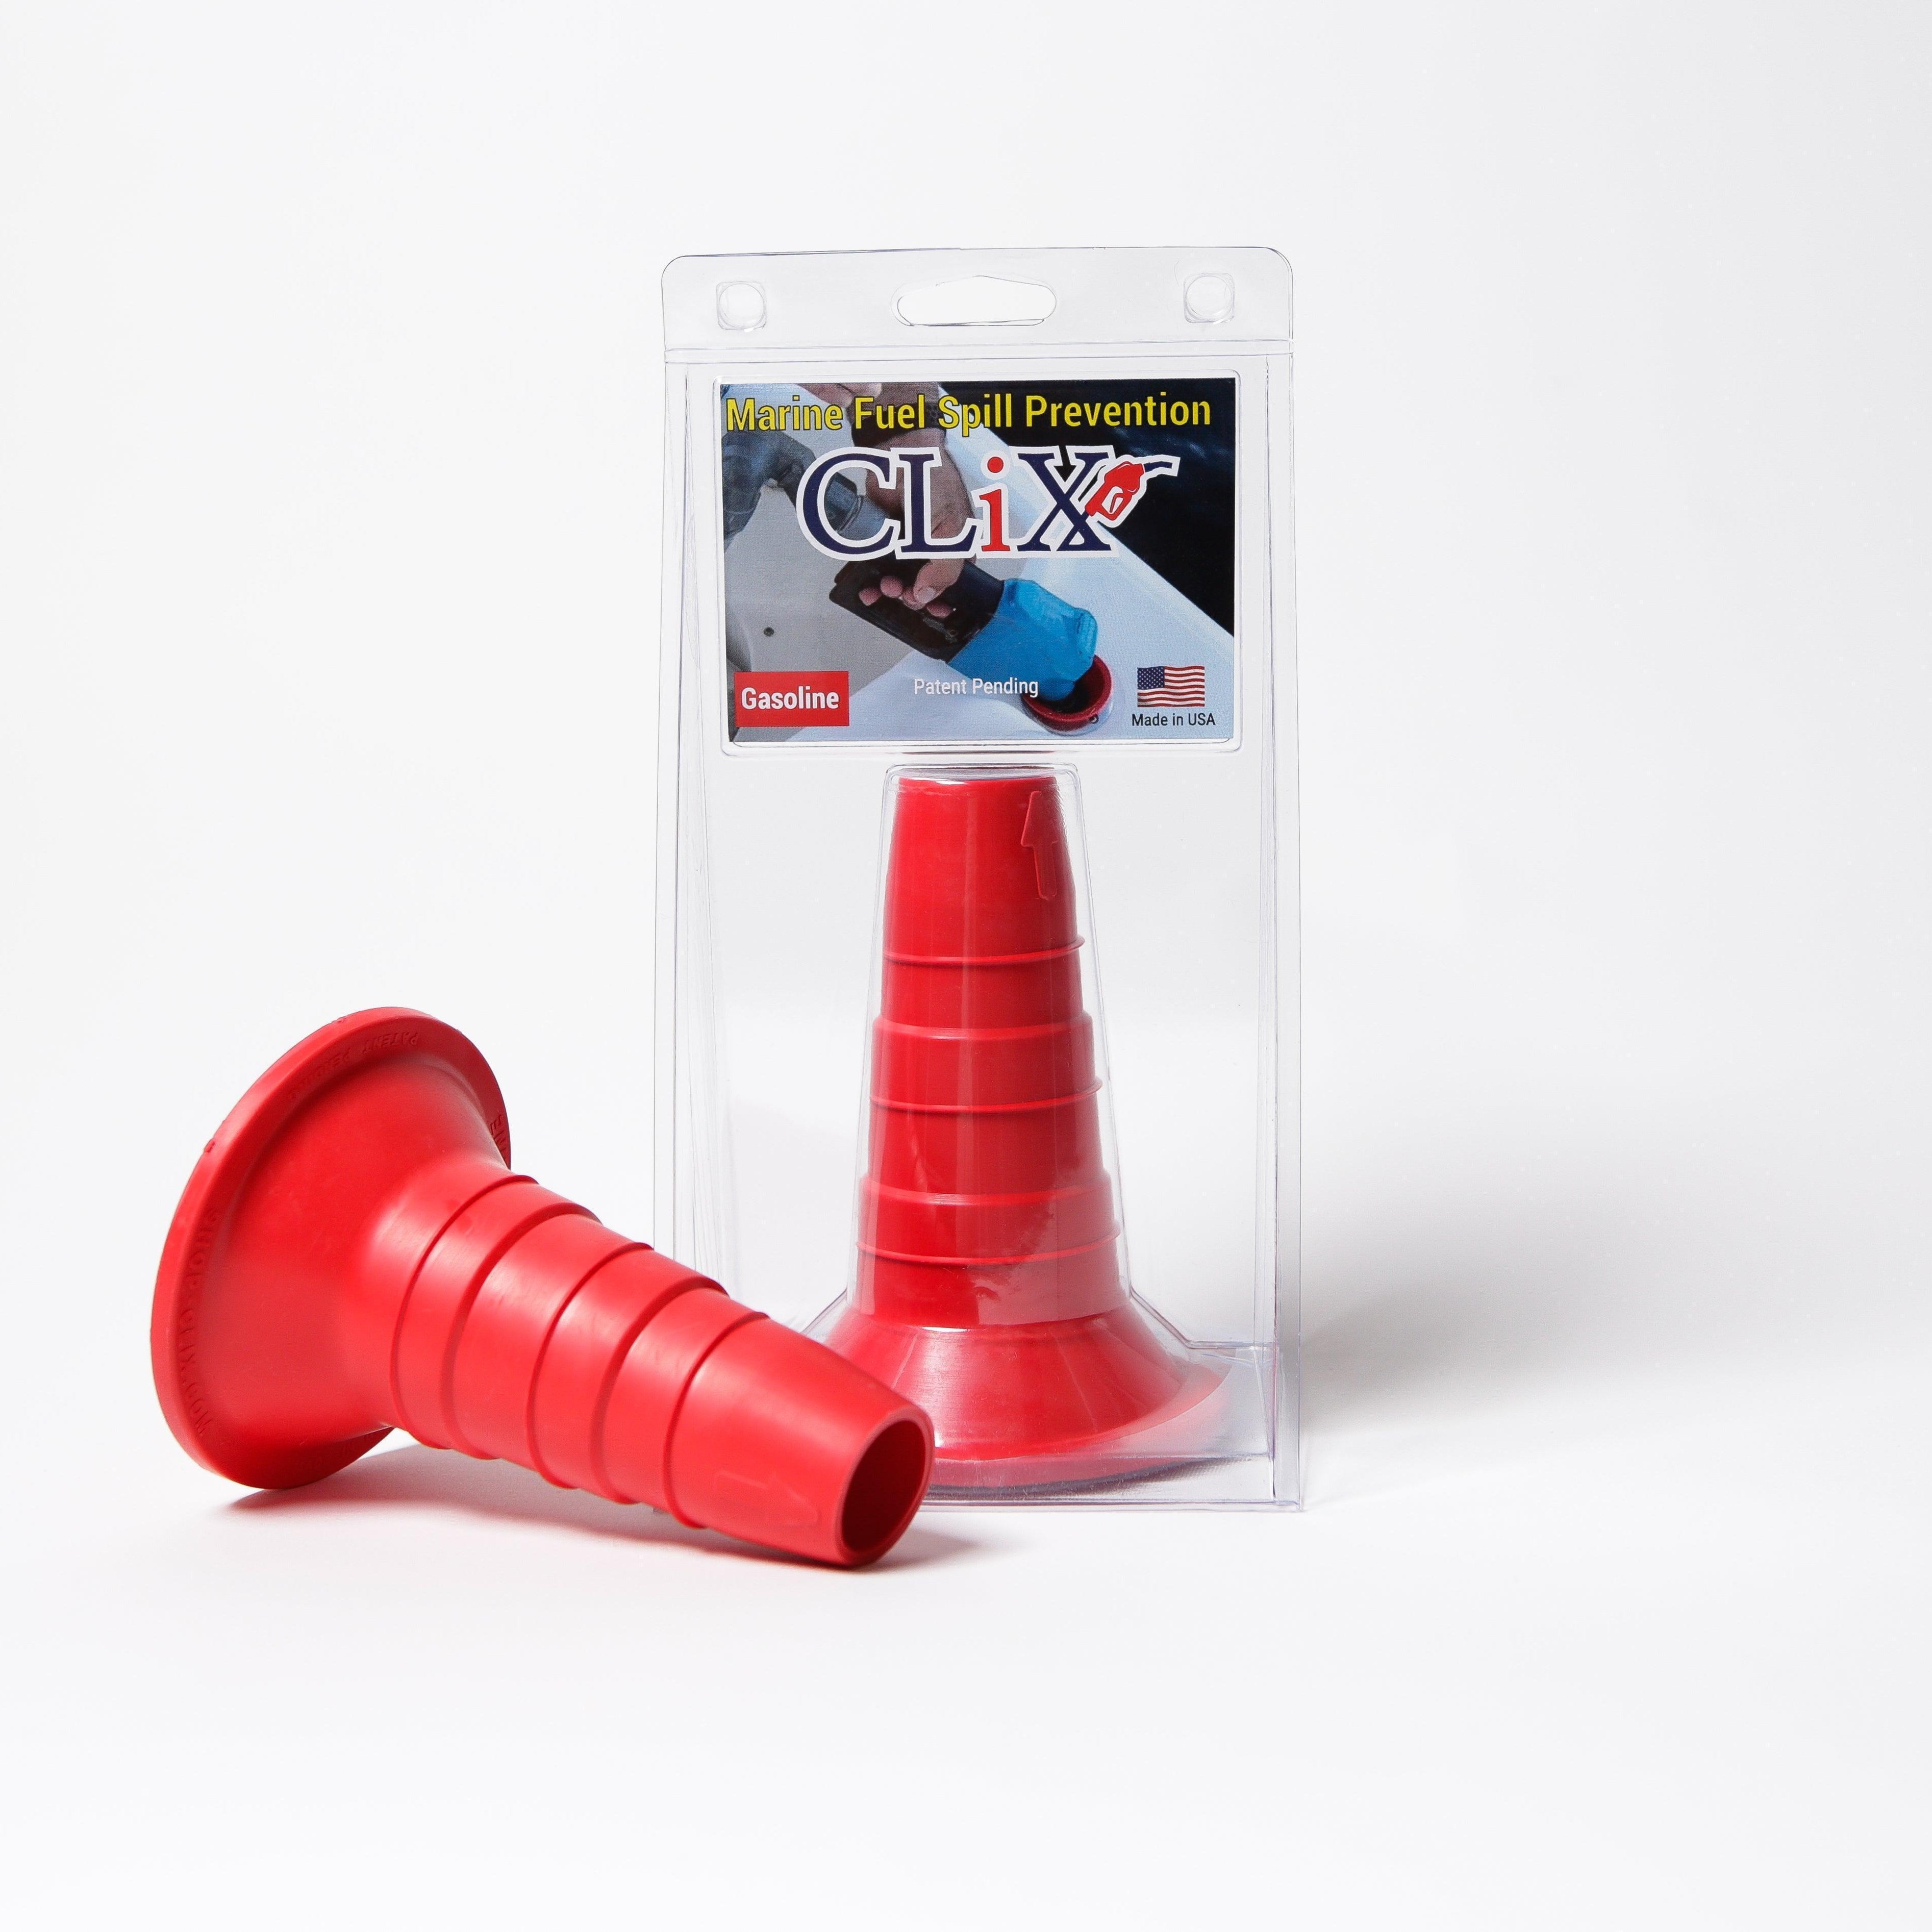
At CLiX Fueling Solutions, we believe fueling should be safe, simple, and spill-free. Our automatic shut-off system eliminates the guesswork and protects your boat from costly overfills. See how it works at https://clixfueling.com.