Choosing the right outboard motor gas cans isn't just about storing fuel. It's about selecting a critical piece of safety gear that can stand up to the harsh marine environment and keep your engine running smoothly. Think of it as an investment in a hassle-free day on the water.
Choosing the Right Gas Can for Your Boat
Let’s be honest, it’s tempting to just grab any old red can from the garage. But for your boat, that’s a mistake. A true marine-grade fuel can is built differently—it’s designed to handle the constant sloshing, direct sun, and corrosive saltwater that would quickly destroy a standard container.
Material and Size: The First Big Decisions
Your first choice is the material. While classic metal cans have a certain appeal, they're prone to rust in saltwater environments, and the last thing you want is rust flakes clogging up your fuel lines. That's why most boaters today rely on cans made from high-density polyethylene (HDPE). This stuff is tough, won't rust or dent, and stands up to UV exposure like a champ.
Next up is size. How much fuel do you actually need? Hauling too much is just dead weight, but running dry offshore is a nightmare scenario nobody wants to experience. The key is to balance your engine's horsepower, how you typically run your boat, and how long you plan to be out. A solid rule I always follow is to figure out my expected fuel burn for the trip and then add a 30% reserve. You just never know when conditions might change.
This infographic breaks down how your trip length impacts the fuel capacity you should be looking at.
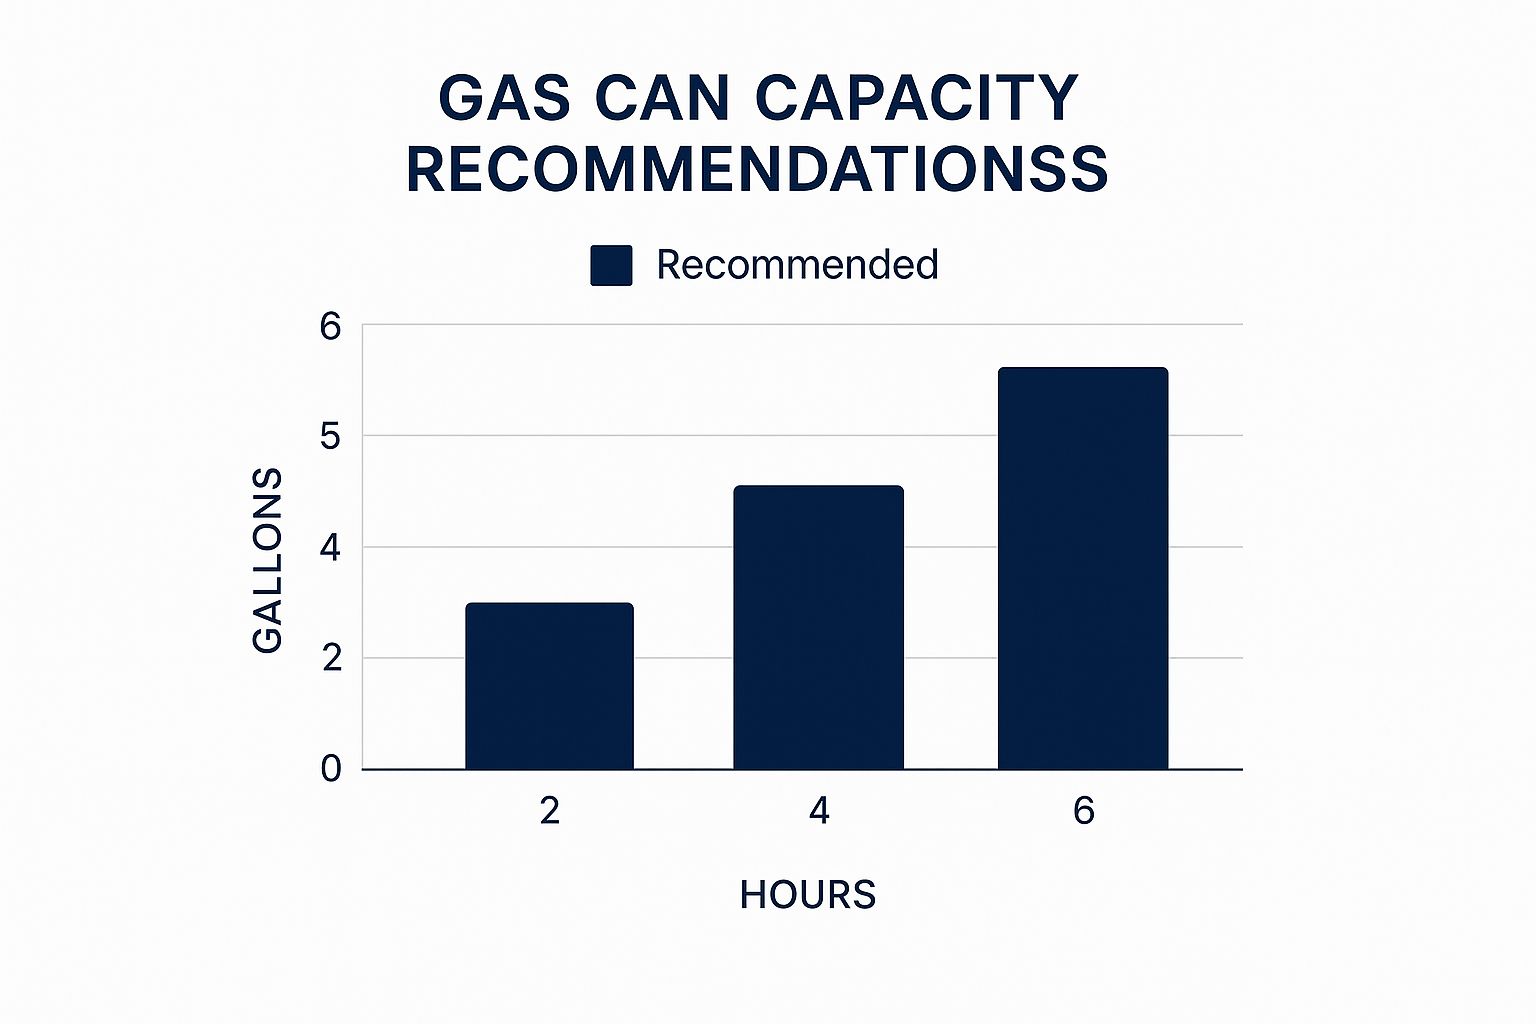
It’s a simple visual, but it drives the point home: longer trips demand more fuel. Planning ahead saves you from a world of trouble later. If you want to see some specific recommendations, we put together a guide on the top boat gas cans for safe and durable options.
A Quick Look at Your Options
To make it even clearer, here’s a quick breakdown of the common materials and what size might work best for your setup.
Comparing Common Gas Can Materials and Sizes
| Material Type | Key Benefits | Potential Downsides | Best For Outboards (HP) |
|---|---|---|---|
| High-Density Polyethylene (HDPE) | Lightweight, rust-proof, dent-resistant, durable | Can swell in heat, spouts can be tricky | All HP ranges (Most popular choice) |
| Metal (Steel/Aluminum) | Extremely durable, puncture-resistant | Prone to rust (steel), heavy, can dent | Higher HP where larger volumes are needed |
| Portable Fuel Tanks (Plastic) | Larger capacity (6-12 gal), often OEM | Bulkier, less portable for refilling | 25 HP and up (Often primary tanks) |
This table should give you a good starting point for narrowing down what will work best for your boat and how you use it.
Features That Make a Difference
Beyond the basics, a few key features separate a good can from a great one. Look for cans with comfortable, well-designed handles. You’ll thank yourself when you’re trying to pour fuel on a rocking boat.
Modern safety regulations mean all new cans come with spill-proof spouts. They can be a little frustrating at first, but they’re designed that way to prevent dangerous vapor leaks and, more importantly, fuel spills into the water. Some of the better models even have a built-in fuel gauge, which is a fantastic feature for taking the guesswork out of a quick fuel check.
A well-chosen gas can is more than just a container; it's an investment in your safety, your engine's health, and the protection of the marine environment. Prioritizing quality here pays dividends every time you leave the dock.
The demand for good boating gear isn't slowing down. The global market for gas-powered outboard motors was valued at around $5 billion USD in 2025 and is expected to keep growing. With North America accounting for over half of that market, the need for reliable, high-quality outboard motor gas cans is more critical than ever.
Getting Gas: How to Fill and Transport Your Fuel Cans Safely
Let's face it, handling gasoline is just part of being a boater. But getting too comfortable with it can lead to some pretty scary mistakes. The key is to have a solid routine for filling and moving your fuel cans—one you follow every single time. It's not complicated, but it is important.
Your safety check should start before you even leave the house. Give your cans a quick once-over. Are there any little cracks in the plastic? Pay close attention to the base and handles. Pop the cap off and check the gasket inside; if it's dried out and brittle, it's not going to seal properly and you're asking for a leak.
At the Pump
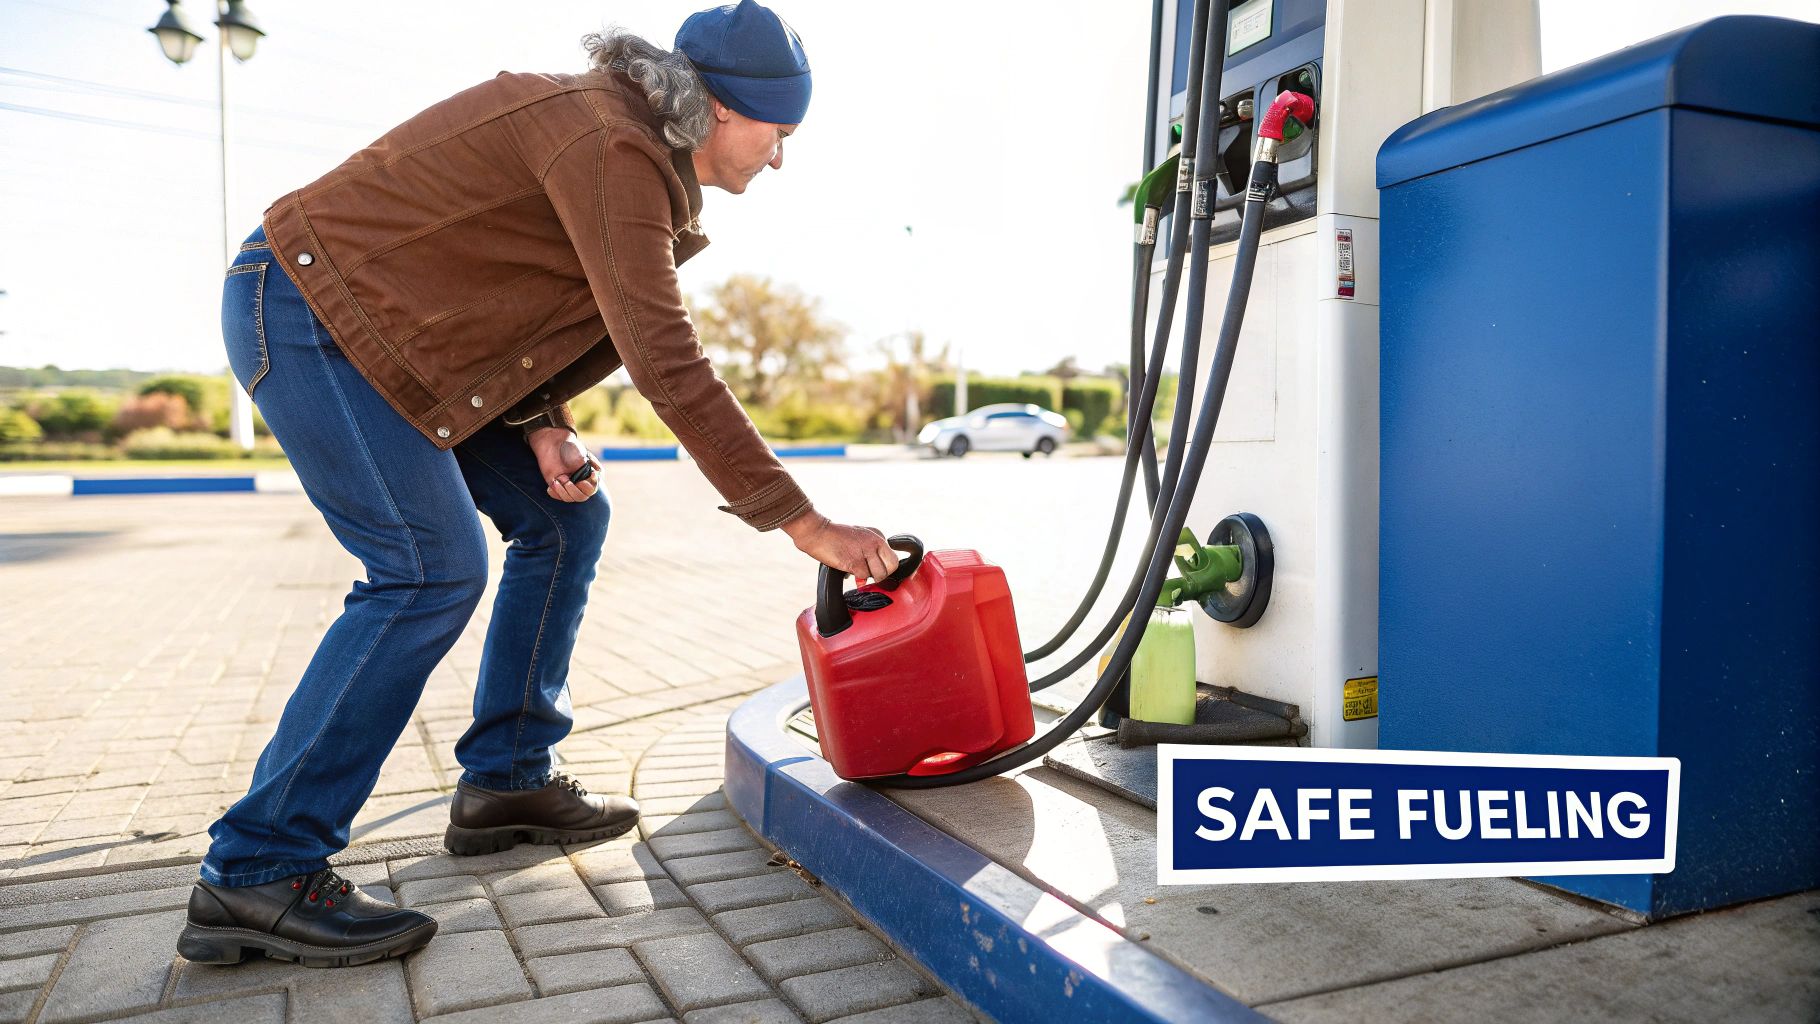
Once you're at the gas station, there's one golden rule that trumps all others: always place the gas can on the ground before you start filling. Never, ever fill it in the bed of your truck or the trunk of your car. This simple act grounds the can, getting rid of any static electricity that could otherwise build up and spark a fire. It happens.
With the can on the pavement, you're ready to go. Just keep these things in mind:
- Keep the Nozzle Touching: Make sure the metal fuel nozzle stays in direct contact with the rim of the can’s opening the entire time you’re pumping. This gives any lingering static a safe path to the ground.
- Don't Go Full Blast: Start pumping slowly. This cuts down on splashing and prevents a big, sudden cloud of flammable vapor from erupting.
- Leave Some Room: This is a big one. Never fill the can all the way to the top. Fuel needs space to expand when it gets warm. Aim for about 95% full to give it that breathing room.
A common mistake is trying to squeeze every last drop in. But when that full can sits in the sun, the expanding gas has nowhere to go. The pressure can force fuel out of the vent or even rupture the can, creating a huge safety hazard.
If you want to get into the nitty-gritty of this, we have a whole guide covering the proper way to fill a gas container.
Getting Your Cans to the Boat
Okay, your cans are full. Now you have to get them to the water without any drama. Your main goal is to stop them from tipping over or sliding around. A gasoline spill inside your car isn't just a stinky mess; the fumes create a serious fire risk.
The ideal spot for your outboard motor gas cans during transport is somewhere with plenty of ventilation, like a truck bed or an open trailer. Lash them down tight and upright with bungee cords or ratchet straps so they can't budge.
If you absolutely have to carry them inside an SUV or car, crack the windows to get some air moving through. And as soon as you get to your destination, get those cans out of the vehicle. You never want to leave a full gas can baking inside a hot car.
Mixing Fuel for a Two-Stroke Outboard
If you're running a two-stroke outboard, you are the engine's lubrication system. It's a simple but critical job. Unlike a four-stroke engine that handles its own oil, your motor depends completely on the oil you mix into the gasoline to keep everything moving smoothly.
Getting this mixture right isn't just a friendly suggestion—it’s the single most important thing you can do for your engine's longevity and performance.
The right fuel-to-oil ratio is the secret sauce for your specific motor. The most common mix you'll see for modern outboards is 50:1, which is just one part oil for every fifty parts of gasoline. But don't assume that's your number. Older or smaller engines can require a much richer mixture, like 25:1.
Never, ever guess. Your engine's required ratio will be printed on a decal somewhere on the motor itself, often near the tiller handle or on the cowling. If it's not there, it's guaranteed to be in the owner's manual. Follow that number religiously.
The Right Way to Mix Your Fuel
Mixing fuel is easy, but the order you do things in actually makes a difference. Following the right steps ensures the oil distributes evenly through the gas, so you don't send slugs of pure oil or unlubricated fuel into your engine. Always do your mixing in a well-ventilated spot, far away from any open flames or sparks.
Here's my foolproof method for getting a perfect blend every time:
- Pour in about half the gas first. Start by filling your empty outboard motor gas can about halfway. This gives the oil something to blend into from the start.
- Add all of your oil. Now, pour in the pre-measured amount of two-stroke oil. Make sure you're using a TC-W3 certified marine two-stroke oil; it's formulated specifically for the high demands of an outboard.
- Top it off with the rest of the gas. Adding the remaining gasoline will churn everything up, doing most of the mixing for you.
- Cap it and give it a shake. Screw the cap on tight and give the can a good, solid shake for about 10-15 seconds. This final step ensures a consistent, engine-safe mixture from the first drop to the last.
Common Mistakes to Steer Clear Of
It’s a straightforward process, but it's surprisingly easy to make a costly error. Eyeballing the oil amount or grabbing the wrong type of oil from the garage shelf can lead to a sputtering engine, fouled spark plugs, or even serious internal damage down the road.
Using too little oil is a recipe for disaster—it can cause overheating and catastrophic engine seizure from lack of lubrication. On the other hand, too much oil will cause excessive smoke, foul your plugs, and lead to heavy carbon buildup inside the engine. Precision is everything.
Getting the mix right also means thinking ahead about how much fuel you'll actually need. A 90 HP outboard at full throttle can burn through 10–12 gallons an hour, while a little kicker motor might just sip a couple of gallons over a whole weekend of trolling.
One last tip: if you think your mixed gas might sit for more than a few weeks, add a fuel stabilizer. Our guide on fuel additives for boats dives deep into how they stop fuel from breaking down and keep your motor running like a top all season.
Refueling Your Boat on the Water
Refueling on the open water can feel a little tricky compared to tying up at a fuel dock, but it's a skill every boater needs to master. The constant motion of the water, even on a calm day, adds a layer of complexity you just don't have on land. The trick is to have a simple, repeatable process.
First up, let's talk about the hard-and-fast safety rules. Before you even think about unscrewing a gas cap, your engine must be completely off. This is non-negotiable. Make sure there are no open flames, cigarettes, or anything else that could cause a spark. Gas fumes are sneaky; they're heavier than air and can pool in low areas of your boat, creating a serious fire risk.
Staying Steady and Spill-Free
Your biggest enemies out there are instability and spills. Before you start pouring, get yourself into a low, stable position. Kneeling on the deck gives you a much better center of gravity than standing, which can save you from a nasty spill if an unexpected wake rolls by.
And speaking of spills, have some fuel-absorbent pads ready and within arm's reach before you start. It's easy to think it won't happen to you, but being prepared to mop up a small mess instantly is key to protecting the water.
Having absorbent pads ready isn't just a good idea—it's responsible boating. A single gallon of spilled gasoline can contaminate up to 750,000 gallons of water, so every drop truly counts.
The Pouring Process
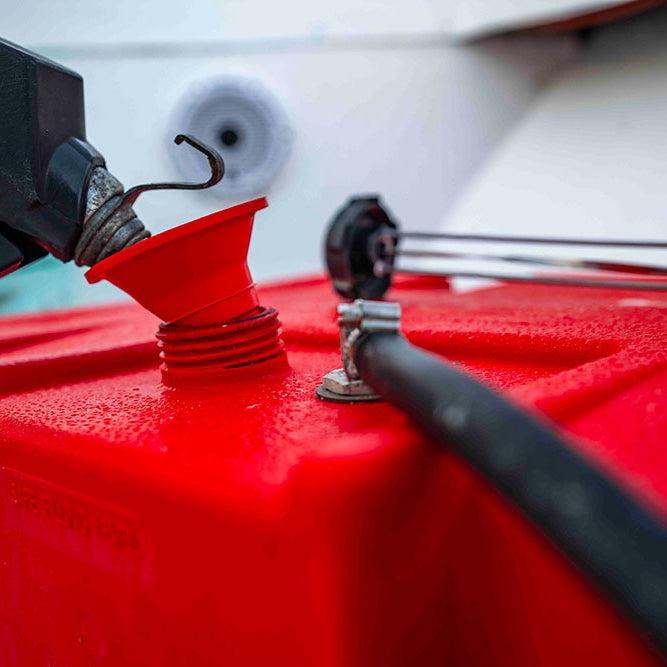
When it's time to pour from your outboard motor gas cans, it all comes down to technique. Get a firm, two-handed grip on the can—one hand supports the weight while the other guides the spout. You'll want to keep the tip of the spout well inside the fuel tank opening to prevent any splashing.
Don't forget to vent the can. Modern cans often have self-venting spouts, but others might have a small button or cap you need to open. This simple step prevents a vacuum from building up, which is what causes that uncontrollable "glugging" that almost guarantees a spill.
Pour slowly and deliberately. There's no prize for emptying the can quickly. This careful approach makes the whole process safer, cleaner, and a lot less stressful. After a few times, it'll feel like second nature.
Storing Fuel Cans During the Off-Season
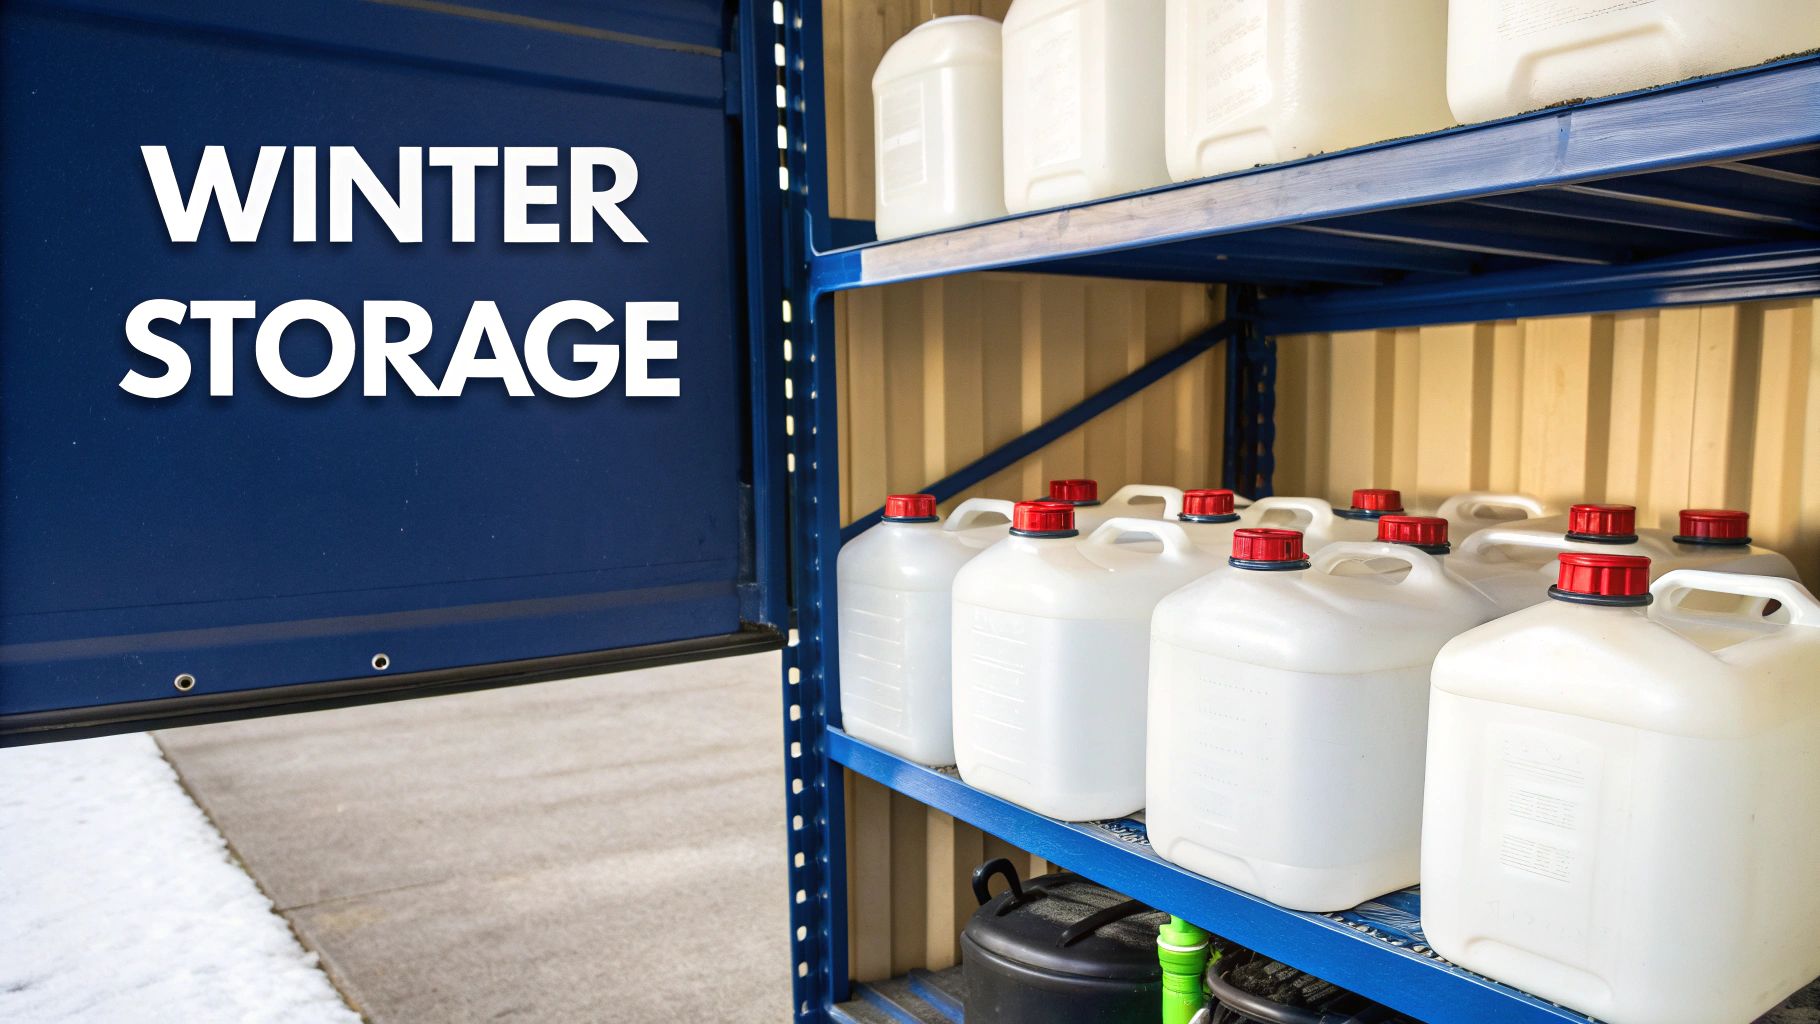
How you put away your fuel cans at the end of the season can be the difference between a smooth launch in the spring and a day of pure frustration. I can't tell you how many times I've seen a beautiful boat refuse to start after a long winter nap, and the number one culprit is almost always stale, degraded gasoline. Getting your off-season storage right is your best defense.
The first and most important thing you need to do is treat any leftover fuel with a quality marine fuel stabilizer. It's a non-negotiable step. Today's gasoline, especially the stuff with ethanol, starts to break down surprisingly fast—sometimes in as little as 30 to 60 days. When it goes bad, it leaves behind gummy varnish that will clog up your engine's carburetor, fuel injectors, and lines, setting you up for a hefty repair bill.
A good stabilizer essentially presses pause on that chemical breakdown. It keeps your fuel fresh and ready to burn for up to a year, sometimes even longer. Just be sure to follow the directions on the bottle to get the stabilizer-to-gas ratio right.
Finding the Right Storage Spot
Where you stash your outboard motor gas cans is just as critical as what’s in them. You're looking for a spot that's cool, dry, and gets plenty of ventilation. A detached shed or a garage is usually your best bet. The big idea is to keep the cans far away from anything that could spark a fire.
Under no circumstances should you ever store gasoline inside your house. That includes the basement or an attached garage that shares air with your living space. Gasoline fumes are heavier than air and can creep along the floor until they find an ignition source, like the pilot light on your water heater or furnace. Heat and direct sunlight are also enemies, as they cause the fuel to expand, building pressure that can force leaks or even rupture the can.
Storing fuel properly isn't just about protecting your engine; it's a critical safety measure. A cool, detached location is the best way to prevent dangerous vapor buildup and protect your home and family.
Before you tuck those cans away for the winter, take a few minutes to give them a quick once-over. It's a simple habit that will save you a world of trouble come spring.
Pre-Storage Checklist
- Look for Damage: Give each can a good inspection. Check for cracks, splits, or the chalky, faded look that signals UV damage.
- Check the Seals: Pop the cap and take a look at the rubber gasket. If it’s brittle, cracked, or missing, get a new one. A good seal is crucial for preventing vapor leaks.
- Wipe Them Down: Clean off any dirt, grime, or spilled fuel from the outside of the can. This keeps your storage area tidy and helps keep pests away.
- Label Everything: If you're storing multiple cans, especially if one has a two-stroke mix, grab a permanent marker and some masking tape. Clearly label what's inside and the date you stored it.
Spending five extra minutes on this before you store your cans will prevent the headache of finding a leaky container or, worse, pouring old, questionable fuel into your engine next season. Your reward will be a motor that fires right up on that first perfect day back on the water.
Got Questions? We've Got Answers
When it comes to handling fuel, a lot of questions pop up. It doesn't matter if you've been on the water your whole life or you're just rigging up your first boat—getting the details right is what matters. Here are some no-nonsense answers to the things we get asked most about outboard motor gas cans.
How Long Does Gasoline Last in a Can?
This is the big one, especially after your boat has been sitting for the winter. The truth is, untreated gasoline can start going bad in as little as 30 days. Oxidation and ethanol separation are the culprits, leaving you with stale fuel and gummy deposits that can clog up your outboard's entire fuel system.
But there's an easy fix. A good marine fuel stabilizer can keep that gas fresh and ready to use for up to a full year. Just add it to the can, store it somewhere cool and dry, and you're set. While nothing beats brand-new fuel, proper stabilization is the next best thing for keeping your motor healthy.
Understanding Gas Can Color Codes
Ever wonder why gas cans come in different colors? It's not just for looks. This color-coding system is a critical safety standard to keep you from making a costly mistake.
- Red Cans: This is your go-to for gasoline. No exceptions.
- Yellow Cans: Reserved for diesel fuel.
- Blue Cans: Used for storing kerosene.
Sticking to this system is one of the simplest things you can do for your equipment. Accidentally pouring diesel into your gas outboard is a fast track to a ruined day and a massive repair bill. Always use a marine-grade red can for your boat.
Can I Reuse a Two-Stroke Mix Can for Regular Gas?
It's tempting to just give an old can a quick rinse and call it good, but this is a shortcut you really want to avoid. You should always have dedicated cans for your two-stroke mix and your straight gasoline.
No matter how well you think you've cleaned it, a can that once held an oil mix will always have some residue left behind. If you fill that can with straight gas for your four-stroke, that leftover oil will contaminate the fuel. You’ll end up with fouled plugs, a lot of smoke, and an engine that just doesn't run right.
Keeping separate, clearly labeled cans for different fuels is the easiest insurance policy against cross-contamination. A permanent marker and a minute of your time can save you from a huge mechanical headache.
Why Are New Gas Can Spouts So Complicated?
If you've bought a gas can recently, you've probably fought with the spout. Those spring-loaded, tricky-to-use spouts are the result of EPA regulations designed to cut down on fuel vapor emissions.
They're engineered to be self-venting and spill-proof, which is great for the environment and for your safety. They prevent harmful fumes from escaping and stop spills before they can happen. They definitely take some getting used to, but learning the new twist-and-push technique is just part of being a responsible boater today.
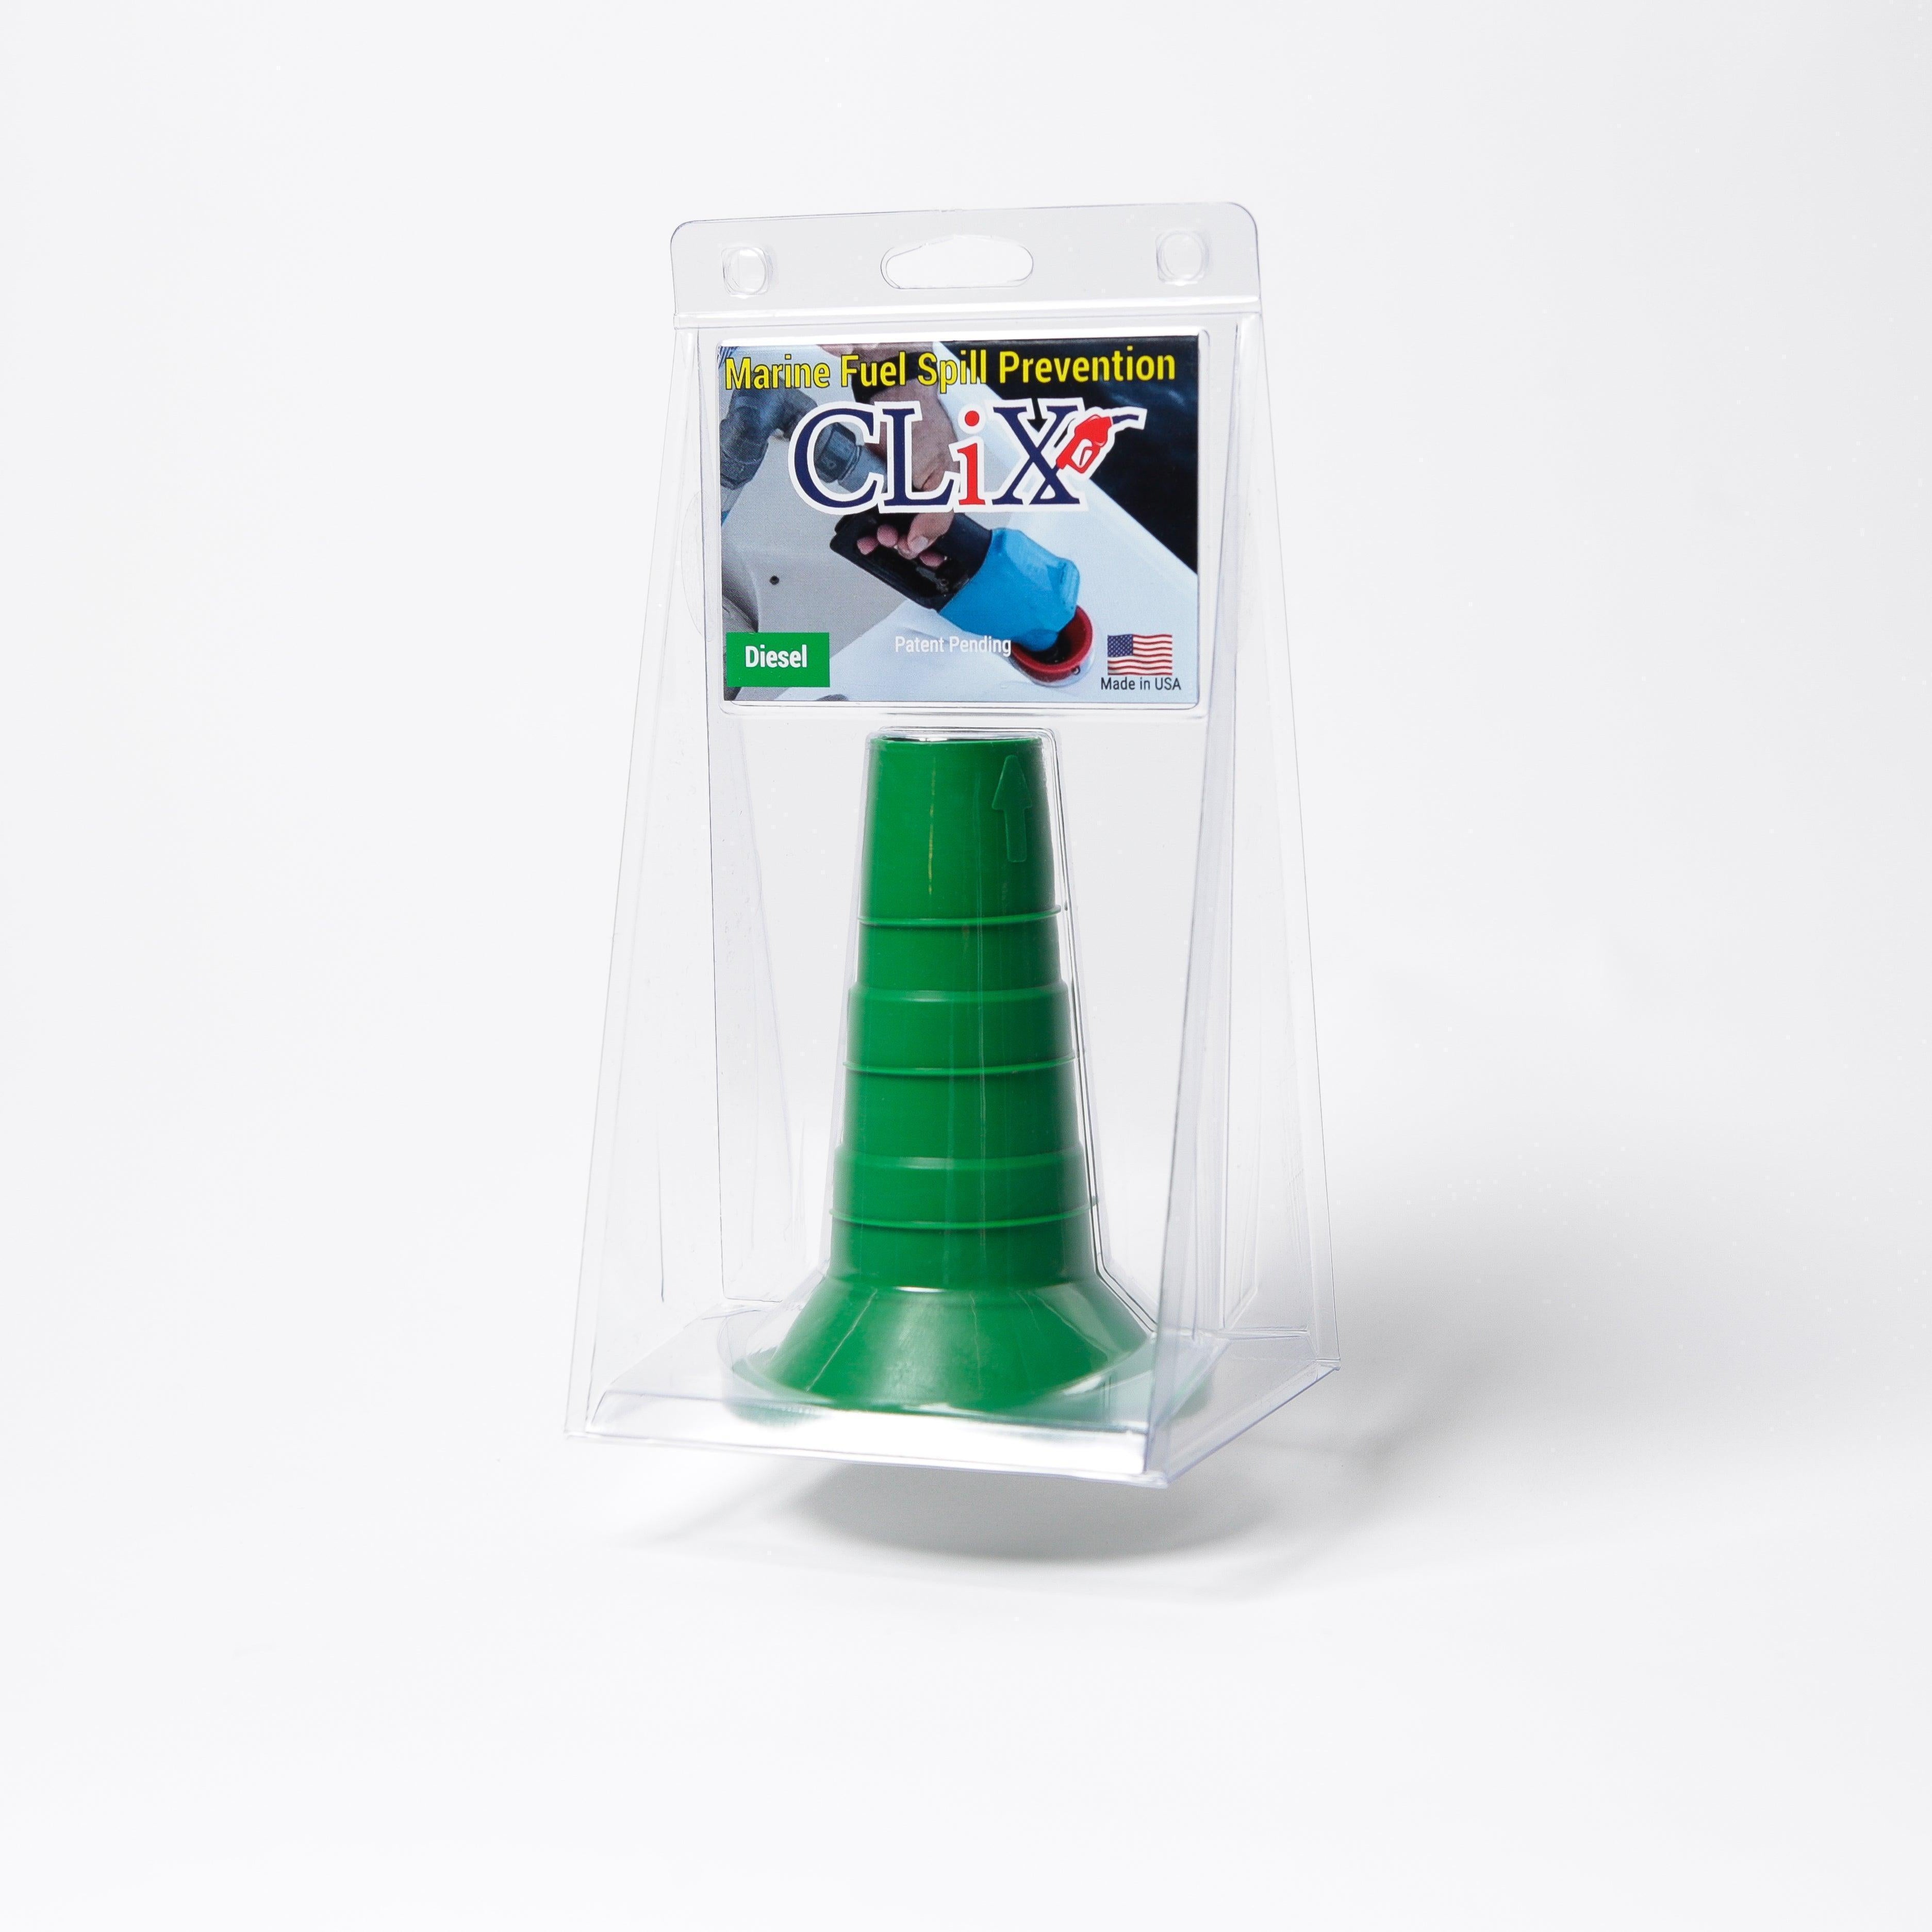
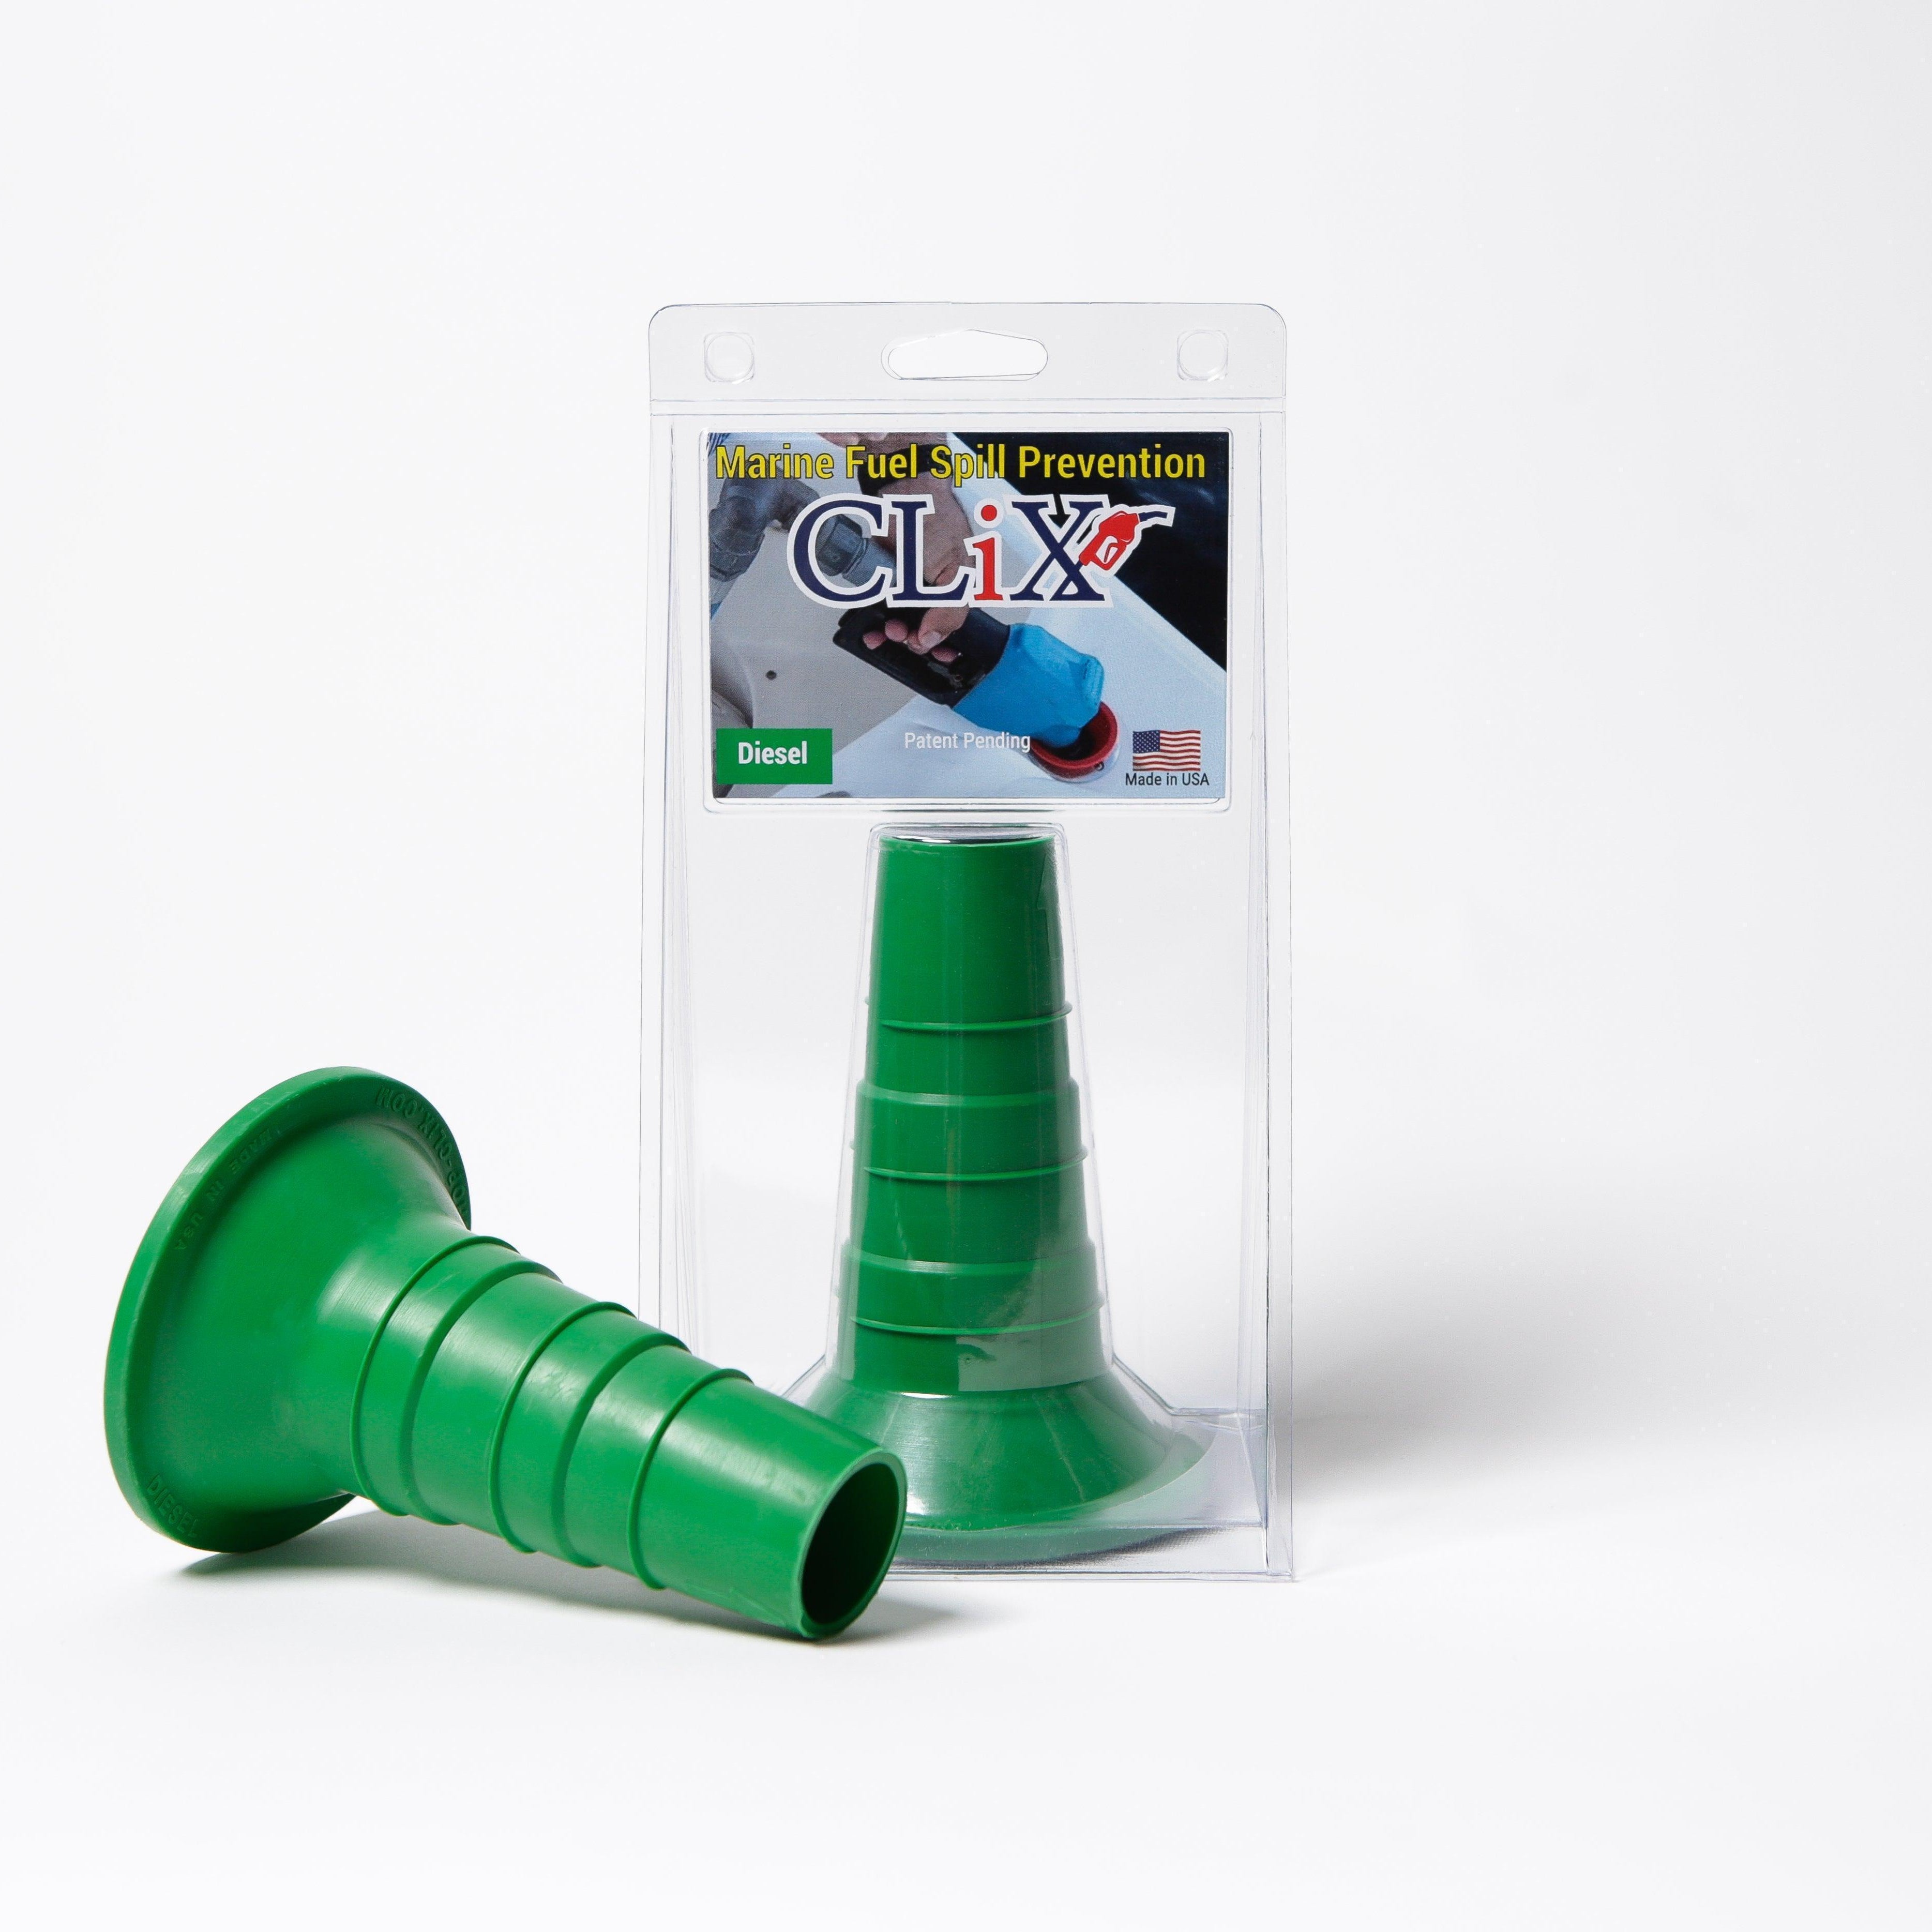
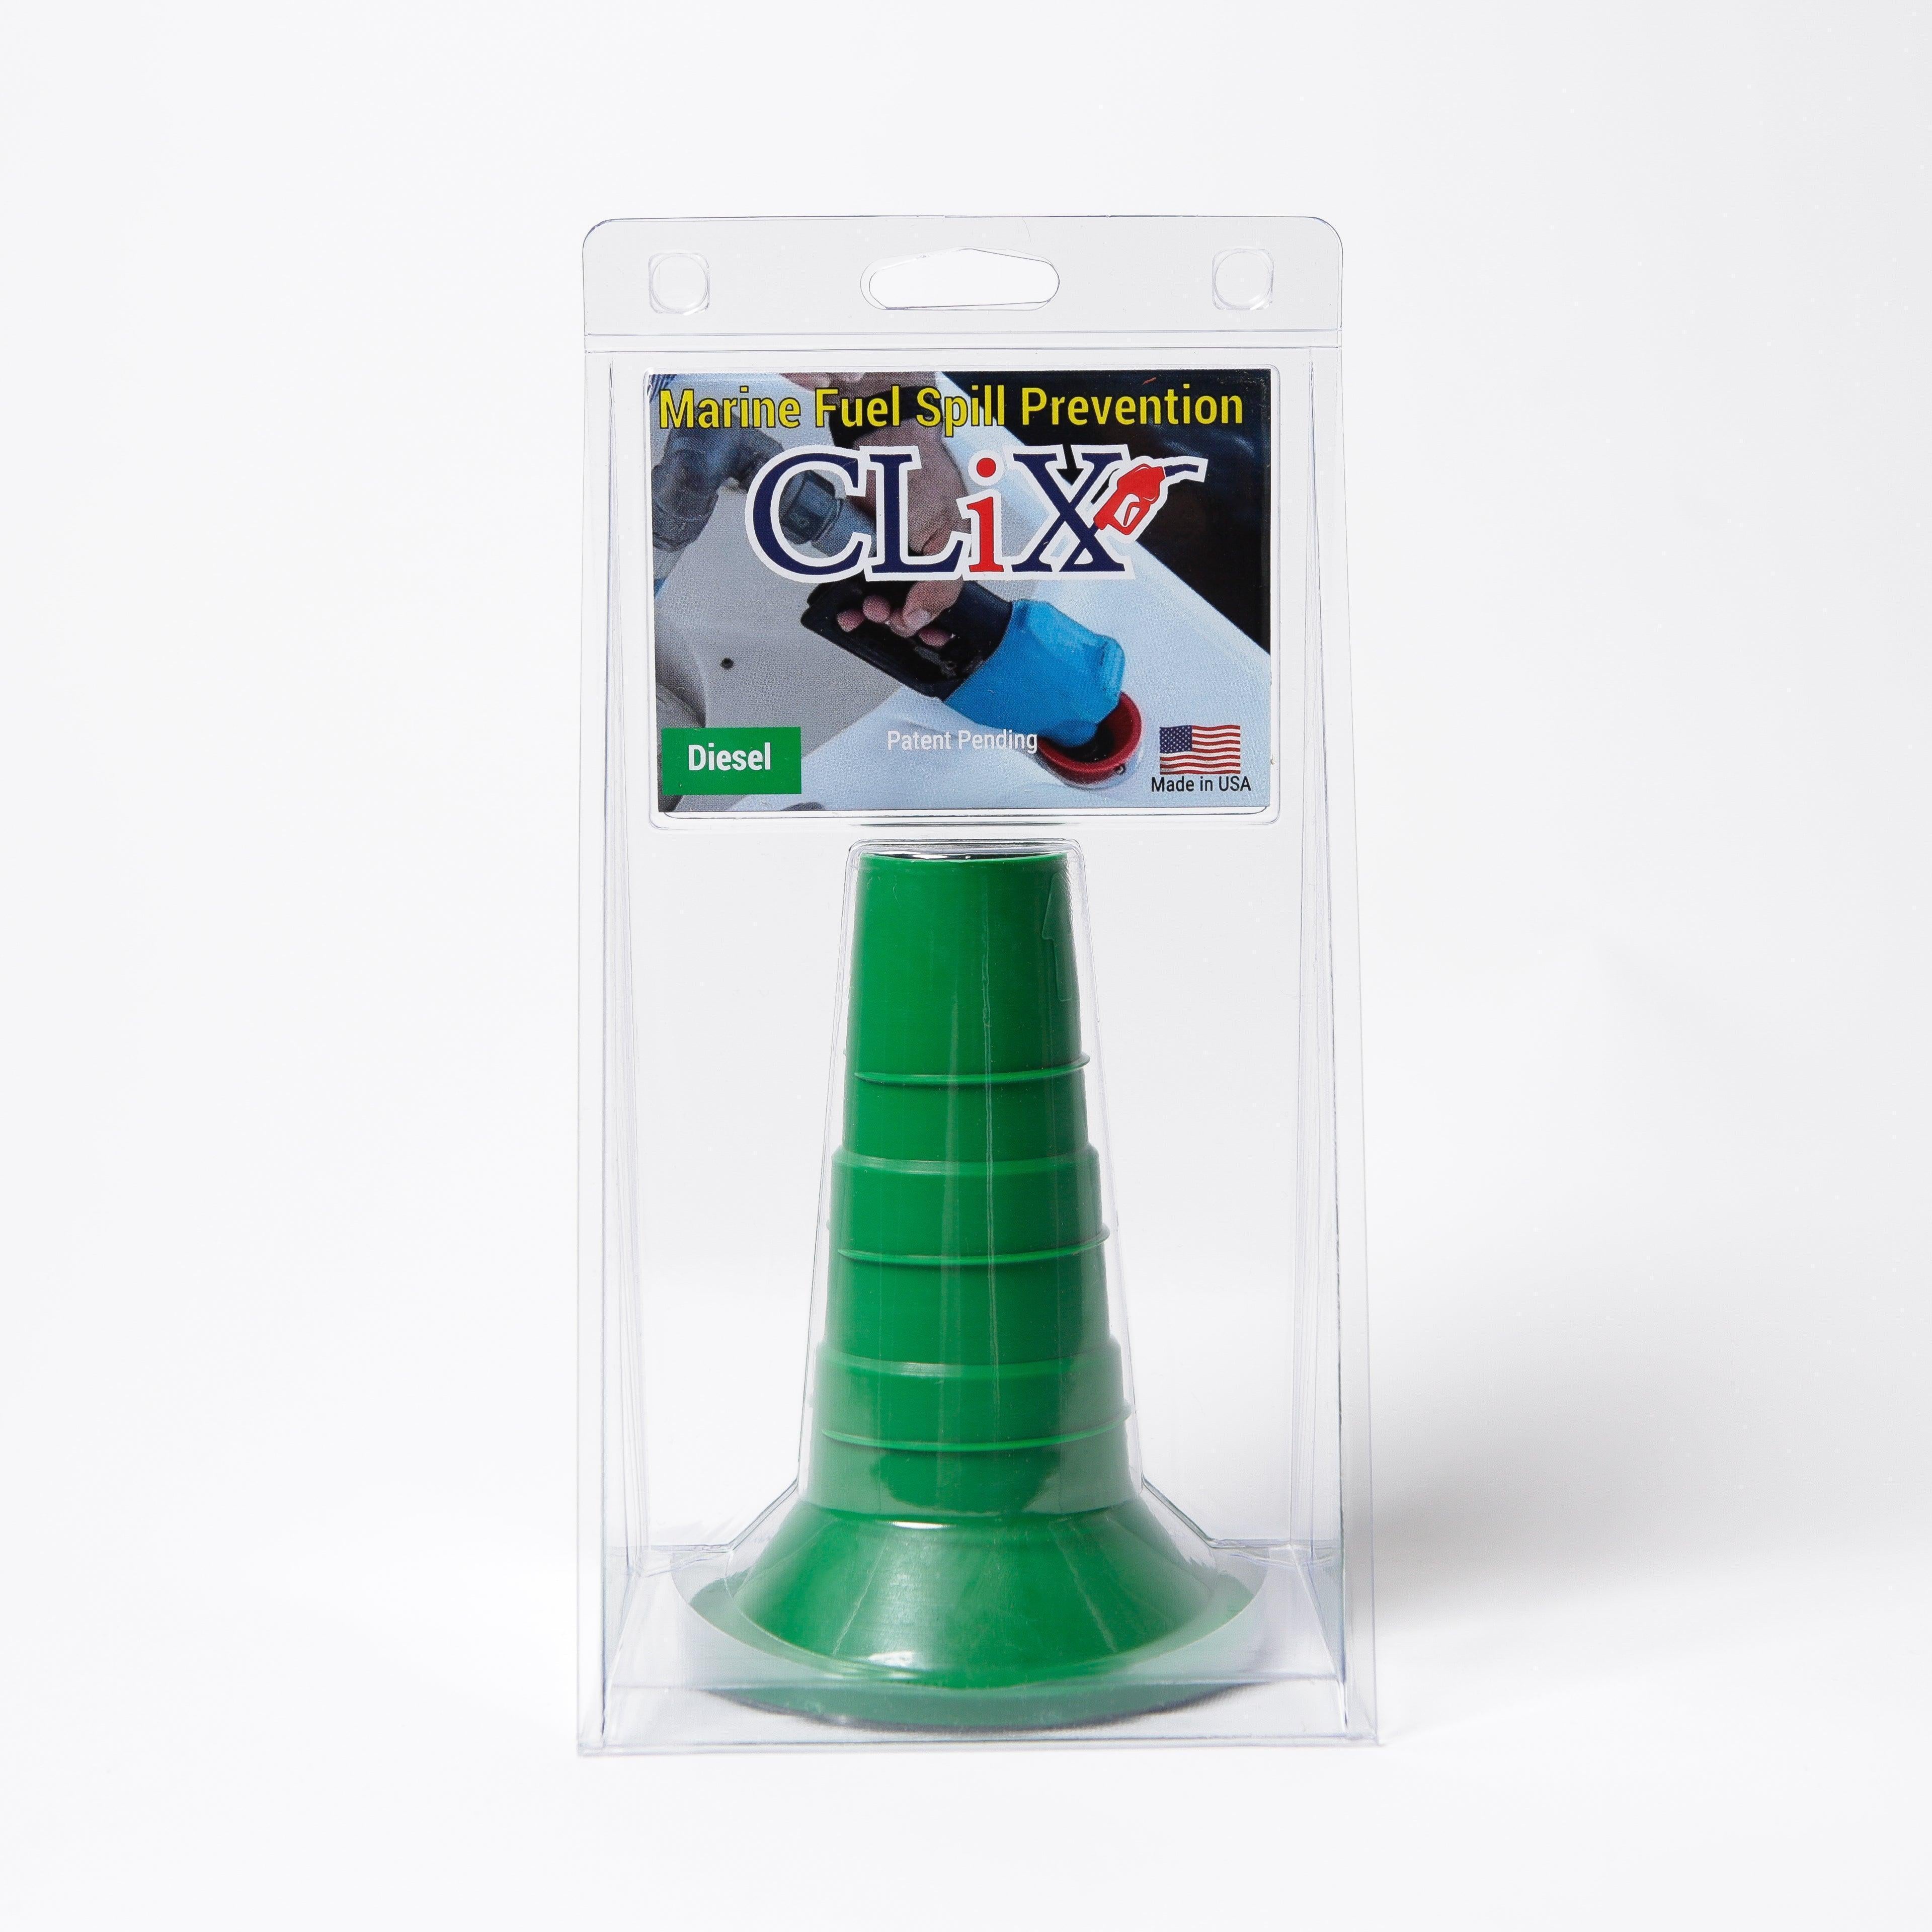
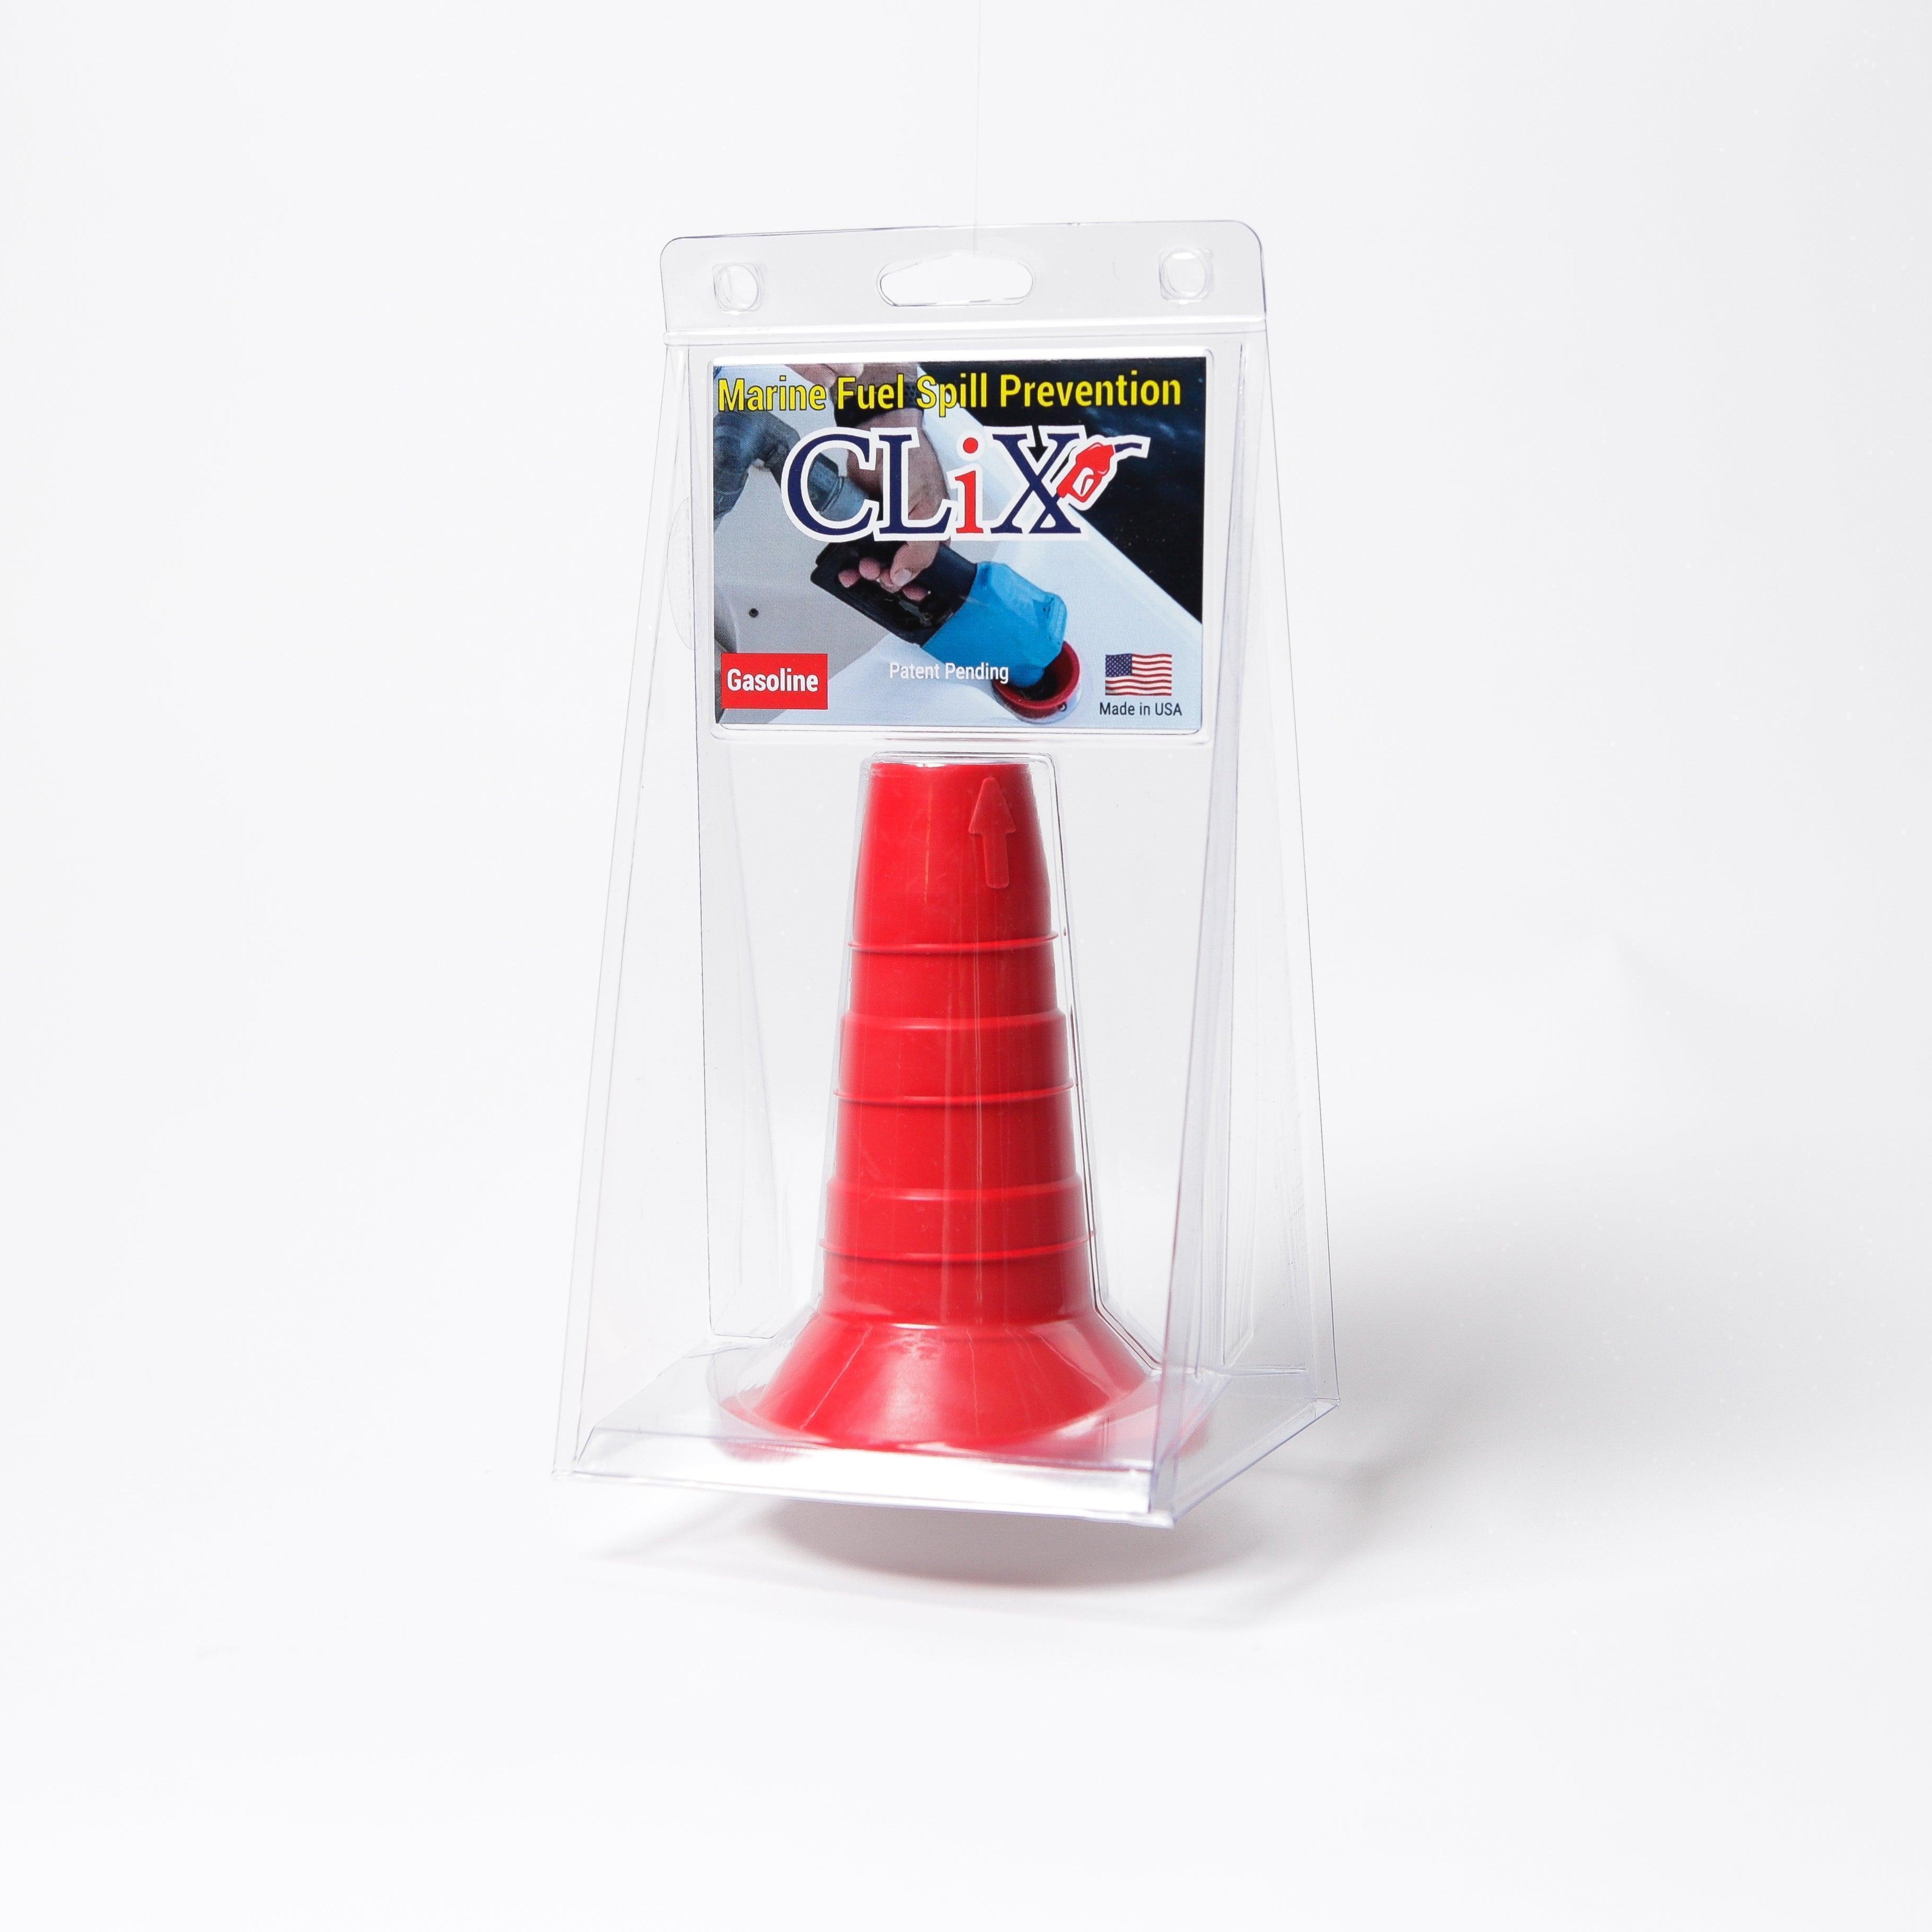
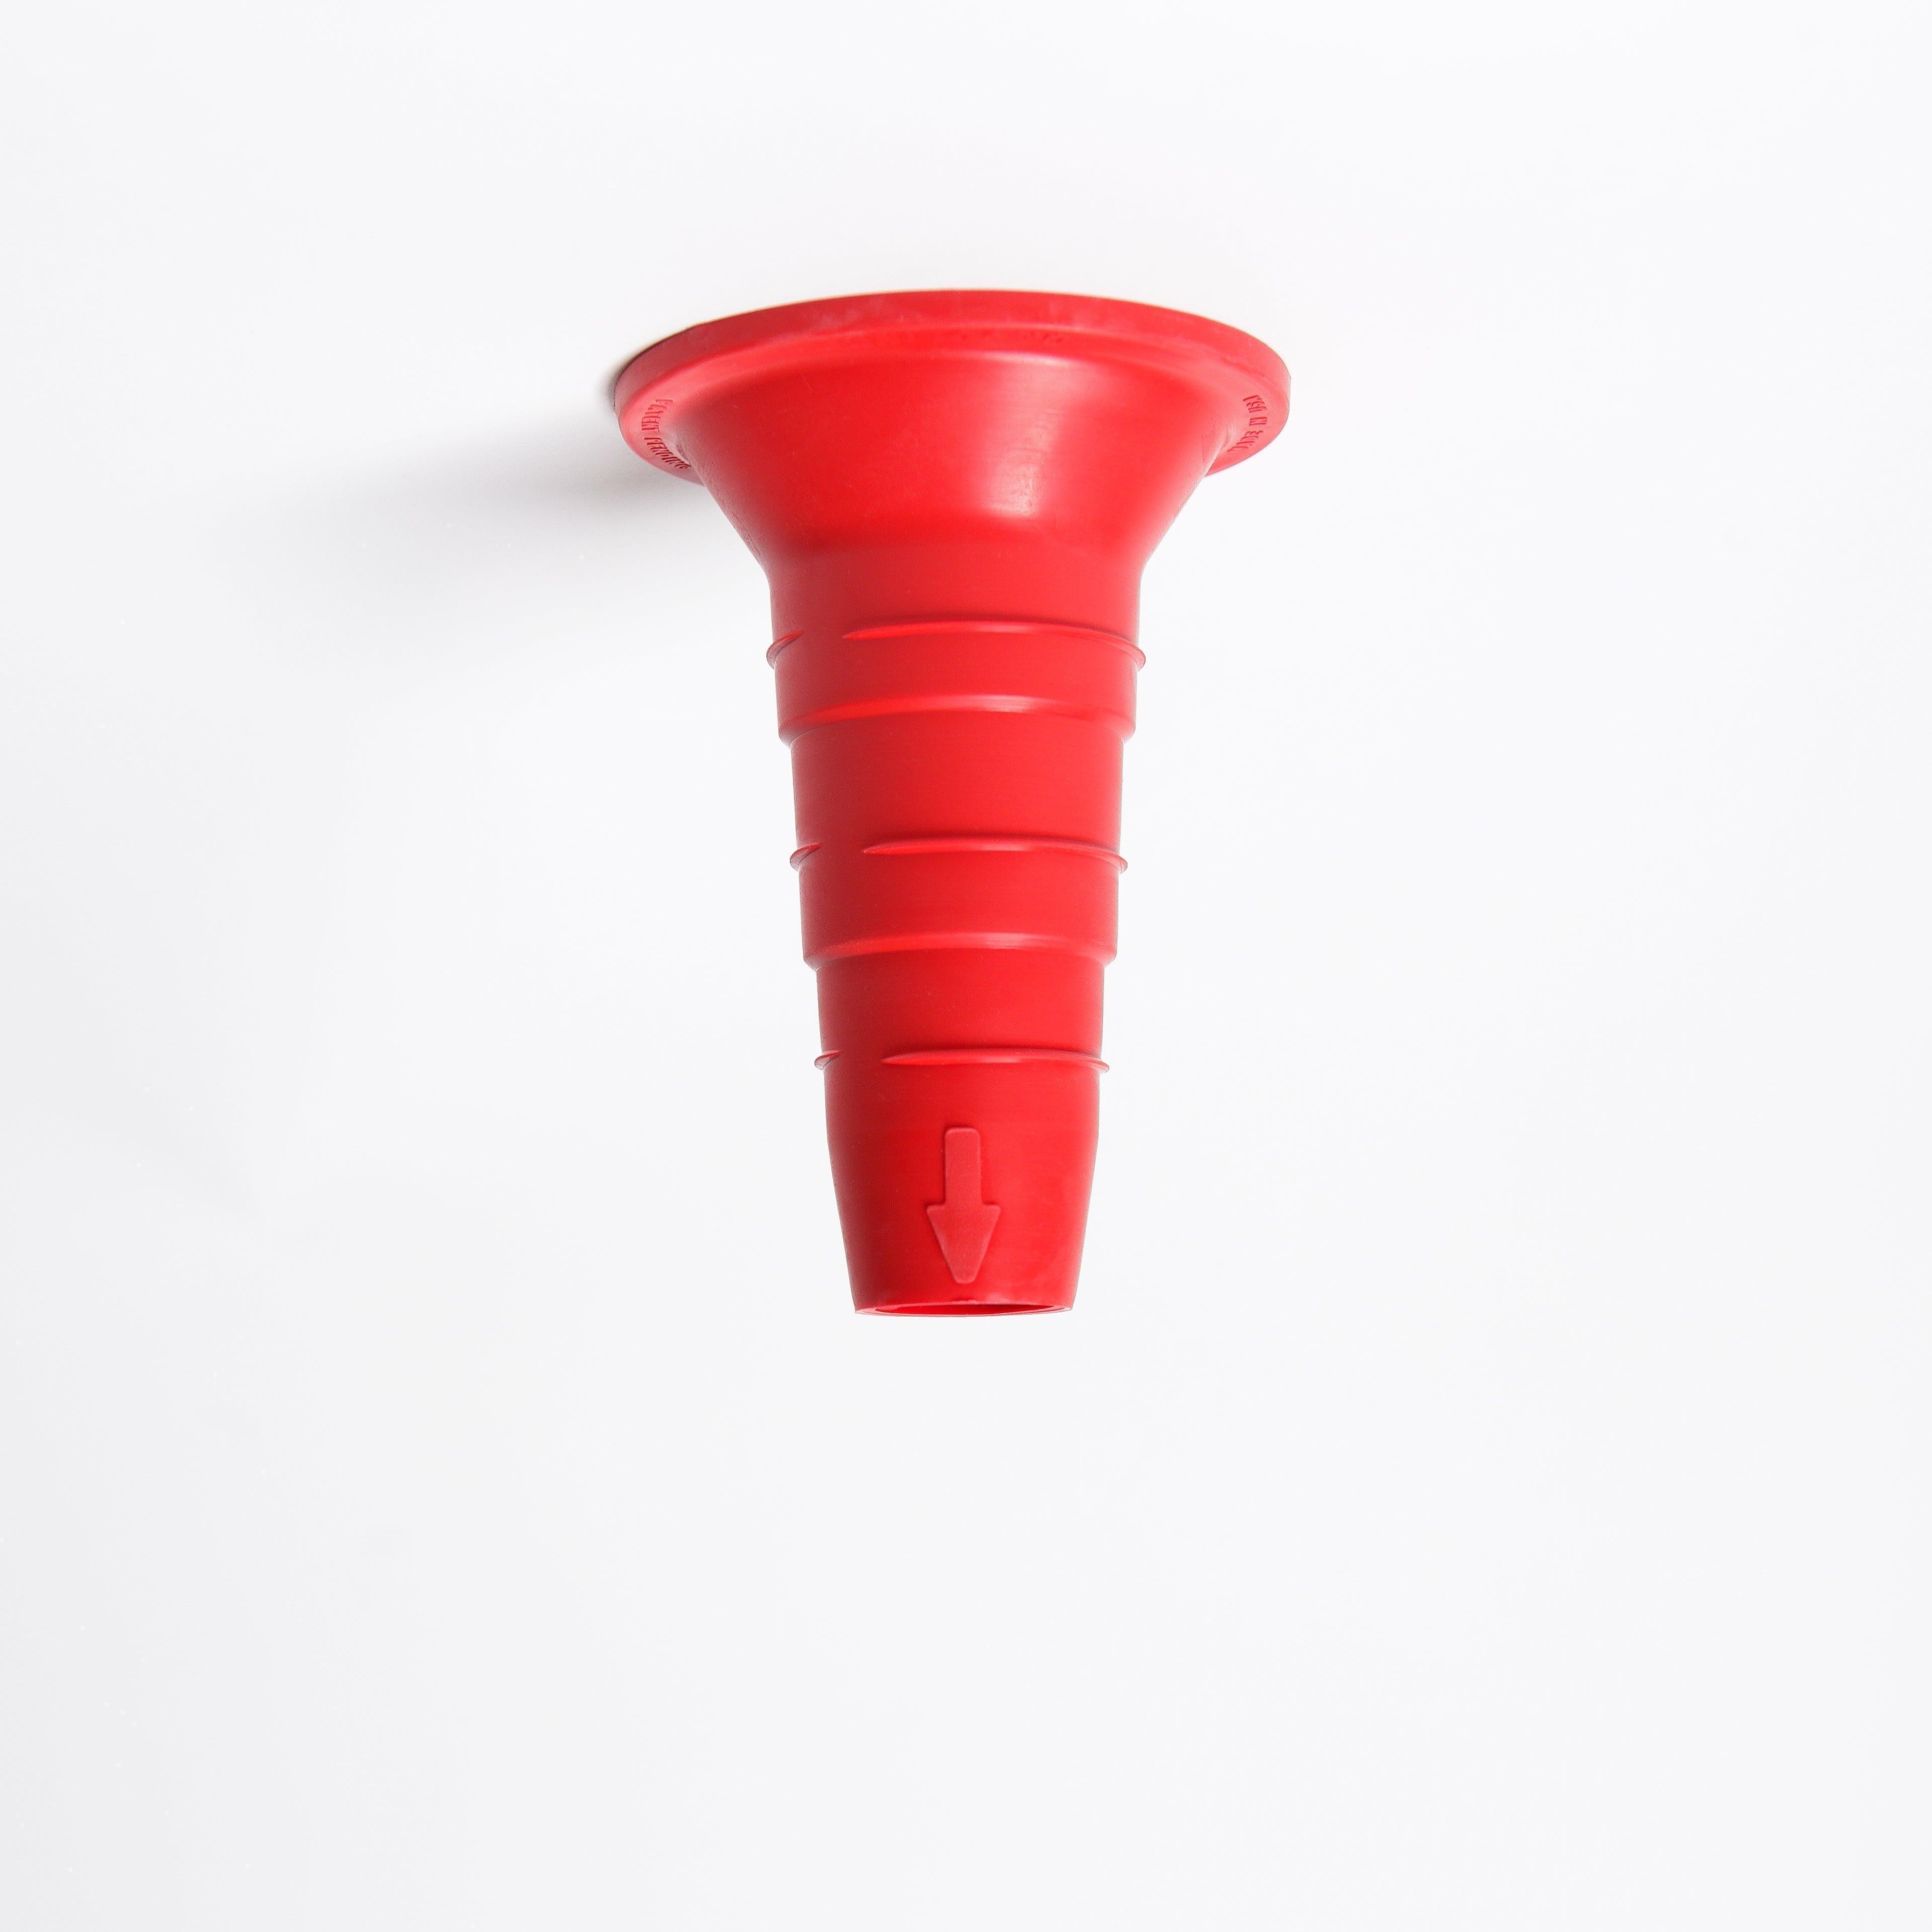
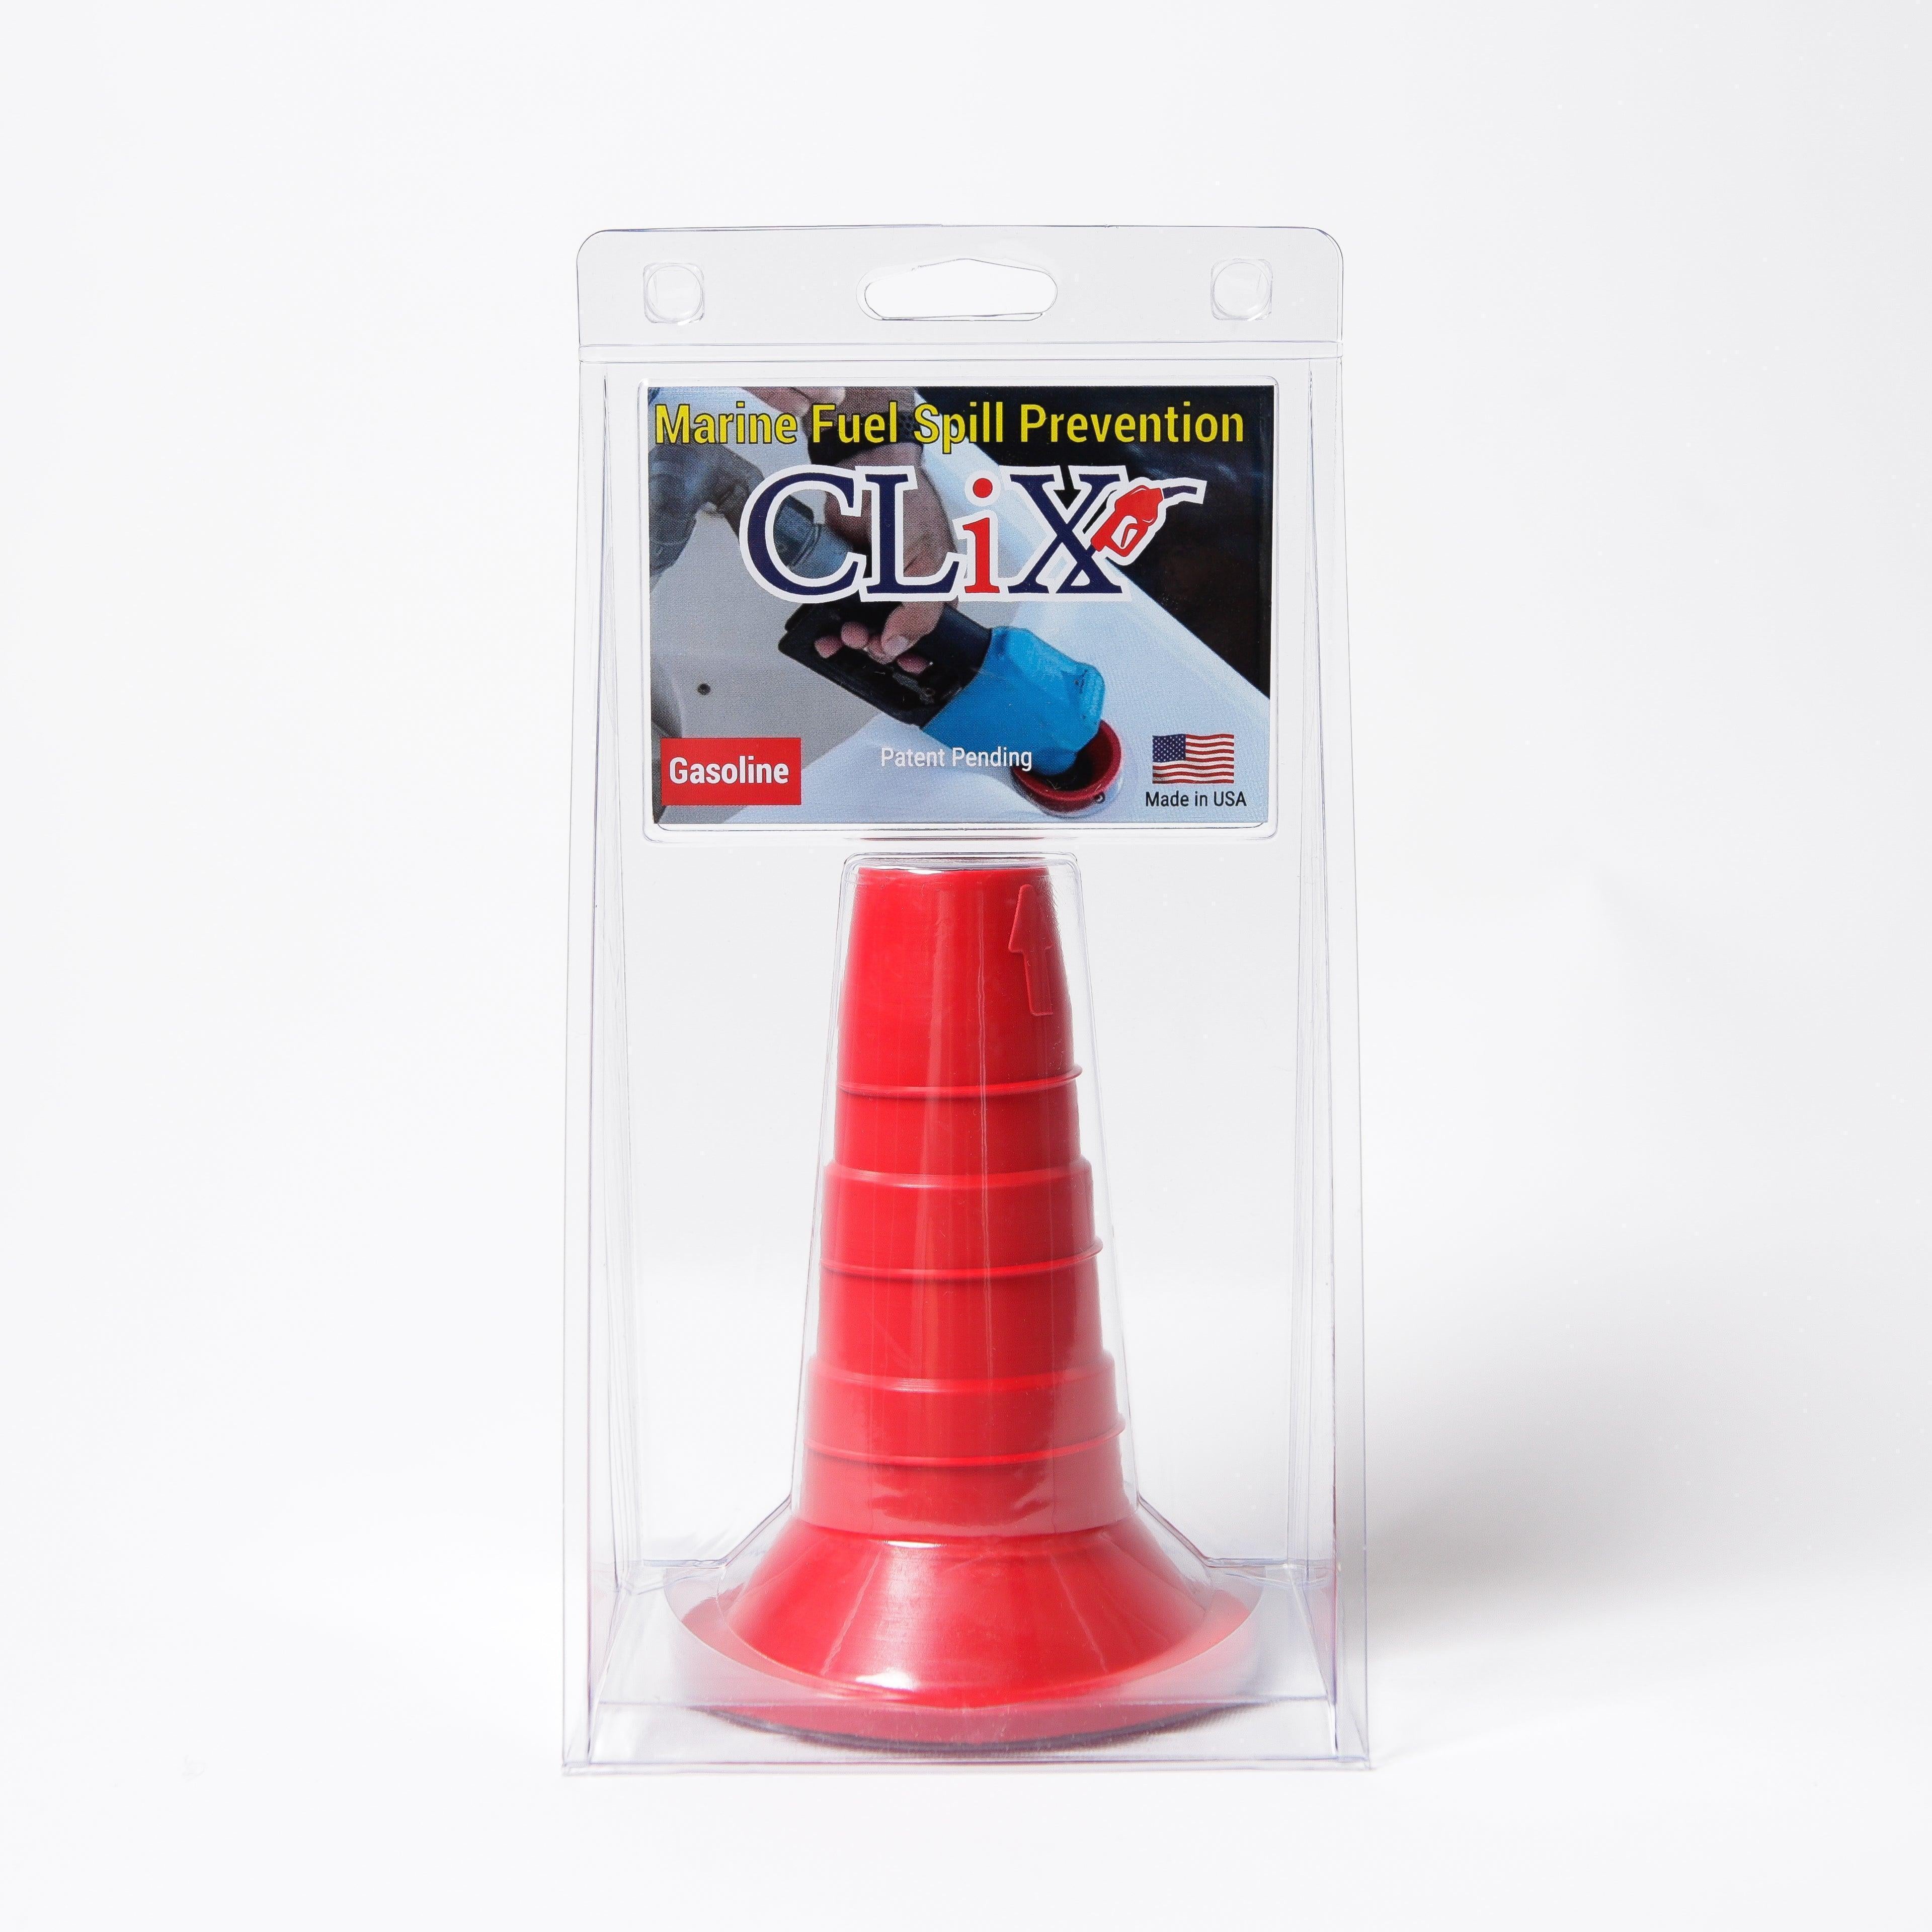
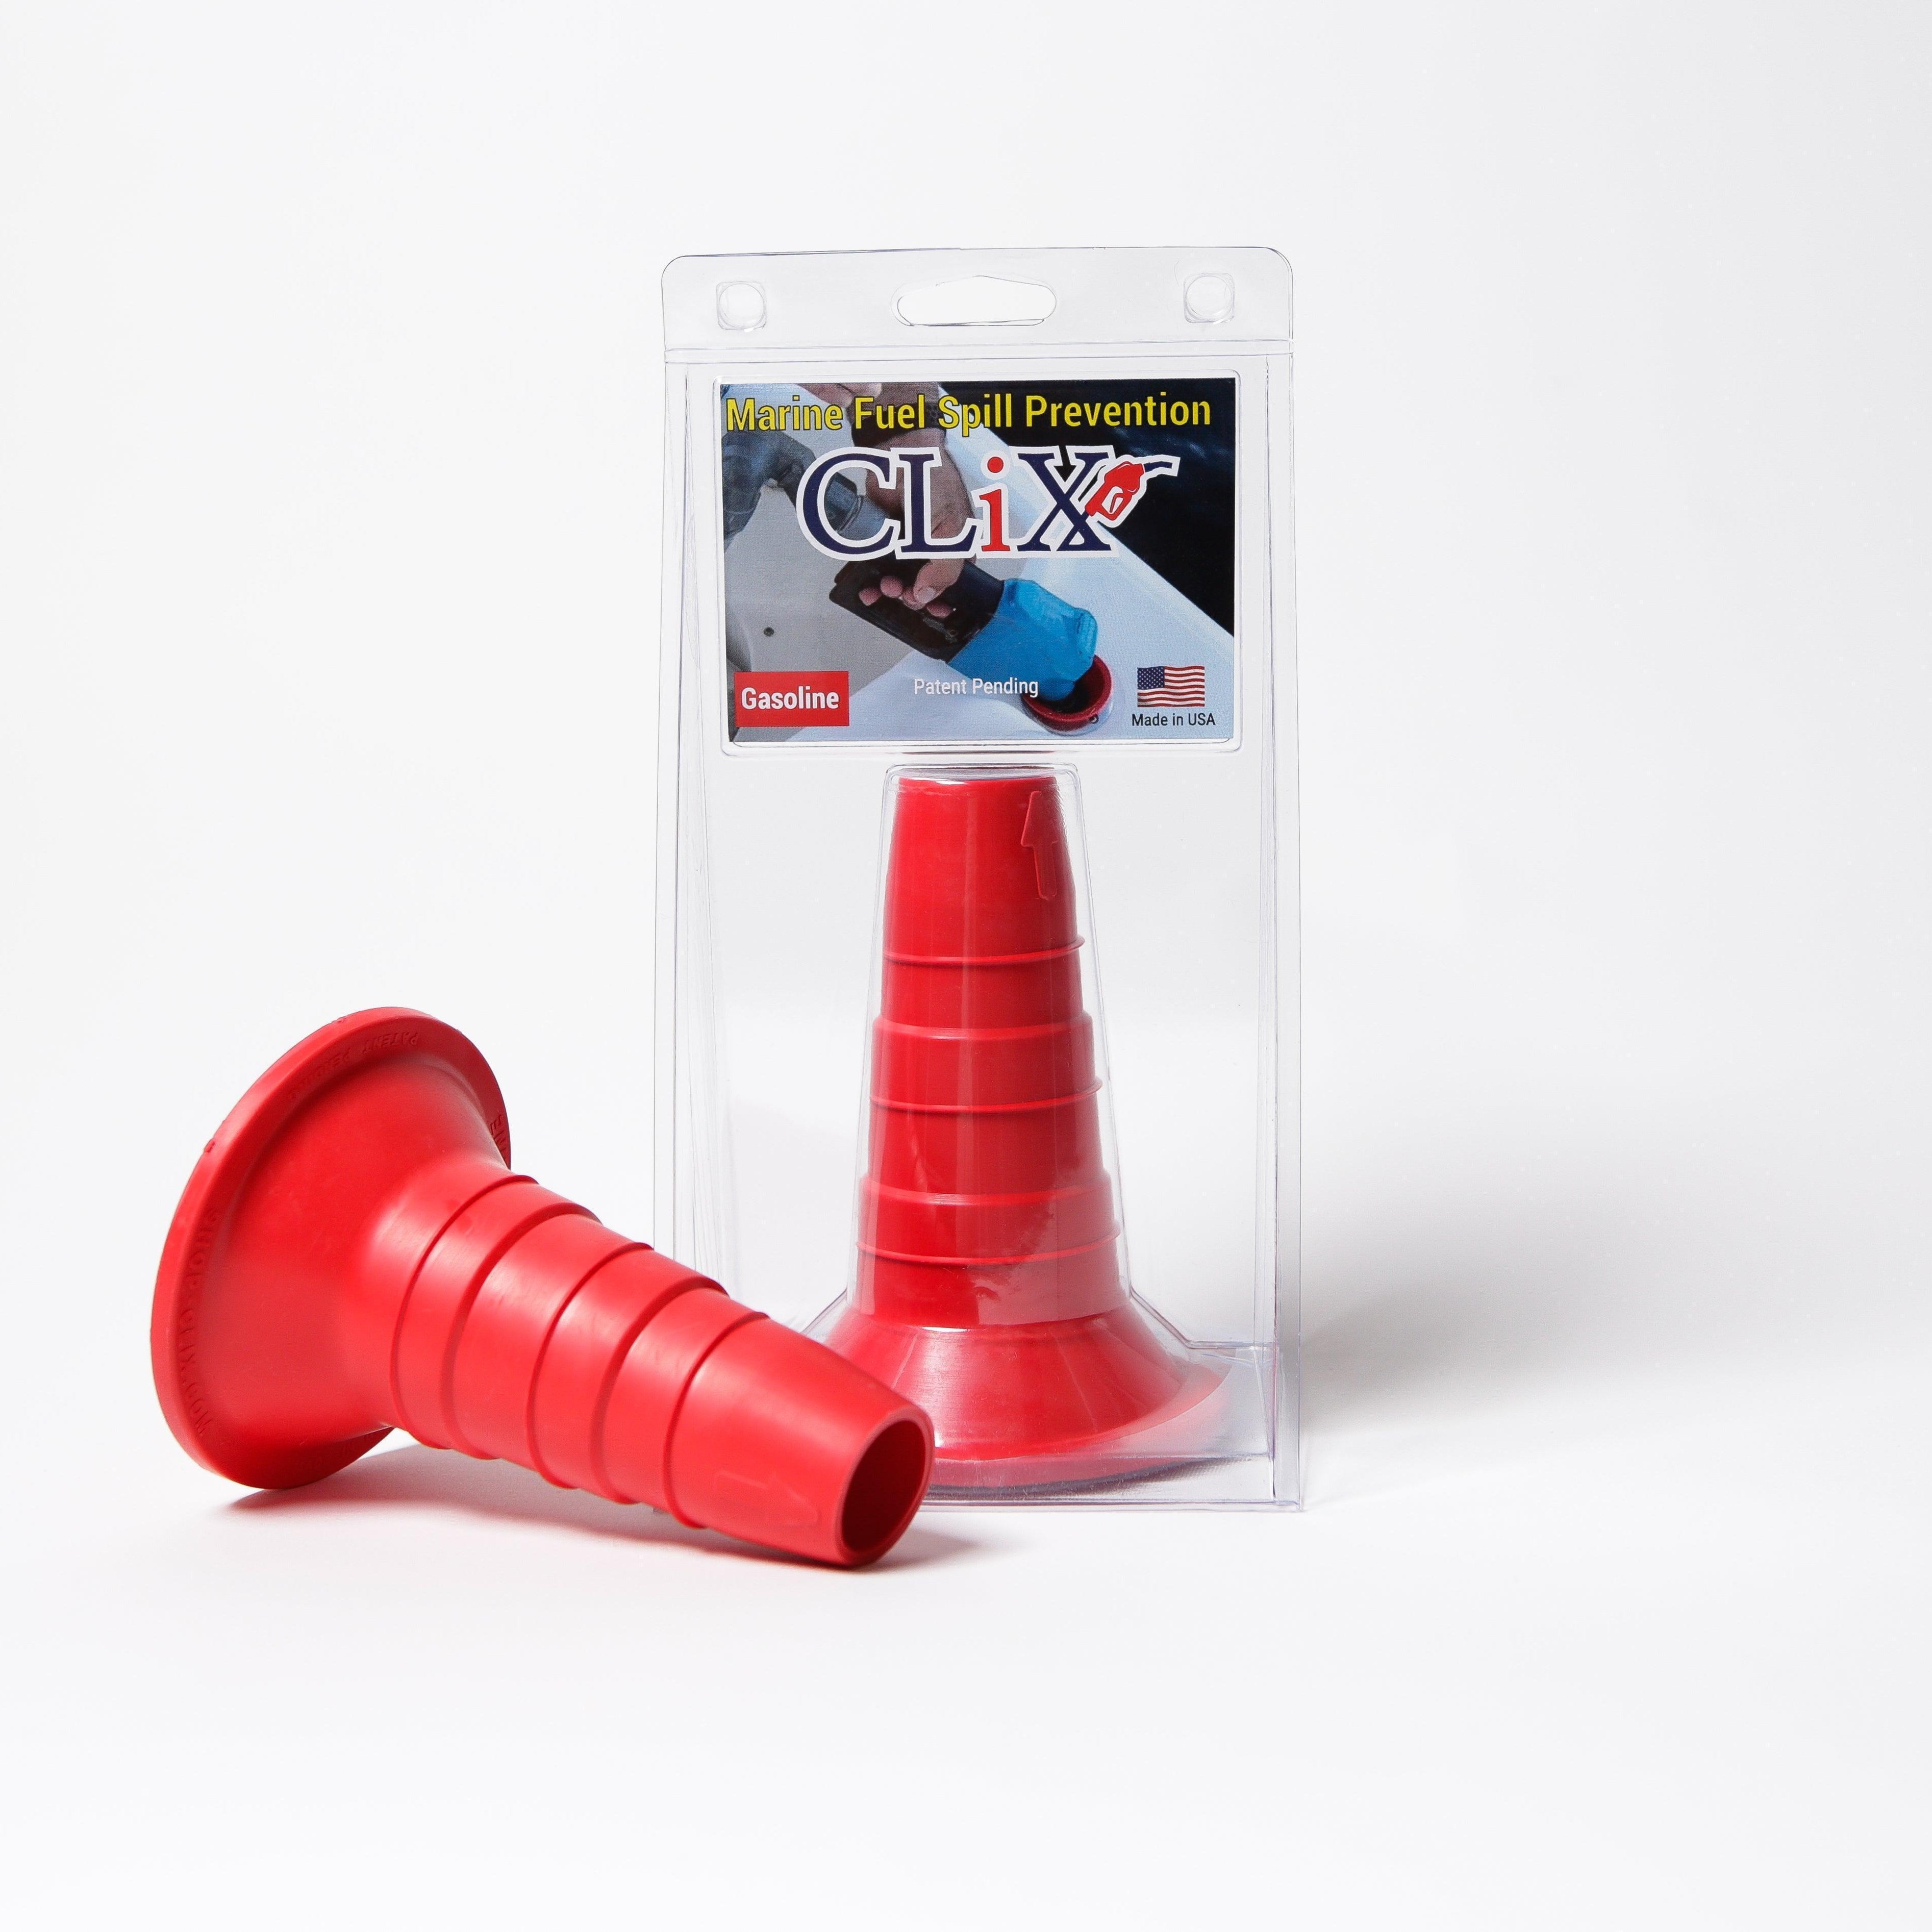
Tired of playing the guessing game every time you refuel? CLiX Fueling Solutions takes the risk and mess out of the equation, preventing overfills and protecting your boat. See how easy fueling can be at https://clixfueling.com.