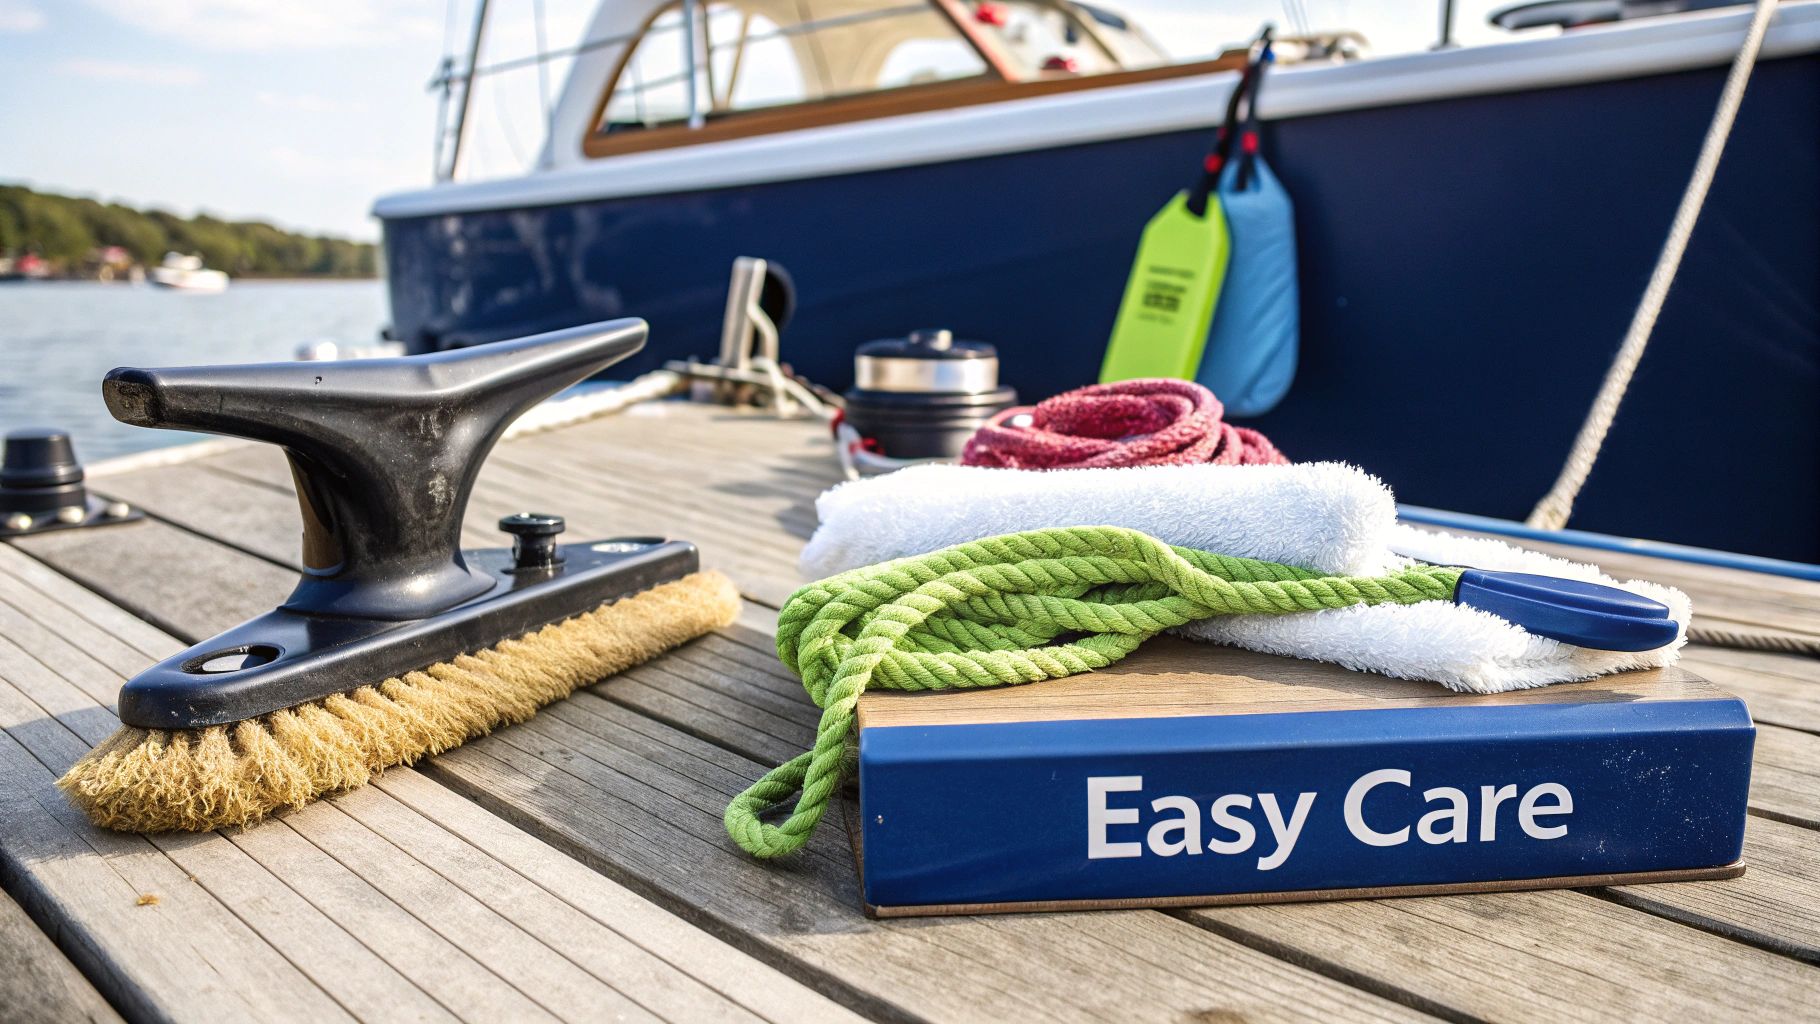
The Critical Role of Cleats on a Boat: Beyond Basic Hardware
Cleats on a boat are more than just metal fixtures. They are essential for safe and secure mooring and docking. These often-overlooked pieces of hardware are the main connection points between your boat and the dock, a mooring buoy, or another vessel. Every boater needs to understand their function and importance. This includes knowing the different types of cleats, their materials, and how to use them correctly.
Why Cleats Are Essential for Safe Boating
Cleats give you secure points to tie your lines. Lines are vital for many boating activities like mooring, docking, and towing. A boat without securely fastened lines attached to strong, dependable cleats risks drifting, hitting other objects, or even breaking free in bad weather. This can damage the boat, other property, and even cause injuries.
Imagine docking in a strong crosswind without cleats. Controlling your boat and preventing it from hitting the dock or other boats would be extremely difficult. Similarly, strong cleats are vital for a securely moored boat in rough seas. The lines attached to them keep the boat safe. This demonstrates the important role cleats play in overall boat safety.
The history of cleats shows their lasting significance. These seemingly simple tools have developed over centuries, reflecting changes in materials and boat design. Early cleats, called horn cleats, were made from materials like wood, iron, and even animal horn. This shows how adaptable nautical engineering has always been. Explore this topic further
Types of Cleats and Their Uses
Different cleats have different purposes. The most common type, the horn cleat, is versatile and works in many situations. But other specialized cleats also exist. Cam cleats, often used on sailboats to adjust sails, are one example. Pop-up cleats offer a cleaner deck look when not in use. Picking the right cleat type is critical for safety and efficiency.
- Horn Cleats: Great for general mooring and docking, providing a strong, reliable hold.
- Cam Cleats: Best for quick line adjustments, especially when sailing.
- Pop-Up Cleats: Offer a hidden, clean look when not in use, but still secure lines when needed.
Cleat Materials and Durability
A cleat’s material affects its strength, how long it lasts, and how well it resists corrosion. Common materials include stainless steel, bronze, aluminum, and nylon. Stainless steel offers superior strength and corrosion resistance, a top pick for saltwater. Bronze is also corrosion-resistant, but pricier. Aluminum is light and strong but corrodes more easily in saltwater. Nylon cleats are lightweight and affordable, but not as strong as metal.
The right material ensures long-lasting performance and safety. A stainless steel cleat is a great choice for saltwater boating, while a nylon cleat might suit a small freshwater boat. Consider where you’ll be boating when choosing your cleats.
Choosing the Right Cleat: Match Your Boat's Needs
Picking the right cleat for your boat is all about understanding the different types and what they're best used for. This helps ensure both safety and efficiency out on the water. Just like picking the right tool for a job, the right cleat is essential for a secure and hassle-free boating experience. The sheer variety of cleats might seem overwhelming at first, but understanding their unique characteristics makes the decision much easier.
Cleat Types and Their Applications
Several cleat types exist, each designed for specific tasks on a boat. Here are some of the most common:
-
Horn Cleats: These are your classic, versatile cleats, perfect for everyday mooring and docking. Their simple design provides a strong and dependable hold.
-
Cam Cleats: If you need quick and easy line adjustments, cam cleats are the way to go. They're popular on sailboats for controlling lines like halyards and sheets.
-
Pop-Up Cleats: For a clean, uncluttered deck, pop-up cleats retract when not in use. They're a great choice for smaller boats or if you prioritize a sleek look.
-
Jam Cleats: When you need serious holding power, jam cleats deliver. They're designed for heavy-duty use and can handle significant loads.
Choosing the best type depends on what you'll be using it for and the size of your boat. A larger vessel naturally needs stronger cleats than a smaller one. For example, a small sailboat might use cam cleats for sail control and horn cleats for docking, while a larger powerboat could benefit from more robust horn cleats or jam cleats for mooring.
Cleat Materials: Balancing Strength and Durability
The material a cleat is made of affects its lifespan and performance. Here's a breakdown of common materials:
-
Stainless Steel: This provides superior strength and resists corrosion, making it perfect for saltwater environments.
-
Bronze: Known for its classic look and durability, bronze is another corrosion-resistant choice, although usually pricier.
-
Aluminum: A good option for freshwater boating, aluminum is lightweight and strong. However, it's more prone to corrosion in saltwater.
-
Nylon: Affordable and lightweight, nylon cleats are suitable for smaller boats and lighter loads. They aren't as tough as metal options, though.
In the 20th century, cleat design saw some significant improvements. One notable example is the introduction of cam cleats, originally used on racing boats. Learn more about the history of cam cleats.
Cleat Size and Load Capacity
The size and load capacity of a cleat are critical factors. A cleat too small for the lines and loads it will handle can fail, creating a risky situation. On the other hand, a cleat that's too big can be awkward and detract from the boat's appearance. Manufacturers provide load ratings for their cleats, making it vital to select a size that fits your boat and its typical use. This means considering things like the boat's size, the usual weather conditions you face, and the expected strain on the lines. You might be interested in learning more about boat maintenance.
The following table offers a quick overview of the common cleat types:
Comparison of Common Boat Cleat Types
| Cleat Type | Best Uses | Material Options | Load Capacity | Advantages | Limitations |
|---|---|---|---|---|---|
| Horn Cleat | Mooring, docking, general purpose | Stainless steel, bronze, aluminum, nylon | Varies by size | Versatile, strong, reliable | Not ideal for quick adjustments |
| Cam Cleat | Sail control, quick line adjustments | Stainless steel, aluminum, nylon | Lower than horn cleats | Easy adjustment, quick release | Not as strong as horn cleats |
| Pop-Up Cleat | Docking, mooring on smaller boats | Stainless steel, bronze, aluminum | Varies by size | Clean appearance, space-saving | Can be more expensive |
| Jam Cleat | Heavy-duty applications, high loads | Stainless steel, bronze | Highest load capacity | Secure hold, high strength | Can be difficult to release under load |
This table summarizes the key features of various cleat types, helping you choose the best one for your needs. Remember to check the manufacturer's load ratings for specific cleat models.
Matching Cleats to Your Boat
Finding the right cleat comes down to matching its features to your boat's specific needs. Here’s what to consider:
-
Boat Type: Sailboats, powerboats, and personal watercraft all have different cleat needs.
-
Line Size: The cleat must be able to handle the diameter of the lines you use for docking and mooring.
-
Environment: Saltwater demands corrosion-resistant materials like stainless steel or bronze.
-
Budget: Cleat prices vary depending on the material and size, so factor your budget into the decision.
By considering these factors, boaters can equip their vessels with the right cleats, ensuring both safety and efficiency on the water. This leads to a more enjoyable and stress-free boating experience.
Material Matters: Selecting Cleats That Last
The material you choose for your boat cleats plays a vital role in their durability, strength, and resistance to the harsh marine environment. It's not just about how they look; the right material directly impacts the safety and lifespan of your boat's hardware. This means weighing the pros and cons of different materials like traditional bronze, modern stainless steel, lightweight aluminum, and innovative composites.
Traditional Bronze: A Classic Choice
For centuries, bronze cleats have been a boating staple, loved for their classic look and excellent corrosion resistance. Over time, they develop a patina, a protective layer that further enhances their resistance to the elements. However, bronze is heavier and pricier than other options.
While strong enough for many uses, bronze isn't as strong as stainless steel. This makes it a suitable choice for traditional boats or those where appearance is a top priority.
Modern Stainless Steel: Strength and Durability
Stainless steel has become a go-to choice for modern boat cleats. It offers impressive strength and superior corrosion resistance, especially in saltwater. This durability makes stainless steel cleats a worthwhile investment, often outlasting other materials.
They also require less maintenance than bronze and have a sleek, modern look. However, stainless steel can be prone to crevice corrosion under certain conditions, so regular cleaning is essential.
Lightweight Aluminum: Performance and Considerations
Aluminum cleats are known for their light weight and strength. This makes them especially appealing for performance boats where minimizing weight is key. However, aluminum is more susceptible to corrosion than bronze or stainless steel, particularly in saltwater.
Therefore, aluminum cleats often require more diligent care and maintenance to ensure they last.
Innovative Composites: The Future of Cleat Design?
Composite materials are increasingly common in marine applications, offering a combination of lightweight and high strength. Their corrosion resistance is generally excellent, and they can be molded into intricate shapes. Clamcleat Ltd, for example, has pioneered cleat design with materials like nylon and acrylic.
Founded in 1965, the company transformed cleat design with its unique no-moving-parts approach. You can discover more about Clamcleat's history. While composites offer many benefits, their long-term durability in challenging marine environments is still being assessed.
Choosing the Right Cleat Material for Your Boat
The ideal cleat material depends on a variety of factors. Consider your boating environment, the size and type of your boat, and your budget. For saltwater boating, stainless steel is often the top pick for its balance of strength and corrosion resistance.
In freshwater, aluminum can be a suitable option if weight is a major concern. Bronze provides a traditional aesthetic and good corrosion resistance but comes at a higher price. Composites are an evolving area with great potential, but careful evaluation of their long-term performance is recommended. For further information, you might be interested in How to Master Boat Maintenance. Ultimately, the right material meets your individual needs and ensures safe and secure boating.
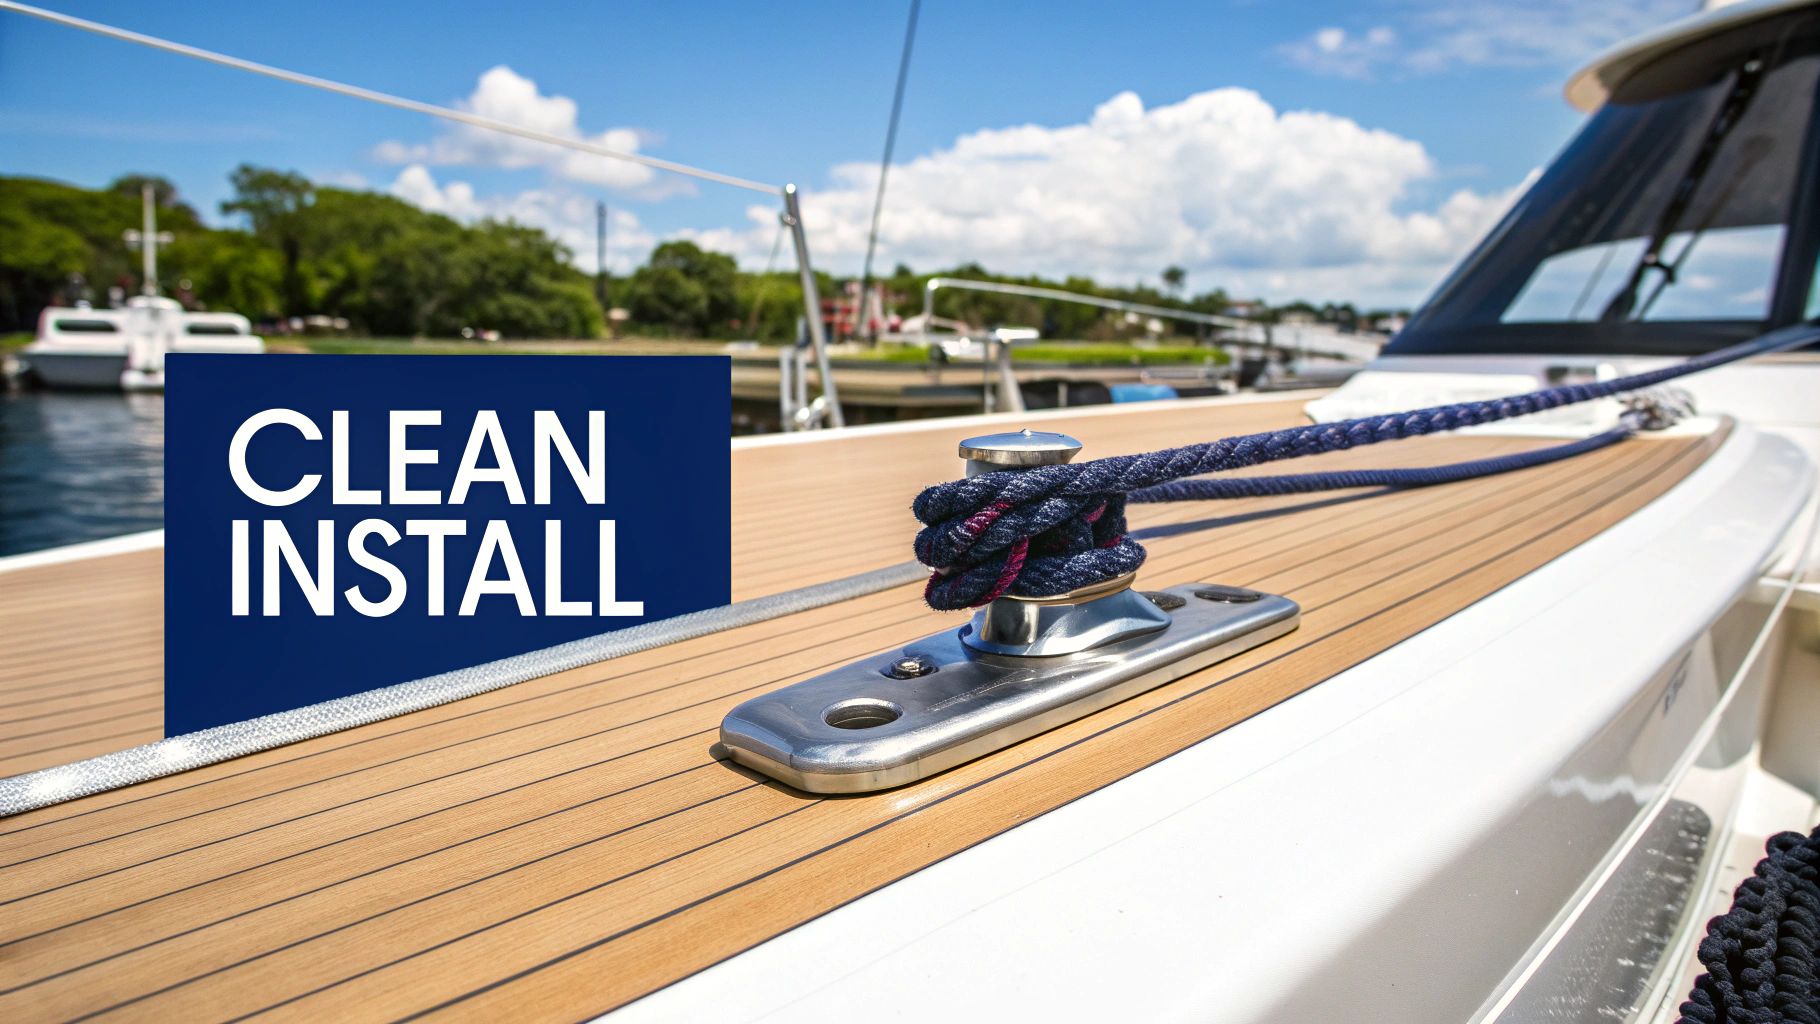
Installation Excellence: Securing Cleats That Won't Fail
Proper cleat installation is crucial for a safe and enjoyable boating experience. It's not just about how it looks; it's about ensuring your cleats can handle the stresses of docking, mooring, and anchoring. This means careful planning of placement, using strong backing plates, and choosing the right fastening techniques. A poorly installed cleat can be a serious safety risk, potentially failing when you need it most.
Choosing the Right Location for Your Cleat
Cleat placement is the first, and perhaps most important, decision. Think about how you’ll use each cleat. Bow cleats are typically used for docking, while stern cleats are for mooring. The spacing between cleats is also crucial, especially on larger boats. Cleats should be positioned to distribute loads evenly and make line handling easier.
Accessibility is another key factor. You need to be able to reach and use your cleats quickly and easily, even in rough conditions. Avoid placing cleats where they might cause someone to trip or where they obstruct movement on the deck.
Backing Plates: Why They Matter
Backing plates distribute the force from the cleat over a larger area of the boat's structure. This prevents the cleat from ripping through the deck, particularly under heavy loads. Think of a backing plate like a coaster under a heavy glass, protecting the table beneath. The size and thickness of the backing plate should match the size and load rating of the cleat.
Larger cleats and higher loads require larger and thicker backing plates. A small cleat on a dinghy might only need a small backing plate, while a large cleat on a sailboat will need a much more substantial one. This is especially important with boats made of lighter materials, like fiberglass.
Fastening Techniques: The Right Hardware for the Job
Choosing the right fasteners is just as critical as the placement and backing plates. Use high-quality, marine-grade fasteners made of stainless steel or another corrosion-resistant material. The length and diameter of the fasteners should be appropriate for the thickness of the deck and the backing plate.
Through-bolting, where the fastener goes completely through the deck and backing plate, is generally the strongest method. If through-bolting isn't an option, machine screws with nuts and washers can be used. Always seal fasteners with a marine-grade sealant to prevent water damage and corrosion.
Material-Specific Mounting Techniques
Different boat construction materials require specific mounting approaches:
- Fiberglass: Use a marine-grade sealant between the backing plate and the deck to prevent water intrusion. Avoid overtightening fasteners, which can crack the fiberglass.
- Wood: Pre-drilling pilot holes is crucial to prevent splitting. Use a bedding compound on the fasteners for a watertight seal.
- Aluminum: Use an isolating sealant or washers to prevent galvanic corrosion between the aluminum and dissimilar metals, like stainless steel fasteners.
To help choose the correct cleat for your boat, refer to the table below:
Cleat Installation Specifications by Boat Size
| Boat Length | Recommended Cleat Size | Minimum Number of Cleats | Ideal Placement Locations | Required Load Rating |
|---|---|---|---|---|
| Up to 15 ft | 6" | 4 | Bow (2), Stern (2) | 500 lbs |
| 16 ft to 25 ft | 8" | 6 | Bow (2), Stern (2), Midship (2) | 1000 lbs |
| 26 ft to 35 ft | 10" | 8 | Bow (2), Stern (2), Midship (4) | 1500 lbs |
| 36 ft and over | 12" or larger | 10+ | Bow (2), Stern (2), Midship (6+) | 2000+ lbs |
This table provides a general guideline. Consult with a marine professional for specific recommendations for your vessel.
Verifying Installation Integrity: The Final Check
Before relying on your new cleats, give them a good tug to make sure they're securely attached. Inspect the surrounding area for any signs of stress or movement. If anything seems off, reinforce the installation. These steps will ensure your cleats are ready to perform when you need them.
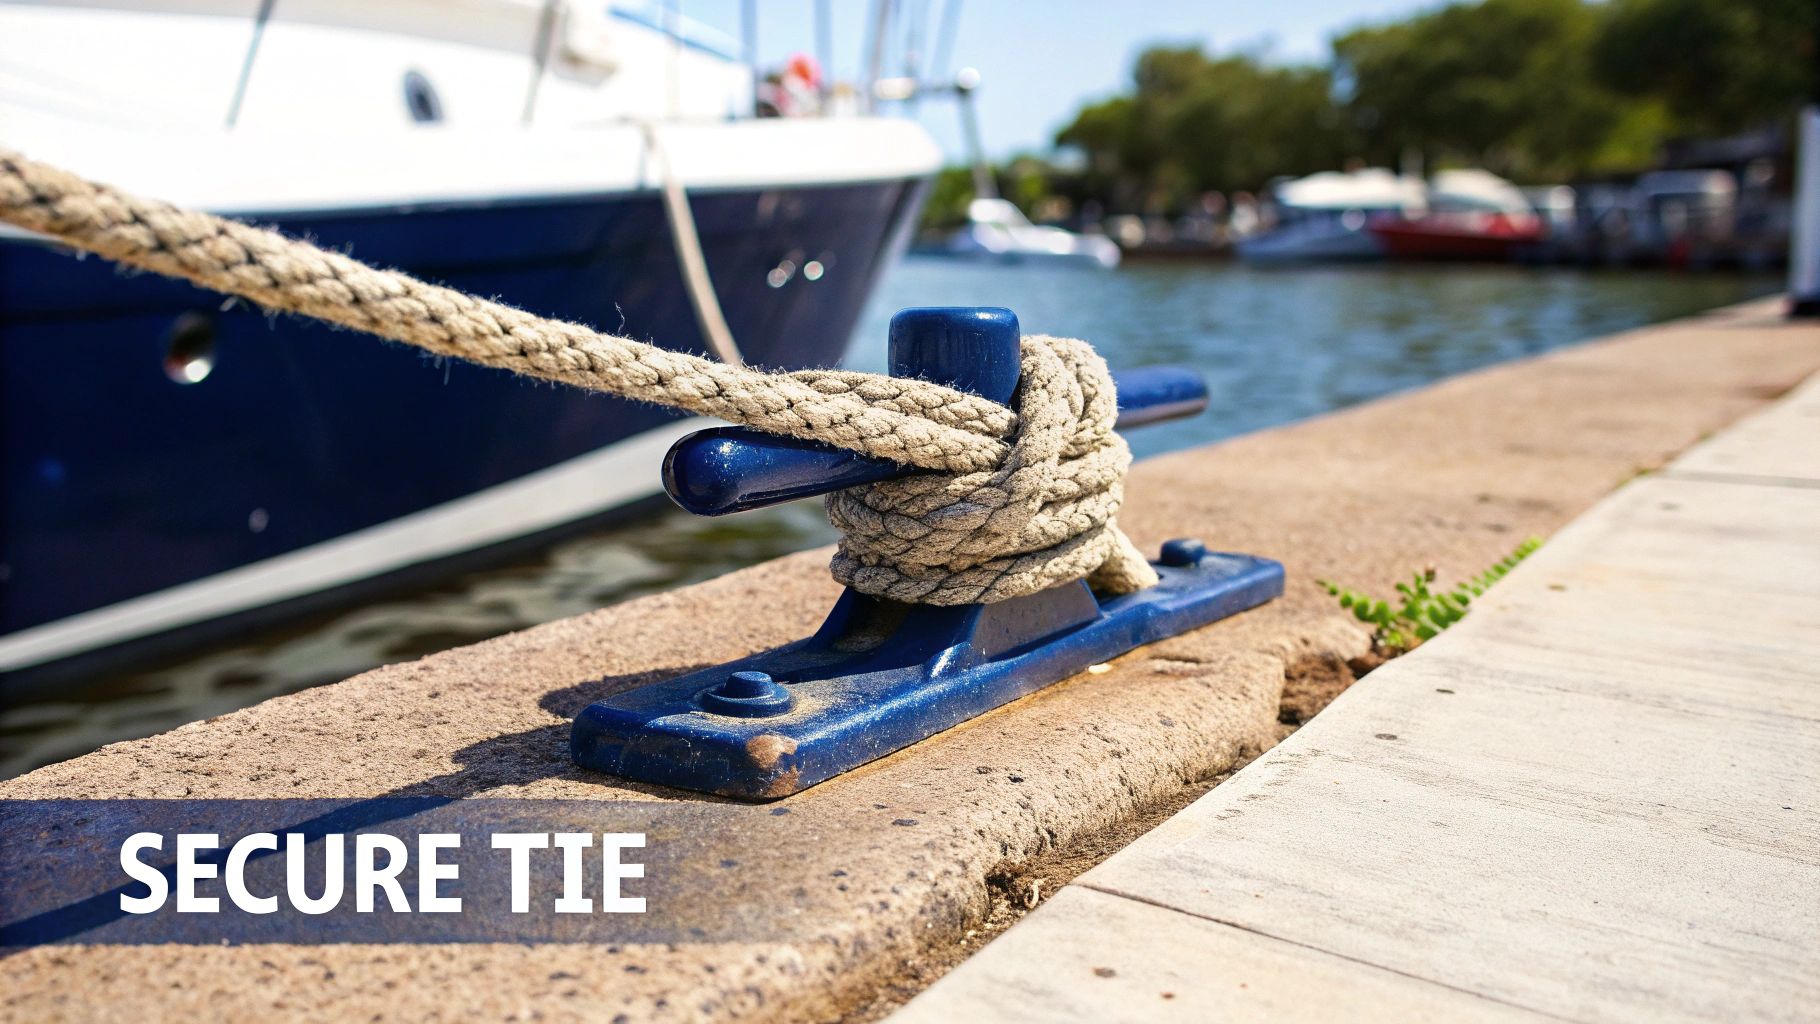
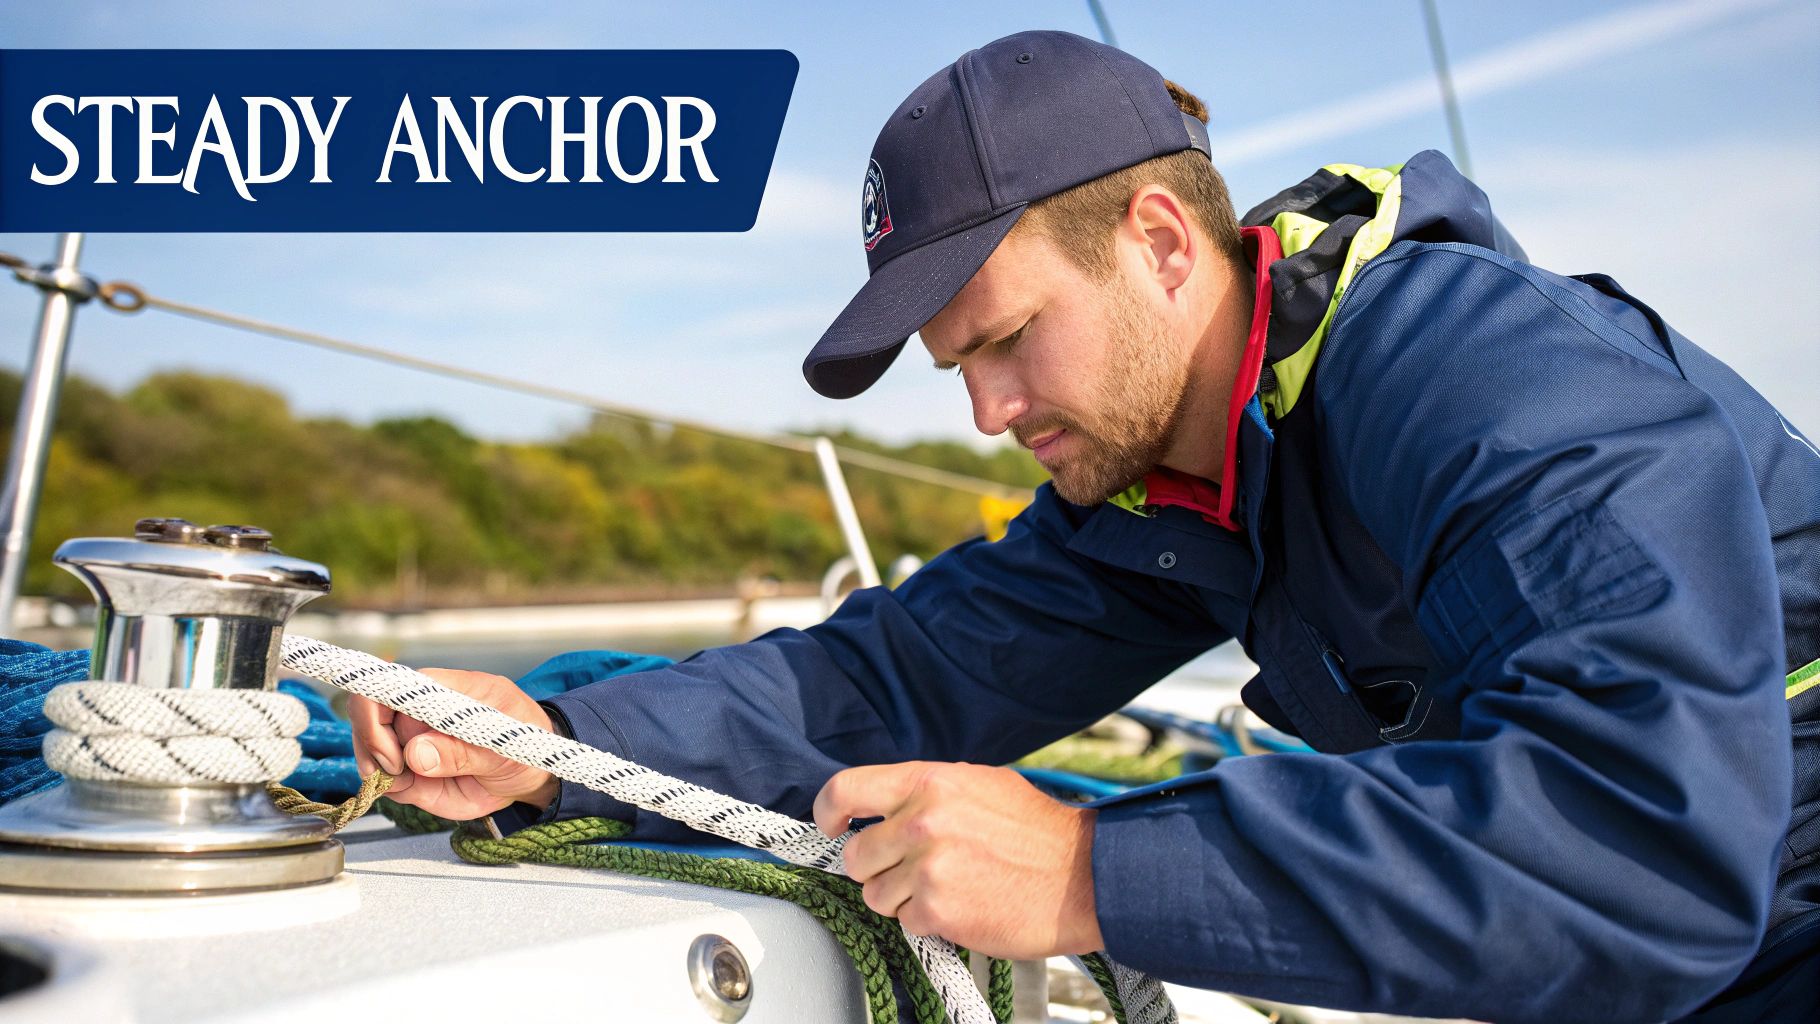
Mastering the Perfect Cleat Hitch for Any Situation
Knowing how to tie a cleat hitch is a fundamental skill for any boater. More than just a simple knot, it's the key to securing your vessel safely, whether at a dock or moored to a buoy. This guide will break down the process, point out common mistakes, and offer advice for specific boating scenarios.
The Basic Cleat Hitch: A Step-by-Step Guide
A proper cleat hitch is both strong and easy to use. It should hold fast in various conditions while also allowing for quick release when needed. Let's walk through the steps:
-
Step 1: Begin by looping the rope around the cleat's base. This initial loop is the anchor for the entire hitch.
-
Step 2: Bring the rope up and over the first horn of the cleat, making a single wrap.
-
Step 3: Cross the rope over the cleat and loop it over the opposite horn. This crossover action is essential for a stable hitch.
-
Step 4: Wrap the rope around the first horn again, this time going under the initial loop. This "locking" wrap secures the hitch.
-
Step 5: Finish with a half hitch under the second horn. Tuck the rope's end under the last wrap to prevent it from unraveling. This final tuck adds an extra layer of security.
While these steps are straightforward, mastering the cleat hitch takes practice. A correctly tied hitch will lie flat against the cleat, reducing the risk of snags or accidental loosening.
Common Mistakes and How to Avoid Them
Even seasoned boaters can sometimes make mistakes with the cleat hitch. Here are some common errors:
-
Insufficient Wraps: Using too few wraps around the horns weakens the hitch, making it less secure, particularly under stress.
-
Incorrect Locking Wrap: If you don't pass the rope under the initial loop during the locking wrap, the hitch is more likely to slip.
-
Loose End: An unsecured tag end can cause the entire hitch to come undone. Always tuck it firmly under the final wrap.
-
Over-Tightening: While a secure hitch is crucial, over-tightening can make it difficult to release, especially when under pressure.
By paying attention to these details and practicing regularly, you can ensure a secure and efficient cleat hitch every time.
Adapting the Cleat Hitch: Specialized Techniques
The standard cleat hitch is versatile, but sometimes you need to adjust it for certain situations:
-
High-Load Conditions: When facing strong winds or currents, add an extra wrap around each horn for increased security. This reinforces the hitch against these stronger forces.
-
Quick-Release Needs: In situations that require quick line release, such as certain sailing maneuvers, a "slipped" cleat hitch is useful. This involves skipping the final tuck, allowing for faster removal.
-
Single-Handed Operations: Securing your boat effectively when you're alone requires a specific technique, as described in this helpful guide on single-handing. Using a combination of midship and stern lines, properly hitched to cleats, is vital for maintaining boat control during single-handed locking.
Mastering these variations enhances your boating skills and prepares you for a range of conditions. Also, regular cleat maintenance, including cleaning and inspection (especially in saltwater environments), will ensure long-term effectiveness and prevent unexpected failures. Learn more about boat maintenance tips. Practice and attention to detail are the keys to becoming proficient with the cleat hitch—an essential skill for every responsible boater.
Protecting Your Investment: Essential Cleat Maintenance
Even the highest quality boat cleats require proper care, especially given the harsh marine environment. This guide explores practical maintenance routines to extend the life of your cleats without consuming too much of your valuable boating time.
Identifying Early Warning Signs of Cleat Failure
Regular inspection is the best way to catch small problems before they become big ones. Look for any signs of corrosion, particularly around the fasteners. Carefully check for cracks or deformations in the cleat itself, paying close attention to the base and horns. Loose fasteners or any movement at the cleat's mounting point are serious warnings that shouldn't be ignored. Addressing these issues promptly can prevent much more extensive (and expensive) repairs later on.
Material-Specific Cleaning Protocols
Different cleat materials benefit from specific cleaning methods:
- Stainless Steel: Wash these cleats regularly with fresh water and mild soap. For stubborn stains or rust spots, use a specialized stainless steel cleaner. This helps maintain their shine and prevents corrosion.
- Bronze: Clean bronze cleats with a mixture of mild soap and water. Avoid abrasive cleaners, which can damage the patina. A gentle cleaning approach preserves their classic look.
- Aluminum: Use a mild soap and water solution for aluminum cleats. Avoid harsh chemicals, as these can corrode the metal. Rinse thoroughly after cleaning.
- Nylon: Clean nylon cleats with soap and water. Inspect them regularly for wear and tear, as nylon is not as durable as metal.
Preventing Galvanic Corrosion
Galvanic corrosion occurs when dissimilar metals come into contact in a corrosive environment like saltwater. This electrochemical process can quickly degrade cleats and their mounting hardware. Using isolating washers or sealant between dissimilar metals creates a barrier against this type of corrosion, significantly extending the life of your cleats.
Seasonal Maintenance for Active Use and Storage
During the boating season, rinse your cleats with fresh water after each use, especially if you're boating in saltwater. This simple practice removes corrosive salt and other debris. For longer-term storage, remove the cleats if possible and store them in a dry location. If removal isn't an option, coat them with a protective lubricant to keep them in top shape.
Troubleshooting Common Cleat Issues
- Seized Mechanisms: If your cleat mechanism becomes seized, apply a penetrating lubricant and gently work the mechanism to free it. Avoid using excessive force, as this can cause further damage.
- Weakened Mounting Points: If you notice movement in the cleat's mounting, tighten the fasteners. If the problem persists, you might need to replace the backing plate or reinforce the mounting area to ensure a solid, reliable hold. Check out this guide on boat maintenance tips for more information.
By following these simple maintenance practices, you can protect your investment in boat cleats and ensure they provide years of reliable service. Regular care not only extends their lifespan, but also contributes to the overall safety of your boat.
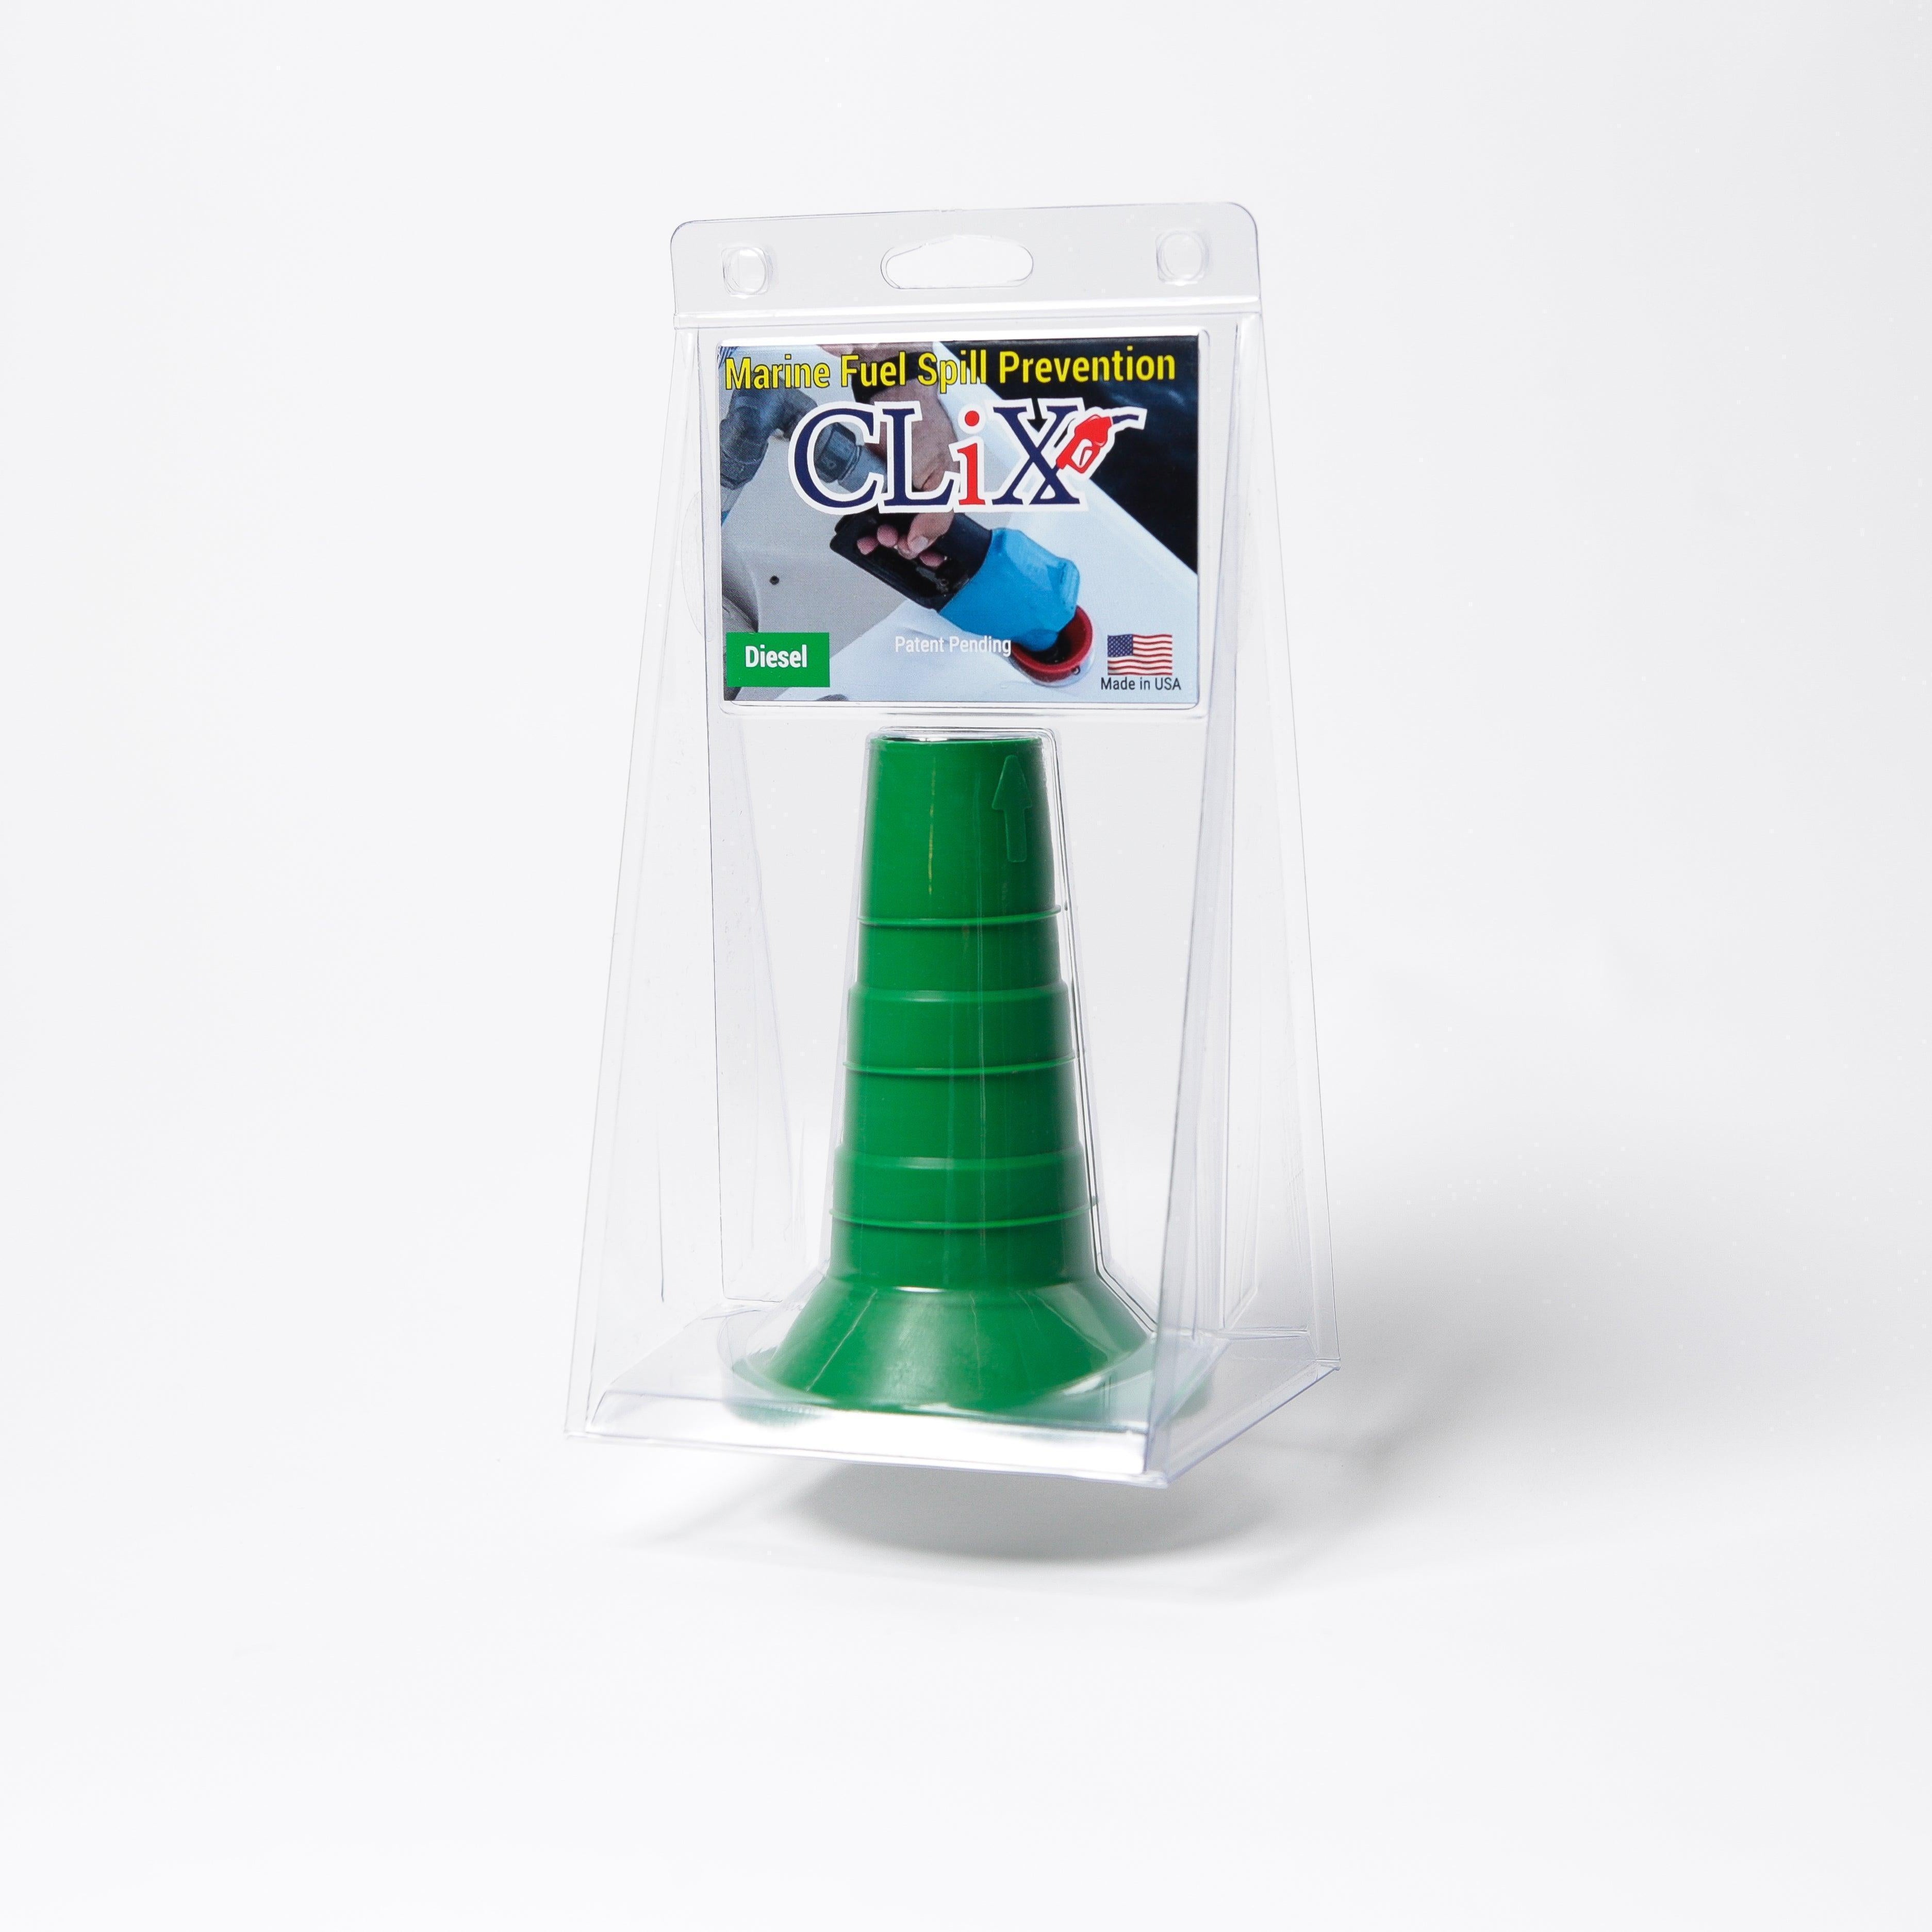
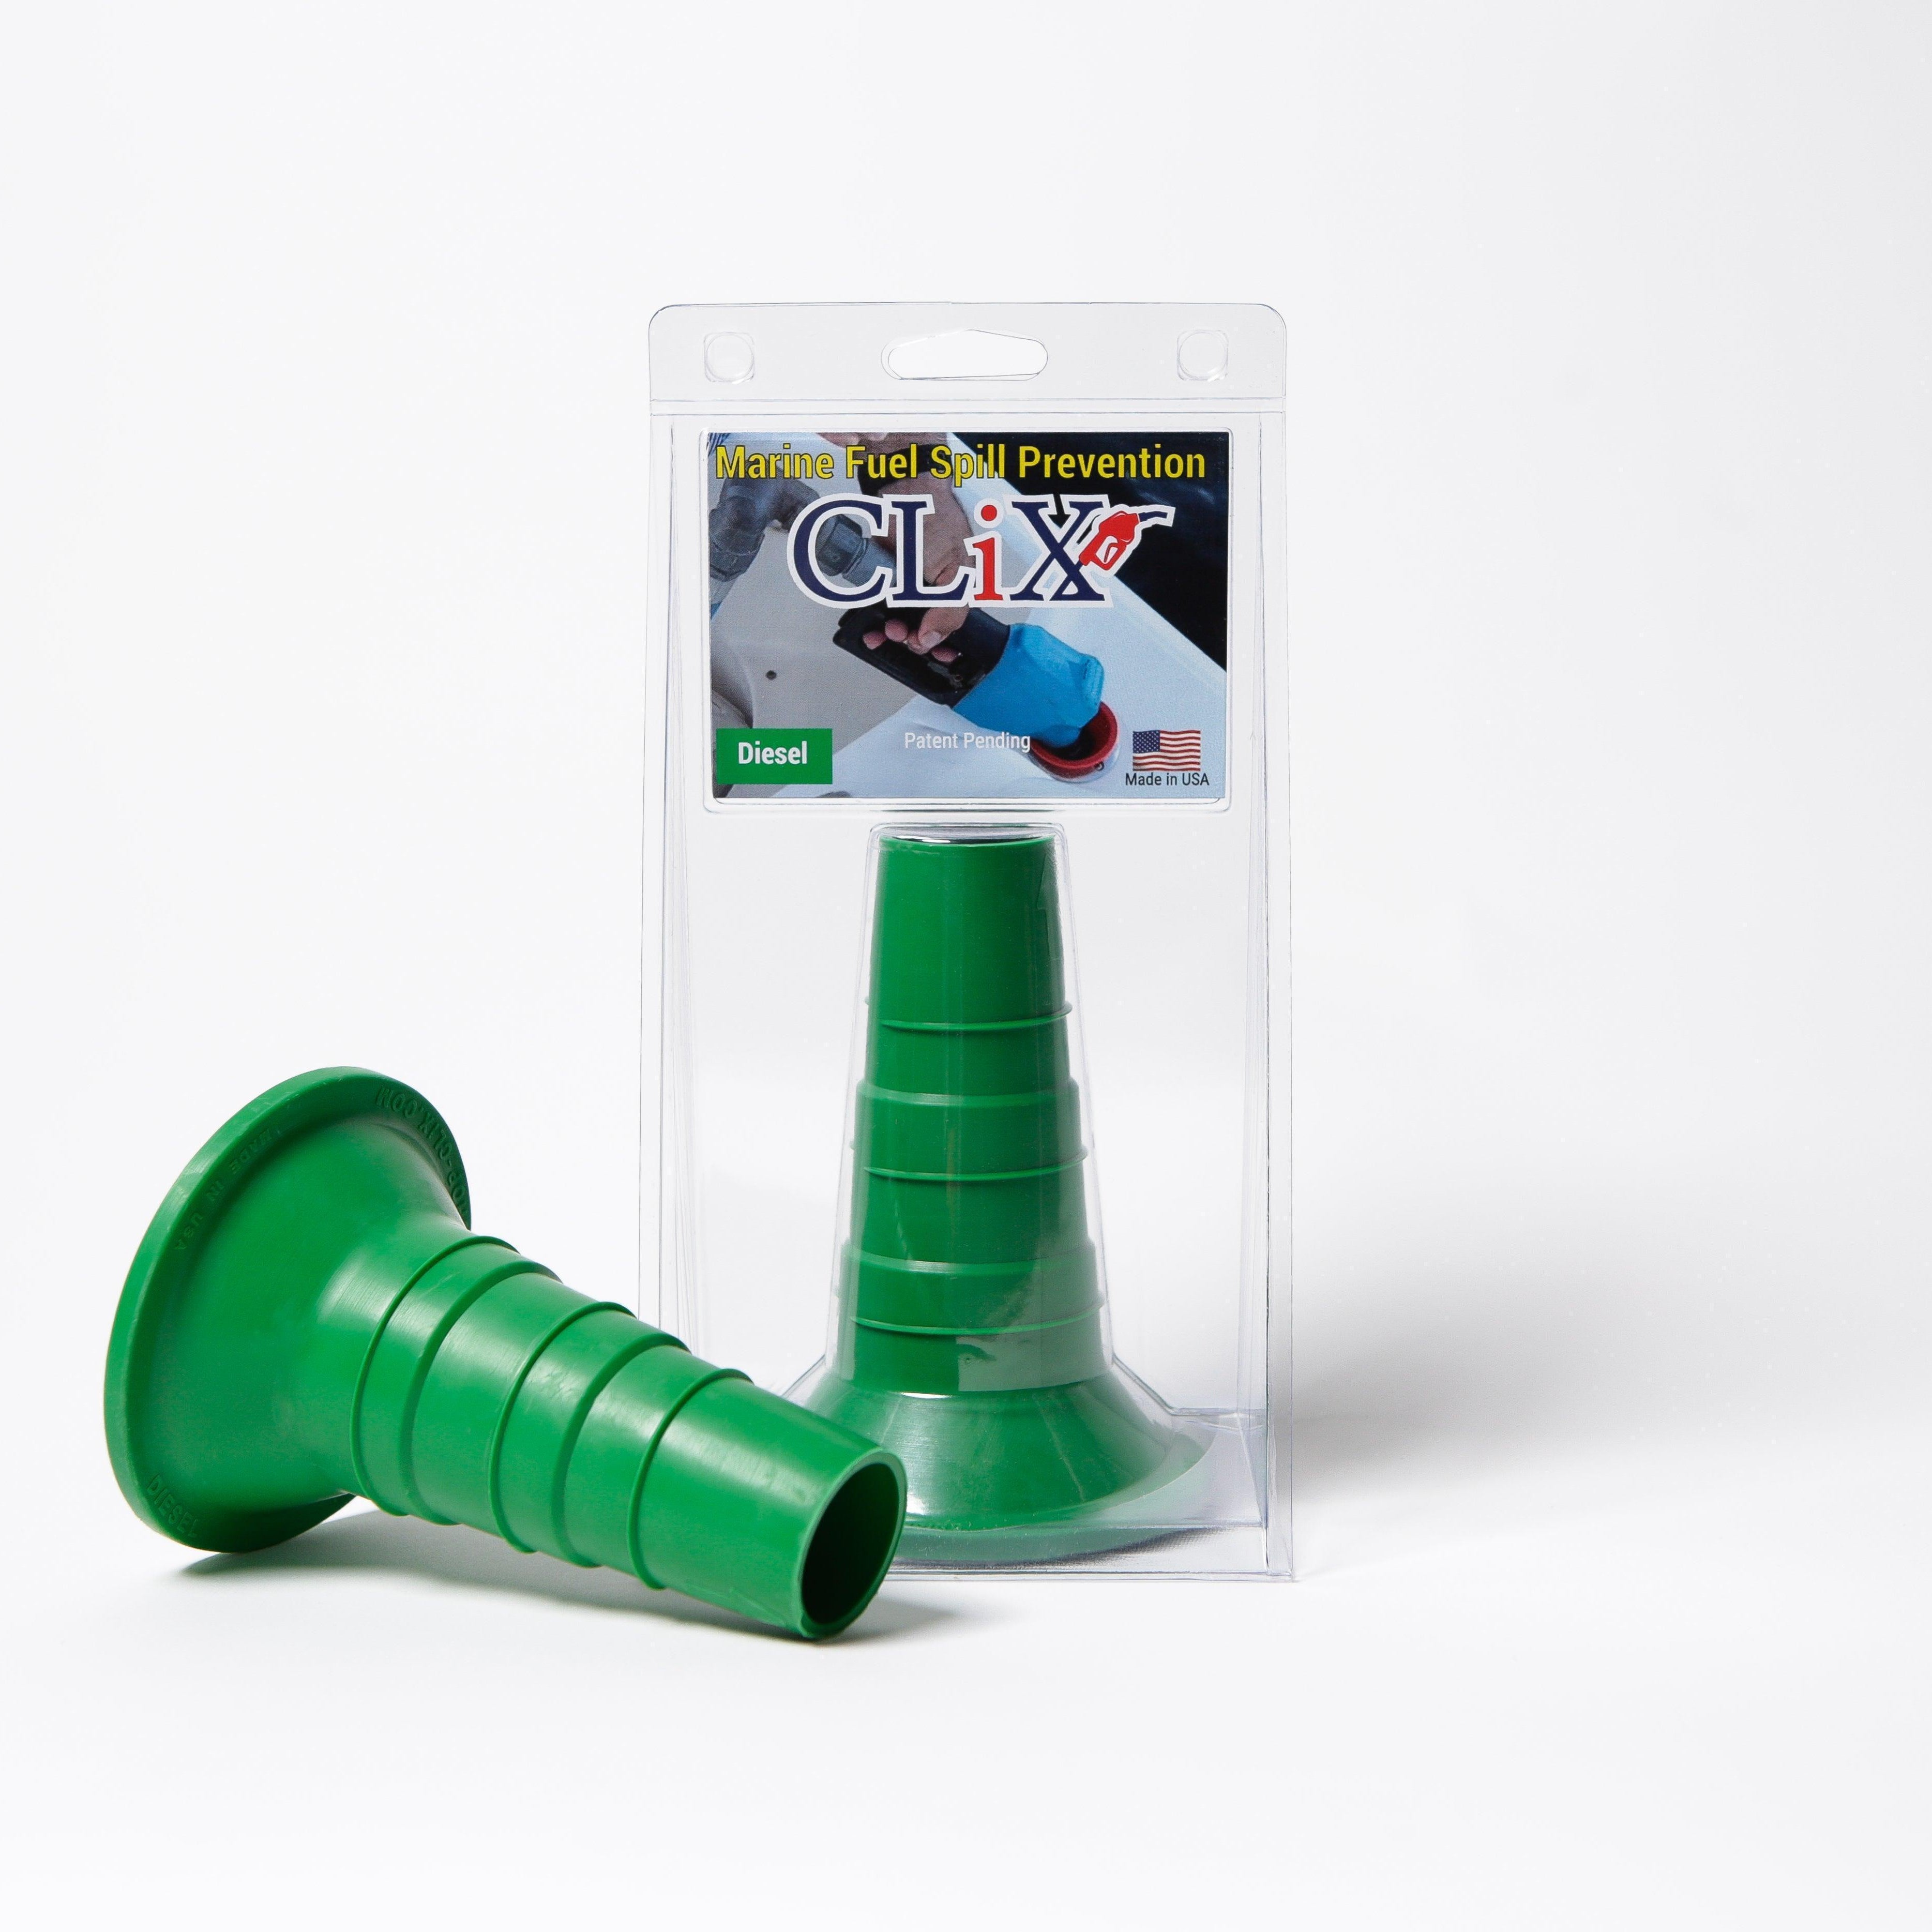
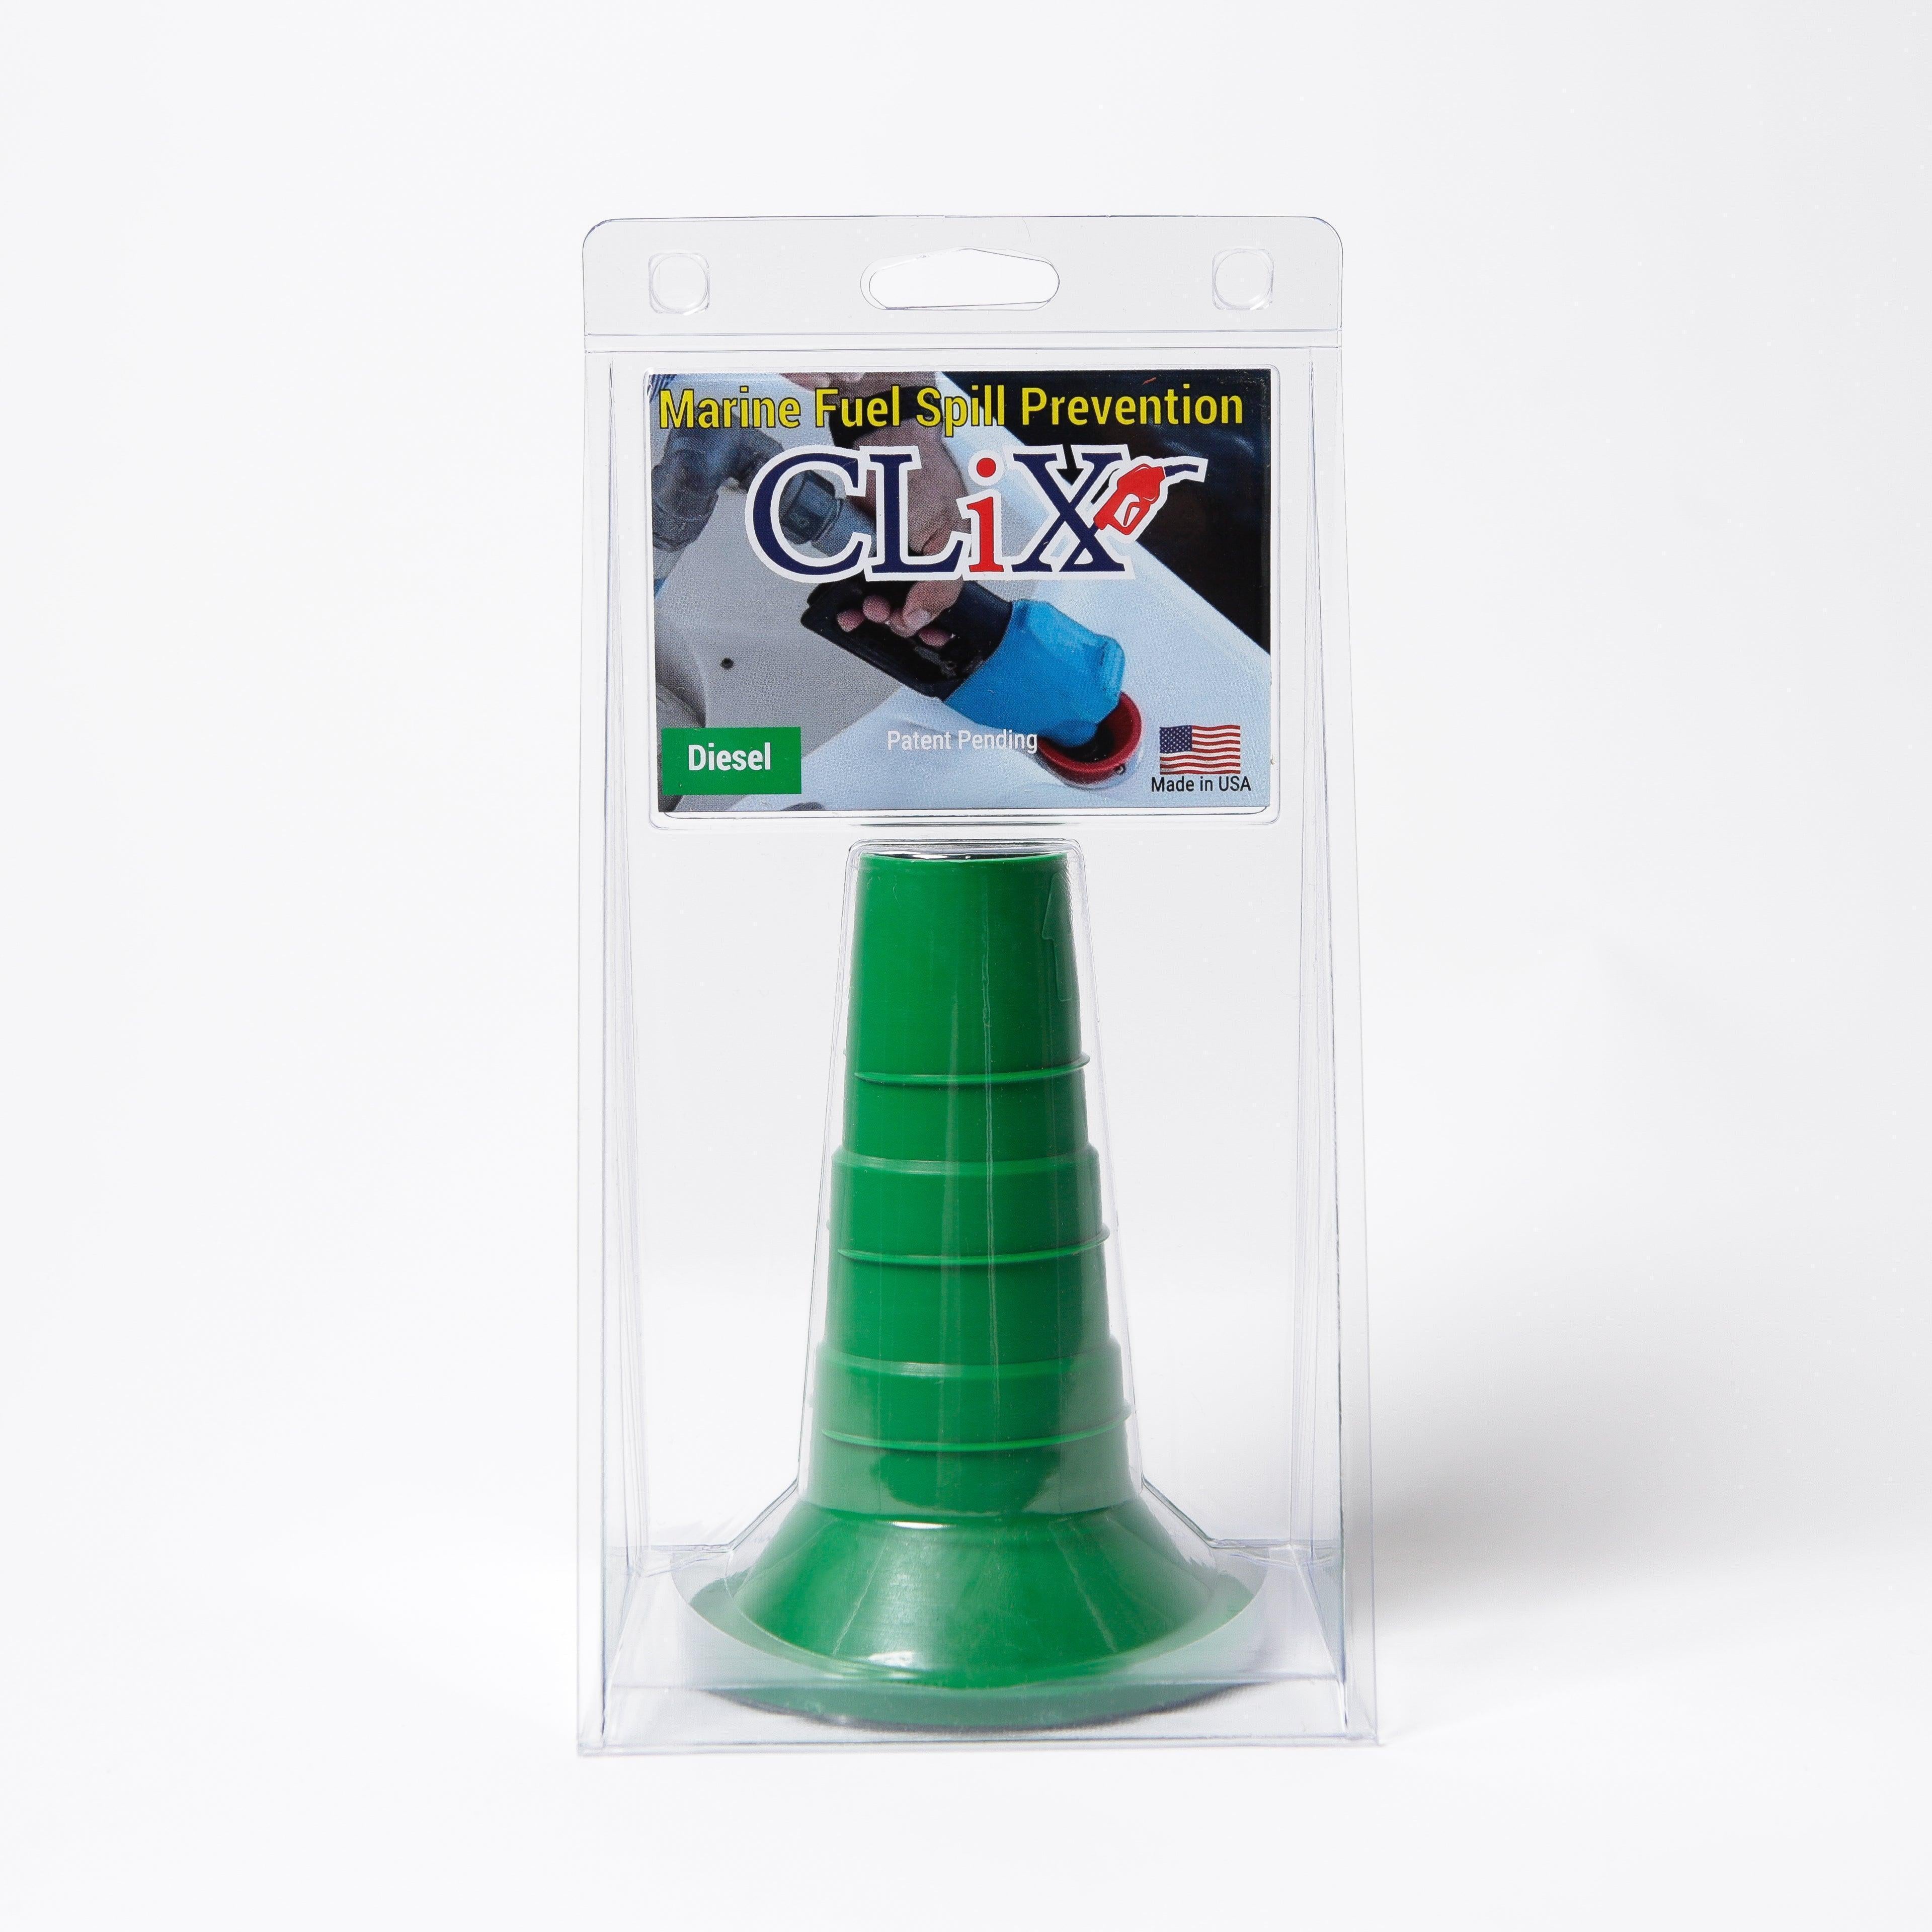
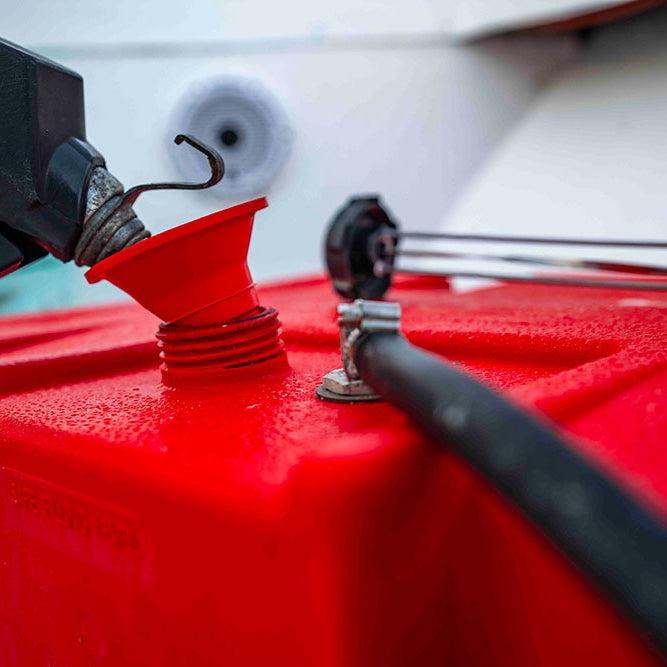
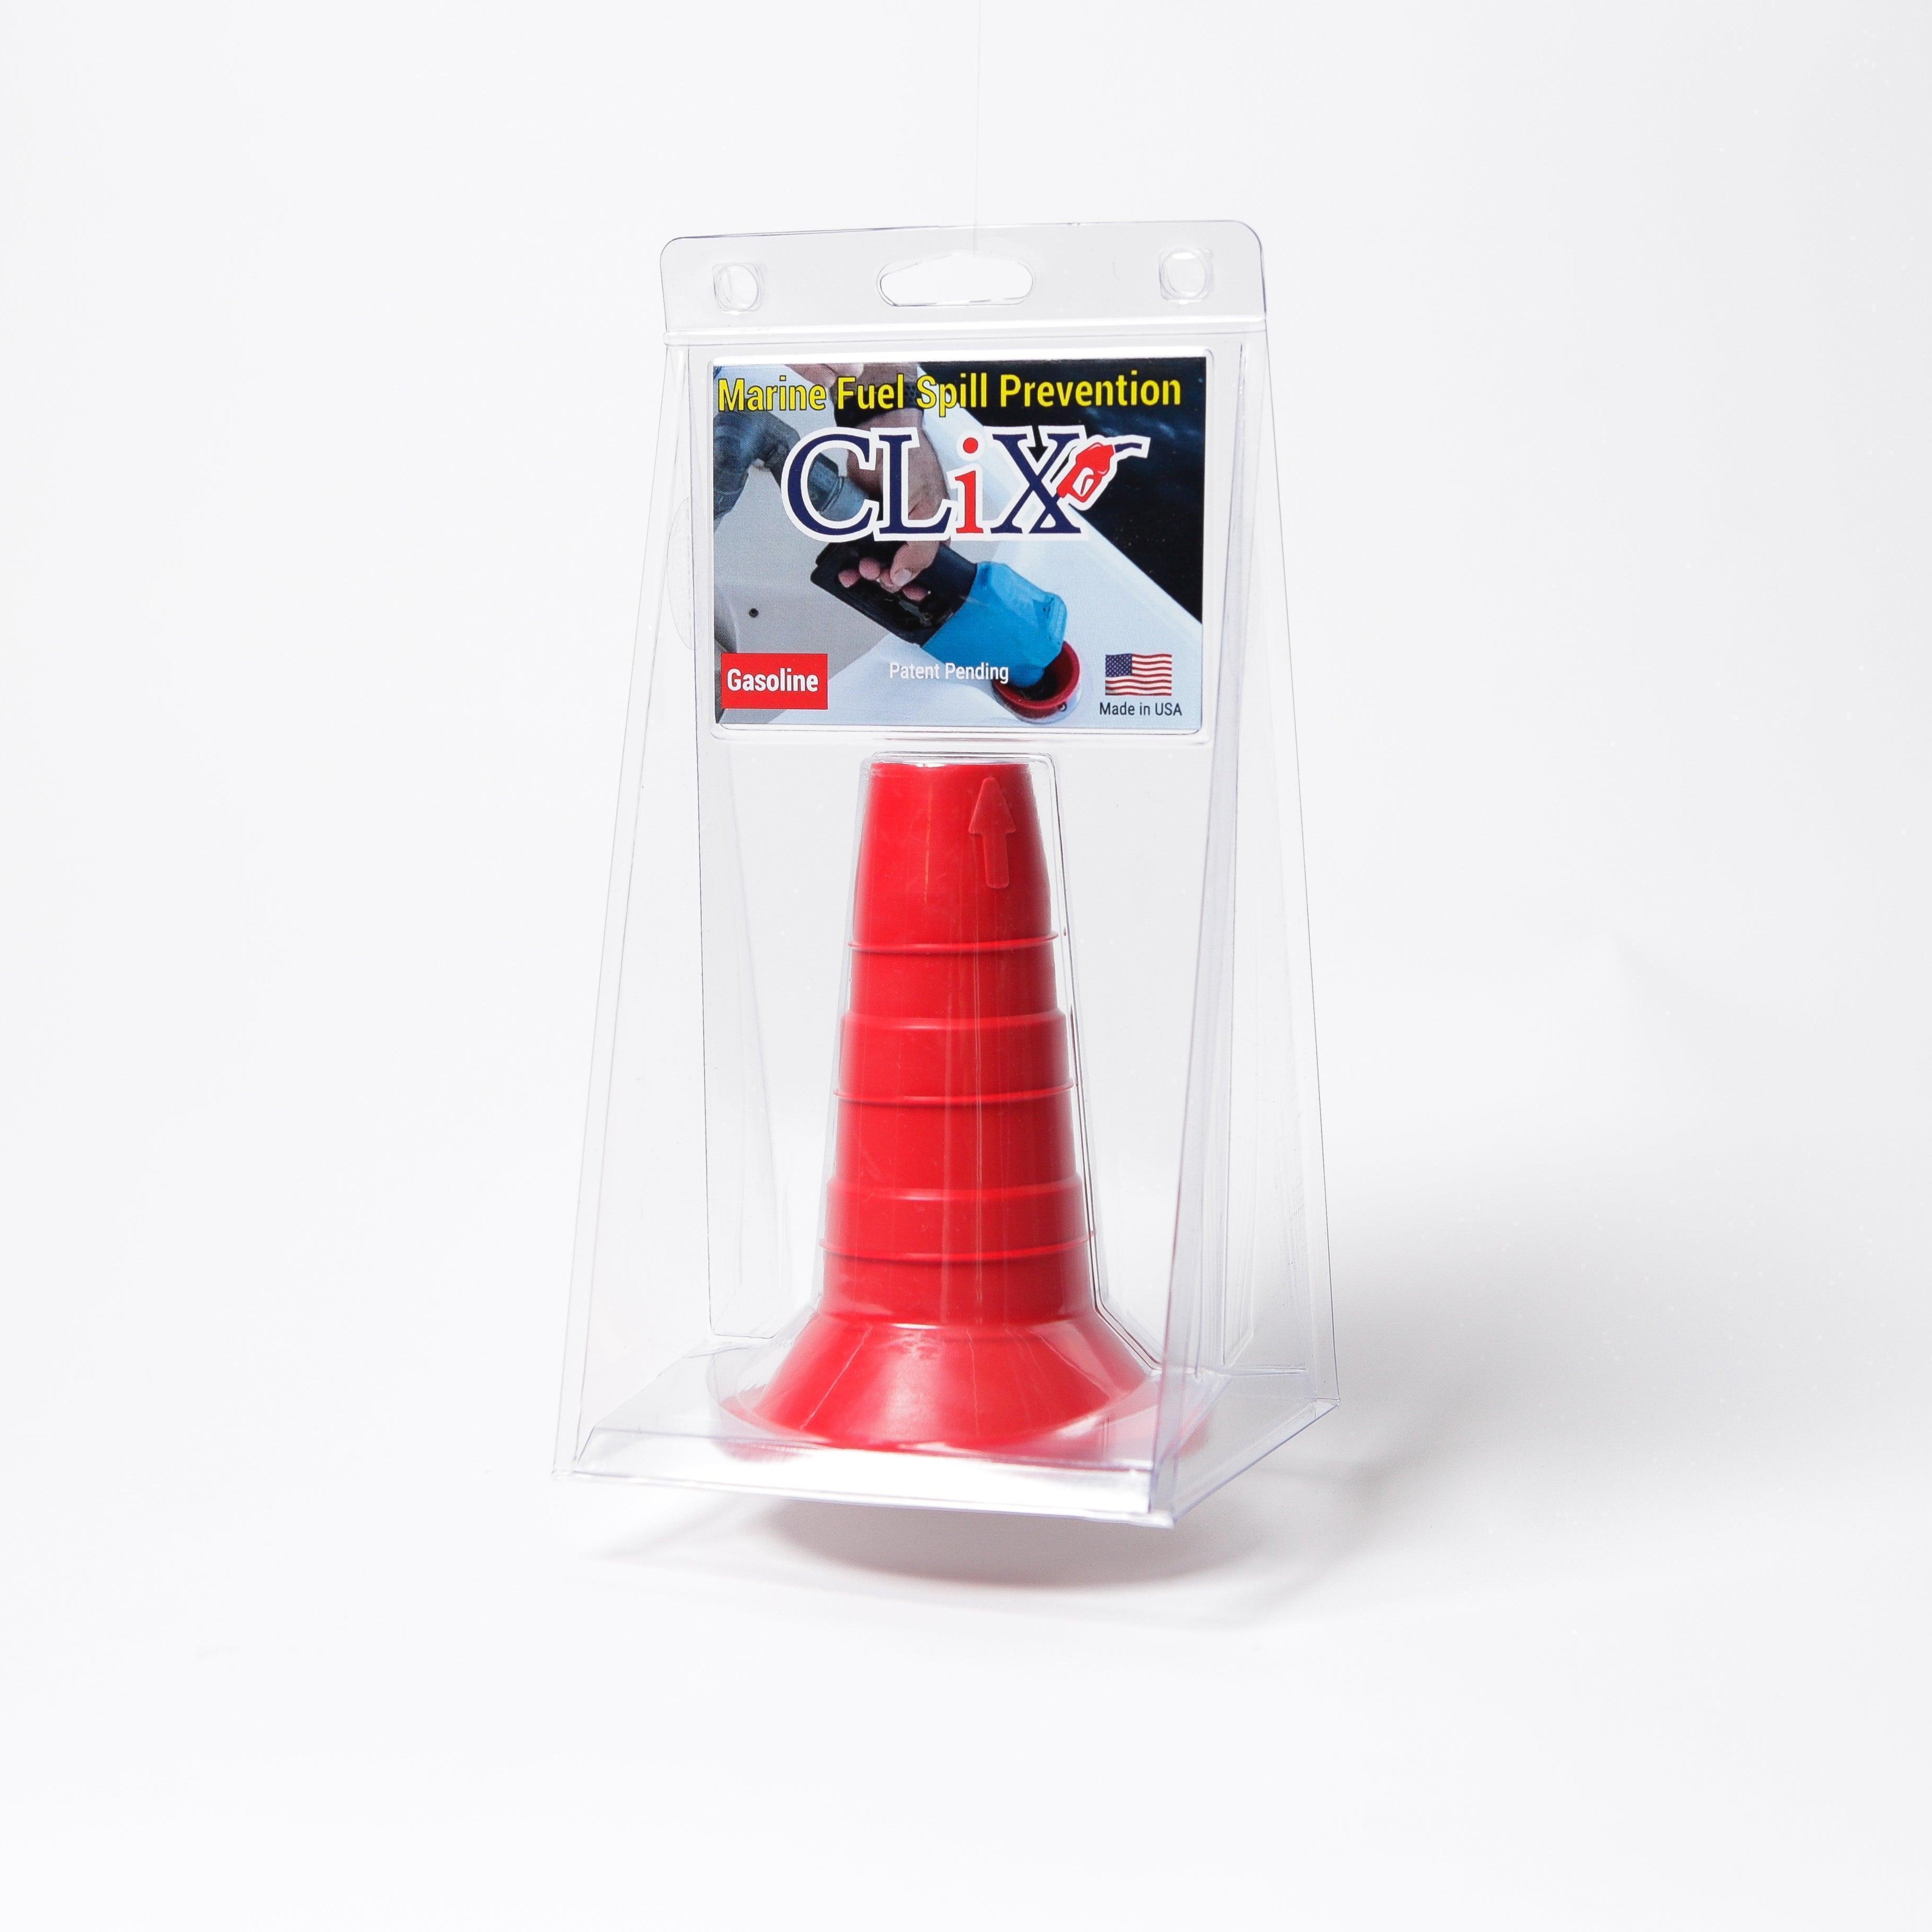
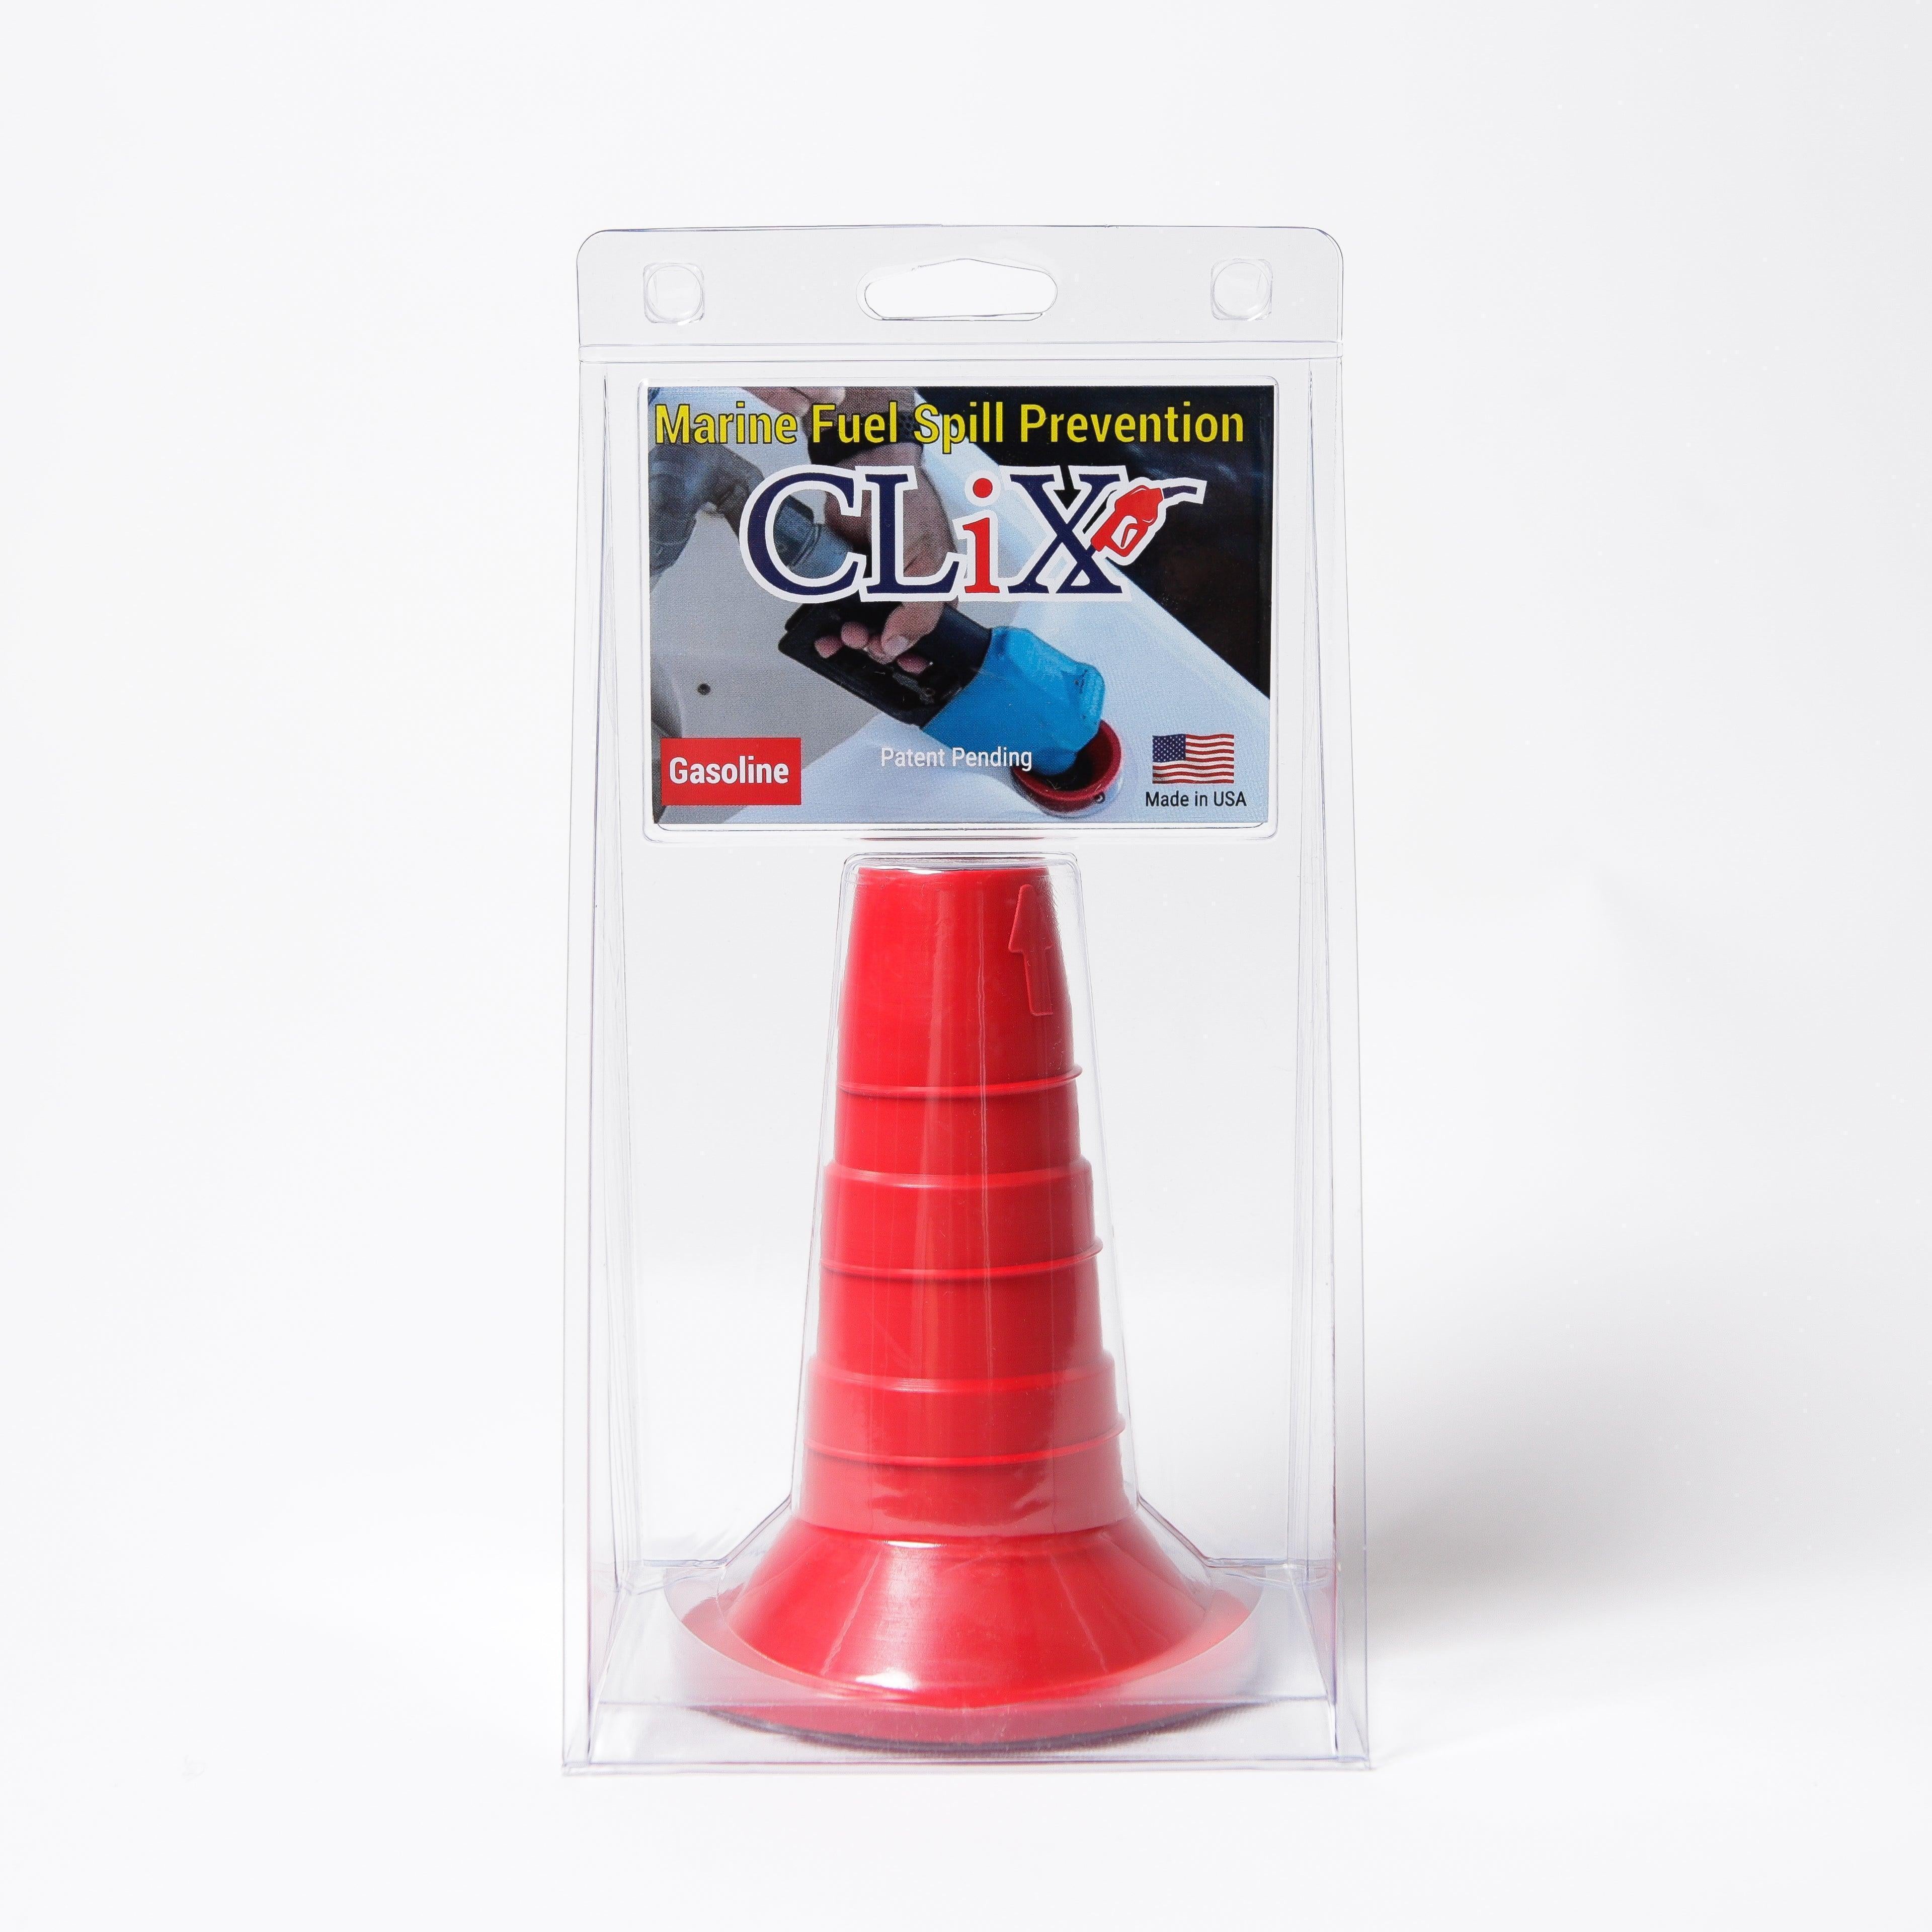
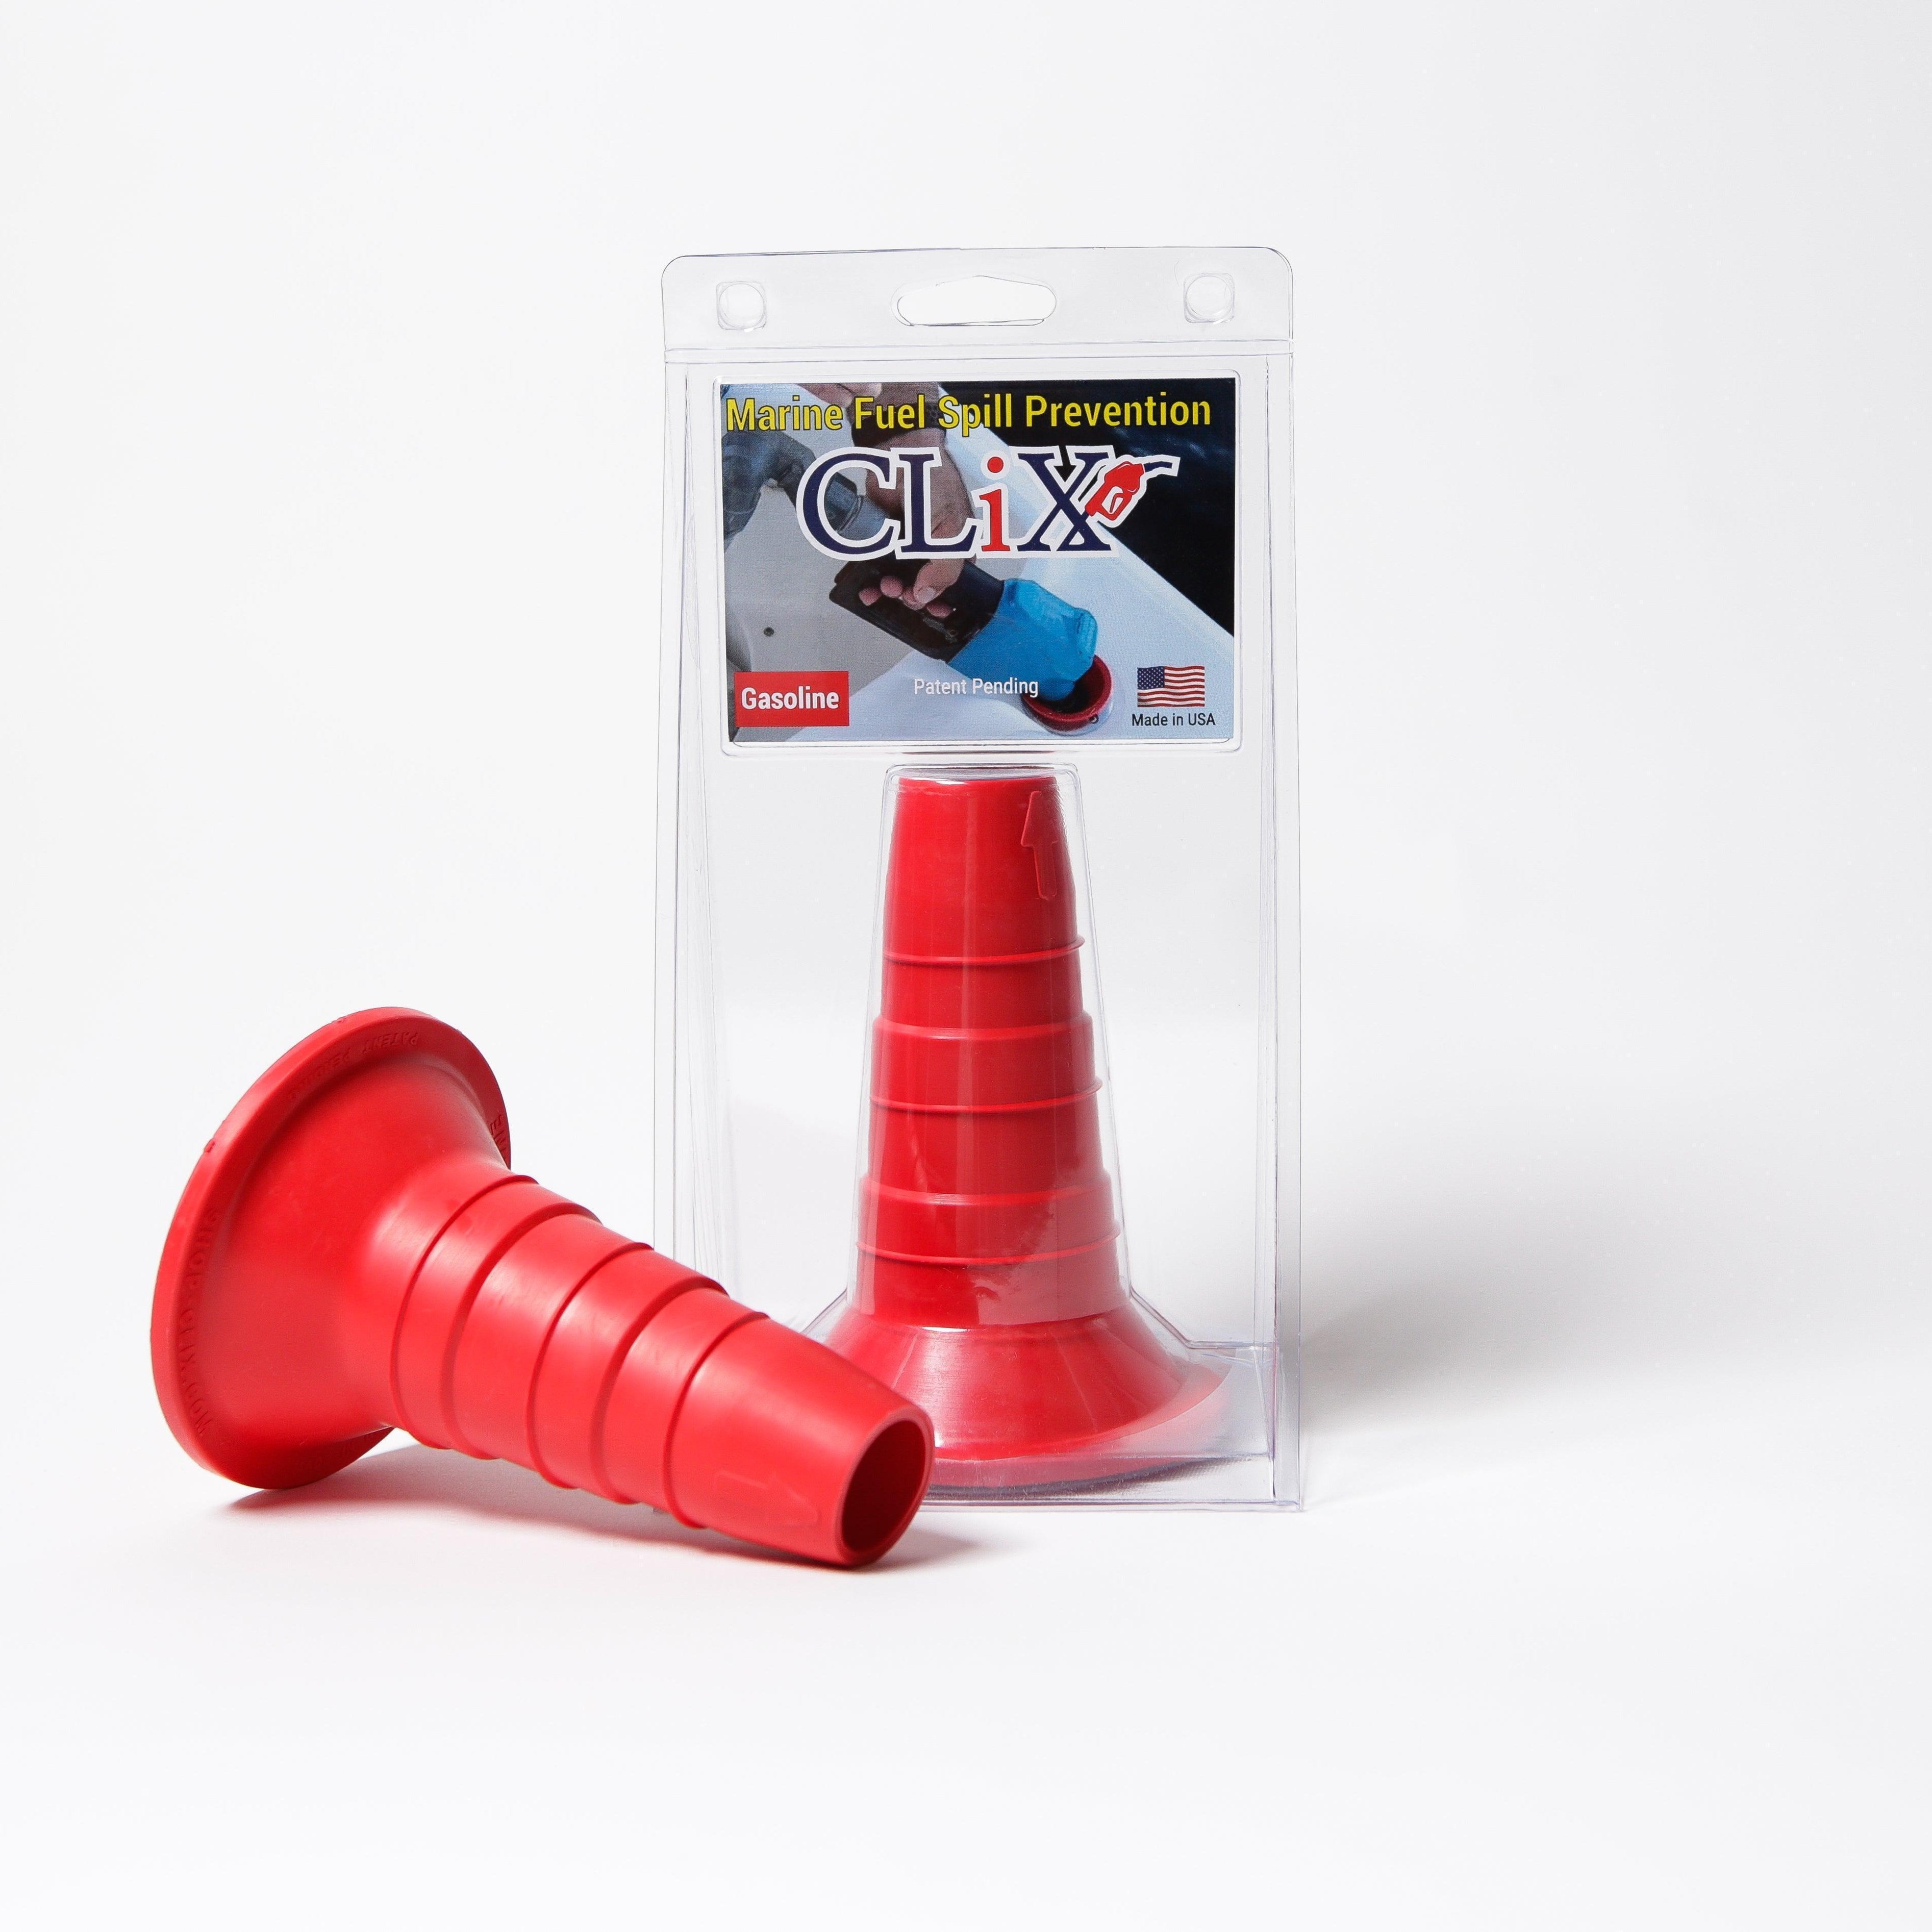
Ready to upgrade your fueling experience? Explore CLiX Fueling Solutions at https://clixfueling.com and discover the difference a truly reliable fueling system can make.